Happy Helper: Floor Mopping

Happy Helper Floor (6)

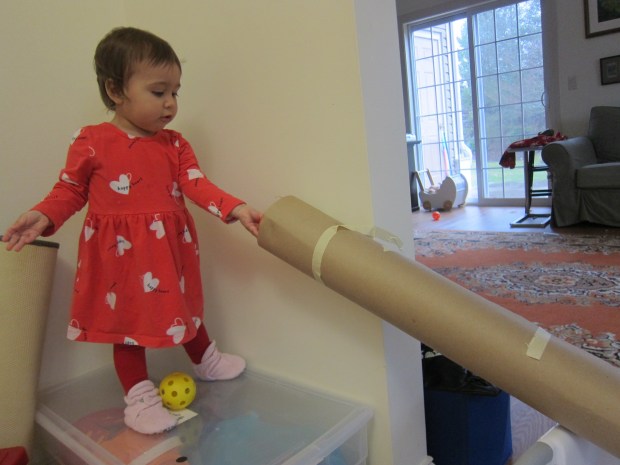
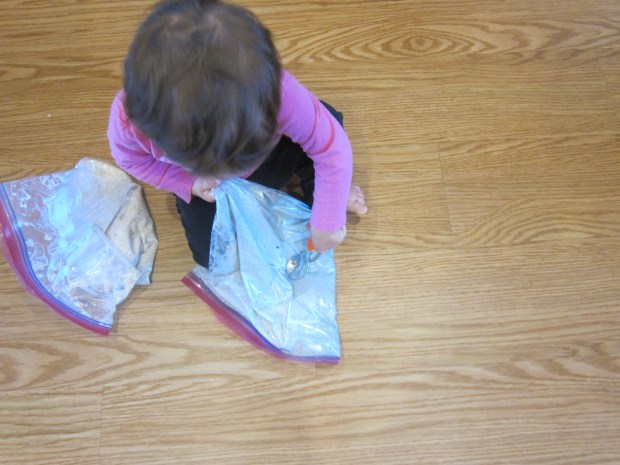
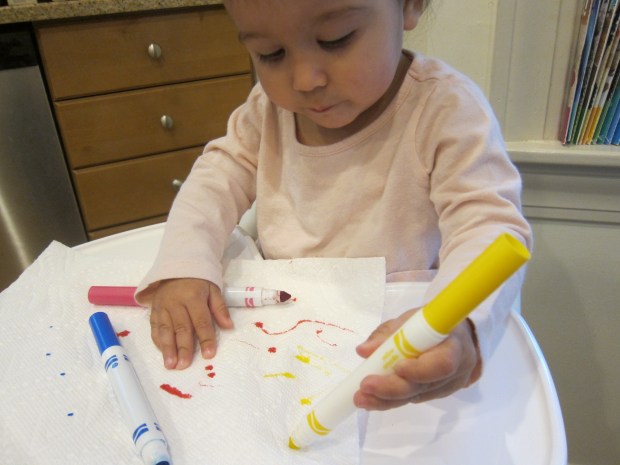
At around a year and a half, toddlers love to copy everything you do around the house. This makes them the perfect participant for any household chores, but sometimes their “help” can feel more like a hindrance. To wit, Veronika has really wanted to help me mop, but that means dropping toys or brooms into the mop bucket. So today I turned floor mopping into a game to get it out of her system!

I filled a small beach pail with just a little warm water and a few drops of dish soap. Then I gave her a sponge and showed her how to dip it in the water, squeeze out the extra, and start to wash the floor.

Happy Helper Floor (1)

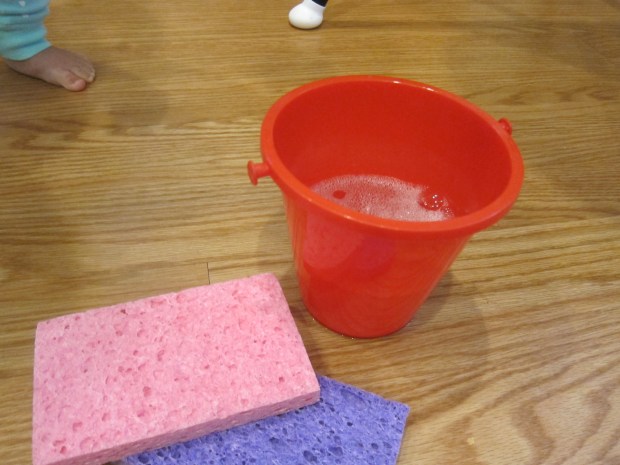
Squeezing excess water is great for muscle development, plus it’s fun to do!

Happy Helper Floor (2)

The idea was to have her work alongside me while I mopped for real, but Veronika had other plans. She upended the bucket, which immediately soaked through her pajamas. Both my kids thought this was hilarious.

Happy Helper Floor (3)

Soon they were eagerly scrubbing the entire kitchen floor – my happy helpers!

Happy Helper Floor (7)

They wanted to play for so long, and when the fun was done, it was immediately upstairs for a change of clothes. And my floor was sparkling!

Happy Helper Floor (5)

Tube Slide

Tube Slide (8)

If you find yourself with a leftover cardboard tube (think from wrapping paper, or a craft paper roll, or even cardboard mailing tubes), don’t head to the recycle bin! These tubes are the perfect item to entertain a toddler.

Tube Slide (3)

Today I wanted to make the best ball slide for Veronika using the tube from a gift wrap roll. It took three tries before I got it right! For the first version, I set the tube at an angle from the couch so it dangled over a laundry bin.

Tube Slide (1)

She tried a few rolls, but was more interested in just tossing balls into the bin from the floor. So not the best version!

Tube Slide (2)

Then I tried dangling it from the end of the stair railing with tape. Again, the landing point was a laundry basket.

Tube Slide (5)

But it was impossible for her to reach the tube without me holding her, and I wasn’t comfortable letting her toddle up the stairs to try it solo, so this version lost her interest quickly. (You’ll notice she preferred to sit in the laundry basket).

Tube Slide (4)

Thinking fast, I taped the tube to the wall just above her toy bin, which she could safely scamper onto like a stool.

Tube Slide (6)

I showed her how to roll the balls through the shoot from here.

Tube Slide (7)

And she had the perfect advantage of height now to see them land in the laundry bin.

Tube Slide (9)

We have a winner folks! This third version made the best tube slide for this particular toddler. Which version does your child like best? Please share in the comments!

Tube Slide (10)

Super Silly Animal Sounds Activity

Silly Animal (5)

Veronika loves animal sounds and has a good 20 or so animals in her repertoire now. This was a fun way to keep the learning novel. We were able to go over old favorites and learn a few new ones, too!

I placed a bunch of animal toys into a small brown paper bag. Plastic animals worked best for the game, though we had a few stuffed animals inside, too.

Silly Animal (3)

I presented her with the bag and it was up to her to reach in. As she pulled out an animal, I chanted (for example):

Pig, pig, hey hey hey.

Pig, pig, what do you say?

After which, we oinked!

Silly Animal (1)

The rockin’ rhythm and tapping of the beat on our laps definitely got her attention, a nice change of pace from singing Old Macdonald.

Silly Animal (2)

We went through the whole bag this way. Sometimes instead of reaching in, she would peer inside the bag and say (for example) “quack”, so I would pull out the duck for the chant:

Duck, duck, hey hey hey.

Duck, duck what do you say? 

Silly Animal (4)

Then we played in reverse. Can you put frog back in the bag? Ribbit ribbit! Can you put lion back in the bag? Roar roar!

Silly Animal (7)

We added a few animals that she’s less familiar with, like turkey gobbling and donkey hee-hawing, for a little variety.

Silly Animal (6)

Feel free to reinforce the game by reading an animal sounds book, just after!

Silly Animal (8)

Although much too advanced for a 17-month-old, I jumped at the chance to introduce the idea of letter sounds with this same method. She liked the little chant so much that I filled the bag next with our set of magnetic letters and pulled one out at time.

Ess, ess, hey hey hey,

Ess, ess, what do you say?

Ess says ssss.

Silly Animal (10)

She even repeated some of these back to me! I wasn’t surprised though that she lost interest in this variation quickly.

Silly Animal (11)

This is a great learning game that you could tailor in all kinds of ways beyond animals and letters.

Surprise Tins

Surprise Tins (9)

I was in a pinch to keep Veronika occupied while Travis had home school this morning. Thinking fast, I pulled out a few old cookie tins from the cupboard. I had a set of three nesting ones, which was especially great since they moved from largest to smallest and we could talk about size as she played with them.

Surprise Tins (1)

I filled the biggest one with a set of magnetic letters. I filled the medium one with wooden blocks. As a bonus, the blocks are magnetic, so they could stick to the lid or side of the cookie tin.

I filled the third with various bottle caps, jar lids, and applesauce pouch tops that I’ve saved up for just such an occasion. Now I gave Veronika all three tins (with the lids loose so as not to frustrate her) and set her busy hands to work.

Surprise Tins (2)

The smallest tin, with the caps, was the instant favorite. She loved going through all the different varieties, and even said, “applesauce!” when she recognized the twisty cap.

Surprise Tins (3)

She tapped them together, sorted them into and out of the tin, and of course practiced taking the lid off and on.

Surprise Tins (5)

Eventually she moved over to the other tins, finding fun in the letters…

Surprise Tins (10)

…and the blocks.

Surprise Tins (8)

But those little bottle caps were definitely the favorite! When she returned to the game, that was instantly her go-to tin.

Surprise Tins (7)

I am going to keep this set tucked away in the cupboard to pull out whenever I need them. You can even mix up the items inside so the “surprise” is different each time and the game never grows old.

Surprise Tins (4)

Handprint Cookies

Handprint Cookies (8)

Part baking project and part bonding activity, these sibling handprint cookies are absolutely adorable. I can think of no better way to spend these cozy days of social distancing than creating strong memories for the kids, despite the scary news in the outside world.

So first things first, we needed cookie dough! I knew the dough needed to chill for a while, so whipped up a batch first thing in the morning.

Ingredients:

  • 1/2 cup coconut sugar (or brown sugar)
  • 1/2 cup Earth Balance butter
  • 2 Ener-G eggs
  • 1 teaspoon vanilla almond milk
  • 2 and 1/2 cups flour
  • 2 teaspoons baking powder
  • 1/4 teaspoon salt
  1. Cream together the sugar, butter, Ener-G eggs, and almond milk in a stand mixer. Add the flour, baking powder, and salt, mixing at low speed just until combined.
  2. Gather the dough into a ball and chill for at least 3 hours.

When it was time to make the cookies, I sat Veronika in her high chair with one portion of dough, and Travis stood at the counter to help me roll out the rest.

Handprint Cookies (2)

Press a child’s hand to the dough and trace with a butter knife.

Handprint Cookies (1)

Travis was able to hold his hand still for a realistic approximation on his cookie. I had to use a little more creative license with wiggly toddler Veronika, as expected! Then we gathered the scraps and re-rolled the dough for heart and star cookie cutter shapes.

Handprint Cookies (3)

As a sweet touch, they pressed their thumbprints into a few cookies.

Handprint Cookies (5)

Let the kids decorate them however they want!

Handprint Cookies (4)

I stepped back and let them choose, which meant our cookies had a cinnamon-sugar sprinkle and Dandies marshmallows in the center.

Handprint Cookies (6)

Bake at 375 degrees F for 8 minutes, until lightly browned.

Handprint Cookies (8)

Then half the fun is eating them of course!

Warm Cooked Oatmeal Sensory Bag

Warm Oatmeal Sensory (3)

This easy sensory bag is similar in concept to others I’ve made for Veronika (a smooshy texture, great for squishing in her hands), but adds a new element: warmth!

If you have a bulk canister of oatmeal, just whip up an extra big batch. I prepared 4 cups of oatmeal and divided it among two bags.

I added blue food coloring to one just for fun, but there’s no need. Other than that, I simply sealed the bags and gave them to Veronika.

Warm Oatmeal Sensory (2)

“Hot!” she said, and also signed the word for it. I took the moment to reinforce the word and sign for “warm”, to differentiate the temperature for her. She soon was happily smooshing fingers into the bags, rearranging them, lifting them up to test how heavy they were, and otherwise having a grand time.

Warm Oatmeal Sensory (4)

I caught her trying to run away with them, my imp!

Warm Oatmeal Sensory (5)

Once back in the kitchen, we briefly tried to make squiggles through the oatmeal with fingers or spoons…

Warm Oatmeal Sensory (6)

…but I think the oatmeal would have needed to be thicker for the lines to stay visible. Still, a nice pause for sensory play.

Warm Oatmeal Sensory (7)

A Box to Extend Train Play

Box Extend Train Play (10)

Chances are you have lots of extra boxes these days; certainly we’re having more items delivered in this time of social distancing, and are so thankful to the fearless delivery folks out there! We put one such box to good use this morning by making it a tunnel for Veronika’s trains.

The set up was simple (although you could get really detailed and crafty with this if you have the time). First, I cut a few holes to be tunnel entrances and and exits.

Box Extend Train Play (3)

Next, I placed a strip of masking tape on the top as a road. Little bits of orange tape down the center served as the lane divider.

Box Extend Train Play (2)

I put the box on the ground and showed Veronika how she could make a train enter through one hole…

Box Extend Train Play (4)

…and pop out through another!

Box Extend Train Play (6)

She loved it, although she seemed mildly disappointed that she didn’t fit in the tunnels herself. Soon she was happily chugging trains to and fro.

Box Extend Train Play (5)

The road on top was a big hit, too!

Box Extend Train Play (7)

The box happened to be the perfect height for her to stand and zoom her cars around, which interested her almost more than the trains.

Box Extend Train Play (8)

This is a great way to keep your toddler busy, even if trains aren’t necessarily his or her “thing”!

Box Extend Train Play (9)

Bear in the Basket

Bear in Basket (4)

This simple game is pure delight for a toddler! I put Veronika in her crib, which startled her momentarily since it’s not a place she normally plays. Surprise turned to excitement when I added all her stuffed animal friends.

Bear in Basket (1)

I placed a basket below the crib (a laundry basket would be perfect, or any old storage box like the one I had on hand), and then showed her how drop in a stuffed animal. “One, two, three, whee!” I counted. The first animal jumped in.

Bear in Basket (2)

Well she had to see what this was all about!

Bear in Basket (3)

She was eager to copy me, parroting my words and holding an animal over the railing. Sometimes she didn’t realize she needed to let go with those little fists; there’s a cognitive step of cause-and-effect here that’s great for motor skill development.

Bear in Basket (5)

Here goes reindeer!

Bear in Basket (6)

Once the basket was full, we tossed the animals back in the crib…

Bear in Basket (8)

…and played again.

Bear in Basket (9)

She was happy to play so many rounds of this game.

Bear in Basket (10)

Or sometimes to pause for a hug.

Bear in Basket (11)

Just for the heck of it, we extended the stuffed animal play with a dry animal bath tub!

Bear in Basket (12)

This oldie-but-goodie never grows old. Simply throw all the stuffed animals in for a soft landing and add one toddler.

Bear in Basket (13)

Paper Towel Drawing

Paper Towel Drawing (2)

Here’s an easy art hack for toddlers, especially if you have a child who wants to get into an older sibling’s art supplies. Give them a paper towel to mark up instead! Because the paper towel has absorbency, the colors blur and bleed in fascinating ways.

I gave Veronika four different color markers and showed her how to make thick lines across the paper towel.

Paper Towel Drawing (1)

She didn’t need to be shown twice! Soon she was coloring avidly, clearly interested with how the markers felt on the slightly bumpy surface.

Paper Towel Drawing (3)

Next I showed her how to press in one spot and make a dot (almost like dot markers). “Dot dot dot!” she started saying happily as she imitated.

Paper Towel Drawing (7)

She also said the names of the colors as she drew, parroting back “pink!” or “yellow!”

Paper Towel Drawing (5)

Eventually, I taped the paper towel pieces down so she could keep going without direct supervision.

Paper Towel Drawing (6)

Even when the paper towels slipped, I didn’t have to worry since the washable markers wipe clean from her high chair tray in a pinch.

Paper Towel Drawing (8)

Note: You can also try this activity on coffee filters, which we did later in the day. They have a similar absorbency for a similar effect.

Paper Towel Drawing (9)

Who Do You See?

Who Do You See (4)

For toddlers who are forming a firm sense of “me”, the chance to see themselves in a mirror is especially exciting. This little project lets your toddler play peek-a-boo with him- or herself!

To make a mirror box, I used a wooden box with a hinged lid that Veronika would easily be able to flip open and closed. You can also find boxes like this at the craft store.

Use hot glue to attach a small flat mirror inside the lid of the box.

Who Do You See (1)

I decorated the outside with pretty wrapping paper, purely for the aesthetic. And of course she loved playing with extra wrapping paper as I put it together!

Who Do You See (2)

We started with just the mirror inside. You can tell from the photos that she was smitten.

Who Do You See (3)

She tried playing peek-a-boo with her reflection, and said “hello” to it and paraded around so proudly with the box.

Who Do You See (6)

And of course tried climbing in it!

Who Do You See (5)

I later added a few photos of family member’s faces, thinking to make the surprise inside the lid different each time. You can mix this up by taping in pictures of animals or other favorite items from magazines, too.

Who Do You See (8)

Even once the surprise of the mirror wears off, this makes for a special box to store little keepsakes in.

Who Do You See (7)