Color Hunt

Color Hunt (4)

Today Veronika and I went on a safari. Not for animals, but for colors!

I started off the game with a big smile and told her we needed our hunting hats. She immediately picked up on the excitement, and we raided the dress-up box for a few styles.

Color Hunt (1)

She needed her safari gloves, too!

Color Hunt (3)

I gave her a little bag to fill, and told her we were hunting for colors. Since she’s not yet 2 years old, I made the game very easy for Veronika with a pile of colorful toys (balls, bean bags, blocks). First we hunted for red!

Color Hunt (5)

We dumped out all the red items at the end, and started again.

Color Hunt (6)

Could we hunt for blue?

Color Hunt (7)

Older toddlers can wander all over the house with this hunt, filling their treasure bag as they go. Other items Veronika could easily spot were colorful magnets on our fridge, or foods from the toy bin.

Happy hunting!

Find the Oddball

Find the Oddball (5)

This quick activity is a nice early lesson for toddlers on spotting the difference (a.k.a. the odd one out), which is a starting step for later visual perception and attention to detail.

For this super-simple toddler version, I put stickers on index cards, always using several of one kind and one oddball.

Find the Oddball (1)

I started with a version that focused on color difference, using all star-shaped stickers: 4 of one color and the outlier hidden somewhere among them.

Find the Oddball (2)

She was quick to tell me the dominant color out loud (i.e. “Green!”), which told me that her eye was quickly spotting the majority. Each time I told her, “Look, the purple is different,” to bring her focus in that direction.

Then we moved on to a version with vehicle stickers. Here, I had three of a kind and one oddball. Again, her eye always went to what was dominant, naming it for me. “I see a car!”

Find the Oddball (3)

Sometimes I almost felt like she couldn’t see the oddball at all, even after I named it!

Find the Oddball (8)

It became clear that the game was a little advanced for her, too, because inevitably she wanted to hold a sticker, and this was a bigger draw than my insistence on, “Look, the bus is different. There’s only one bus.”

Find the Oddball (6)

Note: You can also draw the images, if you don’t have stickers on hand. Try smiley faces with one sad face, for example, or circles followed by one triangle. If you want your cards to be more permanent, cover them with contact paper.

Find the Oddball (7)

One way or another, this is a fun intro to the concept.

Sibling Picture Book

Sibling Picture Book (5)

Here’s an adorable activity that can make older siblings feel important and special, as they craft a book just for a little brother or sister.

Travis and I sat down to look through magazines and I encouraged him to find pictures that would appeal to little sister Veronika. He was most interested in a Halloween magazine, so picked out lots of frightfully spooky images, like carved pumpkins, silly witches, and snacks in the shape of ghosts and goblins.

Sibling Picture Book (1)

Veronika wanted to help go through the magazines too!

Sibling Picture Book (2)

Travis cut out the images, and we used a glue stick to attach one picture per piece of construction paper. I cut the construction paper in half so the book would easily fit into little hands. Staple your pages together, and then it’s story time!

Sibling Picture Book (3)

I absolutely loved watching Travis “read” this to Veronika. Older kids might want to craft a careful narrative, or write words below the images. Travis just loved flipping through the pages for her and making up a silly story based on what he saw, sillier each time the kids looked at it.

Sibling Picture Book (6)

Veronika clearly adored being the center of his attention.

Sibling Picture Book (4)

This was a beautiful bonding activity, and one we can repeat the next time we have a batch of magazines on hand.

Sibling Picture Book (7)

Apple Seeds and Shake-Ups

Apple Seed Count (4)

Fall is my favorite season and I’m so excited to share it with Veronika this year, the first year that she’s really aware of the change in seasons. Today we celebrated the first day of fall with the season’s most iconic fruit: apples!

First, we sat down together with an apple that I’d cut into quarters and took out all the seeds, counting them onto a paper plate.

Apple Seed Count (1)

In addition to being simple math, this will show your toddler how a new baby apple tree starts!

Apple Seed Count (2)

As she plinked the apple seeds into a little paper cup, I peeled the apple and thinly sliced it. Fill a small plastic bag with 2 tablespoons sugar and 1/2 teaspoon cinnamon. Add the apple slices, seal, and encourage your toddler to shake it.

Apple Shake-Ups (1)

Ta da! An instant autumn snack: Apple Shake-Ups.

Apple Shake-Ups (3)

Veronika ate almost the whole apple she loved it so much!

Apple Shake-Ups (4)

We had one more apple sitting on the cutting board, but instead of eating that one, we dipped the slices in paint.

Apple Seed Count (3)

I gave her red and yellow paint, in keeping with our autumnal theme, with the bonus we got orange prints, too, once the paints mixed. She wasn’t as interested in this part of the craft, but overall we had apple-tastic fun.

Apple Seed Count (5)

Nature Bracelet

Nature Bracelet (2)

Turn any nature walk into a hunt for treasure with this toddler craft!

Nature Bracelet (6)

As we headed off on a nature trail through a meadow, I wrapped a length of masking tape around Veronika’s sleeve, sticky side out. While we walked, I started adding small flower petals and leaves to the bracelet, and remarked how beautiful the items were.

Nature Bracelet (1)

She very quickly got the idea and soon started gathering finds of her own, which I helped her attach to her “bracelet”.

Nature Bracelet (5)

Big brother Travis thought it looked so fun that he wanted an armband of his own to decorate.

Nature Bracelet (8)

And he was a big helper adding finds to his sister’s arm!

Nature Bracelet (3)

The activity led to beautiful moments on our walk, like pausing by the strands from a milkweed pod, which looked like silk on her bracelet.

Nature Bracelet (4)

Once home, I cut the masking tape from her sleeve and we mounted it on the wall as a gorgeous memento.

Nature Bracelet (7)

Nursery Rhyme Fun

Nursery Rhyme Fun (3)

No doubt your toddler has favorite nursery rhymes by about age 2, and probably knows a few of them by heart. Play this game to help with memorization, rhyming, and language learning. It’s perfect for car rides because it’s hands-free and requires no props. Though of course you can play at home, too.

Start a favorite nursery rhyme, but stop before the rhyming word at the end of a sentence. So for example, “Five little monkeys jumping on the bed, one fell off and bumped his…” It was her turn to chime in with, “Head!”

We played with other ditties too, “Hickory Dickory Dock.”

Nursery Rhyme Fun (1)

She also loves a song about a little red car, so we recited that one with props to help her chime in with the right word.

Nursery Rhyme Fun (2)

This game can easily be tailored to become more silly. Throw in a few fake verses and see if your toddler catches on to the error, e.g. “Hickory Dickory Dock, the mouse ran up the chimney”. One word of caution: whenever I do this, it makes Veronika cry! So skip it if your toddler prefers the true version.

Parking Game

Parking Game (10)

Here’s a fancier spin on a cars and colors game I played with Veronika as she was just starting to learn her colors. Now that she knows them well, this version involved more of a craft, and had an imaginative component, too.

For each garage, you’ll need a thin cardboard box. Big cereal boxes are perfect, but Veronika loved the game so much that I had to raid the pantry for cracker boxes and oatmeal boxes to add to her little town.

For each parking garage, use a craft knife to cut an opening for toy cars to drive into. Use masking tape to close any loose flaps on the boxes.

Parking Game (1)

Cover each with a different color of construction paper. Originally I intended just to make a blue garage and red garage for her. “What color is it?” I asked, holding up the paper. “Blue!” she said with delight.

Parking Game (2)

I used double-sided tape to make quick work of covering each box instead of waiting for glue to dry.

Parking Game (3)

In short order, Veronika could drive in her cars.

Parking Game (5)

We sorted the toy cars by color, and I parked them relatively near the corresponding garage before asking prompts like, “Can the red cars drive into the red garage?”

Parking Game (7)

Sometimes I tried to trick her with a car pulling up to the “wrong” spot. She quickly spotted it each time!

Parking Game (6)

She had so much fun driving the cars in and then dumping them out, too.

Parking Game (9)

Pretty soon we had a whole little town. Between making the craft, playing with it, and returning to it over the course of a few hours, this made for a wonderful morning activity.

Parking Game (8)

Paper Bag Blocks

Paper Bag Blocks (14)

My original intent with this project was to make BIG blocks for Veronika from large grocery store paper bags. I decided the idea was rather impractical, since I would need lots of newspaper to stuff them all, and almost never buy a hard copy of the paper anymore.

Instead, armed with lots of paper lunch bags, I opted for this smaller-scale version.

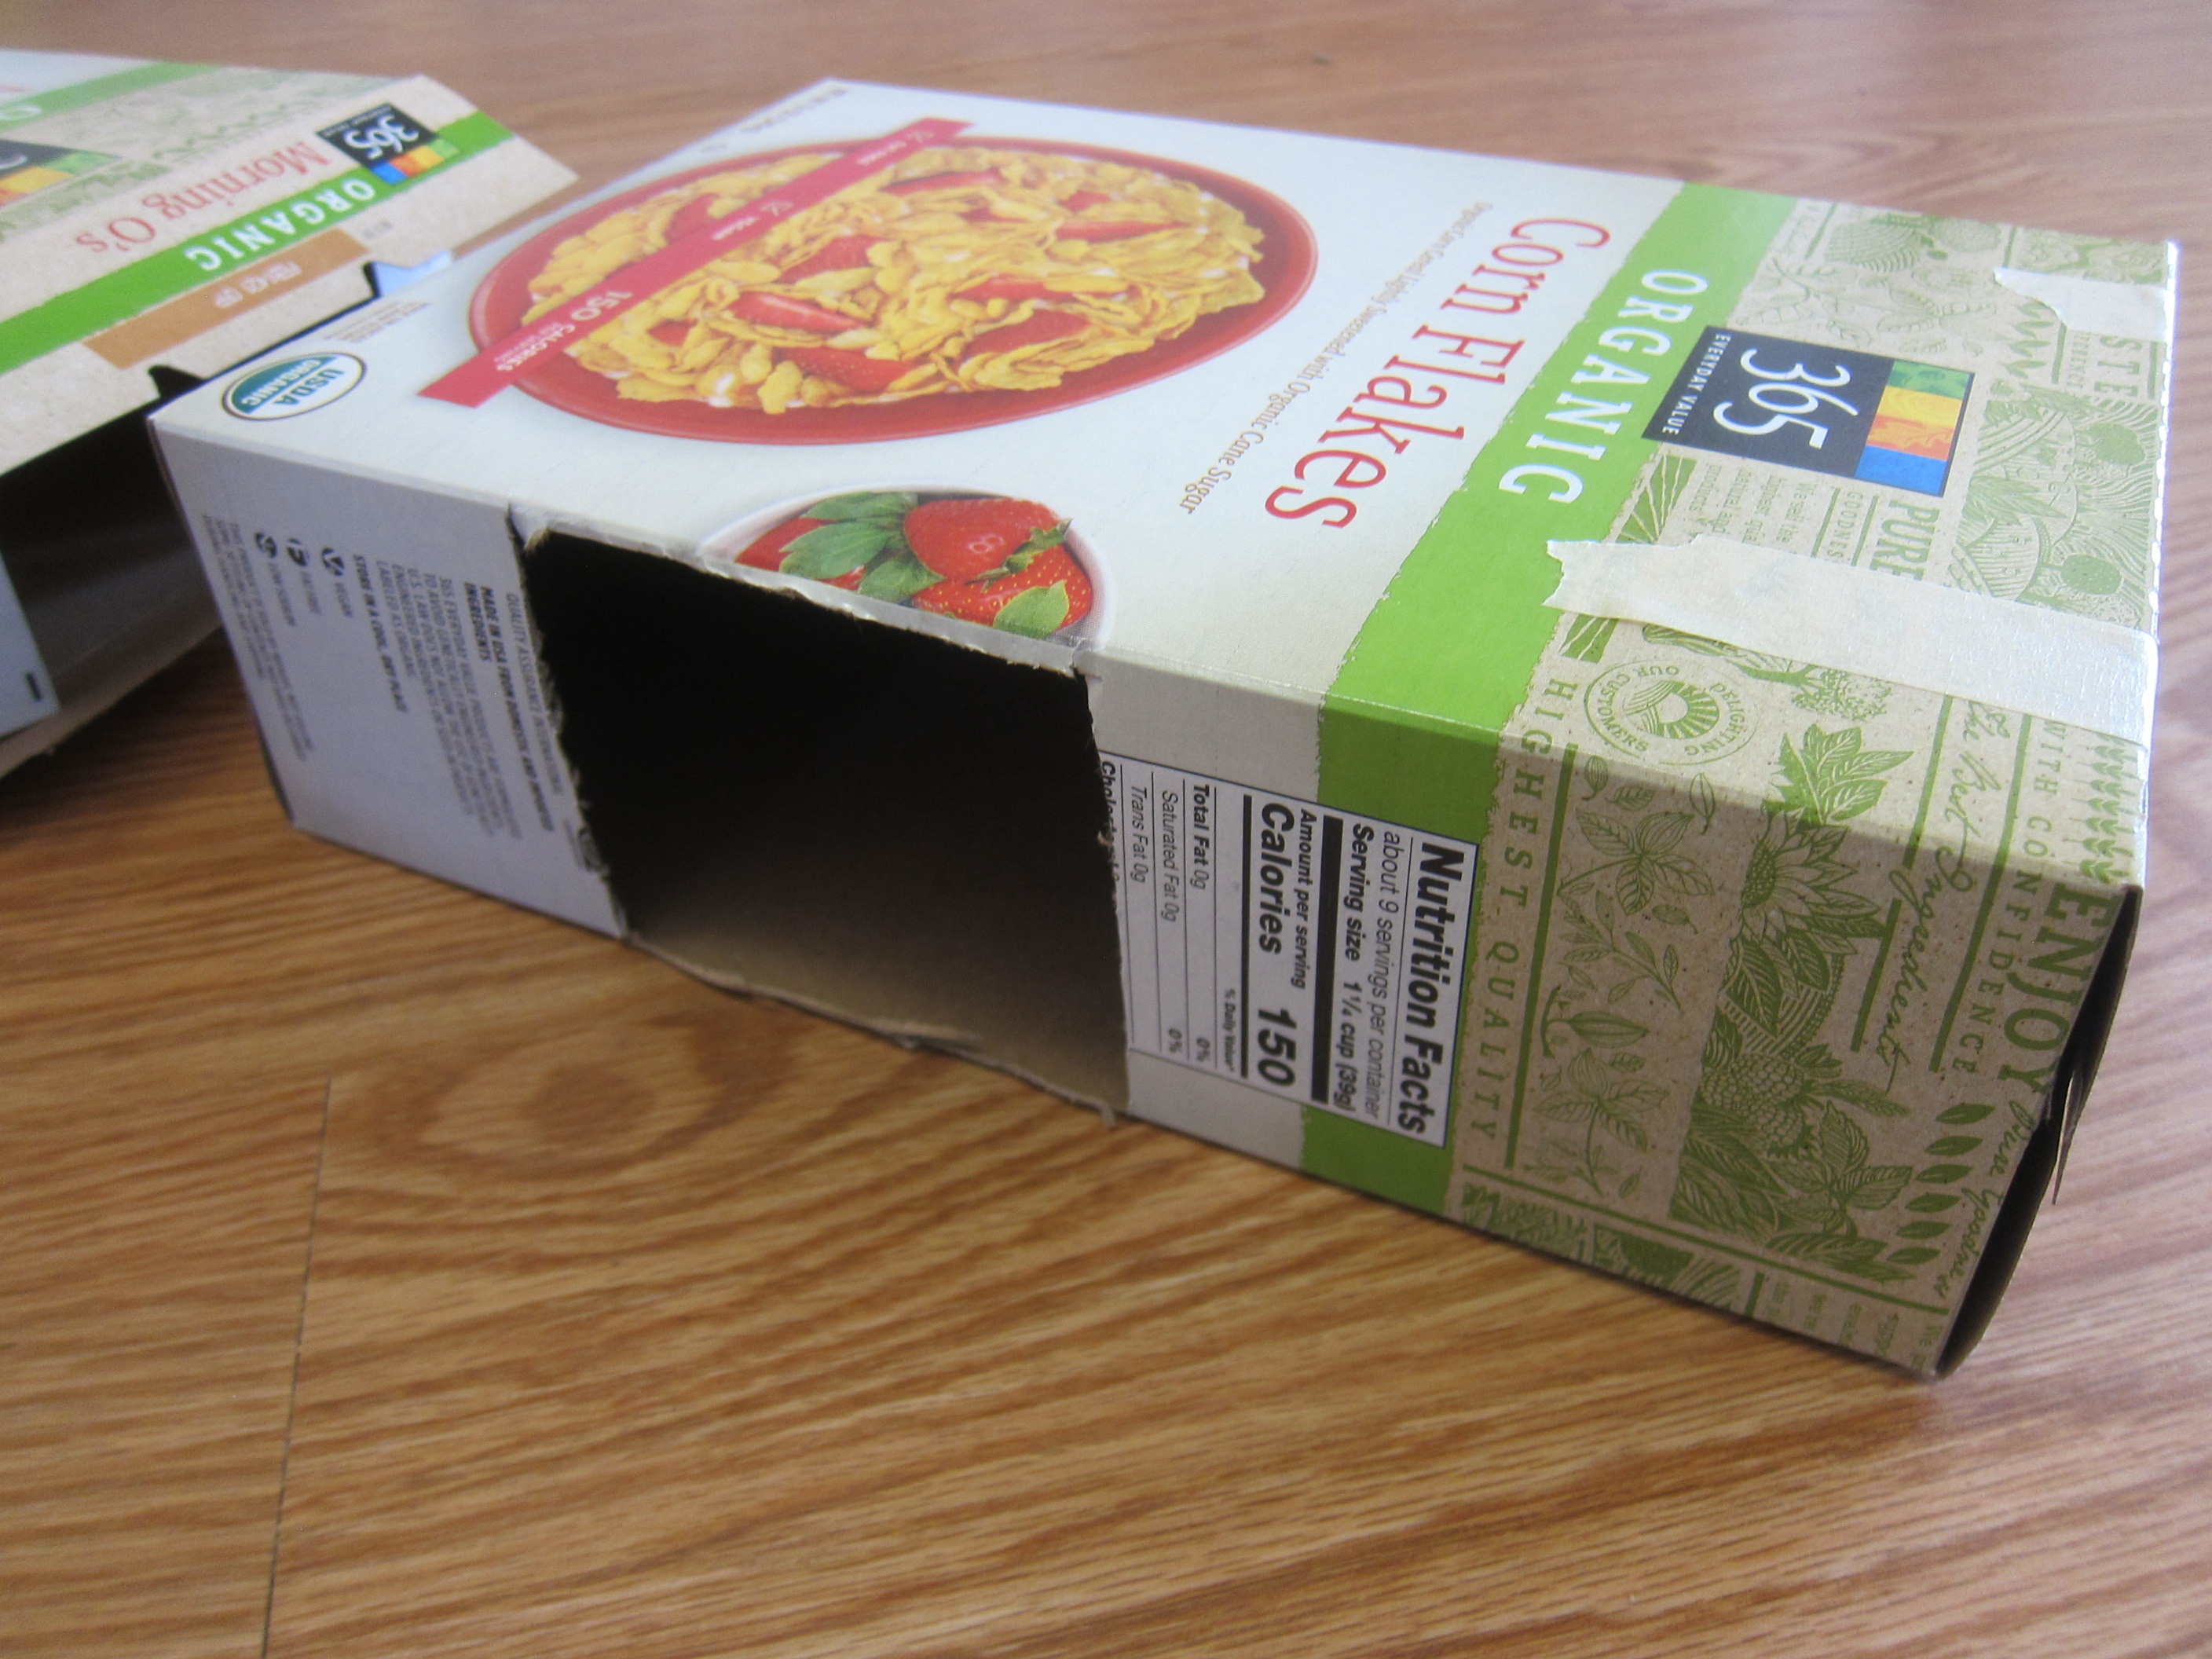
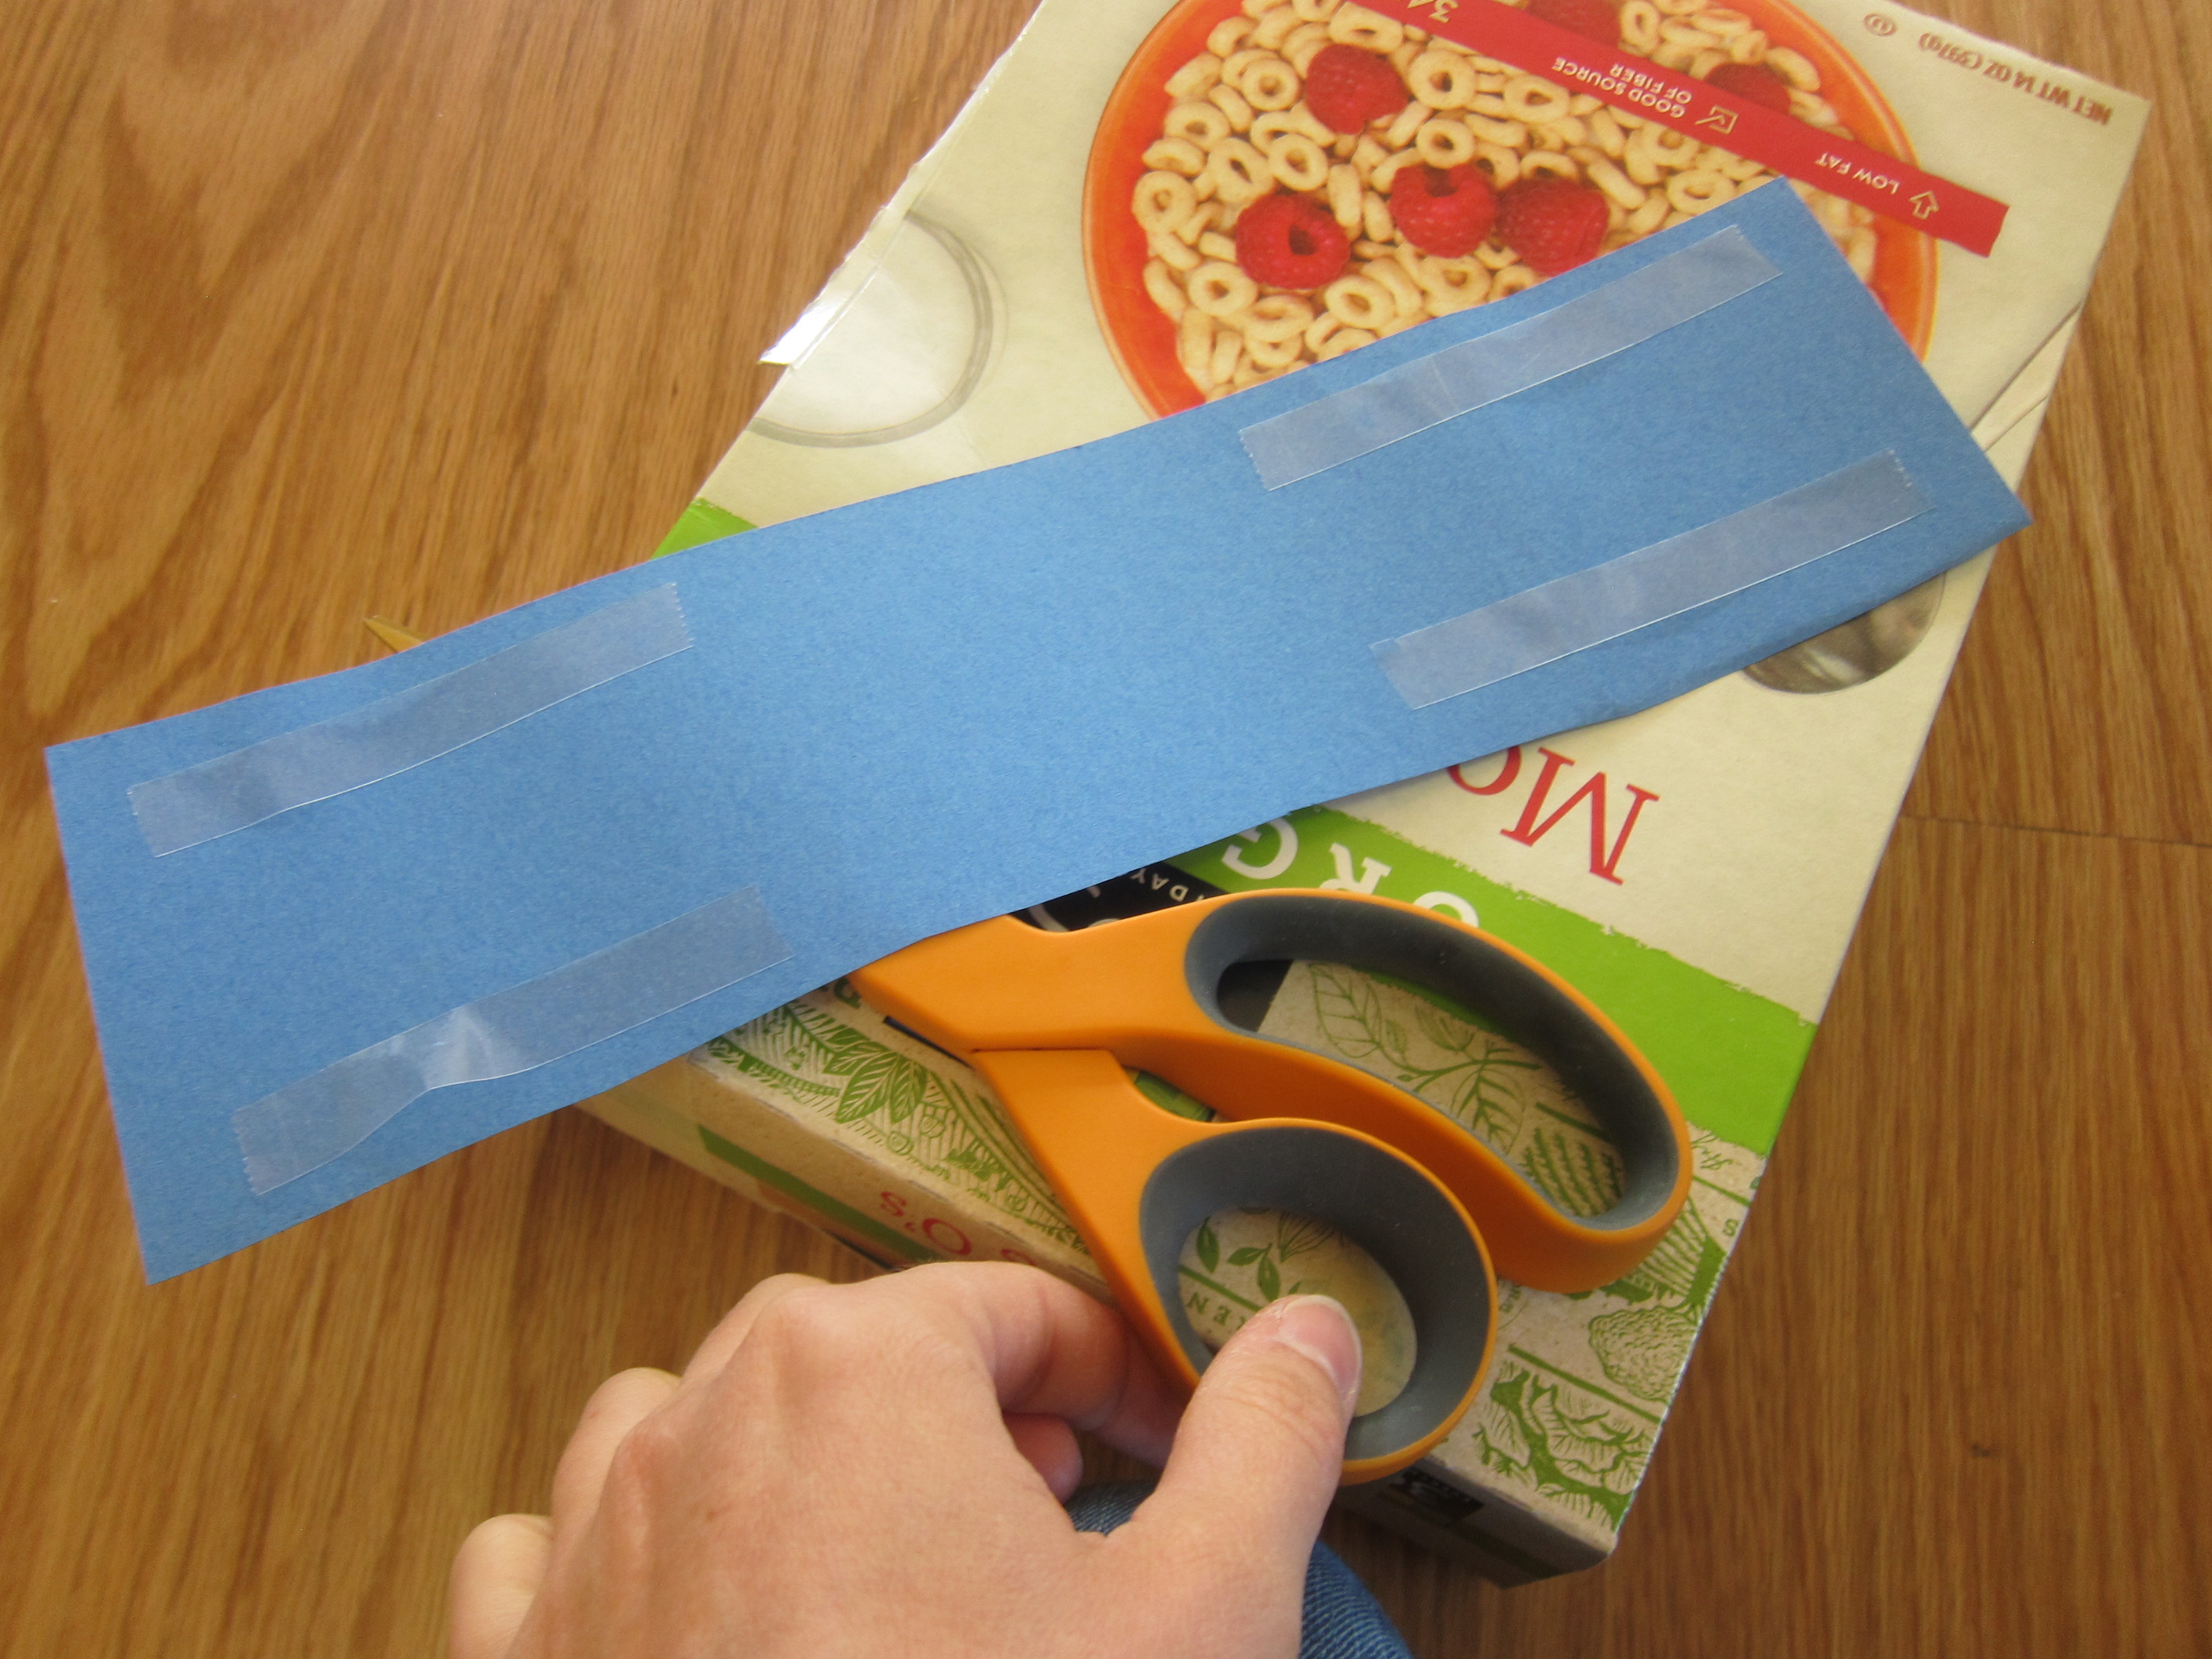
To make each block, fold over the top third or so of the bag to create a mark; this is the line that you will fill up to. Crumple up pieces of an old magazine and stuff into the bags. Fold that top third edge over and tape shut.

Paper Bag Blocks (4)

Okay, so these blocks don’t come out perfectly square and are almost more like little pillows or balls, perhaps, than blocks. But in short order we had a whole pile.

Paper Bag Blocks (5)

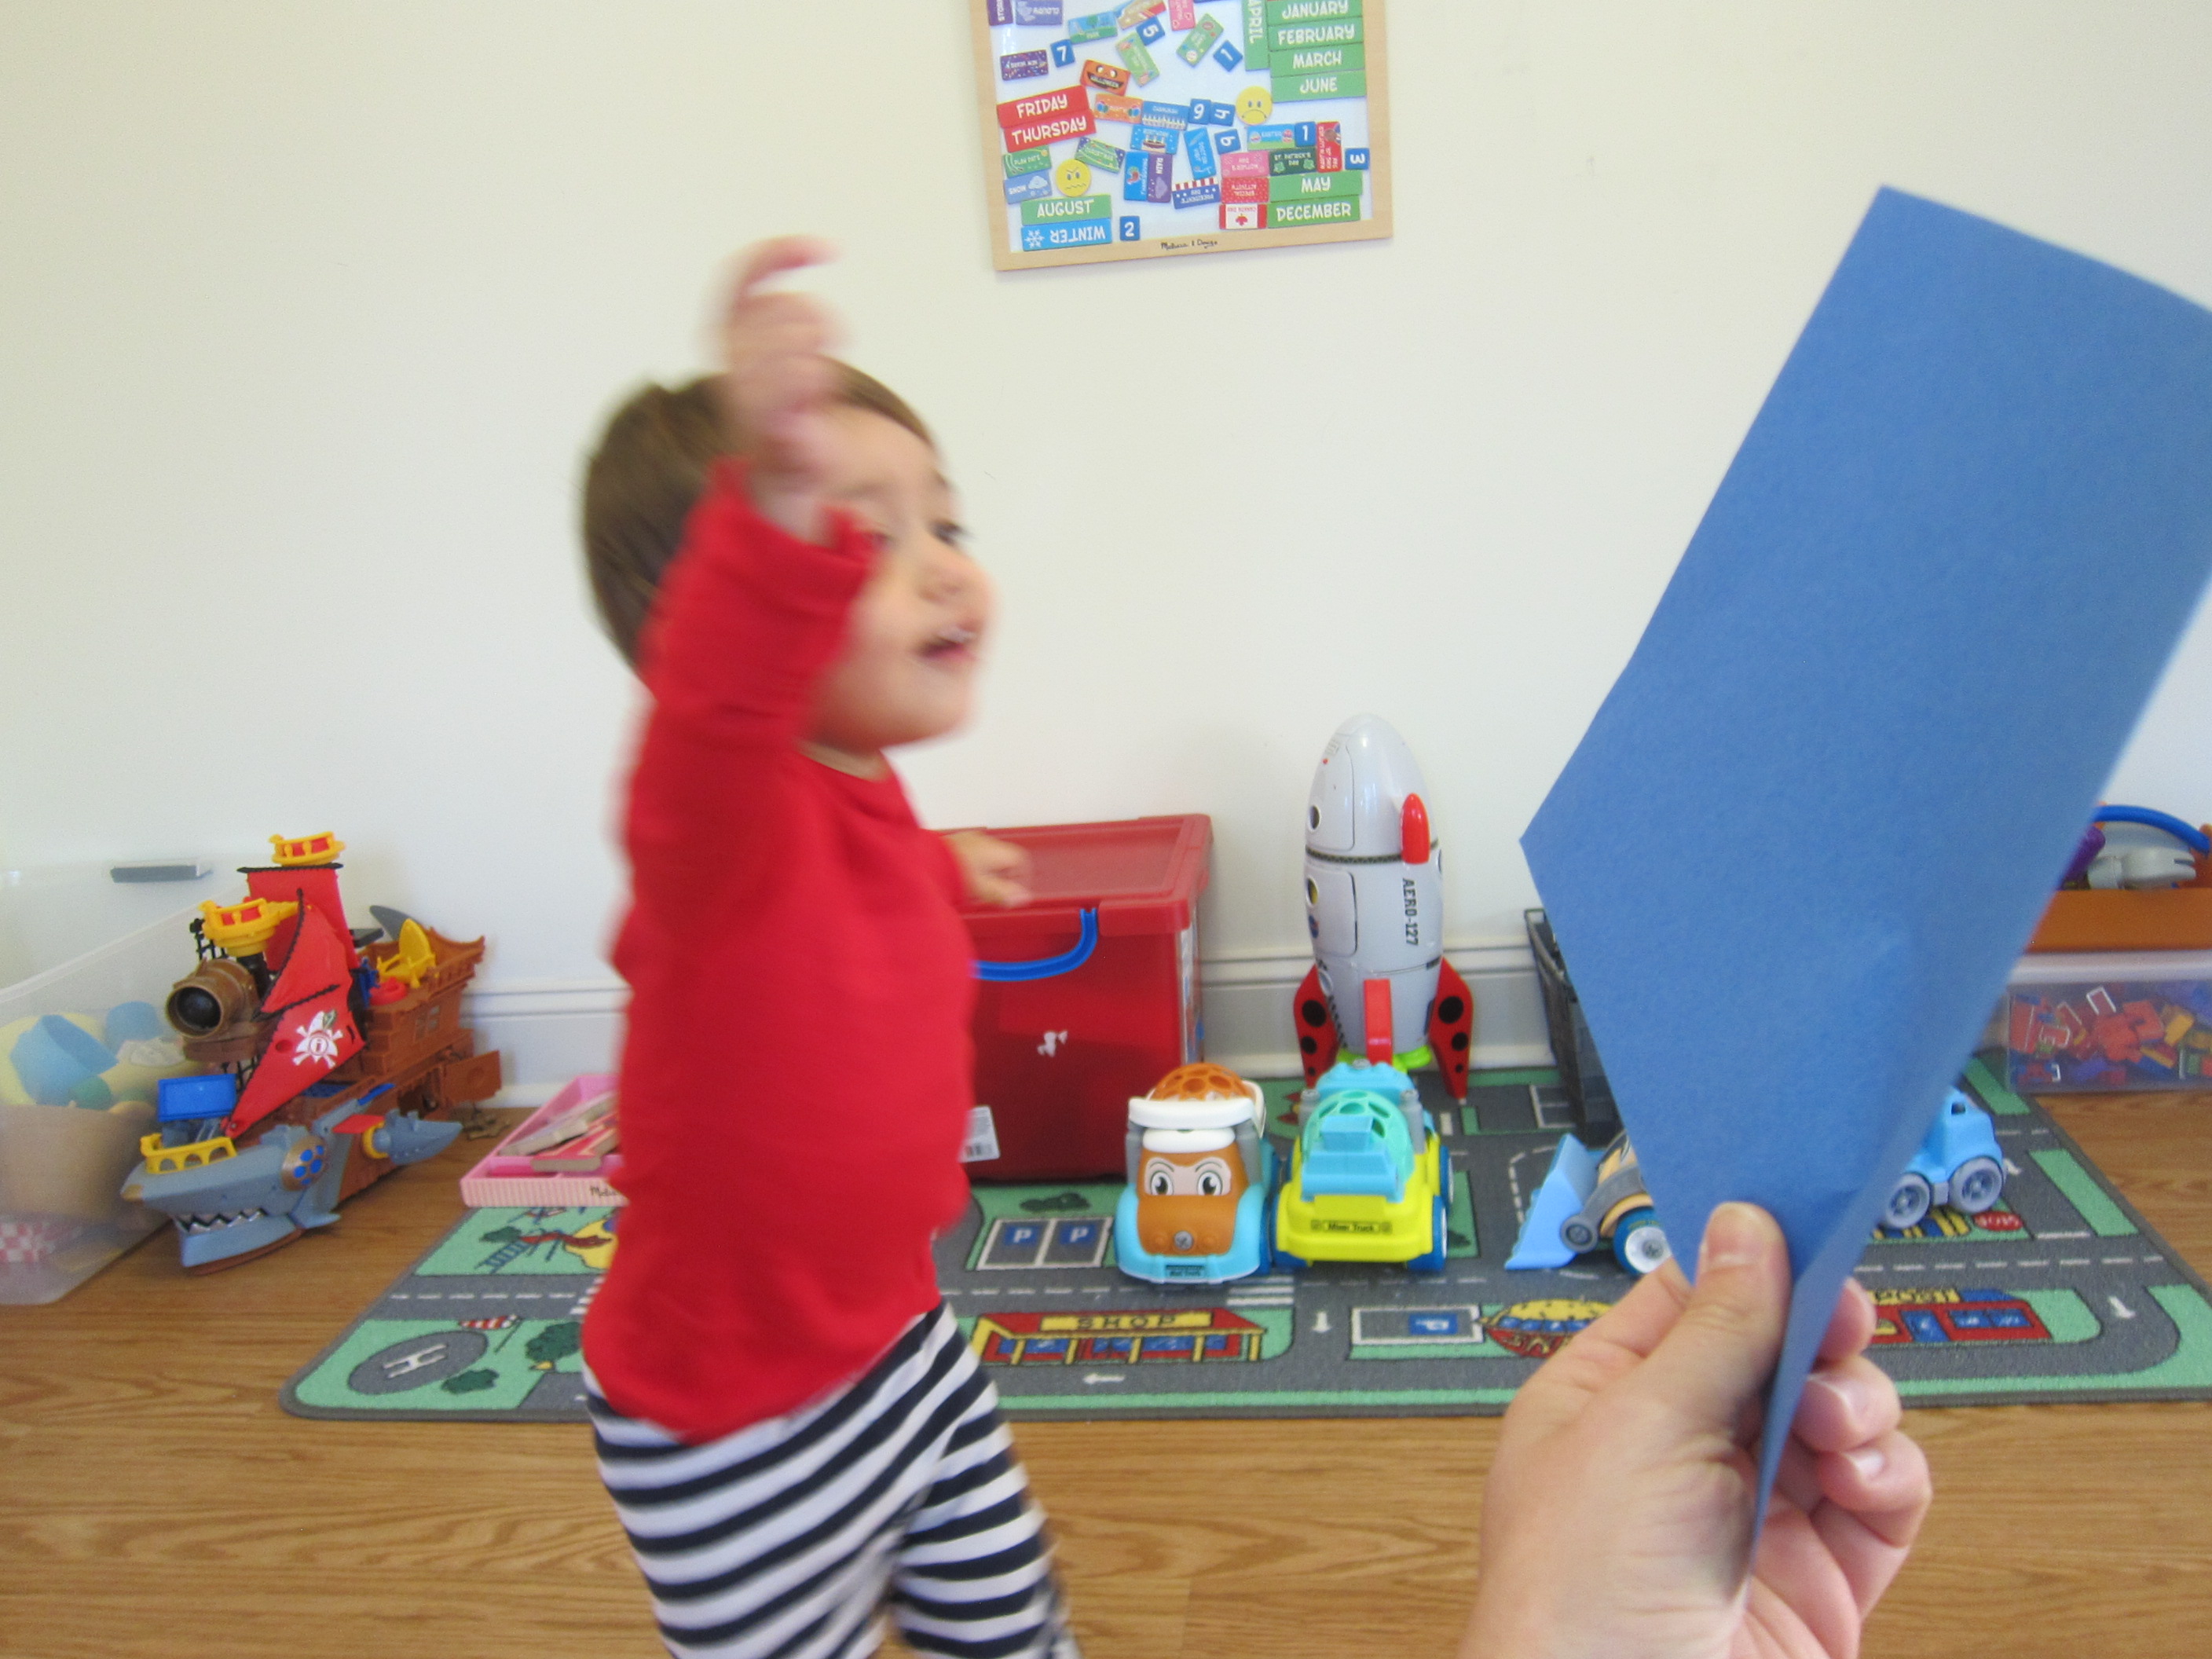
Veronika first loved picking up big handfuls and tossing them.

Paper Bag Blocks (7)

You can also enlist your toddler to be the decorator, using marker or crayon to color on the blocks.

Paper Bag Blocks (9)

Because she knew I had stuffed them full of magazine pages, she occasionally decided it was more fun to rip one open and pull the pages out.

Paper Bag Blocks (10)

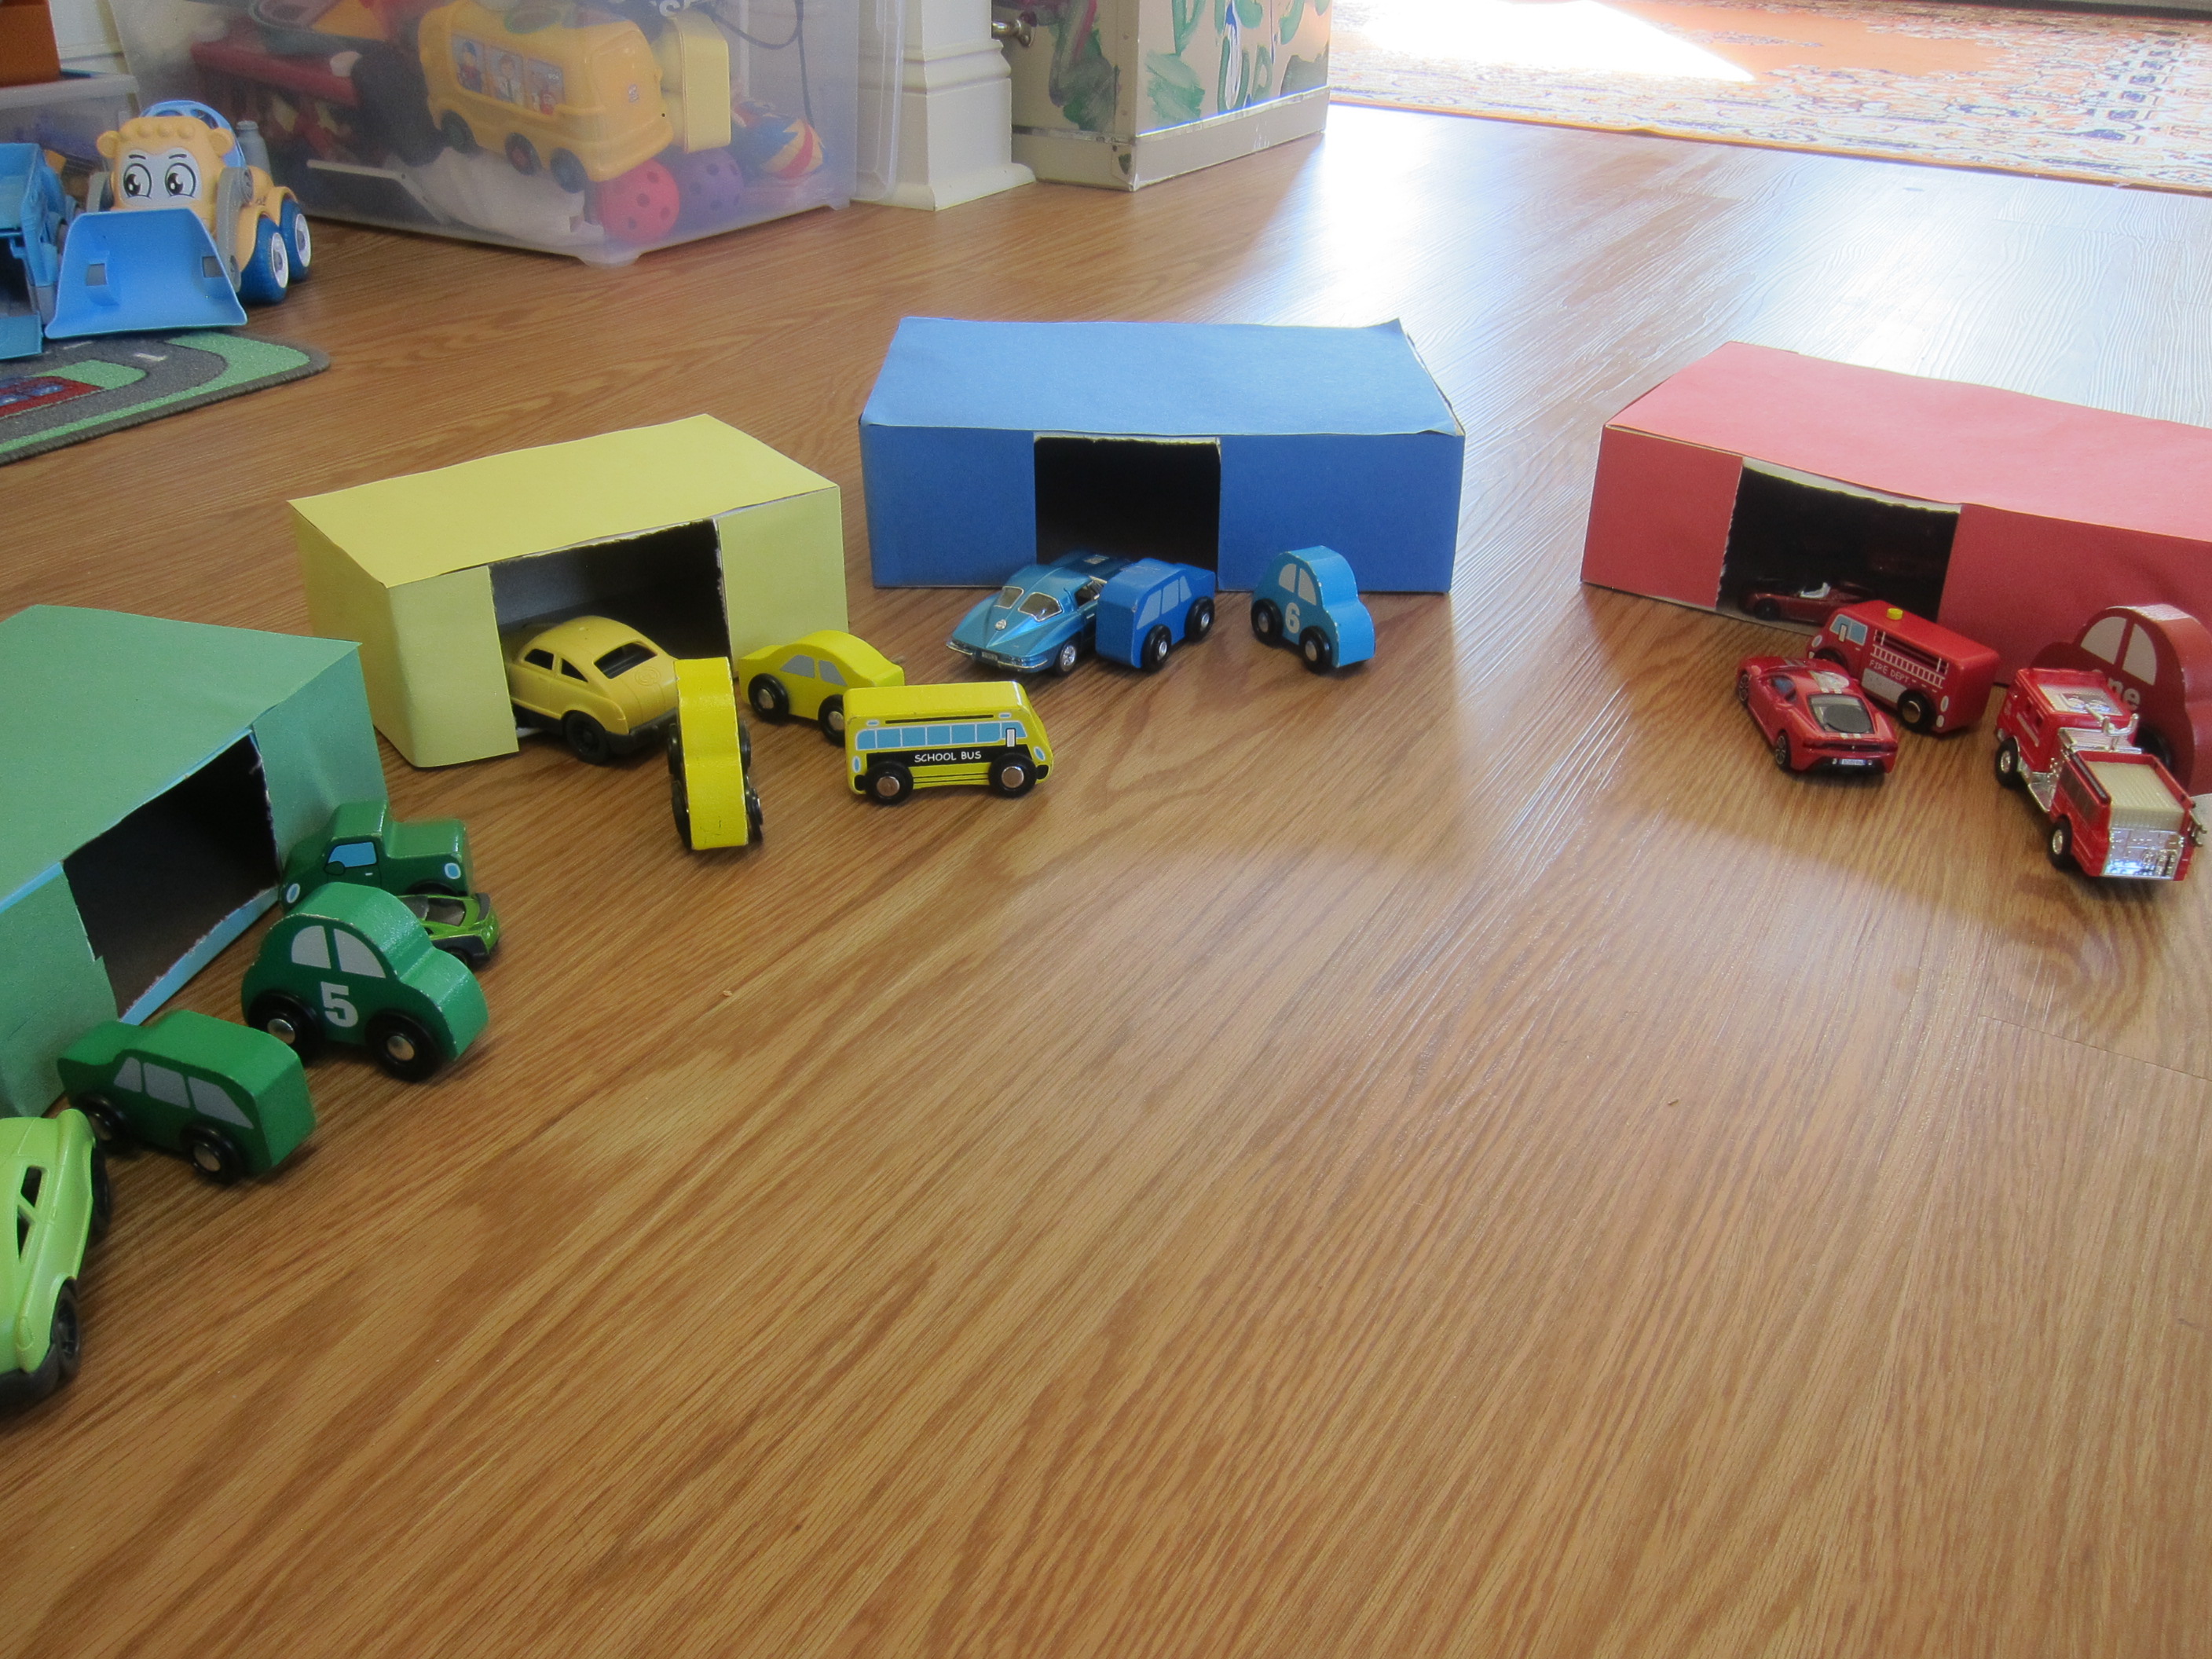
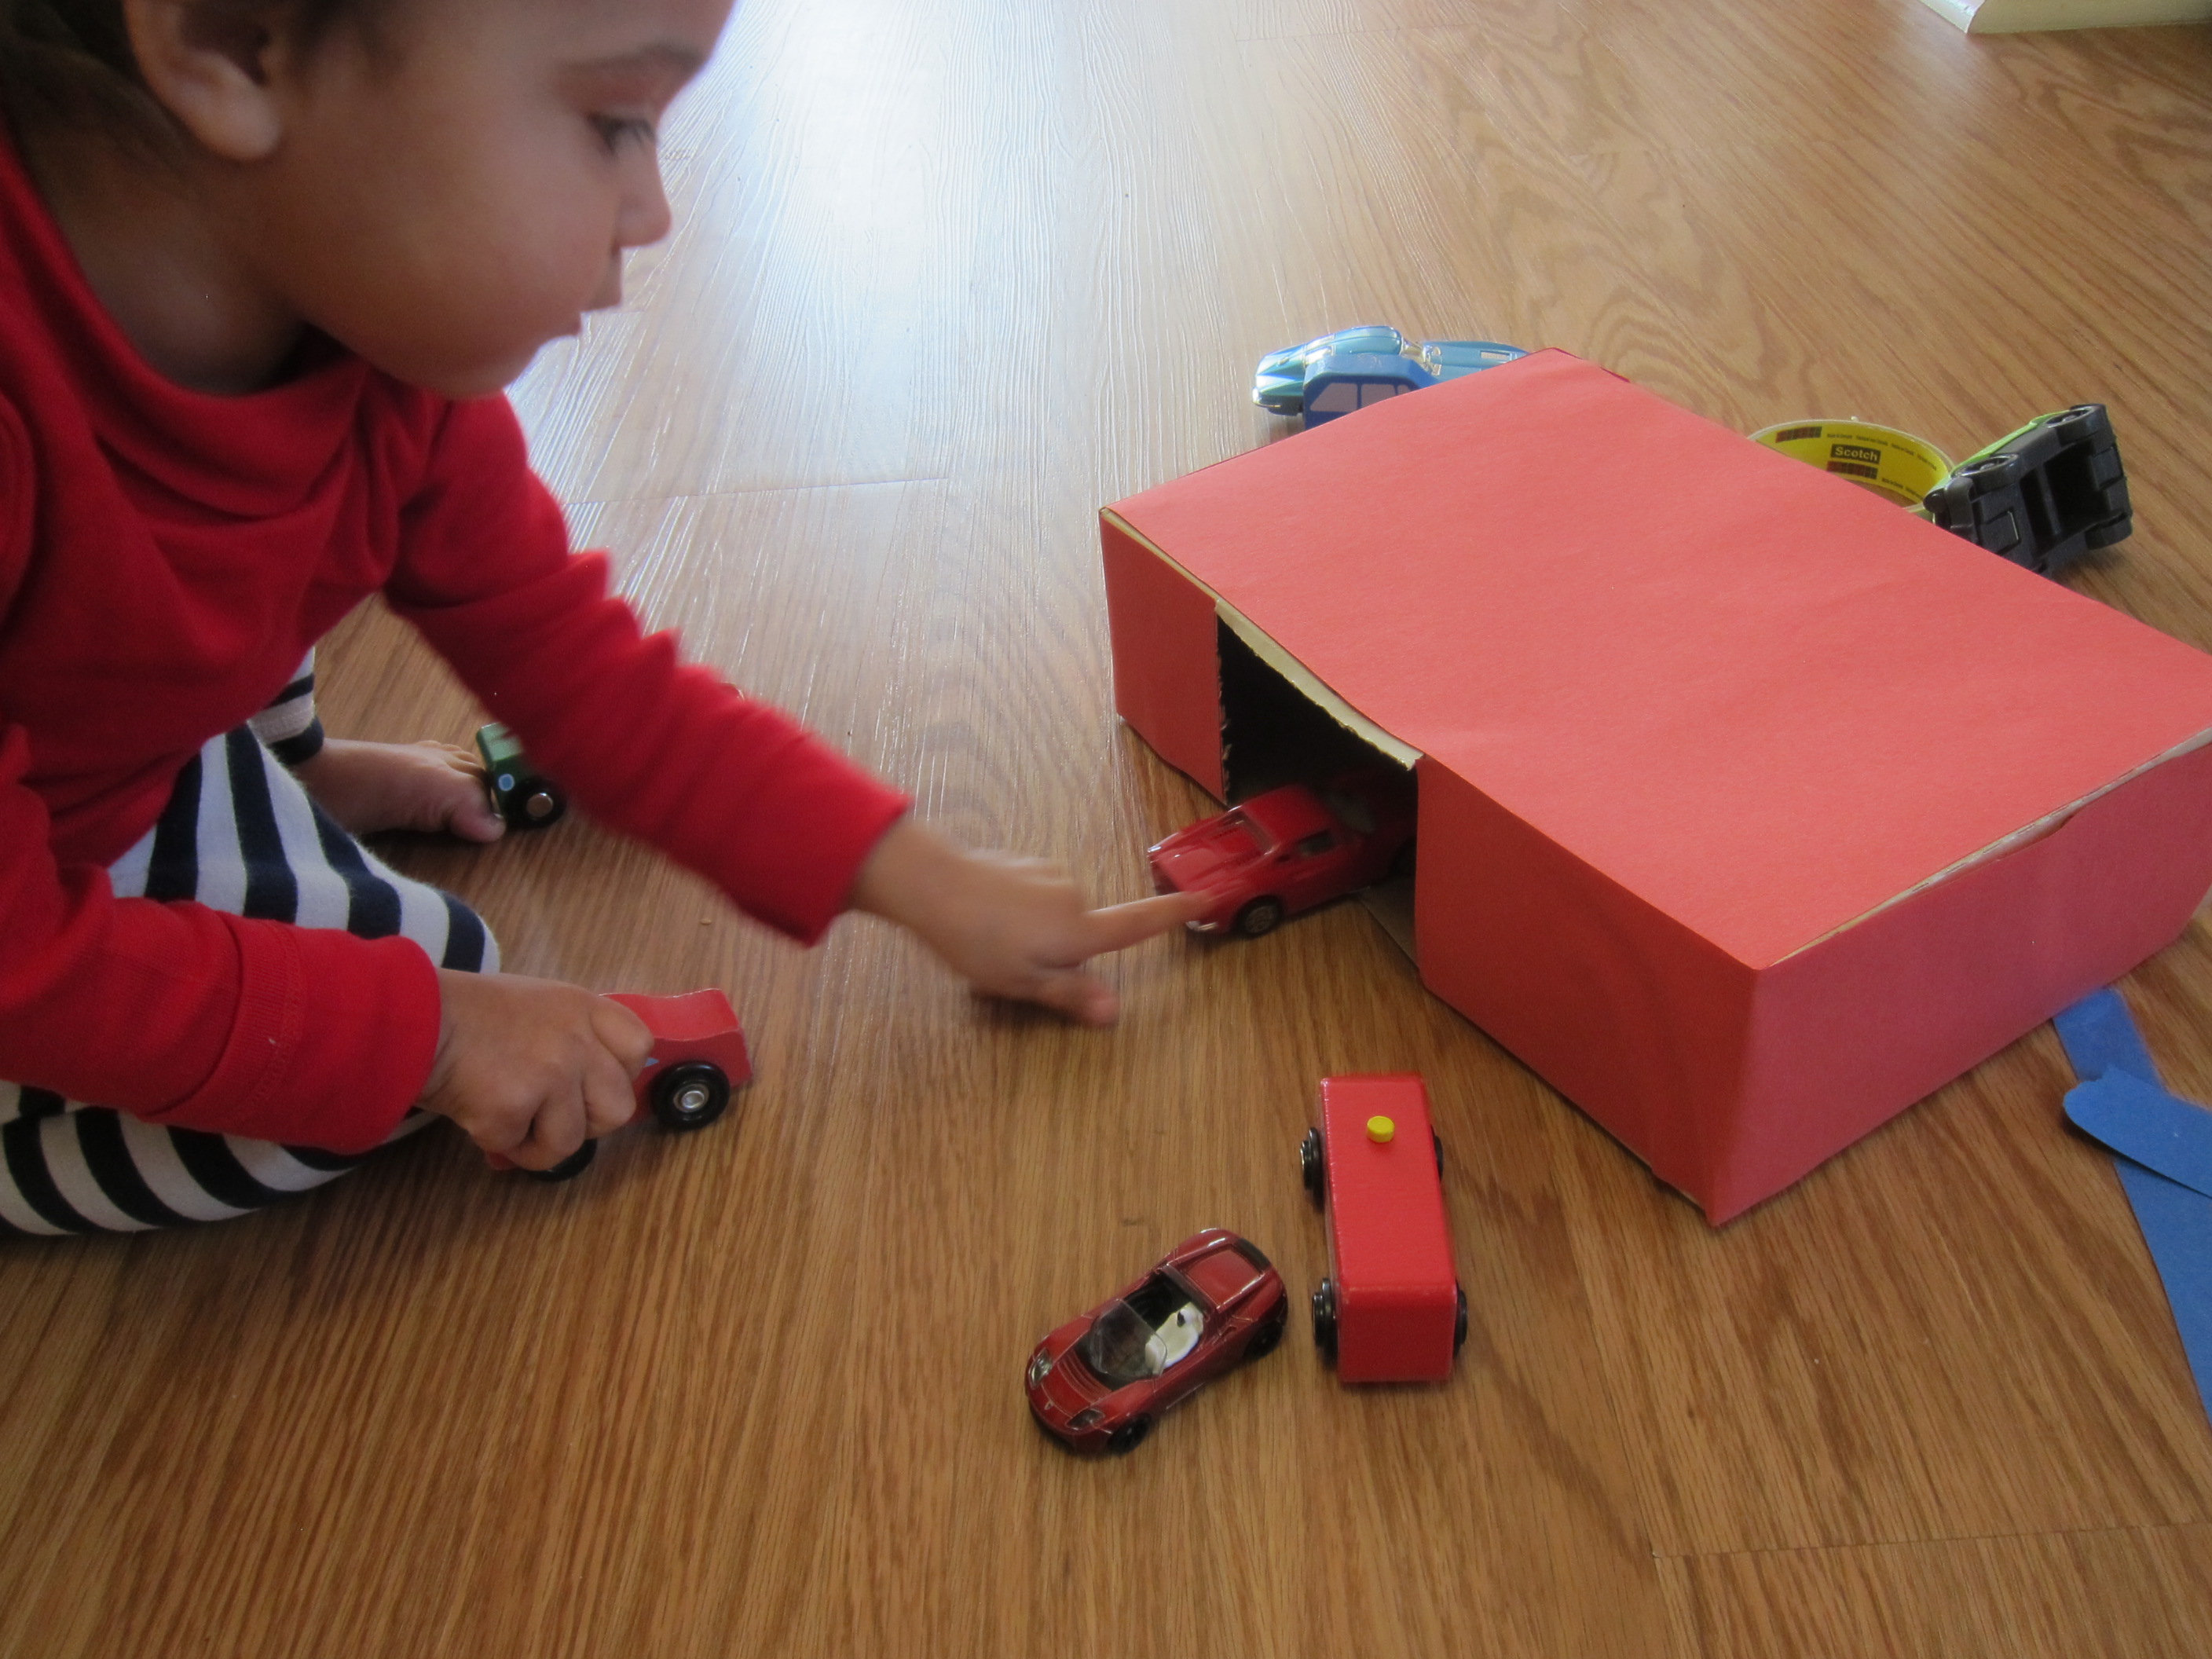
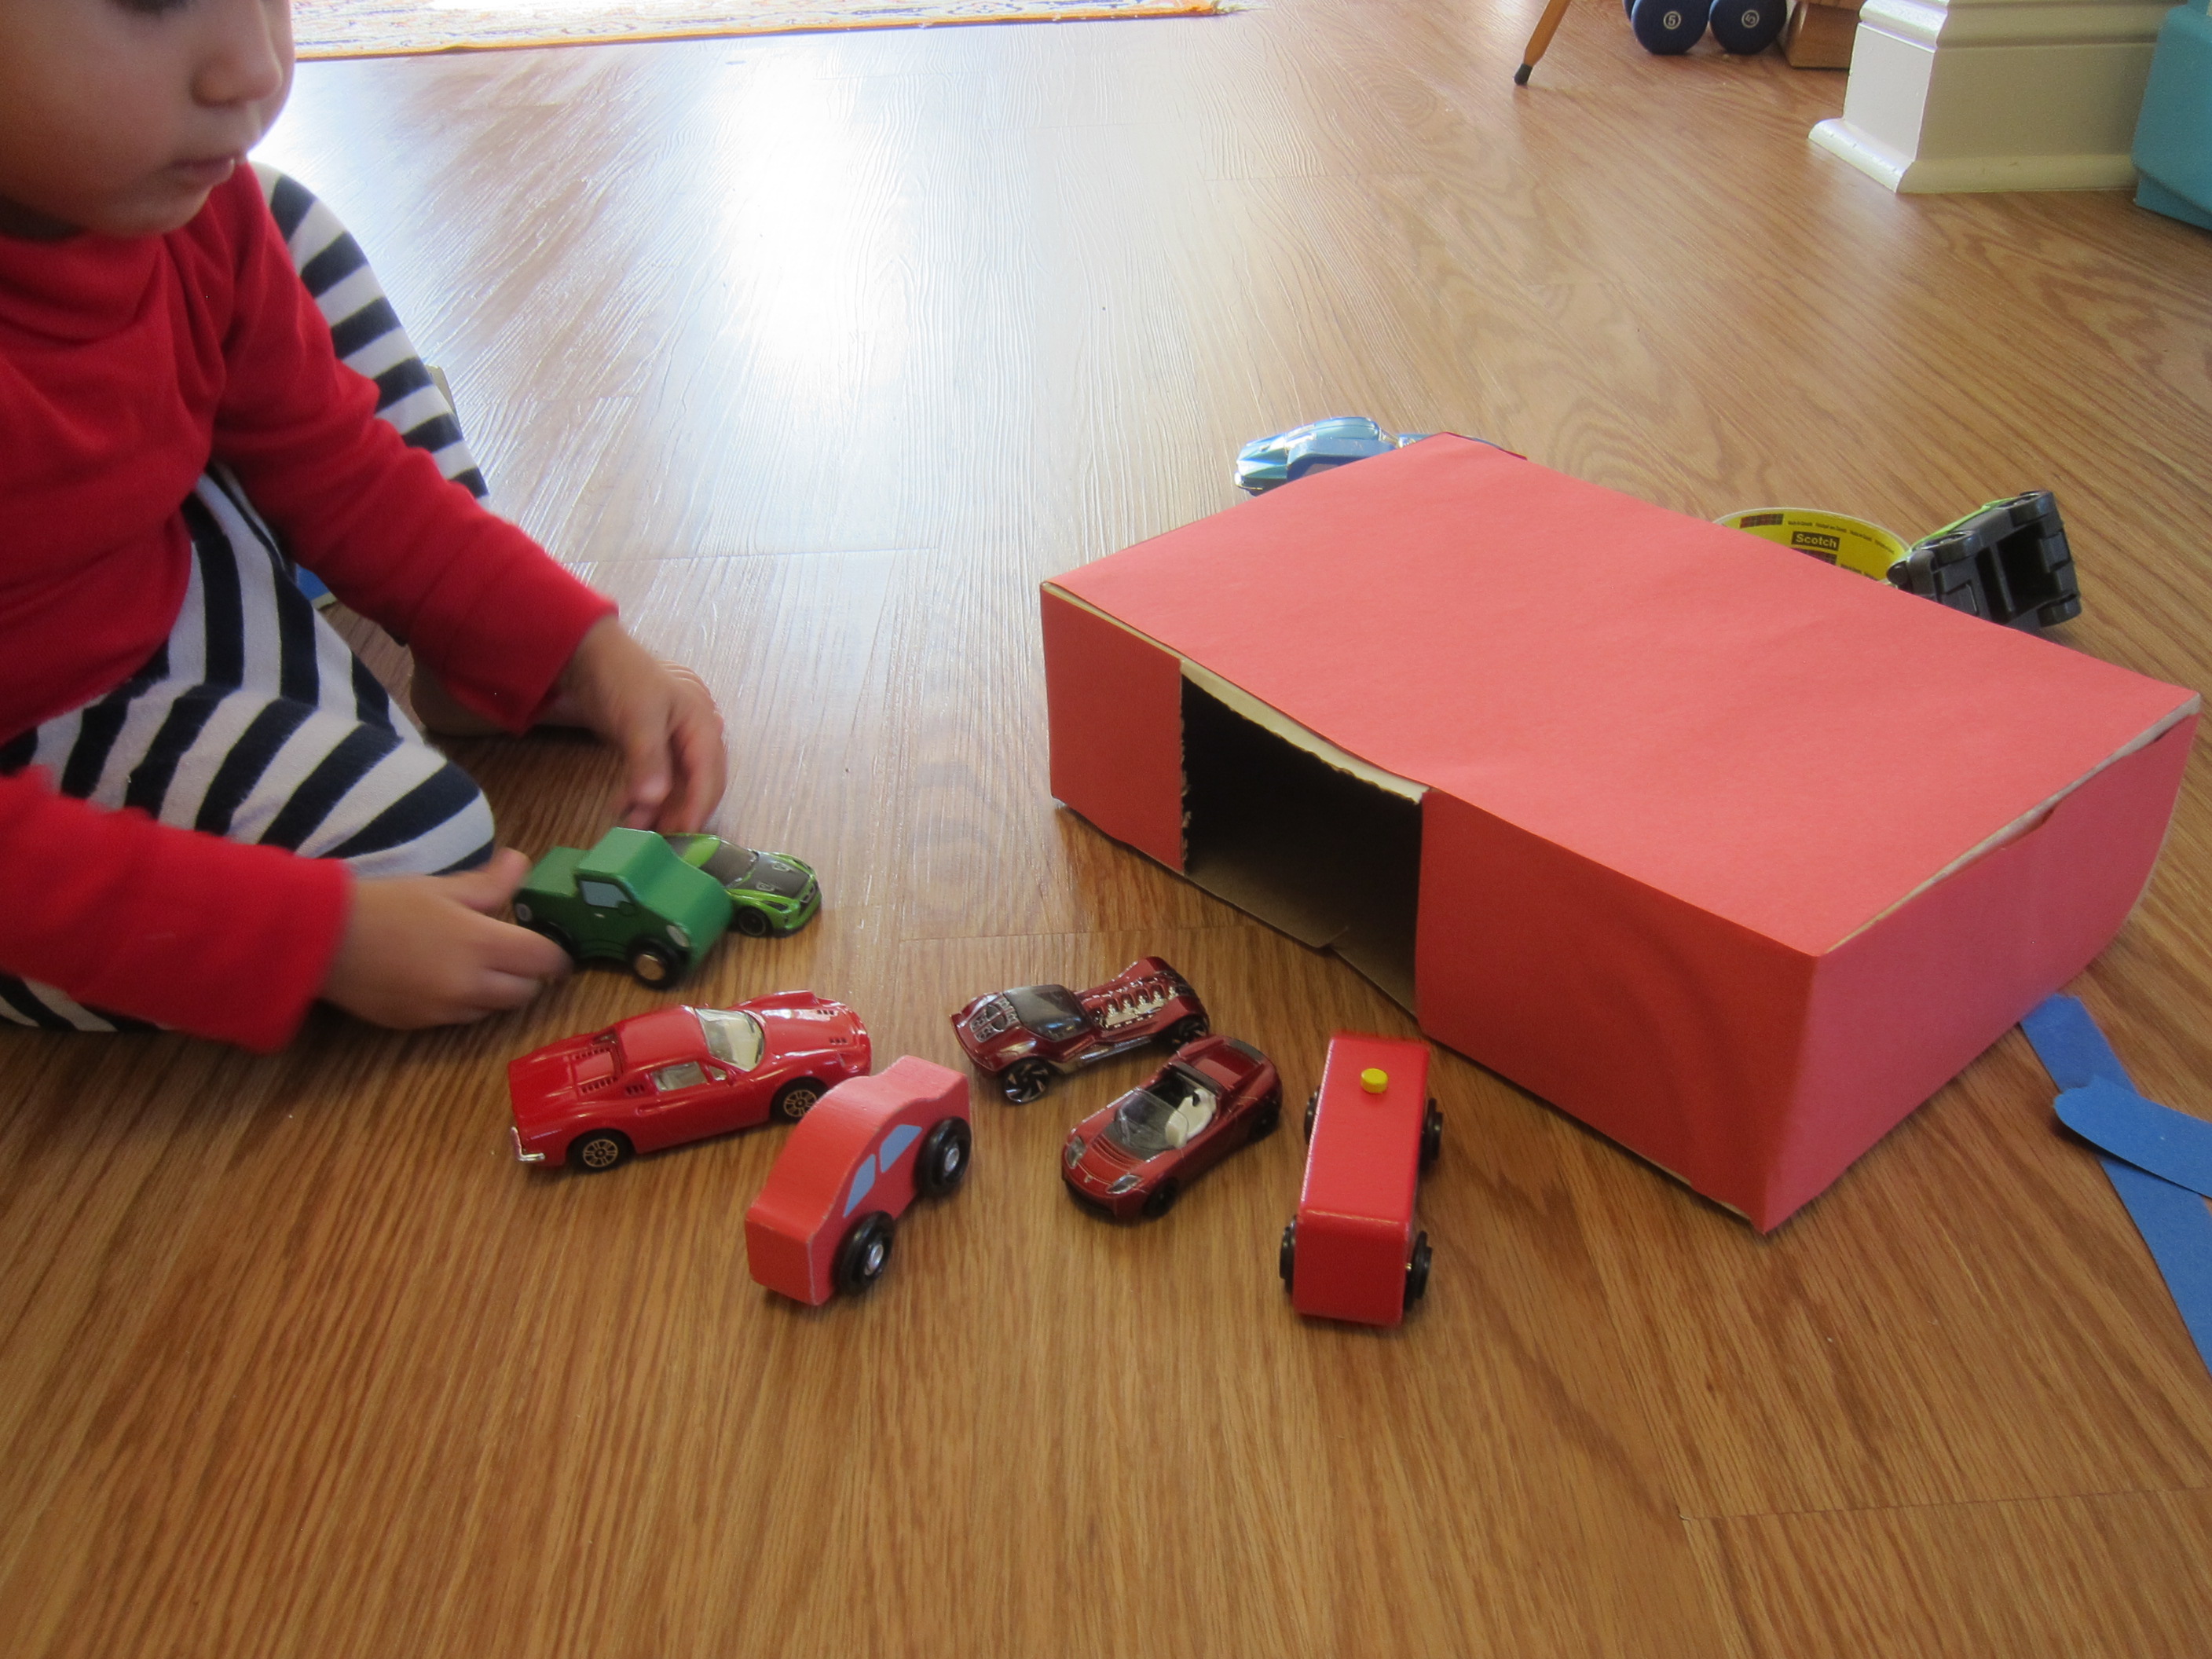
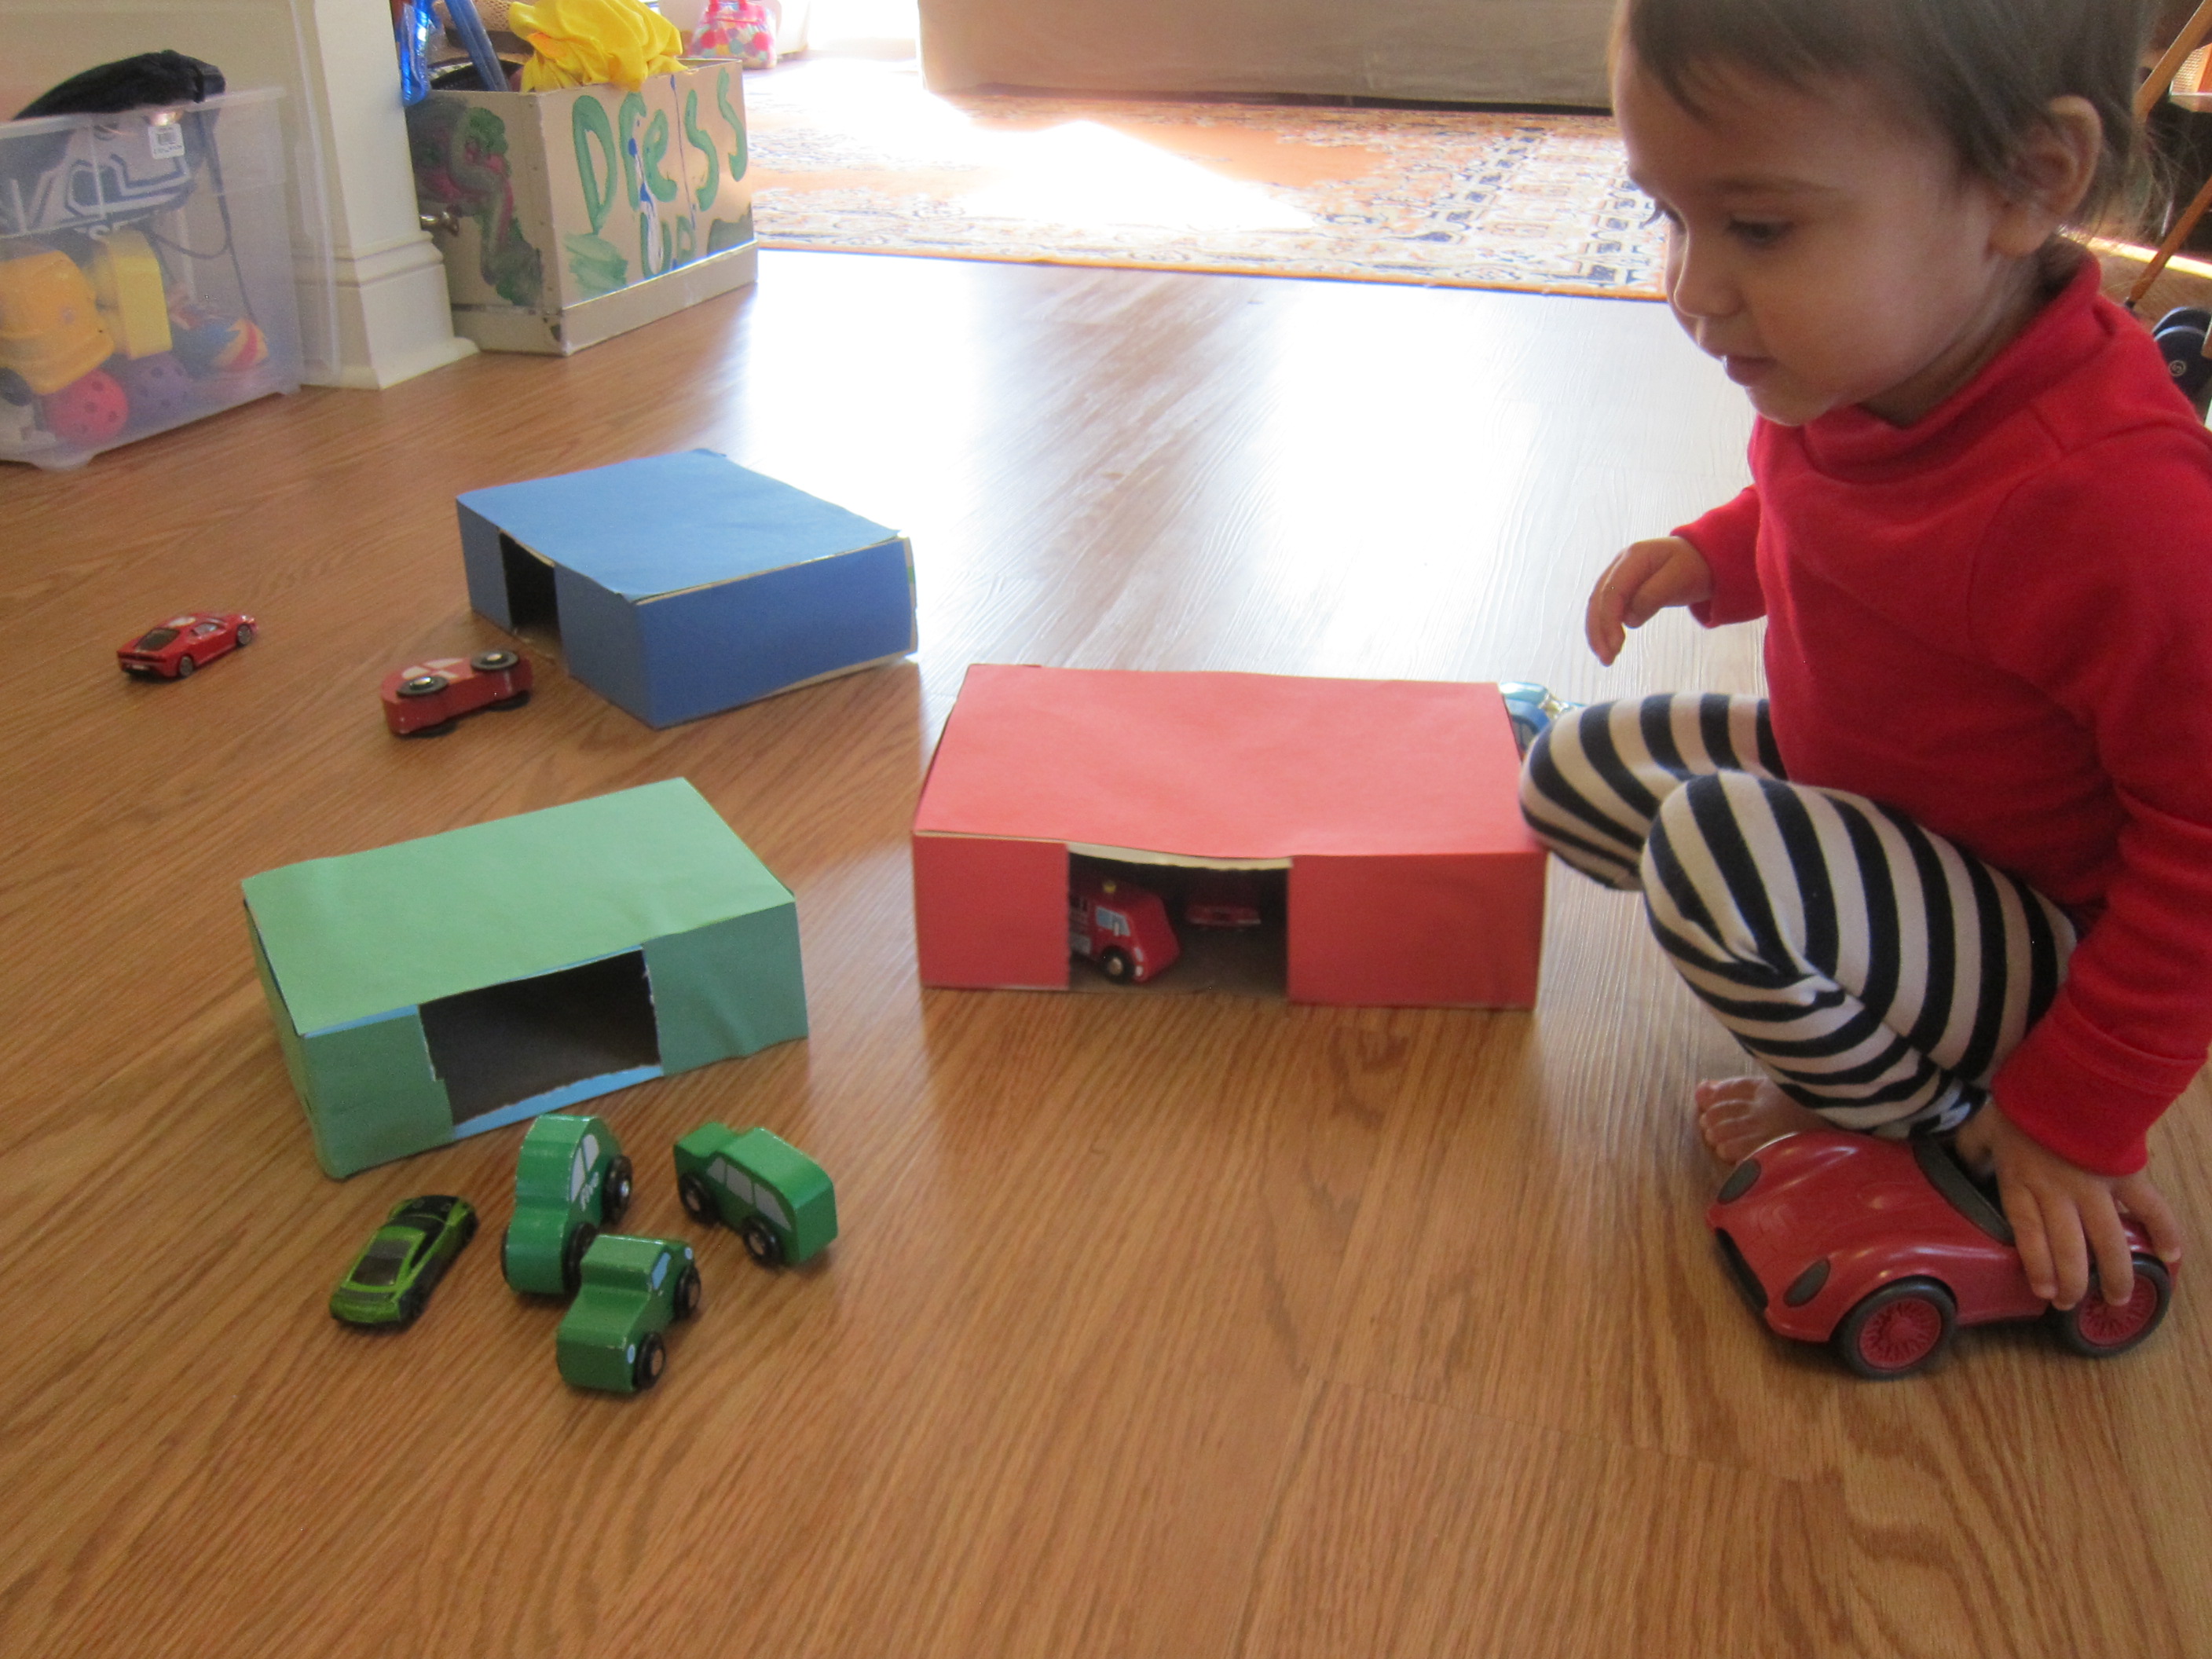
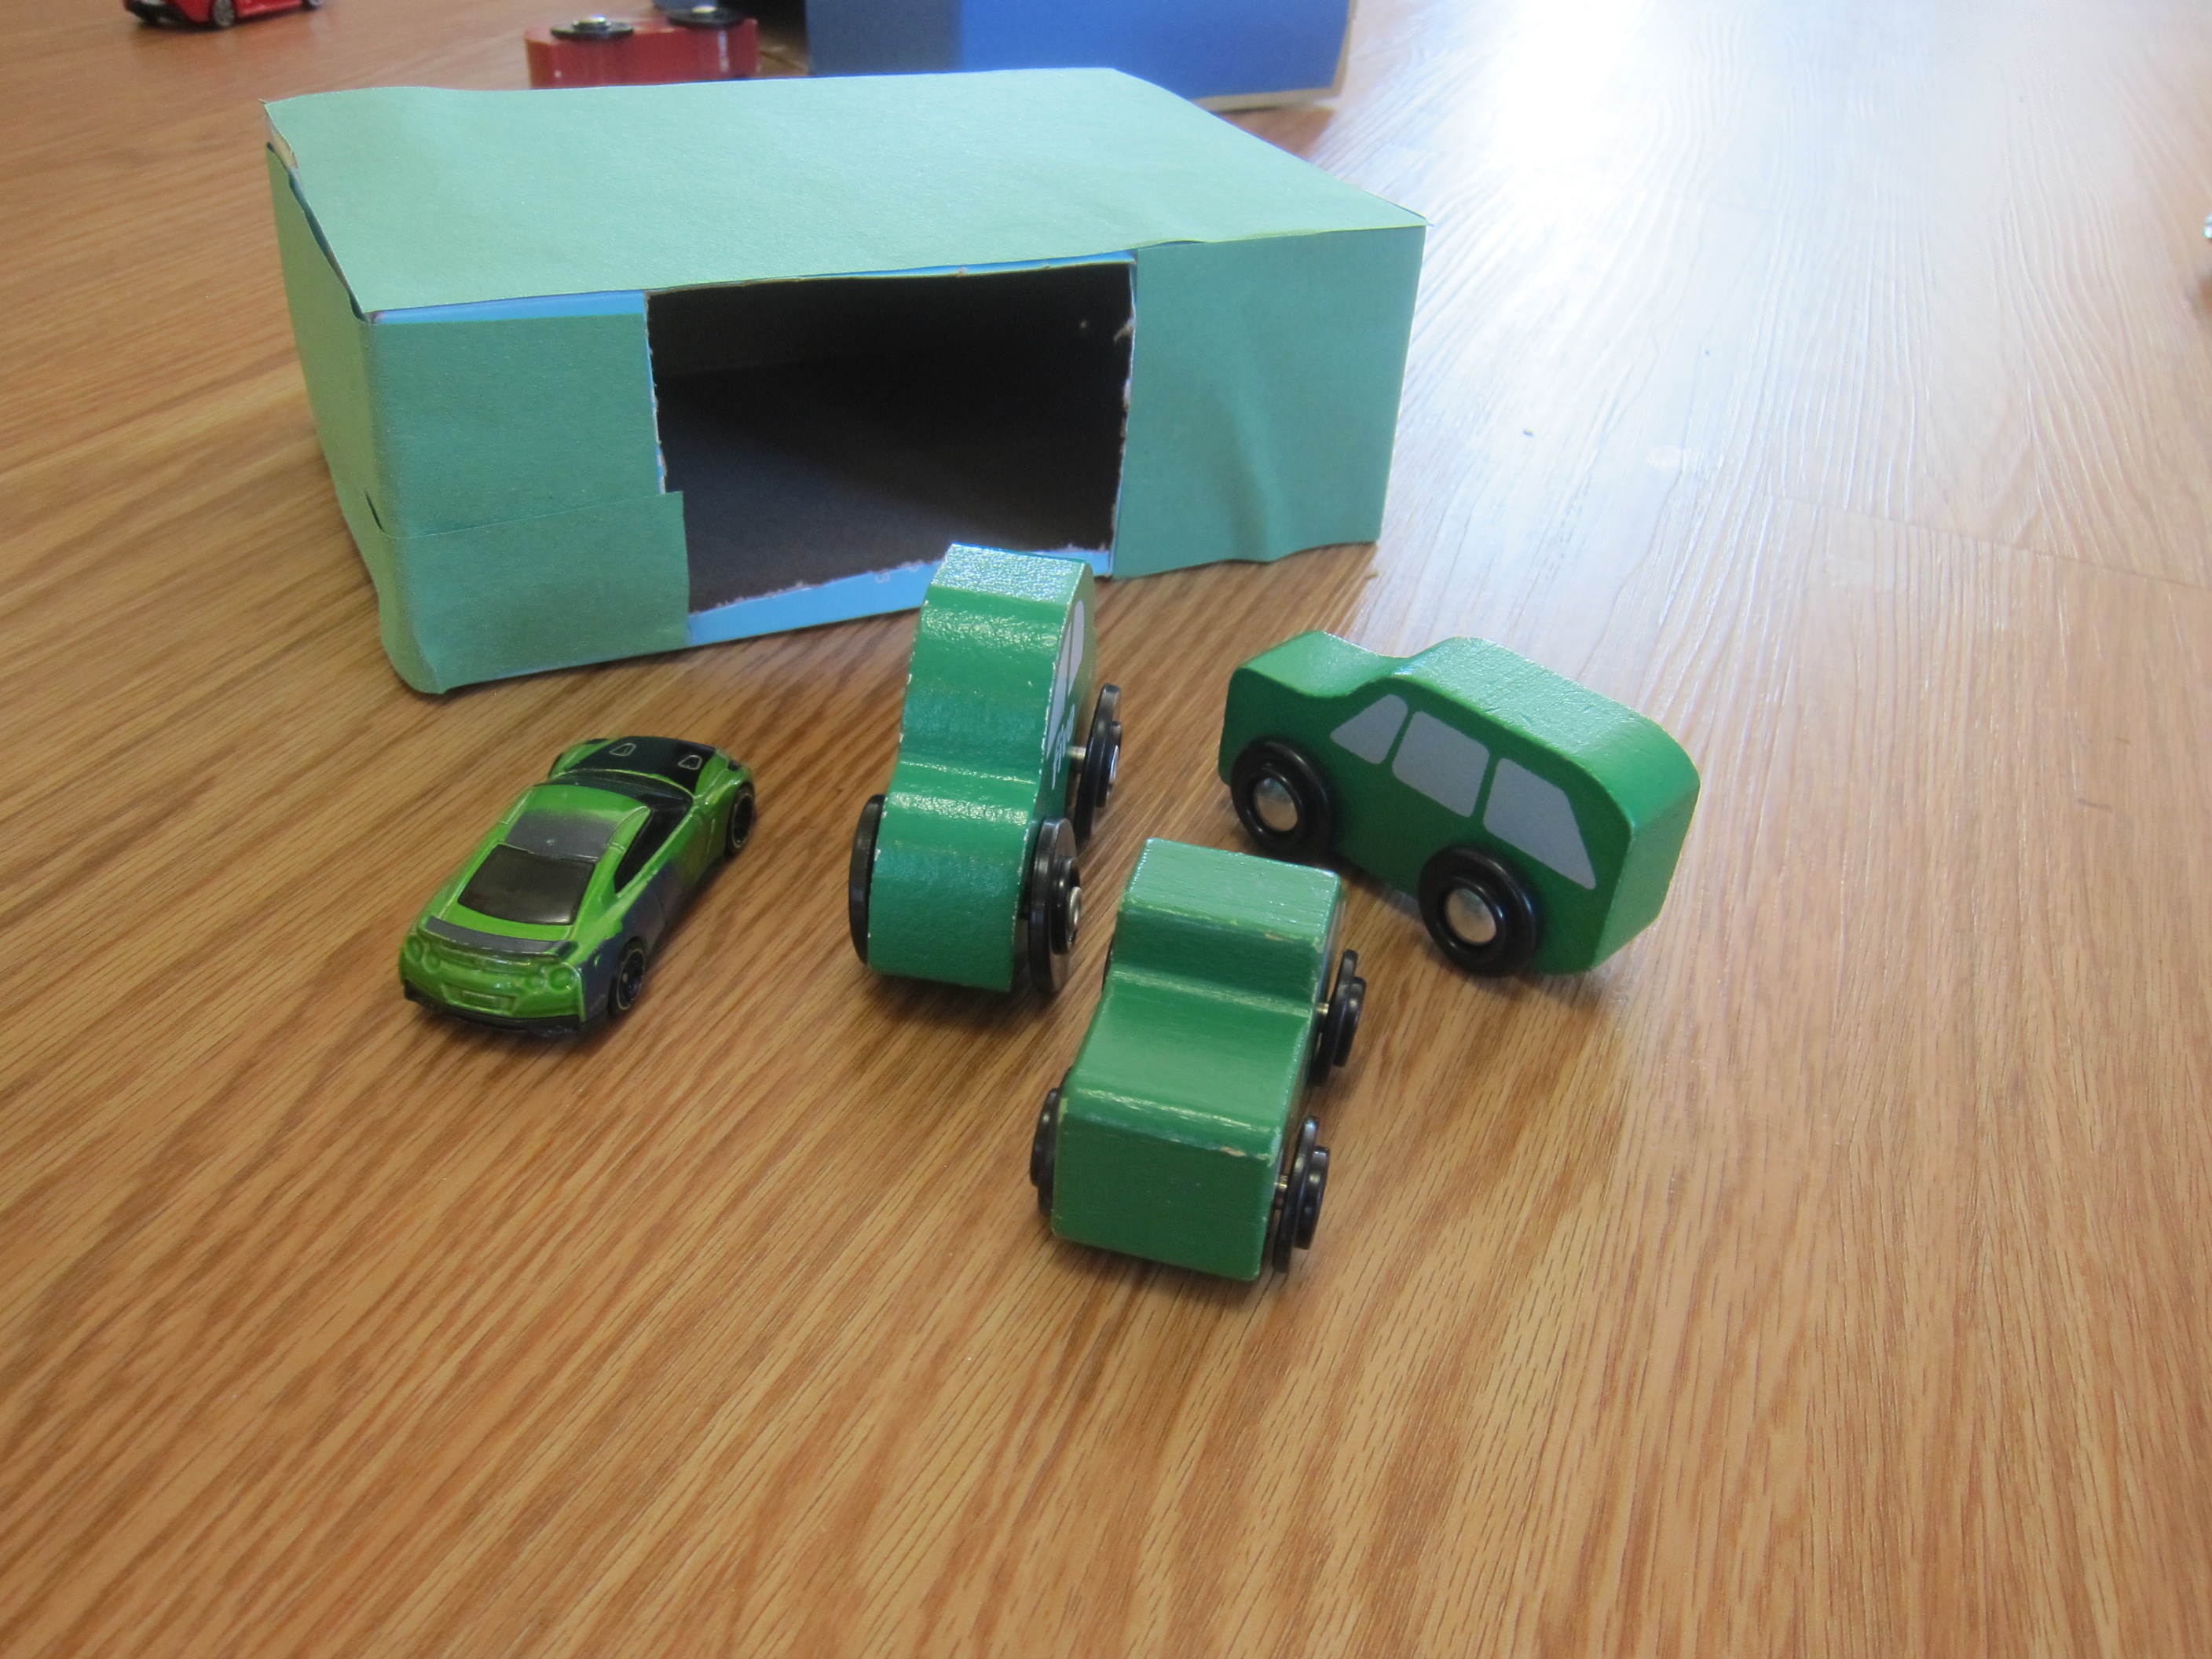
Next we tried to build her a little “brick house”. You can expand on this idea and make garages for toy cars or little houses for dolls. If you have enough, line them up like the sides of a maze or tunnel and encourage your toddler to crawl through!

Paper Bag Blocks (13)

But as mentioned, Veronika’s favorite thing to do with them was to scoop up huge armfuls and toss them. She nicknamed them “bikers” (she’s into bicycles lately!) and ran over to show them to me with pride.

Paper Bag Blocks (15)

Over the weekend, I did put together one giant version for her. For this one, fold the top third of a grocery store bag over, then fill with crumpled newspaper to the line. Fold over that top third and secure with heavy tape like masking tape or packing tape.

Paper Bag Blocks alt

Your toddler will feel so strong carrying around his or her huge me-sized block! 

Paper Bag Blocks final

Where Is It?

Where Is It (1)

In addition to kitting Veronika out with goodies for the car, I’ve been adding games to our drives that require no props or planning. A favorite has quickly become a game of ‘Where is It?’

Every time we came to a stop, or slow enough that Veronika can take time to spot items out the window, I ask, “Where is the [fill-in-the-blank]?”

Name whatever you see, and let your toddler proudly point away. This game helps toddlers feel engaged and important on a ride, instead of, well, just along for the ride!

I try to ask her for things I know she loves, like bicycles (a big favorite), vans, and pick-up trucks.

Where Is It (2)

But you can also name less-familiar items to help build vocabulary.

Where is It alt

There are things we regularly pass on our route each day, like a herd of cows in a field. I always make sure to ask, “Where are the cows today?” Adding routine and familiarity to a drive can be particularly helpful for a toddler.

What items does your child spot each day? Please share favorites in the comments!

Can You Find Your Knee?

Can You Find Knee (12)

Veronika can readily touch the obvious features on her face (eyes, and ears, and mouth and nose!) but it can be helpful to talk about less common body parts with toddlers, too. To make the game extra fun, just add bubbles!

We headed out to the patio in gorgeous sunshine and I asked her, “Where do you want your bubbles?” At first, she requested them on her hair!

Can You Find Knee (6)

Then I started naming other parts of her body, and gently blowing the bubbles in that direction. In this way, the bubbles tickled at her ankles and knees…

Can You Find Knee (2)

…wrists…

Can You Find Knee (7)

…and neck!

Can You Find Knee (5)

Take the time to point out other new vocab too. Setting the bubbles aside for a moment we found our fingernails and our nostrils.

Can You Find Knee (8)

And eyelashes! Just don’t blow bubbles at those.

Can You Find Knee (9)

Then, we turned back to more familiar body parts (like hands and feet), but got thinking about how to use them in new ways. I encouraged her to clap in order to pop a bubble, instead of simply poking it.

Can You Find Knee (13)

Or she could stomp them with her feet.

Can You Find Knee (1)

Maybe your toddler can pop them with a nose or a chin!

Can You Find Knee (4)

Note: This is also a fun game to take to the bath, especially because bubbles behave differently if you try to clap them while they’re wet.

Bathtime Bubbles (1)

Plus in the bath all those body parts are easily visible! Have fun with it and see what new words your toddler picks up.