Spoon Match

Spoon Match (4)

Veronika loves playing with spoons, whether little measuring spoons or big cooking spoons. I decided to sneak a little learning in while she had them out as a toy today.

I broke apart two sets of measuring spoons and lined them up as large (tablespoon), medium (teaspoon), and small (1/4 teaspoon). Then I encouraged Veronika to match big with big, little with little, etc.

Spoon Match (1)

Grated this task was tricky because one set was heart-shaped and the other a standard oval, so they weren’t necessarily intuitive as a “match”. But she sort of got the idea, especially with the two small ones.

Spoon Match (3)

She fairly quickly returned to just playing with the spoons, but it never hurts to sneak in some quick learning!

Spoon Match (2)

Monkey, Monkey

Monkey Monkey (6)

Thanks to the influence of a certain big brother, Veronika has learned to say, “I want [fill-in-the-blank], gimme!” When I then remind her, “Say please, not gimme,” she becomes impish, doubling down on the “gimme”. So I came up with this incentive to guide her back towards the magic word of please!

We have a set of stacking monkeys that the kids love. I told them that every time Veronika says please instead of “gimme”, a monkey gets added to a tower. Travis’s job is to help remind her that “please” is the word to use. Once the monkeys are all in a pyramid, the kids get a reward.

Monkey Monkey (1)

To incentivize Travis a bit more, a monkey also gets added when he does a kind deed for his sister.

Monkey Monkey (4)

I love that this added an element of sibling cooperation to the game. Part of the issue, I realized, is that I taught Veronika to say “please” using sign language. Reminding her of the sign prompted her to start using it, rather than “gimme”.

Monkey Monkey (2)

By the end of the first day, the monkey pyramid was growing. Travis was so proud when he could add one for his good behavior.

Monkey Monkey (5)

After two days, the monkeys had all been stacked – success! The kids decided they wanted hot chocolate from a cafe as a reward, a rare treat. And well earned!

Monkey Monkey alt

Clothespin Apple Trees

Clothespin Apple Tree (8)

Autumn is by far my favorite season (apple trees! pumpkin spice! fall foliage!) and although Veronika is a bit young for it, there are so many apple crafts I want to make with her once her fingers become more dexterous and her understanding of the season increases.

But it’s never too early to throw in a cute craft about the changing seasons. So today was her first apple craft!

Clothespin Apple Tree (1)

We cut green circles from construction paper for the leaves. Older toddlers can practice tracing around any round item to make these and can also practice with safety scissors to cut them out. Meanwhile Veronika loved pointing out to me that these were circles.

Clothespin Apple Tree (2)

She then helped dot white glue onto the paper. Dotting glue is fantastic for strengthening little fingers!

Clothespin Apple Tree (3)

We added a red bead to each dot of glue. Red sequins would work, too!

Clothespin Apple Tree (4)

Of course, Veronika had just as much tendency to pull a red bead off the glue as to leave it on, but we managed to get a few finished trees.

Clothespin Apple Tree (5)

For the trunks, use brown marker to color on spring-type clothespins.

Clothespin Apple Tree (6)

Clip one on to each green circle once the glue dries.

Clothespin Apple Tree (7)

This would be a fantastic activity to do either before or after a trip to a real apple orchard.

Clothespin Apple Tree (9)

Marshmallow Treats

Marshmallow Treat (1)

Okay, so this treat isn’t healthy and it’s only redeemable value is that your toddler will have an absolute blast with it. But sometimes that’s what snacktime calls for on a cloudy day!

I sprinkled the powder from raspberry-flavored vegan jel dessert (try Simply Delish) into a zip-top bag, and folded the edge down slightly so  Veronika could reach inside more easily.

Marshmallow Treat (3)

Then I handed her big marshmallows!

These were a novelty, since she’s only eaten the minis before. I showed her how to dip a marshmallow into the powder and then take a taste. On the first dip, your child won’t be terribly rewarded. But once the marshmallow is sticky, each dip means more dessert powder in the next bite.

Marshmallow Treat (2)

Yum!

Tubes and Balls

Tubes and Balls (2)

I had a few mailing tubes from the post office that I ended up not needing, which prompted this fun morning of play!

To start, I angled the smaller mailing tube into a basket and also added a shorter paper towel tube for variety in height. Veronika immediately loved dropping in ping pong balls, which were the perfect size to roll through the tubes.

Tubes and Balls (1)

She loved that she could hear the balls rolling down the mailing tube! She also loved parroting me, saying, “Where did it go?”. Then she would answer her own question by lifting the tube to find the balls in the bottom of the basket.

Tubes and Balls (5)

Being a toddler, she didn’t always stick to the “rules” of course and lifted the tubes out of the basket. She loved just dropping the balls into the tubes right in mid-air!

Tubes and Balls (3)

I also had a larger mailing tube but we needed to set this one up differently since she couldn’t reach the top of it standing. I angled it off the couch into the basket, and this time we rolled larger tennis balls through it.

Tubes and Balls (6)

It was like a new discovery for her each time she popped a tennis ball in at the top and watched it appear at the bottom.

Tubes and Balls (7)

Want to take your tube-rolling fun to a higher level? Try this game off the stairs instead!

Tubes and Balls (4)

Book Box

Book Box (2)

Although I’m not on the hook to home school this fall (phew!), I do have to somehow occupy a toddler for 2 hours of remote Zoom learning each afternoon. To help out any parents in the same boat, I’ll be posting a few ideas each week that keep Veronika busy while big brother does his school work!

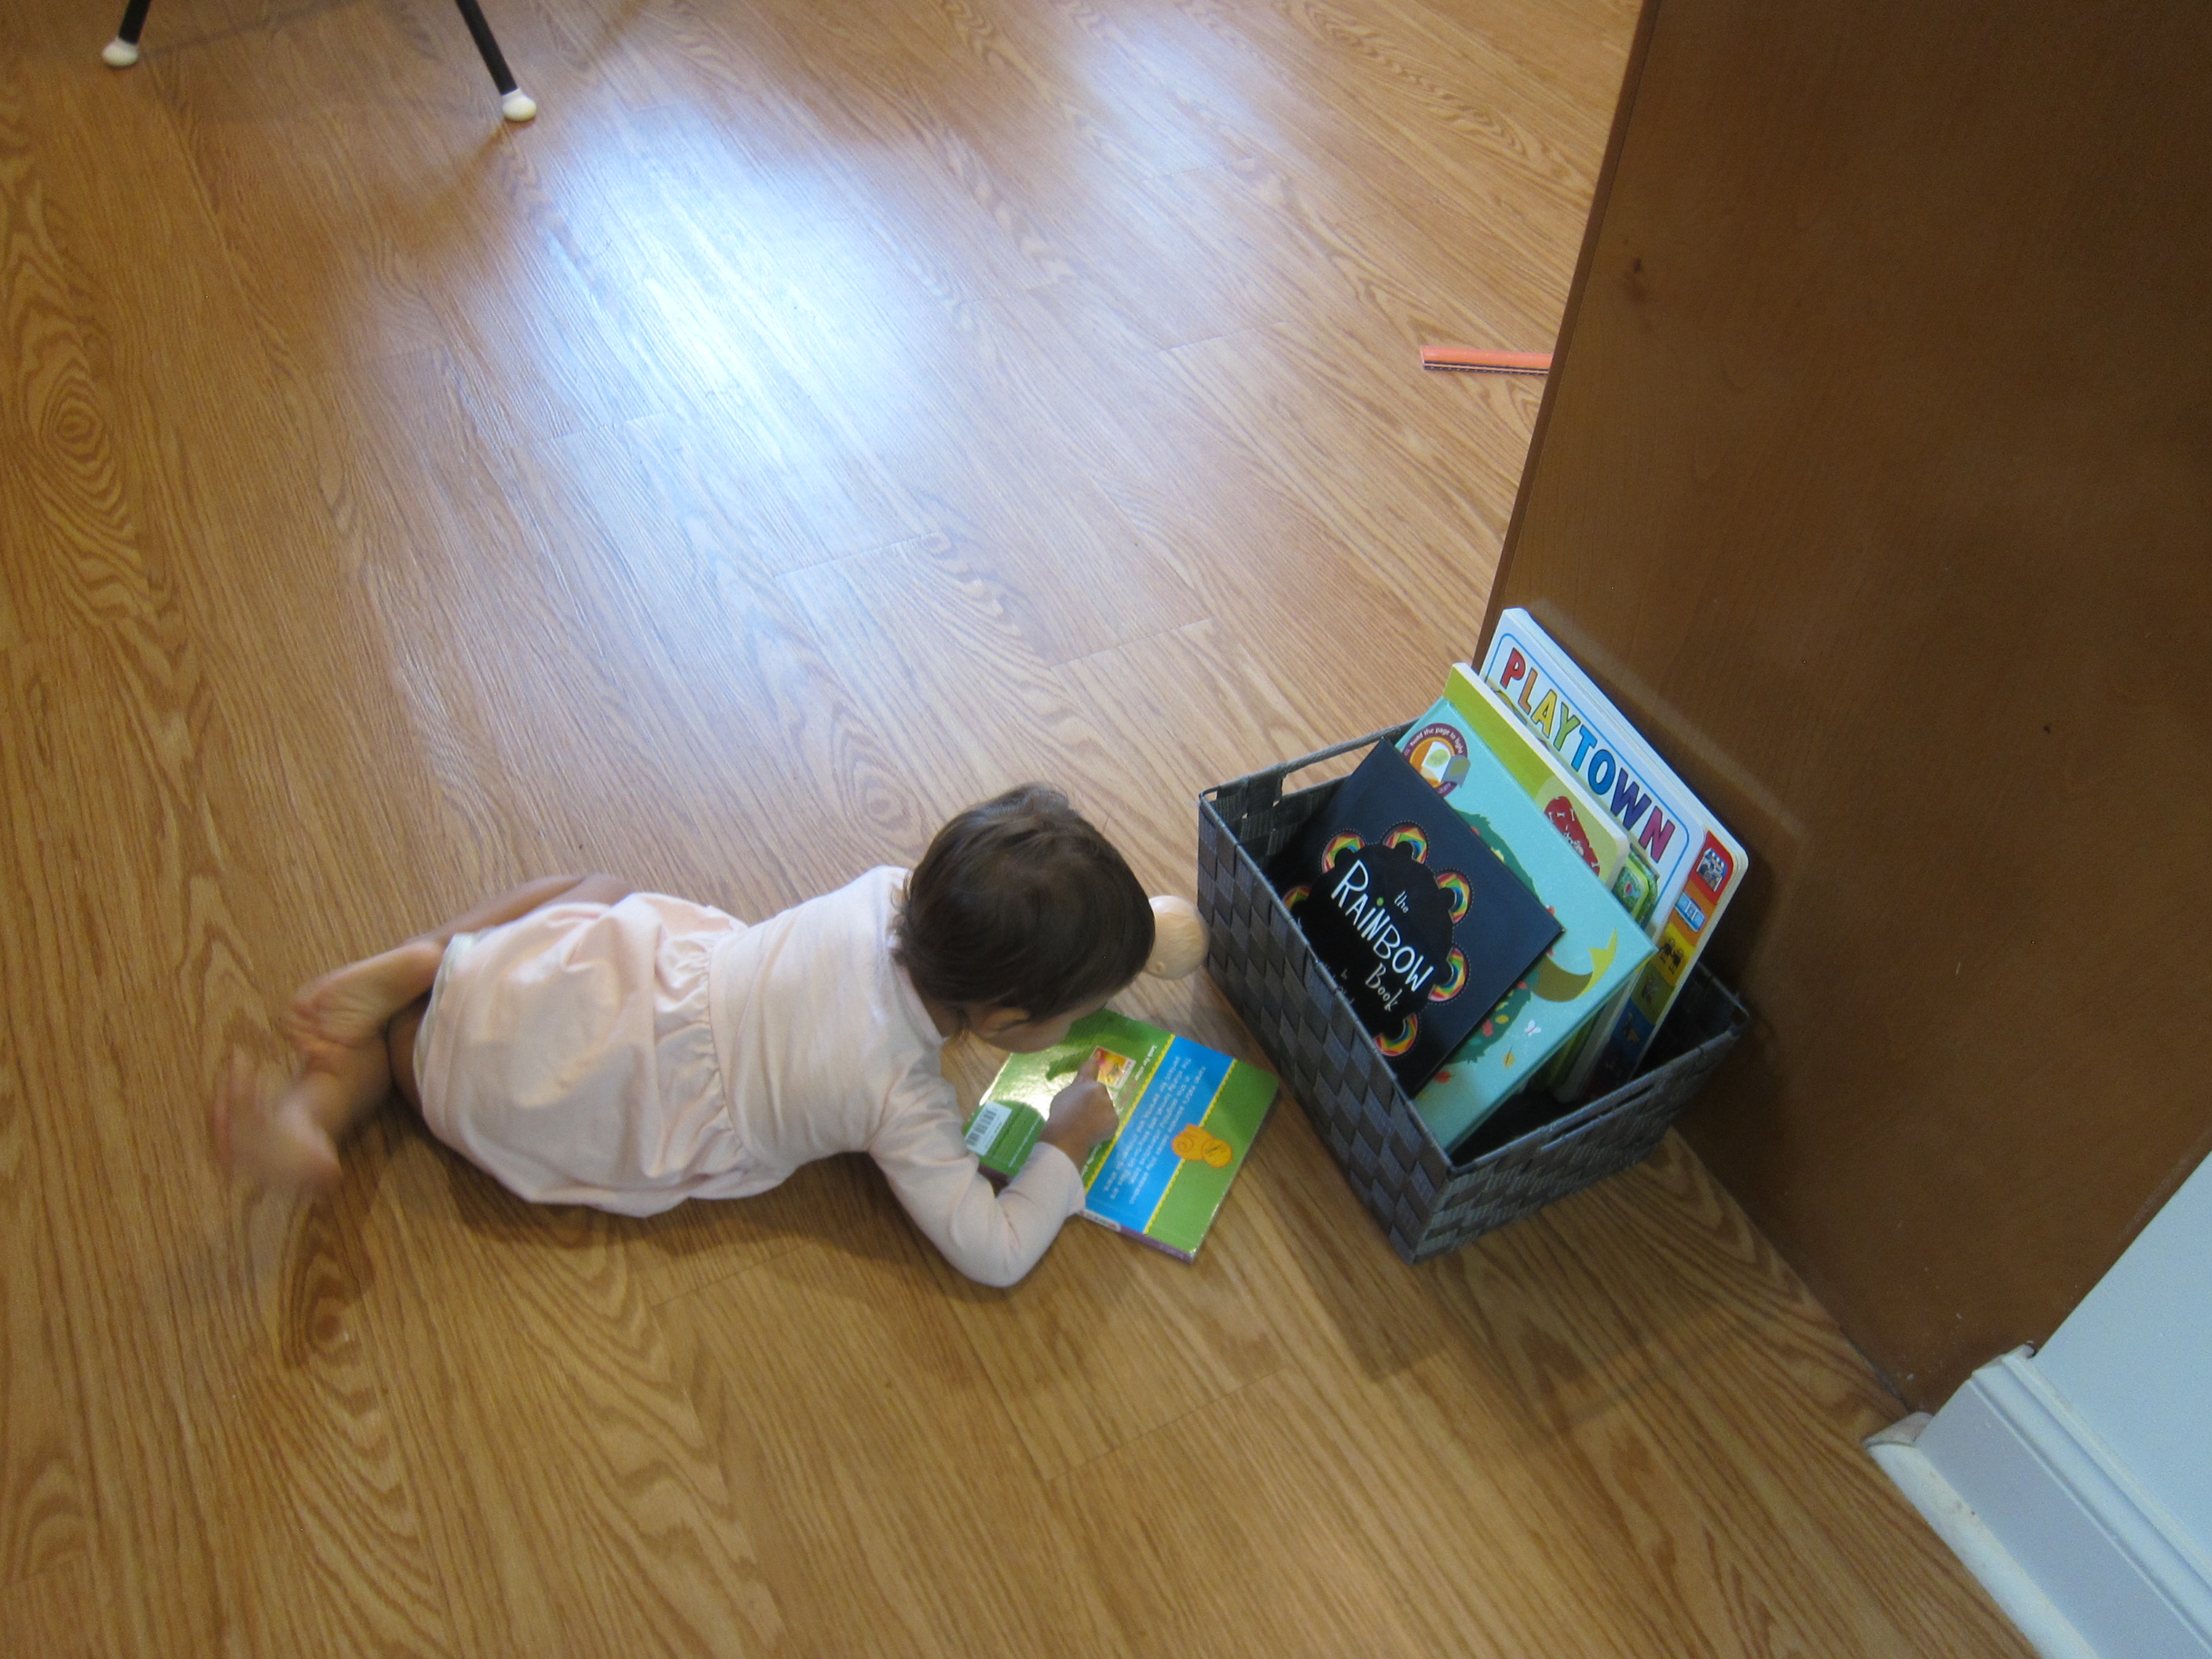
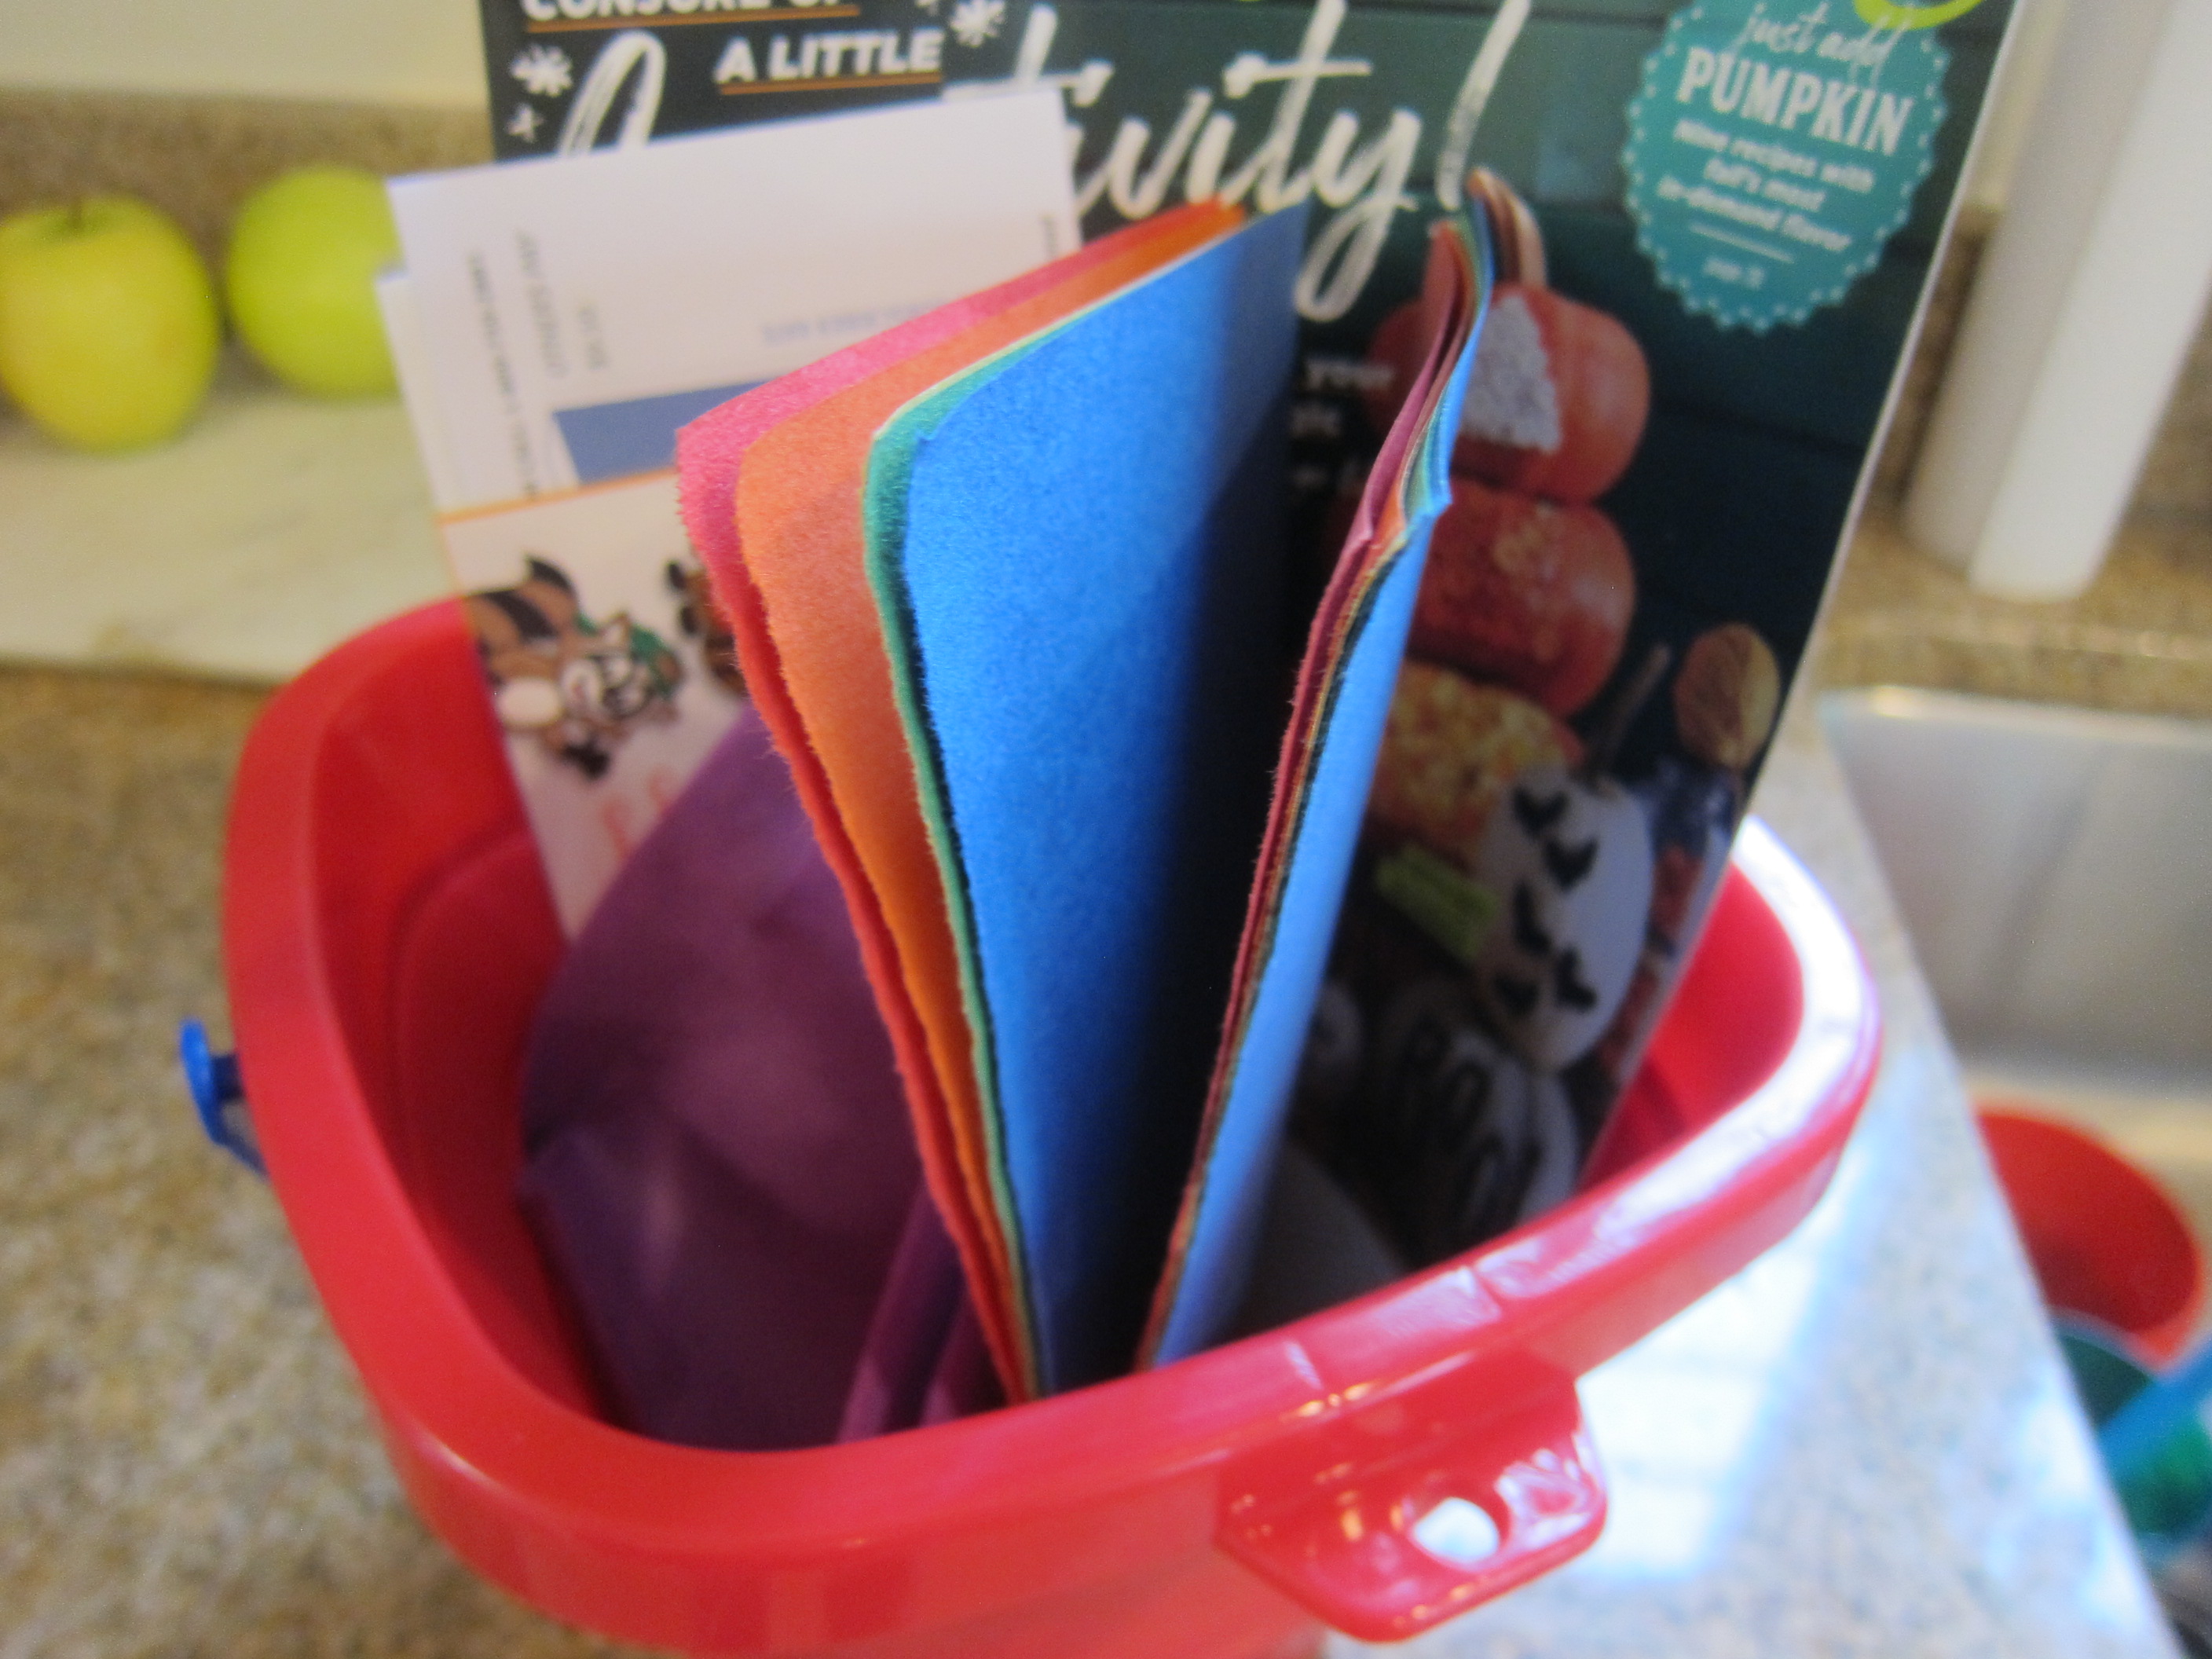
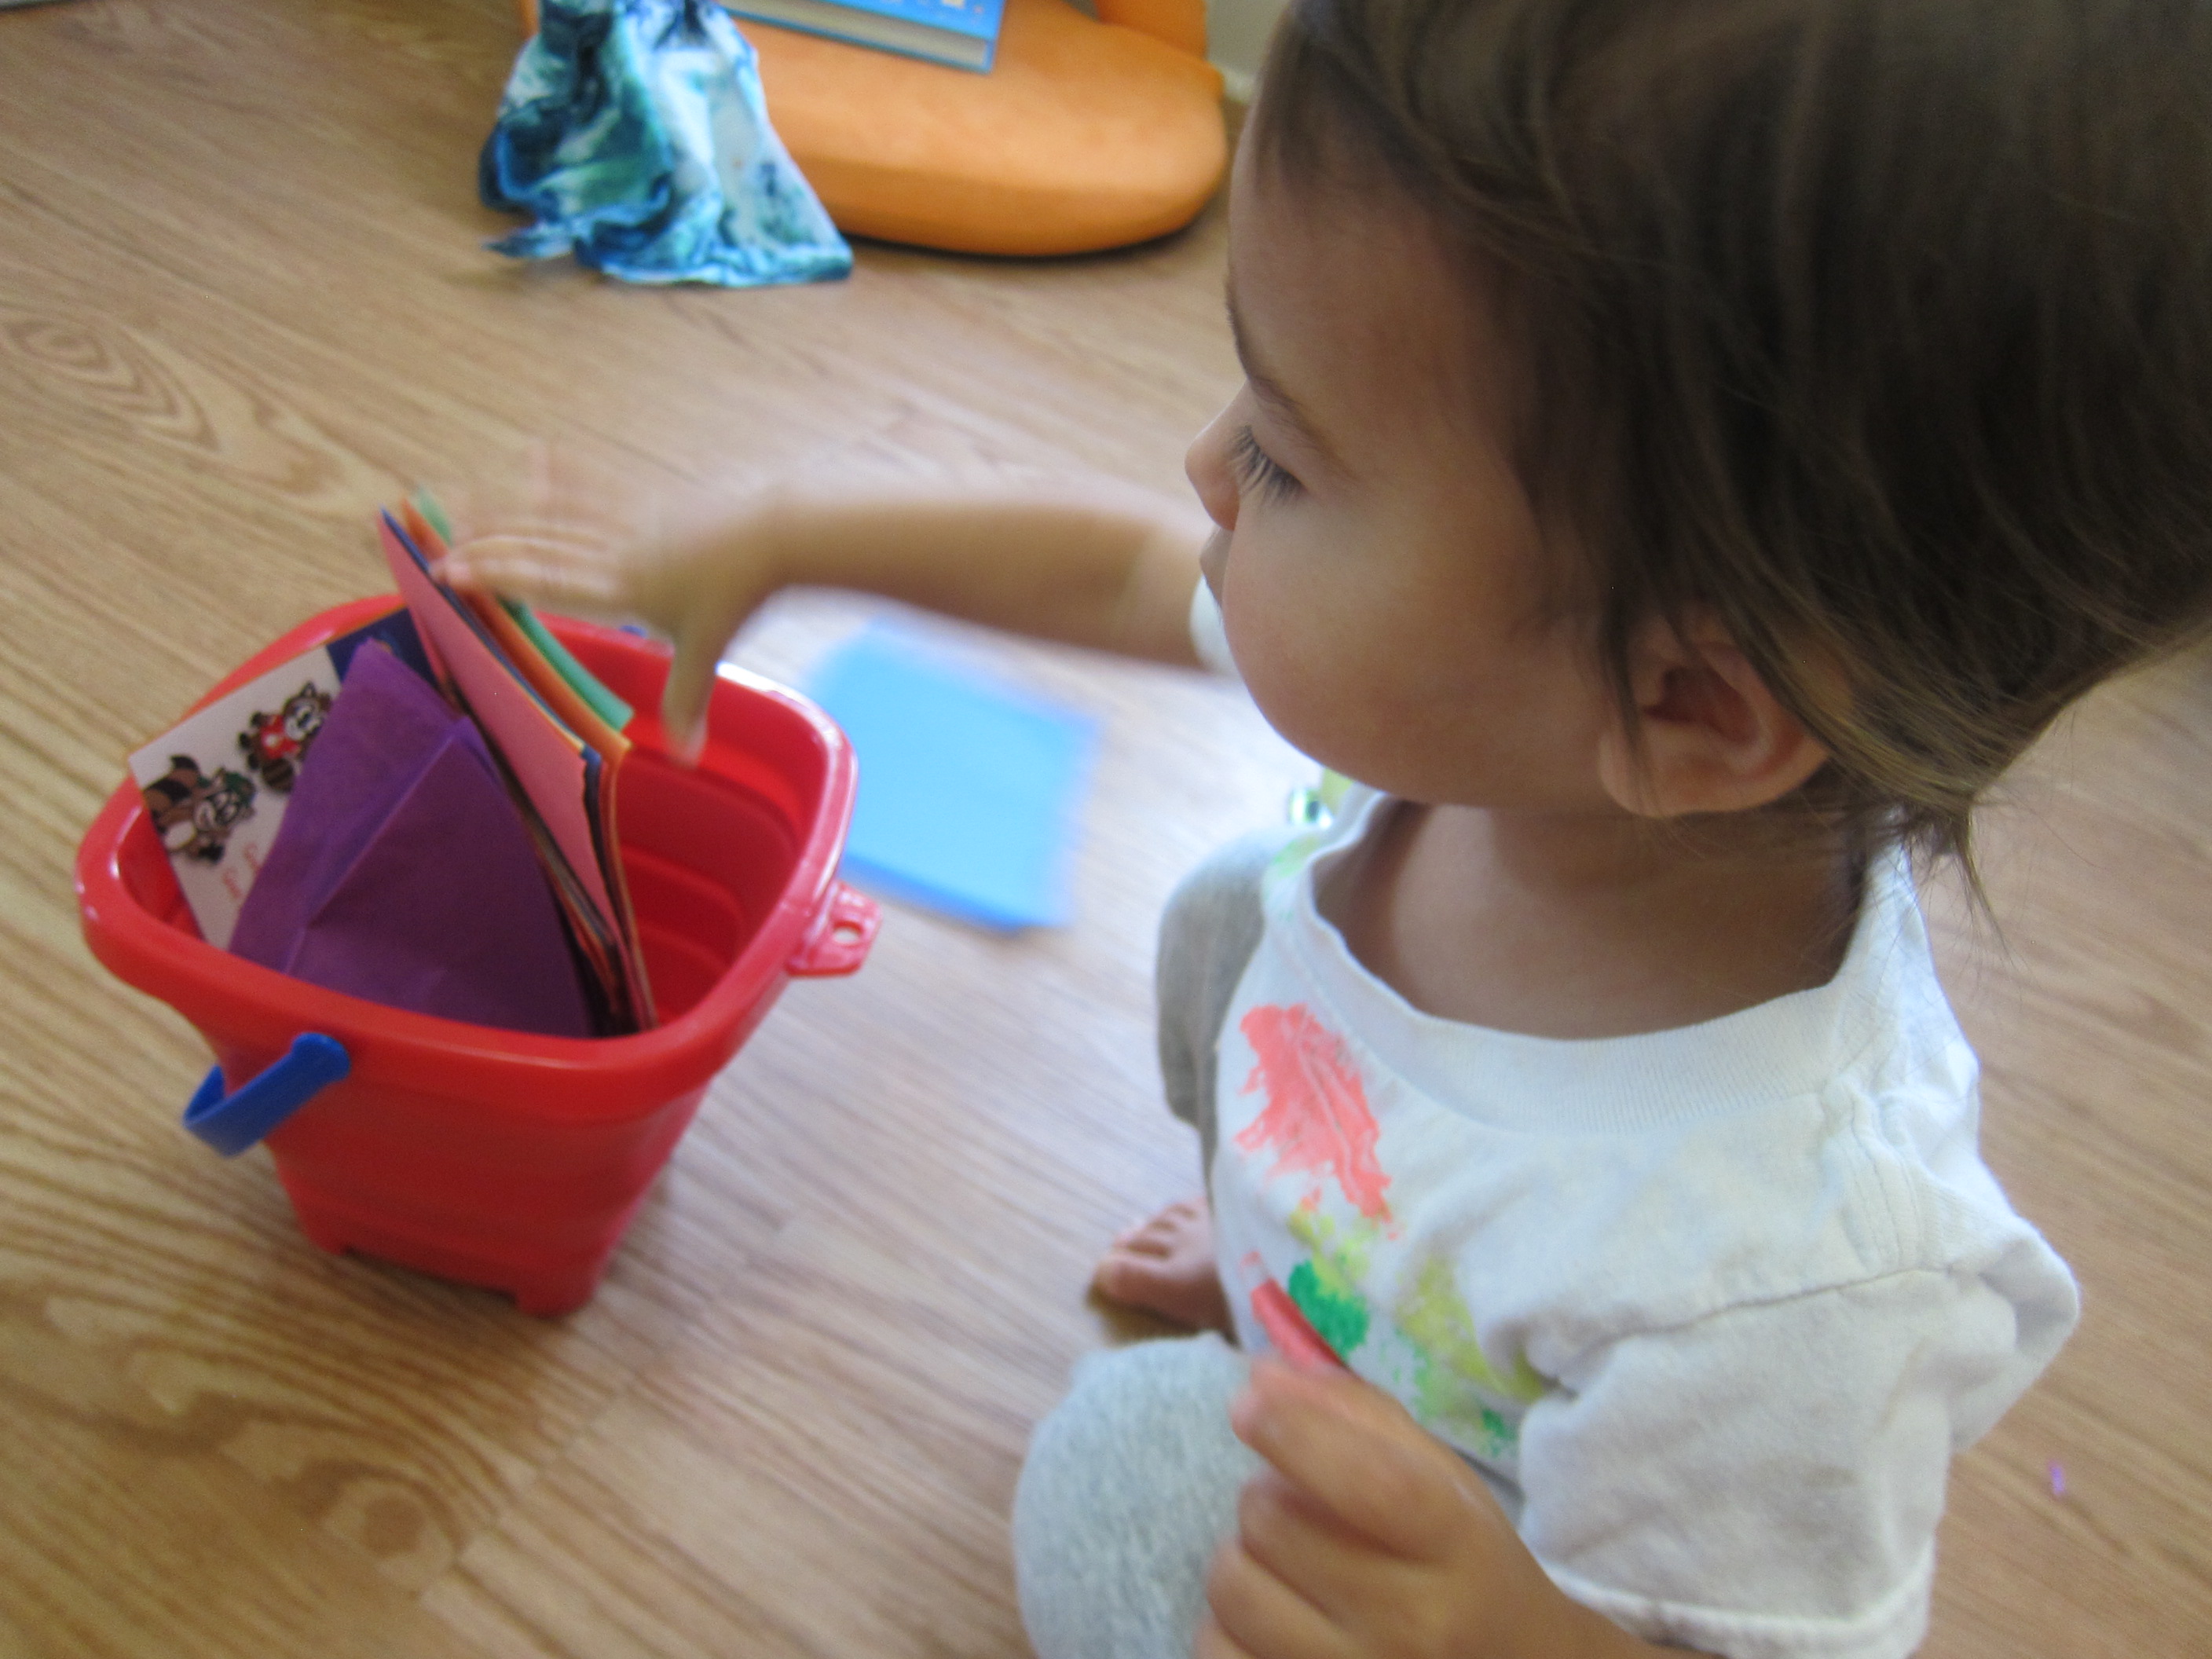
First up was today’s Book Box.

Book Box (1)

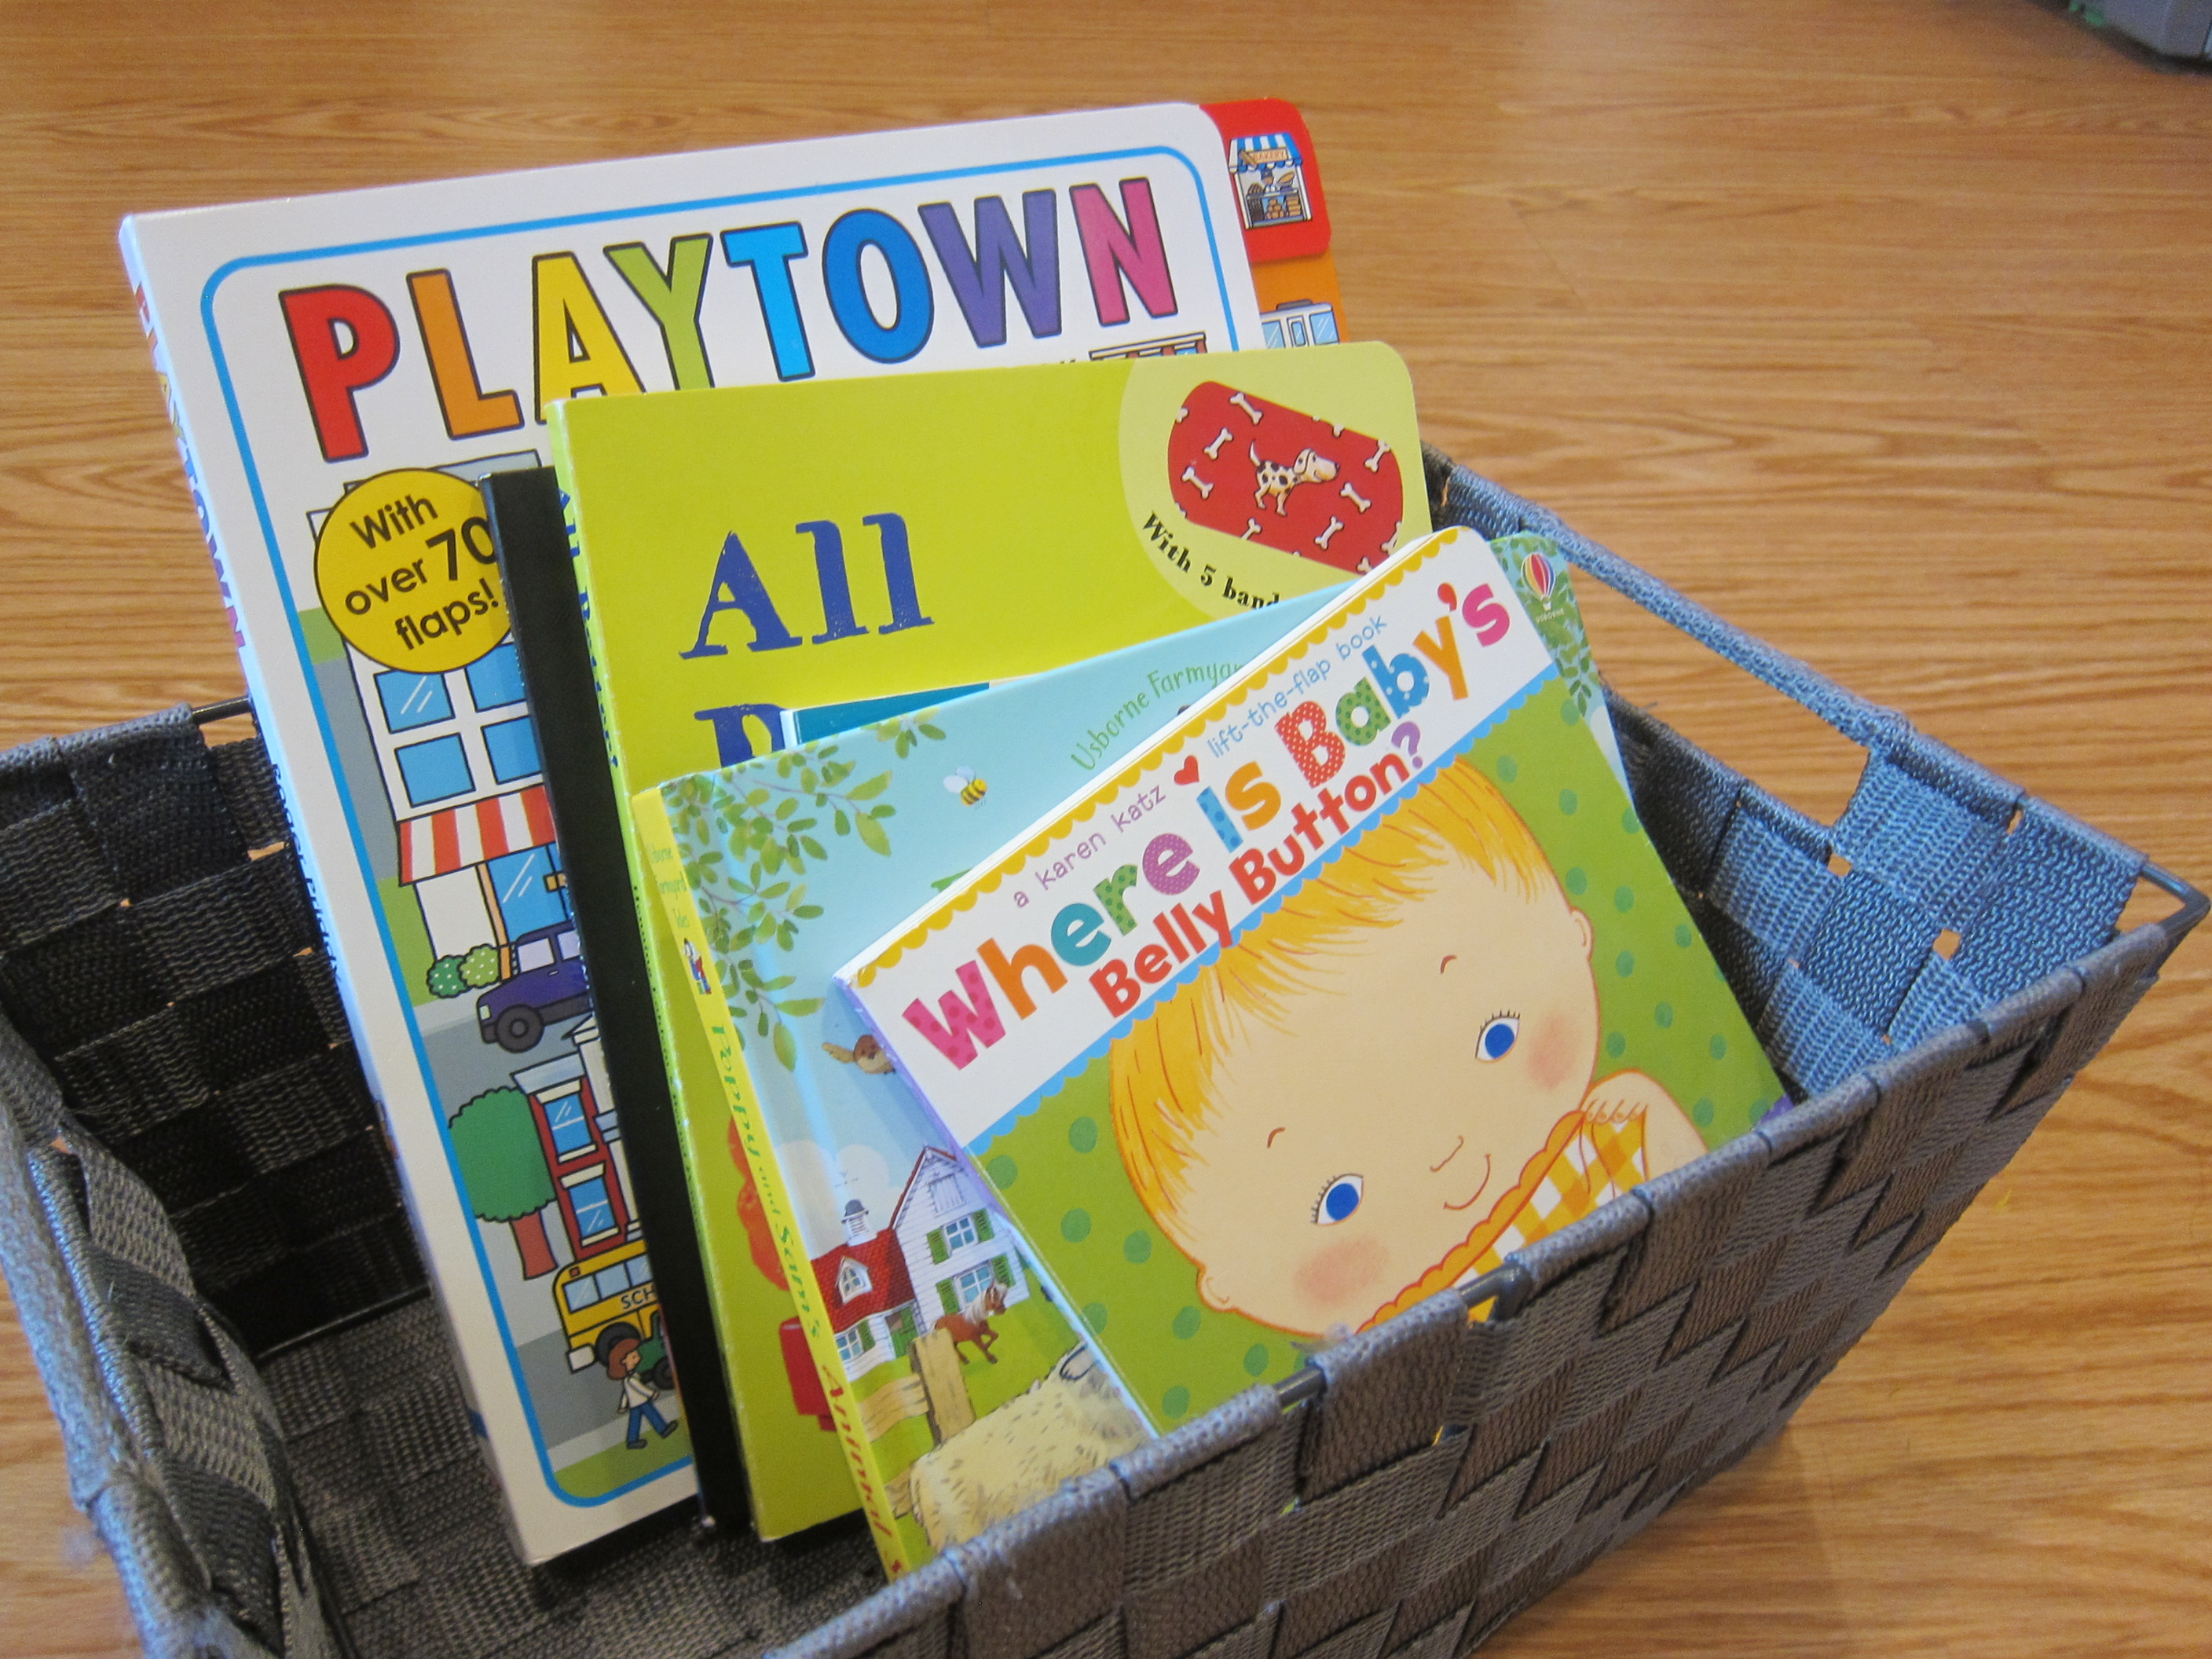
I filled a small basket with titles that are interactive, meaning that Veronika can easily go through them by herself. Although your exact titles might be different than the ones I used, here are some categories to think of.

Book Box (3)

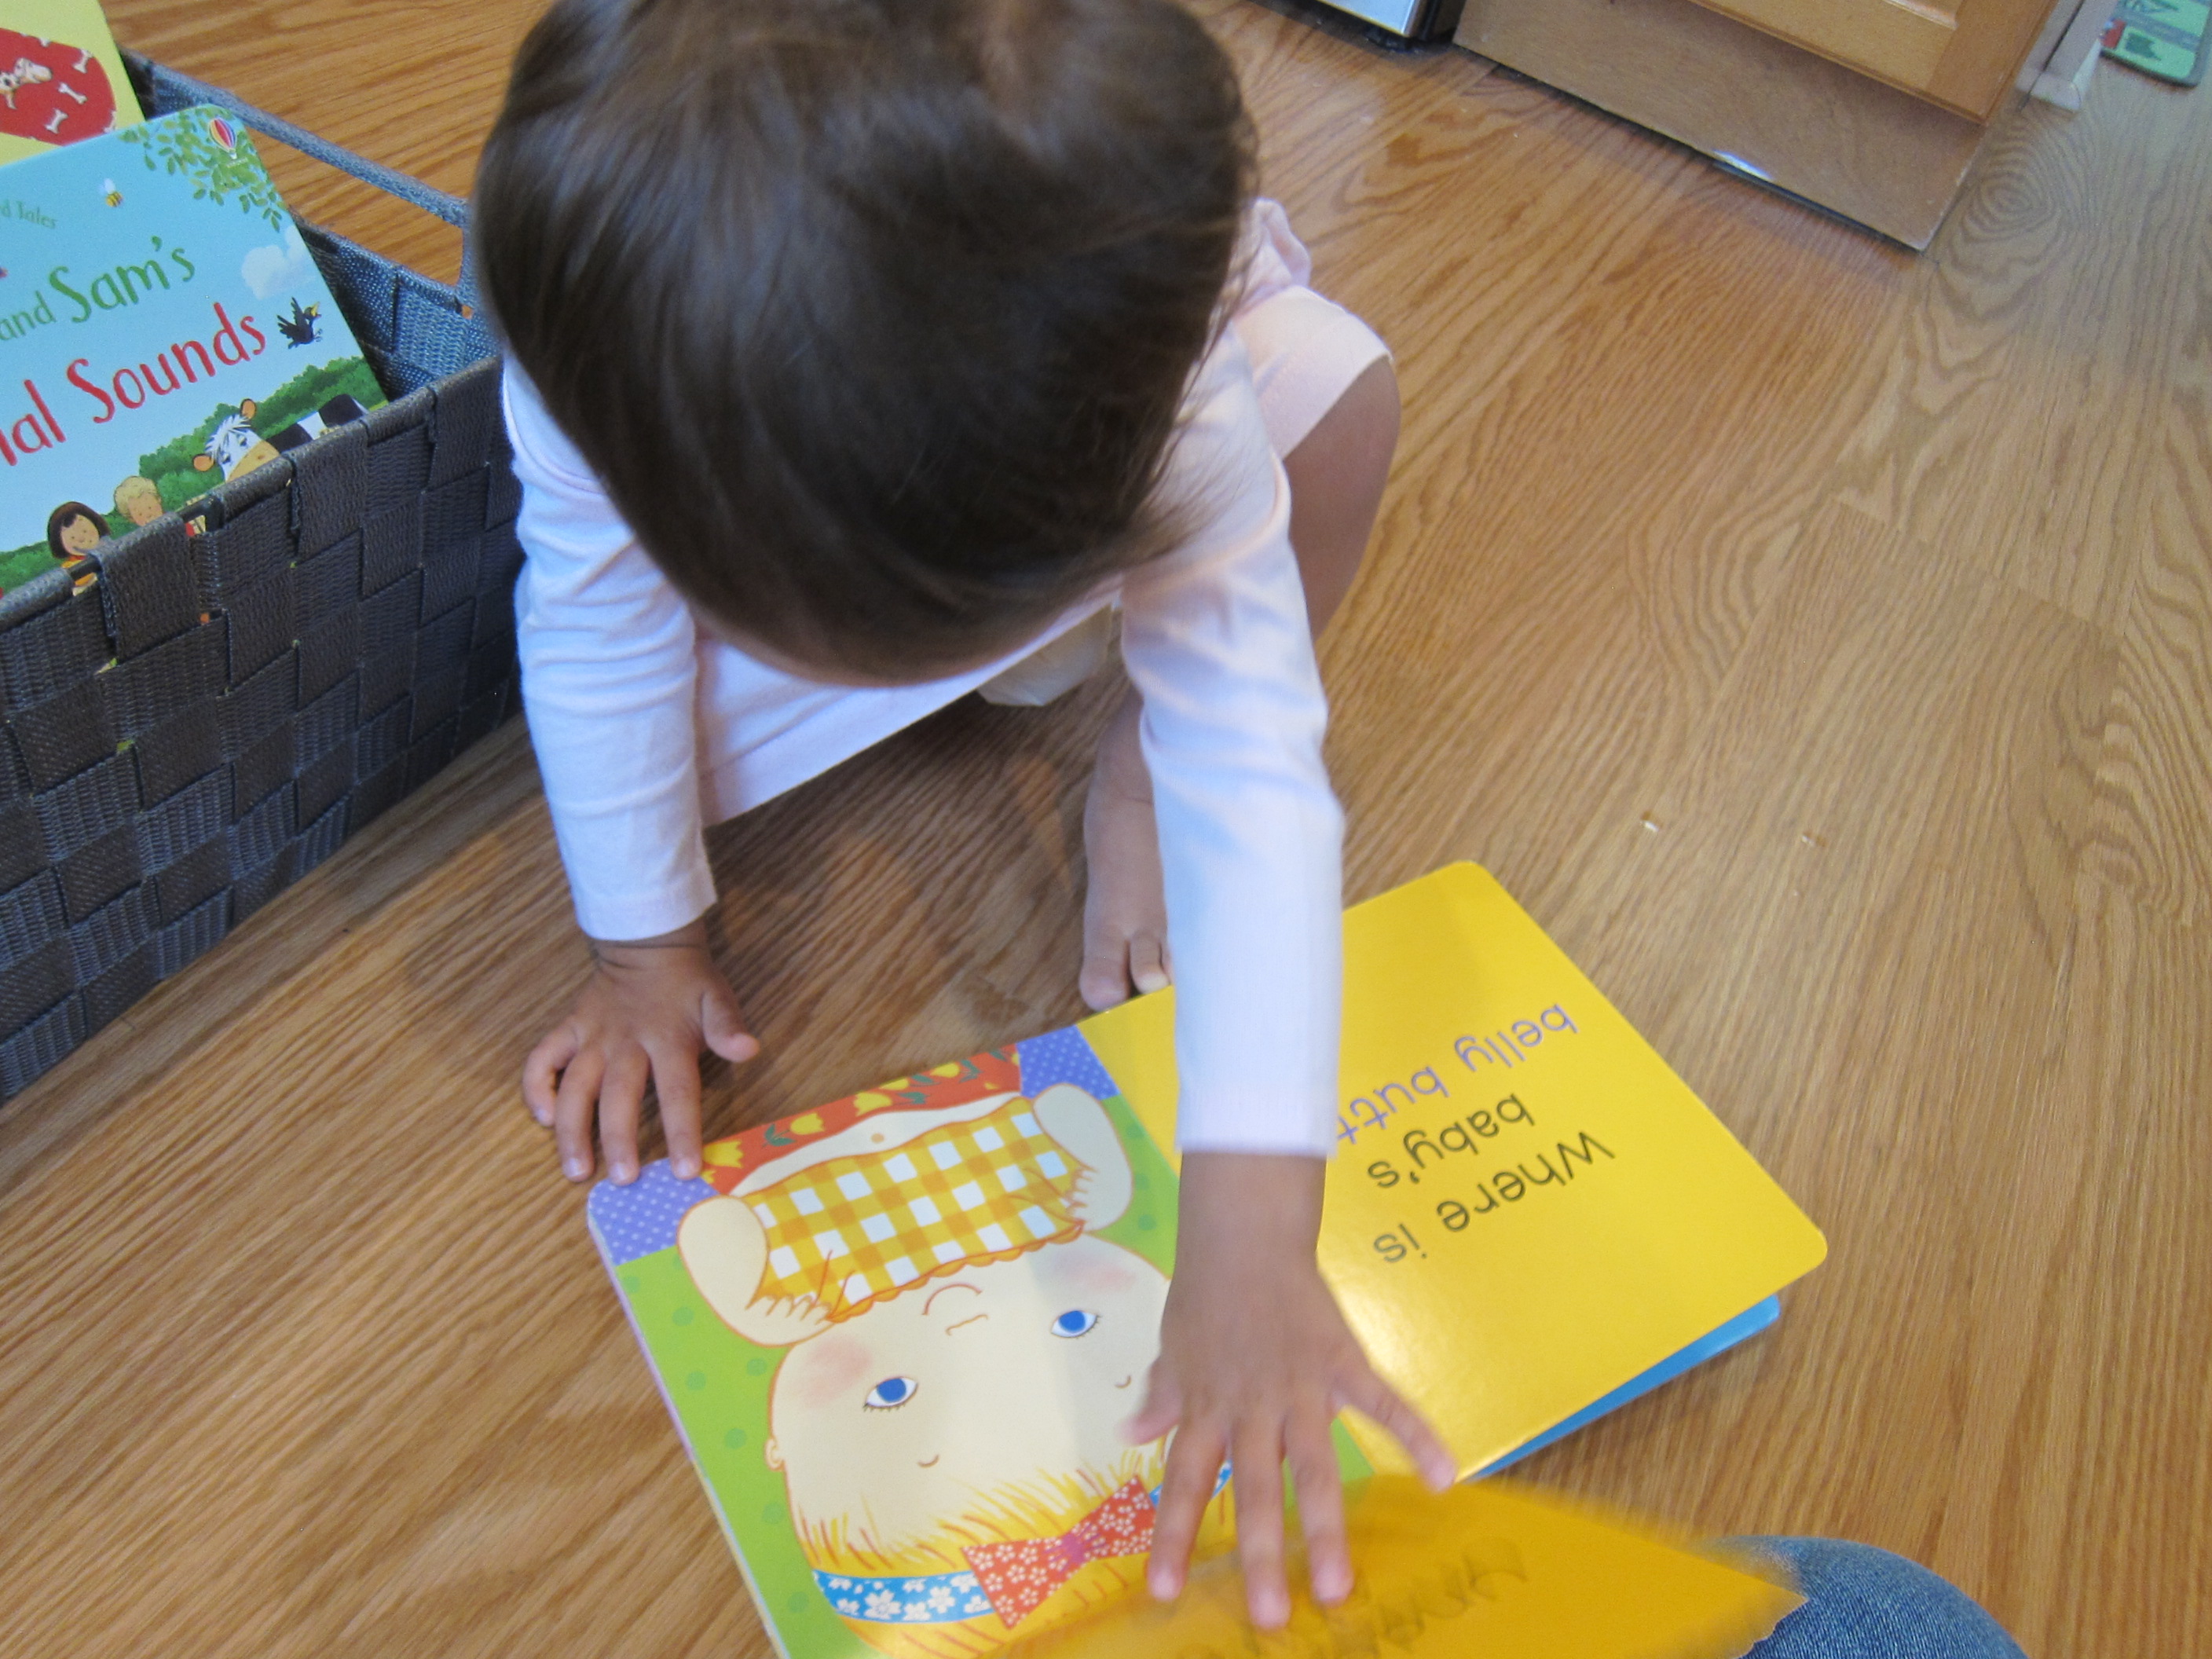
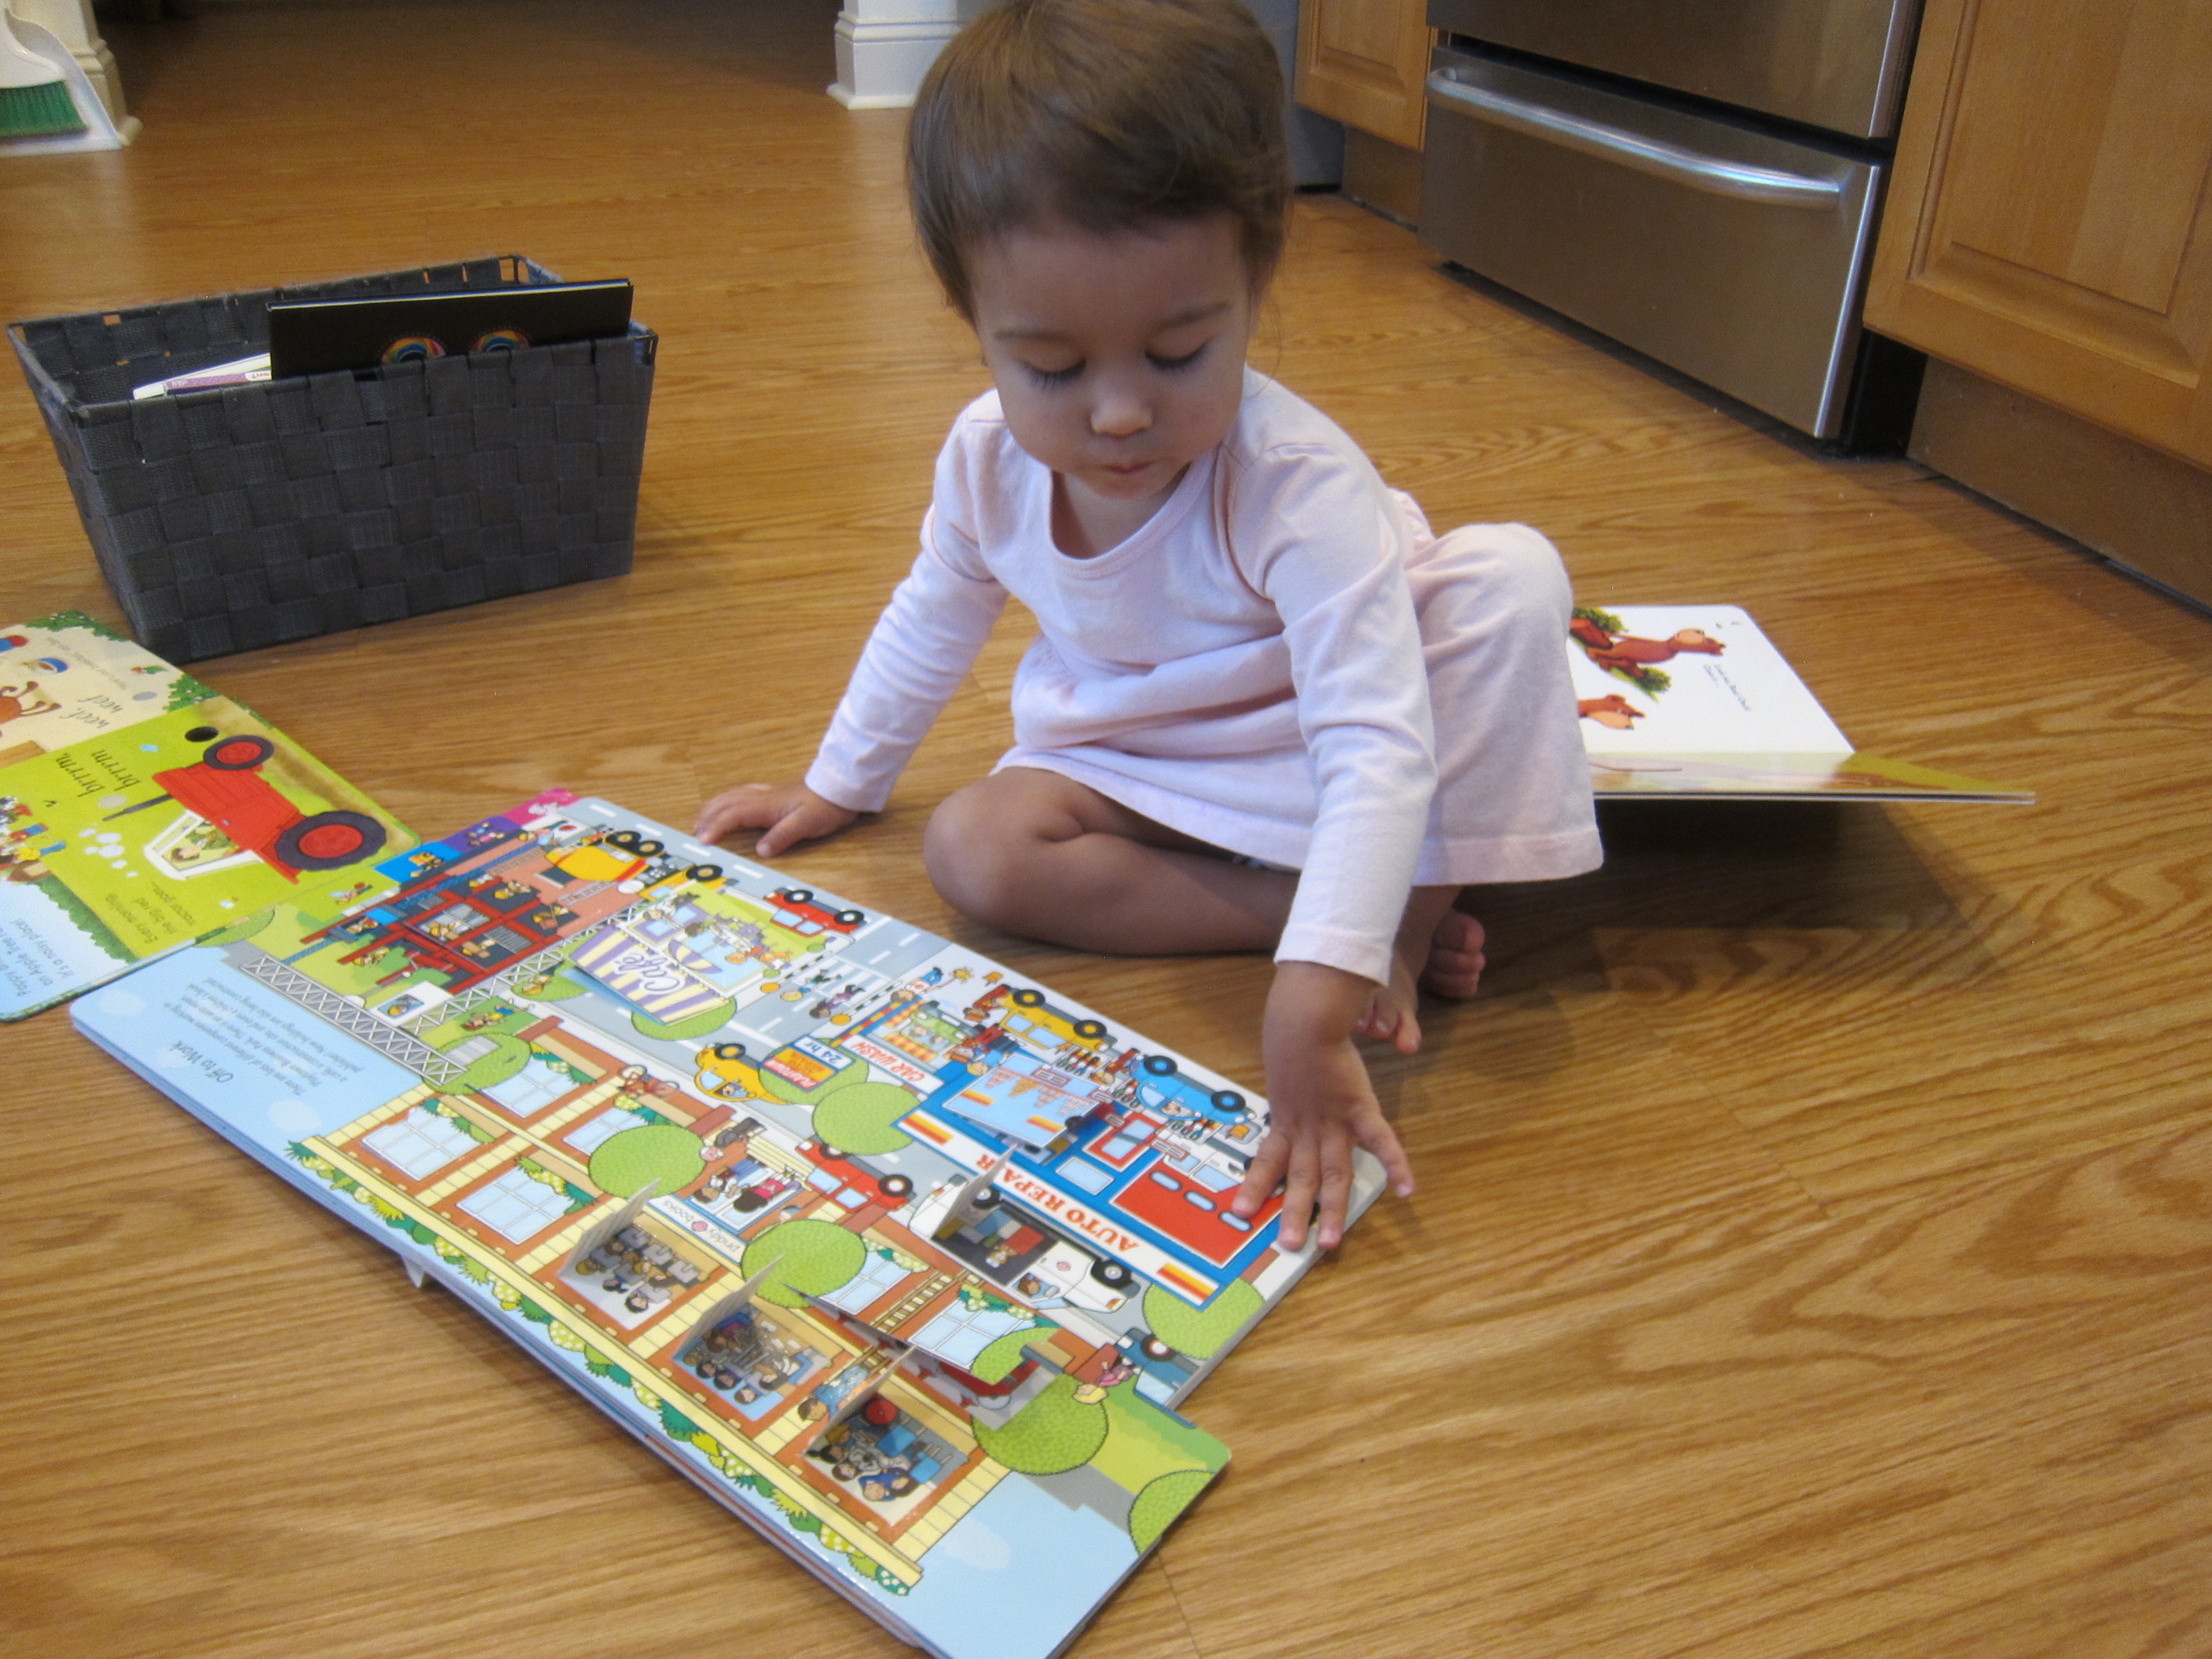
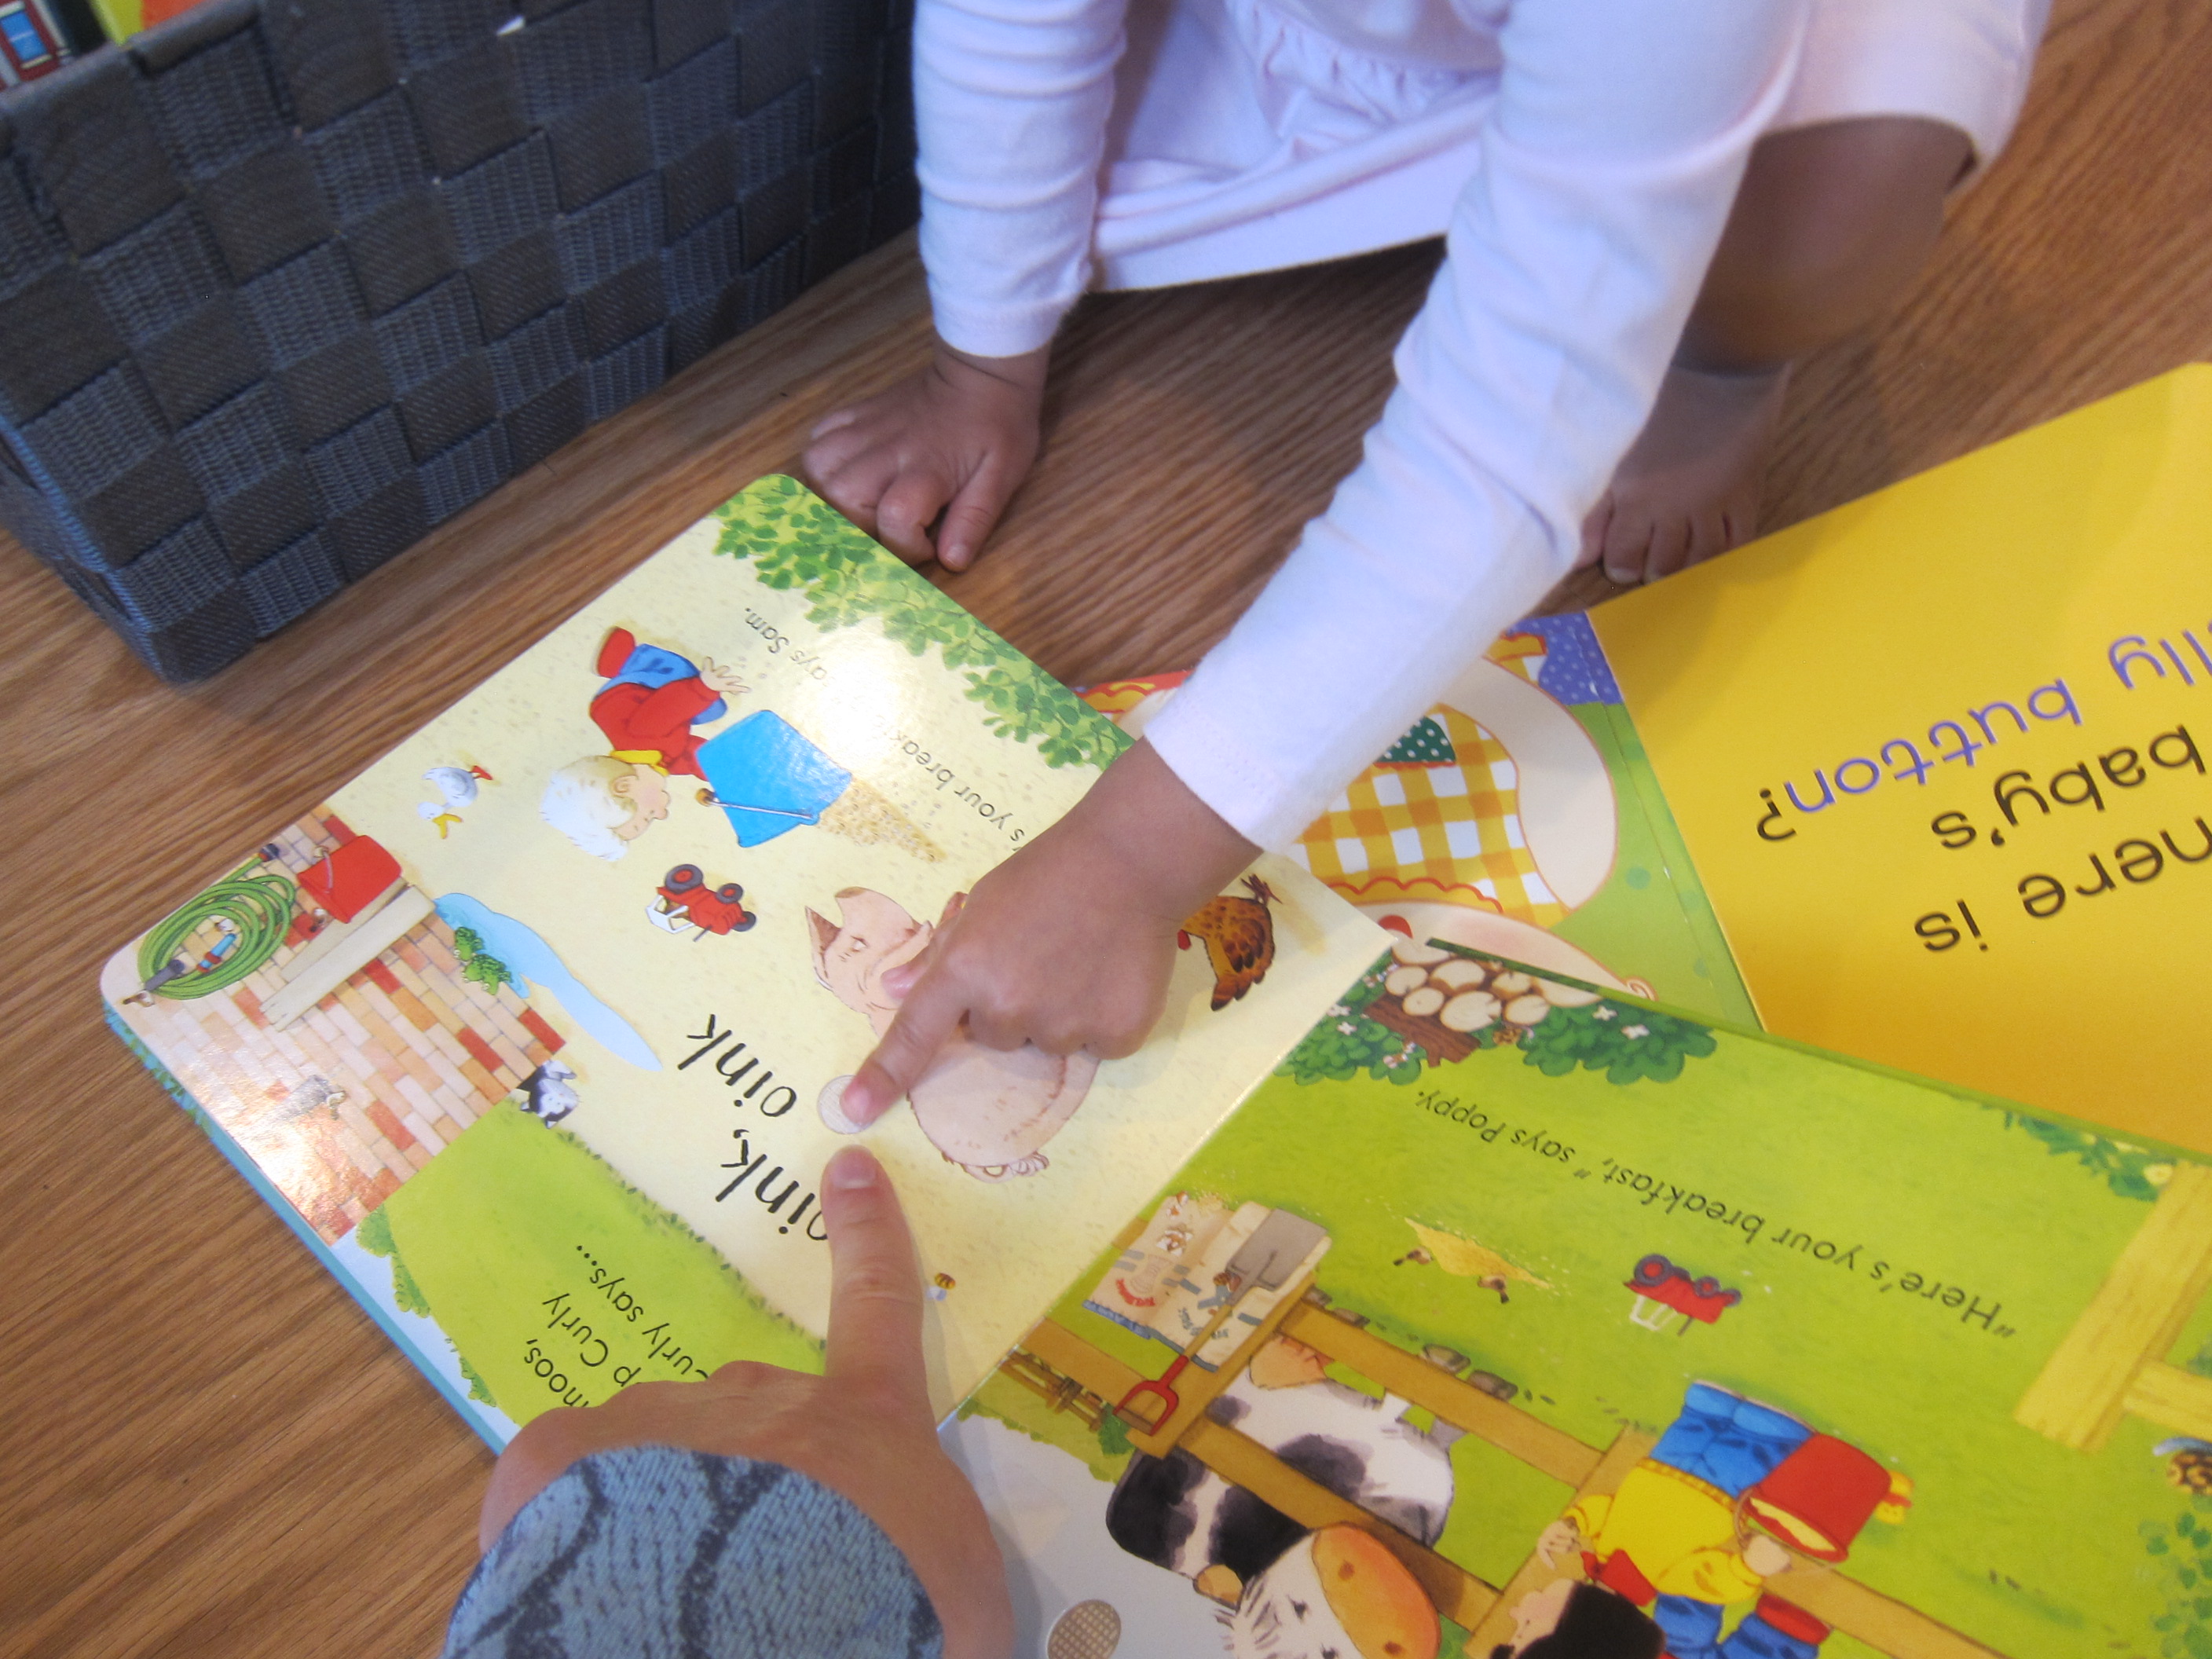
Lift-the-flap books: We have some that are short and simple (Where is Baby’s Belly Button) and some that encompass whole towns. To wit, Playtown is great because we’ve read it together enough that she knows what to expect behind each flap, and can now go through the book solo.

Book Box (11)

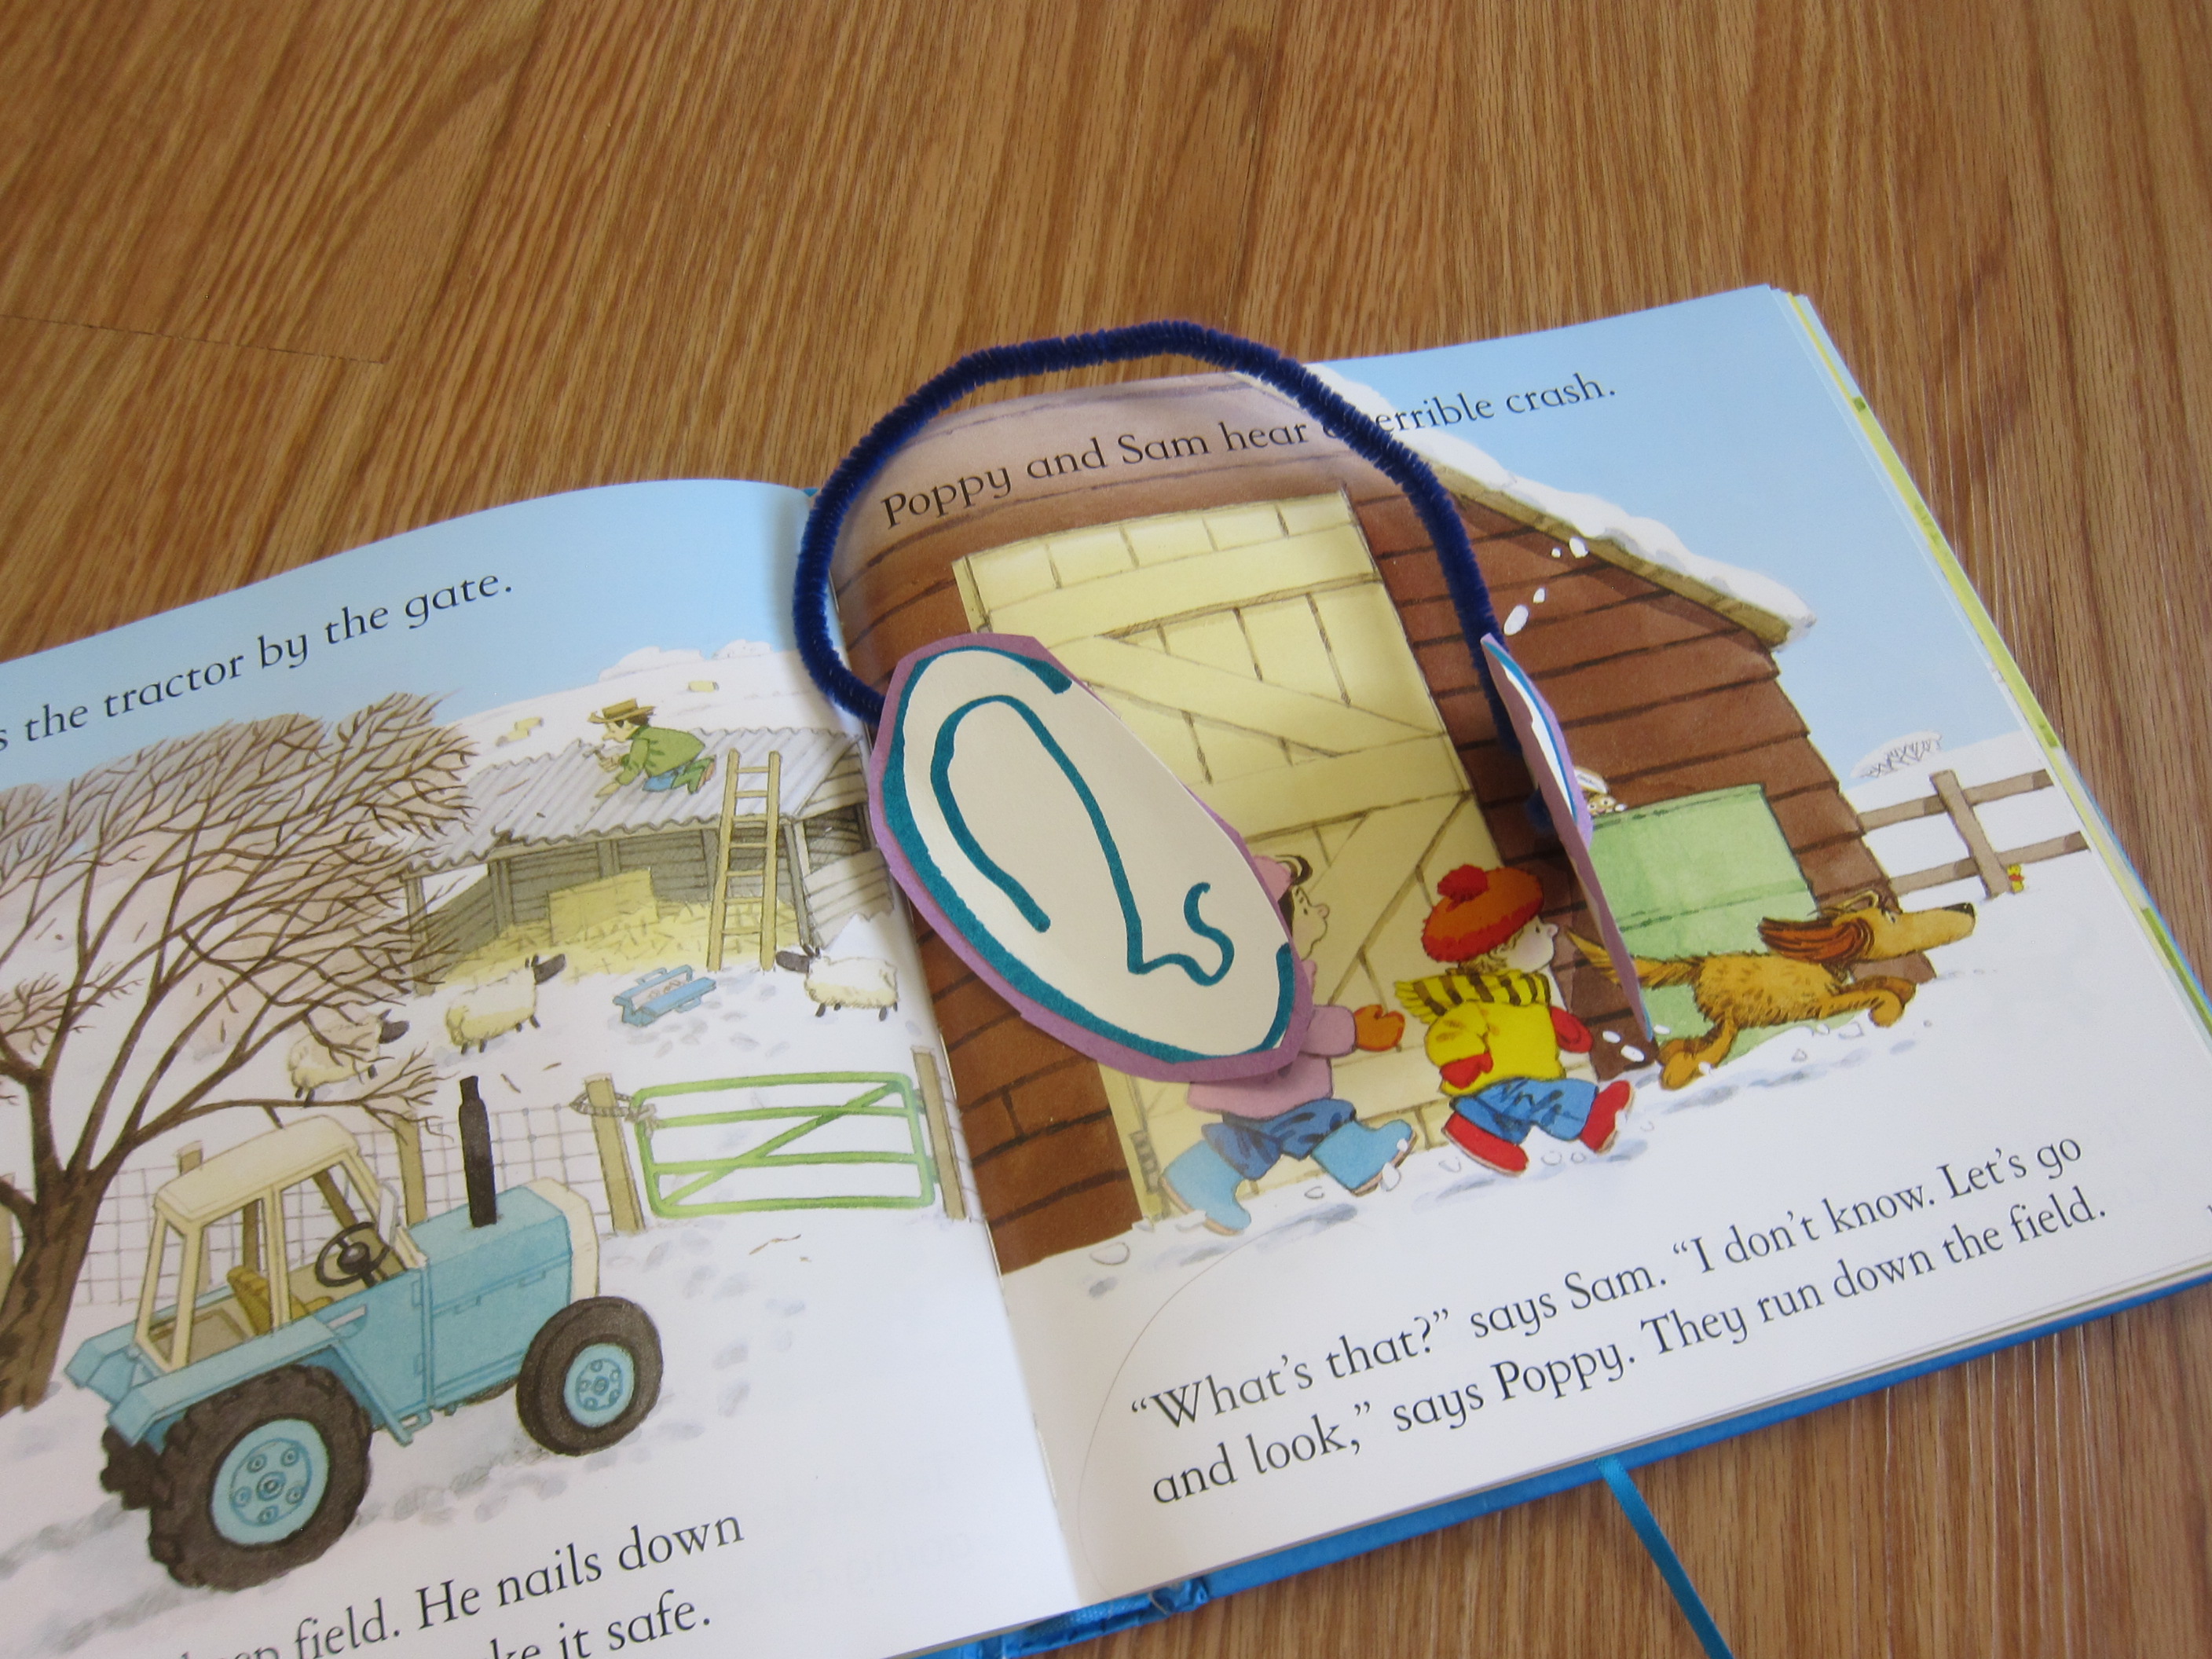
Sound books. Books that make noises are always fun. Look for ones that are easy for kids to manipulate on their own.

Book Box (4)

I like the buttons on Usborne’s Poppy and Sam’s Animal Sounds, as well as Eric Carle’s The Very Quiet Cricket; the latter features a chirp as soon as she arrives at the last page, a delight each time!

Book Box (7)

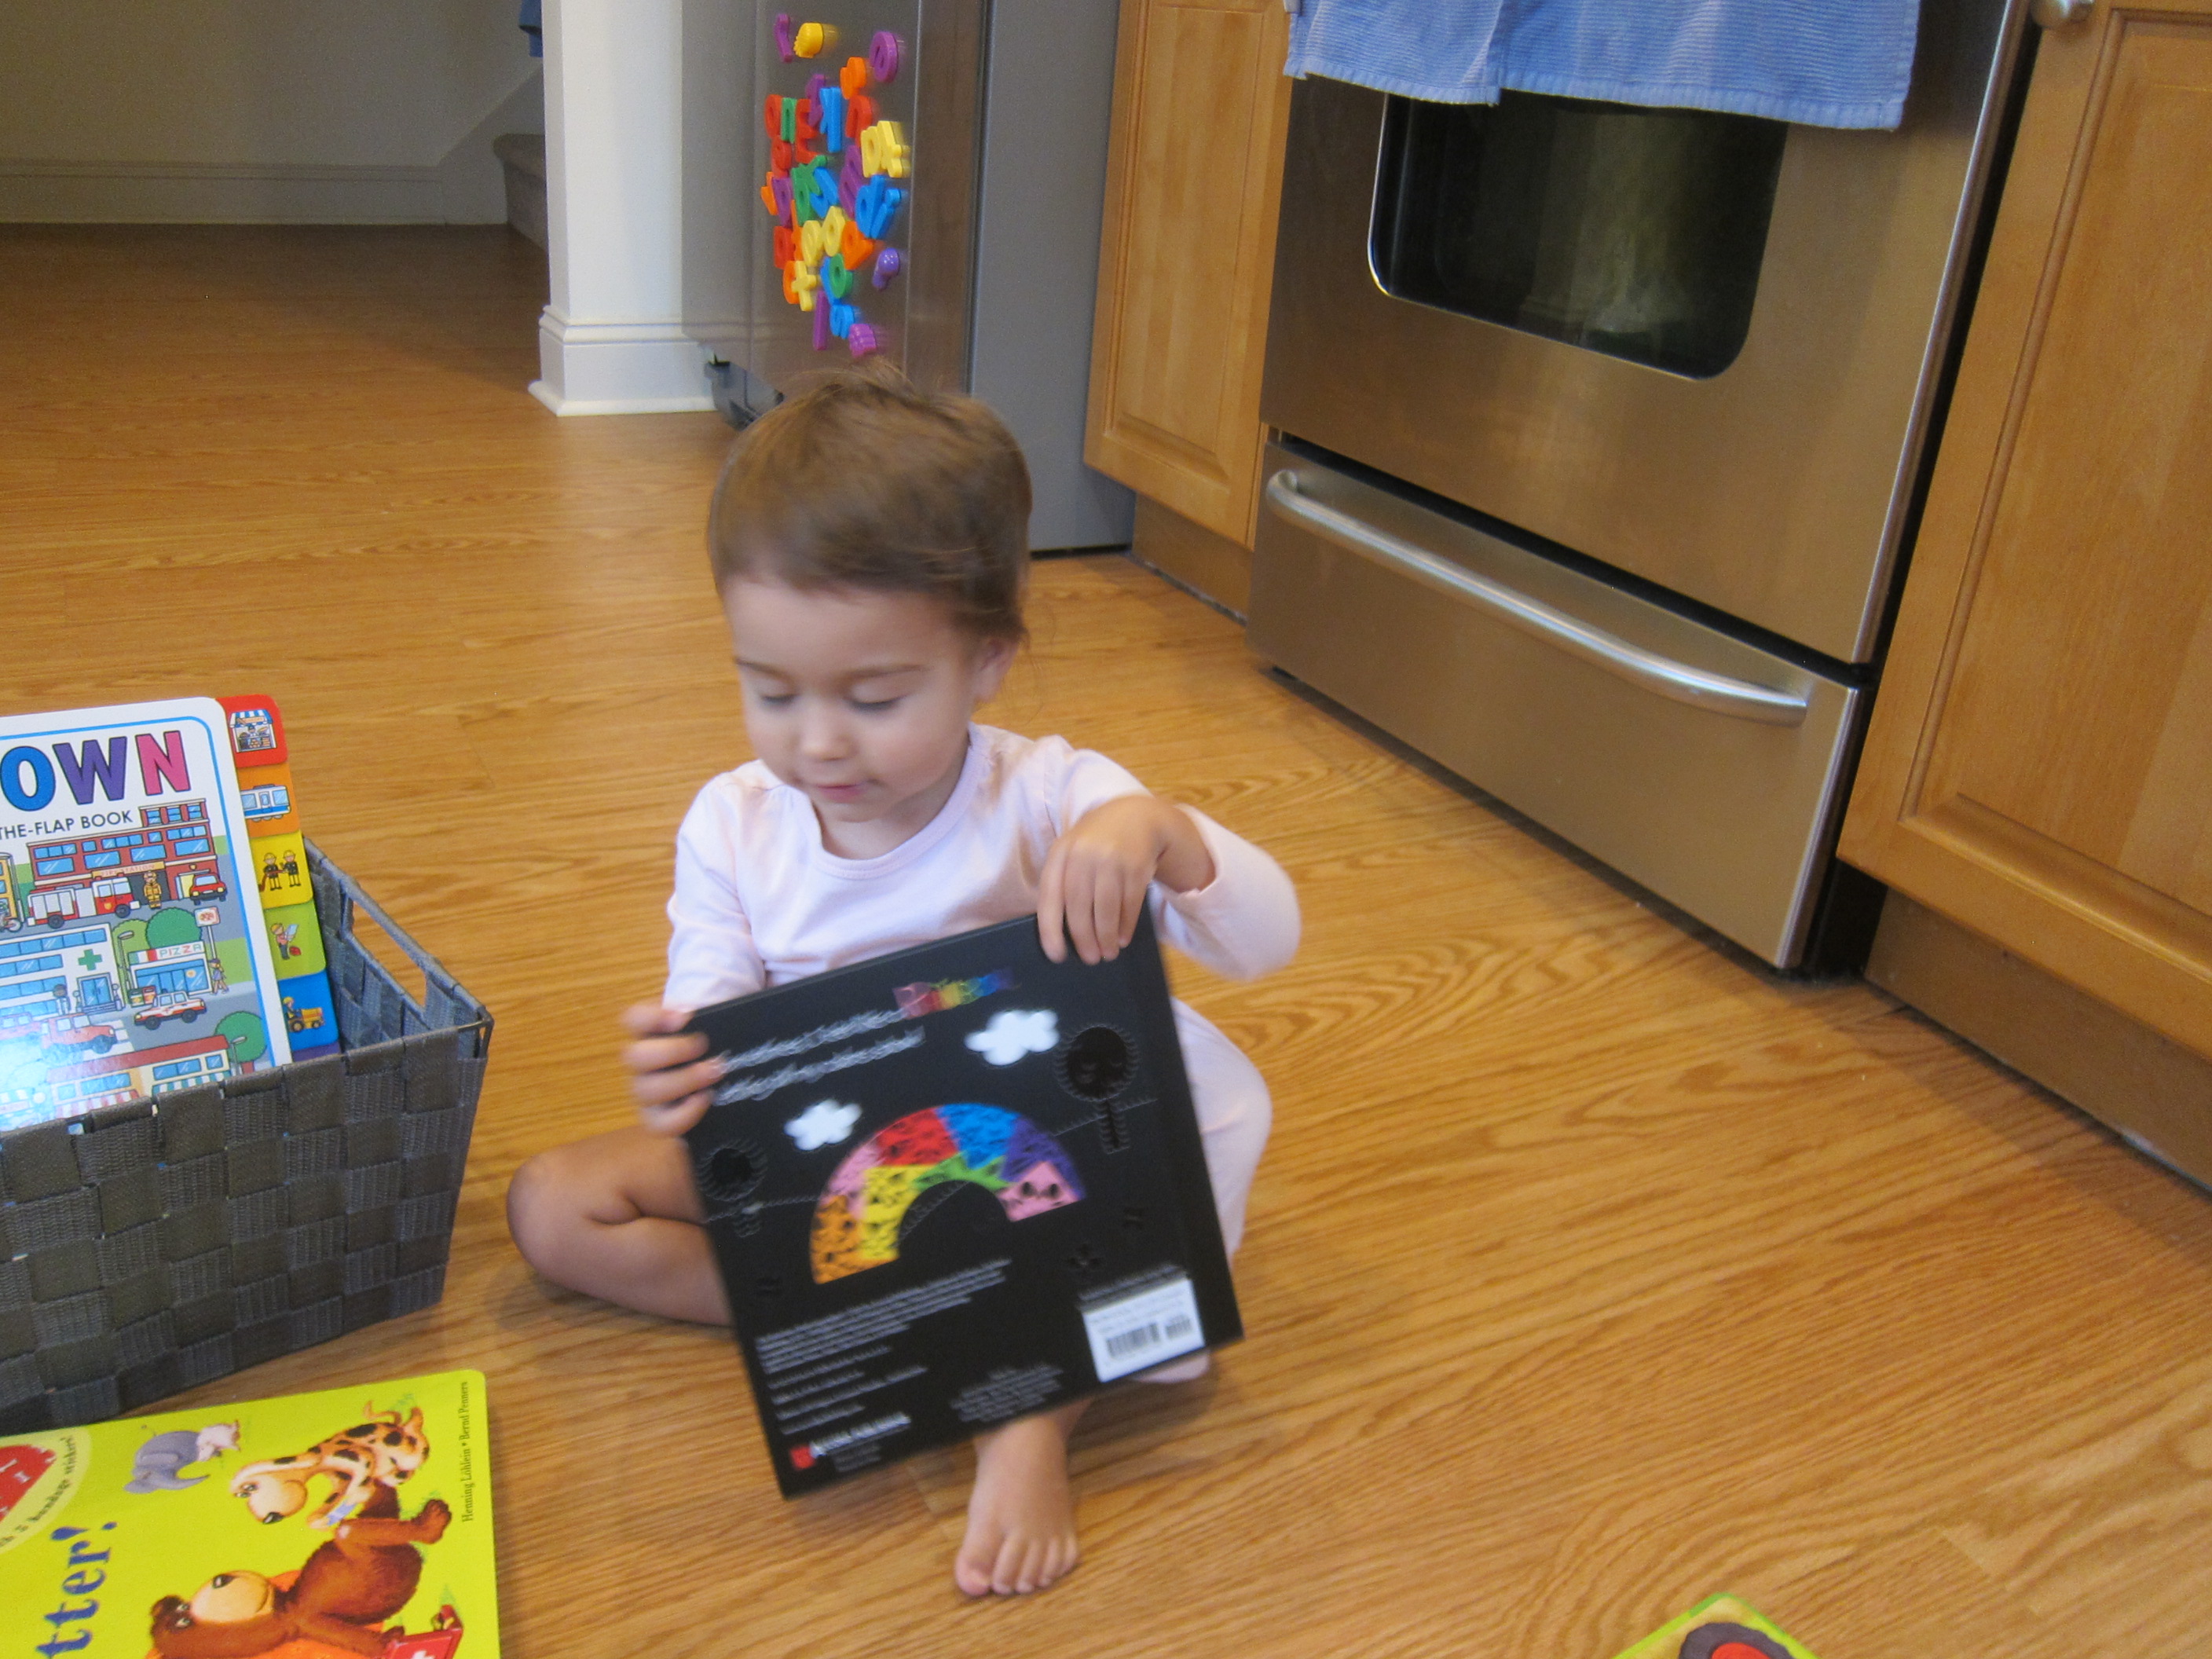
Texture books. Toddlers are a bit advanced for baby favorites like Pat the Bunny. Look instead for books with cut-outs or layers. We love The Rainbow Book by Kate Ohrt, which has layers of cut-outs and colors for little fingers to dig down into.

Book Box (8)

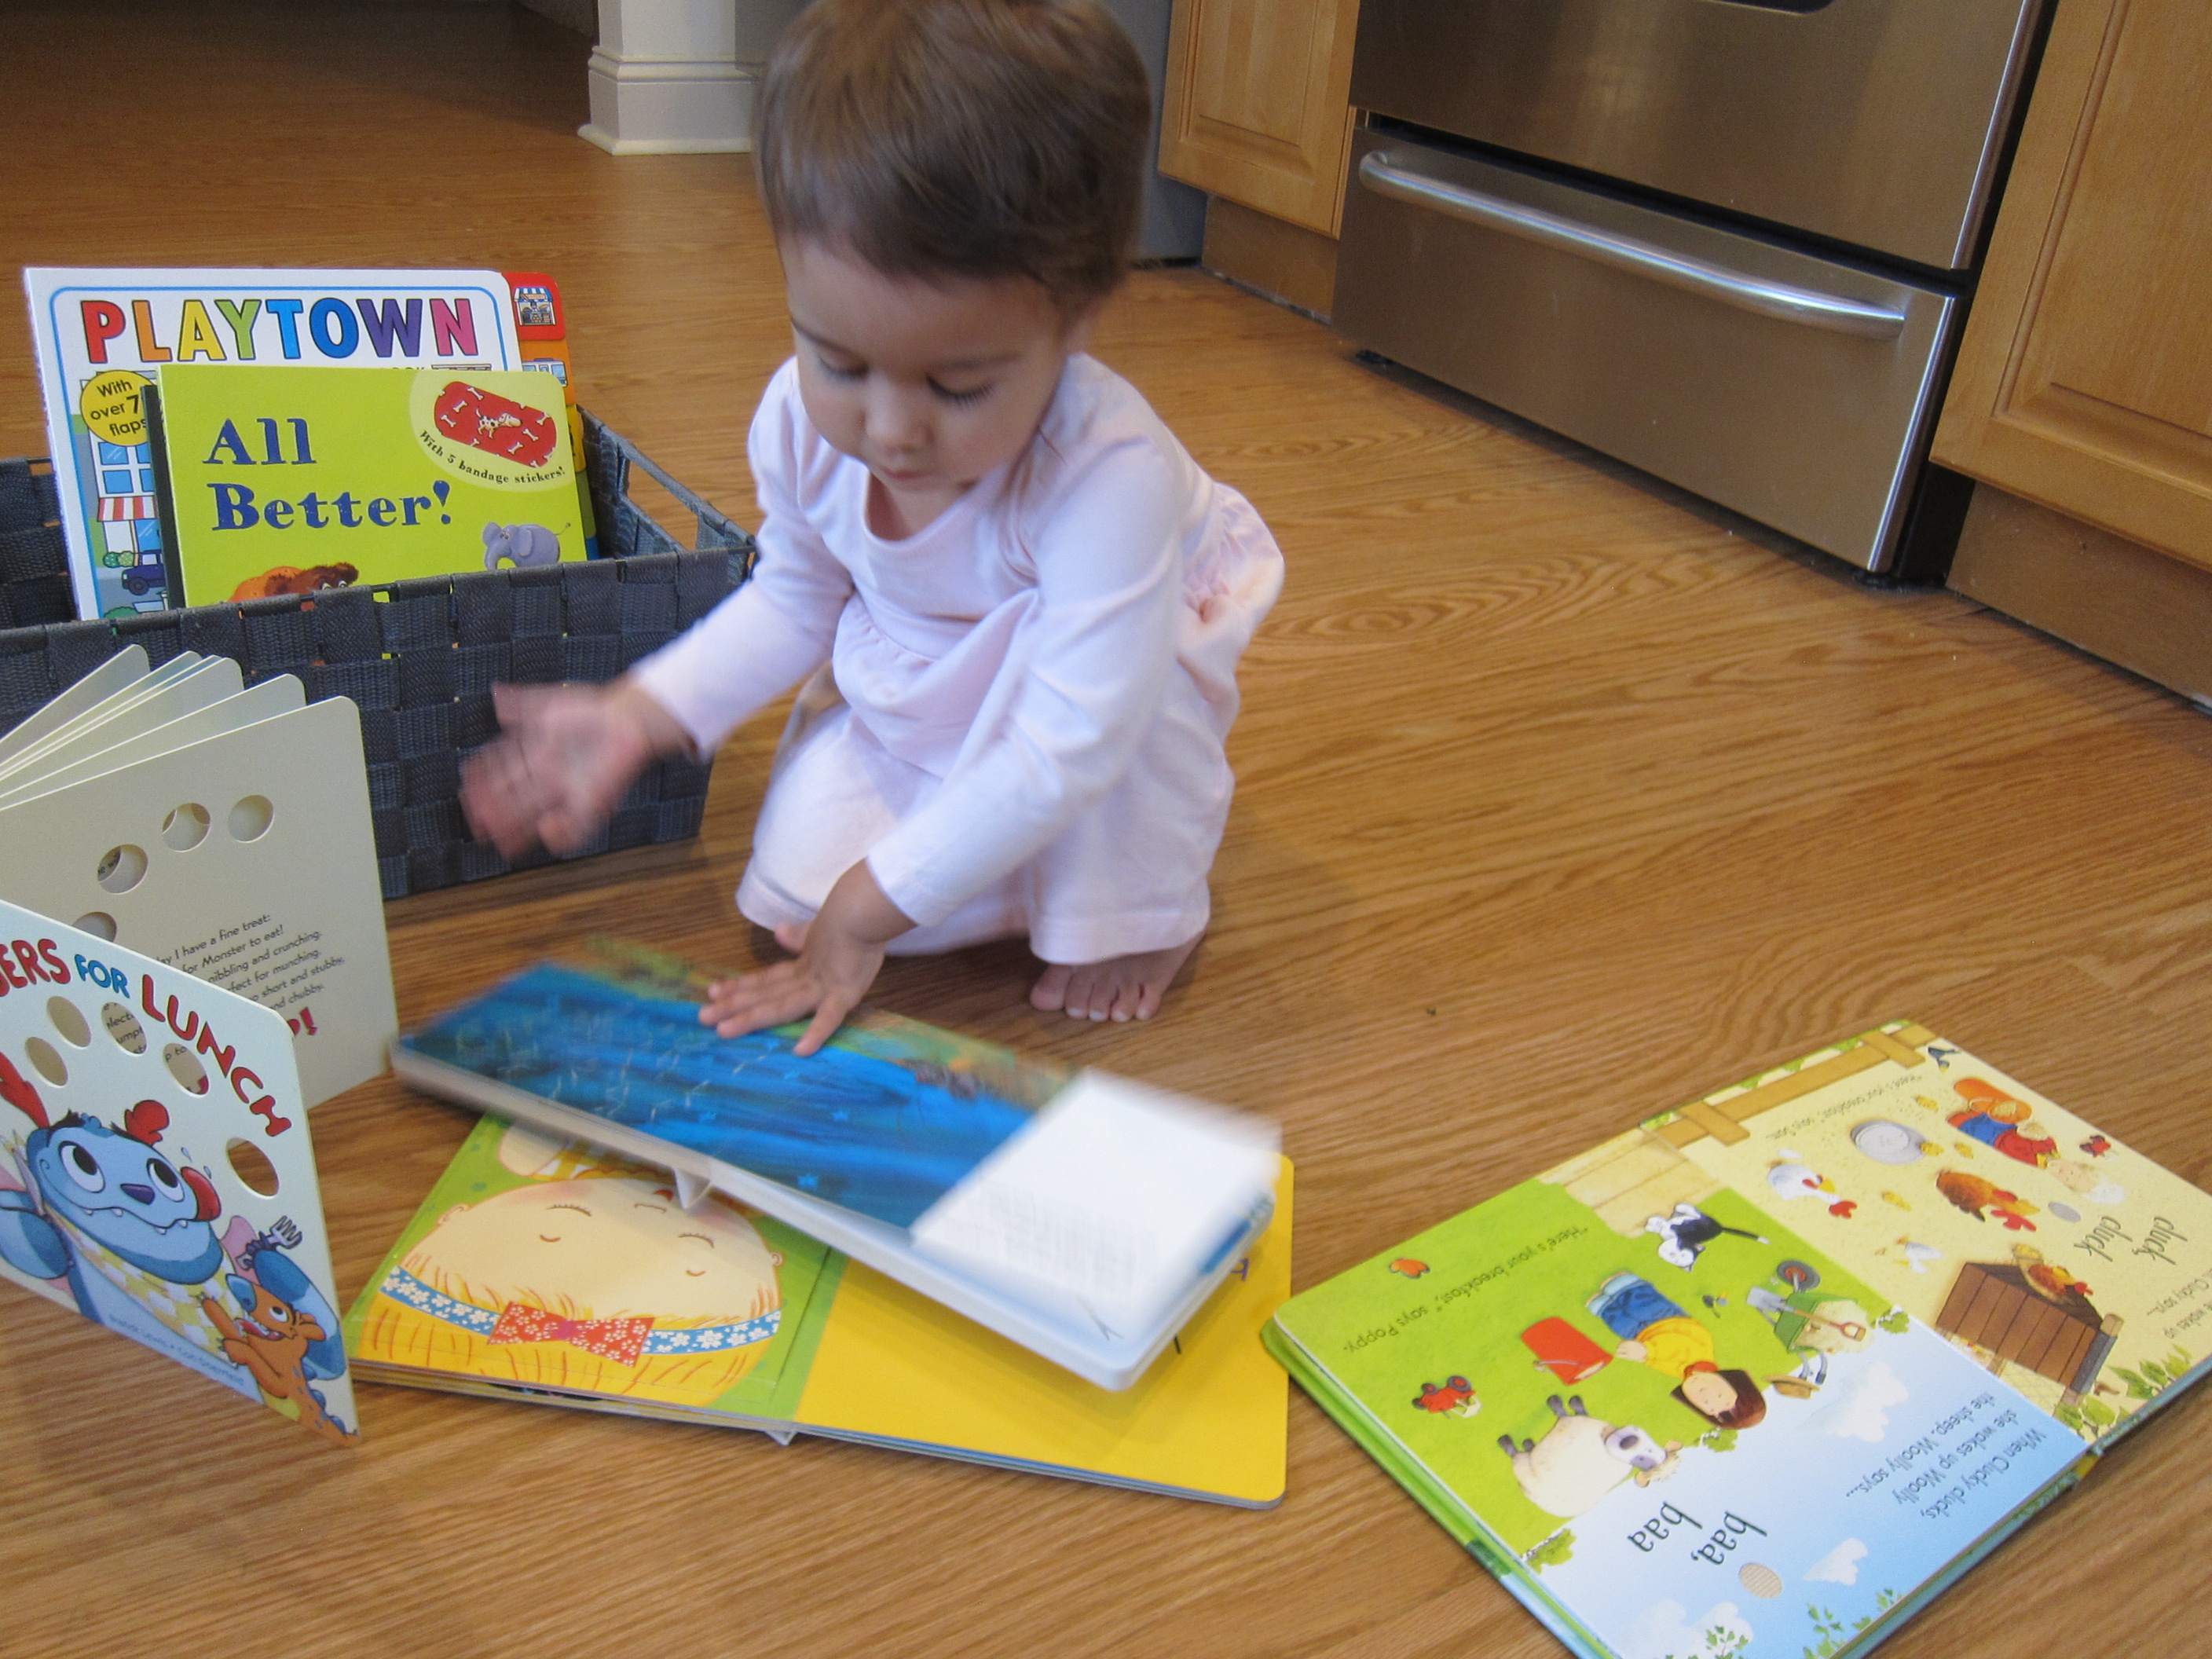
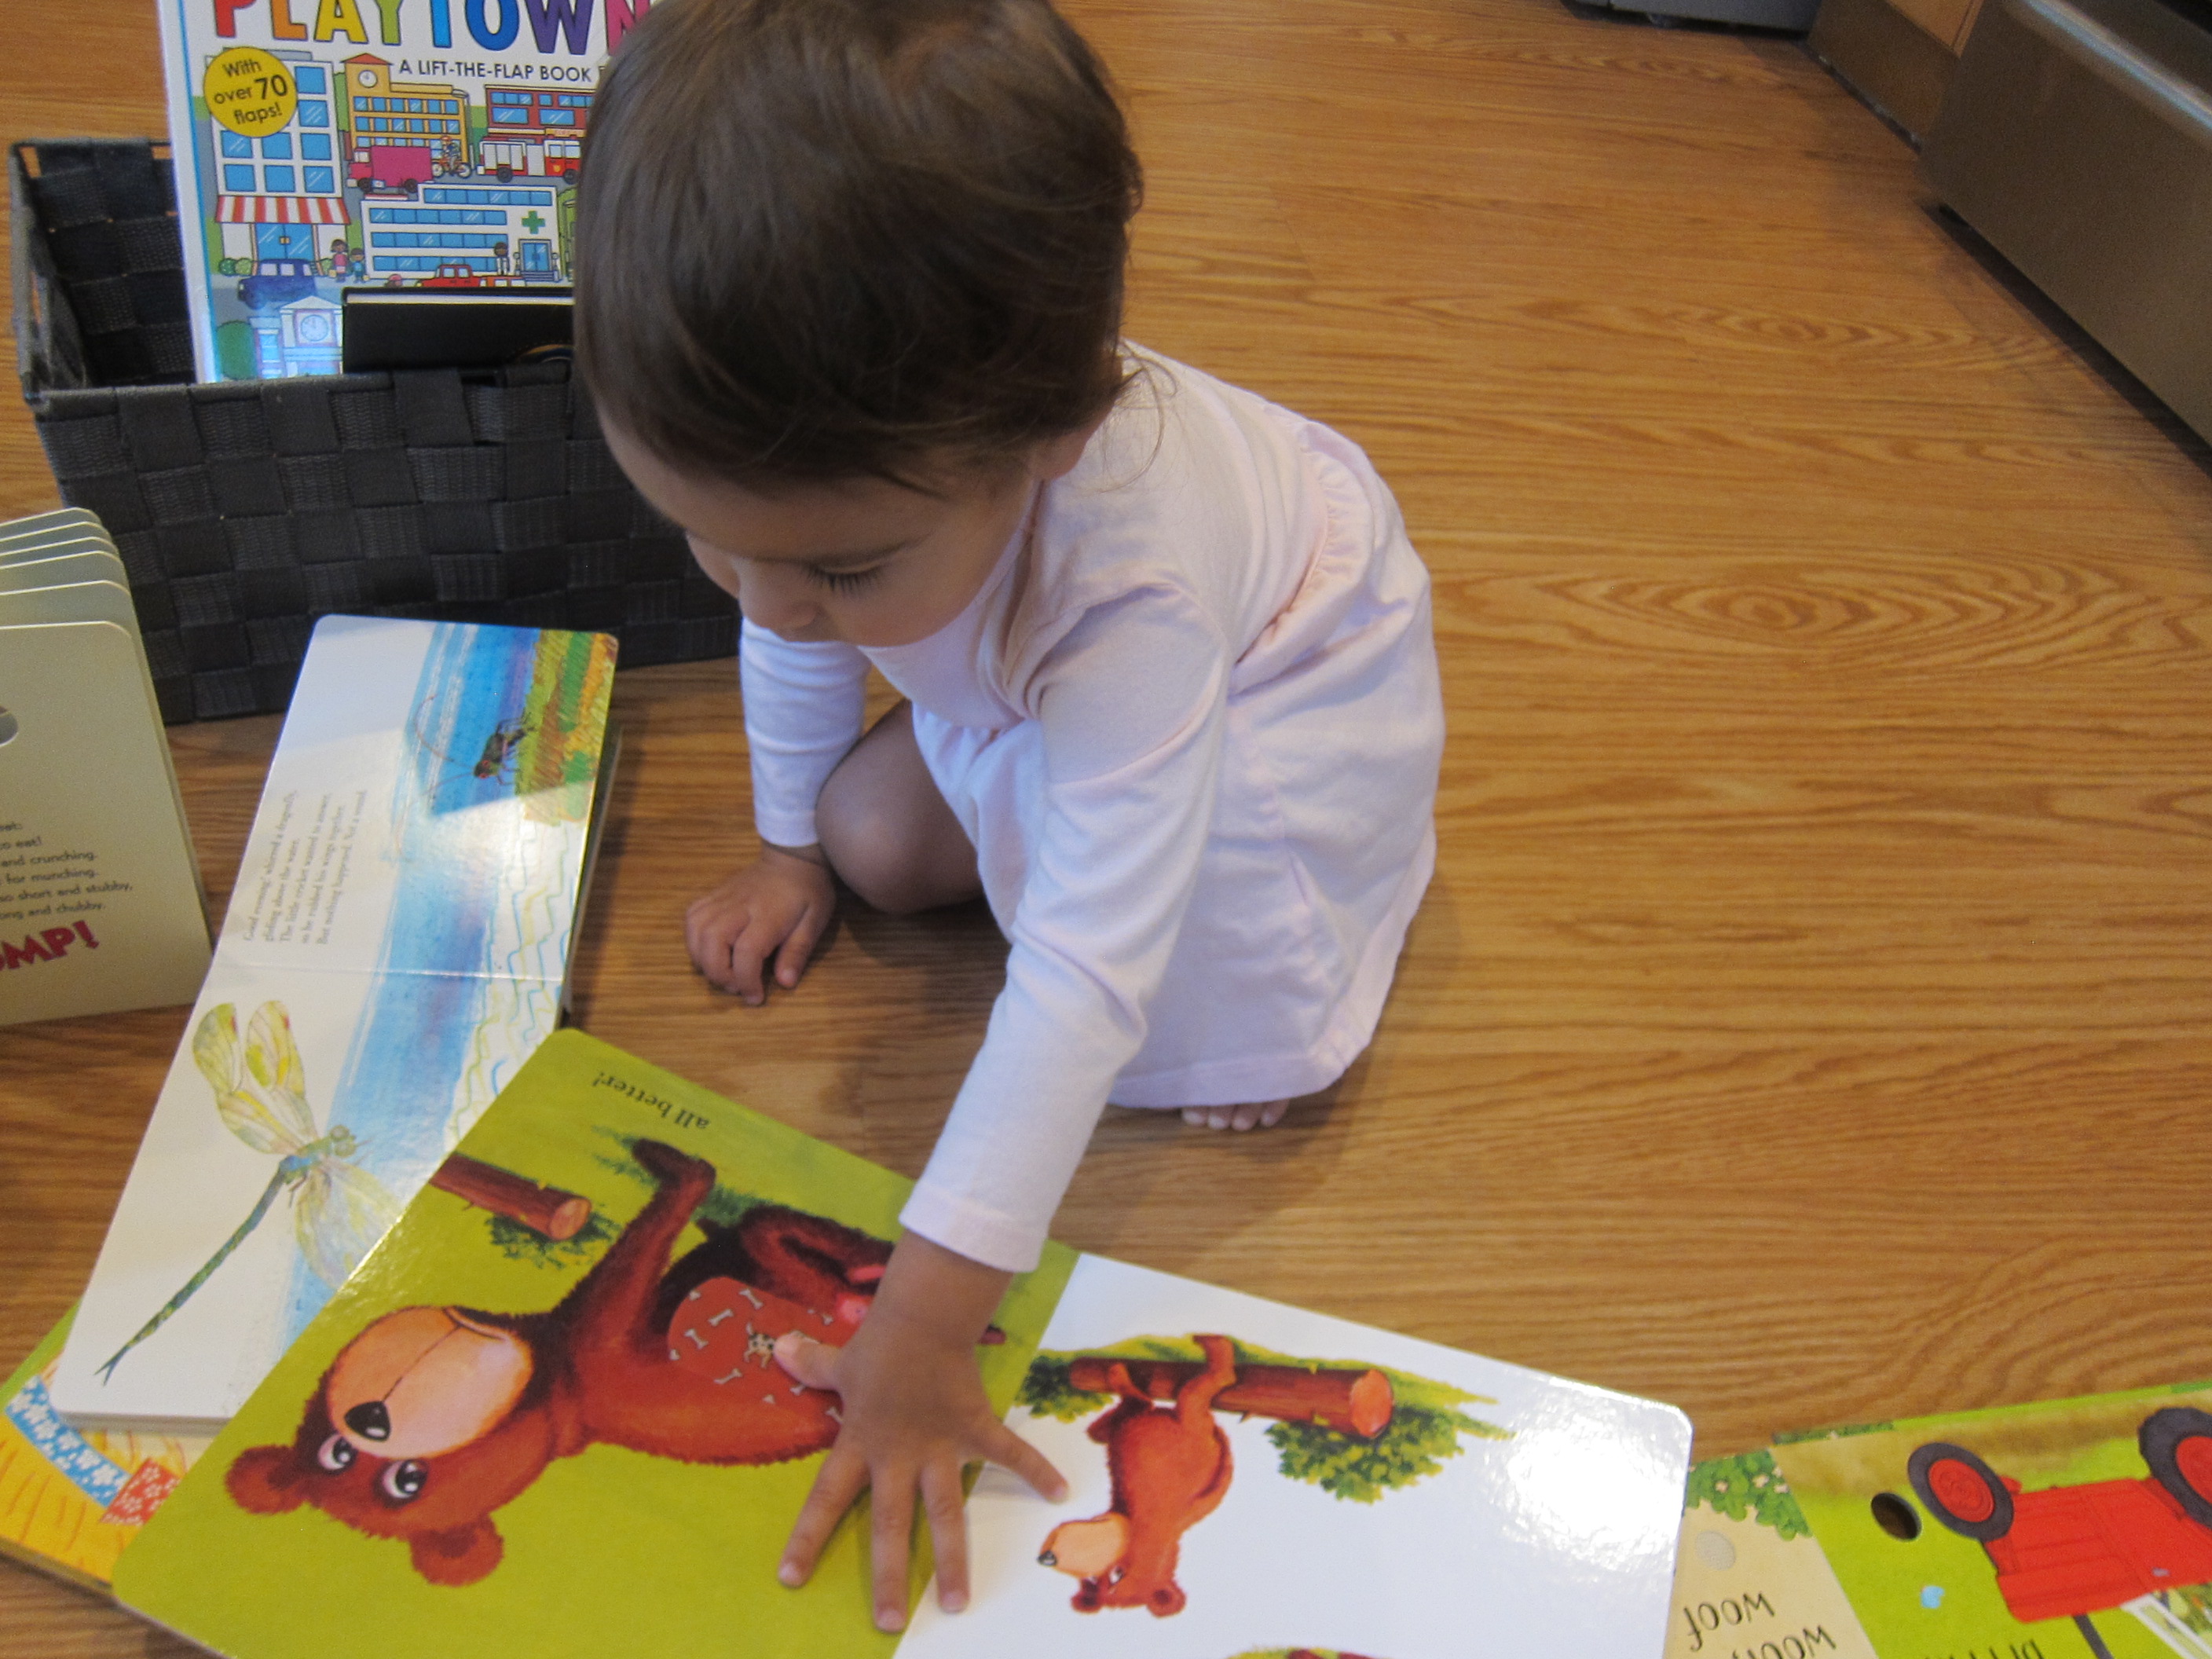
Books with props: First up in her bin was All Better, which has band-aids that your toddler can affix to owie’s on adorably illustrated animals. Trust me, this one never gets old.

Book Box (9)

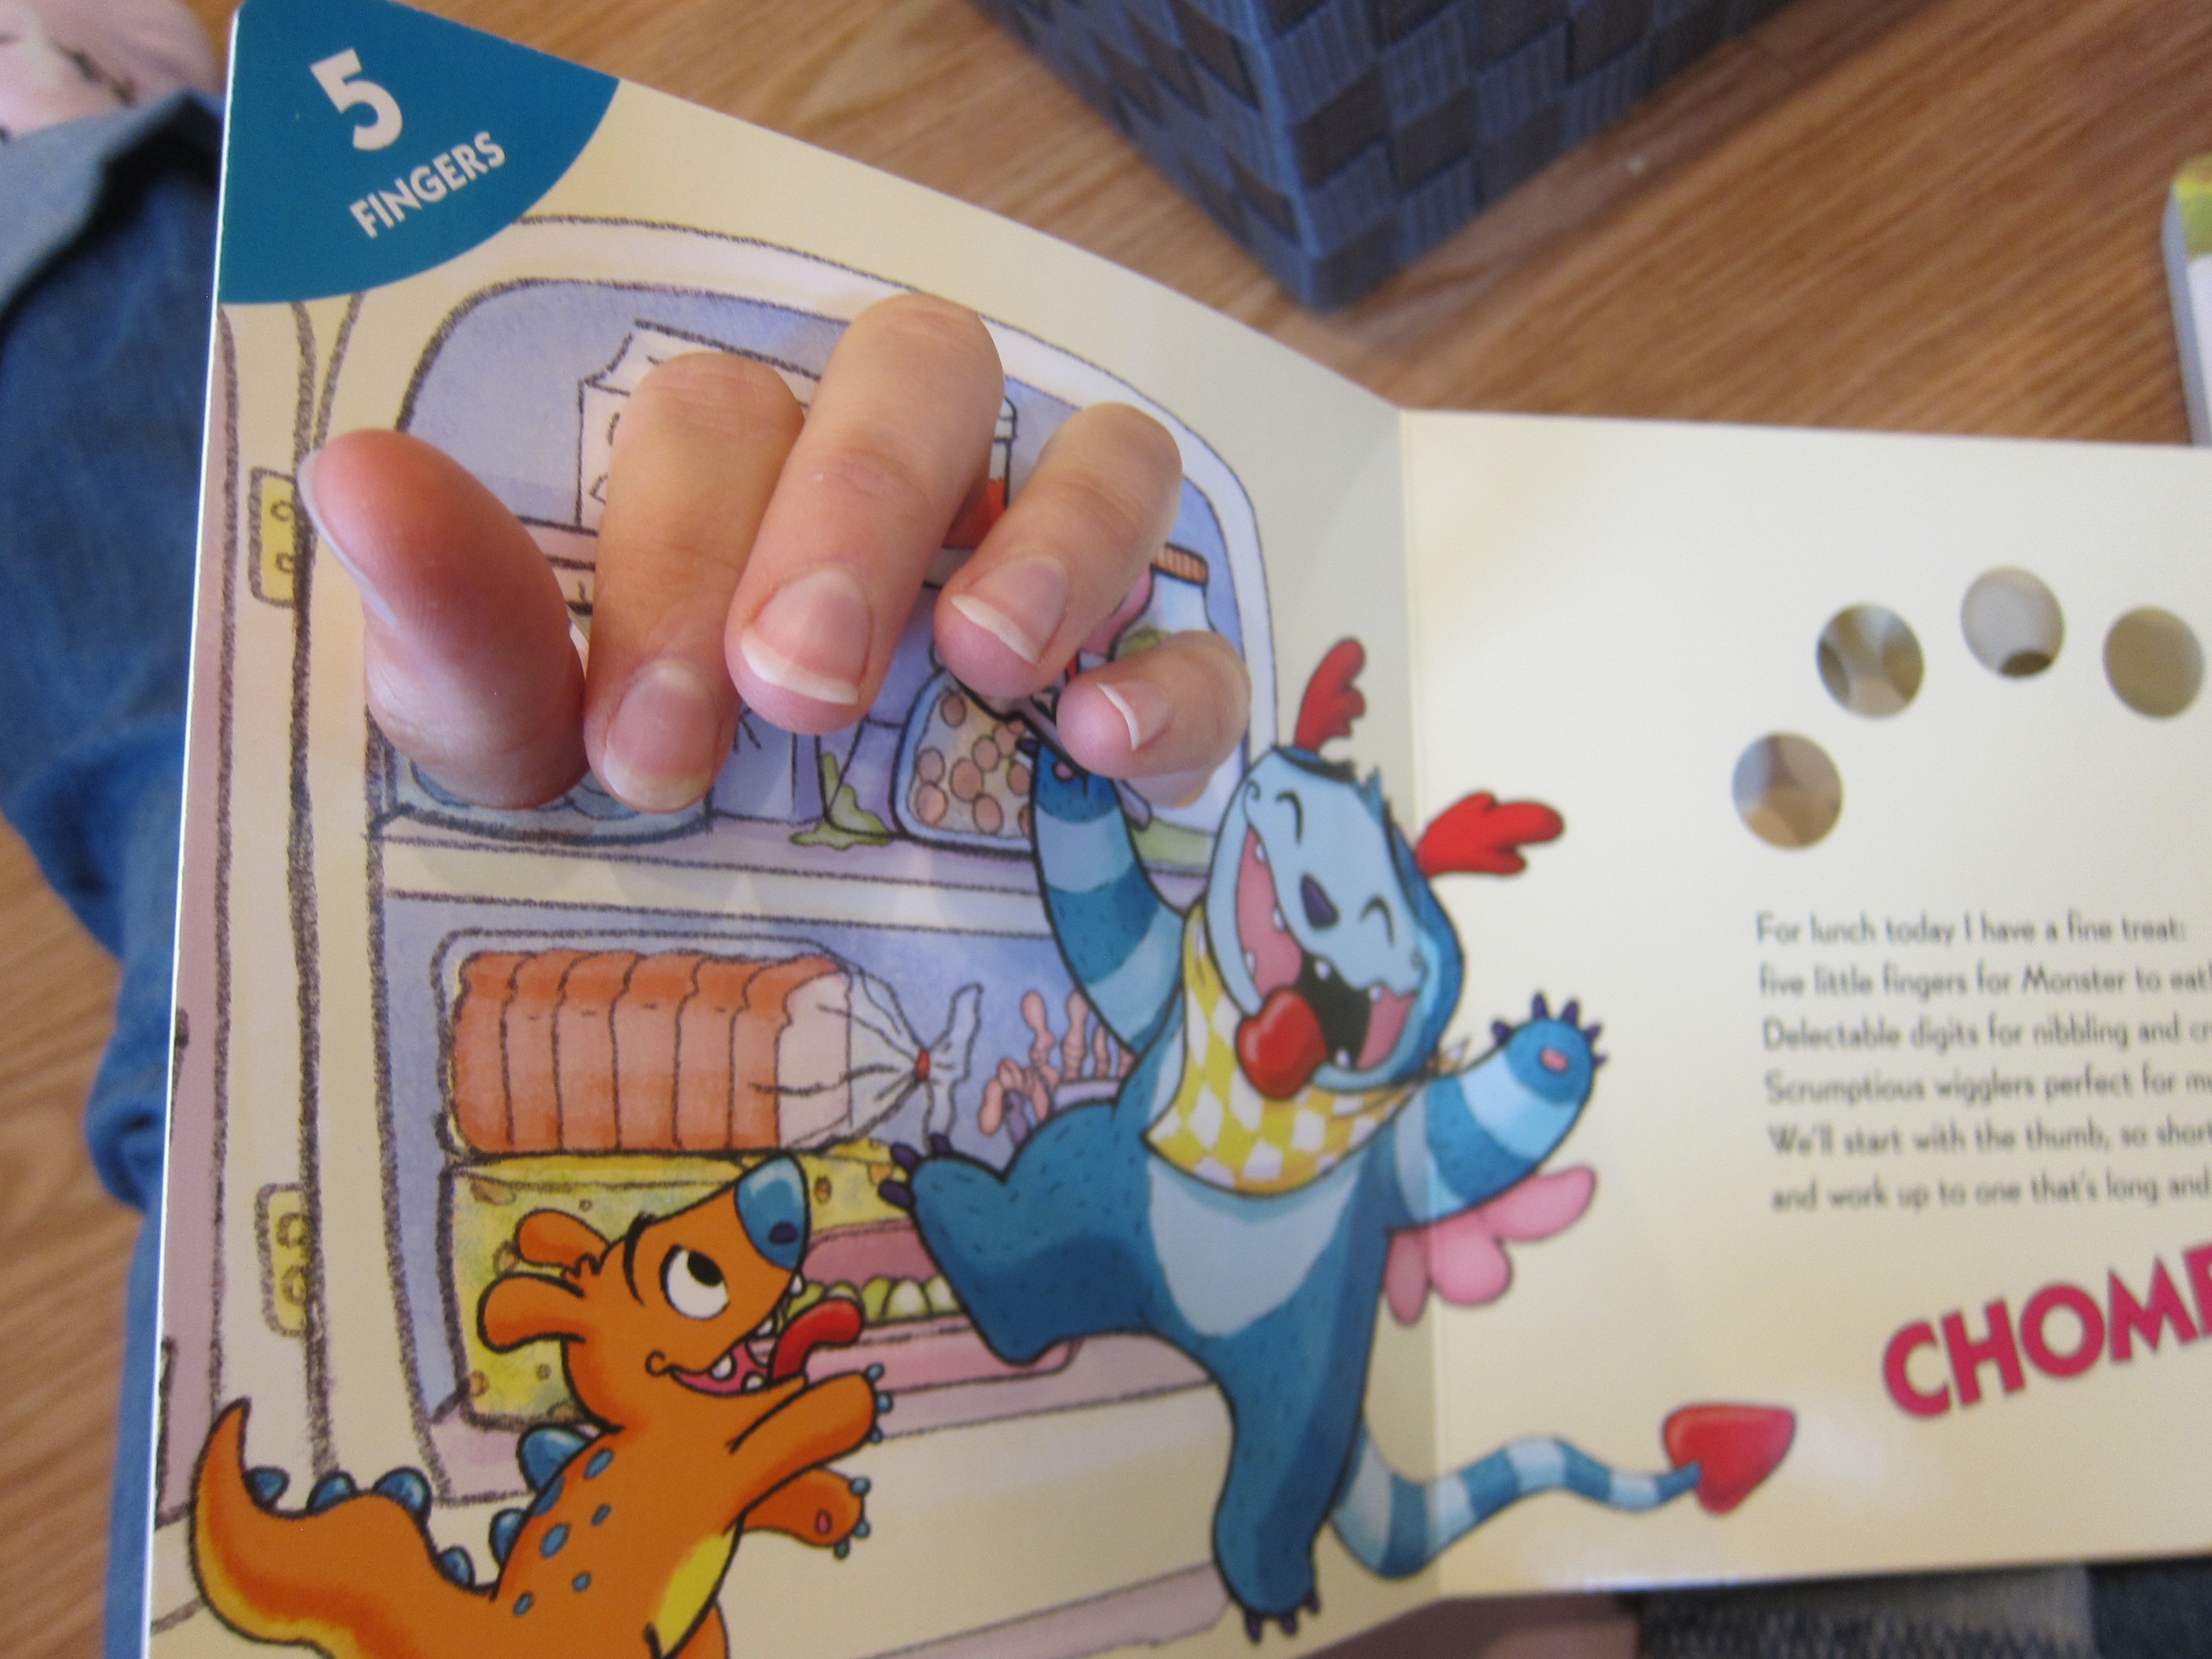
For something decidedly yuckier but that will make kids giggle, try Fingers for Lunch, with holes to wiggle your fingers through before a monster chomps them off.

Book Box (6)

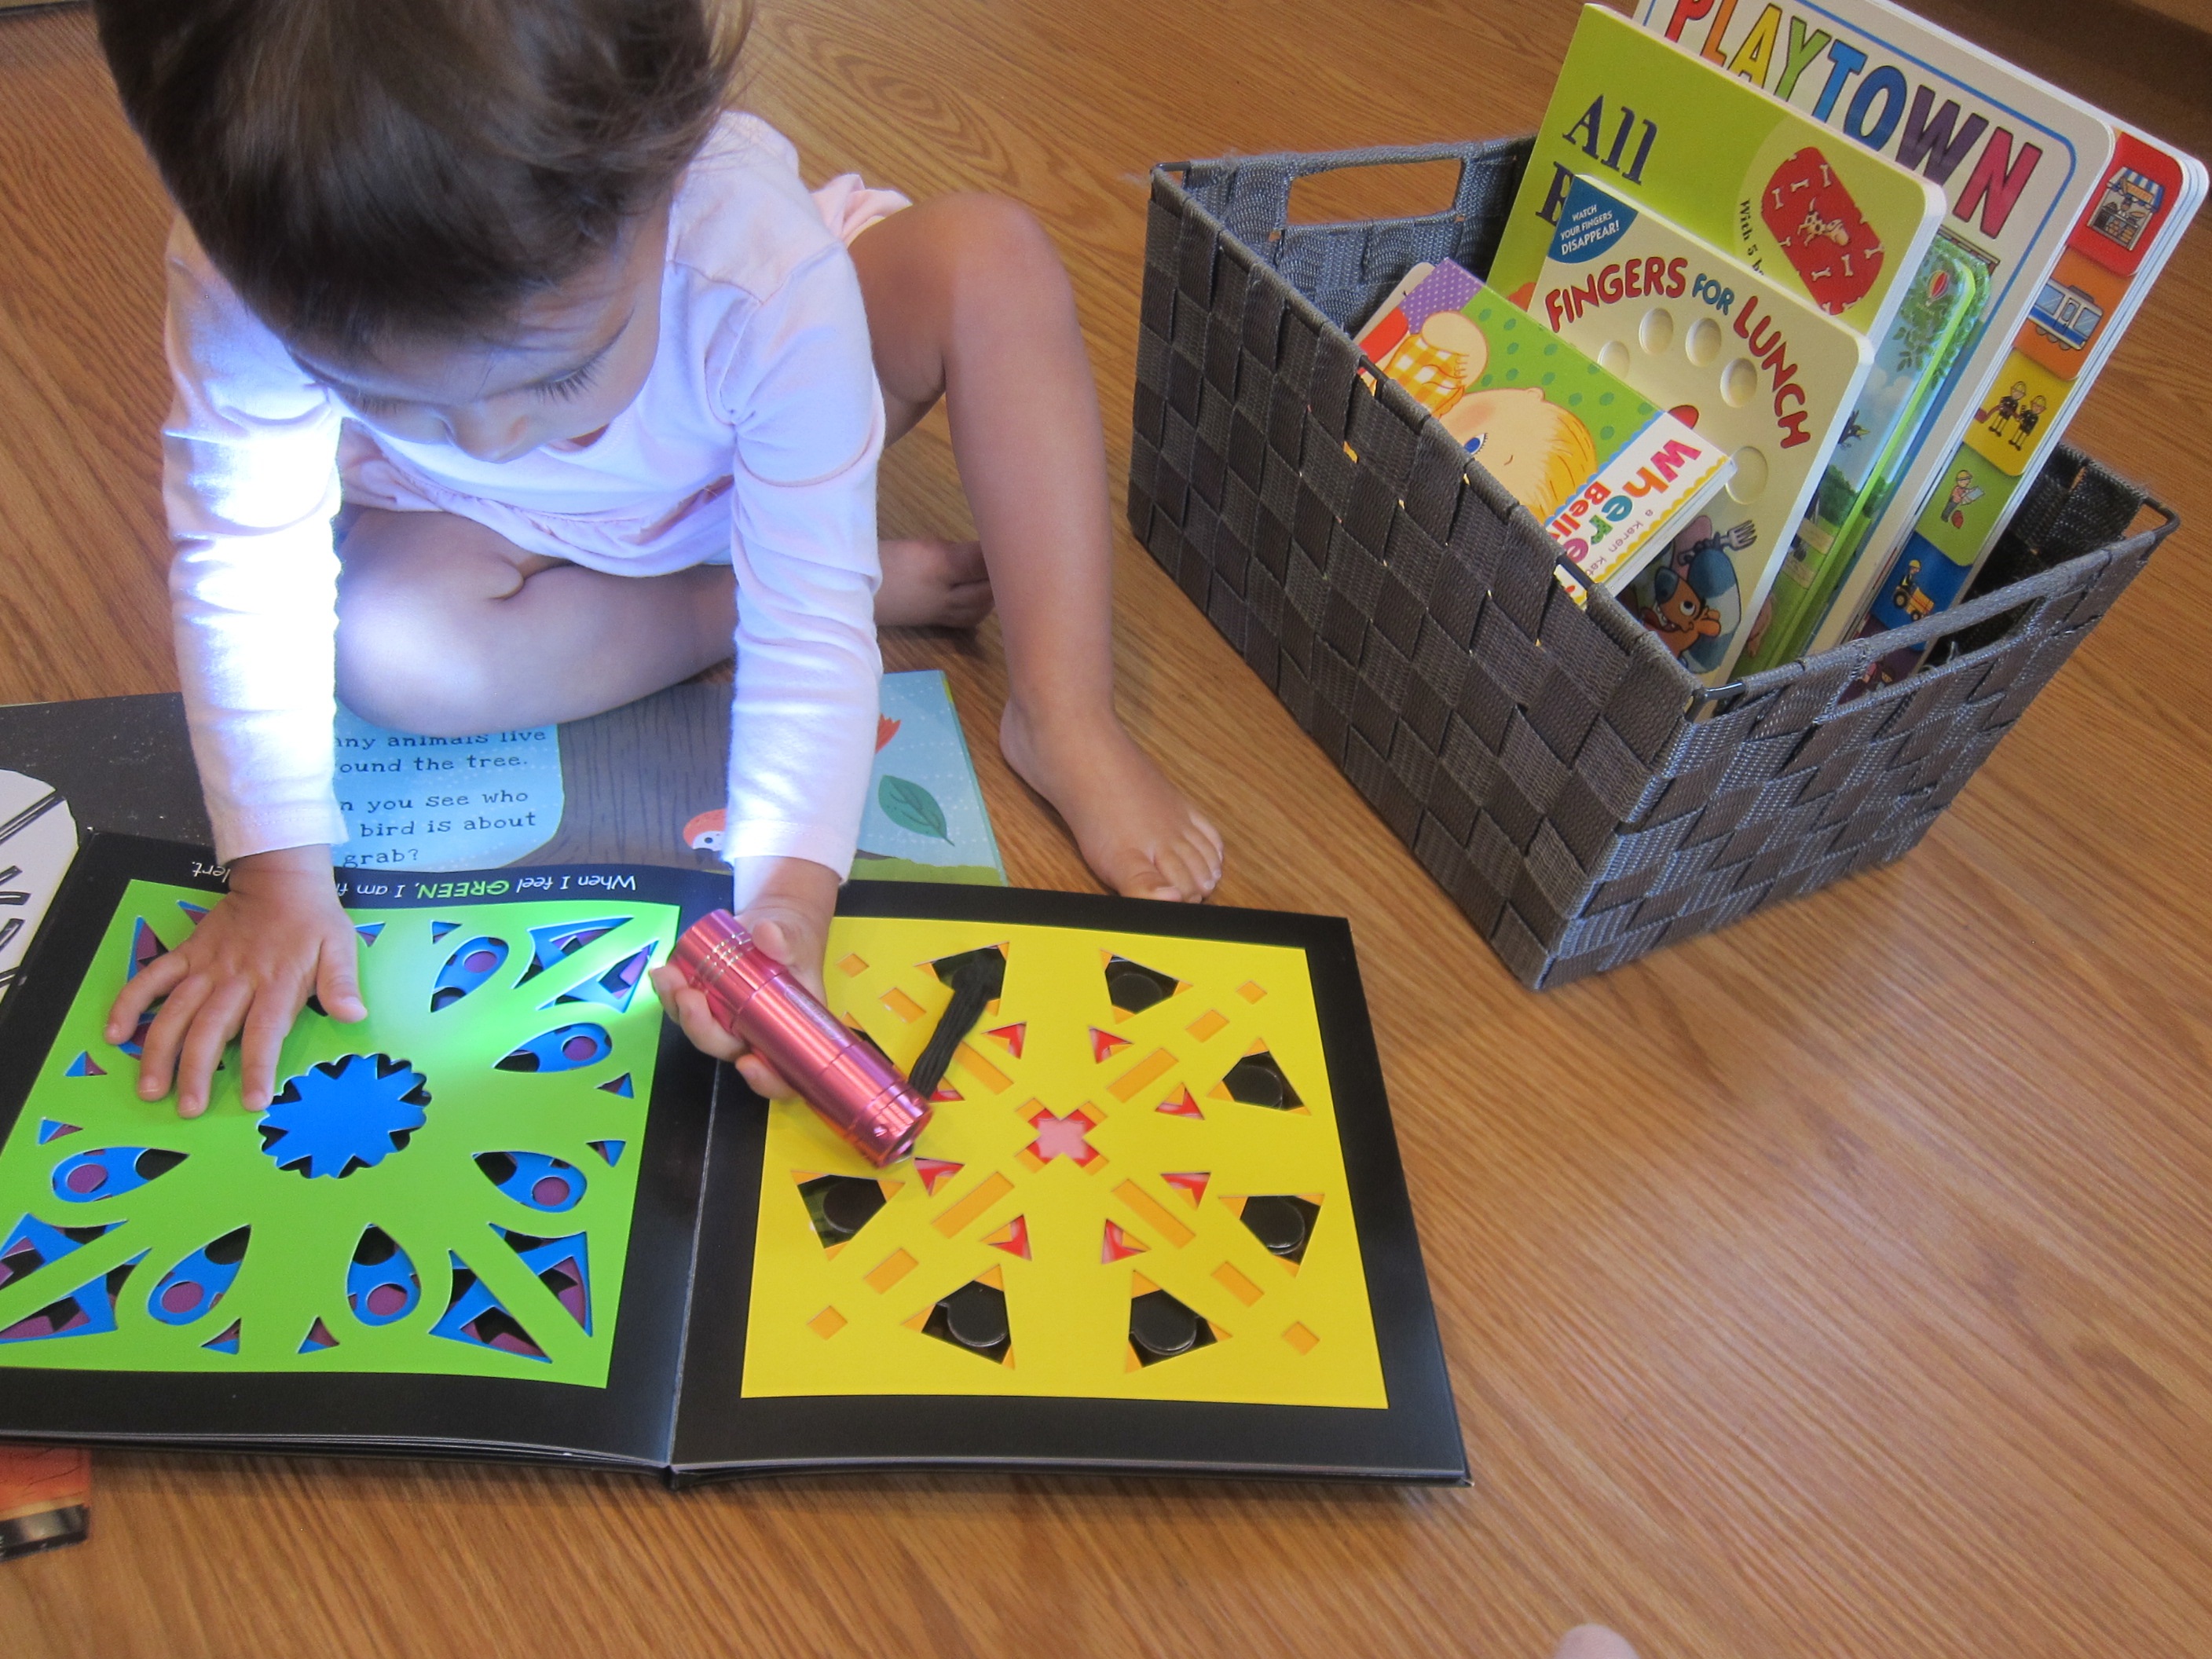
Finally, consider books that use flashlights, like any in Usborne’s Shine-a-Light series. When Veronika spotted the flashlight in her bin, she used it on all the books, not just the Shine-a-Light!

Book Box (13)

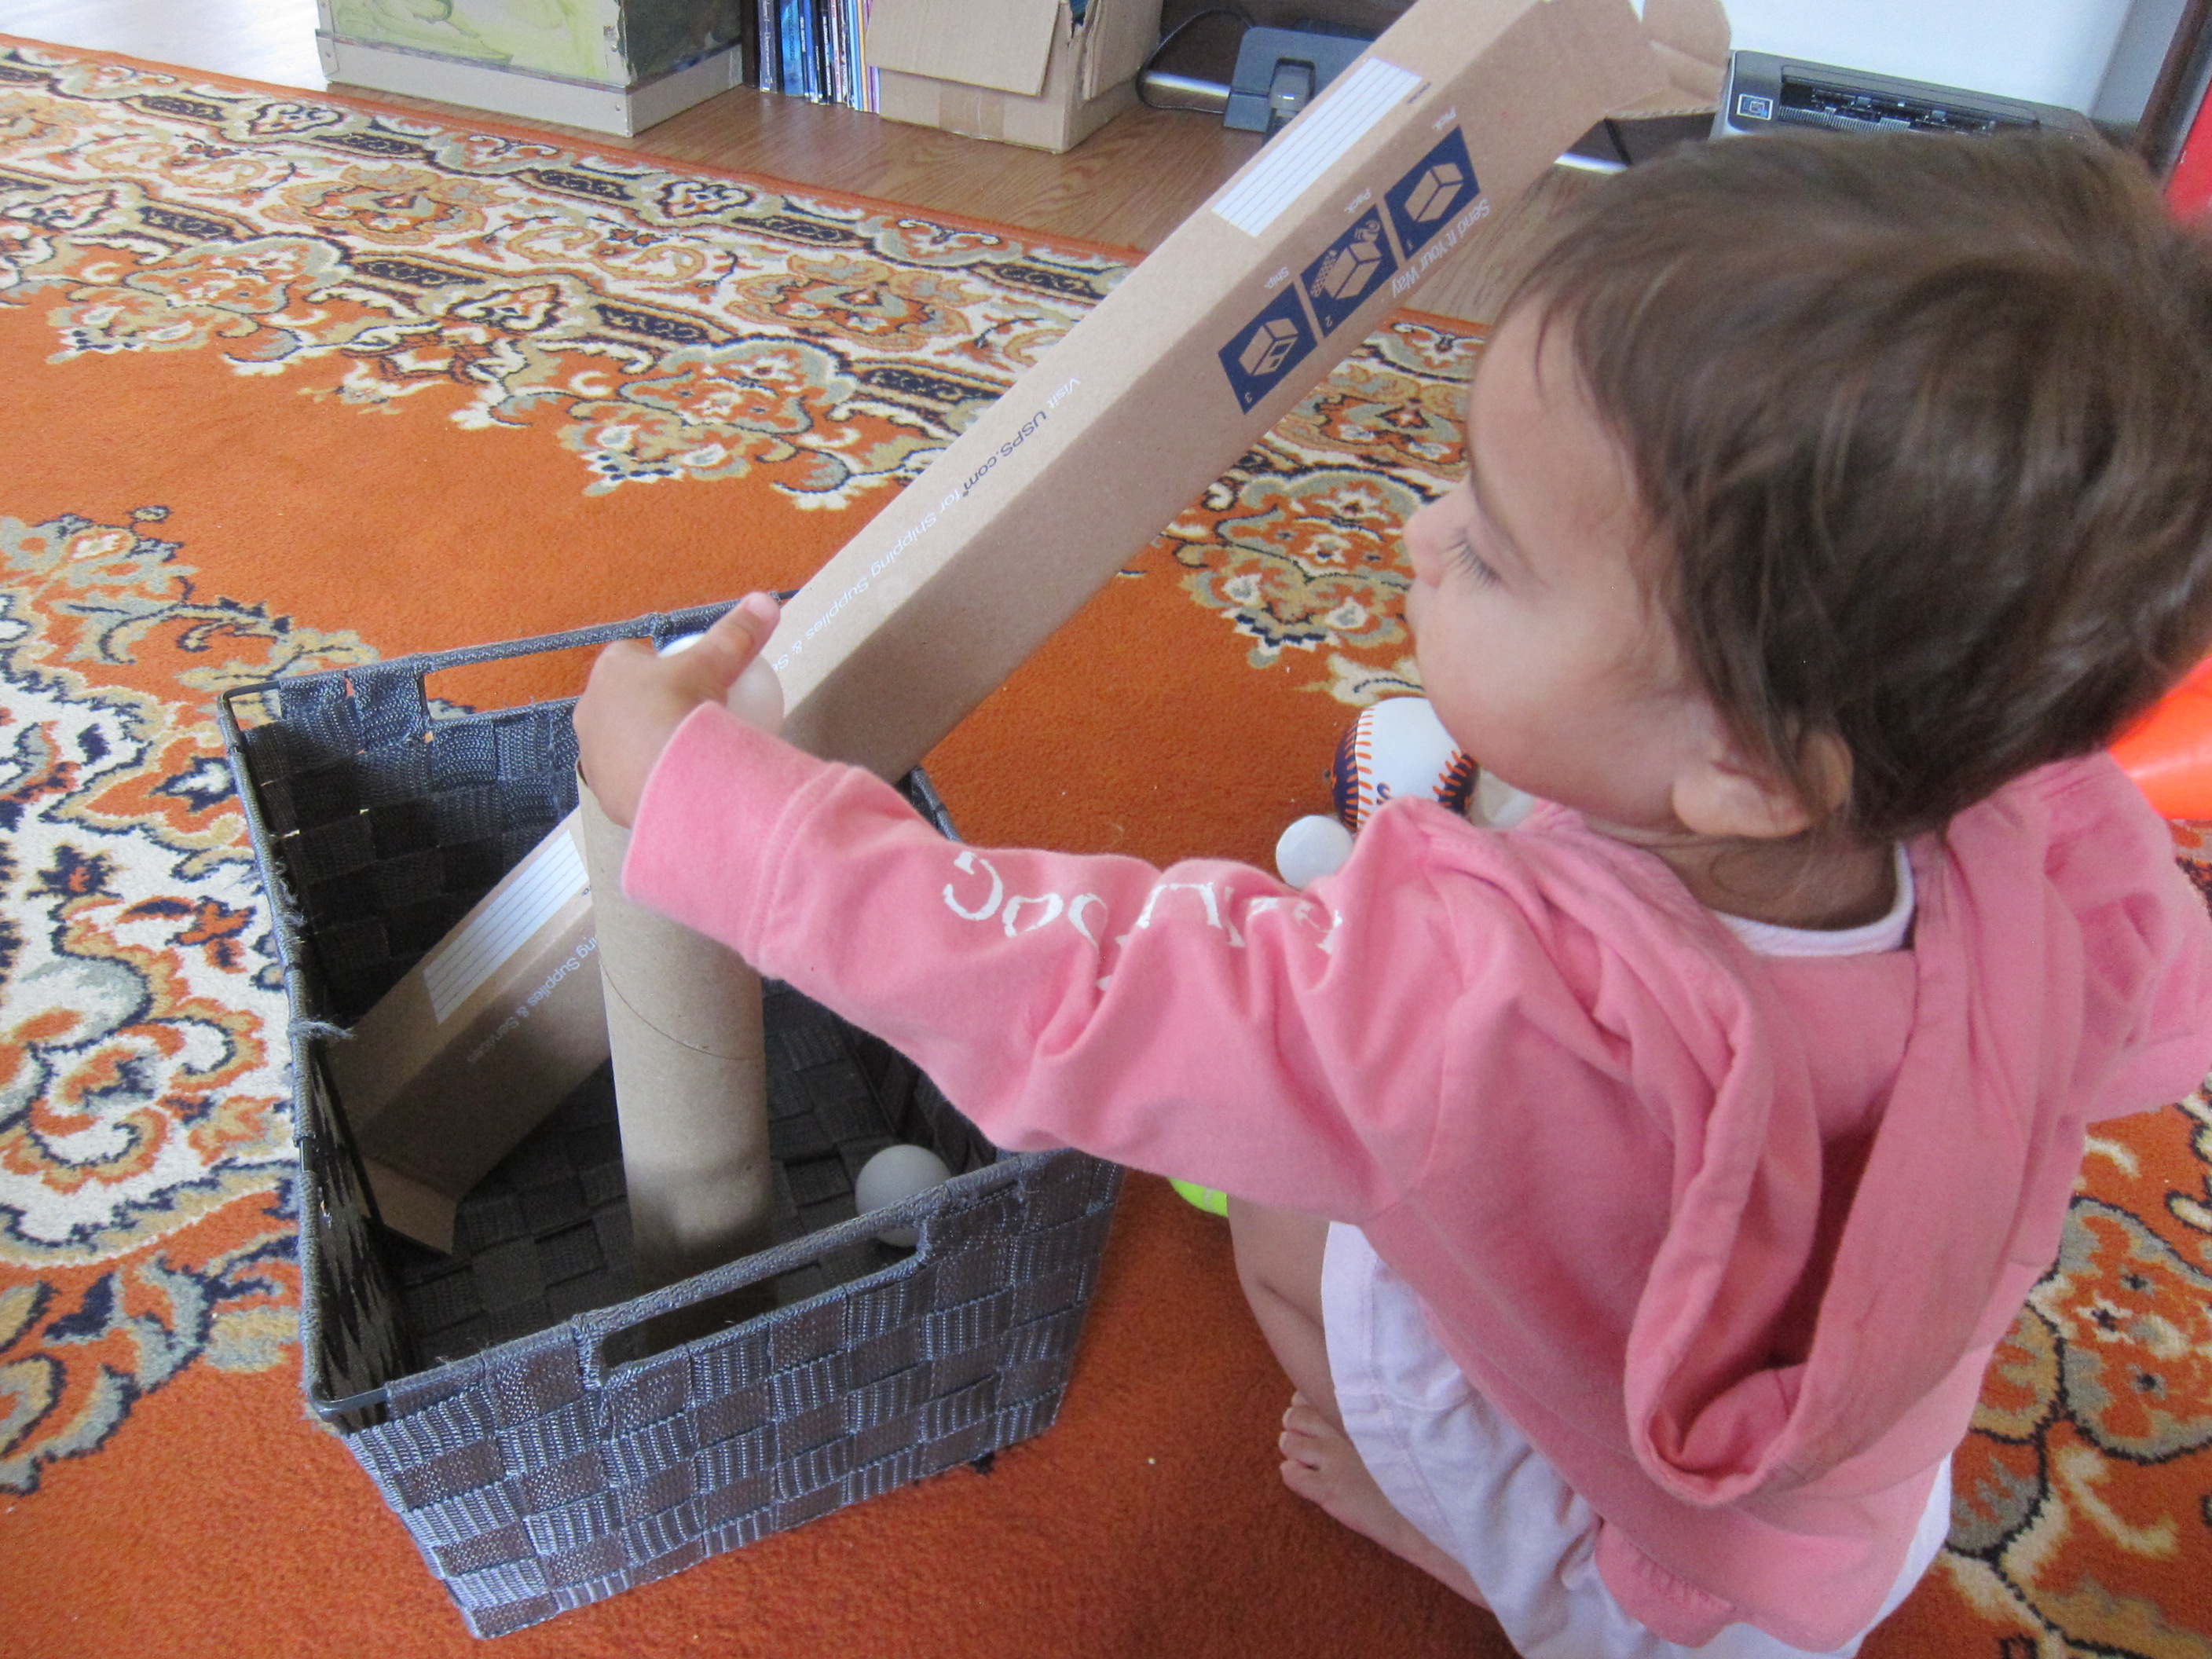
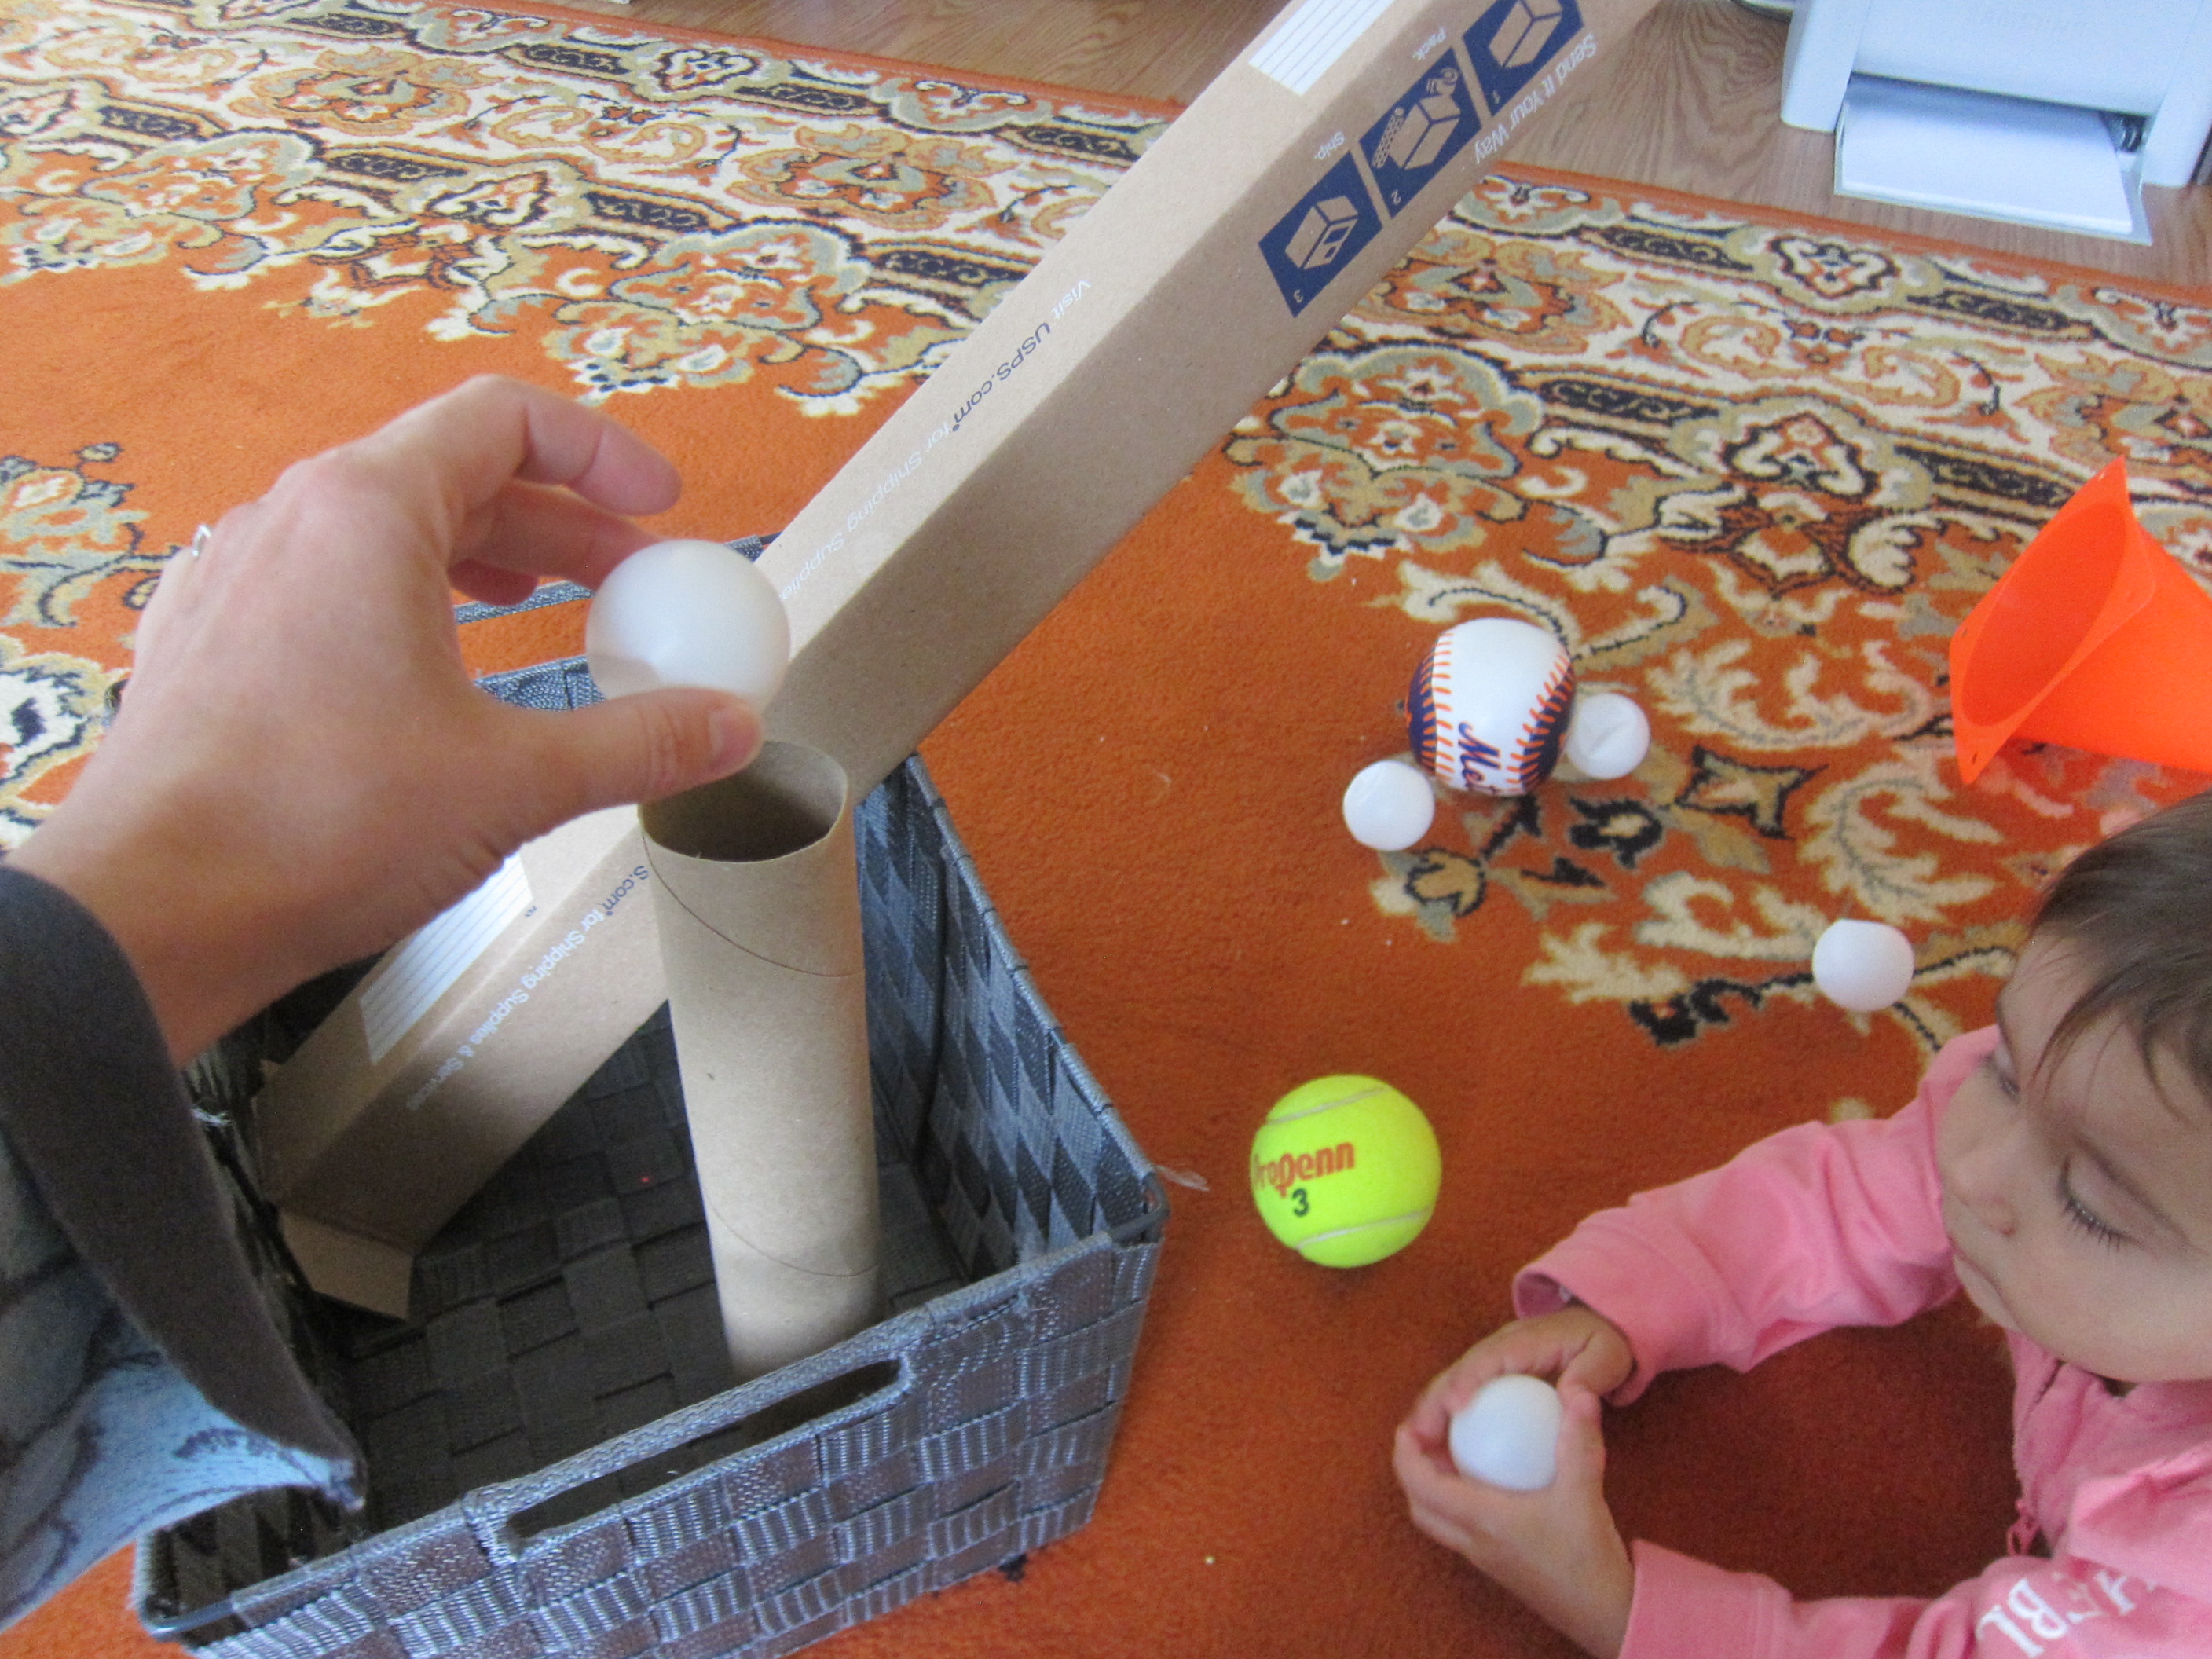
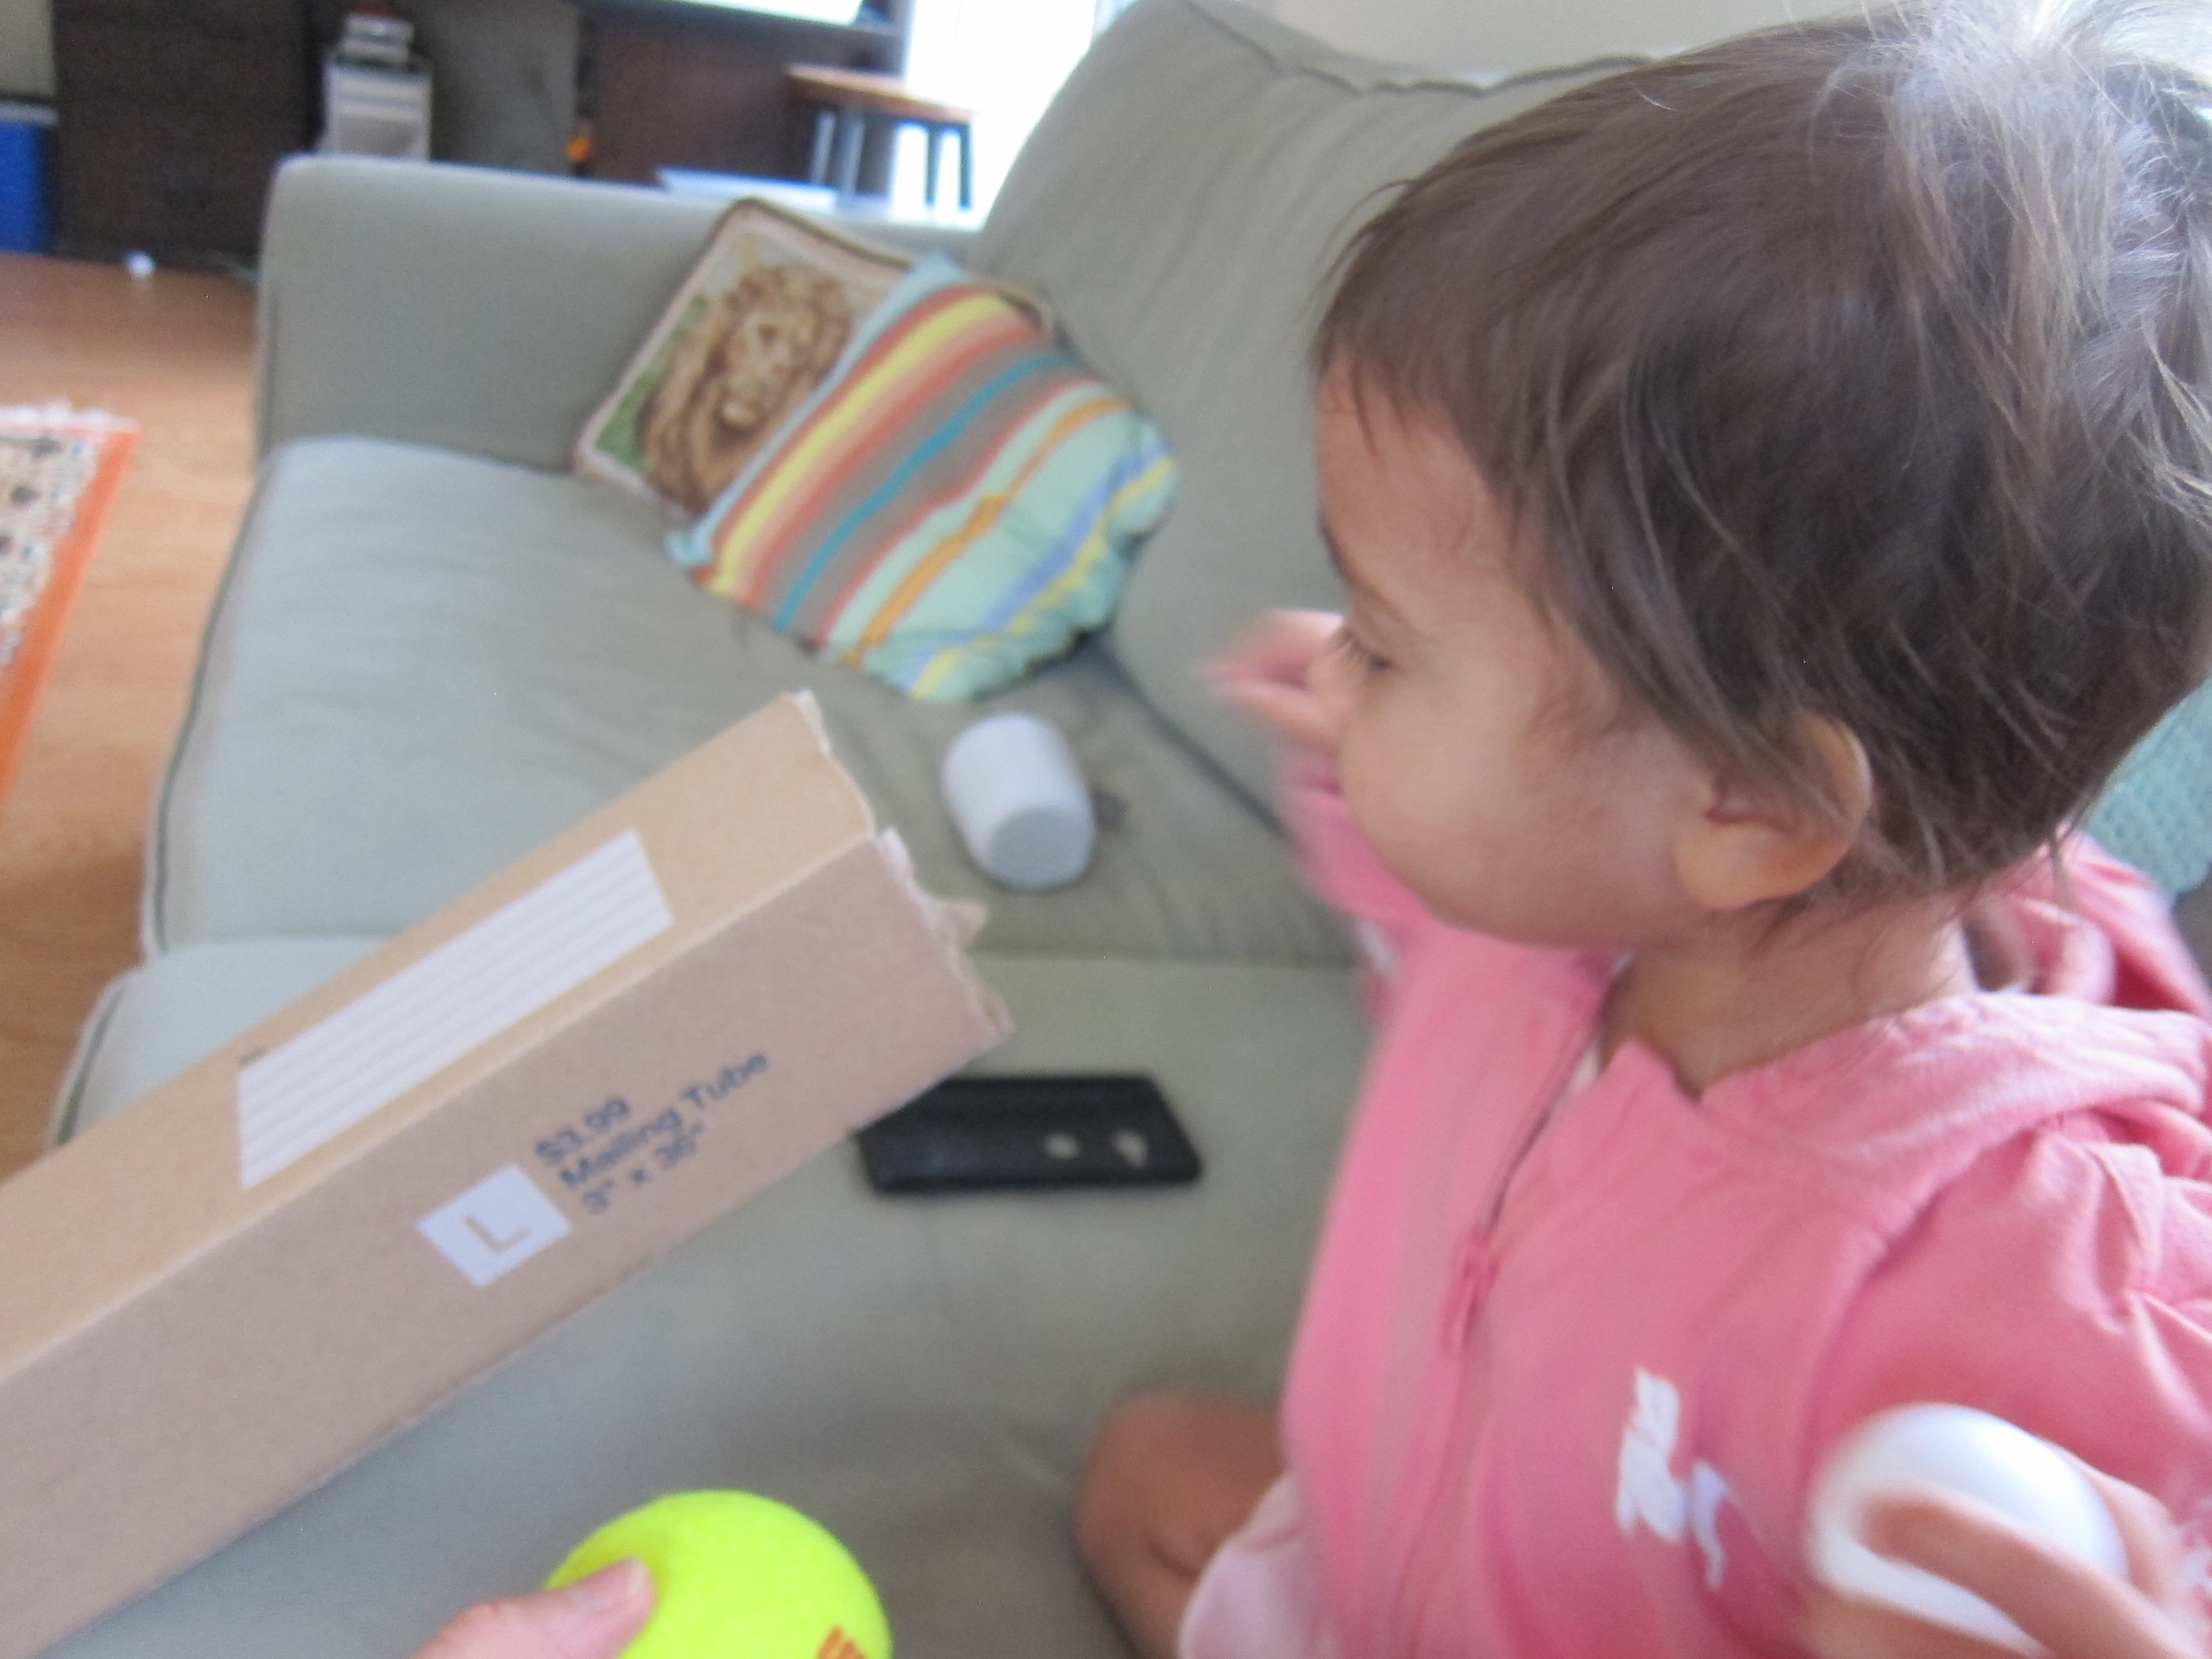
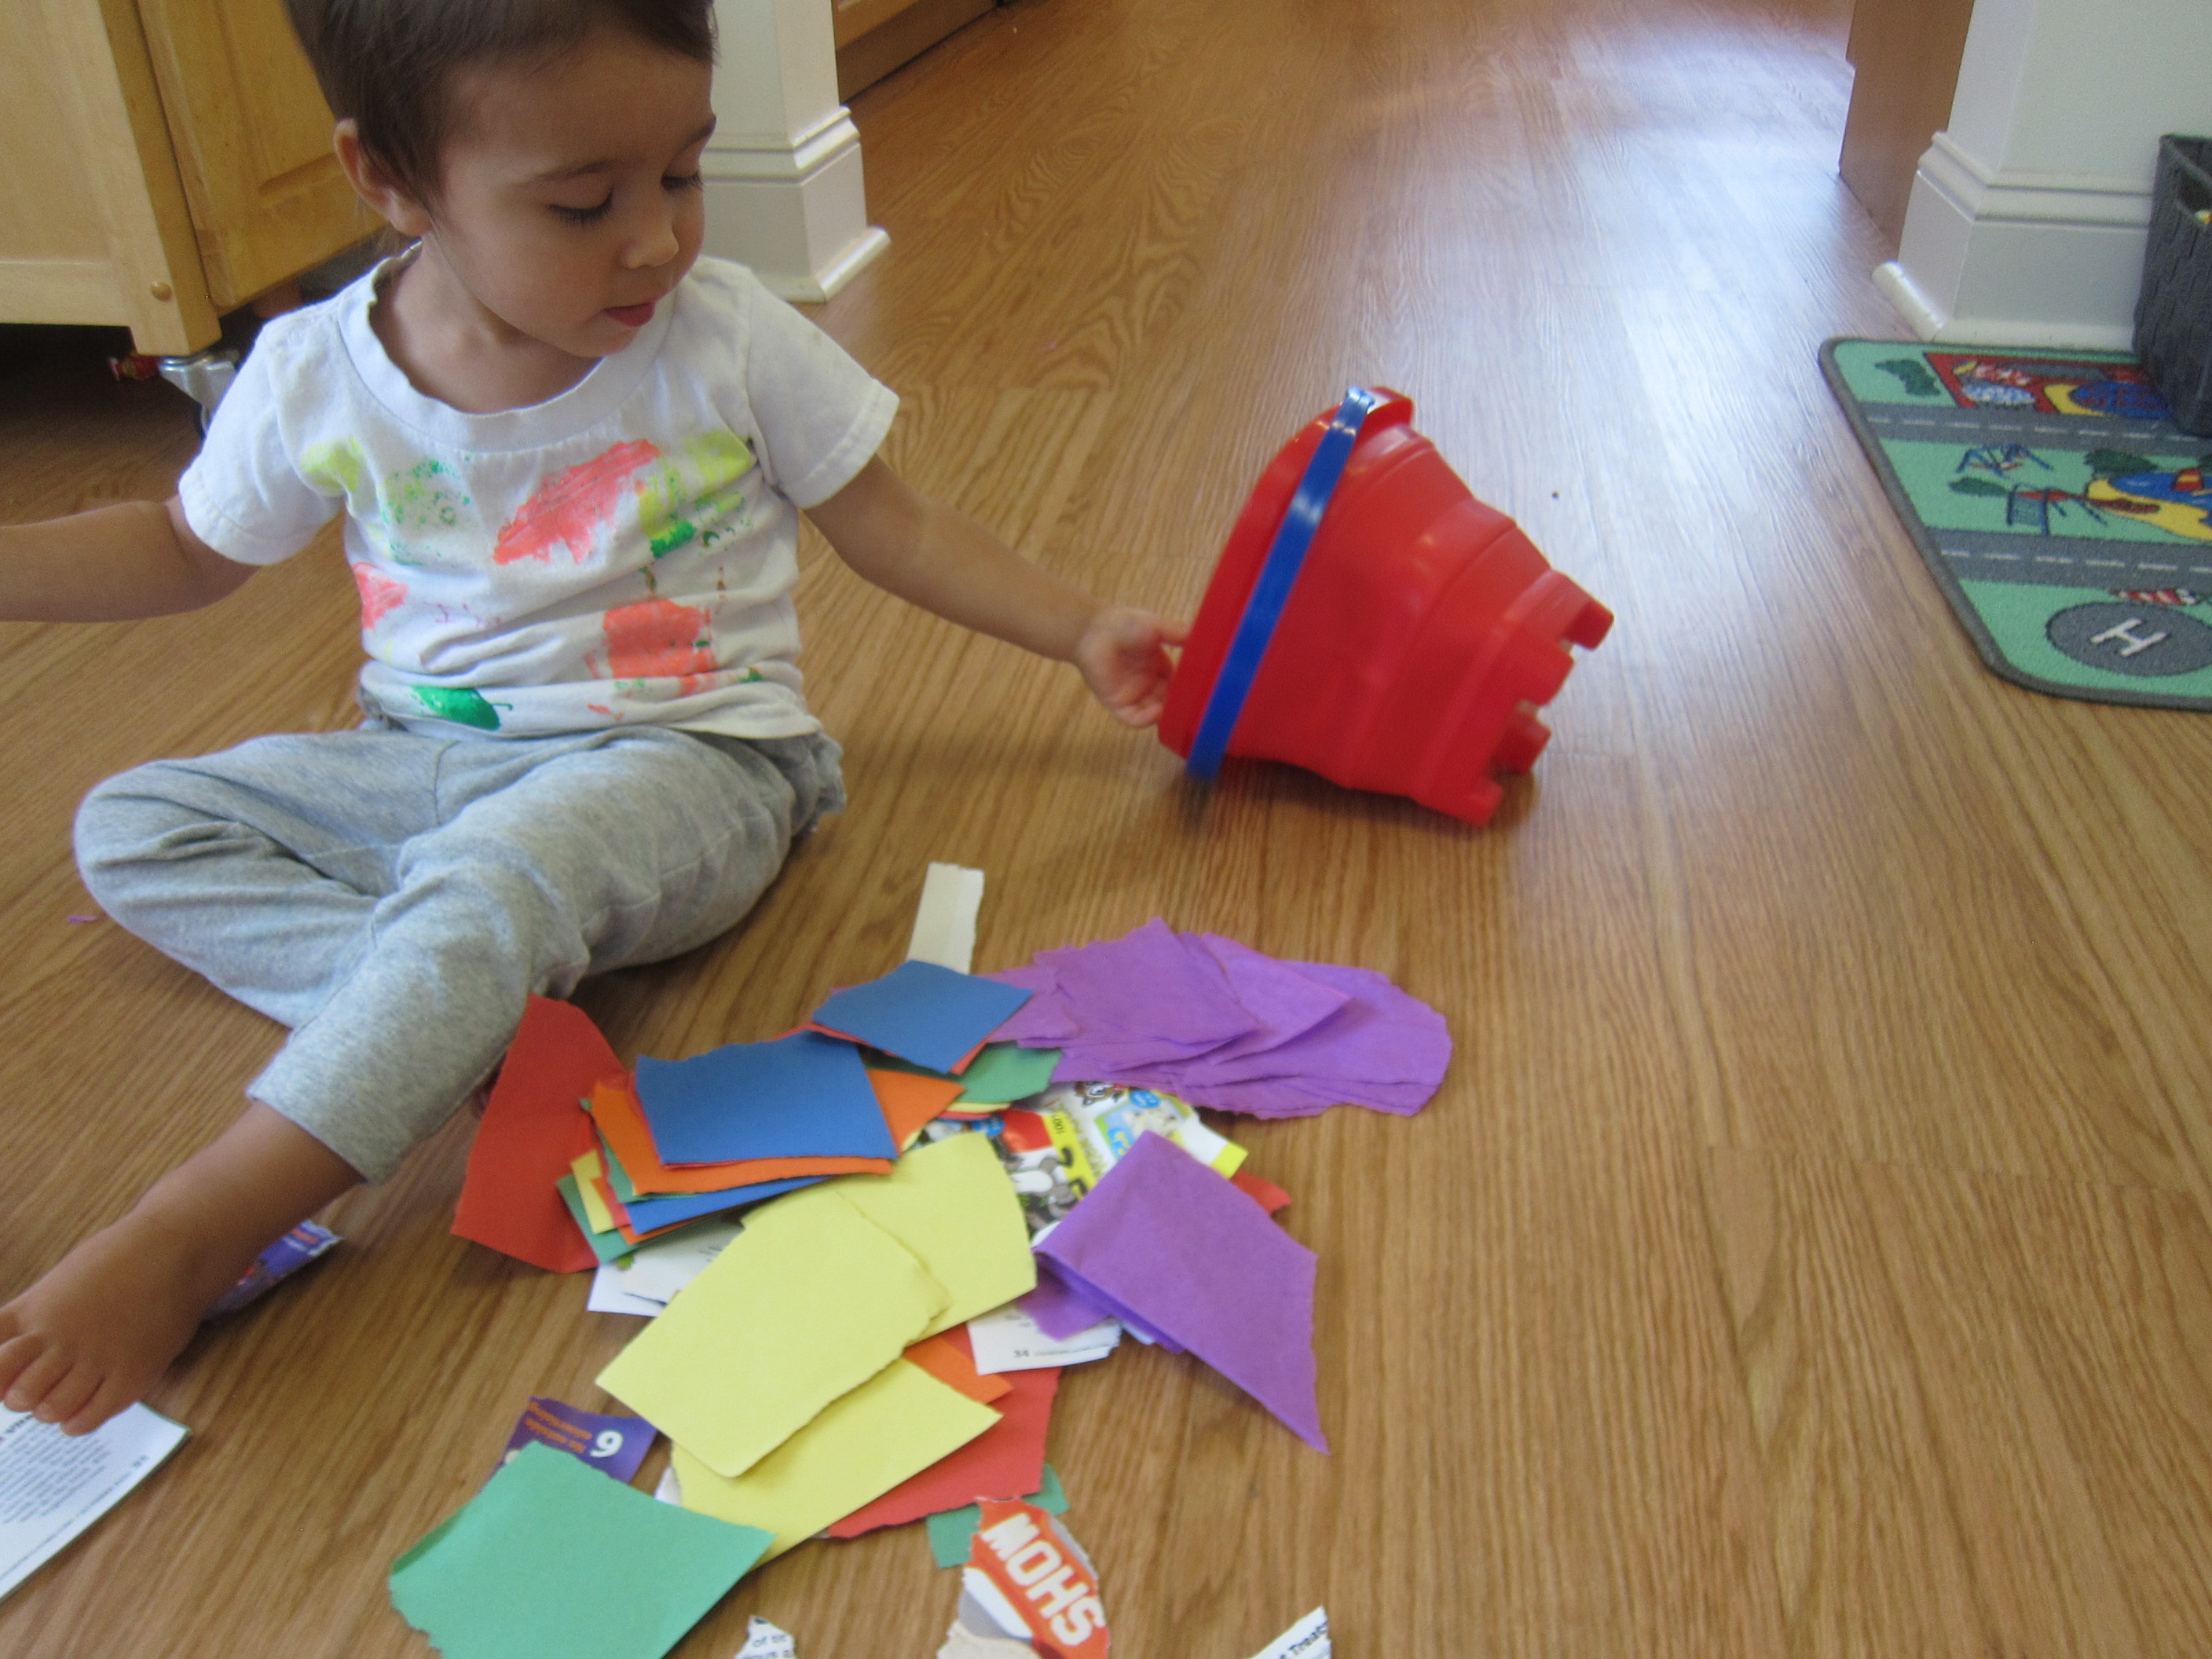
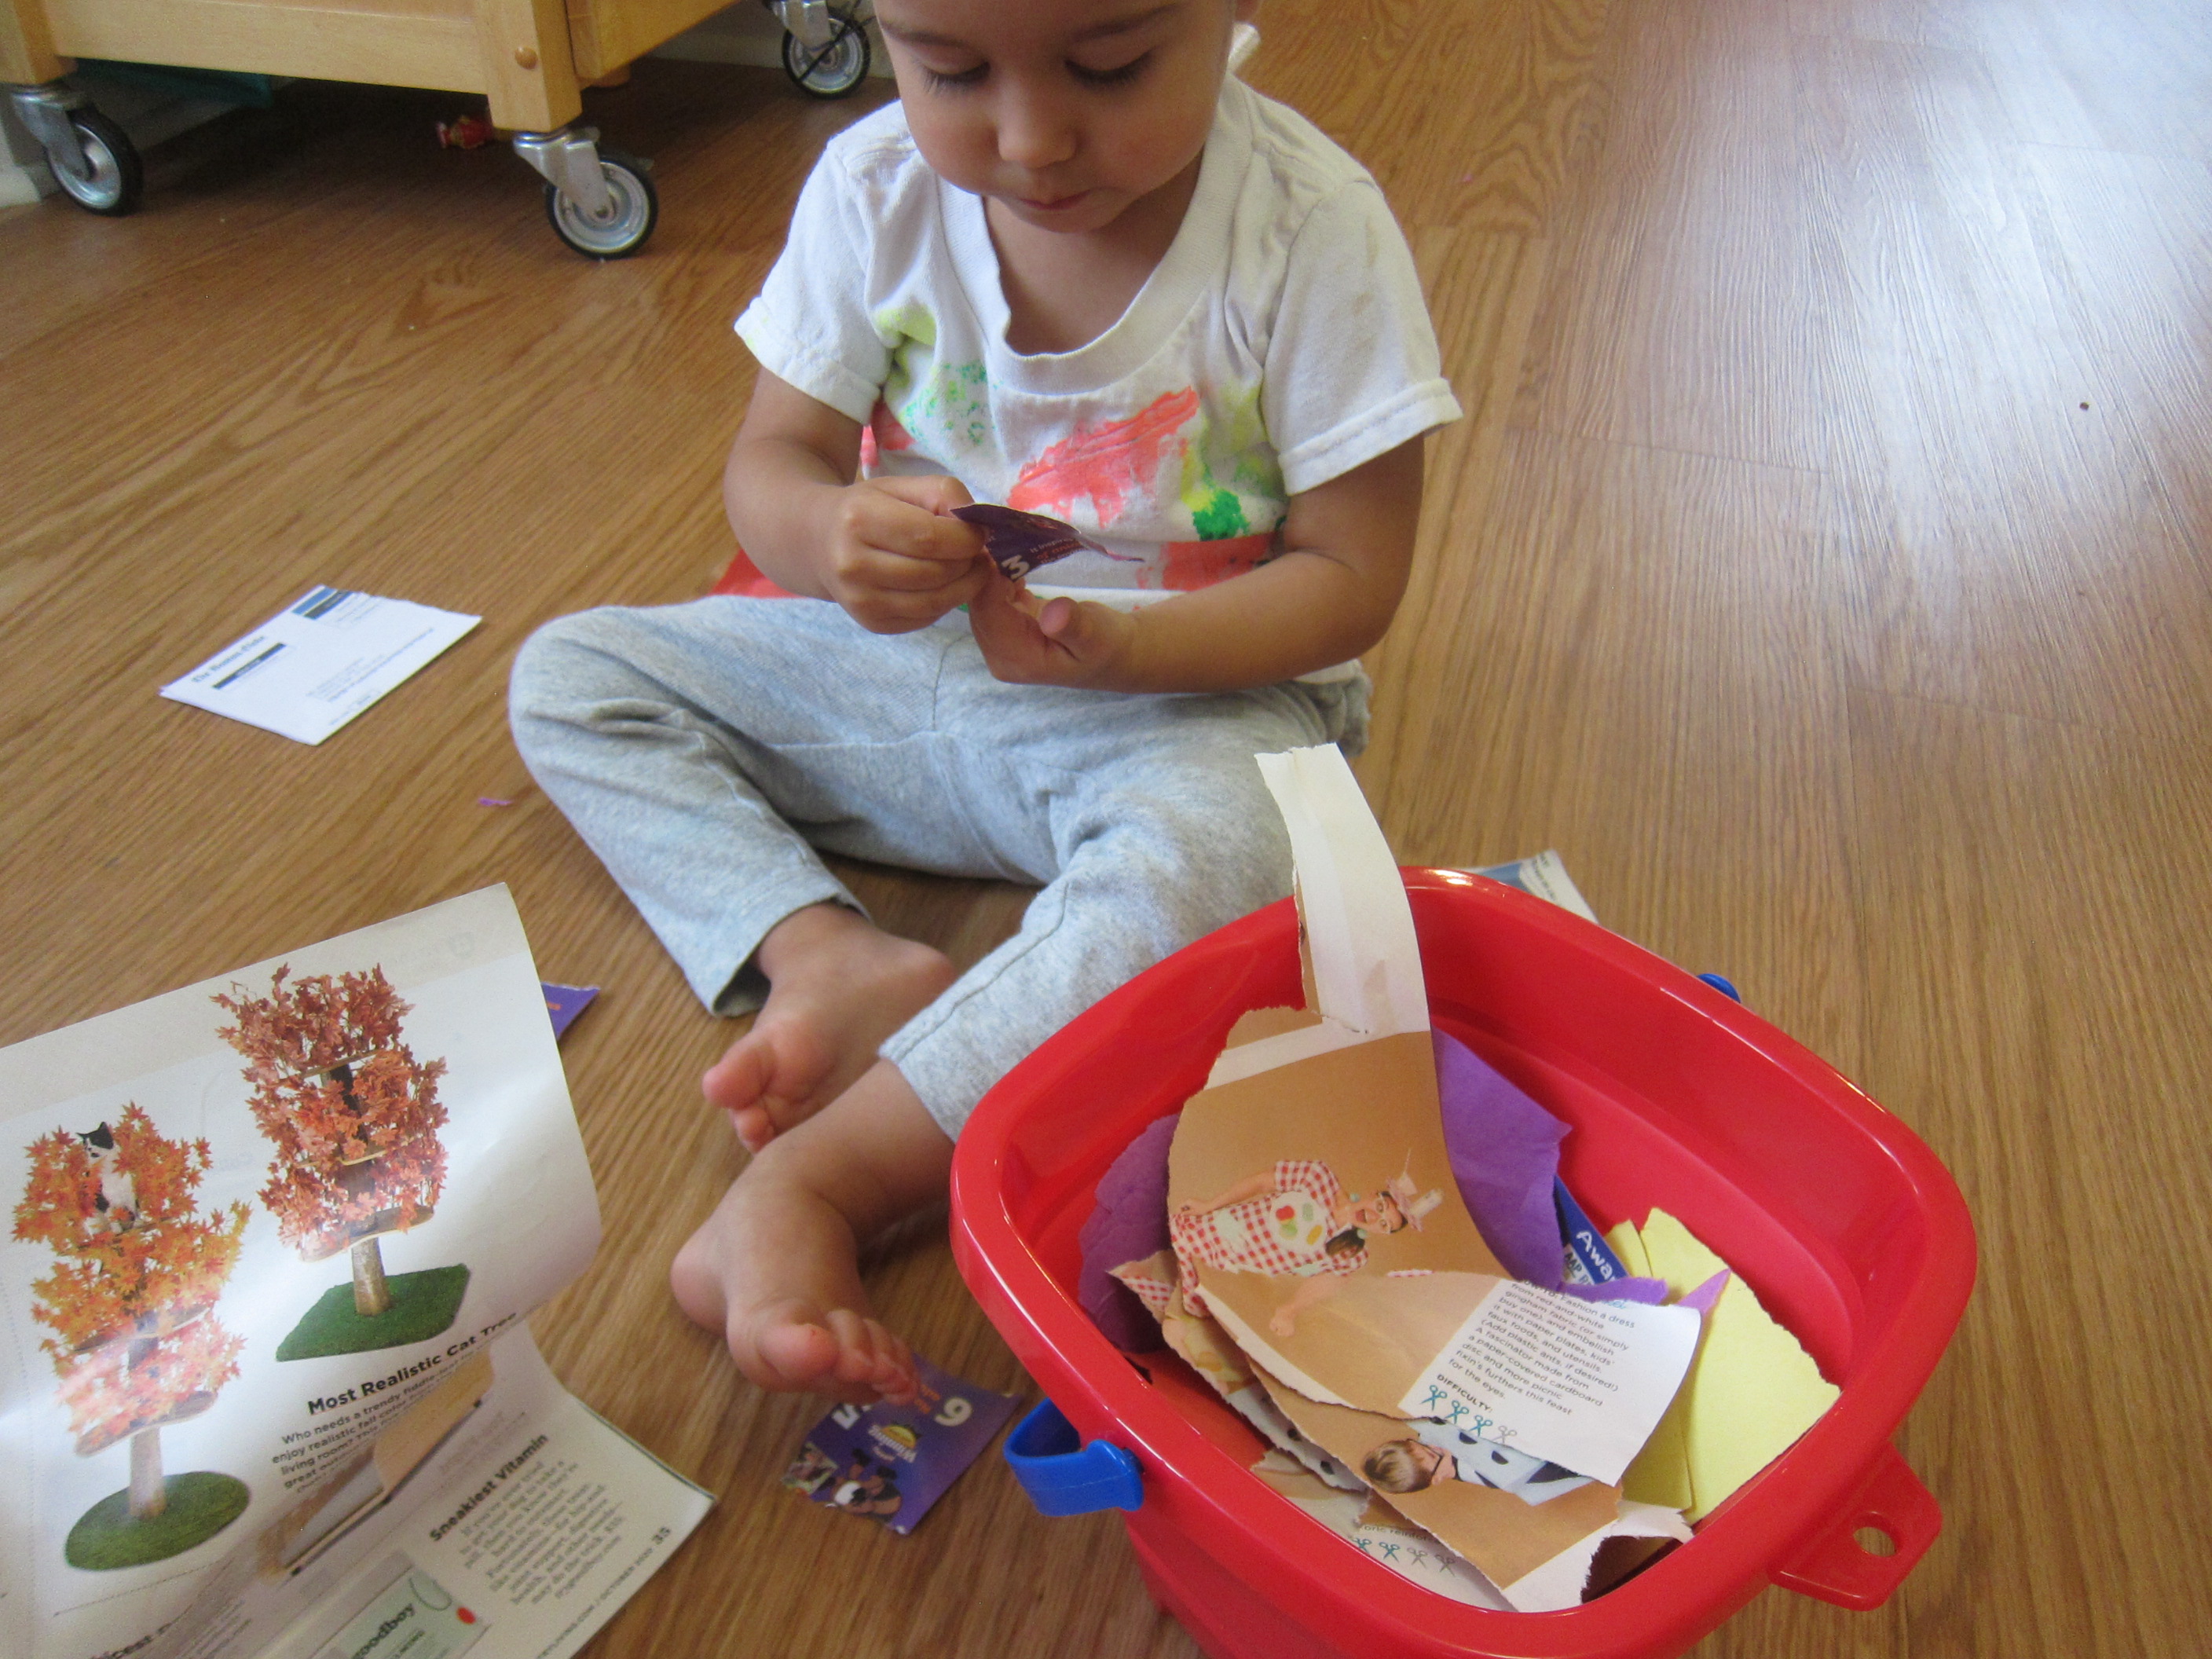
If that’s not enough to keep your toddler happy, plop him or her right in a box to read instead!

What would you put in your toddler’s Book Box? Please share in the comments!

Book Box (14)

Ripping Bucket

Ripping Bucket (8)

I’ve given Veronika paper to rip before, a fantastic way to develop strength in little hands, but today we turned it into a slightly more purposeful activity. This game is great because it can keep little ones busy solo for a while, or serve as an activity to do together.

First I filled a toy bucket with various types of paper as a sort of “invitation” for Veronika. I included an old magazine, colored construction paper, a few pieces of junk mail, and bright tissue paper. Newspaper would work great here too!

Ripping Bucket (1)

Veronika was immediately curious about the bucket and started tossing out the contents.

Ripping Bucket (2)

She still needs me to start a rip for her before she can tear a piece of paper in half, but then she loves the riiiiiiip that results.

Ripping Bucket (3)

I started tearing pieces alongside her so we could refill the bucket. It was about halfway full when she announced, “Dump!” and this happened:

Ripping Bucket (7)

And then she said, “Let’s fill it up!” We went back and forth like this a few times.

Ripping Bucket (6)

Then I showed her how to rip out full pages from the old magazine. We crumpled these up and now the game turned into target practice.

Ripping Bucket (9)

She got a fit of the giggles when I said, “Trash can!” and tossed a crumpled piece into the bucket. Hint: This was also a subliminal way to teach the idea of cleaning up, even though it wasn’t a real trash can.

Ripping Bucket (10)

Before we ended the fun, we turned it into a craft. I pulled out a glue stick which she smeared all over a piece of construction paper, and we added a few of the torn pieces of paper into a sort of collage.

Ripping Bucket (12)

She tired of this particular riff on torn paper play rather quickly, but at least we worked in a little bit of art.

Ripping Bucket (13)

In sum, there’s lots you can do with just paper and a bucket!

Ripping Bucket (11)

Mini Mask

Mini Mask (7)

This cute mask will make your toddler laugh and might lead to lots more dress-up play!

To make the mask, cut a rectangle from paper that is 6×4 inches. Veronika loved helping me draw lines along a ruler!

Mini Mask (3)

Place a quarter in the center and trace around it for a nose, then repeat for the eyes.

Mini Mask (2)

Now add lots of silly features with crayons! While I worked on the “real” version, I gave Veronika extra paper and crayons to draw too. Side-by-side art like this is a great way to involve toddlers in crafts that are beyond their skill level; it makes them feel like big helpers.

Mini Mask (5)

Cut out the mask, as well as the eye and nose holes. I showed her how to hold it up to her face.

Mini Mask (6)

And to my own!

Mini Mask (10)

At the same time, I had dragged over our box of dress up supplies and she immediately latched on to the idea of combining the mask with a costume.

Mini Mask (8)

We added hats, capes, accessories and more as she held up the mask to her face.

Mini Mask (9)

I quickly realized we needed a handle of some sort, so I taped a craft stick to the mask that she could hold on to as she lifted it toward her face. She loved the silly expression I had drawn, and sometimes just wanted to look at it and giggle!

Mini Mask (12)

I love crafts like this that might seem small and quick, but which easily lead to an extension of play. One small mask kept her busy with the dress-up box for nearly half an hour!

Mini Mask (11)

No-Cook Squishy Bags

No-Cook Squishy Bag (4)

I’ve made plenty of squishy sensory bags for Veronika in the past, but never before lots at once! The purpose of today’s activity was more about comparing and contrasting, rather than focusing on the way one particular material (i.e. shaving cream) felt within the bag.

I wanted to use small, sandwich-size zip-top bags since I’ve found these are easier for her hands, but I was running low! Instead, I used 3 small ones and 2 larger ones. The bags contained the following:

hair gel (tinted with green food coloring)

vanilla pudding

body lotion

ketchup

mustard

fingerpaint

No-Cook Squishy Bag (1)

I sealed each bag tightly. Here’s where the difference kicked in. Most of the bags were at room temperature, but the ketchup and the pudding were both very cold from the fridge. Meanwhile, I set the bag with lotion in a bowl of hot water until warmed through. (You can also microwave the bags for about 10 seconds, as I later did for the hair gel bag).

I presented them all to Veronika, and it was like a surprise each time she put her hand down. The lotion was warm! The pudding was cold!

No-Cook Squishy Bag (5)

The lotion was still warm! The ketchup was cold!

No-Cook Squishy Bag (2)

She loved moving her hands back and forth, and tended to ignore the ones that were just room temperature in favor of these two extremes.

No-Cook Squishy Bag (6)

She wanted to pick some of the bags up and give them a “tour” of the apartment. And of course she enjoyed the process of squeezing and squishing them!

No-Cook Squishy Bag (8)

This was a great game for talking about opposites in addition to being hands-on fun.

Silly Listening Ears (3)

Silly Listening Ears Craft

Silly Listening Ears (5)

As your toddler learns which organ is connected to which sense (we see with our eyes, we smell with our nose, etc.), here is a fun way to highlight the fact that we hear with our ears: combine a silly craft with an audio book!

I hope to get Veronika into audio books since we’ll be in the car quite a bit more now, doing school drop-off and pick-up for big brother. She’s on the young side for audio books, so today was mostly about familiarizing her with them.

I traced a simple ear shape on poster board to start, following an online template.

Silly Listening Ears (1)

Cut out and glue the ears onto construction paper in the same shape, only slightly larger. This adds a nice decorative edge.

Silly Listening Ears (2)

Tape the ends of a pipe cleaner near the top of each ear, then bend the pipe cleaner into an arc so it sits like a headband over your child’s head and ears.

Silly Listening Ears (4)

Veronika giggled when I tried the ears on myself first as a demonstration. In fact, I think she liked it more on me! But she did tolerate wearing it.


Silly Listening Ears (8)

(And occasionally pulled it off to look at it in confusion).

Silly Listening Ears (6)

Then we started up the audio book! I have a wonderful collection of farmyard stories from Usborne books, but any read-aloud of a children’s book would work for this.

Bonus points if you have a physical copy of the book so kids can also leaf through the pages, connecting images to sounds. Veronika particularly loved the vroom of the tractor or the sounds of the farm animals.

Silly Listening Ears (9)

She had a tendency to flip through the book, too, since she isn’t yet connecting the words to a particular page. But as I mentioned above, the idea was simply to introduce audio books today.

Silly Listening Ears (10)

We’ll be playing these stories out loud the next time we travel in the car, and wearing our silly listening ears, too!