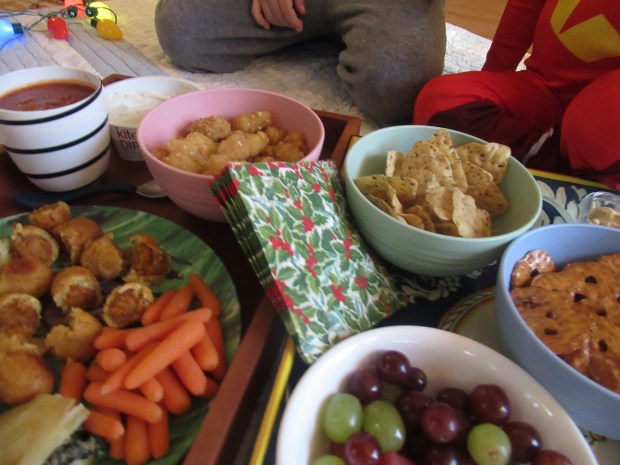
Chances are that at some point between Christmas and New Years, you’re going to want a family movie night, especially now that quarantines and closures are (alas) back in vogue. Here’s the perfect spread to make the night feel extra special no matter what movie is playing!
To build our smorgasbord, we relied on suggestions from Parents magazine to fill out food in four categories. All of our options below were vegan.
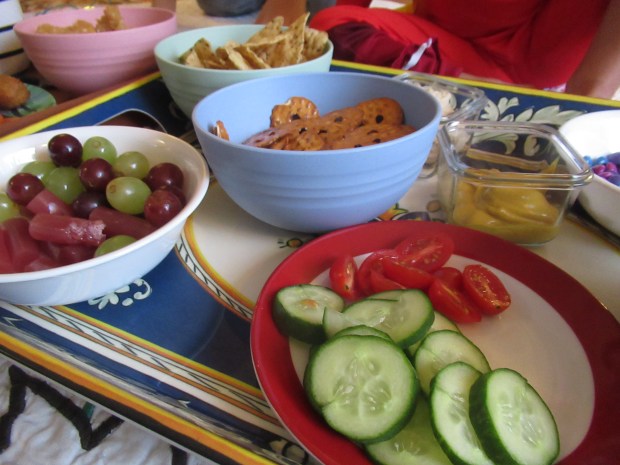 Salty:
- Thin pretzels
- Tortilla chips
- Popcorn
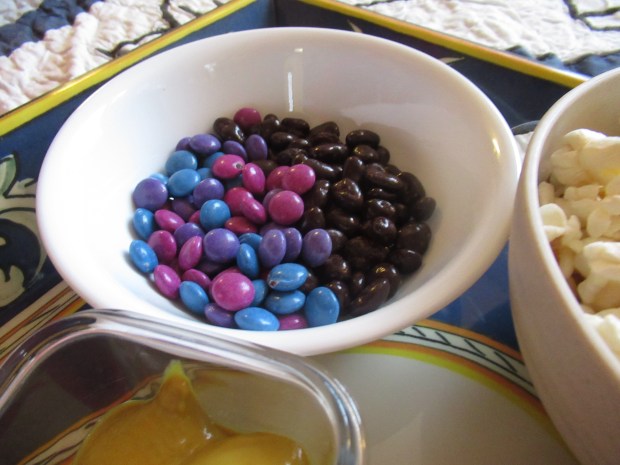
Sweet:
- Chocolate candies
- Dark-chocolate raisins
- Red licorice
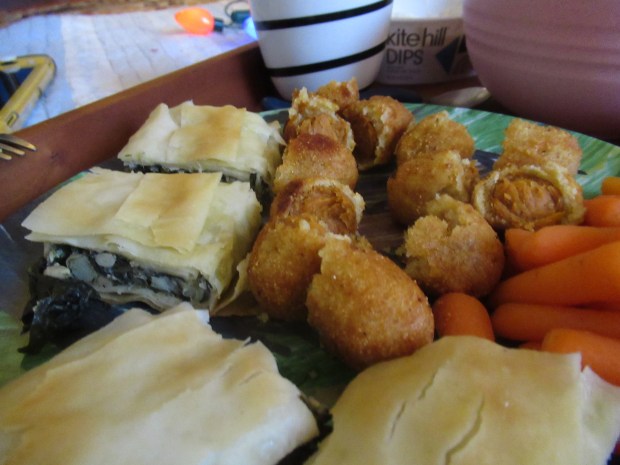
Hot:
- Spanokopita
- Corn dogs
- Cauliflower bites
Spreads:
- Ranch dip
- Marinara sauce
- Yellow mustard
- Hummus
Don’t forget the holiday napkins!
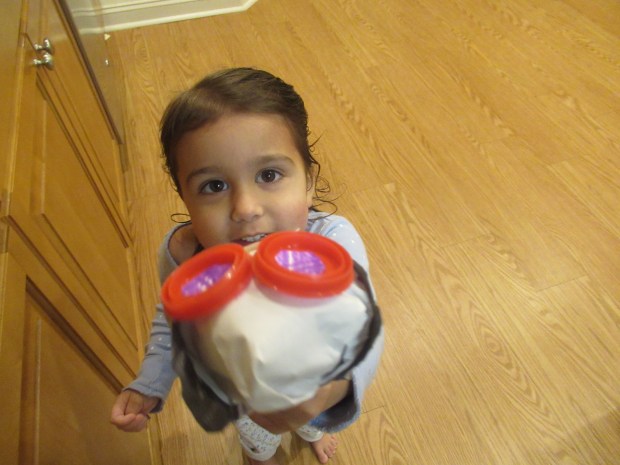
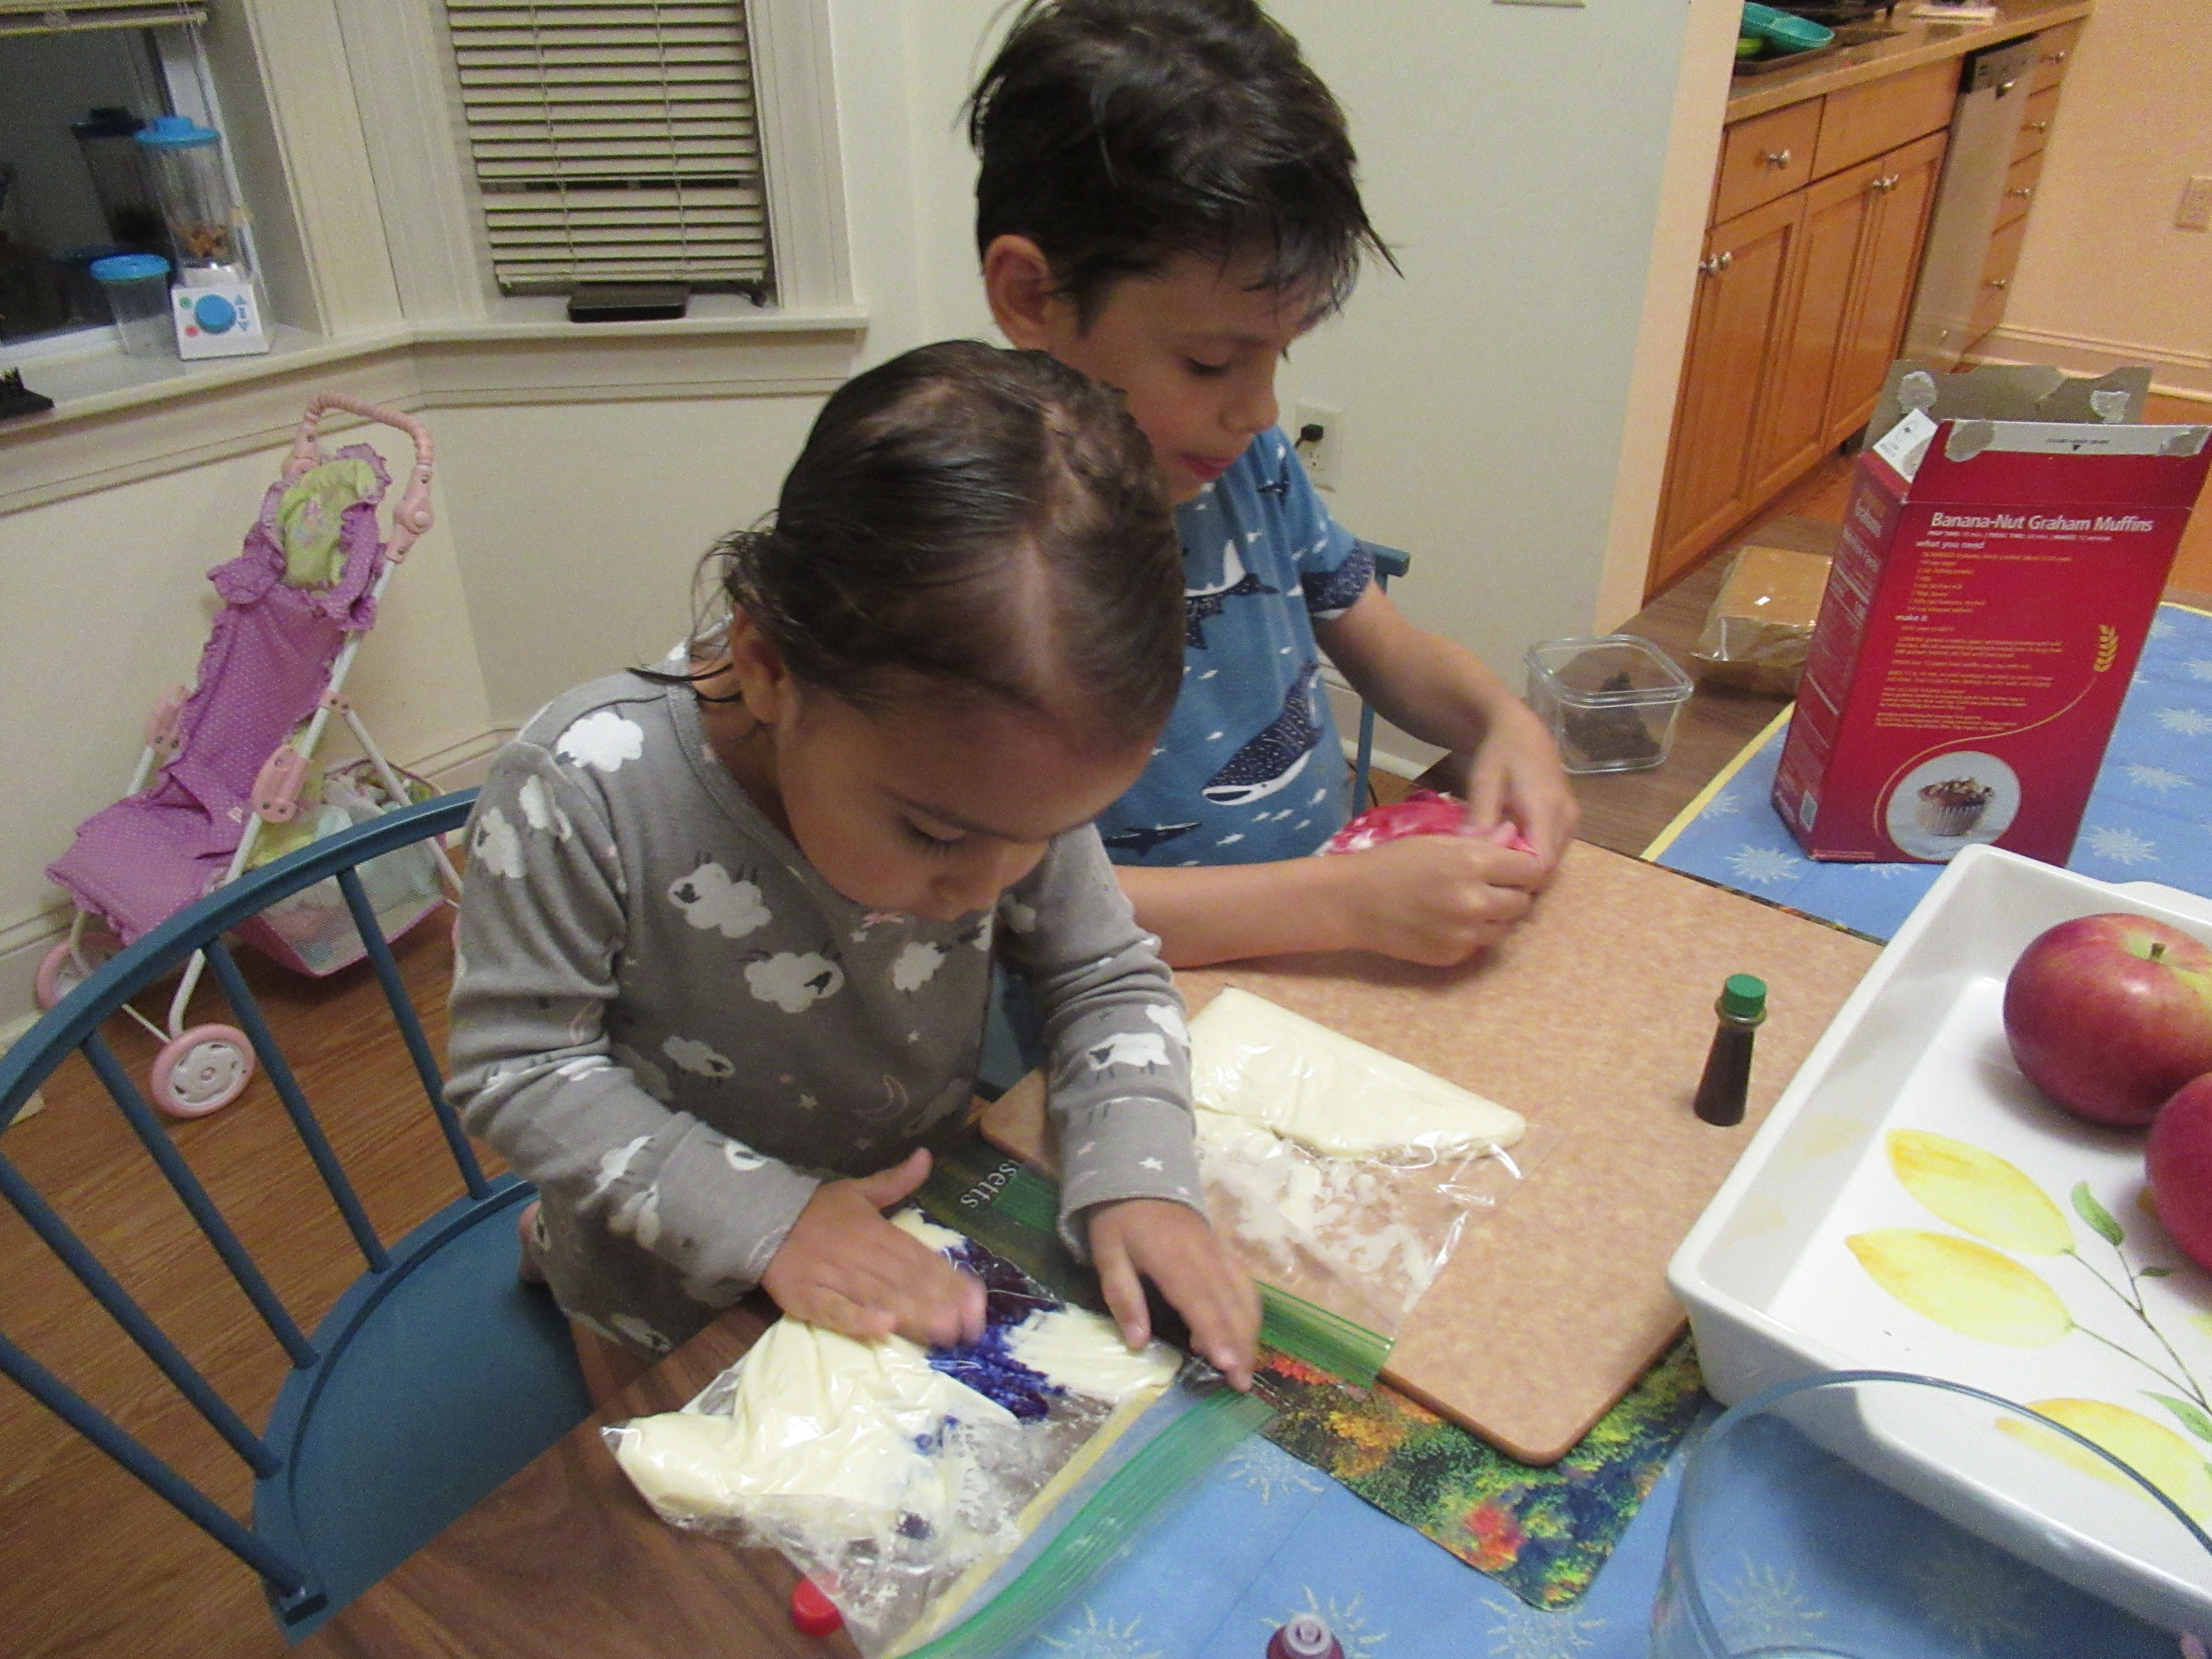
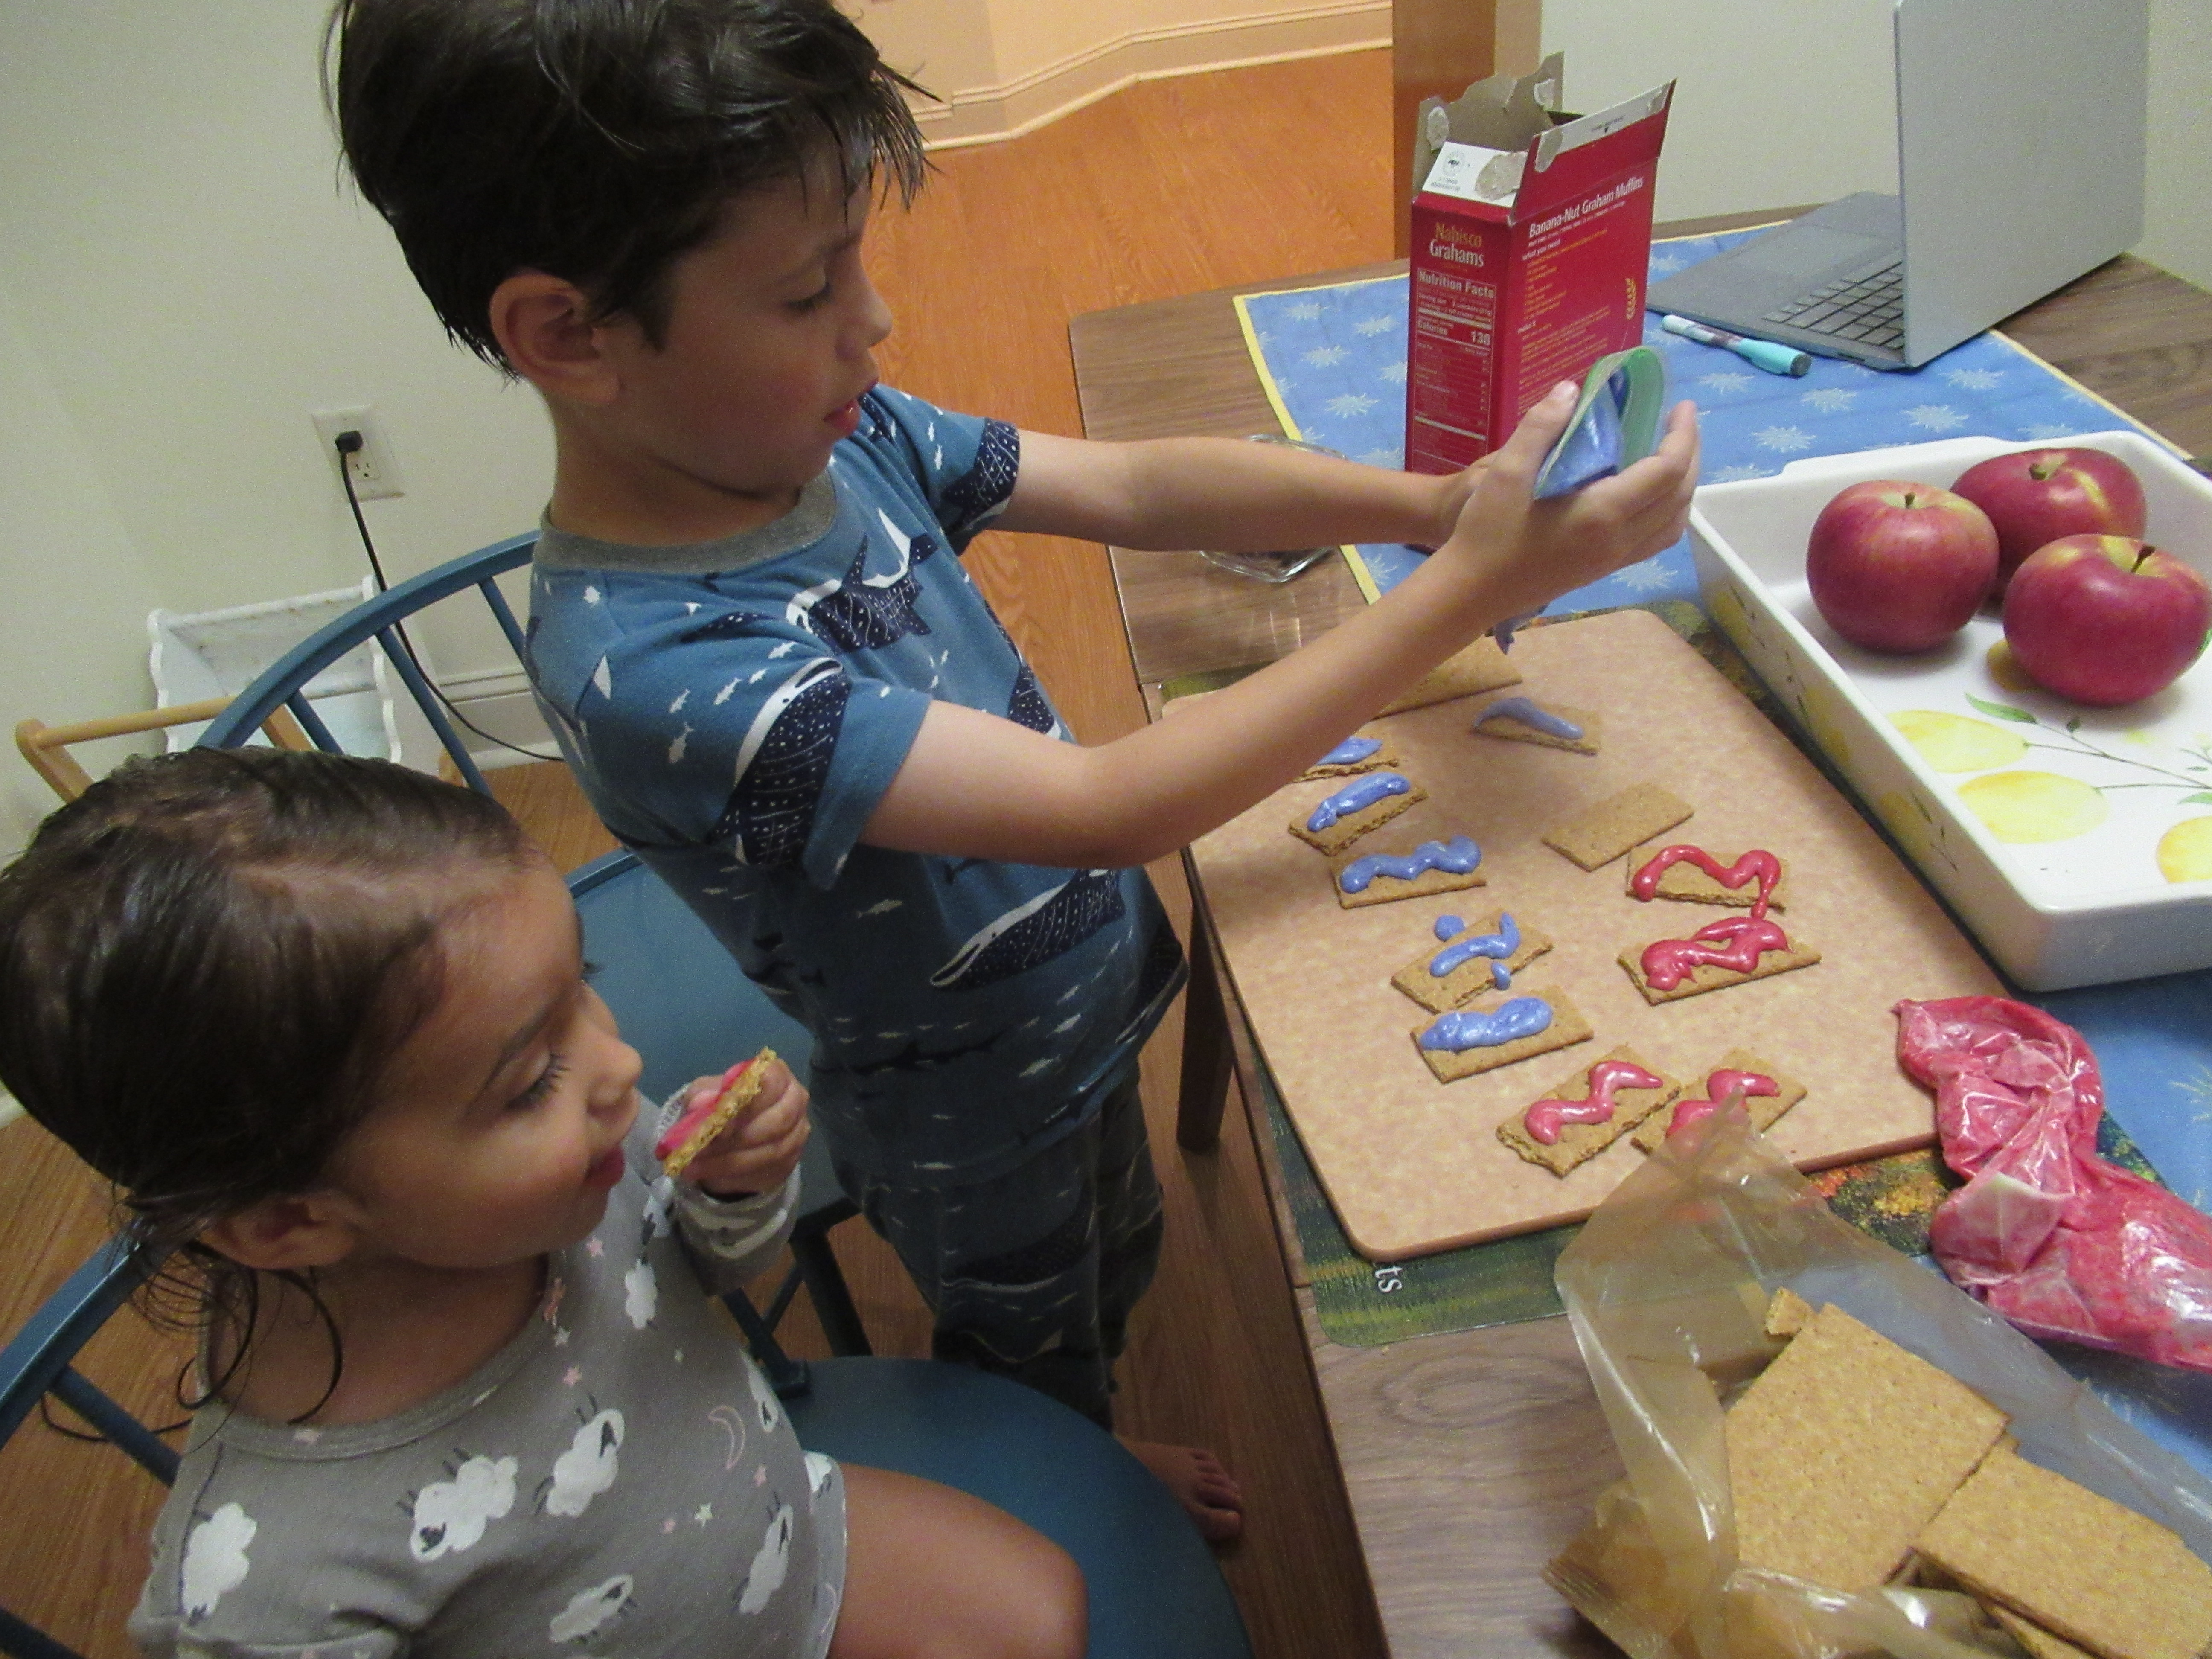
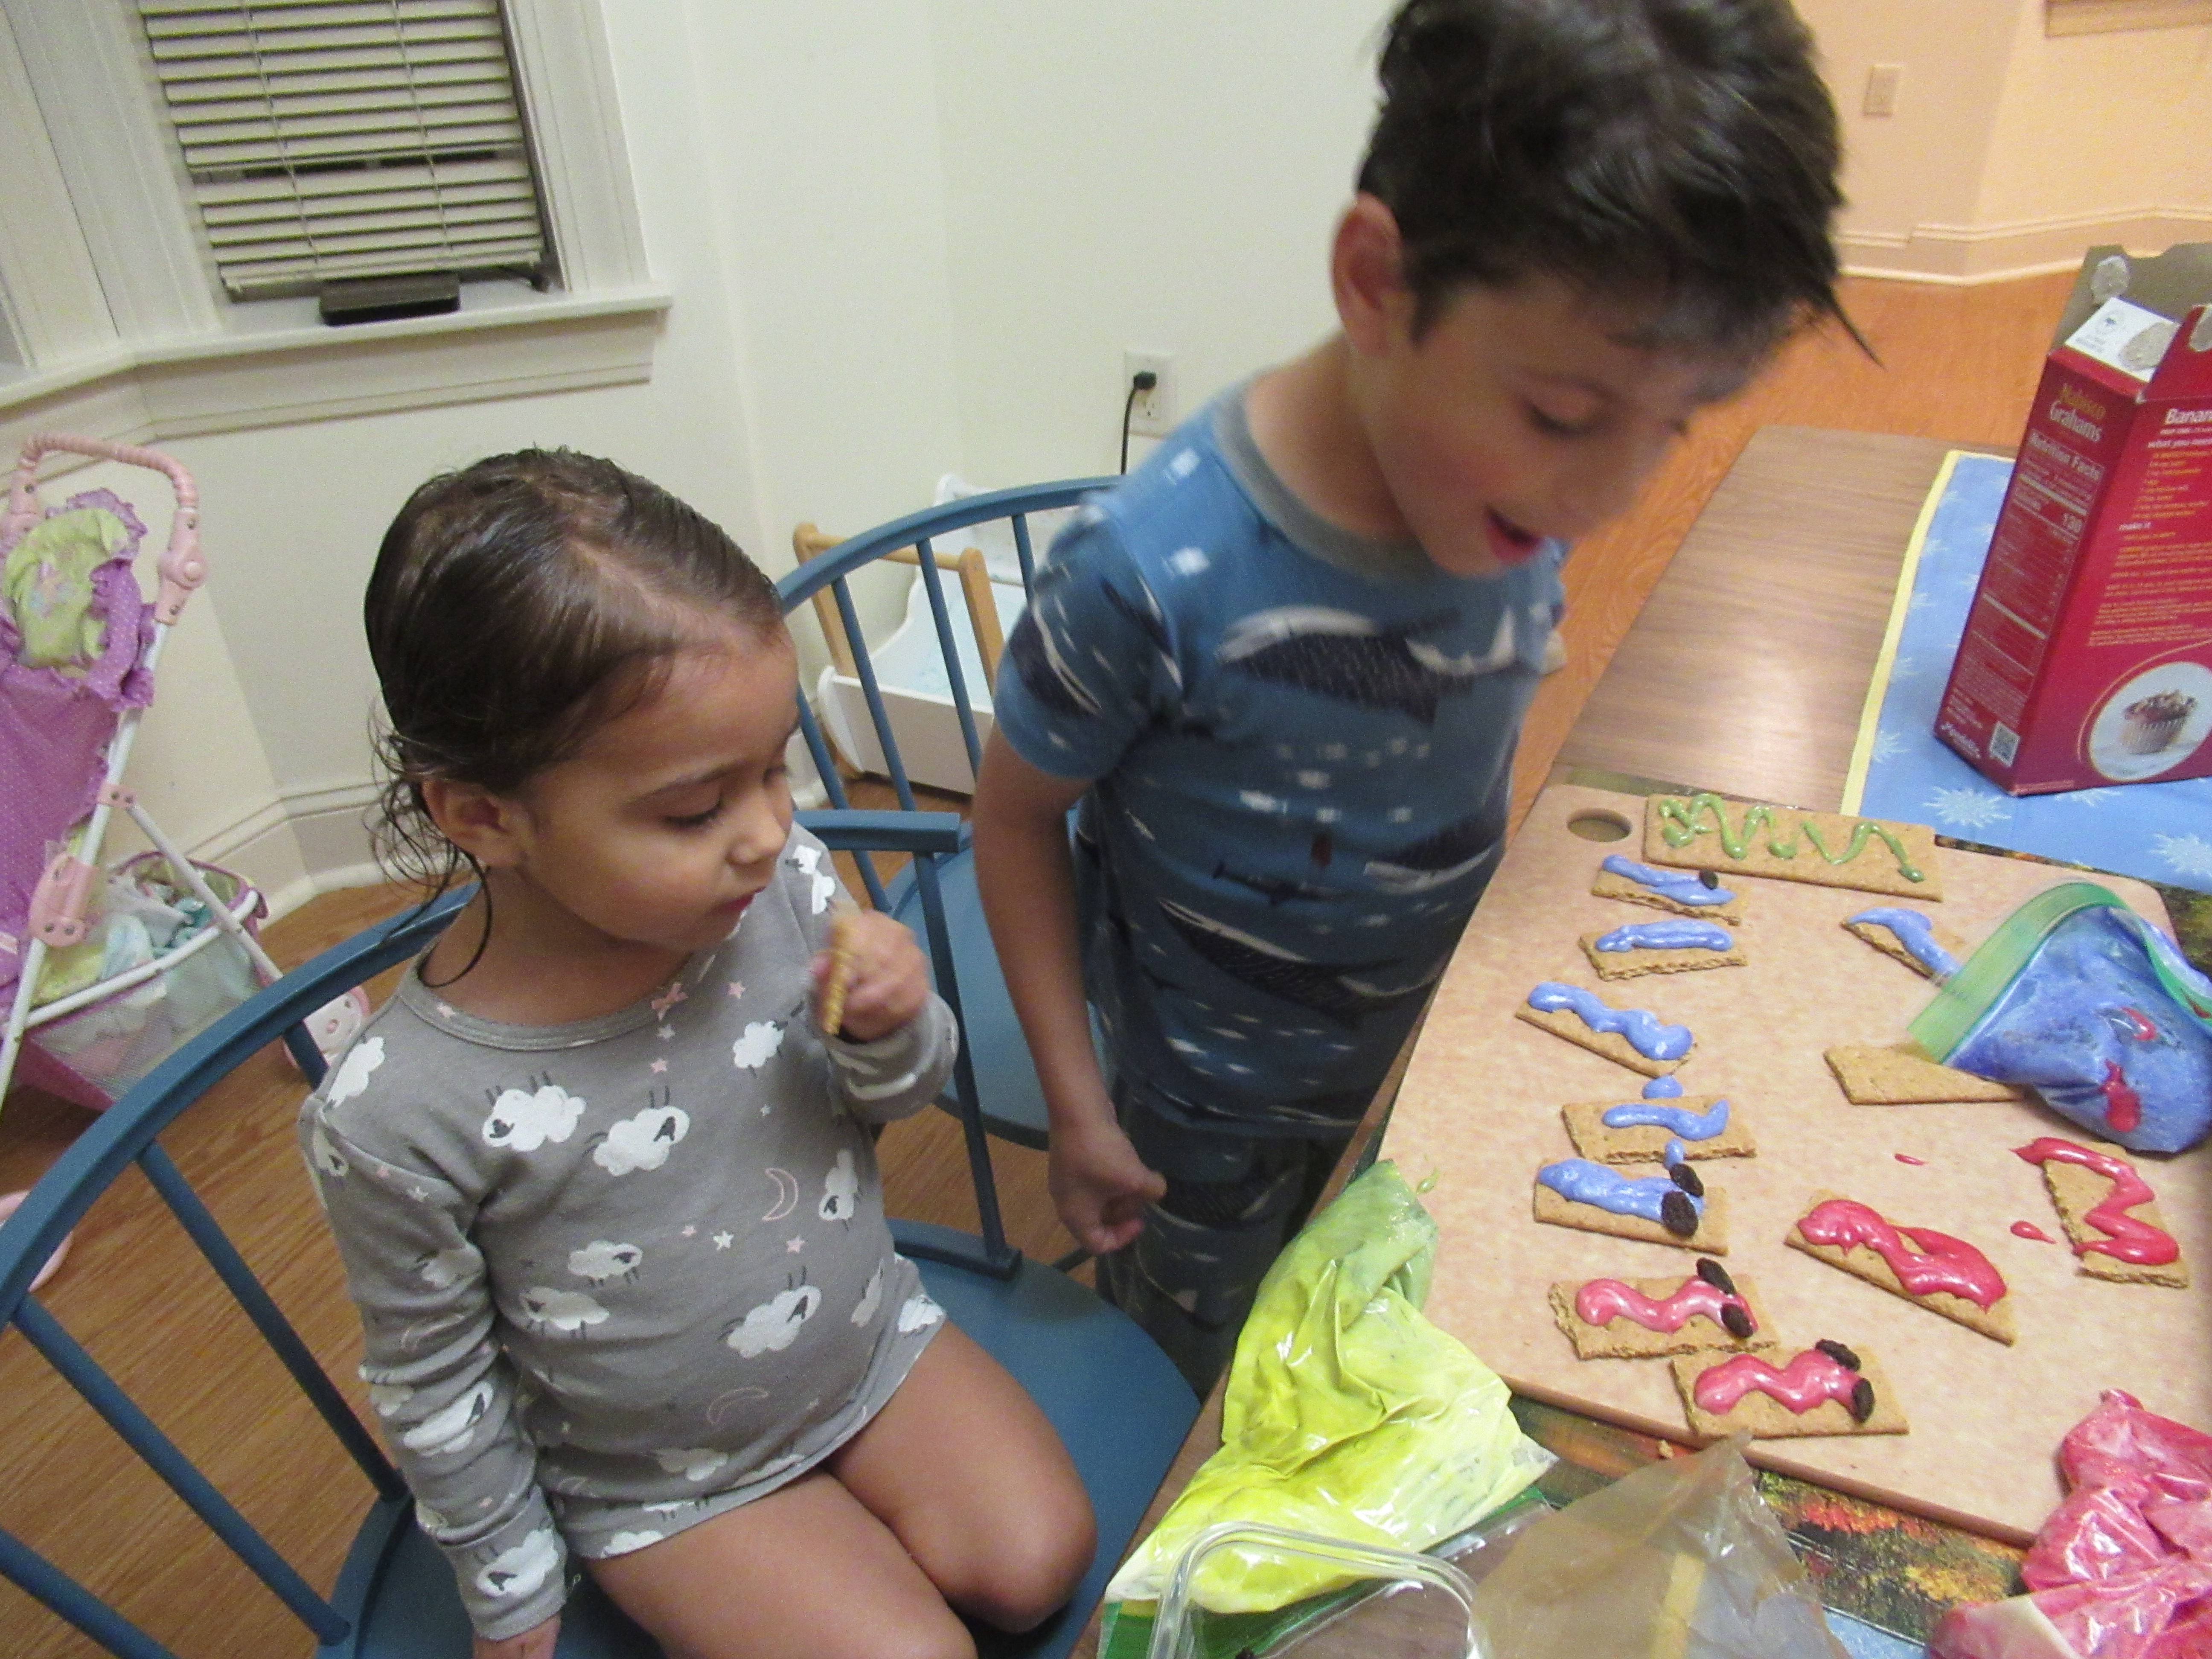
Veronika loved checking out all the offerings.

Mix, match, and let everyone choose what they want to eat! As for the movie, some favorites around here include: Home Alone, The Polar Express and The Happy Elf. Or, if it’s just the grownups watching, we’ll probably be screening It’s a Wonderful Life and Die Hard!