Garage Raid Obstacle Course

Obstacle Course (1)

If your kids need to get out some quick energy, look no further than your garage for inspiration. Old sports equipment, old toys, or anything else that will promote gross motor skills is perfect for this activity.

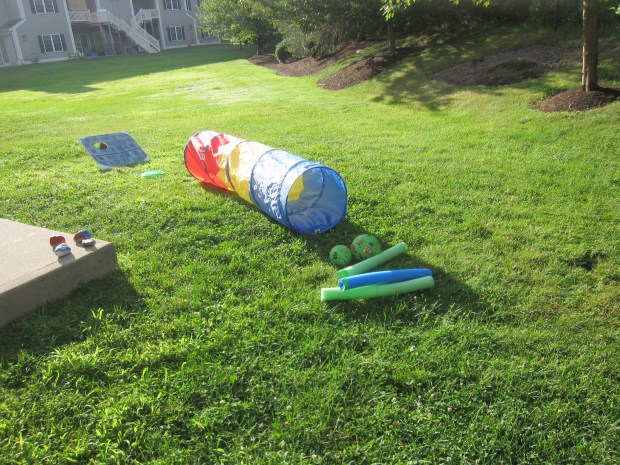
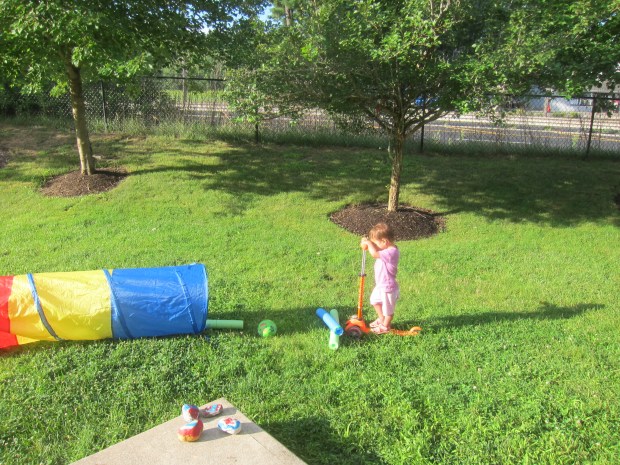
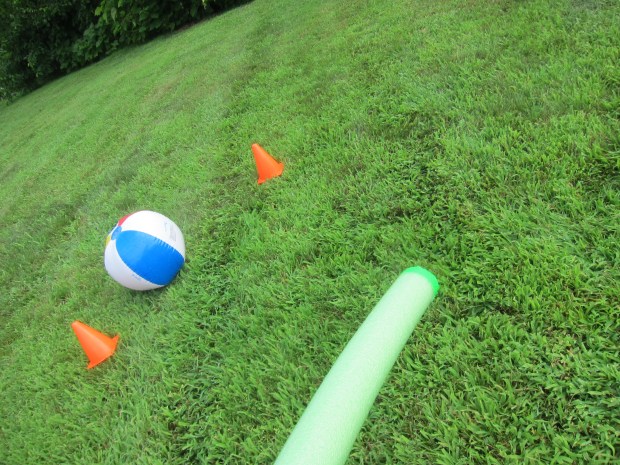
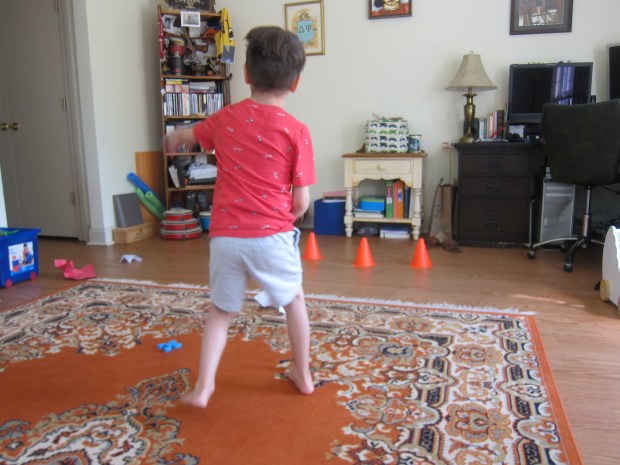
To wit, we pulled out Travis’s old scooter, an old play tunnel, leftover pool noodles, bouncy balls, a cornhole backboard, and a Frisbee. I arranged them in such a way that the items could be moved through as an obstacle course, then challenged Travis to the following:

Ride the scooter up to the tunnel.

Obstacle Course (2)

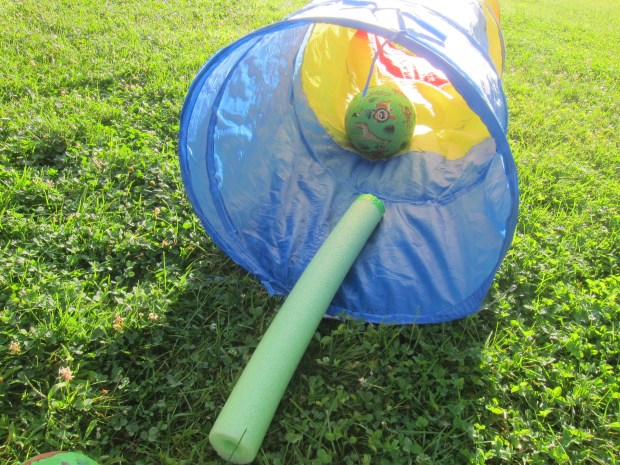
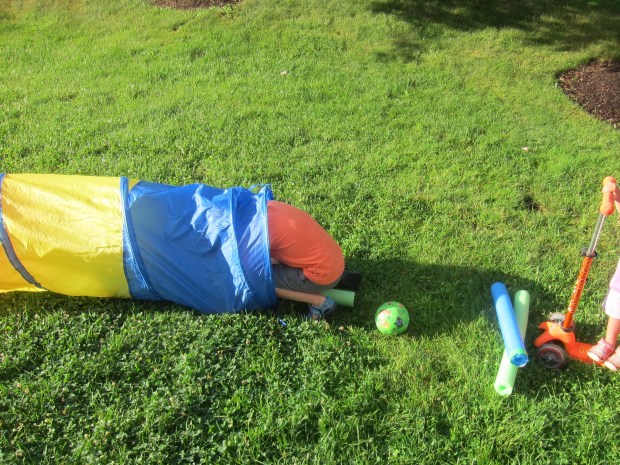
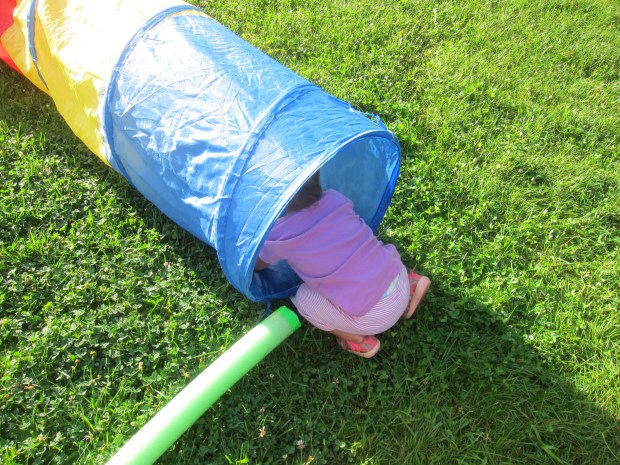
Whack the ball through the tunnel with the pool noodle, then follow it to the other side.

Obstacle Course (4)

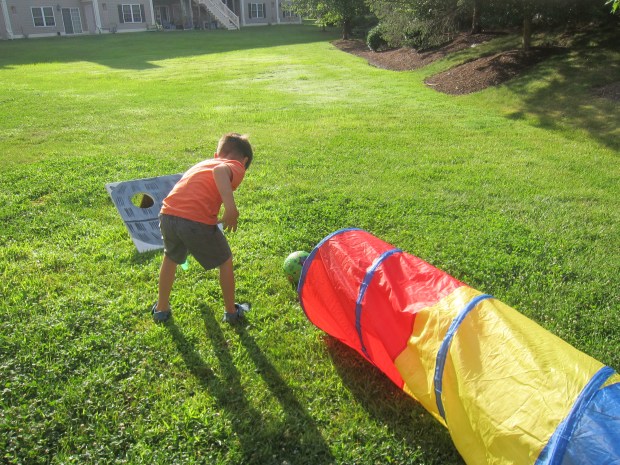
Once through, toss the Frisbee at the cornhole backboard.

Obstacle Course (6)

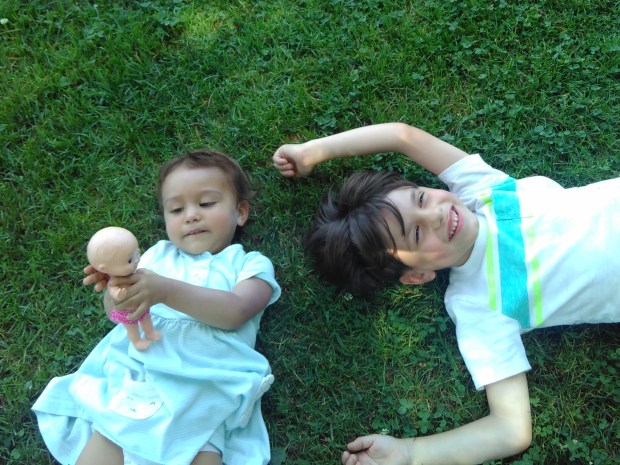
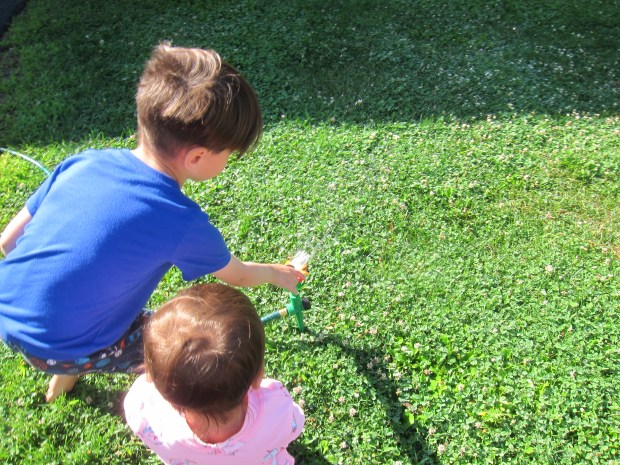
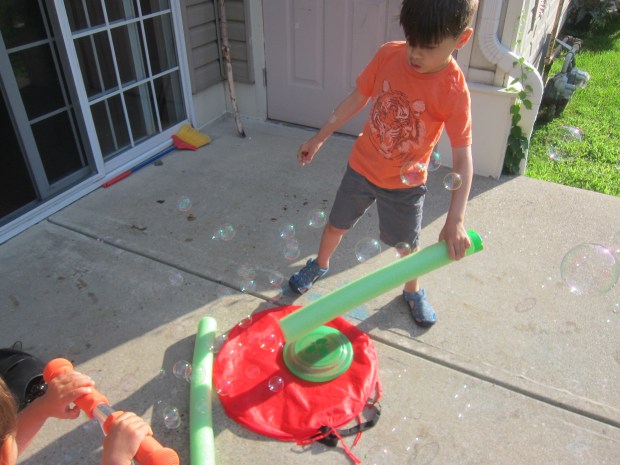
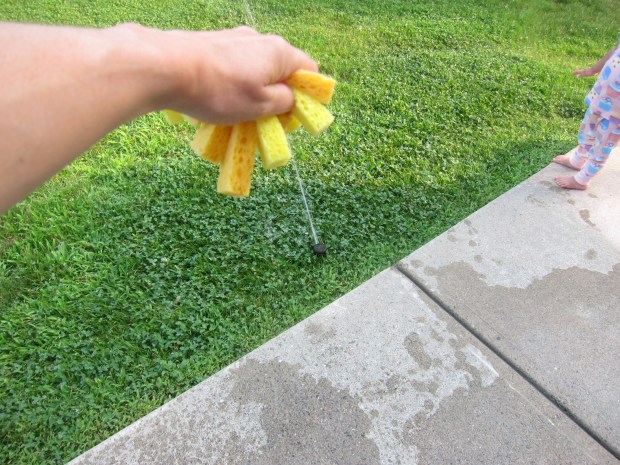
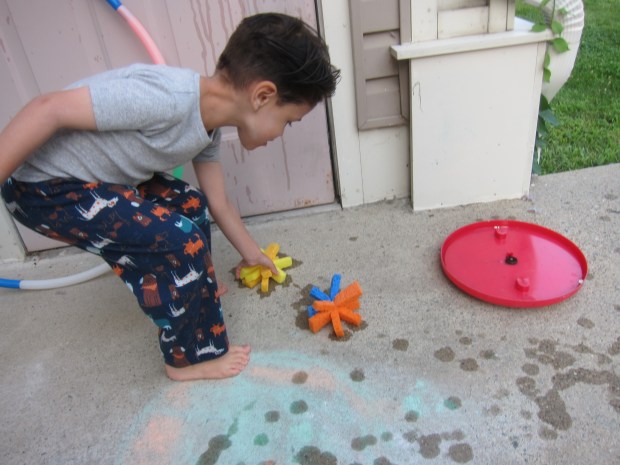
The reward was bubbles! Travis loved popping them with the pool noodles.

Obstacle Course (8)

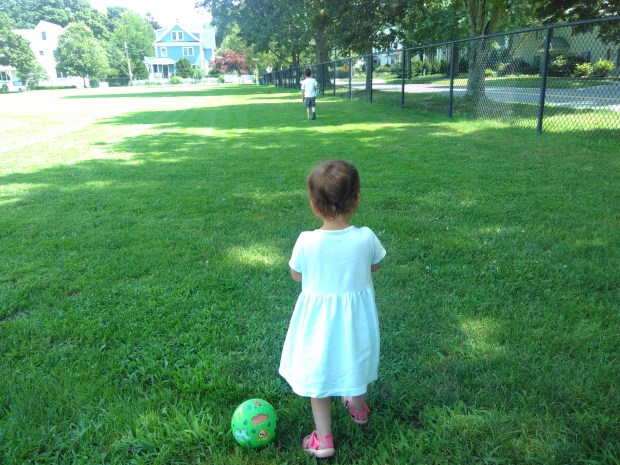
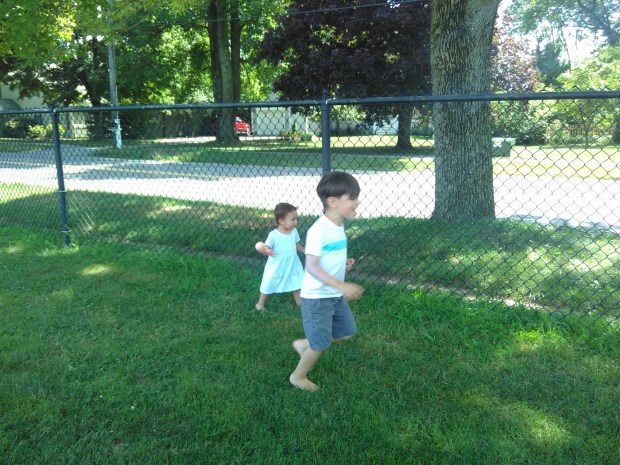
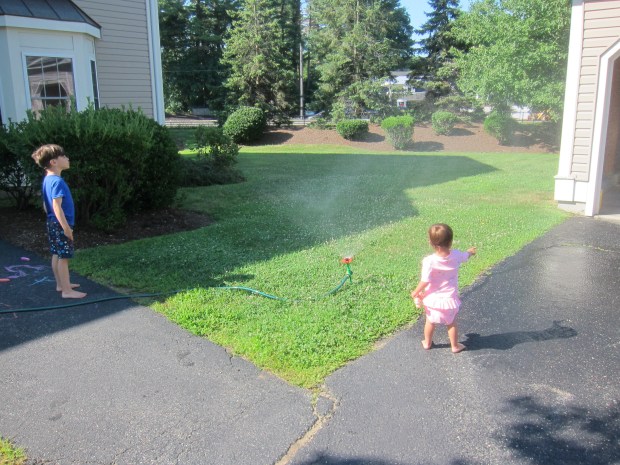
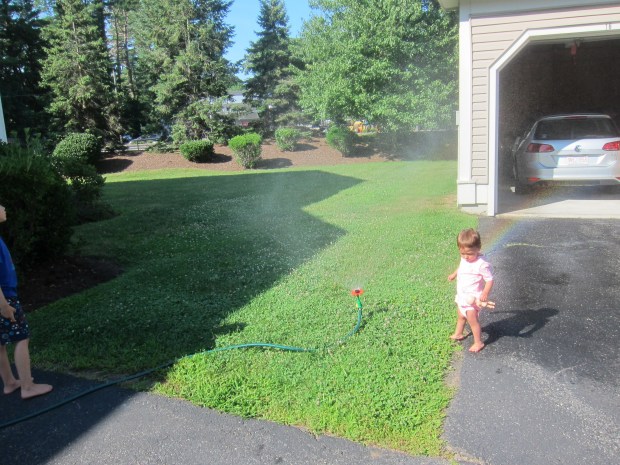
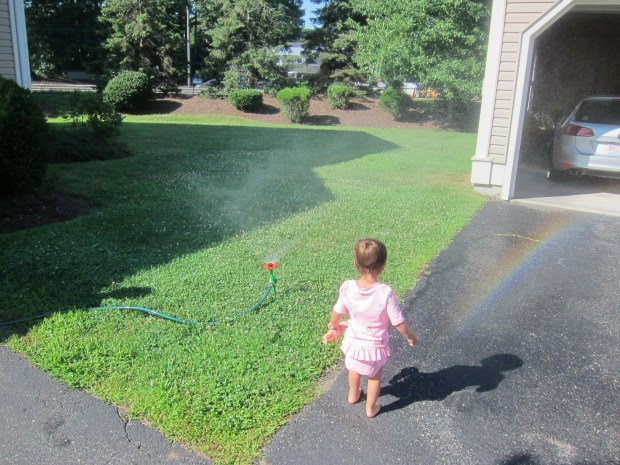
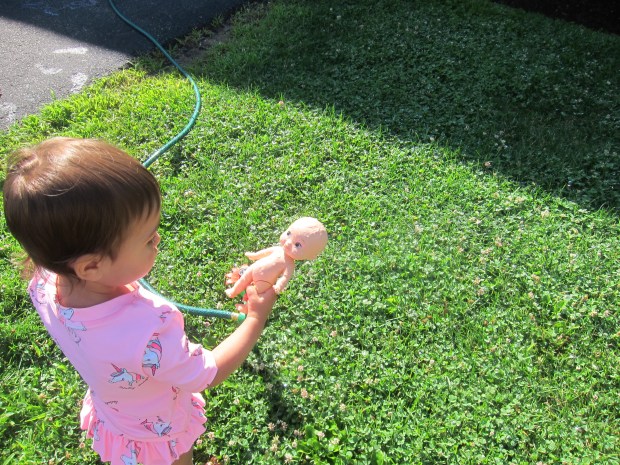
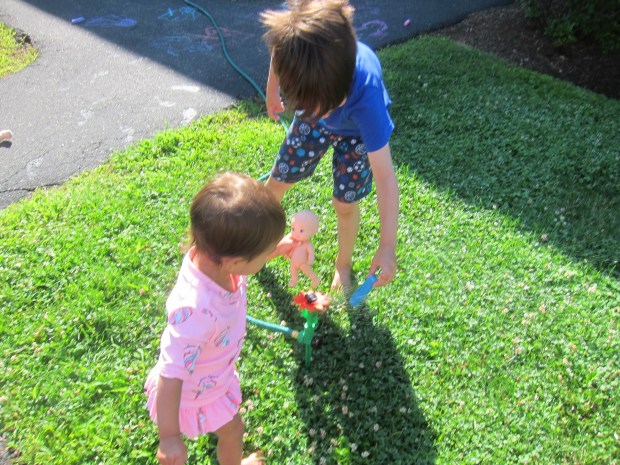
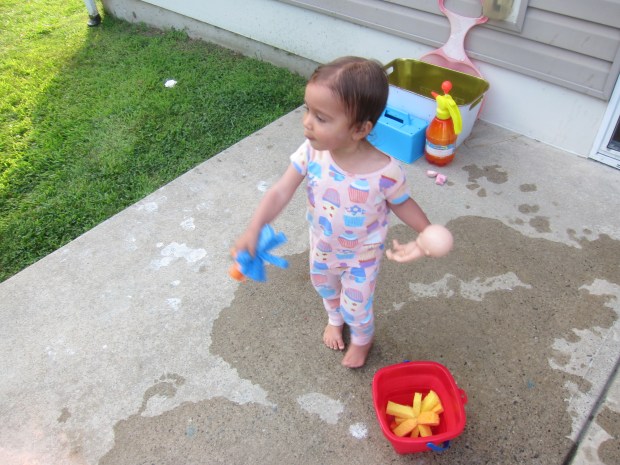
Little sister wanted to work her way through the course, too!

Obstacle Course (5)

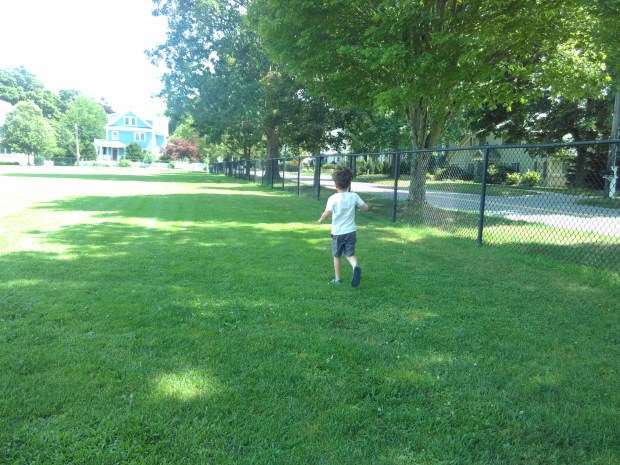
We were glad we got out in the morning sunshine for this one.

Obstacle Course (3)

Pool-Noodle Hockey

Pool Noodle Hockey (1)

We needed to get outside at “Camp Mom” this morning, and I knew just the silly summer sport for the kids. Pool noodles for hockey sticks and a giant blown-up beach ball for the puck made the perfect summer props to play an outdoor version of hockey.

Simply set up orange cones as the goal markers and then divide into teams. (In our case, it was Travis versus mommy and little sister).

Pool Noodle Hockey (2)

Then take turns whacking the beach ball down the field toward your opponent’s goal. First team to 10 points wins!

Pool Noodle Hockey (5)

Or you don’t even have to keep score. Kids will no doubt just have fun with the mechanics of chasing the beach ball around with the pool noodle, which is sure to elicit delight.

Pool Noodle Hockey (3)


Sponge-Ball Toss

Sponge Ball Toss (3)

This game is an instant cool-down on a hot day. And you can tailor it easily, depending how wet your kids want to get!

Set-up just requires a few cheap sponges from the dollar store. Stack two together, and cut into 3 strips.

Sponge Ball Toss (1)

Secure the strips in the center with a rubber band, fanning out the edges slightly. Make as many or as few as you want, and head outside the sponges and a bucket of water.

Sponge Ball Toss (2)

First I simply showed the kids that if you soaked the sponges in water and then pressed onto the ground, they left behind fun starburst shapes.

Sponge Ball Toss (7)

Little sister Veronika loved putting them in a bucket of water and squeezing out, delighting in the sensory element of the game.

Sponge Ball Toss (12)

Travis’s favorite way to play was to launch them at the wall!

Sponge Ball Toss (9)

Or squeeze them out like it was raining.

Sponge Ball Toss (11)

Older kids may want to pelt them at each other, which is just fine as long as no one minds getting wet! We kept things gentler with a toddler around, but there was still lots of laughter and tossing.

Sponge Ball Toss (8)

No matter how you play, these sponges are sure to provide cool-down fun.

Sponge Ball Toss (14)

Treasure-Map Pizza

Treasure Map Pizza (6)

This pizza was so fun to put together, complete with a tropical island background, an X-marks-the-spot, and golden treasure! You can prepare your edible mini maps on individual pita pockets, or do as Travis did and make a full-size pizza.

Treasure Map Pizza (1)

To start, pat pizza dough onto a pizza pan, then spread with tomato sauce, leaving a 1/2-inch crust. Sprinkle with your favorite non-dairy mozzarella.

Treasure Map Pizza (2)

Travis loved assembling a little pirate island that included the following: two bell pepper strips to mark an X for treasure; palm trees made of orange bell pepper trunks and green bell pepper fronds; mushroom rocks; olive footprints leading to the treasure; and corn kernels as nuggets of gold.

Treasure Map Pizza (4)

The kids had so much fun peaking while it baked!

Treasure Map Pizza (5)

Bubbles in the crust after baking even meant that we had some fun topography, like a little “hill” now below our X.

Treasure Map Pizza (7)

Then it was time to gobble up the treasure.

Treasure Map Pizza (8)

Paper-Airplane Launch

Paper Airplane (6)

Today at Camp Mom it was time for another classic activity: paper airplanes! Travis was initially reluctant, but the activity turned in to nearly an hour of crafting and play.

First we needed a refresher on how to make fold paper into a plane, though, so I pulled up a 90 second tutorial on YouTube. This had us making lots of mistakes and laughing…

Paper Airplane (1)

…or occasionally getting frustrated…

Paper Airplane (10)
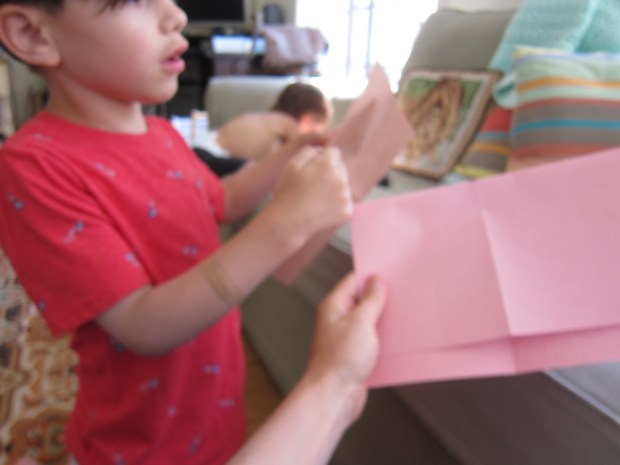
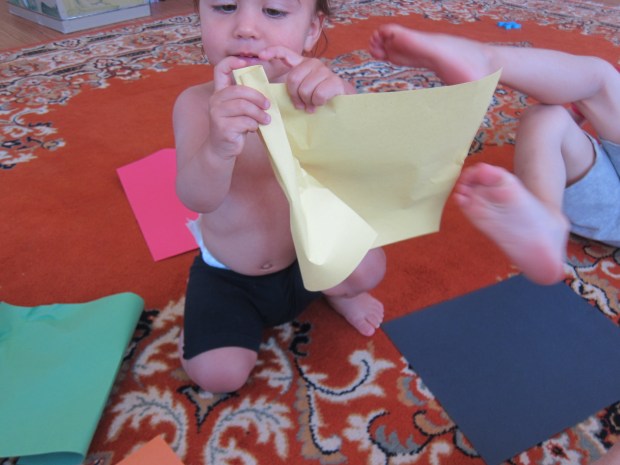
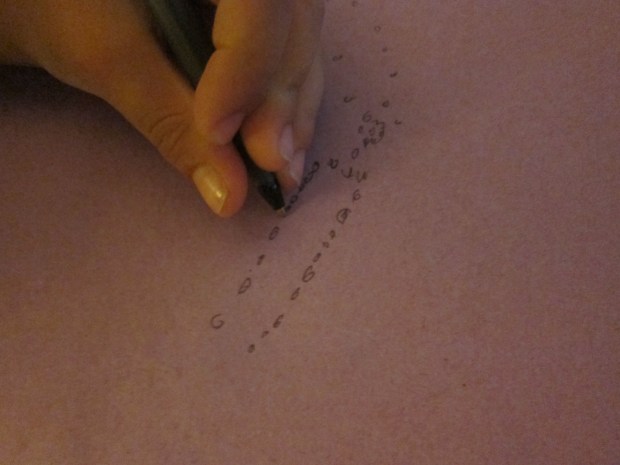
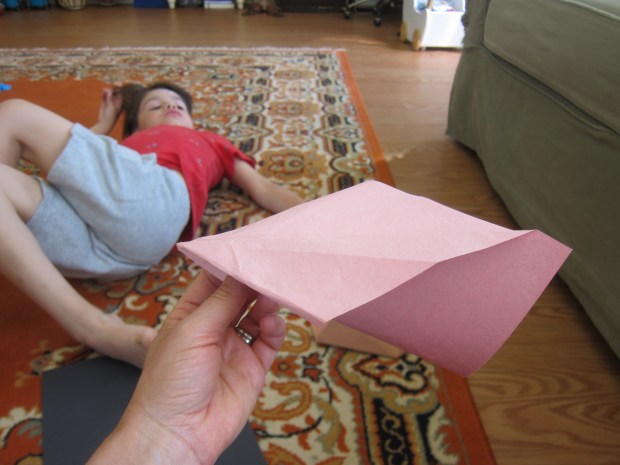
…and little sister crumpling up lots of extra paper to participate…

Paper Airplane (12)

…but then persevering until we had the method down.

Paper Airplane (3)

Time to launch! Rather than just randomly throw them, we set up a goal of orange cones.(Note: this game would be fantastic outside if it’s not too hot in your area, but we were staying cool inside during a heat wave).

Paper Airplane (4)

Our goal was to get the planes to fly through the openings between the cones (which of course pretty soon were dubbed the “Death Star”). Well that meant we needed lots more planes, along with a named pilot for every plane, and Travis staged a full battle.

Paper Airplane (9)

Whether you’re playing this game outside like a race to finish, or inside with an imaginative twist, it’s a great activity for a summer morning.

Paper Airplane (8)

Paper Lanterns

Plastic Cup Lantner (7)

This is exactly the kind of craft I’d expect Travis to come home with after a long day of camp… if it was open! In other words, it was perfect for a Camp Mom morning.

Some of this required grown-up help for a 6 year old, but your older “campers” can do the project mostly solo.

First, use paint (or paint pens for faster drying) to color on sheets of construction paper. I helped Travis understand that larger designs would work better, as we were coloring the outer decoration of the lantern.

Plastic Cup Lantern (1)

Let dry and then cut into an 8×5-inch rectangle. (Note: You may need to make your rectangle slightly larger or smaller, depending on the size of your plastic cups).

Next, cut a hole from the bottom of a plastic cup with a craft knife. Use hot glue to glue the top rim of this cup to the top rim of a second plastic cup.

Plastic Cup Lantern (3)

Now, use the craft knife to cut slits along the painted paper, spaced about 1 inch apart and making sure to leave a 1/2-inch border at top and bottom.

Plastic Cup Lantern (2)

Glue the paper around the plastic cups, pushing down slightly so the decorated slits puff outwards. Let dry.

Plastic Cup Lantern (5)

At night, insert an LED tea light! Travis was thrilled watching them glow, and of course wanted to use them as nightlights in his room.

Plastic Cup Lantern (6)

Park Yourself

Park Yourself (8)

This activity was great for mapping skills. And although Travis has recently practiced making maps, today the idea was to follow one instead!

That means that the set up is a grown-up step. I drew a map of town for Travis from the park to a near-by intersection where we could leave the car. I made sure to include a legend box, lots of details like street names and symbols for main buildings, and more.

Park Yourself (1)

When we arrived, the first thing he had to do was orient us! Travis immediately picked out where we were based on the logo for a coffee cup I’d drawn. But now he faced a dilemma: which way to go.

Park Yourself (9)

There was so much to love about the process that followed, little things I realized we’d never touched on before like reading the street signs to assign a name to each street, or understanding how to orient yourself in 3-D space based on a 2-D drawing.

Park Yourself (11)

In short order, he puzzled out the map and we arrived. Now it was time for much deserved play!

Park Yourself (6)

This turned into an unexpectedly awesome day in the park. The kids loved running through the grass…

Park Yourself (5)

…waving to cars through the fence…

Park Yourself (4)

…finding clovers, and more.

Park Yourself (3)

Constellations

Constellations (1)

Who didn’t love staying up late as a kid to see the stars on summer nights? Tonight, Travis got to do just that, and to learn a little about constellations, too!

As night was falling, we fit in a refresher course on constellations, talking about what they are and then projecting a familiar one (The Big Dipper) against the wall. For this, simply poke holes in the constellation’s pattern in the bottom of an empty oatmeal container with a pen or pencil. Shine a flashlight into the container, and your stars appear!

Constellations (2)

Now it was almost dark enough, but still not quite. I challenged Travis to make up his own constellation, to name it, and then to make up a story about it. The idea was to highlight the long tradition of oral folklore that accompanies the patterns in the stars, among so many cultures.

Constellations (3)

After my example of a cat constellation, he drew a dot-to-dot boy and we wove a tale of how the boy had ended up in the stars. Next he drew a smile! I loved this childlike but beautiful idea of what images we can see among the stars.

Constellations (4)

Now it was time to spot the real thing. We headed out to the back patio and waited for final dark to fall. And then it was right to bed!

Constellations (5)

Break Out the Sprinkler!

Break Out the Sprinkler (3)

I was reminded today that often the best activities are the simplest. And when it’s almost 100 degrees, “the simplest” can only mean one thing. It’s time to break out the sprinkler!

Just turn it on, sit back, and watch what your kids do.

Break Out the Sprinkler (5)

In truth, both my kids are reluctant to run and jump through the spray from our flower sprinklers, although this is the most obvious use of it. But they do love the following:

Splashing in the puddles it makes on the driveway;

Break Out the Sprinkler (4)

Watching for rainbows that arc through the spray of water;

Break Out the Sprinkler (2)

Washing dolls or other toys in the stream of water;

Break Out the Sprinkler (6)

Running chalk under the water (which then makes for dark, rich colors in our sidewalk drawings);

Break Out the Sprinkler (7)

And standing close enough to get misted with water…but not soaked!

Break Out the Sprinkler (1)

What do your kids love to do with the sprinkler? Please share in the comments!

Create a Driveway Mural

Driveway Mural (8)

Here’s a suggestion if your kids are tired of making hopscotch boards with their sidewalk chalk. Suggest they create a full character mural instead!

One way to do this activity would be to trace each other’s shadows, then fill in the details: clothing, hair, accessories, props, and more. I knew it would be hard to get my kids to stand still for shadow tracing, though, so suggested we trace their dolls!

Driveway Mural (1)

Travis loved the way the chalk outlines looked as soon as I made the first tracing.

Driveway Mural (4)

Immediately he was filling in the details. The first one was Yoda, with a light saber and cane!

Driveway Mural (2)

The Star Wars theme continued, including an Ewok, Darth Vader, and more. And some of them were just silly monsters!

Driveway Mural (6)

Older kids can be more serious and true to life in their mural. Challenge them with the following: Can you make the tracing look like yourself, or a friend? What would it wear? What props would it have?

Driveway Mural (9)

For kids who are almost 6 and almost 2, I’d say our turned out pretty nicely! I’d love to hear your results in the comments!

Driveway Mural (7)