Glitter Shapes

Glitter Shapes (7)

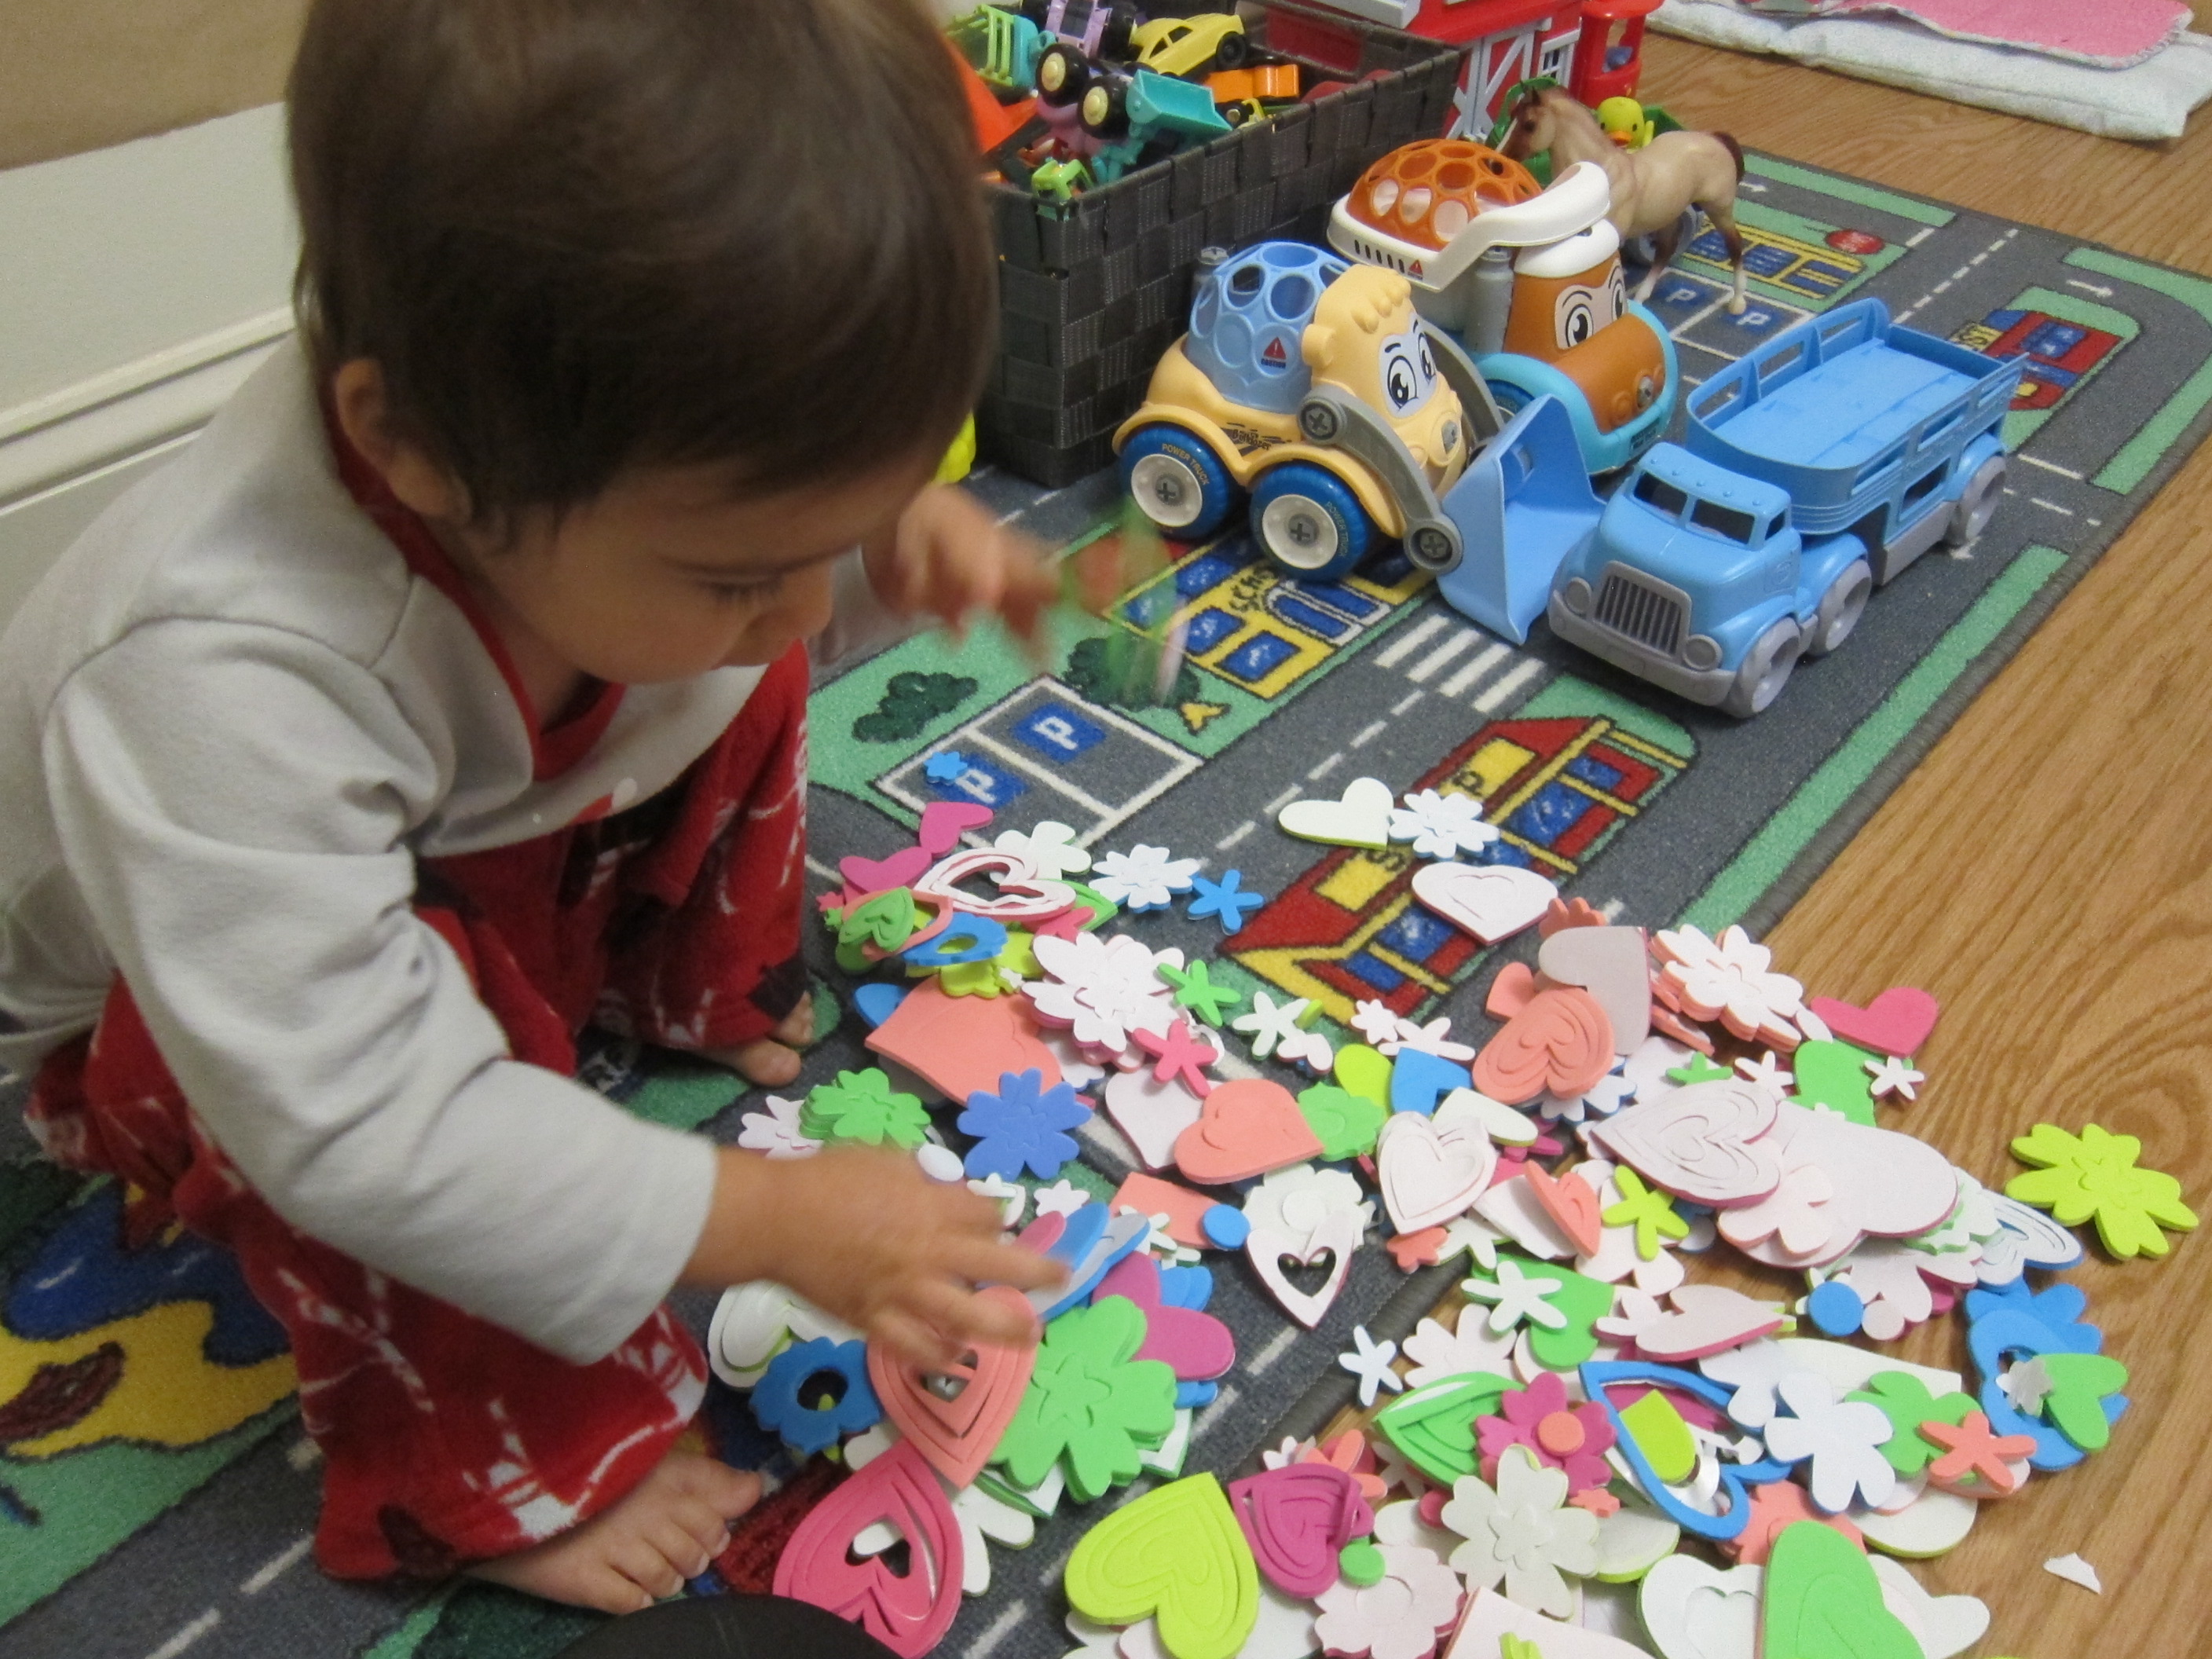
You’ll combine early learning (shape-recognition, colors) and messy art with this fun toddler project!

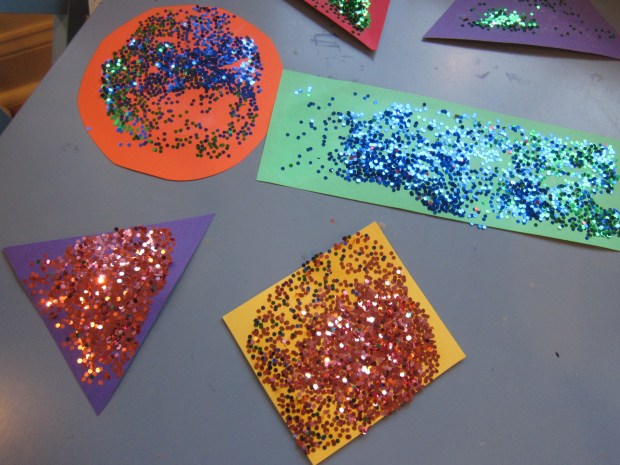
To start, I cut out simple basic shapes from bright construction paper, using a different color for each shape. Soon we had a pile of green rectangles, purple triangles, red hearts, orange circles, and more. As I worked, I asked Veronika to identify each one, and she was a willing participant.

Glitter Shapes (1)

Now for the mess! Have your toddler smear a glue stick all over each shape. One or both sides, it won’t matter!

Glitter Shapes (2)

Place one or two shapes at a time in a small shoebox with a lid, then dump in copious amounts of glitter. Yes, toddlers, the more glitter the merrier!

Glitter Shapes (3)

Now seal the box and shake. I hadn’t counted on small holes in the bottom of our box that allowed some glitter to escape, but luckily we were using large pieces of glitter that were easy to sweep up.

Glitter Shapes (5)

Needless to say, the result was worth the mess.

Glitter Shapes (4)

Open the lid and reveal to your child how each shape is now sparkly. Veronika loved them!

Glitter Shapes (6)

Painted Place Mat

Painted Place Mat (3)

Toddlers are so determined to use their own utensils, but that often means mealtime is a giant mess. This project is perfect then: your child gets to make a mess guilt-free while putting together the craft, and then has a placemat to contain future messes at the end.

This was Veronika’s first introduction to rubber cement as a material, and boy did she love it. I showed her how to dip in the brush (I’d forgotten how this cleverly attaches right to the lid!) and then hold it over a sheet of thick watercolor paper to watch it dribble down.

Painted Place Mat (4)

“Dribble!” she said with glee. I thought I might need to guide her hand, but this girl wanted to do it “all by myself”.

Painted Place Mat (5)

Once the paper is good and goopy, let the rubber cement dry for 30 minutes. Next, I set out tempera paints and we painted all over the paper.

Painted Place Mat (6)

The rubber cement will act much the same way as wax resist painting with crayons.

Painted Place Mat (9)

Veronika loved painting carefully, but I also brushed paint in a more even layer on other parts of the paper so she’d see the full final effect.

Painted Place Mat (7)

Let the paint dry completely, and then rub off the rubber cement. I did this with a finger, but a note of caution: It hurts!

Painted Place Mat (1)

There must be a better way, perhaps with a cloth or the edge of a coin. Regardless, the rubber cement rubs off leaving neat swirls of white that now stand out against your toddler’s painting.

Painted Place Mat (2)

Cover the paper on both sides with contact paper to protect it, and your child will have a durable piece of art to look at during each meal. And to make a mess on, of course. Your toddler will be so proud!

Sticky Foam Birthday Cake

Sticky Foam Birthday Cake (6)

Veronika turns two years old tomorrow! To get in the mood for all things birthday, we made a giant cake on the wall today… from paper and foam stickers that is.

This is a fun way to engage siblings in celebrating a younger child. I cut a large square of craft paper and taped it to the wall, then invited everyone to add stickers. We had a huge bin of foam ones in heart and flower shapes.

Sticky Foam Birthday Cake (2)

Veronika liked the littlest foam stickers best, and placed them all over the paper in a haphazard way.

Sticky Foam Birthday Cake (1)

Big brother Travis loved proudly adding a piece here and there. If you’re doing this activity for a preschooler’s birthday, it would be the perfect opportunity to practice early patterning.

Sticky Foam Birthday Cake (4)

I attempted to make stripes across the paper like “frosting”, although of course I knew not all of the rows would be neat and even.

Sticky Foam Birthday Cake (3)

Once our cake was “frosted”, I added candles made from construction paper. Two candles for my two-year-old!

Sticky Foam Birthday Cake (5)

Note: If you have foam craft shapes that aren’t stickers, you can do this activity right on the window. Just brush with water and they’ll stick. But definitely don’t use the window if you have sticky ones, or clean-up will be more than you bargained for

Sticky Foam Birthday Cake (7)

Spooky Treat Holders

Halloween Treat Bags (5)

These easy treat containers are a great way to hand out Halloween candy this year without kids reaching into a communal bowl. Make a few or a lot, and leave on a patio or table where kids can easily take a single serving. They’re a fun alternative to a standard treat bag.

To assemble, first wrap empty toilet paper tubes in crepe paper or ribbon. I made one version with orange ribbon and another with white crepe paper. Other fun ideas include: green (for Frankenstein!), blue (for silly monsters!), black (for bats!) or even tricolor white-orange-yellow for candy corn.

Halloween Treat Bags (1)

As you wrap, you’ll need to work carefully, wrapping one side of the paper or ribbon and then applying glue before wrapping the next section. Wrap, glue, wrap, glue, repeat until the tube is completely covered.

Now add details with pieces of cut construction paper or marker. For example, add wiggle eyes to the blue monster, if you’ve used blue crepe paper or ribbon. Our orange ones became pumpkins and white became ghosts.

Halloween Treat Bags (3)

You can then use either cellophane treat bags or regular zip-top bags to stuff candy inside. I filled baggies with a few treats (make sure the stuffed bag is narrow enough to fit inside the tube), and insert into your spooky creations.

Halloween Treat Bags (4)

We’re ready for contact-free trick-or-treaters!

Party Tablecloth

Party Tablecloth (3)

This is an easy and fun way to get even a toddler involved with the decoration for his or her own birthday party. Set out a long piece of craft paper, along with coloring supplies, stamps, or stickers, and let the fun begin!

Veronika loved the ink pad and tractor stamp I handed over in anticipation of her tractor-themed party. She dotted it all over the paper, with a little mommy help to make sure the ink prints were dark enough for guests to see.

Party Tablecloth (2)

Then she wanted to use markers. I gave her green and yellow since these were the party theme colors, although she asked for blue, too!

Party Tablecloth (1)

If you have stickers or even images cut from magazines that fit your child’s birthday theme, add those, too. It was the perfect homemade touch to the decor for her second birthday party! We even got half of a little footprint in red ink, making it a neat keepsake

Party Tablecloth (4)

Spaghetti Spider Web Craft

Spaghetti Spider Web (11)

Thanks to some recent sensory play with Veronika, I’ve learned a few tricks about how best to make sculpture from spaghetti. I realized the same method could be used to add to our Halloween decor, because it would result in perfect “spider webs”.

To start, mostly this activity was just spaghetti sensory play again. This time, I tinted a big batch of spaghetti a witchy green hue and instead of adding glue, I added corn syrup.

Spaghetti Spider Web (1)

Just pour it on until you have a nice coating over the noodles. This not only means the noodles won’t clump together as your child plays, but also means the final artwork can still dry like glue, but stay edible.

And good thing, because Veronika was in the mood to nibble on pasta today! I gave her a small dish of plain noodles, but she ate big handfuls of the green stuff right from the pot!

Spaghetti Spider Web (2)

Eventually I diverted her attention from eating noodles to making the spider web craft. Lay out squares of wax paper and help your toddler arrange noodles in a circle. The thinner the overlap of the noodles, the faster and better these webs will dry.

Spaghetti Spider Web (4)

Being a toddler, of course she also wanted to make big gloppy piles of noodles, which was half the fun.

Spaghetti Spider Web (5)

She loved calling them webs, though, as she worked.

Spaghetti Spider Web (7)

Once we had three neat web shapes, I placed them on a baking sheet and put in the oven at 175 degrees F for 2 hours. This was sort of a guess, but it worked perfectly. The webs came off from the wax paper without tearing or breaking at all.

Spaghetti Spider Web (9)

Thread yarn through the top of each “web” and hang in spooky corners or windows. Bonus points for plastic spiders to live in each web!

Spaghetti Spider Web (10)

Pumpkin Craft for Toddlers

Pumpkin Art for Toddler (9)

This pretty suncatcher craft was a nice alternative to playing with real pumpkins!

To start, I taped a large piece of contact paper on to our craft table, sticky side up, and then set out a tray filled with squares of cut tissue paper. We had squares in red, orange, and yellow.

Pumpkin Art for Toddler (2)

Veronika immediately loved pressing the tissue paper onto the sticky surface and seeing that they got left behind when she lifted her hand away.

Pumpkin Art for Toddler (4)

I helped a little so that we could completely fill in a roughly circular area.

Pumpkin Art for Toddler (5)

Cover with a second sheet of contact paper, sticky side down, then trim into a pumpkin shape.

Pumpkin Art for Toddler (7)

For a stem, I simply taped on a rectangle of green construction paper. Hang in a window or doorway and watch the sun play tricks through the colors.

Pumpkin Art for Toddler (6)

You’ll get a neat double dose of orange, first from anywhere your toddler has actually attached orange tissue paper, and second from any place that yellow and red overlap!

Pumpkin Art for Toddler (8)

Pumpkins with Mustaches

Pumpkin Mustaches (4)

It was time to get silly with some of the pumpkins we brought home from the farm stand!

You can start with pale or white pumpkins for this project, saving yourself the step of painting. But since painting is half the fun, we used orange pumpkins and first pulled out the white paint.

Pumpkin Mustaches (1)

Veronika loved slathering it all over two pumpkins. I recommend at least two coats of paint if you don’t want any orange peeking through, and would have done a third coat had there been time.

Pumpkin Mustaches (2)

Once the paint dried, we glued on mustache templates that I found online. Travis got to pick which shapes we’d use! You could also draw them with marker, but the 3-D effect is so fun.

Pumpkin Mustaches (6)

Silly and unexpected pumpkins like these are sure to delight those who see them on your doorstep.

Pumpkin Mustaches (5)

Halloween Countdown Day 19: No Mess Pumpkin Art

No-Mess Pumpkin Art (8)

Here’s a quick seasonal spin for a toddler to paint in a zip-top bag. This time, instead of plain paper inside the bag, I inserted a template of a pumpkin.

You can squirt in orange paint, but where’s the fun in that? Add a little blob of red and a little blob of yellow and it will become a lesson on color mixing, too! Now simply seal tightly and hand across.

No-Mess Pumpkin Art (2)

Veronika was so surprised when she touched the red paint and realized her hand wasn’t messy.

No-Mess Pumpkin Art (3)

Same thing with the yellow!

No-Mess Pumpkin Art (4)

Now she was doubly intrigued. She either used the flat of her palm for squishing the paint, or sometimes scratched at it, too.

No-Mess Pumpkin Art (6)

As soon as our red and yellow started to mix, I pointed out that she was making orange. In retrospect, I should have added more yellow, as the red was definitely dominant. But we achieved a neat tri-color effect on the pumpkin.

No-Mess Pumpkin Art (7)

Note: Your piece of paper will be so saturated with paint that likely it will tear if you try and remove it from the bag. So this project isn’t a keeper, but it is fun in the moment!

No-Mess Pumpkin Art (5)

Mix and Match Monsters

Mix and Match Monsters (7)

After playing with felt faces to make happy and sad people, it felt like it was time to get a little more Halloween-y and play a version with… felt monsters!

For each monster body, I simply drew free-hand on a piece of felt and cut out the shapes. My monsters were fairly cute and definitely not threatening. Think bubbly round buddies and short stubby limbs.

Mix and Match Monsters (1)

I then hot-glued black felt onto white circles for a few monster eyes, but mostly, I relied on pre-cut pieces of felt to form additional facial features.

Mix and Match Monsters (2)

Time to make some silly faces! Veronika was delighted as soon as she saw what we were up to. She loved making a three-eyed monster with a smile. “She’s happy!” she told me (happily). So this very quickly turned into a lesson on emotional learning, too.

Mix and Match Monsters (3)

We made grumpy monsters and surprised monsters.

Mix and Match Monsters (4)

Then she wanted to get them dressed. This one, according to Veronika, was wearing pants and his shirt.

Mix and Match Monsters (6)

I loved watching the way she interacted with these little creatures.

Mix and Match Monsters (5)

And nothing was too spooky!