Easter Egg Holder

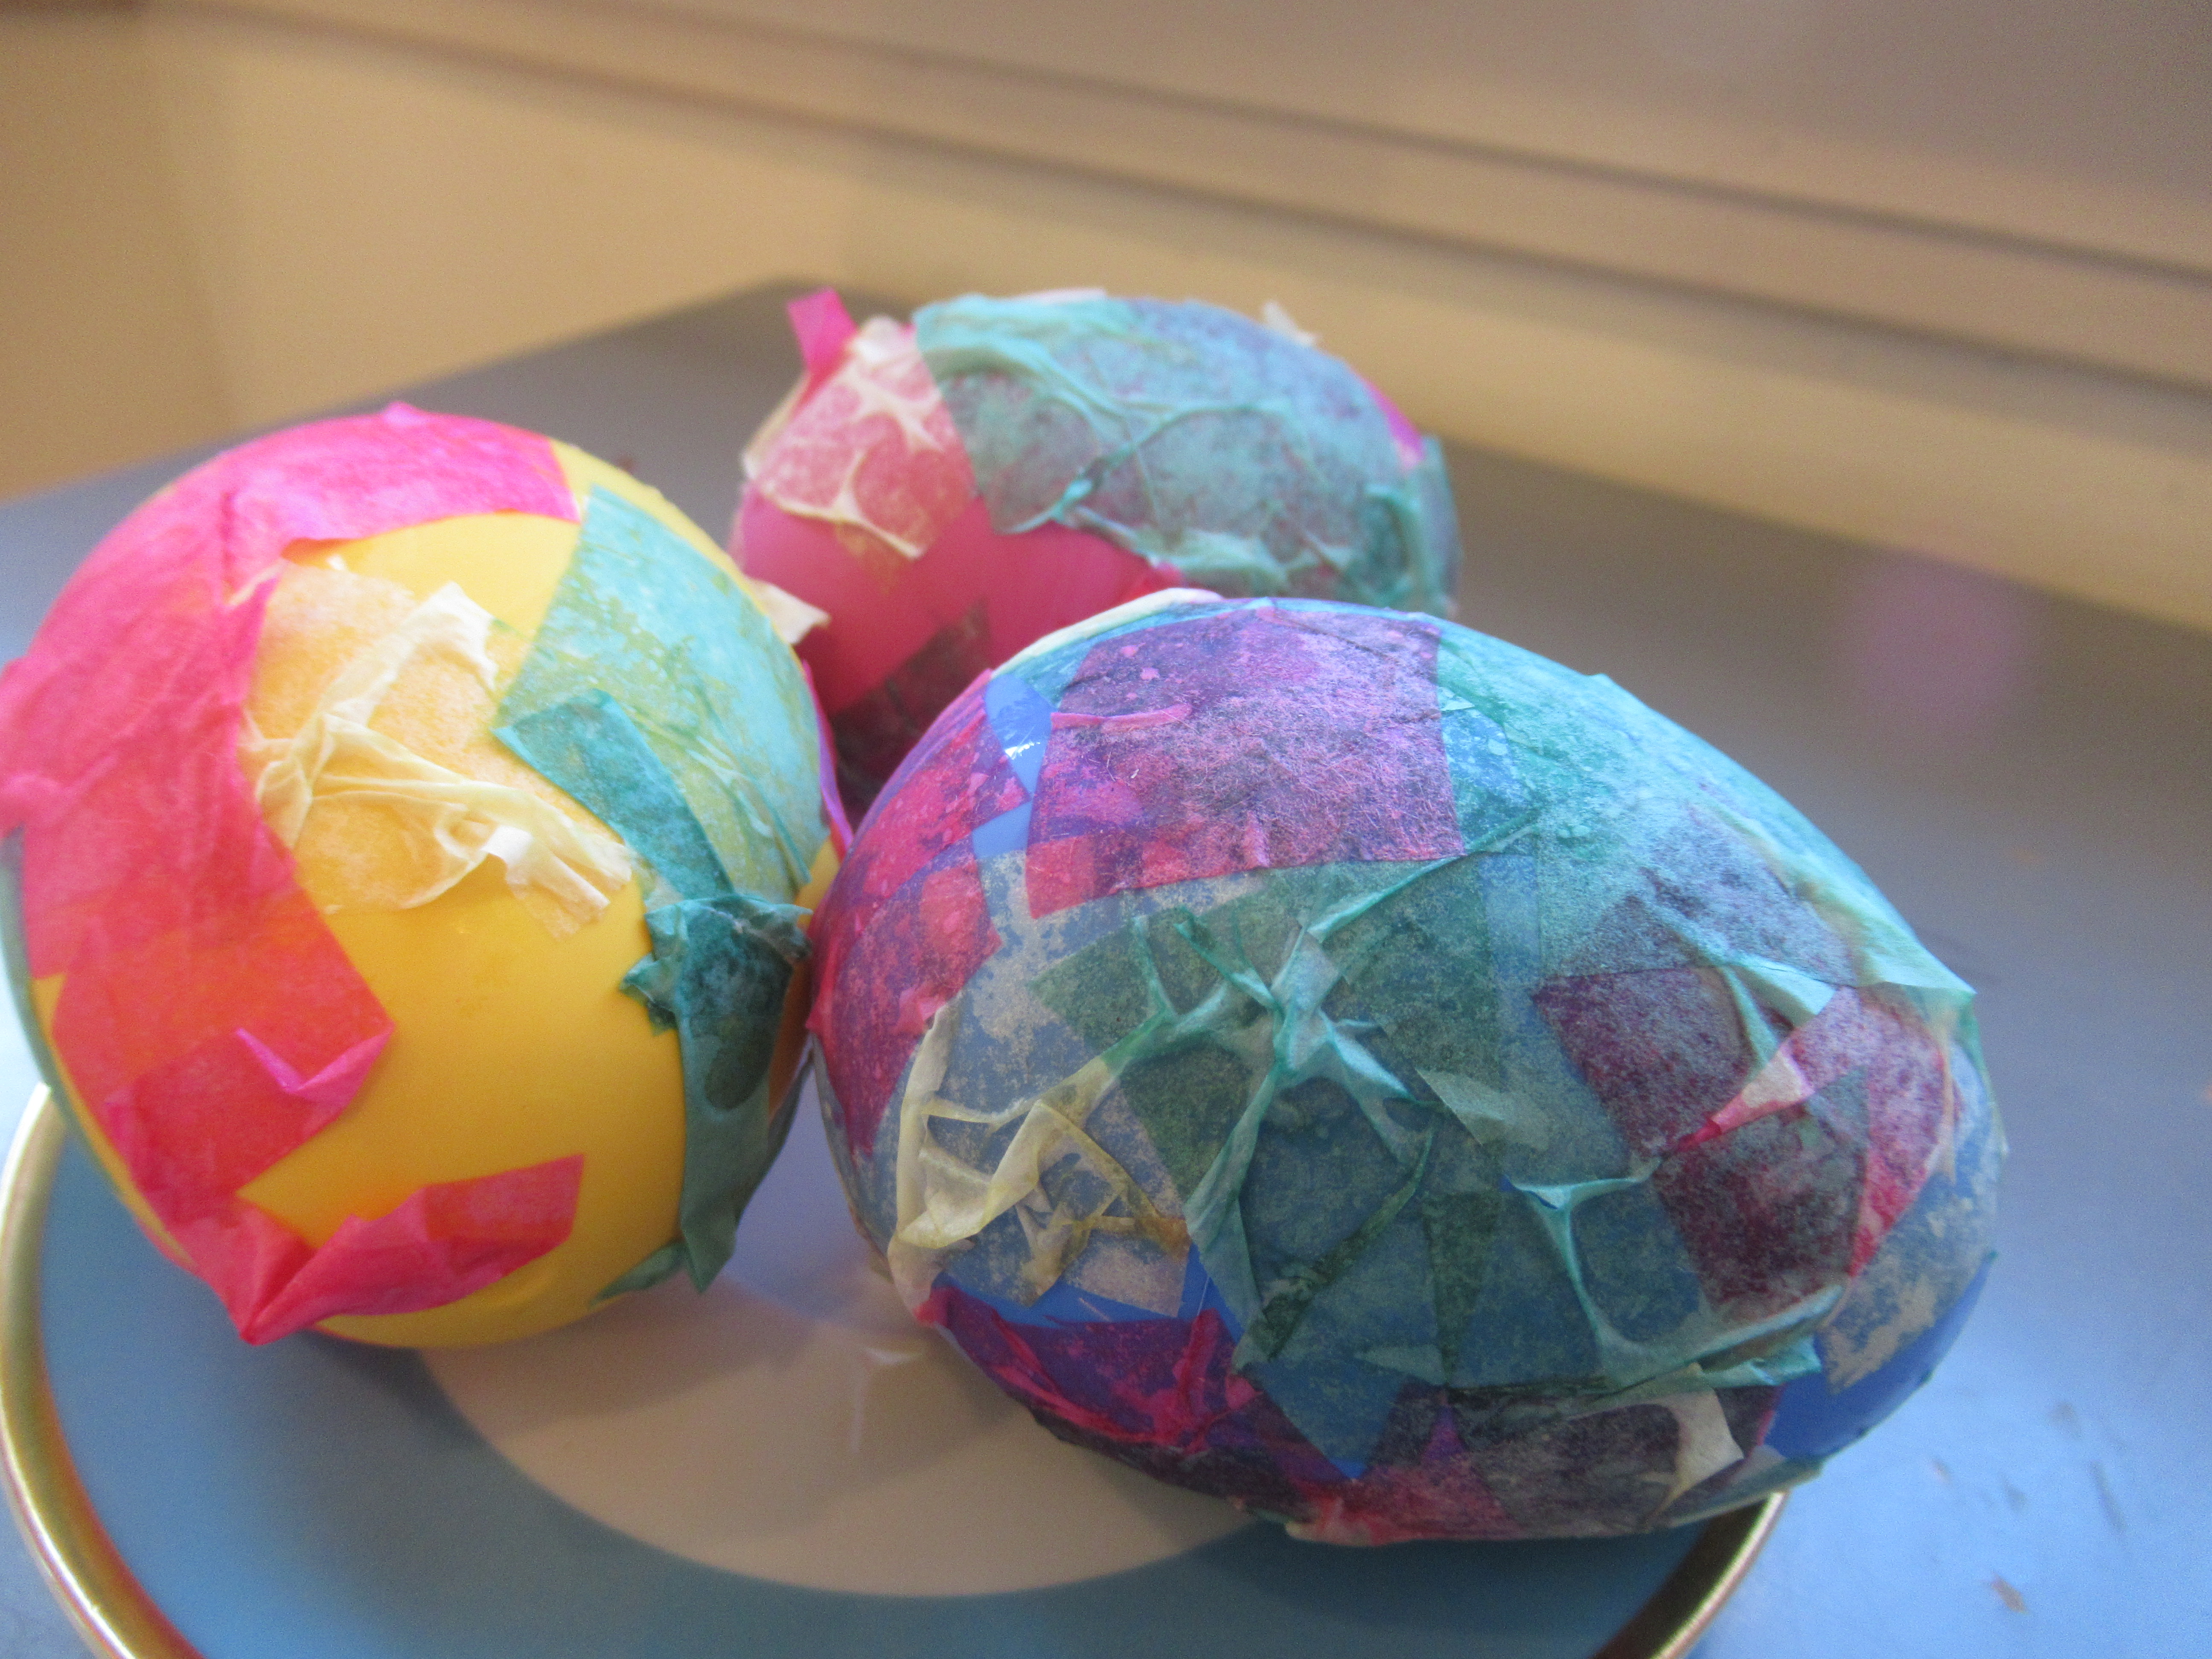
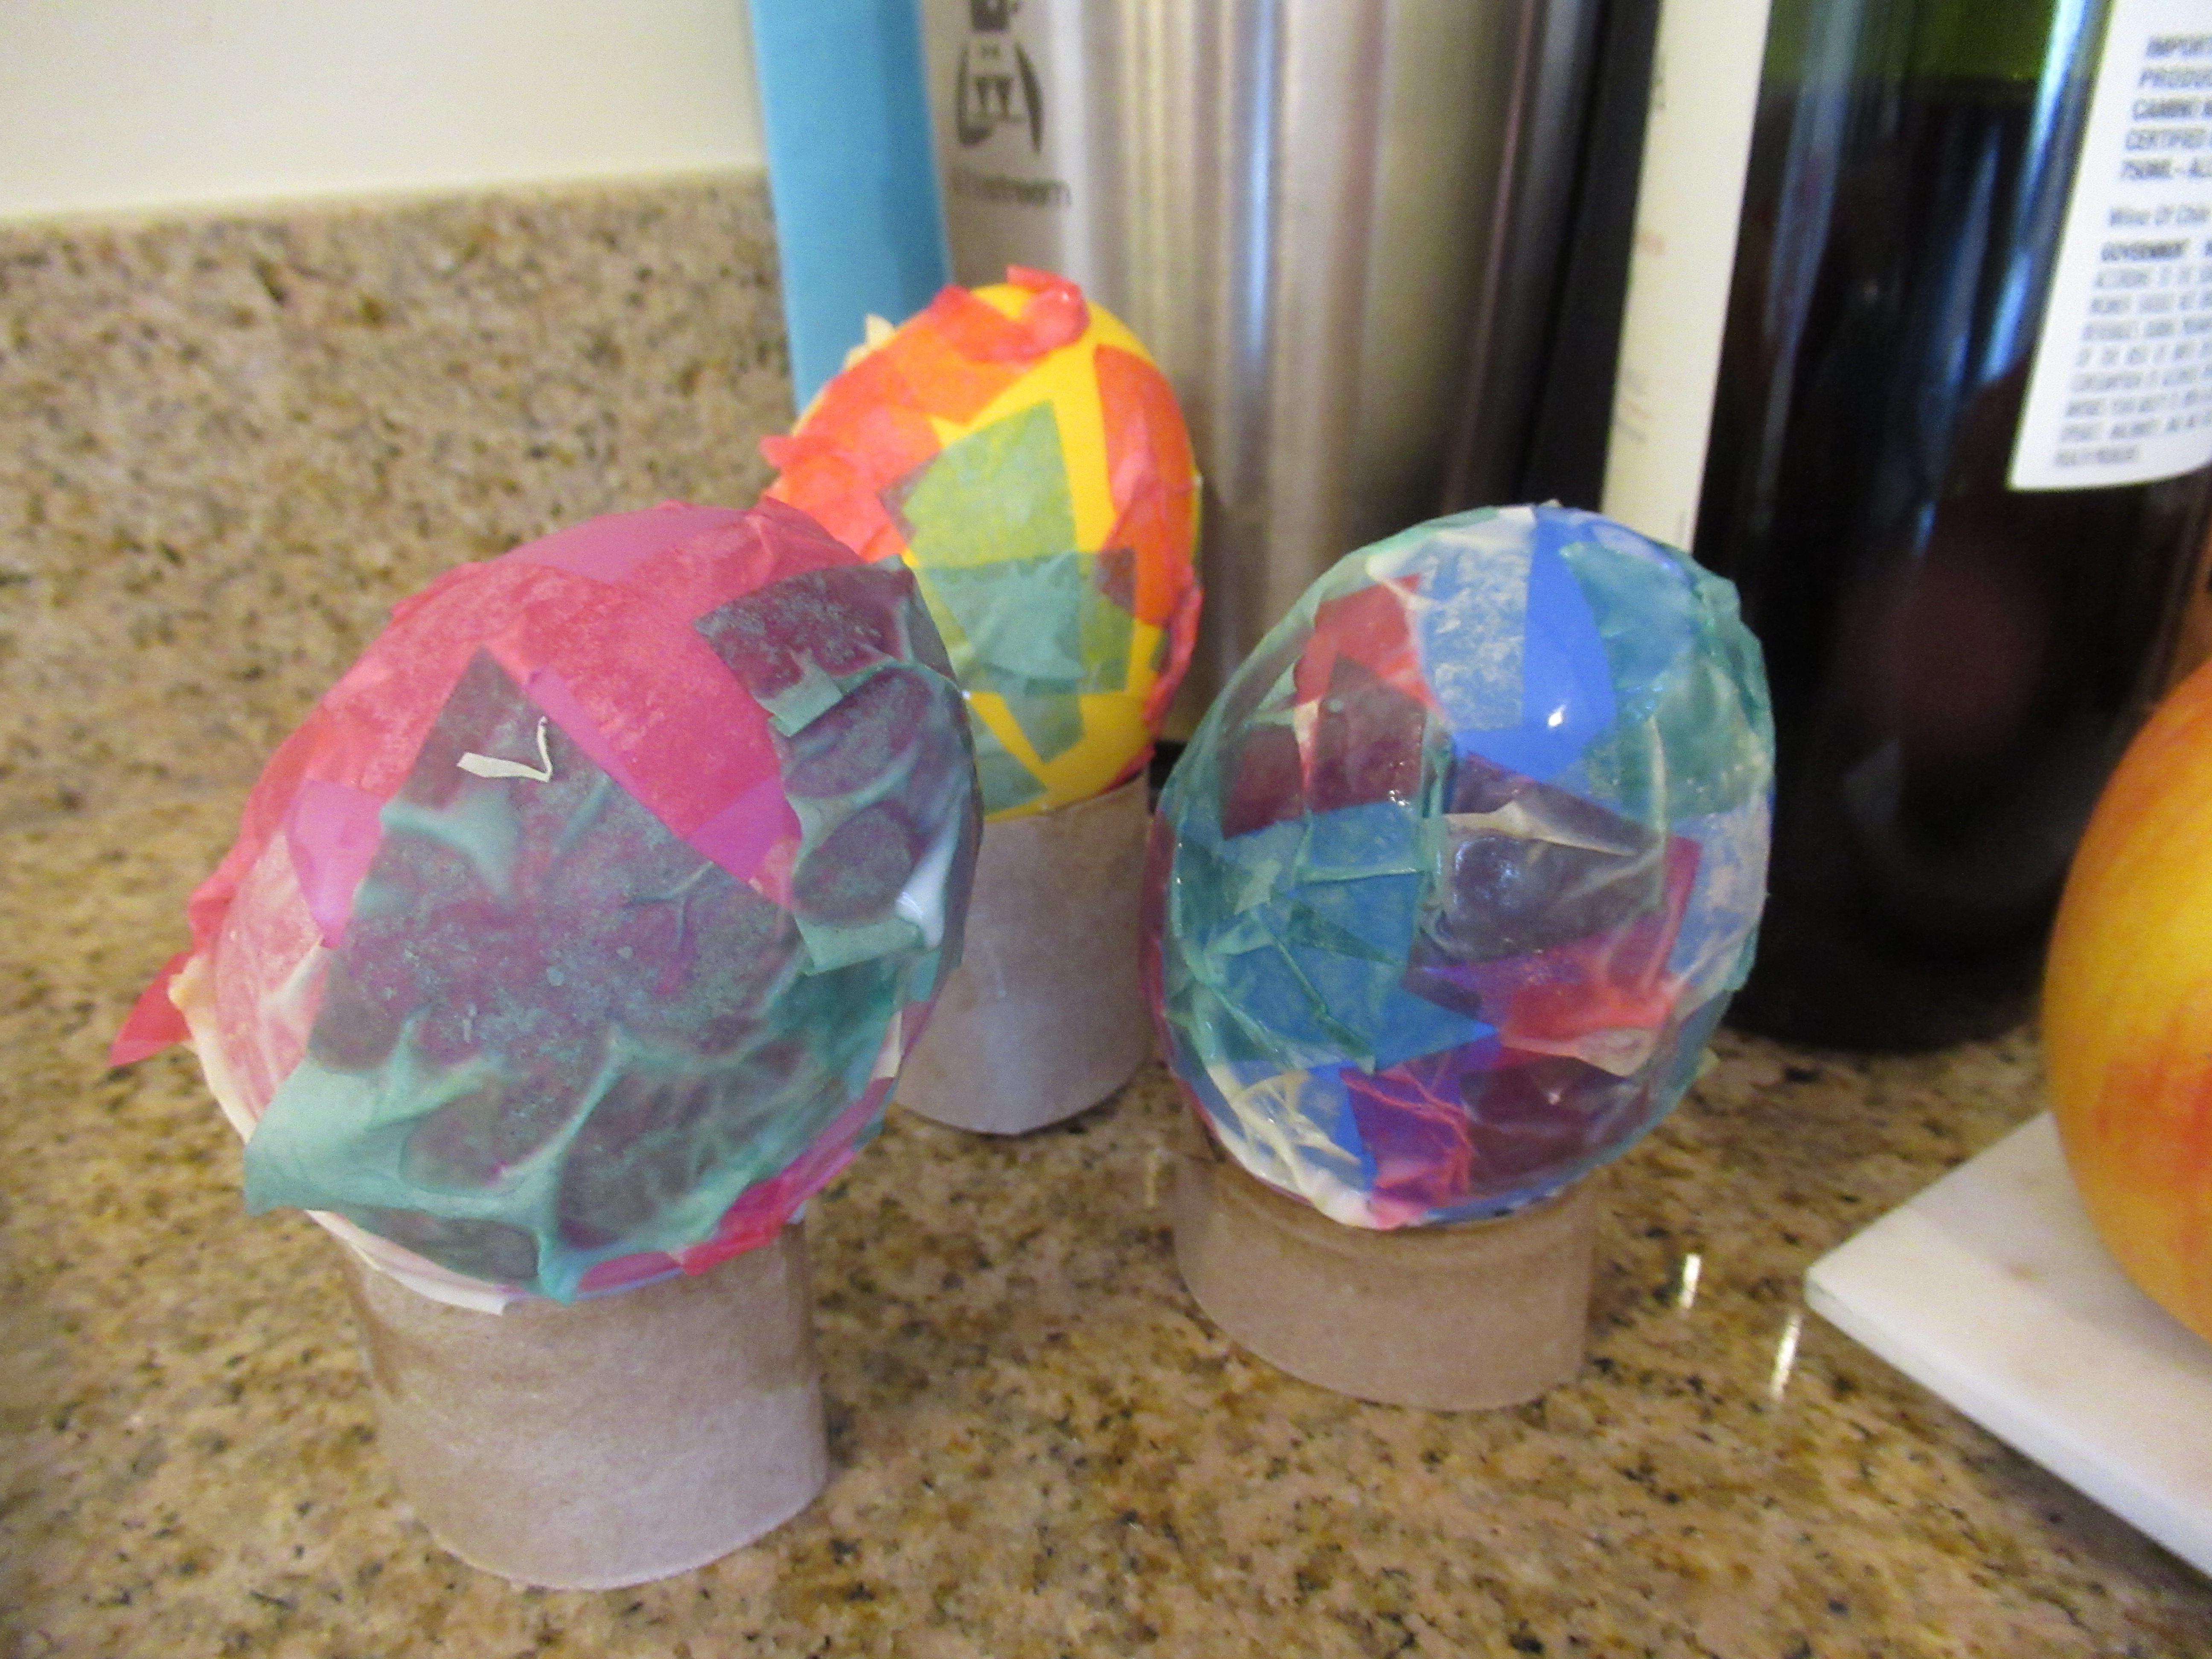
Veronika has decorated quite a few plastic eggs for Easter this year, but those roly-poly eggs can be difficult to display. Here’s a cute idea from The Toddler’s Busy Book to show off your toddler’s creations!

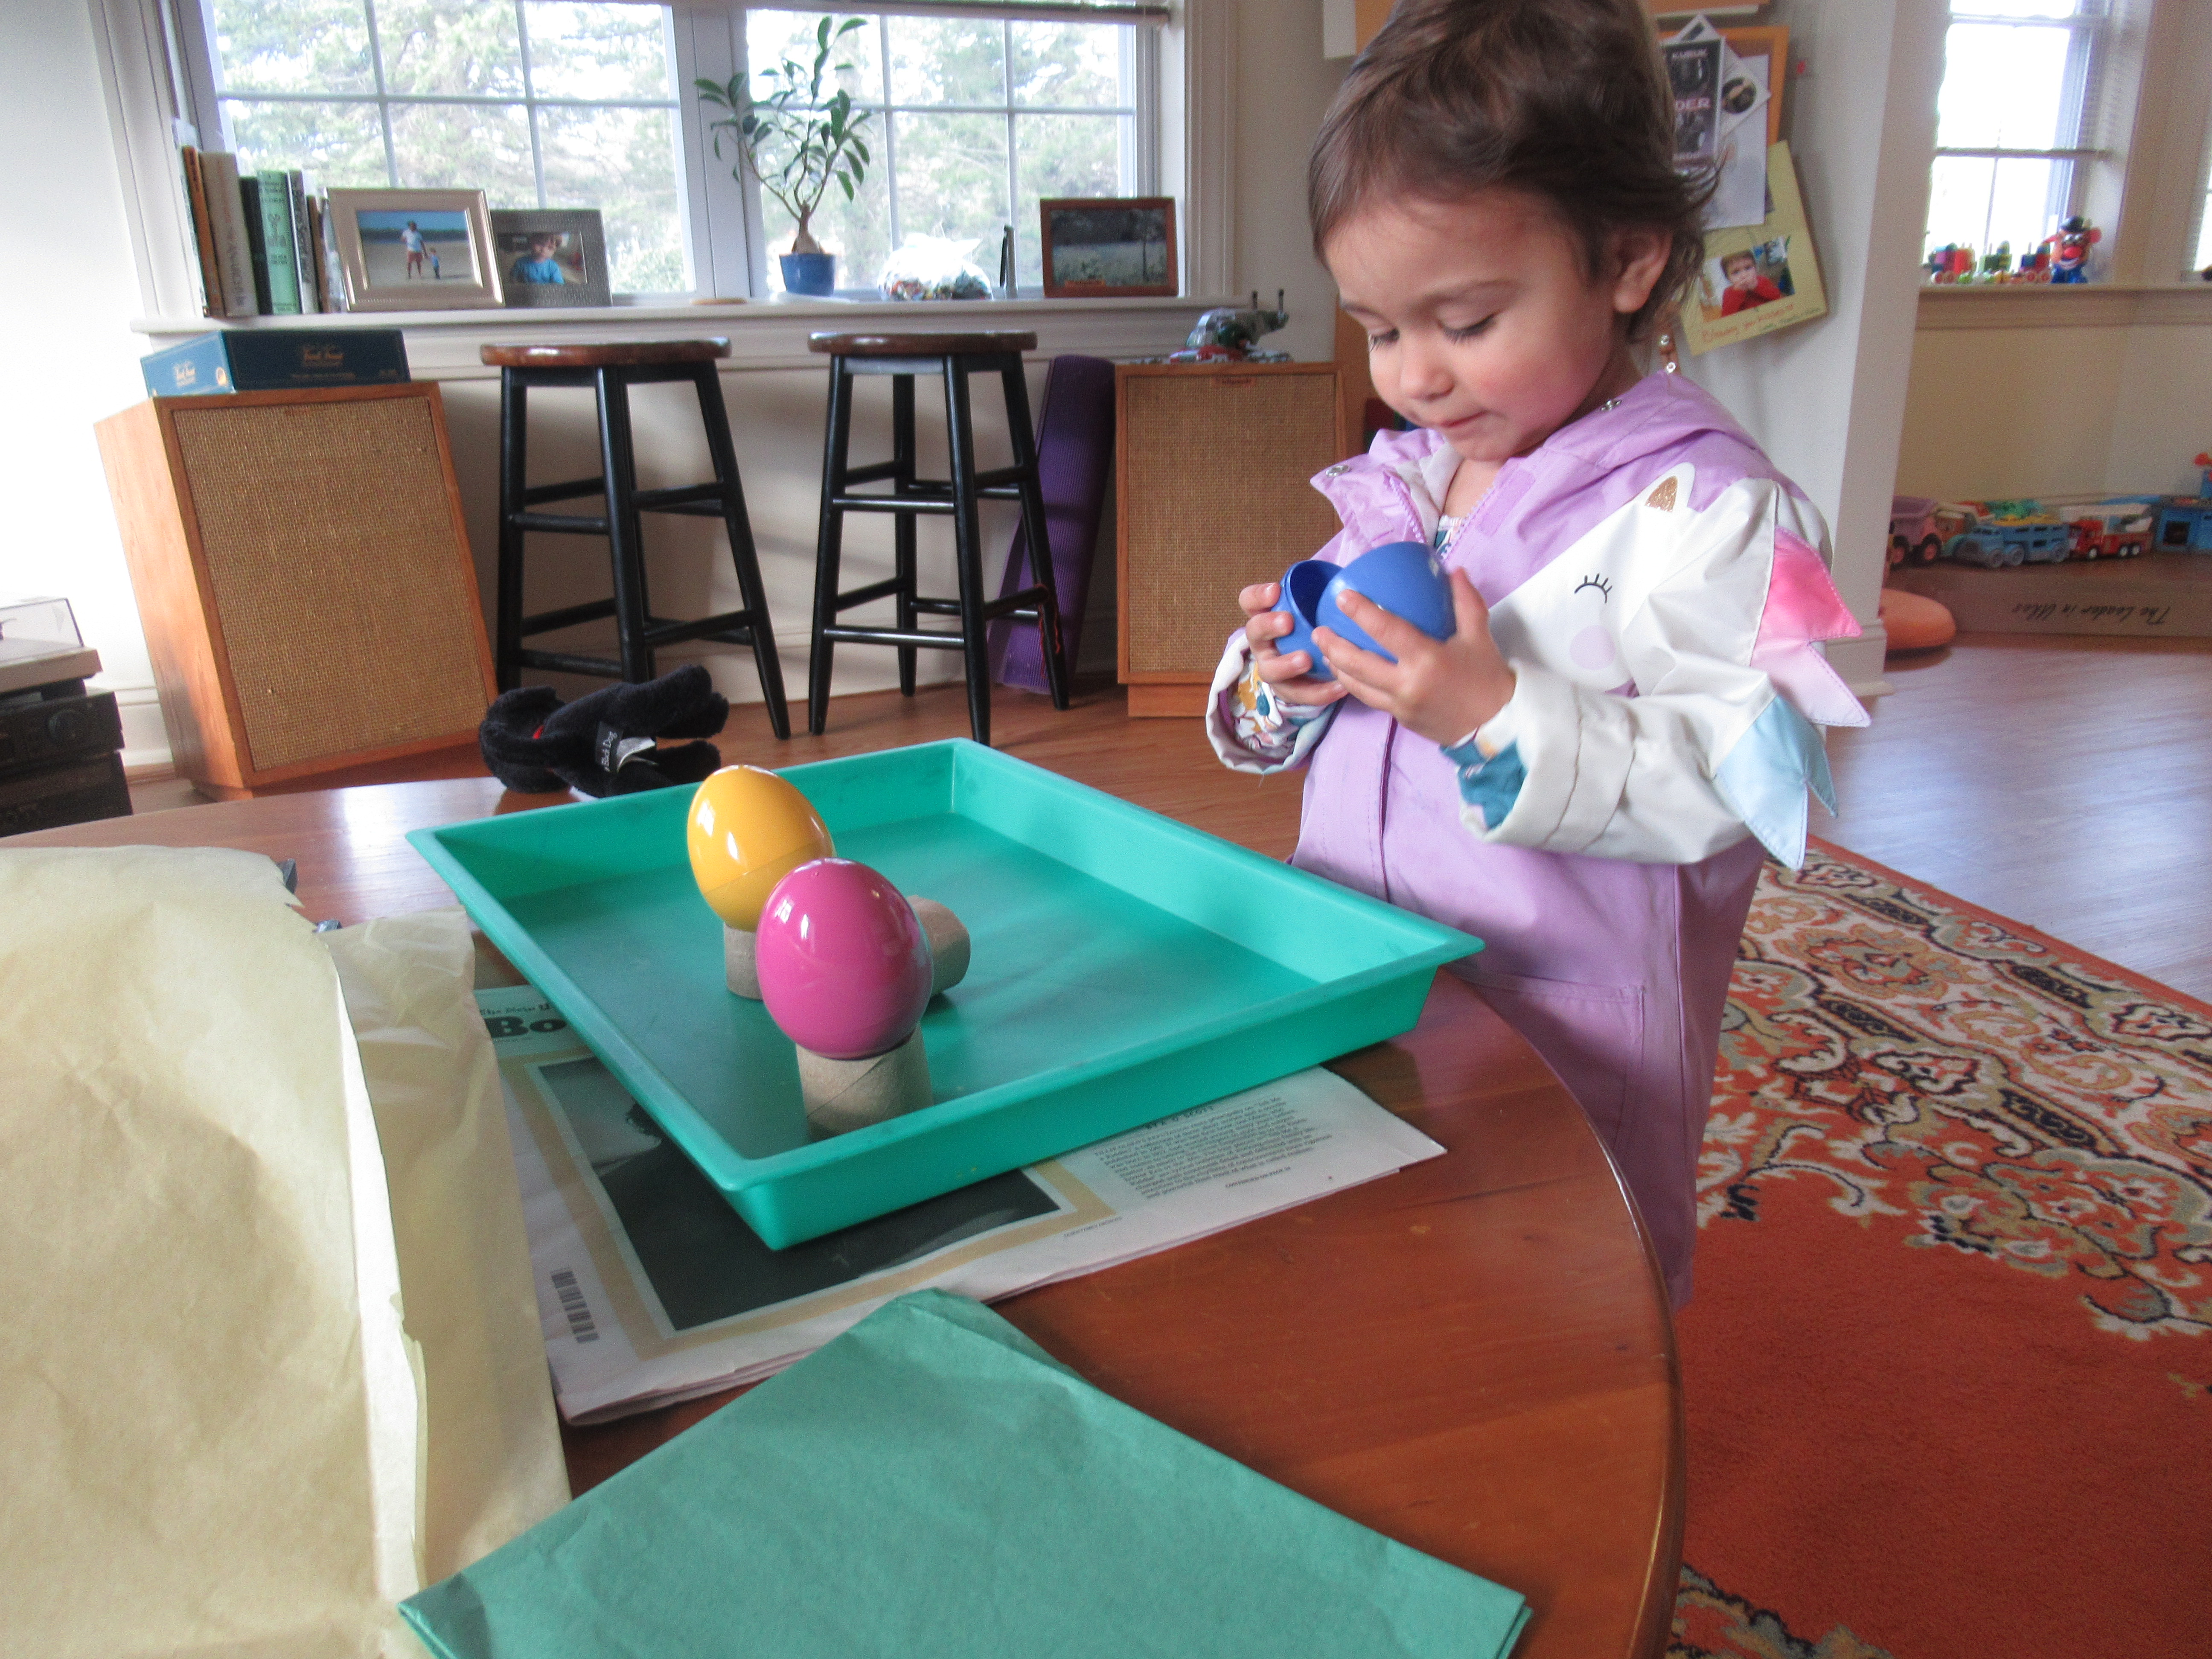
First, cut an empty paper towel tube into sections, each about 2 inches tall. Next, cut strips of construction paper to wrap around them, and glue on. We chose yellow, green, and pink, all lovely springtime colors. I don’t normally use hot glue for a material as thin as paper, but in this case it cut down on mess and drying time.

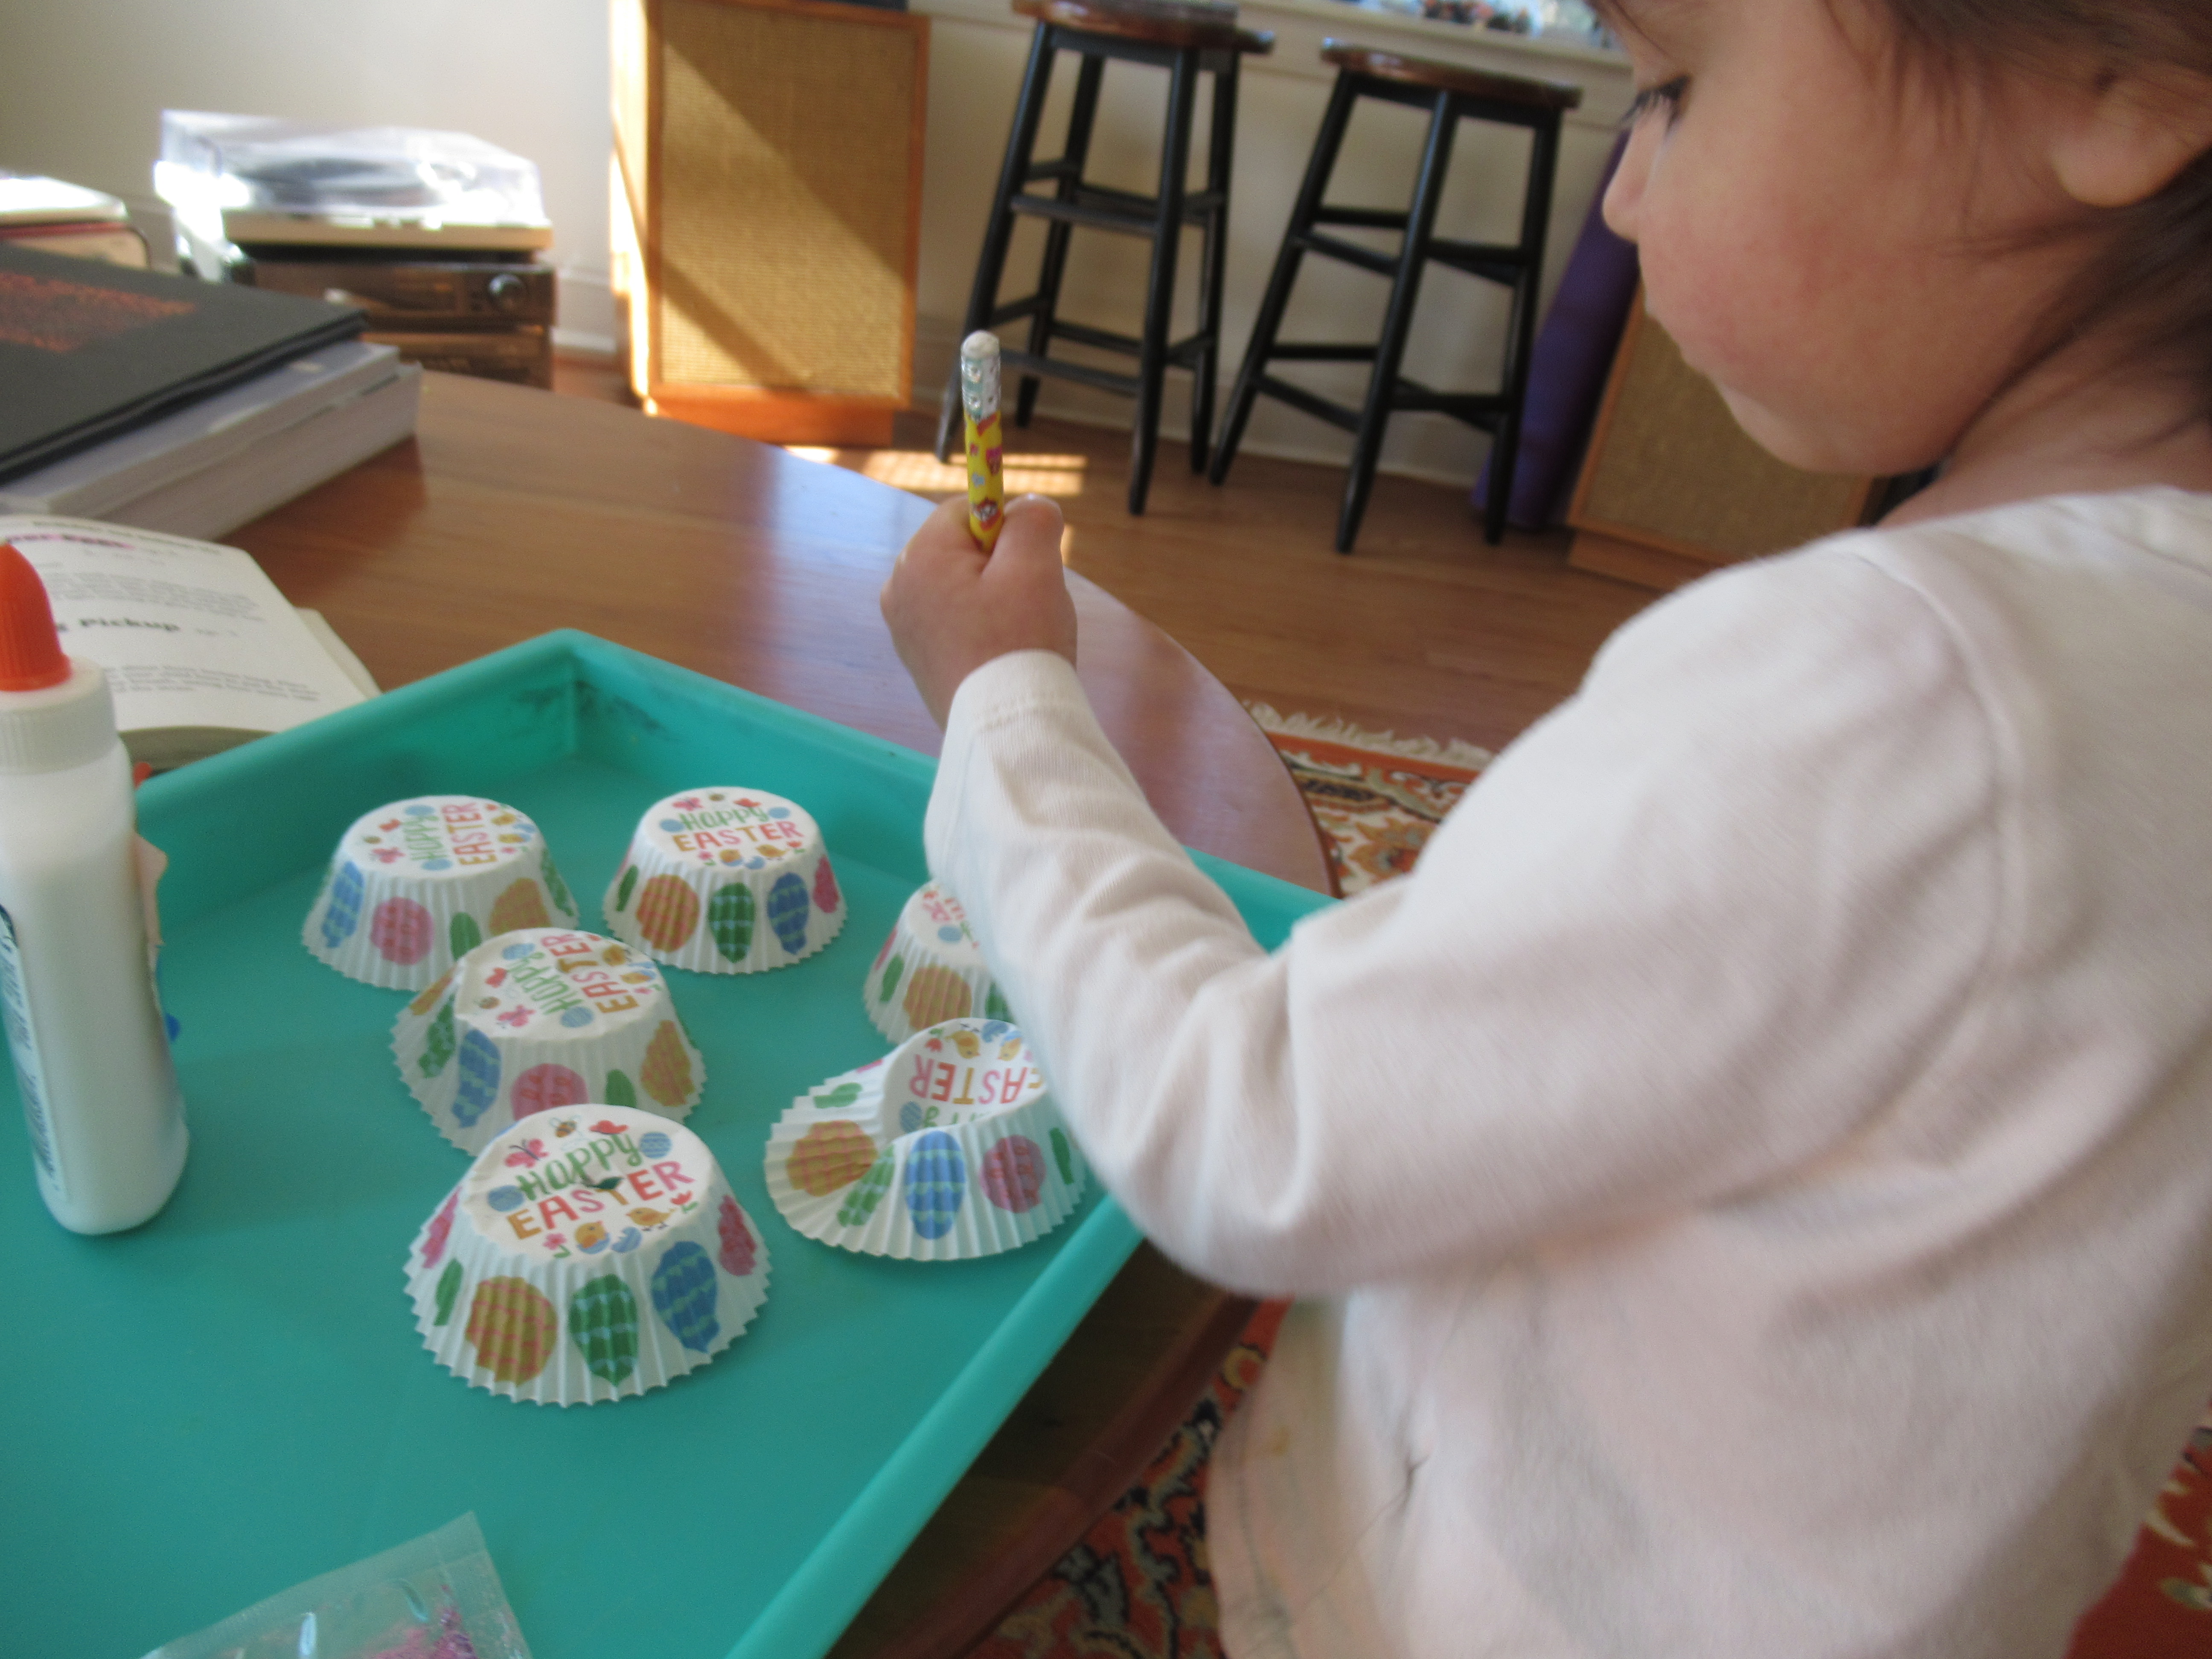
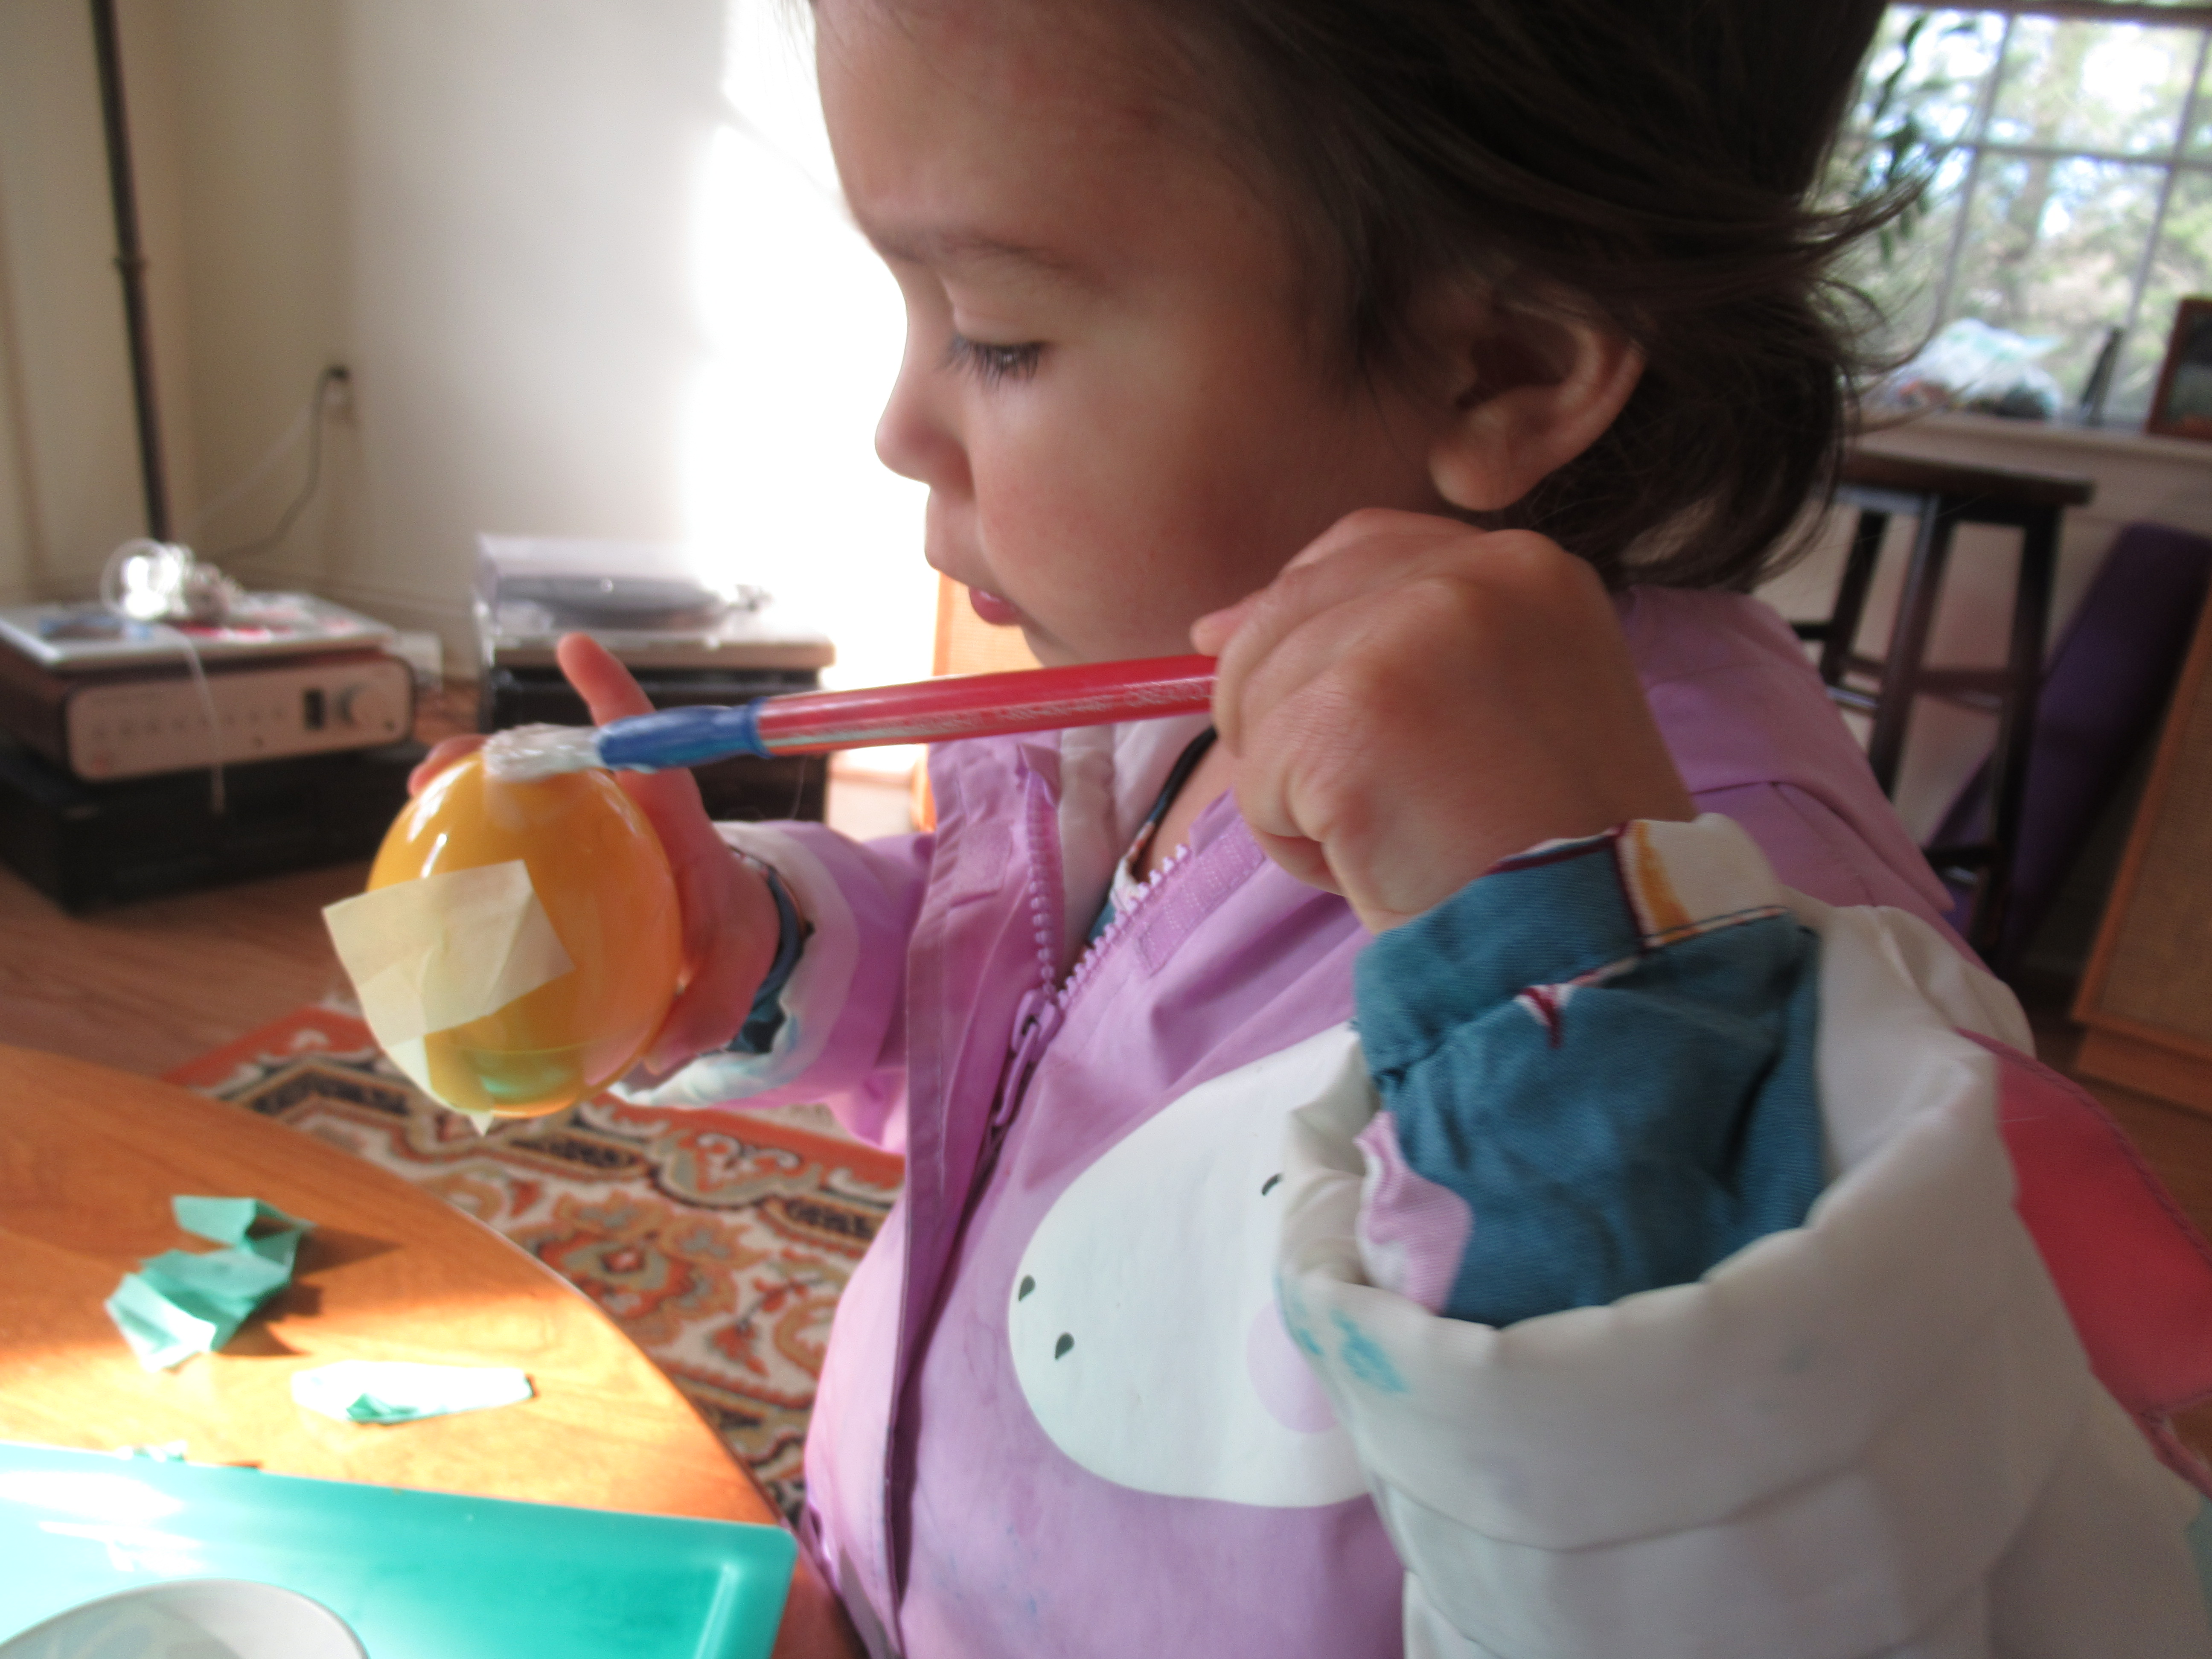
Now it was Veronika’s turn to decorate! She loved adding Easter-themed stickers like images of chicks, bunnies, and flowers.

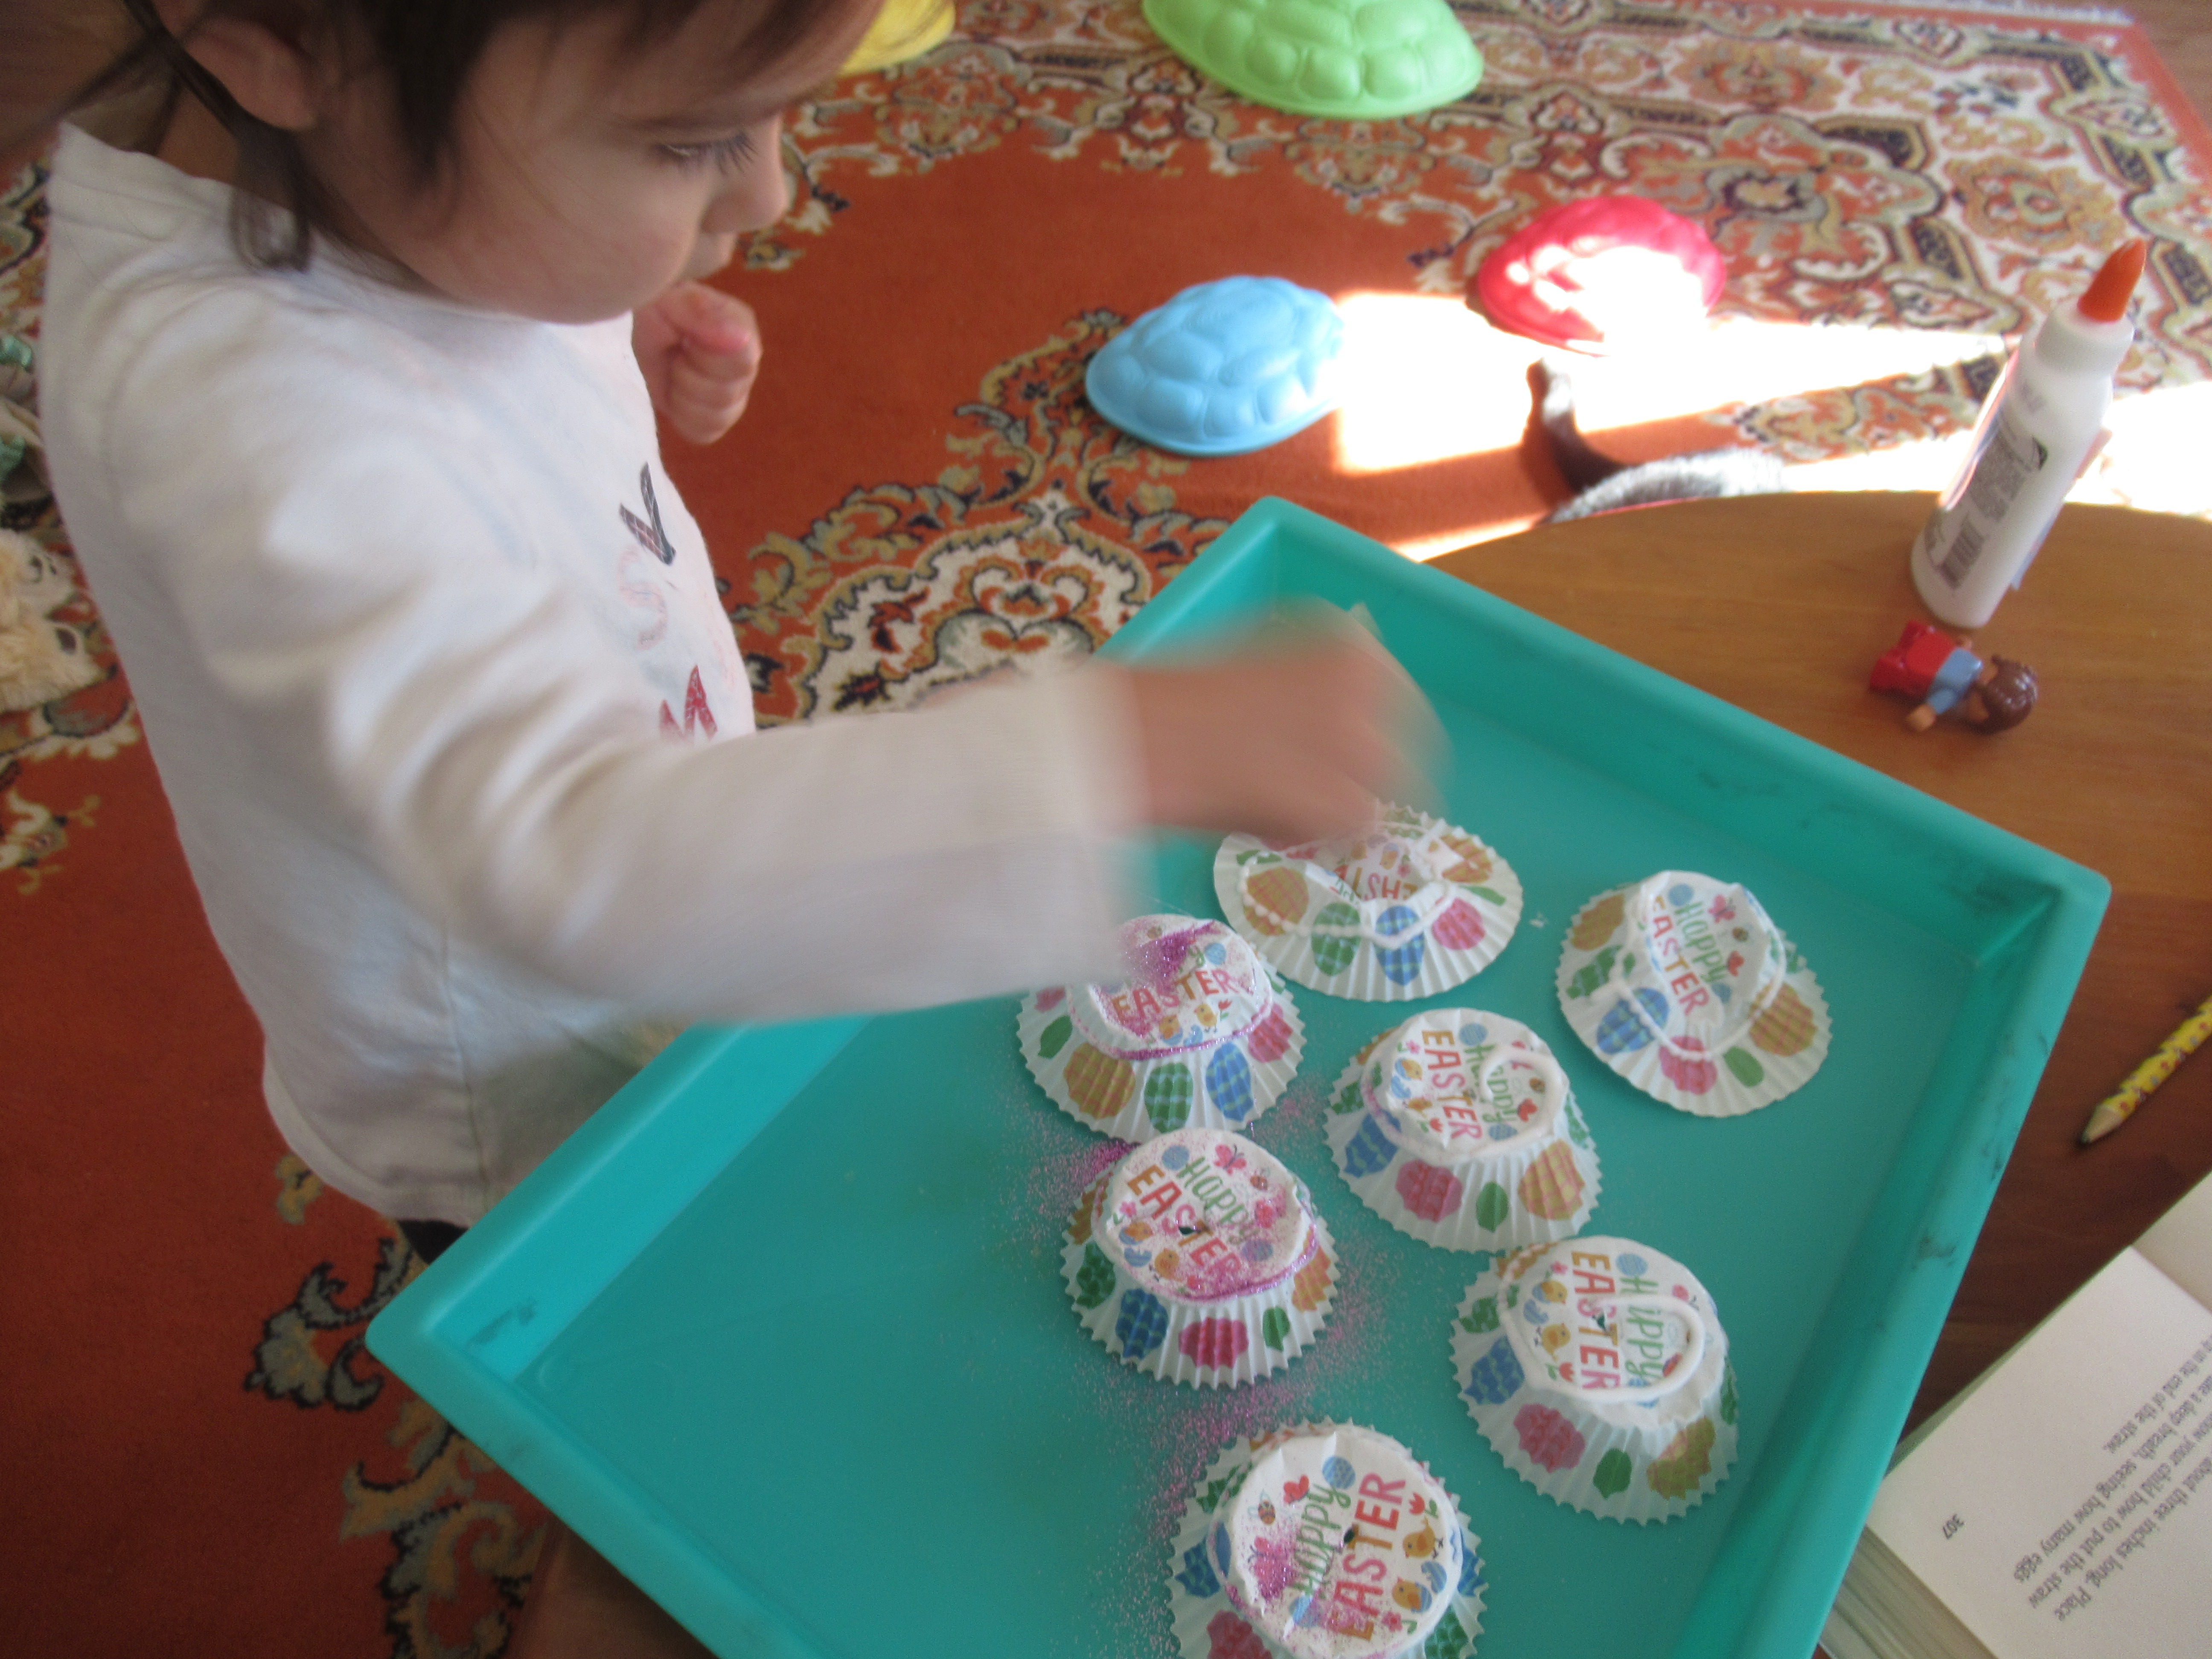
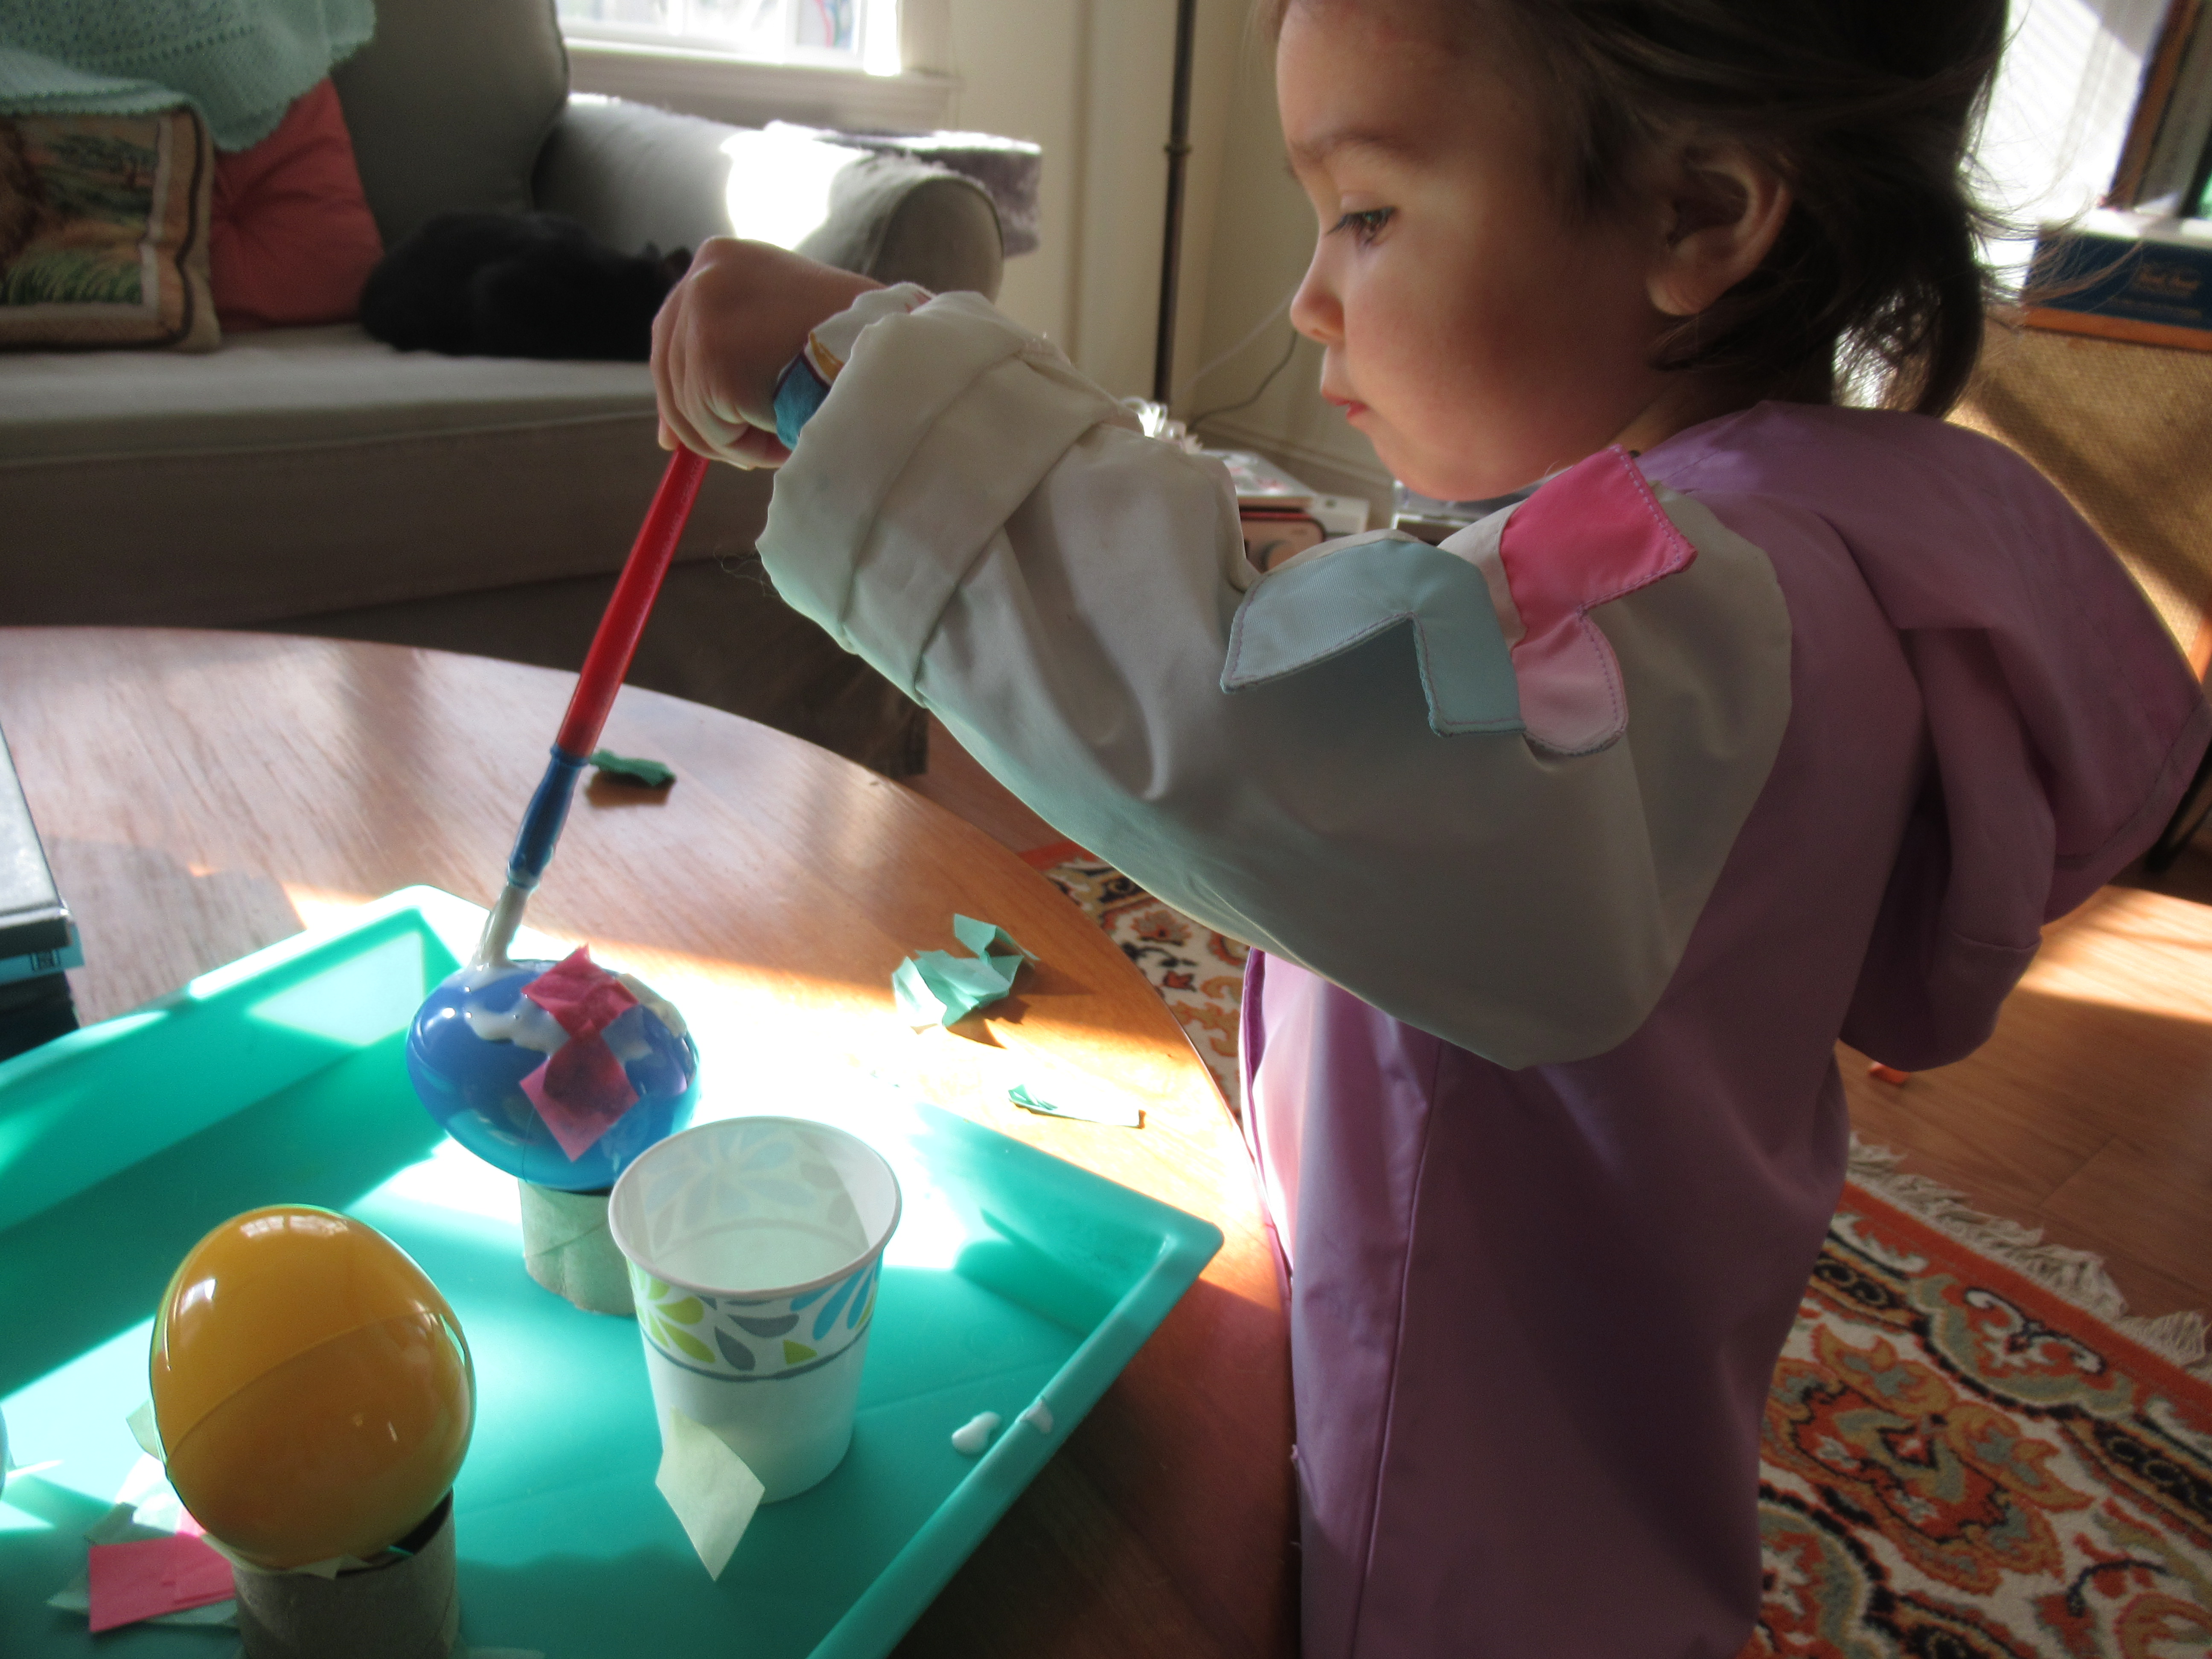
Her favorite step, though, was making the holders sparkle with glitter. I decided the most mess-free way to do this was to pour a little glue into a paper plate and sprinkle the glue with glitter (Veronika chose gold), and then roll the tubes through. Stand upright to dry.

The eggs look great, and won’t wobble over!

Raindrop Stamp for a Rainy Day

Veronika has been obsessed with a rainy day episode of Blues Clues recently. So when we had a real rainy day today, I used the opportunity for a raindrop-themed craft.

First, squirt rainy day shades of paint onto a paper plate. We mixed dark blue, light blue, and black. Then, simply squeeze an empty toilet paper tube into a teardrop shape.

I showed Veronika how to dip in the paint and then stamp on the paper.

“Look at all the raindrops!” she said so happily. She took charge of the activity and didn’t want any help, which meant many of her raindrops were sideways. But I loved that the resulting artwork was authentically hers.

I covered a second sheet of paper with more raindrop stamps, and this time drew in a little dog ‘Blue’ towards the bottom.

In sum, this is a great way to keep toddlers busy of a rainy day.

Carrot Kid Craft

Last year, Veronika loved having her feet painted orange for an adorable springtime craft. This year we painted them green instead! Capture a few green footprints and they become the green fronds at the top of this carrot memento, just in time for the Easter bunny to nibble on.

To start, I sat Veronika down in front of a big sheet of paper and painted the soles of each foot green. Make sure you have wipes ready at your side so you don’t wind up with green footprints all over the floor!

I tested out two methods for the best print, either bringing the paper to her foot and pressing firmly, or having her walk across it. The former definitely made clearer prints! I cut out the best two and set them aside to dry.

Meanwhile, we made the rest of the carrot: cut a paper plate into a triangle shape and invite your toddler to tear orange construction paper into small pieces. Glue down the orange pieces until the plate is covered.

Glue the footprint fronds to the top and the carrot is ready!

Bunny Tail Pom Pom Painting

Bunnies have those adorable cotton ball tails that kids just love. Today, we painted with the “tails” to make the rest of the bunny, thanks to this cute idea from The House of Burke.

To start, I clipped a few small clothespins onto white pom poms, and set these out for Veronika, along with a plate of black paint. For preschoolers, challenge them to hone their fine motor skills and get the clothespins onto the pom poms solo.

For Veronika, the activity was more about the fun of dipping the “bunny tail” in the paint and dotting onto thick white paper. She also liked dotting two “tails” together!

Little did she know that there was a surprise in store for her once the paper was painted; we were about to turn it into a full bunny head! Let the paint dry, then cut out shapes for the bunny’s head and ears, and glue these down on a construction paper background.

A final pom pom makes the bunny’s nose. Glue down wiggle eyes and add a few details with marker, and this bunny is ready to hop into spring!

Easter Banner

Pull out those dot markers and let your toddler help make this easy breezy Easter banner!

To start, the plan was to trace bunny and egg shapes onto yellow construction paper. I easily found an egg template online, but couldn’t find a bunny head in the same size so just free-handed it. I traced four of each shape.

Veronika was so excited that she trotted over to get the dot markers from our craft bin all by herself! She loved seeing the colors appear, although was slightly disappointed that the blue marker appeared a bit greenish on the yellow paper.

Once we’d covered the shapes, I cut them out.

Cut additional sheets of construction paper (we used pink and purple) in half so you have 8 pieces. Glue down the bunnies and eggs with a glue stick.

Now hang up somewhere prominent in your home! We decided last minute to spell out E-A-S-T-E-R on the shapes, but you can also leave them plain. Or, if you make just a few more, you can spell out a full H-A-P-P-Y E-A-S-T-E-R. The banner makes a lovely spring welcome above the bench in our entry hall.

Spring Flower Bouquet

Veronika loved pretend flower play to greet the spring a few days ago. Today, she got to craft her own flowers instead! As with the previous project, this is a great way to invite spring into your house as you wait for real flowers to be in full bloom.

And all you need is pretty cupcake liners and pipe cleaners! Pastel shades like pink or lavender would be great for “blossoms”, but I happened to have Easter-themed cupcake liners. That meant our final product will work well as an “Easter Bouquet”, too, to set as a table centerpiece.

To make each flower, poke a hole in the center of each cupcake liner with a pencil. Insert a green pipe cleaner and bend slightly to secure it in place.

If you want to make your flowers sparkly, squirt a little white glue on them first and liberally sprinkle on glitter. Veronika chose purple for this step, which was definitely her favorite part!

Once the glue dried, we gathered the flowers together into a bouquet, twisting the pipe cleaner stems together and securing with a yellow ribbon.


Tissue Paper Easter Eggs

Tissue Paper Eggs (8)

I’m always looking for ways that my vegan kids can decorate eggs for Easter without dyeing real hen’s eggs. This particular method works great on plastic eggs!

I set out a few eggs (from Eco Eggs), and Veronika first wanted to explore them, of course. She loved the way they opened and closed, and that favorite toys could nest inside. While she played, I cut small squares of tissue paper in pastel colors.

Tissue Paper Eggs (1)

Pour a little white glue into a small paper cup and add water to thin it slightly. I showed Veronika how to brush this glue mixture on the eggs, and she was quickly an expert.

Tissue Paper Eggs (4)

Now the tissue paper sticks easily, making the eggs look almost like stained glass. We learned quickly, though, that our first egg came out the best. That’s because the more we worked, the more gluey our fingers became, and the tissue tender either to wad up on the egg, or stick to us!

Tissue Paper Eggs (3)

Of course, this only made Veronika gleeful about her pink fingers.

Tissue Paper Eggs (5)

For an easy way to dry the eggs, snip an empty toilet paper tube into a few segments and place the eggs upright until the glue is dry.

Tissue Paper Eggs (6)

Toddler Style Painted T-Shirts

Toddler Painted T Shirt alt

Last year, the siblings worked together to make painted t-shirts… but they’ve since outgrown them! I picked up a few blank shirts from the craft store and this time they were Veronika’s works of art, as a surprise for big brother Travis.

Before she could paint the shirts, I marked out their first initials with masking tape (you could also use contact paper) so a V and T would be left behind.

Toddler Painted T Shirt (1)

The only fabric paint I had on hand was puffy paint, but this worked fine if I squirted it onto paper plates. We had a few novel painting methods to test out! First up was shape sponges. She loved pressing these into the paint and then pressing down onto the shirts to see the stars and circles left behind.

Toddler Painted T Shirt (2)

Next, we made car tracks over the shirts! Run a toy car’s wheels through the paint and then drive across the shirts.

Toddler Painted T Shirt (3)

This was a big hit, accompanied by lots of vrooming engine noises of course. And sometimes she wanted to paint the cars with the sponges, too!

Toddler Painted T Shirt (4)

She wasn’t as interested in the third option, which was rolling a ping pong ball through the paint and then along the shirts.

Toddler Painted T Shirt (5)

Mostly the design was her own creation; I only helped out enough to make sure the fabric was covered all around the V and T in tape, so that the images would be left behind once the tape was removed.

Toddler Painted T Shirt (7)

Set the shirts aside to dry… and then stage a fashion show!

Toddler Painted T Shirt final

Veronika was so proud she wanted to keep hers on all night.

Toddler Painted T Shirt var

Pom-Pom Bunny Wreath

CL Bunny Wreath (2)

Sometimes I spot a holiday craft so cute I just have to make it, even without the kids involved. That was the case with this adorable bunny wreath, spotted in Country Living magazine. The project almost entirely involves hot glue, hence why it was a mommy project although older elementary children could pitch in.

To start, I hot glued pom poms in a double circle around a Styrofoam ring. If you find larger white pom poms, you’ll only need one circle.

CL Bunny Wreath (1)

Next, I cut bunny ears from white felt, and smaller strips in the same shape from pink felt. Hot glue the two colors together, and then to the back of the craft ring.

CL Bunny Wreath (3)

Hang up and wait for the Easter bunny to hop on by!

Spring Chick Card

Easter Chick Card (4)

This cute card is the perfect seasonal greeting for family or friends. To start, Travis helped pick out four different patterns of scrapbook paper. Any patterns will work, though you may want to stick within one color family or theme.

Easter Chick Card (1)

Fold one sheet in half and draw an egg shape along the crease. Cut out and then cut the top piece in half with a zigzag shape.

Easter Chick Card (2)

Cut out additional patterns of paper in the same shape so they fit the inside of the card, and then glue down. Cut a small oval from a final paper pattern to be the body of a chick. Add bunny ears and a beak with scraps of paper, then draw on eyes, wings, and feet.

Easter Chick Card (3)

It’s not the Easter bunny, it’s an Easter chick!

Easter Chick Card (5)

This adorable card works perfectly as an Easter gift, of course, but also makes a great birthday card or note simply to say happy spring. Travis was in charge of writing in a sweet message before we mailed it off!