Craft-Stick Matching

Craft Stick Matching (7)

Here’s a great DIY puzzle for toddlers who have recently learned their shapes. Matching up the outlines of craft stick is great for fine motor skills, too!

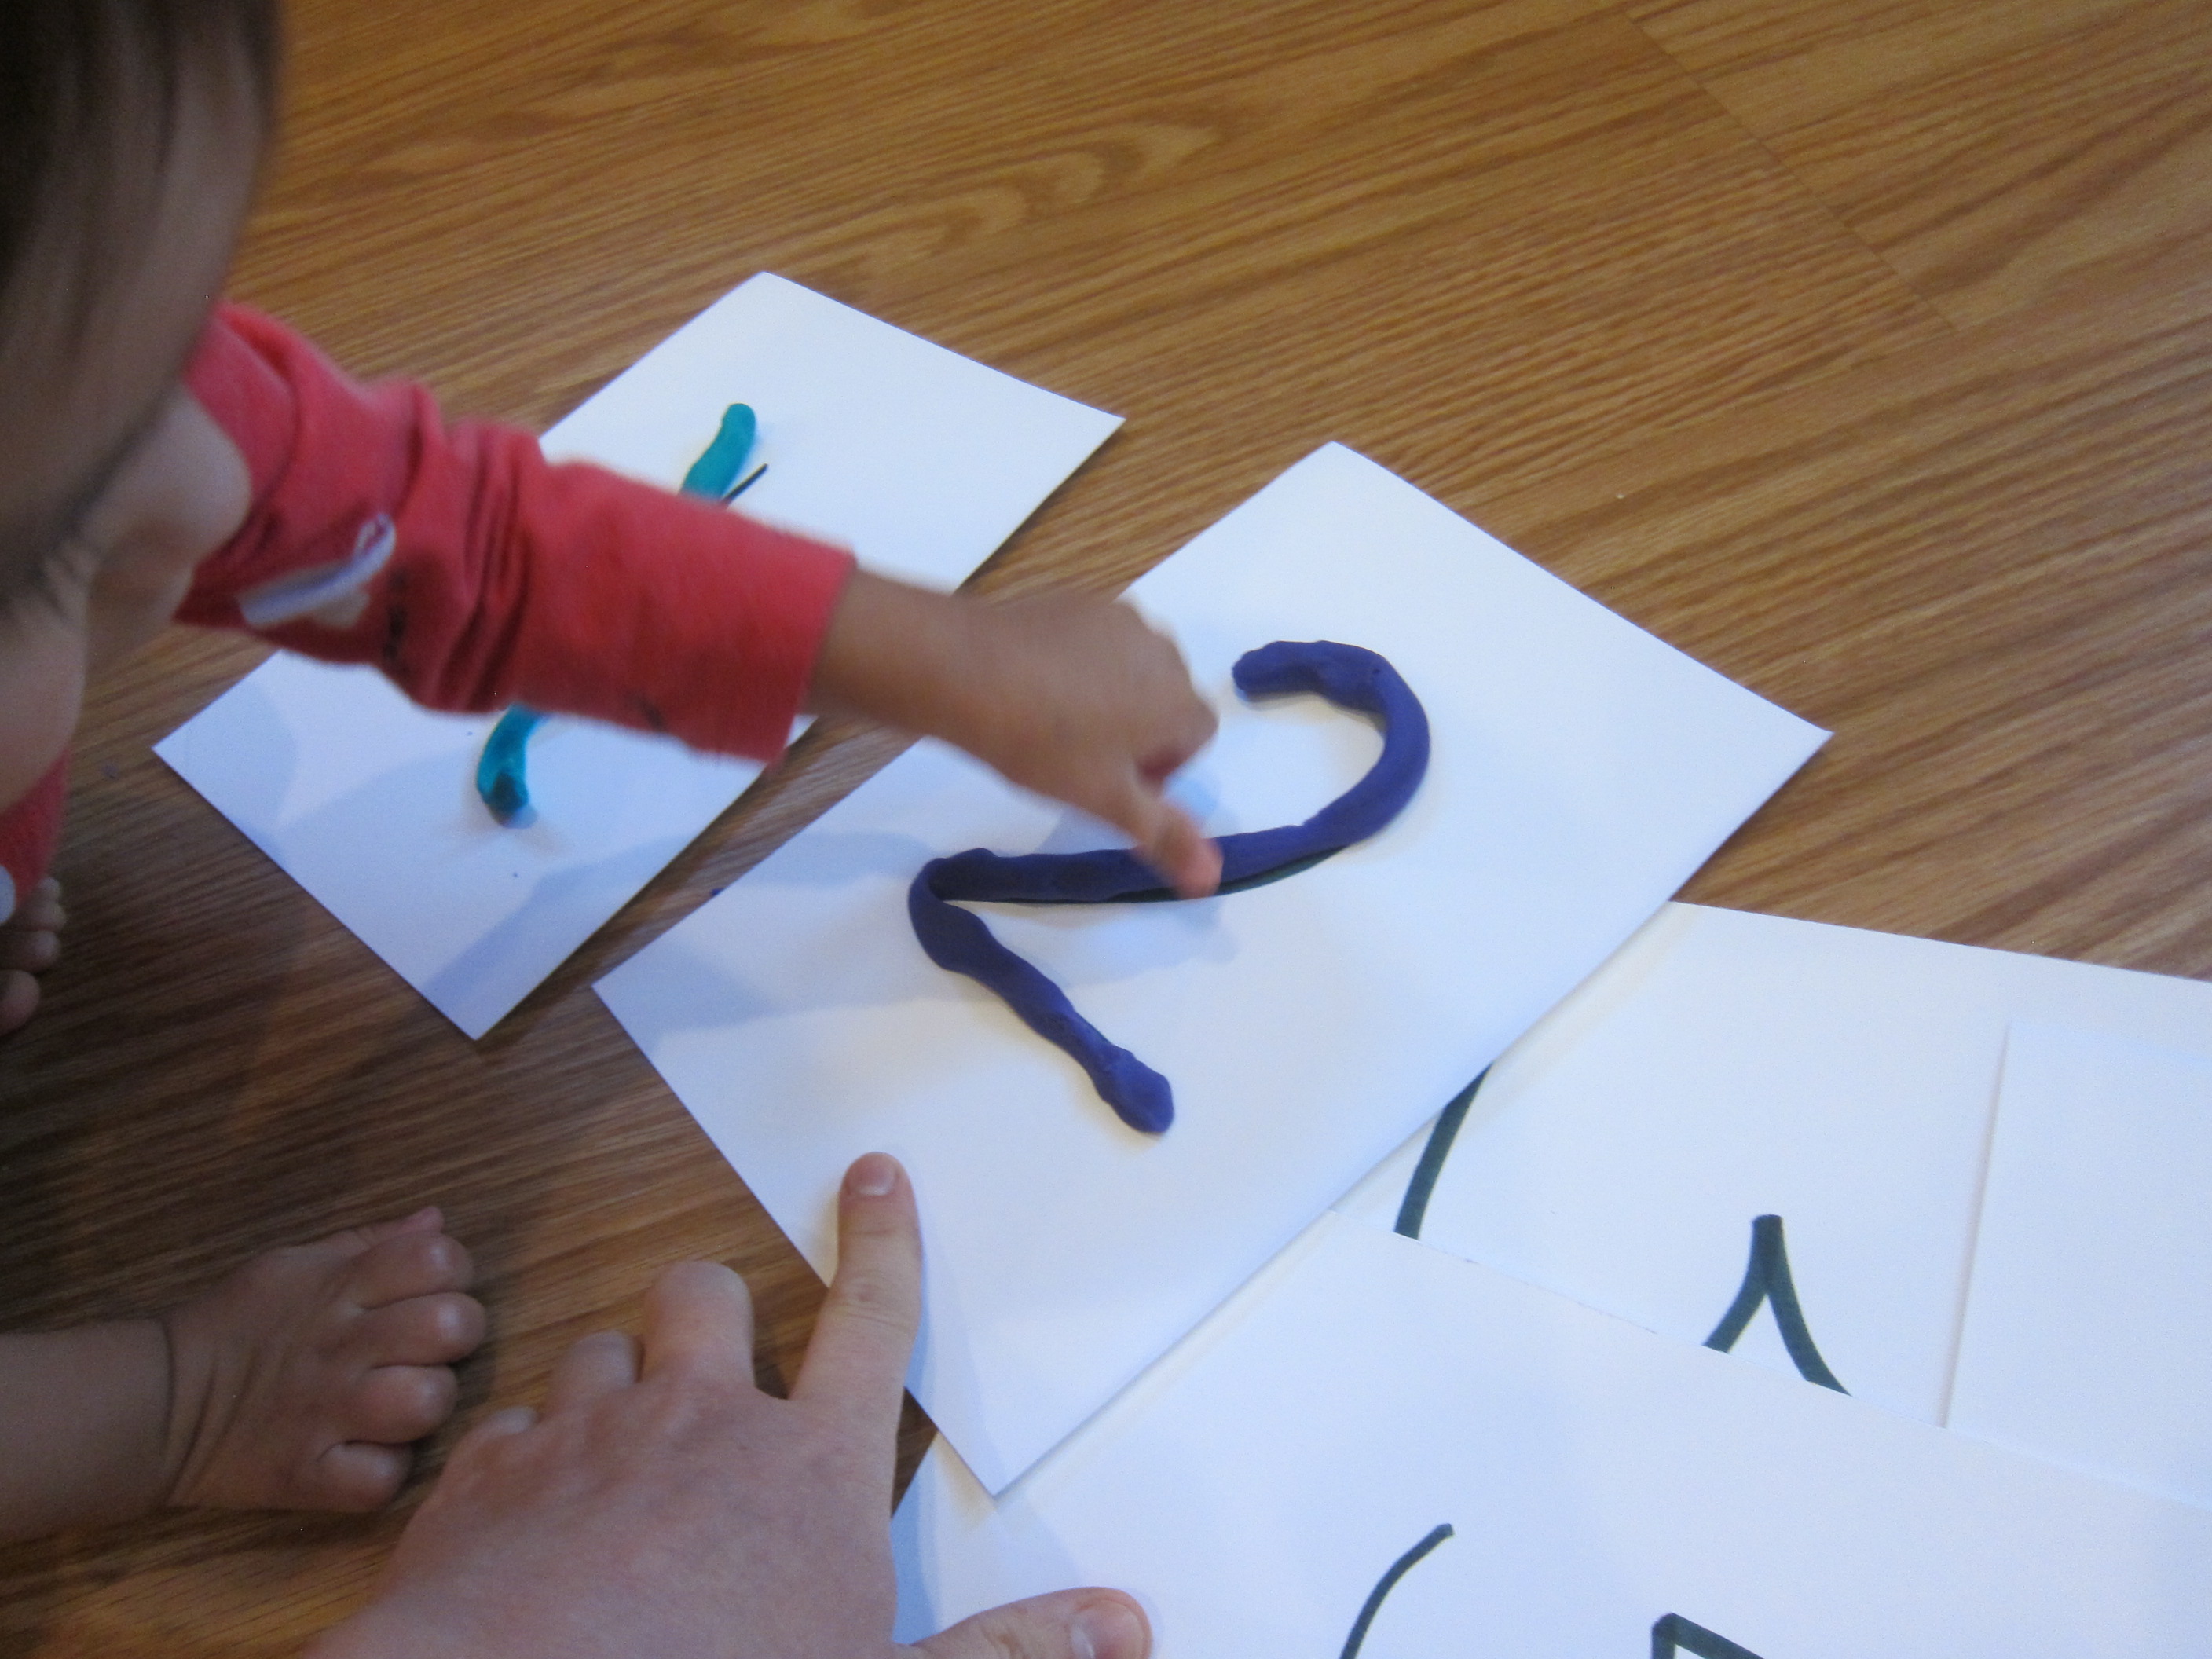
To set up, I arranged jumbo craft sticks on plain white paper and traced the outlines. I made one page each for a triangle, square, and diamond, and decided to trace each shape with a different color just in case we wanted to add a color component to the game.

Craft Stick Matching (1)

I also then colored on the craft sticks with crayon in corresponding colors. We now had a red triangle, green square, and purple diamond.

Craft Stick Matching (3)

Now slip each shape into a zip-top plastic bag and show your toddler how to line the craft sticks up over each outline.

Craft Stick Matching (5)

Because there’s nothing to hold the craft sticks in place as in a puzzle board, Veronika’s shapes were always a little askew, but she certainly had the right idea!

Craft Stick Matching (8)

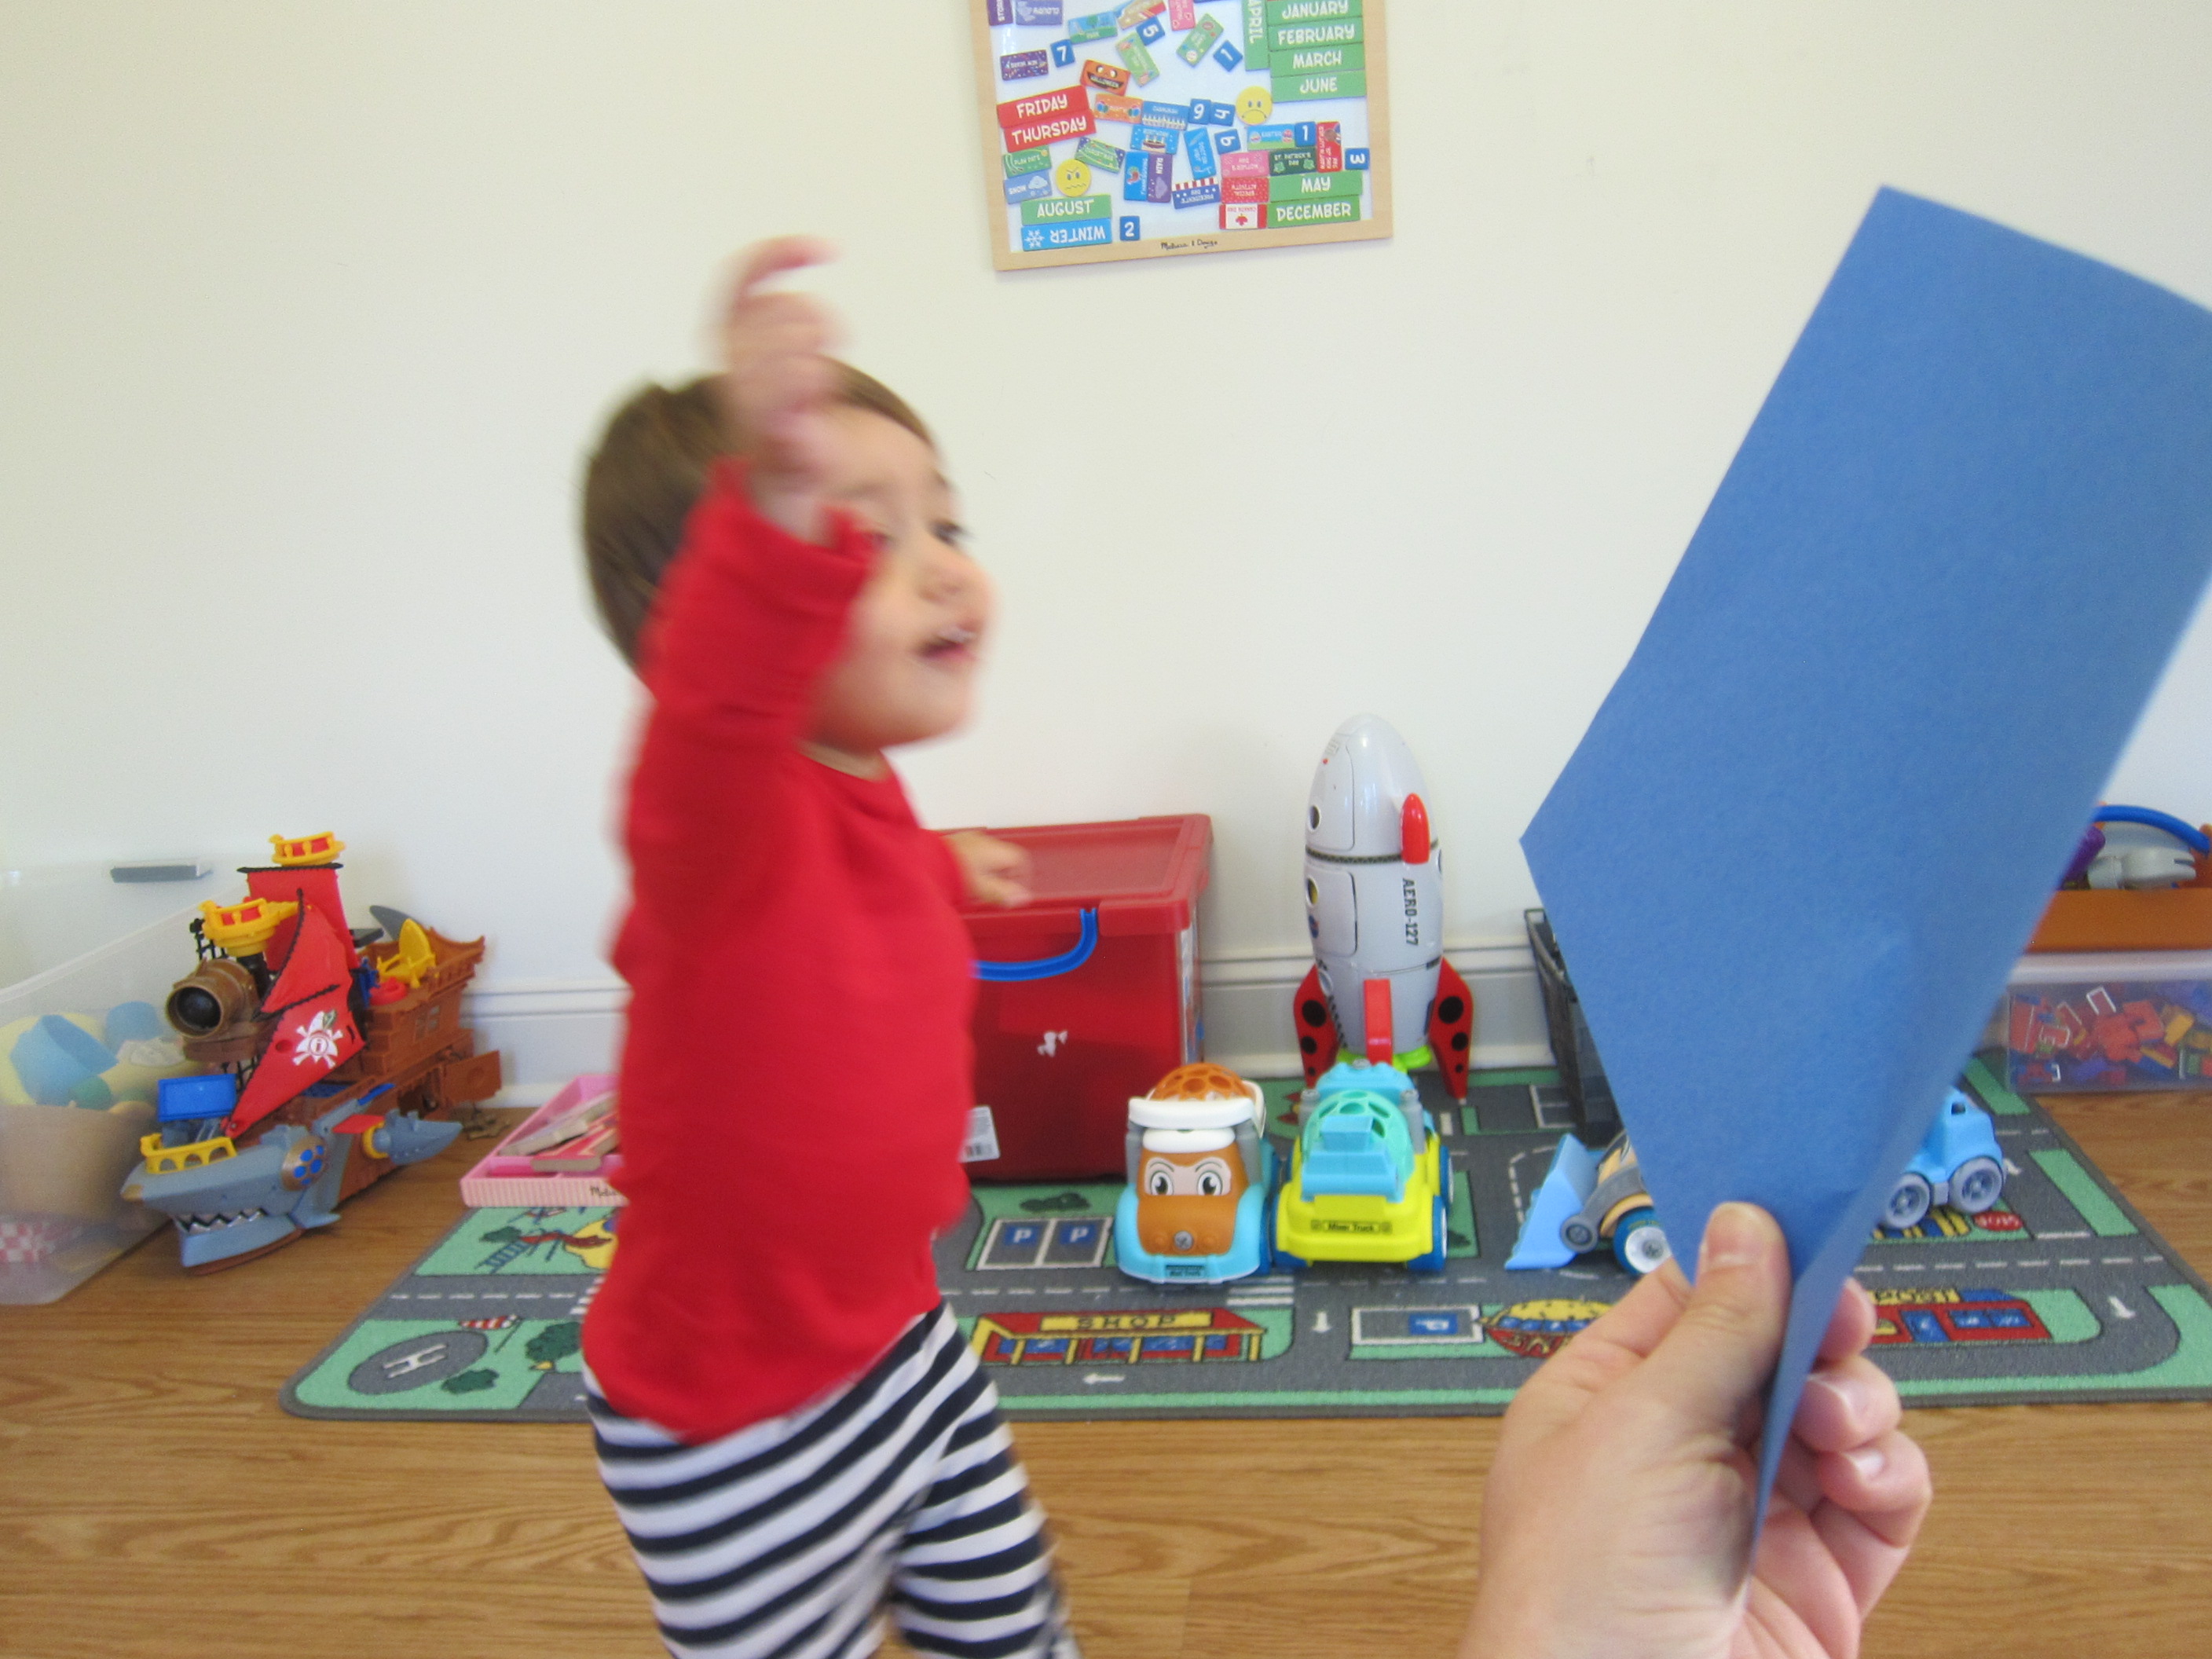
There was even a happy victory dance after she finished the triangle!

Craft Stick Matching (10)

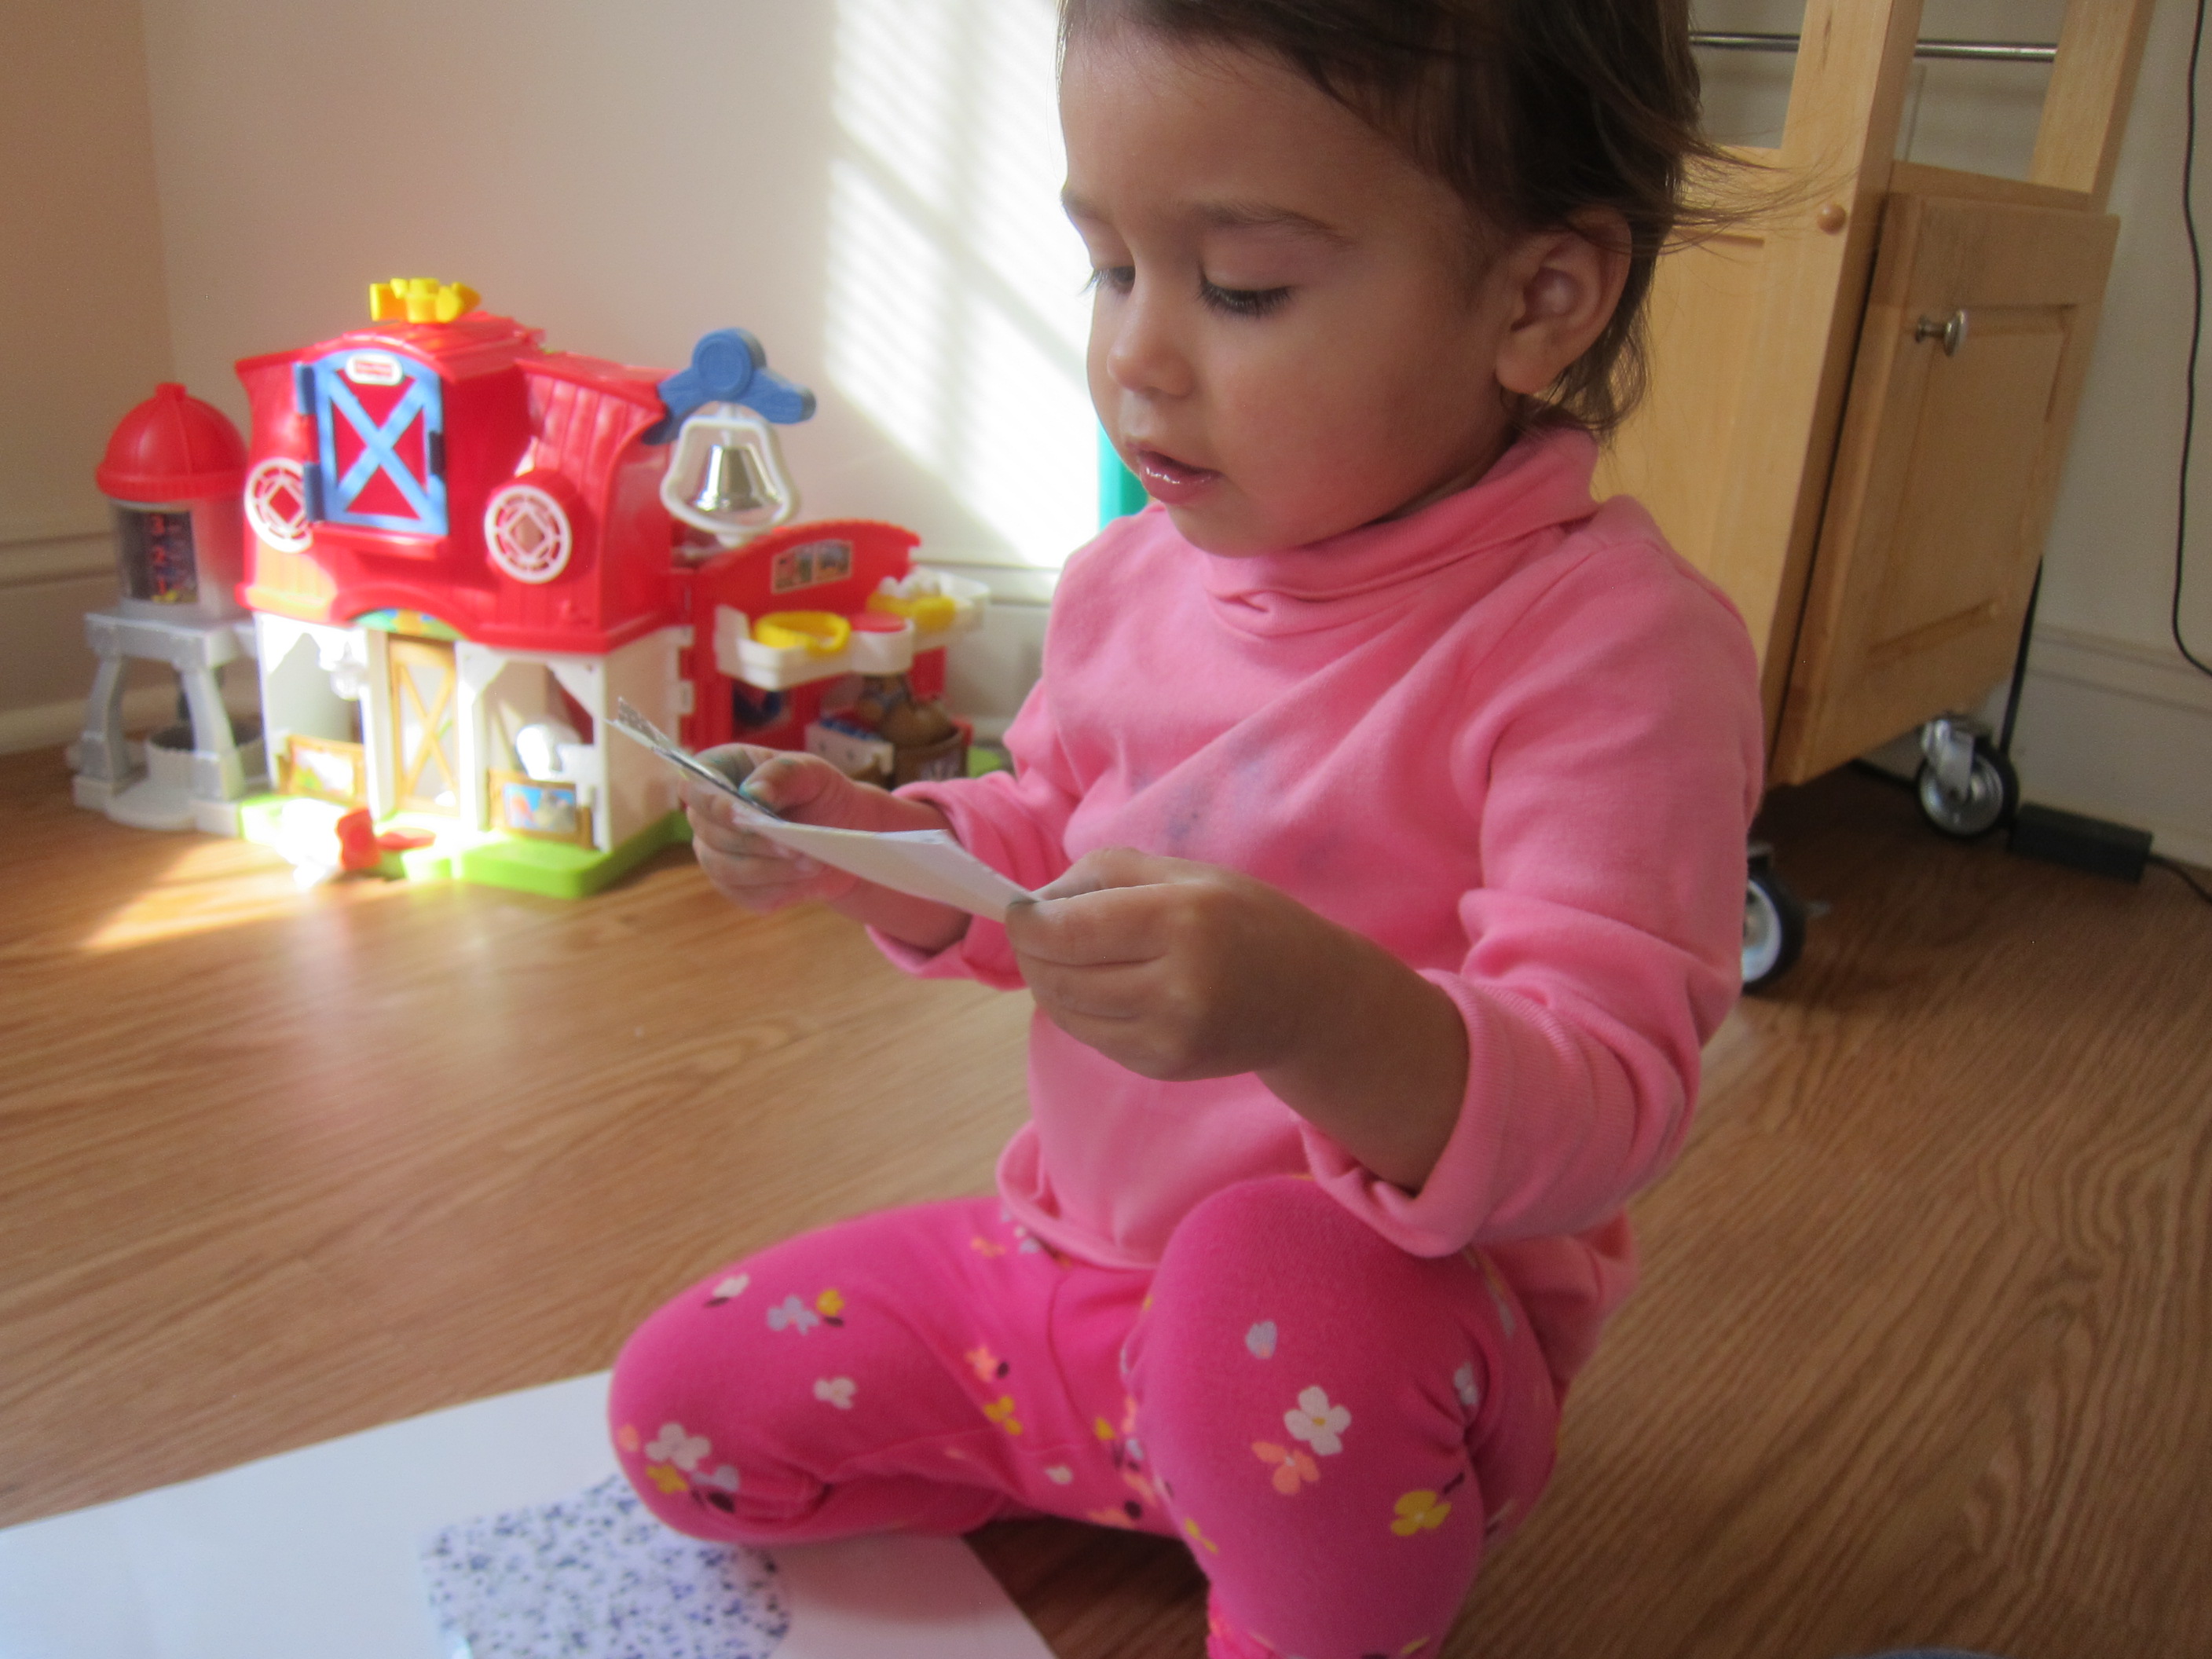
I loved watching her puzzle through exactly where each stick should go.

Craft Stick Matching (11)

It turned out that she mixed and matched the colors, rather than placing a purple stick in a purple outline, etc., but that was just fine, too.

Craft Stick Matching (9)

Egg Sort

Egg Sort (4)

If you’re wondering what to do with all those plastic Easter eggs off-season, then consider all the ways they can be turned into a learning tool!

For a simple sorting game today, I hot-glued a few of last year’s eggs together, using 3 each of 3 different colors. Then I set them all down on the ground in front of Veronika.

Egg Sort (1)

At first she simply gathered them all into a pile, clearly excited. “A blue one, a green one, a pink one,” she said as she lifted each egg.

Egg Sort (2)

I then laid out pages of construction paper in corresponding colors. She quickly began piling the blue eggs on the blue, etc., but then grew a little confused since I had red paper to go with the pink eggs, not pink paper!

Egg Sort (3)

Instead, she soon was more interested in transferring the eggs in and out of a little bucket.

Egg Sort (5)

This set off a lot of busy play toting the bucket around or rolling the eggs across the floor. So we had a little learning, plus a lot of fun too!

Egg Sort (7)

Glitter Shapes

Glitter Shapes (7)

You’ll combine early learning (shape-recognition, colors) and messy art with this fun toddler project!

To start, I cut out simple basic shapes from bright construction paper, using a different color for each shape. Soon we had a pile of green rectangles, purple triangles, red hearts, orange circles, and more. As I worked, I asked Veronika to identify each one, and she was a willing participant.

Glitter Shapes (1)

Now for the mess! Have your toddler smear a glue stick all over each shape. One or both sides, it won’t matter!

Glitter Shapes (2)

Place one or two shapes at a time in a small shoebox with a lid, then dump in copious amounts of glitter. Yes, toddlers, the more glitter the merrier!

Glitter Shapes (3)

Now seal the box and shake. I hadn’t counted on small holes in the bottom of our box that allowed some glitter to escape, but luckily we were using large pieces of glitter that were easy to sweep up.

Glitter Shapes (5)

Needless to say, the result was worth the mess.

Glitter Shapes (4)

Open the lid and reveal to your child how each shape is now sparkly. Veronika loved them!

Glitter Shapes (6)

Pocket Matching

Pocket Matching (14)

I had a few old scraps of fabric floating around our craft bin that were begging to be put to good use. So I put together this quick project for Veronika!

To start, cut a pocket shape from at least 3 different fabric swatches. (Note: you could also use gift wrap if you don’t have fabric).

Pocket Matching (1)

Arrange them on a piece of poster board and cover with contact paper. Carefully use a craft knife to make a slit at the top of each fabric swatch so that you now have pockets.

Pocket Matching (4)

To make “handkerchiefs” for each pocket, I cut two rectangles from each fabric pattern. Place these on squares of poster board as well and cover with contact paper. You’ll notice I needed a little extra tape to secure the fabric on the edges since my contact paper peeled off, which sort of spoiled the effect. Luckily, Veronika didn’t mind!

Pocket Matching (5)

Now, I set down the poster board and laid the rectangles next to her. Because it stood out the most, I first asked her to find the polka dot fabric. Could she put it in the polka dot pocket? Yes!

Pocket Matching (8)

As soon as she had the idea, she matched up white flowers to white flowers and blue flowers to blue flowers.

Pocket Matching (7)

She absolutely adored these little “handkerchiefs” and opened up the pockets to find them and repeat several times.

Pocket Matching (11)

When I wasn’t directly guiding her, she mix and matched patterns of course. But she seemed aware of this, too. “They don’t match!” she chirped up at one point, putting the polka dot rectangle into one of the floral-print pockets.

Pocket Matching (12)

This activity is great both to engage directly with your toddler and to leave him or her to it solo as a busy activity.

Pocket Matching (13)

Playdough Numbers

Playdough Numbers (3)

Veronika can count up to 10 by rote, which is not uncommon for toddlers; it basically means she’s memorized the order of words, but not the meaning behind them. Today I thought it would be fun to draw her attention to the symbol of each number!

I drew numerals 1 through 8 in thick black marker on sturdy white paper. If you’ll want to reuse the set, particularly with preschool kids, laminate them or cover with contact paper.

Playdough Numbers (1)

Then show your little one how to roll long snakes of playdough and arrange them over the marker to form each numeral.

Playdough Numbers (2)

As I worked on each one, I told Veronika the name of the number repeatedly. Of course the playdough lasted about one second before she picked it up and mushed it! But I steadily worked from 1 through 8 in this way.

Playdough Numbers (4)

I didn’t expect Veronika to make the one-to-one connection between word and symbol yet, or to be able to shape the playdough herself.

Playdough Numbers (5)

Rather this activity was more about introducing the concept that numbers have both a word and a symbol that go with them. And she certainly loved the chance to play with playdough!

Playdough Numbers (6)

Matching Craft Stick Shapes

Matching Craft Sticks Tub (1)

In addition to making for a great learning activity, foam craft sticks are also a fantastic tub toy! You can tailor this game for toddlers up to elementary school kids.

Ahead of time, I labeled various craft sticks with the names of shapes, as well as the symbol of that shape. Make sure you have enough of each to actually form that shape So for example you’ll need 3 labeled craft sticks for a triangle and 4 for a square.

Matching Craft Sticks Tub (2)

At bath time, at first I simply tossed in all the sticks! Elementary school kids can hunt them down, finding the name or symbol of each shape and then forming it on the tub wall.

IMG_0002

For Veronika as a toddler, obviously I had to guide her through the activity. We looked at each craft stick and I asked her what shape she saw. Then I guided her hands to build them against the wall.

IMG_0004

At first she was more interested in the colors of the sticks. But once she saw the shapes take, well, shape, she began naming them with interest. “Rectangle!” she chirped.

IMG_0011

We went up as high as a pentagon, which was a new shape for her vocabulary, but she soon start saying, “Let’s make a pentagon.”

IMG_0008

Both Veronika and big brother Travis loved seeing if we could make a circle, using enough craft sticks.

IMG_0005

And after that, the extra craft sticks are just gloriously fun in the bath.

Find the Oddball

Find the Oddball (5)

This quick activity is a nice early lesson for toddlers on spotting the difference (a.k.a. the odd one out), which is a starting step for later visual perception and attention to detail.

For this super-simple toddler version, I put stickers on index cards, always using several of one kind and one oddball.

Find the Oddball (1)

I started with a version that focused on color difference, using all star-shaped stickers: 4 of one color and the outlier hidden somewhere among them.

Find the Oddball (2)

She was quick to tell me the dominant color out loud (i.e. “Green!”), which told me that her eye was quickly spotting the majority. Each time I told her, “Look, the purple is different,” to bring her focus in that direction.

Then we moved on to a version with vehicle stickers. Here, I had three of a kind and one oddball. Again, her eye always went to what was dominant, naming it for me. “I see a car!”

Find the Oddball (3)

Sometimes I almost felt like she couldn’t see the oddball at all, even after I named it!

Find the Oddball (8)

It became clear that the game was a little advanced for her, too, because inevitably she wanted to hold a sticker, and this was a bigger draw than my insistence on, “Look, the bus is different. There’s only one bus.”

Find the Oddball (6)

Note: You can also draw the images, if you don’t have stickers on hand. Try smiley faces with one sad face, for example, or circles followed by one triangle. If you want your cards to be more permanent, cover them with contact paper.

Find the Oddball (7)

One way or another, this is a fun intro to the concept.

Parking Game

Parking Game (10)

Here’s a fancier spin on a cars and colors game I played with Veronika as she was just starting to learn her colors. Now that she knows them well, this version involved more of a craft, and had an imaginative component, too.

For each garage, you’ll need a thin cardboard box. Big cereal boxes are perfect, but Veronika loved the game so much that I had to raid the pantry for cracker boxes and oatmeal boxes to add to her little town.

For each parking garage, use a craft knife to cut an opening for toy cars to drive into. Use masking tape to close any loose flaps on the boxes.

Parking Game (1)

Cover each with a different color of construction paper. Originally I intended just to make a blue garage and red garage for her. “What color is it?” I asked, holding up the paper. “Blue!” she said with delight.

Parking Game (2)

I used double-sided tape to make quick work of covering each box instead of waiting for glue to dry.

Parking Game (3)

In short order, Veronika could drive in her cars.

Parking Game (5)

We sorted the toy cars by color, and I parked them relatively near the corresponding garage before asking prompts like, “Can the red cars drive into the red garage?”

Parking Game (7)

Sometimes I tried to trick her with a car pulling up to the “wrong” spot. She quickly spotted it each time!

Parking Game (6)

She had so much fun driving the cars in and then dumping them out, too.

Parking Game (9)

Pretty soon we had a whole little town. Between making the craft, playing with it, and returning to it over the course of a few hours, this made for a wonderful morning activity.

Parking Game (8)

Spoon Match

Spoon Match (4)

Veronika loves playing with spoons, whether little measuring spoons or big cooking spoons. I decided to sneak a little learning in while she had them out as a toy today.

I broke apart two sets of measuring spoons and lined them up as large (tablespoon), medium (teaspoon), and small (1/4 teaspoon). Then I encouraged Veronika to match big with big, little with little, etc.

Spoon Match (1)

Grated this task was tricky because one set was heart-shaped and the other a standard oval, so they weren’t necessarily intuitive as a “match”. But she sort of got the idea, especially with the two small ones.

Spoon Match (3)

She fairly quickly returned to just playing with the spoons, but it never hurts to sneak in some quick learning!

Spoon Match (2)

Block Sorter

Block Sorter (10)

Veronika loves her bus shape-sorter toy, with slots on top for squares, triangles, and circles, but with one caveat: she can’t open it back up to retrieve the shapes once they’re inside! I solved the problem for her today with this quick DIY version.

Block Sorter (1)

Use any shoebox with a lid (brother Travis’s old Kiwi Crate was perfect) and cut holes for each shape you’ll be using. Veronika loved watching me work: “Mommy’s cutting a triangle!” and the triangle had to go right in. “Mommy’s making a square!” She tested each hole as it was made.

Block Sorter (6)

Now all of the shapes were inside.

Block Sorter (9)

I showed her that she could open the lid… all by herself! She was thrilled. “Triangle is inside!” she said, but not for long. She took them out for a second round, now having to find and fill all three holes with the shapes in a jumble, which was a great challenge.

Block Sorter (7)

I loved that she could use this toy solo. She was evidently so proud of it that she wanted to pick it up and carry it around with her!

Block Sorter (11)

A definite hit, for almost no effort at all on my part.

Block Sorter (8)