Submarine Sandwich

Submarine Sandwich (3)

After recently learning about submarines, Travis has a whole new appreciation for why we call it a “submarine” sandwich now. We put together this fun lunch to play up the name.

To start, slice a long bread roll in half. Spread with your child’s filling of choice. We made one version with hummus and one with non-dairy cream cheese!

Submarine Sandwich (1)

Add other toppings (Travis chose lettuce and tomato) then top with the other half of the bun.

Submarine Sandwich (2)

We added a strip of red bell pepper as the “periscope” sticking out from the top, then used additional hummus or cream cheese as “glue” to stick on cucumber circles for “portholes”.

Submarine Sandwich (4)

Of course the lunch inspired some imaginative play; Travis loved pretending he was a giant squid attacking the boat as he ate, of course!

Submarine Sandwich (5)

Under the Sea Lunch

Under the Sea Lunch (3)

Travis has been learning a lot about the ocean recently, both the creatures that live deep down, and the ways that humans can explore under the water. So it felt only appropriate to continue the fun with our food!

For a “fish” sandwich, trim a pita or similar flatbread by making two triangle cut-outs on one side. Now your fish has a tail.

Under the Sea Lunch (1)

You can use just about anything for the filling! We filled one “fish” with tofu salad and another with cheese slices.

Under the Sea Lunch (2)

Add raisins for eyes.

On the side, I served a little ocean floor scene. Almond butter (or peanut butter) was the sand, lightly-steamed celery sticks become waving seaweed, and we added a few vegan Swedish fish to populate our ocean.

Under the Sea Lunch (5)

You could even add homemade goldfish crackers for the fish! I’m happy to report that lunch went swimmingly.

Under the Sea Lunch (6)


Little Passports: Australia

LP Australia (29)

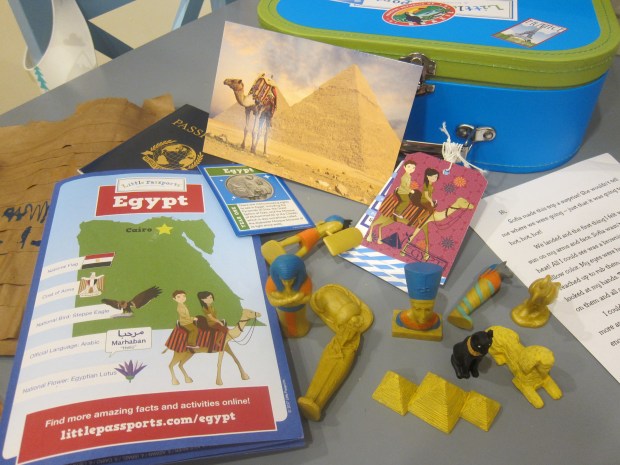
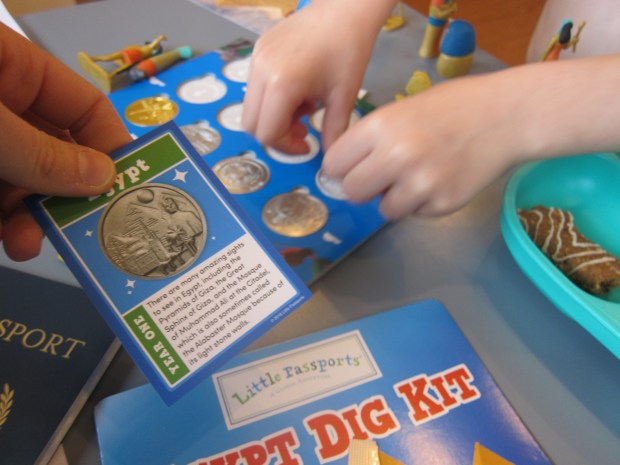
Strangely, I feel as though Travis’s packages from Little Passports are arriving closer together than one month apart… but during home school, we’re not complaining! Travis couldn’t wait to read “Sam and Sofia’s” letter and do all the usual activities: a sticker for his passport, a pin on his map, a coin for his chart, and a tag on his suitcase.

LP Australia (2)

The booklet had a fun coloring activity about a coral reef, color-coded in such a way that my kindergartner could easily follow along.

LP Australia (3)

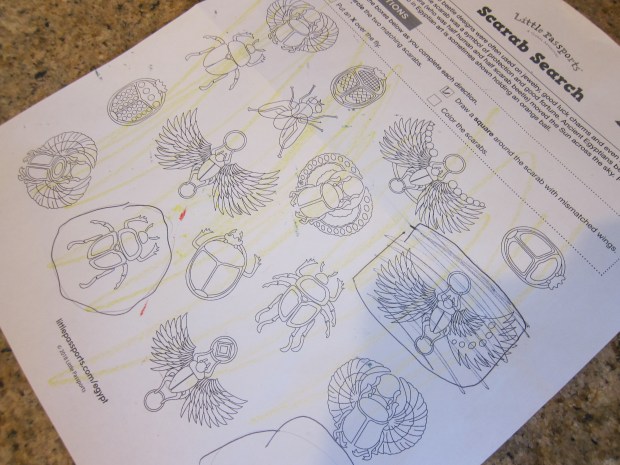
The word find, on the other hand, was tough even for this mama! Online featured great extras; Travis particularly enjoyed the photos and clips of Australian music. Australian phrases like “rug up” and “ankle biter” got quite a laugh.

Souvenir:

No sooner was the envelope open than Travis was testing out the scratch art kit. The idea is to introduce kids to Aboriginal dreamtime symbols, and Travis loved the rainbow colors that appeared.

LP Australia (1)

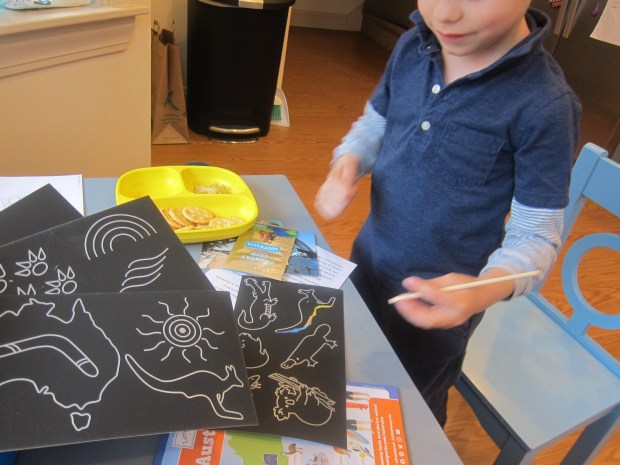
He learned a few symbols (“I get it, because a kangaroo jumps up!” he noted, spotting that one), and then designed his own, which had us veering off in a Star Wars direction.

LP Australia (10)

Further Activities:

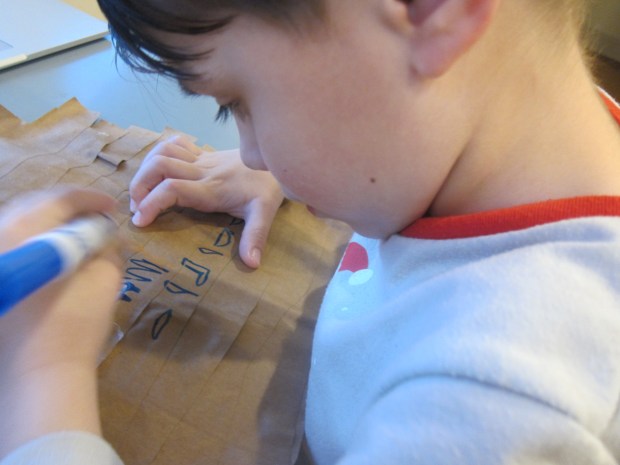
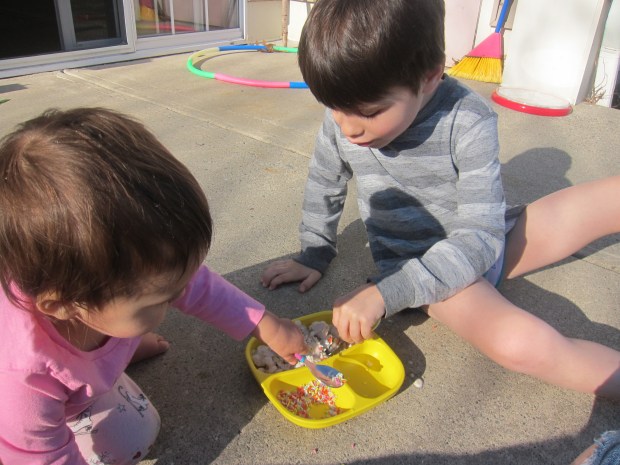
First up was a Didgeridoo Kazoo. Both kids enjoyed decorating an empty paper towel tube with markers.

LP Australia (21)

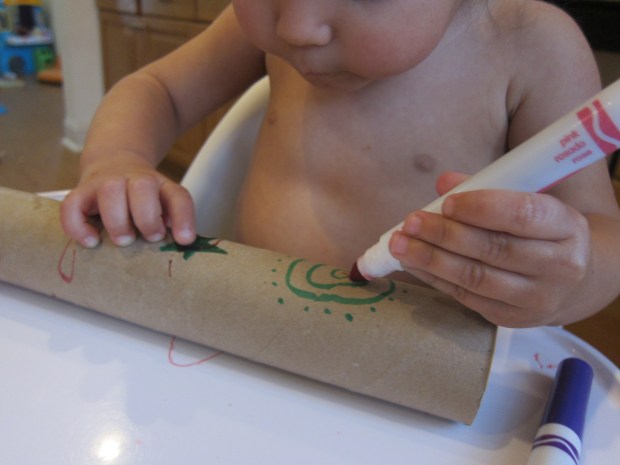
A lot of it was their own inventive scribbles, but we worked in some dreamtime symbols, too.

LP Australia (20)

As they colored, I read about how the didgeridoo dates back thousands of years. Place a square of wax paper over one end of the tube, and secure with a rubber band.

LP Australia (19)

Hum down into it for a deep, warbling sound. We put on some didgeridoo music to play along too!

LP Australia (18)

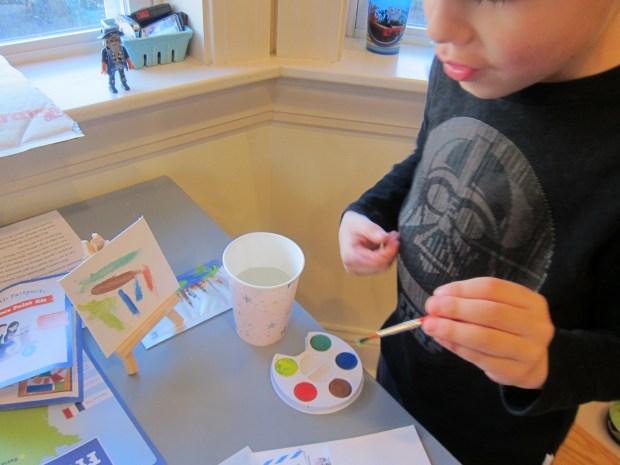
Next up was Animal Art. This project aimed to show the way indigenous Australian art shares stories about animals and nature. First, we cut out the provided animal templates and glued these onto thicker art paper. Travis chose the lizard.

LP Australia (12)

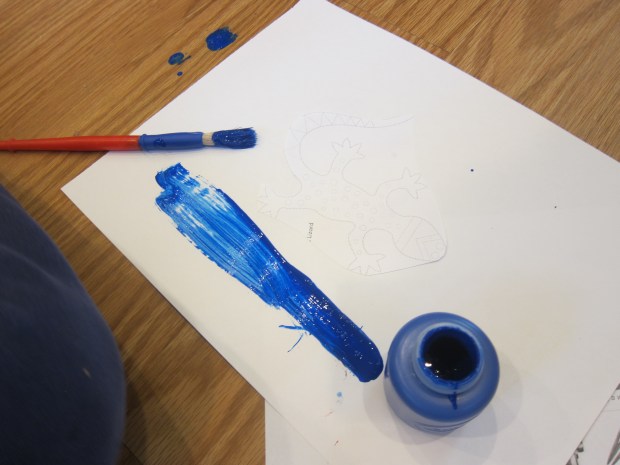
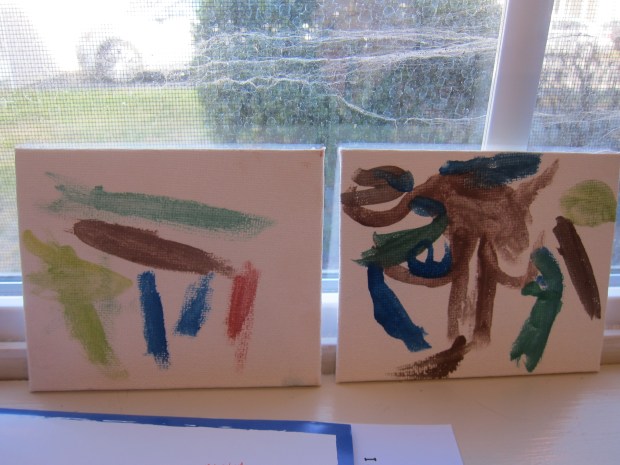
I encouraged him to use paints and markers to make a landscape for his animal. First he just painted water, and declared it done, but then he got more into the idea of adding traditional symbols (swirls, dots, stripes), and filling in the background.

LP Australia (22)

You can use cotton swabs for the dots for extra fun!

LP Australia (16)

Little sister wanted in on this project too, although her kangaroo was soon a bit of a mess!

LP Australia (14)

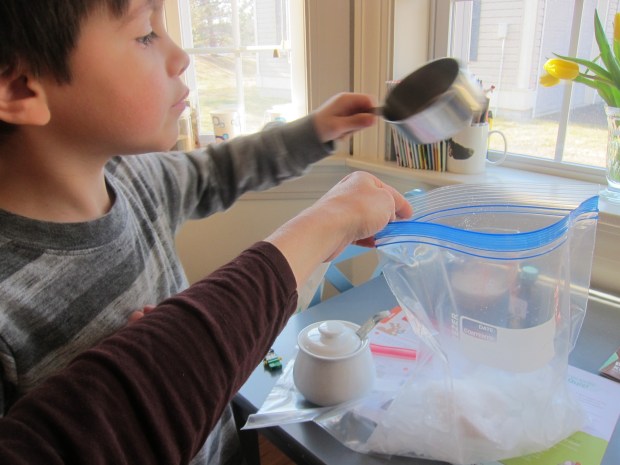
The add-on with this package was to grow a coral reef, similar in science to a crystal tree we made around the holidays. We read about coral reefs and what makes them so important as an ecosystem, and then Travis helped set up the provided absorbent paper in the stands.

LP Australia (4)

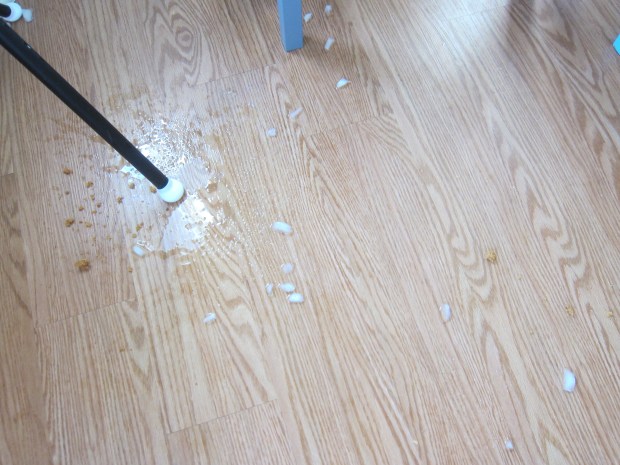
Mix the provided powder into warm water, then pour into the bottom of each tray. Whoops! One of corals collapsed right away, although perhaps this was a perfect illustration of how delicate these ecosystems are. Within an hour, we saw the first little crystals forming.

LP Australia (6)

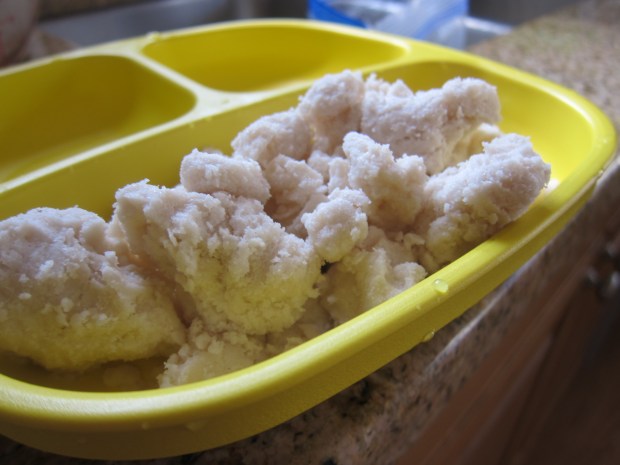
By morning, they were a riotous display of crystal! We almost thought they looked like cauliflower.

LP Australia (8)

As the final touch, Travis colored in the Australian flag and we added it to the growing collection above his world map.
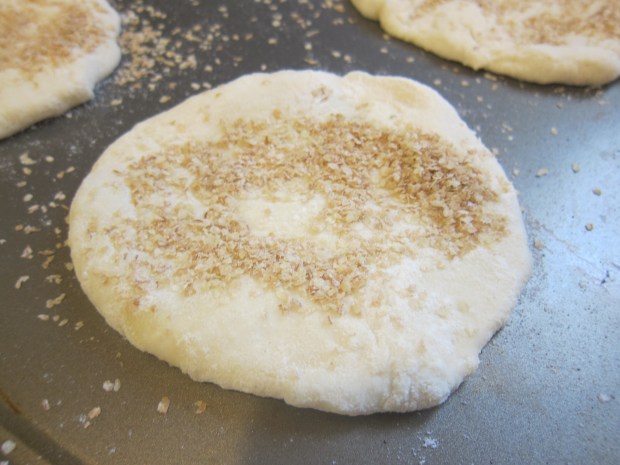
LP Australia (28)

Recipe:

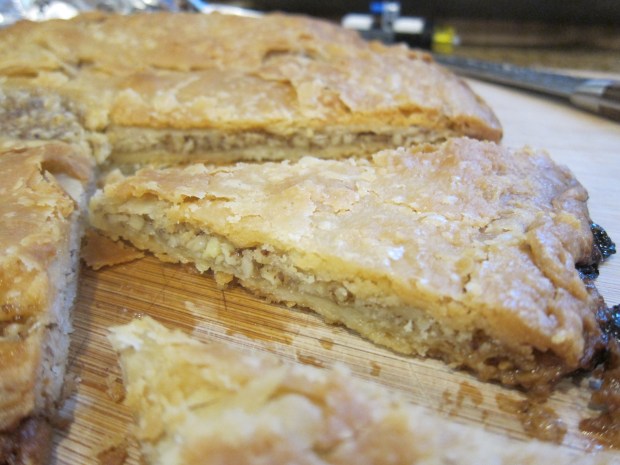
To finish our journey, we baked a popular Australian dessert called Lamingtons, a cake coated in chocolate and coconut. I should note that Little Passport’s recipes aren’t as easy to follow as, say, those from Raddish Kids. As a result, a lot of them become mommy projects after a little help from my sous-chef.

LP Australia (23)

Ingredients:

For the cake:

  • 1 and 1/2 cups flour
  • 1 and 1/2 teaspoons baking powder
  • 1/4 teaspoon salt
  • 1/2 cup Earth Balance butter, softened
  • 3/4 cup sugar
  • 2 Ener-G eggs
  • 1 teaspoon vanilla extract
  • 1/2 cup plain almond milk

For the frosting:

  • 2 tablespoons melted Earth Balance butter
  • 1/2 cup plain almond milk
  • 4 cups powdered sugar
  • 1/3 cup cocoa powder
  • 2 cups shredded coconut
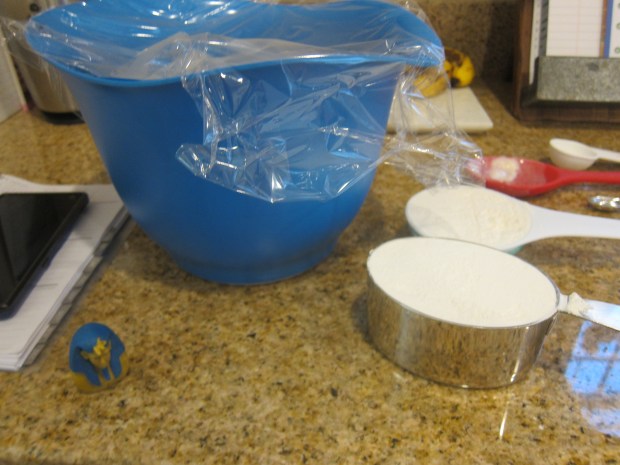
  1. To prepare the cake, sift together the flour, baking powder, and salt into a bowl; set aside.
  2. Beat 1/2 cup butter and the sugar in a stand mixer until creamy. Add the Ener-G eggs and vanilla. Alternate adding the flour mixture and 1/2 cup almond milk, beating until combined.
  3. Pour the batter into a 9×13-inch baking dish lined with foil. Bake at 350 degrees F for 28 minutes; a wooden pick inserted into the center should come out clean. Let cool for 10 minutes in the pan, then lift out the foil and cool the cake completely on a wire rack. Cover with plastic wrap and chill in the fridge.
  4. Once the cake is chilled, make the frosting: whisk together the melted butter and 1/2 cup almond milk in a large bowl. Whisk in the cocoa powder. Add the powdered sugar, stirring until smooth.
  5. Cut the cake into 2-inch squares. Working with one square at a time, dip in the chocolate frosting, then immediately coat in the coconut. Transfer to a wire rack or pan to set.

Because the frosting was thick and the cake was very delicate, I found it easier to work by hand instead of dipping pieces in on a fork. This got messy, but sure was yummy!

LP Australia (26)

Power-Up Pancakes

Power Up Pancake (4)

For a kid who recently learned all about circuits and electricity, getting to use an appliance for his own snack today was a big thrill. Add to the electric fun of this recipe by decorating it with a “light bulb”!

First, we needed to reheat a pancake. I showed Travis how to slot it into the toaster, and then carefully press down the button. Of course in doing so he completed a circuit!

Power Up Pancake (1)

To top the pancake, slice the sides from a pear. I asked Travis which one looked most like a light bulb to him, and we used orange marmalade to “glue” his selection on to the pancake. (Alternatively, use apricot jam or any other “light” colored jelly).

Power Up Pancake (2)

Slivered almonds made the perfect decoration for shining light along the sides and bottom of the bulb.

Power Up Pancake (3)

Bananas, Agave, and Wheat Germ

Bananas Wheat Germ (5)

Here’s a snack that your toddler can actually prepare for him- or herself! This cute project lets even young toddlers practice “knife” skills, proudly prepare their own food, and enjoy a yummy treat at the end.

Bananas Wheat Germ (7)

I sat Veronika down with a plate filled with agave nectar in one compartment, wheat germ in the second, and half of a banana in the third. I asked her to help me peel the banana, which toddlers always love!

Bananas Wheat Germ (1)

She was even more interested in the next step though, when I presented her with Popsicle sticks to “slice” the banana.

Bananas Wheat Germ (3)

More so than the slicing, she loved dipping the sticks into the agave and wheat germ, and then sprinkling over the banana.

Bananas Wheat Germ (4)

She took this so seriously, intent on her work. Scoop and pour. Scoop and pour. When the banana pieces were nicely coated, I showed her how to insert a Popsicle stick to hold up a piece of the snack she had created.

Bananas Wheat Germ (2)

When I cleared the plate, she got a bit more into the slicing element of the project.

Bananas Wheat Germ (8)

Once she felt brave enough, she lifted one of the banana pieces and touched it to her lips.

Bananas Wheat Germ (9)

“Yummy!” she declared.

Bananas Wheat Germ (10)

It was so neat to put her in charge of her snack this way, from start to finish. I could easily see this becoming a favorite food around here.

Little Passports: Egypt

LP Egypt (17)

Once again Little Passports saved the day here during Covid-19 home school. At a moment when Travis balked against assigned lessons this week, the latest package from “Sam and Sofia” proved far more interesting.

LP Egypt (7)

As always, he started off by putting the latest country coin in with his collection, and we added Egypt’s flag to his passport.

LP Egypt (2)

The booklet this month was fantastic for a kindergartner; I was so proud of (and amazed at!) his speed with a hieroglyph decoding activity. There was also a spot-the-difference page about camels, a geographic word scramble, and neat information on ancient headdresses. I would rate this booklet much more approachable for a five-year-old than the one from France.

LP Egypt (6)

Souvenir:

This month’s gift was an Excavation Kit and Travis needed to start digging the moment he saw it.

LP Egypt (3)

We chipped and chiseled and cleared the dust until he’d uncovered a little mummy figure. Travis was ecstatic and played with it all afternoon.

LP Egypt (4)

Further Activities:

After checking out extras online like photos, Arabic phrases, and silly jokes, we started in on a few additional activities. First up was making “papyrus paper”, much as the Egyptians used to overlap stalks of papyrus plant. This one was a little messy so lay down one or two sheets of wax paper to cover your surface. In a cup, mix together equal parts white glue and water (about 1/4 cup each) and stir with a craft stick.

LP Egypt (12)

Cut a brown paper shopping bag into strips that are about 8 inches long. Begin laying these down on the wax paper, brushing over each with the glue. (Alternatively, you can dip each strip in the glue mixture and then smooth it down, but this sounded too messy to Travis). Let dry completely.

LP Egypt (15)

It will lift off the wax paper once dry, and does indeed have a neat feel and texture. Travis practiced writing his hieroglyphs!

LP Egypt (16)

Next up, we mummified an apple! This will definitely appeal to kids interested in the mummy aspect of Egyptian history. Pour 1 and 1/2 cups baking soda and 3/4 cup salt into a large zip-top bag. Peel an apple and carve into a desired mummy face. We tried to make the lines of King Tut’s headpiece along the sides, although admittedly with limited art skills.

LP Egypt (10)

Insert a Popsicle stick into the apple and submerge in the baking soda mixture. Now let it stand for one week – or even two! I’ll update this post once our mummification is complete.

There were a few other suggestions online, although Travis was only mildly interested in a scarab beetle coloring page and coloring in the Egyptian flag.

LP Egypt (14)

I did, however, purchase the optional add-on of Egyptian mini-figures and these were a huge hit! The tube included fun toys of King Tut, Nefertiti, the Sphinx, and more.

Recipe:

We finished the voyage with a recipe for the popular Egyptian flatbread called aish baladi, similar to pita bread. The recipe was too complicated for Travis; he helped with the initial few steps, but then I was left to finish the project. Tastewise, it was a huge hit! Travis enjoyed it plain, but you can dip it in hummus, too, or stuff it with a filling. King Tut watched us bake, of course:

Aish Baladi (2)

Ingredients:

  • 1 and 1/2 teaspoons instant yeast
  • 1 and 1/4 cups warm water
  • 2 and 1/2 cups flour
  • 1/2 teaspoons salt
  • 1 tablespoon canola oil
  • 1/4 cup wheat germ
  1. Combine the yeast and warm water in a large bowl, whisking until the yeast is dissolved. Add 1 cup flour to the mixture. Cover the bowl with plastic wrap and let rest for 20 minutes or so.
  2. Uncover the dough and mix in the salt, oil, and remaining flour. Transfer to a lightly floured surface and knead the dough, then place in a bowl and let rise for 1 hour.
  3. Divide the dough into 8 portions, and roll each into about a 5-inch circle. Place on a baking sheet and sprinkle with some of the wheat germ. Repeat with the remaining dough portions. Cover and let rise for about 30 minutes, while the oven preheats.Aish Baladi (3)
  4. Bake at 500 degrees F for 7 minutes.

Aish Baladi (4)

Update: The apple mummy came out so neat! One week later it had shriveled and shrunk, but felt smooth and soft like a dried apple. There was no rotten smell or aspect to it, which was quite cool.

Apple Mummy

What a neat way to see a “mummy”!

Little Passports: France

LP France (13)

I’ve never been so glad to have a Little Passports subscription as I am now, perfect during this era of home schooling. Travis’s latest package took him to France. The booklet felt a little too advanced this time, reminding me that Travis is on the youngest end of the age spectrum for World Edition. The maze was hard (even for mommy!) and activities like being an art critic and following a landmark hunt involved lots of reading that was too advanced.

LP France (11)

Still, he enjoyed the extras on the web like seeing vibrant pictures of monuments and landscapes in France, learning a few French words, and selecting his favorite French dessert. And he proudly added the flag to his passport and the “push pin” to his map.

LP France (3)

Souvenir:

The mini easel and watercolor palette, complete with two tiny canvases, was a huge hit!

LP France (1)

Travis was immediately making masterpieces after we looked at a few examples from Monet and Matisse for inspiration. He even corrected me, pointing out that one of his canvases was meant to be viewed horizontally and the other vertically.

LP France (2)

Activities:

We opened this package on April 1 which turned out to be perfect because one activity was to color in a fish for the “poisson d’avril“.

LP France (5)

This French variation on April Fool’s Day is to tape the fish to the back of a friend or family member and declare that person the “Fish of April!” Travis got a big kick out of doing this to daddy.

LP France (6)

Next up was making an Eiffel Tower out of Dandies marshmallows and dry spaghetti!

LP France (7)

This was STEM at its best: thinking spatially about how to engineer the tower; using shapes (rectangles, triangles); dividing spaghetti pieces into halves or quarters; and of course eating marshmallows along the way for sticky fingers and lots of laughs.

LP France (8)

Look how it turned out!

LP France (9)

I had also purchased the optional add-on, an Aquarellum Parisian Painting Kit. This included 9 watercolors and three scenes of Paris on absorbent paper. Travis loved that he could use the provided eye dropper to mix colors.

LP France (10)

The scenes turned out beautiful. My petite artiste!

LP France (12)

Finally, we colored in the French flag to add to our garland.

Recipe:

Of course we weren’t done until we’d taken our culinary voyage. This time we turned our kitchen into a French bakery, plus learned a little cultural background for the galette des rois (Kings Cake).

Galette des Rois (3)

We had to improvise a little, since the recipe called for puff pastry which is hard to find vegan. We used store-bought pie crusts instead, which means our cake didn’t puff up like a traditional version, but it sure still came out yummy!

Ingredients:

  • 1/2 cup sugar
  • 1/2 cup ground almonds
  • 1 teaspoon almond extract
  • 1/2 cup Earth Balance butter, softened
  • 1 tablespoon ground flaxseed
  • 3 tablespoons water
  • 2 (9-inch) pie crusts
  • 1 tablespoon melted Earth Balance butter
  1. To prepare the filling, mix together the sugar, almonds, almond extract, and 1/2 cup butter.
  2. Whisk the flaxseed into the water to make 1 flax egg. Add to the sugar mixture and stir until mixed. Chill in the fridge.
  3. Meanwhile, turn one dough circle out onto a baking sheet lined with foil. Spread the chilled filling evenly over the dough, leaving a 1-inch border.
  4. Top with the remaining dough circle, pressing the edges of the dough to seal. Brush with the melted butter. Bake at 450 degrees F for 15 minutes, then reduce heat to 350 degrees F and bake an additional 20 minutes.

Galette des Rois (4)

Note: If your kids want to, hide a dried bean inside in keeping with the French tradition of this cake around Epiphany.

Galette des Rois (1)

Whoever finds the bean or a toy figurine in their slice is the king for the day and gets good luck! Skip that step if you are worried about choking hazards.

Galette des Rois (2)

Handprint Cookies

Handprint Cookies (8)

Part baking project and part bonding activity, these sibling handprint cookies are absolutely adorable. I can think of no better way to spend these cozy days of social distancing than creating strong memories for the kids, despite the scary news in the outside world.

So first things first, we needed cookie dough! I knew the dough needed to chill for a while, so whipped up a batch first thing in the morning.

Ingredients:

  • 1/2 cup coconut sugar (or brown sugar)
  • 1/2 cup Earth Balance butter
  • 2 Ener-G eggs
  • 1 teaspoon vanilla almond milk
  • 2 and 1/2 cups flour
  • 2 teaspoons baking powder
  • 1/4 teaspoon salt
  1. Cream together the sugar, butter, Ener-G eggs, and almond milk in a stand mixer. Add the flour, baking powder, and salt, mixing at low speed just until combined.
  2. Gather the dough into a ball and chill for at least 3 hours.

When it was time to make the cookies, I sat Veronika in her high chair with one portion of dough, and Travis stood at the counter to help me roll out the rest.

Handprint Cookies (2)

Press a child’s hand to the dough and trace with a butter knife.

Handprint Cookies (1)

Travis was able to hold his hand still for a realistic approximation on his cookie. I had to use a little more creative license with wiggly toddler Veronika, as expected! Then we gathered the scraps and re-rolled the dough for heart and star cookie cutter shapes.

Handprint Cookies (3)

As a sweet touch, they pressed their thumbprints into a few cookies.

Handprint Cookies (5)

Let the kids decorate them however they want!

Handprint Cookies (4)

I stepped back and let them choose, which meant our cookies had a cinnamon-sugar sprinkle and Dandies marshmallows in the center.

Handprint Cookies (6)

Bake at 375 degrees F for 8 minutes, until lightly browned.

Handprint Cookies (8)

Then half the fun is eating them of course!

Peppermint Sugar Crystal Sticks

Peppermint Crystals (4)

If your kids love rock candy, they’ll be intrigued by this method to make it at home. Unfortunately, our spate of bad luck with crystallization projects continues, but here’s a step-by-step guide. I’d love to hear if your kids are successful with this one!

First, bring 1 cup water to a boil in a saucepan. Stir in 2 cups sugar and continue to cook at a boil until the sugar dissolves.

Peppermint Crystals (1)

Carefully pour the mixture into two small mason jars. Add a few drops of peppermint extract to each. Travis loved the way this smelled! Next he added a couple drops of red food coloring to one and green to the other.

Peppermint Crystals (2)

Ideally, use lollipop sticks to grow your crystal candy. We had to improvise and used toothpicks instead, which may explain our poor results. Dip these in the peppermint sugar solution, then roll in regular sugar. Use a clothespin to suspend them in the red and green liquid, making sure they don’t touch the sides or bottoms of the jars.

Peppermint Crystals (3)

Now wait!

Peppermint Crystals (6)

We did see a little bit of crystallized liquid form near the surface of the jars after about three days, which we could skim up with a spoon, but nothing crystallized on the toothpicks.

Peppermint Crystals (5)

Well, that didn’t deter Travis from spooning up some sugary liquid for a quick snack!

Ice-Cream Snowballs

Ice Cream Snowballs (7)

The weather hit an unseasonable 75 degrees F today, so we celebrated with homemade ice cream!

This project was a fantastic (edible!) addendum to Travis’s recent exploration of crystallization. To start, fill a large zip-top plastic bag about halfway with ice. Add 6 tablespoons coarse salt.

Ice Cream Snowballs (1)

In a sandwich-sized zip-top bag, combine 1/2 cup plain non-dairy creamer, 1 tablespoon sugar, and 1/2 teaspoon vanilla extract. Seal tightly.

Ice Cream Snowballs (2)

Place the creamer mixture in the larger bag, making sure it’s covered by the ice cubes. Now shake!

Ice Cream Snowballs (3)

Travis and I took turns, as the recommended shake time was 7 minutes.

Ice Cream Snowballs (4)

Whoops, a spill at about the 4 minute mark! But we were undaunted and kept going.

Ice Cream Snowballs (5)

At 5 minutes, we declared our ice cream done (and our arms exhausted).

Ice Cream Snowballs (6)

The ice cream turned out amazing! It looked crumbly at first, but after a few minutes it softened up just enough and was just like store-bought ice cream. Rainbow sprinkles were a must of course.

Ice Cream Snowballs (8)

Wow, ice cream on the back patio in March!

Ice Cream Snowballs (9)

What a treat this was for the kids.

Ice Cream Snowballs (10)