Chalk Color Matching Game

Outdoor Color Match (3)

Here’s an activity that’s a bit like a paint chip rainbow nature hunt, but tailored more to fit a toddler’s age and abilities.

On a gorgeous garden walk today, I directed Veronika’s attention to lots of different colored flowers. (“Look, reds! “Can you see the blue flower?”). I didn’t specifically ask her to collect any one color, but I carefully made sure we had at least one item from each color of the rainbow by the end of our walk.

Outdoor Color Match (1)

Once home, I sketched out a chalk rainbow on our back patio. As soon as I said, “Red…” she began to sing a rainbow song, going through all the colors!

Outdoor Color Match (6)

We then laid out our treasures from the garden. I placed red flowers on the red rectangle, orange on the orange, and so on.

Outdoor Color Match (4)

Soon she was helping!

Outdoor Color Match (2)

The flowers didn’t stay in one spot for long, since she wanted to pluck the leaves or rub them between her fingers. But I loved that she turned the color play into sensory play, too!

Outdoor Color Match (7)

Older toddlers can go even further with the game. Talk about shapes, or sort your colored items by a different attribute. I’d love to hear how the game goes for you in the comments!

Car Book

Car Book (8)

Veronika is obsessed with cars and trucks right now, so today I made her a picture book about cars of her very own!

First, we sat down to go through an old car magazine together, which was half the fun, talking about each vehicle as we came to it. I then tore out pages with clear, complete pictures of cars and trucks. You can also add pictures of tractors, motorcycles, or other favorite vehicles, if you find them in a magazine’s pages.

Car Book (2)

Glue each picture onto a square of poster board. Line up the pages and punch holes, then secure with two pieces of string.

Car Book (3)

Veronika instantly loved flipping through it at home…

Car Book (5)

…but of course there’s no better place to read her car book than in the car!

Car Book (7)

I love that I catch her “reading” this book to herself in the backseat. “There’s truck! There’s green car!” We’ll get a lot of mileage out of this one.

The Sandbox Scene

Sandbox Scene (1)

We’ve made a lot of at-home sandboxes in miniature this summer, but today we needed the real thing! To keep things fresh, I made sure we brought along toys that would add novelty to Veronika’s sand play. Because many public sandboxes encourage at-home toys these days, it was also the perfect excuse to mix things up!

First up: empty frozen juice containers. These are great because unlike other metal cans, they have no sharp edges. They are perfect for stacking into towers.

Sandbox Scene (2)

I also brought along construction vehicles…

Sandbox Scene (4)

Toy figures…

Sandbox Scene (3)

And shovels of course.

Sandbox Scene (5)

Measuring cups are great if you want to toss in a little learning, like concepts about size or volume. If you don’t want your real kitchenware getting sandy, bring along a few cups from a set of stacking cups.

It turned out the afternoon was really hot and the sandbox was in direct sunlight… but wouldn’t you know it, all those toys were just as great in nature’s other great play space: the grass box!

Sandbox Scene (8)

We got silly trying to stack our frozen juice containers here since the grass made things uneven.

Sandbox Scene (6)

Then of course, there’s the option of using the biggest “sandbox” of all: the beach! Here, we have a few extra options thanks to wet sand.

We could stack up a hill and then try to dig through to each other’s hands; we could bury toys and then unearth them; and of course we could bury our feet!

Sandbox Scene (13)

It’s also fun to dig a trench or hole, fill it with water, and watch what happens.

Sandbox Scene (11)

Veronika was amazed with how quickly the water was absorbed.

Sandbox Scene (9)

What’s your kids favorite thing to bring to the sandbox? Please share in the comments!

Object Matchup

Object Matchup (6)

Veronika loves spotting her own outline in her shadow, so today I thought it would be fun to teach a bit about how objects have shadows too, not just people. Recognizing shadows and outlines can help with skills like puzzle-solving down the line; plus this game is great for vocabulary!

Simply trace a variety of household items onto index cards. I used things that were familiar to Veronika, including: a key, a heart-shaped cookie cutter, scissors, and a crayon.

Object Matchup (1)

If you want this game to be more permanent, cover each card with contact paper for durability.

I then laid the cards out in front of her, along with the pile of objects. It was time to see if she could match them up! At first she didn’t quite understand, because she wanted to color the crayon’s outline with… the crayon.

Object Matchup (2)

But then she looked at the scissors in her hand and the outline of the scissors on the card, and declared, “Scissors!”

Object Matchup (3)

Soon she was matching up the spoon to the spoon card, the heart to the heart card, and so on. A simple but nice activity for cognitive development.

Object Matchup (5)


Toddler Toothpicks

Toddler Toothpicks (2)

While big brother was busy making a big kid craft involving toothpicks, Veronika wanted in on the action. Luckily I knew just how to keep a toddler busy with toothpicks in a safe way! Note: You will still want to supervise this activity a little more closely than most, since the ends of the toothpicks are pointy.

Give your toddler an empty spice jar with small holes in the cap, along with a pile of toothpicks. Chances are you won’t even have to demonstrate!

Toddler Toothpicks (1)

The holes are like a magnet for toddlers, begging to be filled up with those little toothpicks.

Toddler Toothpicks (3)

This activity was great for Veronika’s fine motor skills, since she had to pinch up the toothpicks from the floor. Then it became an exercise in hand-eye coordination to find a hole.

Toddler Toothpicks (5)

Once the jar was filled, she loved taking the lid off to dump it and start over again!

Toddler Toothpicks (7)

At a certain point, she realized that the closed jar made a shaky sound when the toothpicks were inside. An instant maraca, and an instant way to keep a toddler busy.

Toddler Toothpicks (8)

Clothespin Colors

Clothespin Colors (7)

I had two goals for this simple activity: to review Veronika’s color knowledge and to hone her pinching skills. She’s just old enough now (at 21 months) to pinch a spring-type clothespin, but I realized quickly that it’s still a struggle for her. So you may want to wait until your toddler is a little older before setting up this activity.

Still, we made it work! I put colored dot stickers at intervals around the rim of an empty coffee can.

Clothespin Colors (1)

Then I put corresponding dot stickers on the clothespins.

Clothespin Colors (2)

For each one, I asked her, “What color is this dot?” Once she answered, I had her hunt through her pile for the same color on a clothespin.

Clothespin Colors (3)

Since the pinching was hard for her, I helped her secure the clothespin to the dot, then moved on to the next one. “What color is here?”

Clothespin Colors (5)

“Green!” she said proudly.

Clothespin Colors (6)

We worked our way once around the coffee can one time, though she did then lose interest and wanted to play with more dot stickers instead. Luckily there’s lots to do with leftover clothespins and empty cans if you leave them lying around.

Clothespin Colors (3)

Colored Ice Cube Bath

Colored Ice Cube (4)

Veronika has loved playing with ice this summer, so tonight we brought the fun inside. If she thought ice melted fast on the patio, just wait until she saw how fast it would melt in the warm bath tub!

To make everything more fun (plus more obvious visually), I froze water in the compartments of an ice cube tray with a little food coloring added to each. Dark colors like reds and blues will work better here than soft yellow.

Once Veronika was in the tub, I popped out the ice cubes one at a time. Be prepared for fast action, because that ice isn’t going to last long!

Colored Ice Cube (3)

She loved watching the food coloring swirl out into the tub as the ice melted almost instantly. She also enjoyed taking the cubes from my hand, a momentary shocking sensation of cold.

Colored Ice Cubes (1)

When we had about half the ice cube tray left, I dumped them all in at once for a grand finale. This game was – obviously! – quick, but made for a joyful end to a hot day.

Sixth Birthday Party: Star Wars

6th Bday (9)

I was unsure if we’d be able to throw a birthday party for Travis this year, in the era of Covid-19. Luckily things in our state have reached a place where it was safe to invite a few close friends and hold a largely outdoor party. I was thrilled we could make this happen, not least because of all the parties I’ve planned, this was by far the most fun. Even grown-ups can geek out to Star Wars!

Of course things all start with the invitation. For a boy who loves the Dark Side, there was no doubt that this invite had to feature Darth Vader. We found the perfect template on Etsy.

6th Bday invite

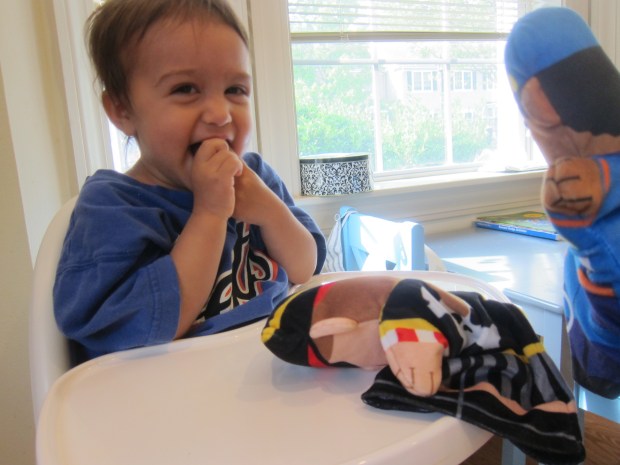
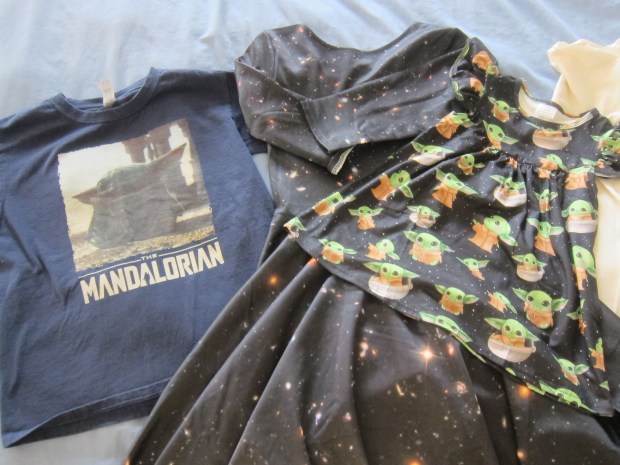
Next we needed our intergalactic outfits. The birthday boy had a t-shirt from the new ‘Mandalorian’. A Baby Yoda print dress was just right for little sister. Meanwhile I decided to avoid the obvious route (cough: Leia buns) and be the whole galaxy instead, in a dress also from Etsy.

6th Bday (13)

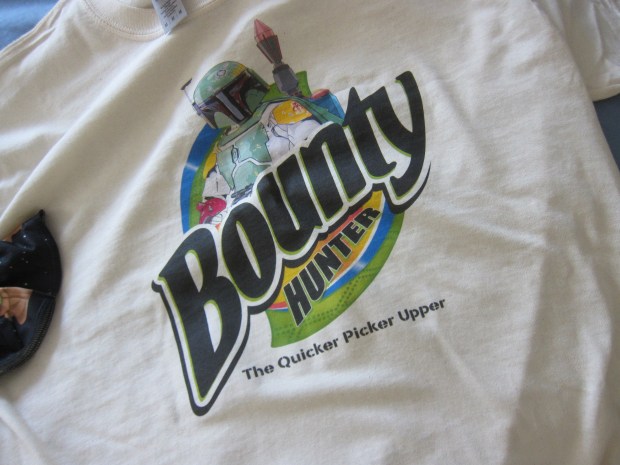
Dad’s shirt even featured Boba Fett!

6th Bday (12)

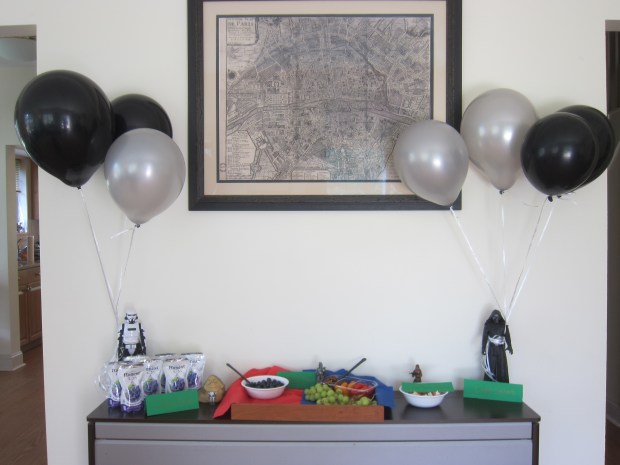
Decorations were easy because Star Wars spans entire aisles of party stores. We had black and silver balloons, and a franchise tablecloth and plates.

6th Bday (10)

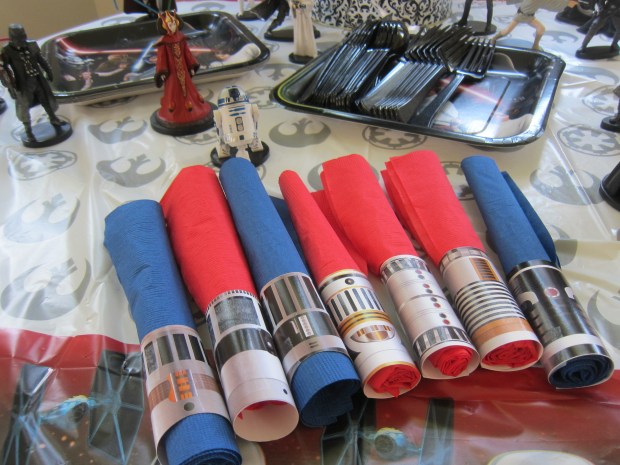
For lightsaber napkins, I purchased a downloadable template (also Etsy). Wrap these around blue and red napkins as lightsaber hilts!

6th Bday (15)

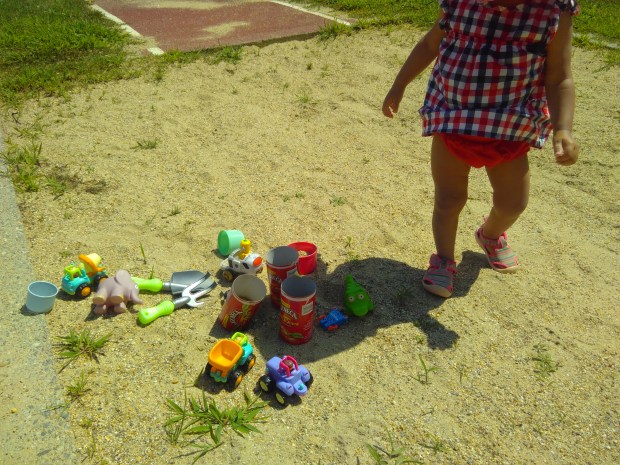
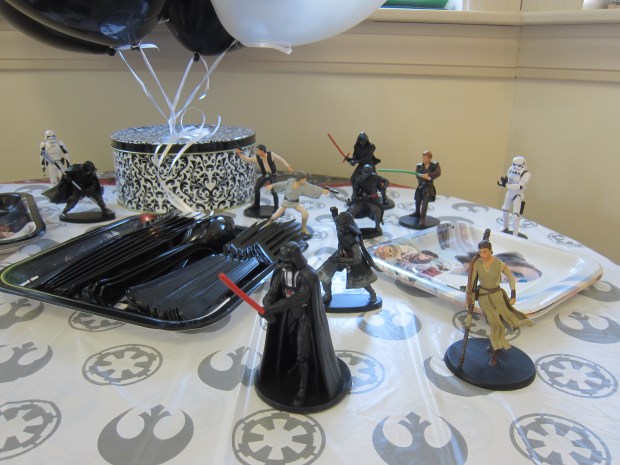
We had so much fun using Travis’s collection of Star Wars toys among the decor. Taller action figures held the balloons, while smaller ones dotted the empty spaces on the table.

6th Bday (22)

The biggest expense for the whole party was a printed backdrop (again from Etsy), with the Death Star and Travis’s name. This was perfect for photo ops for each guest in front of the evil empire!

6th Bday (7)

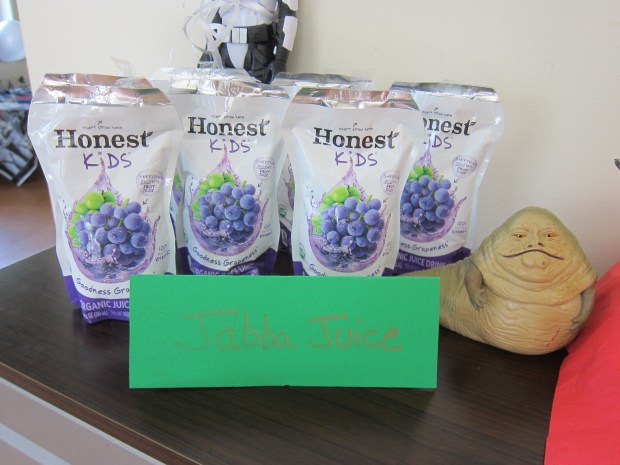
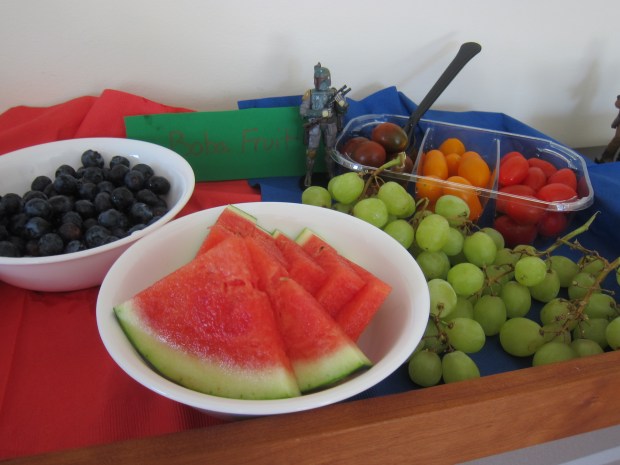
Star Wars also lends itself to lots of fun with food. For a late afternoon party, we served only light snacks (which was also much easier to manage while adhering to social distancing). We included Jabba Juice…

6th Bday (19)

Boba Fruit…

6th Bday (17)

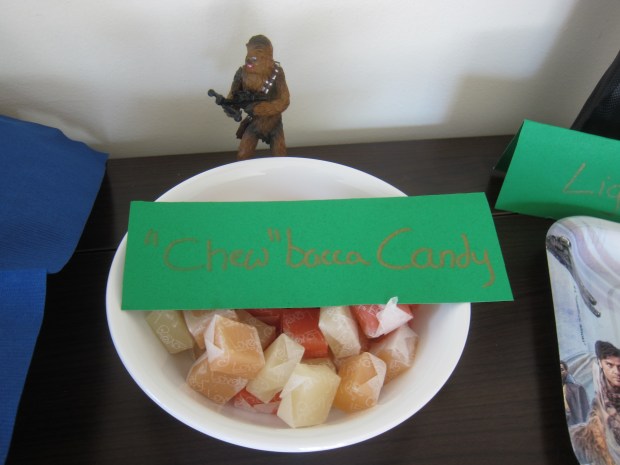
and “Chew”bacca Candy

6th Bday (18)

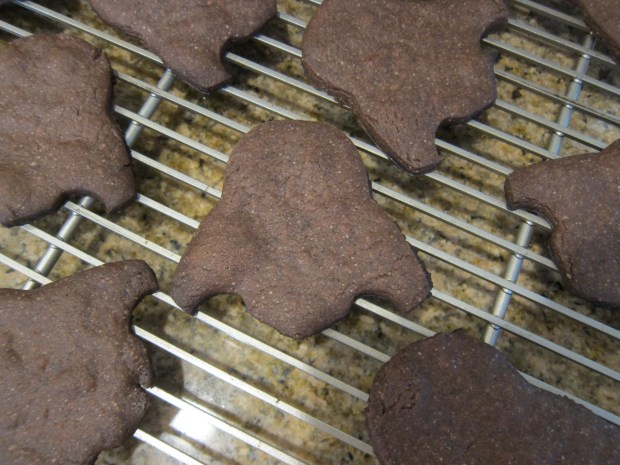
For dessert, we served chocolate cupcakes from Rubicon Bakery (available at Whole Foods), in Dark Side dark chocolate of course. I also baked Darth Vader cookies using this recipe. You’ll need to invest in a Vader cookie cutter for this one, but if your kids love Star Wars as much as mine, you’ll get ample use out of it.

6th Bday (5)

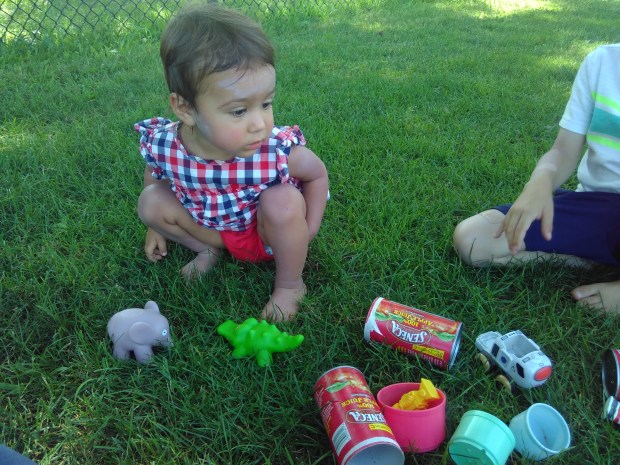
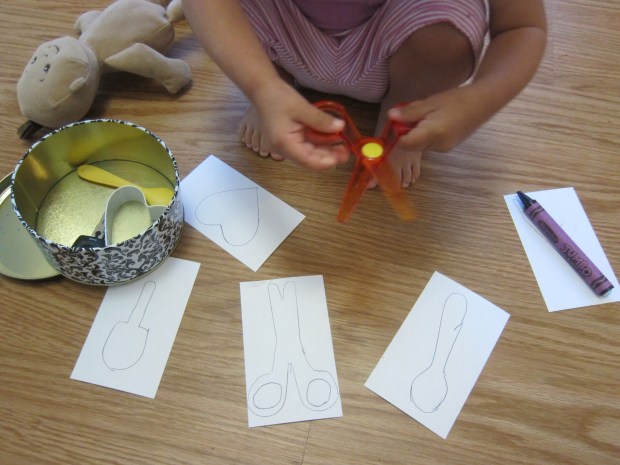
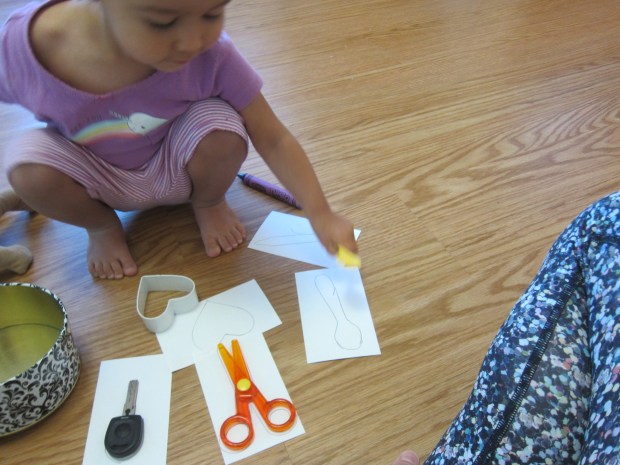
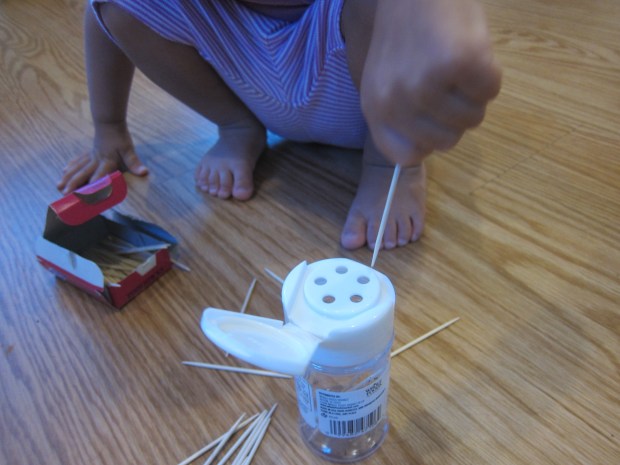
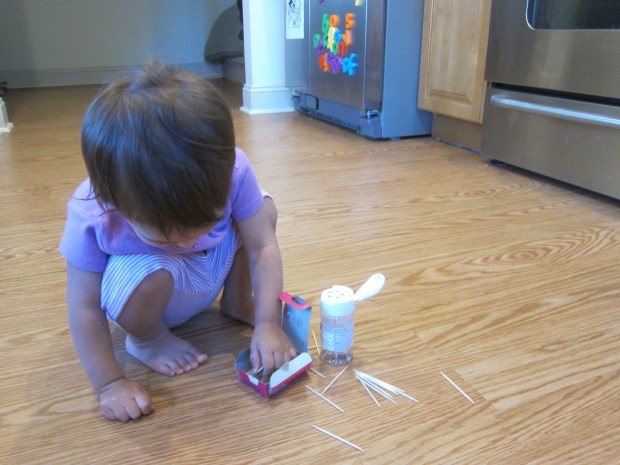
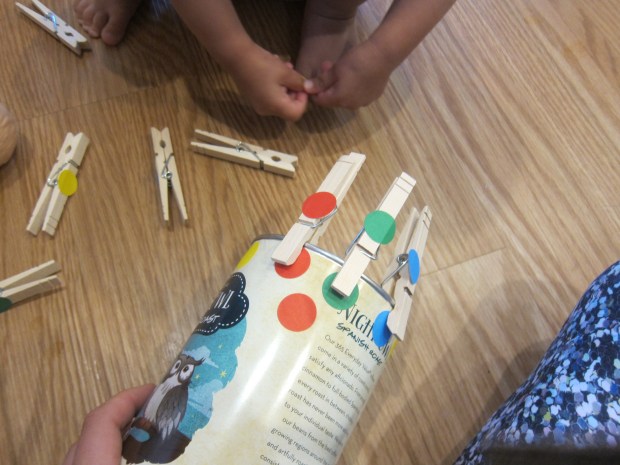
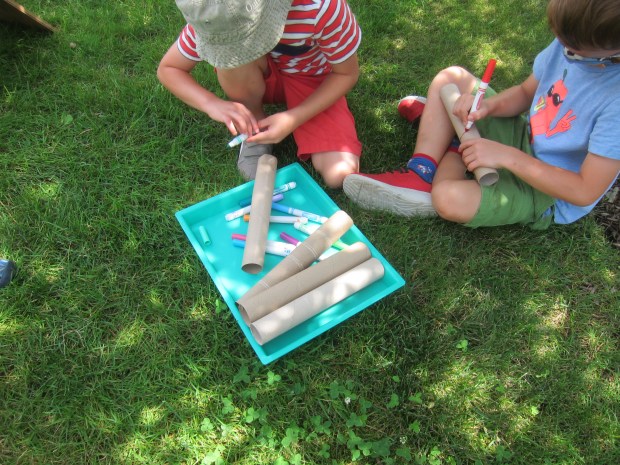
Now on to the games!  When the guests arrived, I welcomed them seriously to Jedi training academy. Each guest colored in a cardboard tube with markers for a light saber.

6th Bday (25)

Oh no, they were under attack! I had invested in a bubble machine and it was time to pop those bubbles, er, buzz droids.

6th Bday (26)

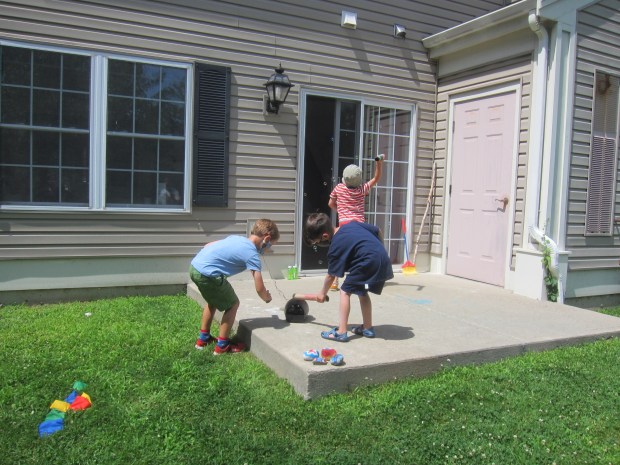
I then handed each guest a super battle droid (a.k.a. a balloon inflated with air, not helium) with the goal to keep it afloat with their lightsaber. Now that their training was complete, it was time to hit the Death Star.

6th Bday (27)

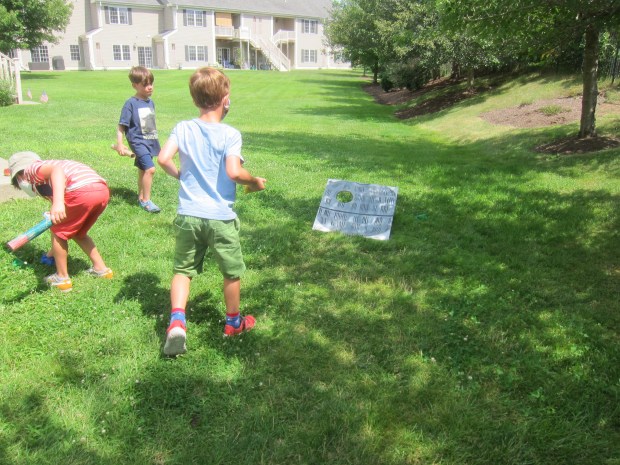
This homemade cornhole was thanks to an artistic set of grandparents! See Darth Vader peeking over the top?

6th Bday (6)

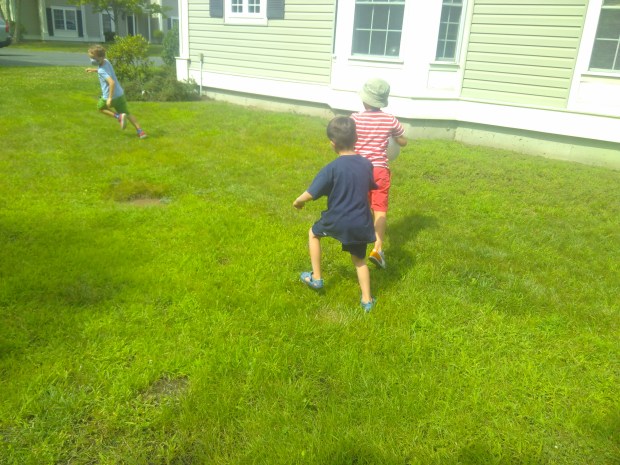
Next, for the perfect, socially-distanced version of tag, the kids played Jedi splash tag. To play, give one player a spritz bottle. He or she is the Jedi. The rest of the guests are Sith. Stand in the center of the playing area and have an adult say, “May the Force be with you!”. The kids scatter and the Jedi tries to spritz the others. Last player to get wet is the winner!

Splash Tag (1)

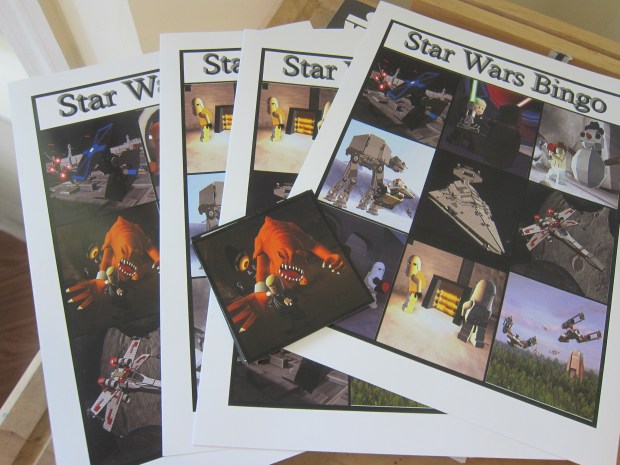
We headed inside for refreshments and more games. You can download Star Wars bingo cards for free and then print with vivid colors on thick cardstock at a local print shop.

6th Bday (21)

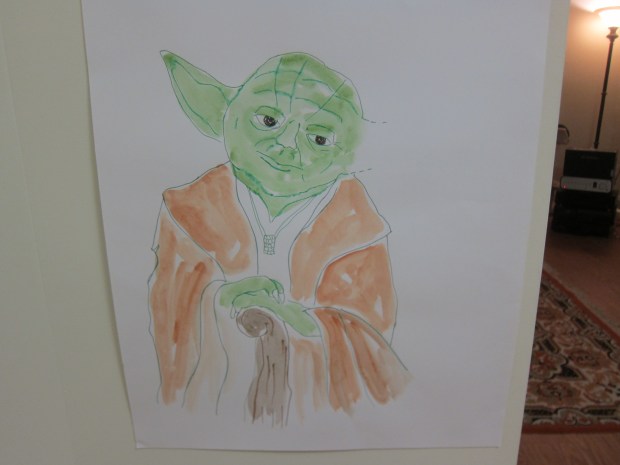
Then it was Pin-the-Ears-on-Yoda! Again, many thanks to grandma for this one, with ears cut from green cardstock.

6th Bday (8)

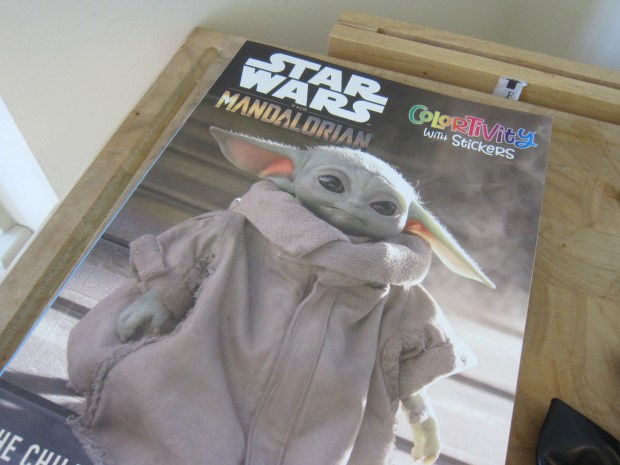
Winners of the games received a Mandalorian coloring book.

6th Bday (20)

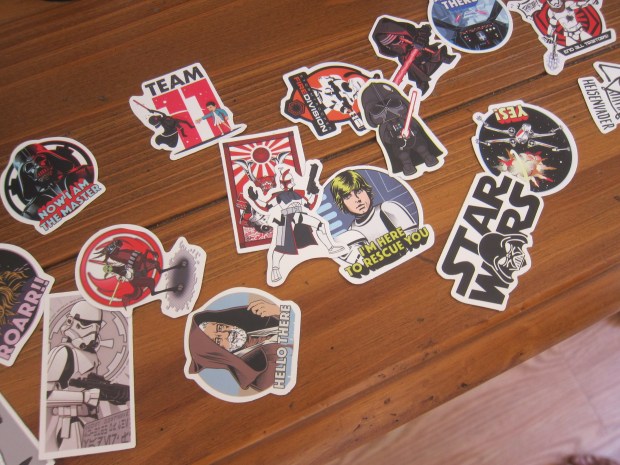
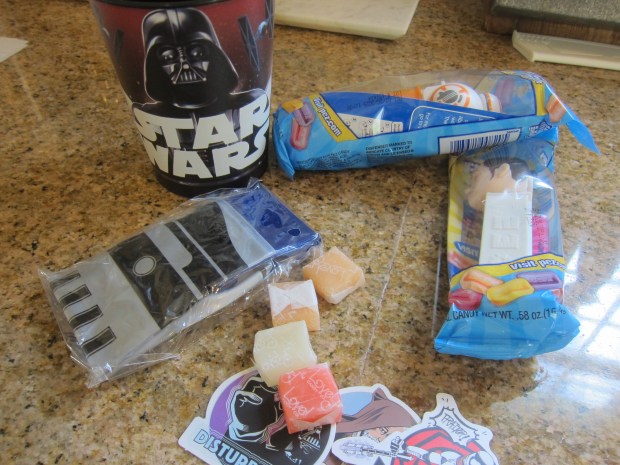
Don’t let guests leave without their Star Wars goodie bags. We used 16 oz kids’ cups as the packaging, and included Star Wars Pez dispensers, franchise stickers, additional “chew”bacca candies, and an inflatable lightsaber.

6th Bday (24)

Now may the Force be with you!

6th Bday (16)

Puppet Pop-Up and Theater

Puppet Pop Up (4)

Puppet play is always fun for a toddler, but here are two ways to specifically involve an older sibling in the action!

For the first game of the day, we made a proper puppet theater. Decorate the outside of a large box, big enough that an older sibling can crawl inside. After the kids were done coloring with markers, I cut a large “window” in one side.

Puppet Theatre (2)

Veronika wanted to be the first one inside with our set of puppets! She loved that it was like a little house.

Puppet Theatre (5)

It was fun to trot the puppets along the ‘roof’!

Puppet Theatre (4)

It only got better once I hot-glued fabric along either side of the window as curtains. Now she could peak through with delight.

Puppet Theatre (9)

Then it was big brother Travis’s turn to crawl in and put a puppet on his hand… for a real show! Veronika delighted in seeing the puppets perform.

Puppet Theatre (11)

Plus she loved peeking inside the box to see what Travis was up to!

Puppet Theatre (10)

For a simpler version, you can nix the big box and just play puppet pop-up at the highchair. Because kids can’t see over the rim of their highchair tray, it’s the perfect spot for a game like this.

Simply have a big sibling (or grown-up) hold a puppet just below the tray.

Puppet Pop Up (3)

Then pop up for a performance. Hello!

Puppet Pop Up (2)

This one is sure to elicit giggles every time.

Animal Sort

Animal Sort (2)

Veronika loves playing with her stuffed animals (a favorite lately has been simply to climb in the crib with every single “stuffie” and have a blast in there). Today when we pulled out the stuffies, I decided to make it a little educational, too.

I encouraged Veronika to make two piles. Could she divide the animals into big and small? The idea of sorting is still tough for a 20-month-old, but she can identify whether a single stuffed animal is big or small.

So I started the two piles for her as an example, and then held the others up one at a time. “Where should this one go?” I asked her. “Is he big, or small?”

Animal Sort (1)

She made a little effort at this, but she was honestly more interested in making the sounds of each animal – hoots for owls, growls for bears, etc. So we decided to sort them differently: loud animals versus soft ones! Again I had to help with much of the sorting, but it was fun to make the noises for each animal as our piles grew larger.

Animal Sort (4)

Older toddlers and preschoolers will love this to, and maybe think of other ways to sort the animals. And of course, you’ll have a giant pile of stuffed animals to play in at the end.

Animal Sort (3)