Do I Have a Story For You

Have I Got a Story (6).JPG

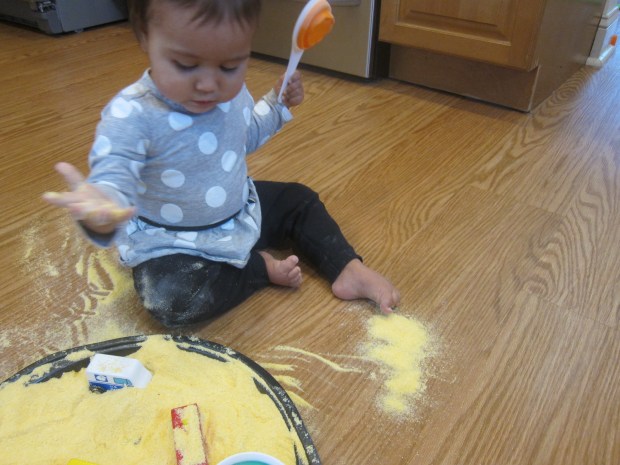
Veronika will not sit still for storytime, despite enticements like forts and cozy nooks; if your one-year-old is anything like mine, then you probably end up reading a book out loud while he or she scoots off to play!

So I’ve been looking for creative ways to weave storyteling into our day; it’s been a fantastic reminder that stories aren’t just in book. There is oral storytelling, too.

Take a day and practice using the moments around you as prompts for stories. Chances are you have lots of them stored in your memory, of things that have happened to you, whether factual or embellished. The more you dig, the easier this activity gets.

For example, the rain this morning had me remembering the time I ran through the streets of a French town in a warm summer rain to make it back to my hotel.

Have I Got a Story (2)

I told her the story as we drove, and she soon was babbling back. The point isn’t for your baby to understand the words, but to share these experiences and practice listening to language.

Have I Got a Story (1)

At the library, we paused before a mini diorama. I could use this to start a make-believe story of what was happening in the room… and also tell her the story of how I remembered looking at the same diorama as a little girl.

Have I Got a Story (5)

Quilts have stories that will stir your memories…

Have I Got a Story (4)

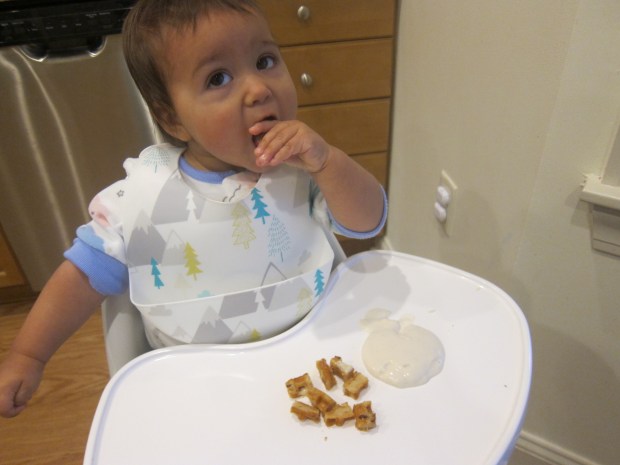
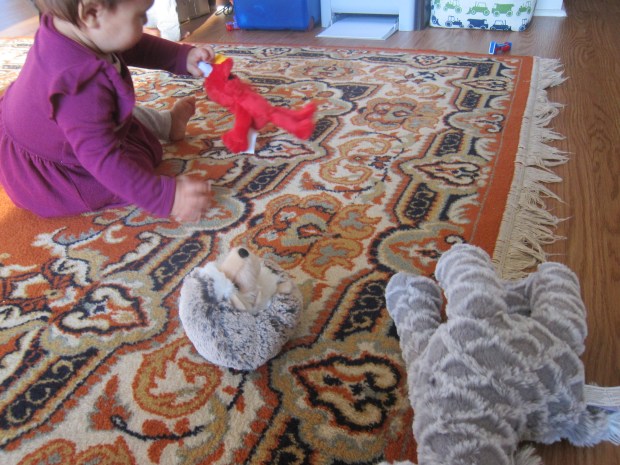
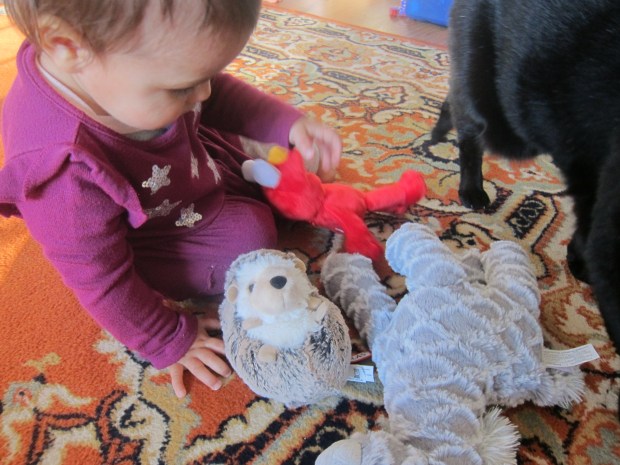
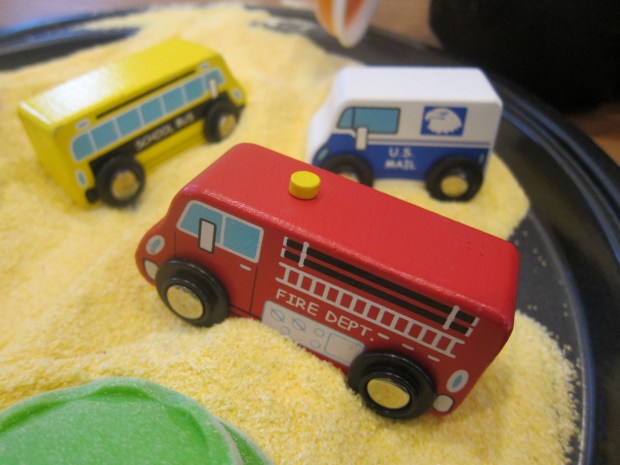
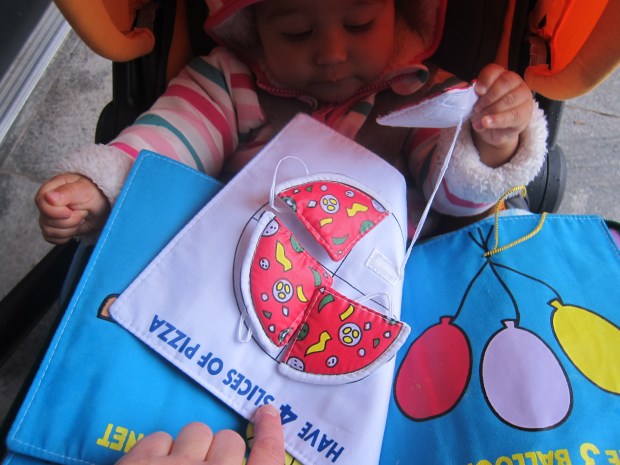
….and toys have stories that will stir your memories. How about that time I had a party at a pizza parlor when I was six!

Have I Got a Story (3)

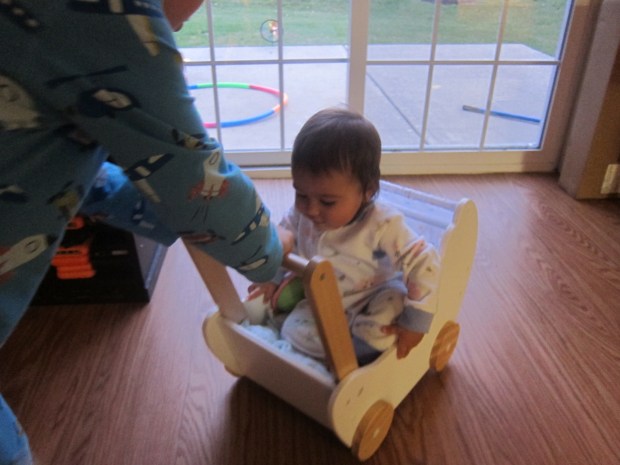
In fact after a day of consciously doing this activity I loved it so much that I hope to make it a ritual as we drive in the car!


Make Sunrise Special

Sunrise (6).jpg

I’m an extreme early bird, and yet even I want to pull the covers over my head sometimes on cold mornings when my kids are up before sunrise. Those covers sure look inviting for just a little extra snuggle time!

Sunrise (5)

But I want to start the day on the right foot for my little ones, so I have a few tricks to make sunrise special. These little routines not only help me wake up, but also help them start the day on the proverbial right side of the bed.

Step 1: Open the curtains. Let in the light, even if it’s a tiny bit! Watch the light change from deep blue to pale gray, until pink and orange are in the sky. Plus, curtains are fun; Veronika never tires of running her hands up and down the slats, so that has become part of our morning ritual.

Sunrise (7)

Step 2: Have a dance party. You can’t go wrong with a light-up speaker and music while mommy puts in her contact lenses.

Sunrise (4)

Step 3: Listen to a sunrise chant. Tune in to a beautiful Native American sunrise prayer on YouTube and have these sounds in the background as the room moves from dark to light.

Sunrise (1)

Step 4: Have a special breakfast. “Special” doesn’t mean a complicated recipe (here’s Veronika having some almond milk yogurt and waffles); it just means sitting down together and taking a pause, even when you have to get everyone dressed and ready for the day.

Sunrise (3)

Step 5: Get moving! If it’s warm enough, go outside for a stroll. If it’s cold, be silly and have a sunrise stroll indoors!

Sunrise (2)

Older kids may also love reading stories or myths about the sun, which you can weave into breakfast time.

How do you make sunrise special? Please share in the comments!

Solar Eclipse Science Project

Solar Eclipse Viewer (8)

I put together a simplified version of this box back when there was a solar eclipse in our area in 2017. Today we wanted to see if the box would work for Mercury’s transit across the sun, and now Travis was old enough to help with all the steps!

To start, we upcycled a Kiwi crate (though any shoe box would work). Measure 2 inches in from one edge and poke a push pin or thumb tack through for a small hole.

Solar Eclipse Viewer (1)

On the opposite side of that same edge, measure in 1/2 an inch and cut a square that is 2 inches on each side.

Solar Eclipse Viewer (2)

Cut a square from black paper that is 2.5 inches on each side. Travis loved cutting along the lines I measured with our ruler.

Solar Eclipse Viewer (3)

Trace the inside of a small roll of tape in the center of the black square, and cut out this circle (a mommy step).

Solar Eclipse Viewer (4)

Tape down on the inside where you’ve cut the viewing hole.

Solar Eclipse Viewer (5)

Next cut a rectangle from white paper that is 10.5 inches long x 3.25 inches tall. Use double-sided tape to attach on the inside of the box opposite the viewing hole.

Solar Eclipse Viewer (6)

Now cover any seams or cracks with tape. Travis took it very seriously to ensure that we had no points where light could filter through.

Solar Eclipse Viewer (7)

We peeked inside in the kitchen, but if course there was only darkness without any sunlight coming through our tiny pin prick.

Solar Eclipse Viewer (9)

The answer to our initial question (would the box work for Mercury), alas, was no.

Mercury entered its transit across the sun the next morning at 7.30, but it was so cloudy that the sun wasn’t visible all day! Further research suggested that Mercury would be much too tiny to spot in our viewer anyway, and what we really needed was a telescope with a proper sun filter. Instead, we checked out the transit online. And now we’re going to set aside our solar eclipse viewer for the next one… in 2024!

Gallant Challenge: Lived It, Learned It

Lived Learned (1)

Travis always loves the Goofus and Gallant page of Highlights magazine and the inspiring stories of kids with Gallant moments. We’ve even tried to replicate some. Today, it was his turn to be the Gallant kid and inspire others, because the challenge was…to share a Gallant learning moment and impart that wisdom to other kids.

Travis and I read the challenge and then I asked him to think about just such a teachable moment that he has experienced.

He decided he’d write about times at the playground where his friend is sad. Saying “I’m sorry”, he’s learned, helps make things better.

He drew a picture, including the rocks that they like to play on at the playground. I helped him use creative spelling for the word “sorry”, then wrote out the full story on the back of the page.

Lived Learned alt

For full ownership of the project, he even affixed the stamp before we mailed it off to Highlights. Travis was so proud to share!

Lived Learned (2)

Walk Like a Wheelbarrow

Walk Wheelbarrow (2).JPG

If you’re from a certain generation, chances are you remember wheelbarrow races in the backyard as a kid! It’s a classic that never grows old, even with little babies.

Back when she was learning to crawl, I propped Veronika up slightly with a towel for a sort of modified wheelbarrow. Now, she can fully support herself on her arms, and I turned it into a silly game to reach her stuffed animals.

Walk Wheelbarrow (4)

Those stuffed animals had her motivated! It took her a moment of hesitation, but once I had her palms on the ground and her ankles in my hands, she began walking her little hands forward. What a great strength-training exercise!

Walk Wheelbarrow (1)

And she had three soft friends waiting to play at the end of the race.

Walk Wheelbarrow (5)

Holey Hand

Holey Hand (4)

This simple trick is a tangible way to show kids how each eye sees the world in just a slightly different way. Kids will marvel at the fact that the brain blends together two views into one picture once they have a “hole” in their hand!

All you need to do is hold an empty paper towel tube up to the left eye, holding it in the left hand. Leave both eyes open, and place the right hand directly in front of the open right eye. Slowly begin moving that hand forward, keeping it against the side of the cardboard tube.

Ideally, you’ll start to see a hole in your hand! I had to help Travis with a few mechanics. At first he zoomed his hand forward too fast.

Holey Hand (1)

Then it wasn’t quite at the right angle.

Holey Hand (2)

But then I got a big smile and laugh once he had the trick of it down. Grown-ups, you’ll want to try this, too!

Holey Hand (3)


Jiggly Rainbow Cups

Jiggly Rainbow (8).JPG

Here’s a cute way to “taste the rainbow”, as the old slogan goes! You’ll need jel dessert in all colors of the rainbow. Jell-o of course comes available in everything from red to purple but is not vegan. Instead, I prepared a big batch of Lieber’s clear unflavored jel dessert. We divided it among 5 cups, and used food coloring to make:

  • red
  • yellow
  • green
  • blue
  • purple

This was a great refresher on color mixing, since I only had food coloring in primary colors!

Jiggly Rainbow (2)

I also had Simply Delish’s orange flavored jel dessert, so we used that for the orange layer.

Jiggly Rainbow (1)

Now you’ll need to layer your dessert. We spooned a layer of purple into a cup and placed in the freezer for about 15 minutes to speed up the setting process.

Jiggly Rainbow (3)

Continue adding layers and freezing briefly until you have a full rainbow.

Jiggly Rainbow (4)

Unfortunately our three dark layers (purple, blue, green) and three light layers (yellow, orange, red) sort of blended in with one another. Shining a flashlight helped reveal the distinction!

Jiggly Rainbow (6)

Meanwhile Travis thought this was just the best dessert ever. Of course there was the obligatory poking and squishing that must happen with jel desserts.

Jiggly Rainbow (7)

Then it was time to spoon through the layers, and he kept me updated on his progress: “Mom, I’m up to the yellow!”

Jiggly Rainbow (9)

A super fun way to play with rainbows.

Peanut Butter Play Dough

Peanut Butter Play Dough (8).JPG

I guarantee this is the yummiest play dough your kids will ever play with, and it’s unbelievably easy to make!

In a bowl, combine 6 large marshmallows (we use Dandies) and 4 tablespoons peanut butter. Microwave for about 15 to 20 seconds, until the marshmallows sotfen. Stir together.

Peanut Butter Play Dough (1)

Add about 2 to 3 tablespoons powdered sugar, stirring with a spoon to combine and then working the dough with your hands until it is no longer sticky. Although there were still some chunks of marshmallow visible, our dough worked great.

Peanut Butter Play Dough (2)

I had intended this as a sensory project for Veronika, but big brother Travis loved it, too! First Veronika just enjoyed picking up the dough…

Peanut Butter Play Dough (3)

…and was delighted when she noticed it tasted sweet!

Peanut Butter Play Dough (5)

Her favorite thing to do was poke at it with craft sticks, or tap it with her fingers.

Peanut Butter Play Dough (4)

Meanwhile, Travis had fun forming the dough. We rolled it into snakes and patted it into flat pancakes.

Peanut Butter Play Dough (7)

Then we used leftover Halloween cookie cutters. It made fantastic shapes!

Peanut Butter Play Dough (6)

Note: Make sure to cover the play dough if you want to play with it over multiple sessions, as it will dry out and become crumbly.

Peanut Butter Play Dough (9)

Corn Meal to Explore

Snesory Cornmeal (7)

It’s getting too cold for outdoor sandboxes, so today I made one for Veronika indoors… with corn meal! I simply dumped an old container of corn meal on a pizza pan, set out a few scoops, and let her begin to explore.

The scoops themselves seemed to delight her with their bright colors, First she just wanted to play with these…

Snesory Cornmeal (1)

…but soon found her way over to the corn meal.

Snesory Cornmeal (2)

Unlike anything gloppy, she had no hesitation getting fingers in dry corn meal. She picked up little light fingerfuls and watched it rain down into a cup, then dumped them out and started over.

Snesory Cornmeal (6)

What fine motor skills! Next, I added cars, because you can make great tracks through cornmeal. If you have any toy construction vehicles like dump trucks or diggers, this is the perfect way to use them. But for Veronika I added a few favorites: a fire truck, school bus, and mail truck.

Snesory Cornmeal (3)

She loved vrooming them in the corn meal, especially once she had a thin layer of it on the floor.

Snesory Cornmeal (10)

I let the happy play continue until we had to leave the house.

Snesory Cornmeal (11)

To clean up, I dusted off her pants, swept the cornmeal into the dust bin, and that was that!

Snesory Cornmeal (9)

Rainbow CD

Rainbow CD (3)

If a gray day has you wishing for rainbows, make some at home with this easy craft! It’s just one of several ways Travis and I have made light after dark, lately.

We made our project a bit whimsical by turning it into a sort of “hunt” for the rainbow at the end of a pot of gold. That meant we wanted to decorate our CD with shamrocks. To make them, use a heart-shaped hole punch.

Rainbow CD (1)

For every shamrock, fit 3 hearts together into a clover-shape. Tape the hearts to the back of a blank CD.

Rainbow CD (4)

Now head some place dark, and shine a light!

Rainbow CD (5)

Travis loved holding the flashlight and seeing the rainbows appear on the wall. We experimented with different angles; if he held the light directly over the CD, the rainbow was like a laser line on the CD itself.

Rainbow CD (6)

If he held the light close to the floor, the rainbow appeared on the wall, growing bigger or smaller as he altered the angle.

Rainbow CD (7)

Note: there’s no need to decorate your CD to make this craft work, but it does add a nice touchy of whimsy!