Sink or Float Toys

Sink or Float (2)

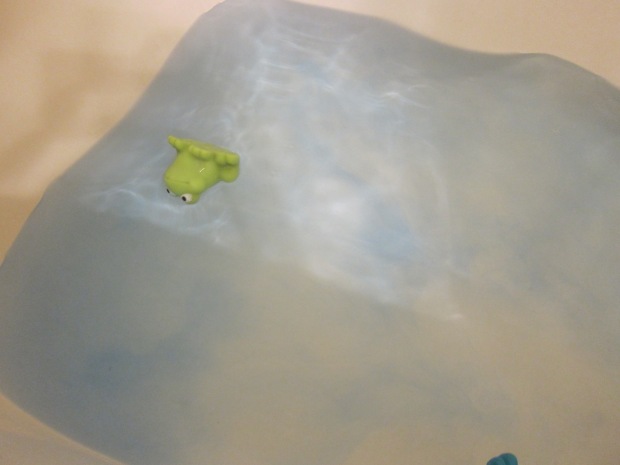
There are many ways to teach the notion of what sinks and what floats to a toddler, but I loved that this one could be done right before bath time without any special materials needed.

I lined up a variety of objects on the side of Veronika’s bath, some I knew would sink (toy cars, a spoon) and others I knew would float (her rubber ducky, toy boats).

Sink or Float (1)

It was up to her to toss them all in from the line-up and see how they landed in the water.

Sink or Float (3)

Some, like a plastic apple or the rubber duck gave a splash and and a bounce before bobbing along on the surface. Others made a big plunk (the car!) and sank to the bottom. We stopped to talk about each of these different ways that the objects had made the water move.

It was the first time I saw a spark in Veronika’s eyes as I repeated the words “sink” and “float” deliberately.

Sink or Float (4)

By the time she was sitting in the tub and playing with all the items, she was using the words in full sentences. “The spoon sinks! The boat floats!” A great first lesson on this everyday scientific concept.

Sink or Float (5)

Squeeze Bottle Bath


Squirt Bottle (2)

Learning to squirt water is great for strengthening little hands and fists, all in preparation for bigger skills down the line like holding a pen or scissors. And there’s no better place to practice squirting water than in the bathtub!

So tonight, Veronika and I simply brought an empty squeeze bottle into the tub (leftover from a tie-dye project, in fact).

Squirt Bottle (1)

I showed her how to fill up the bottle, which was fun because it made big bubbles blub blub to the surface.

Squirt Bottle (4)

Then I demonstrated how squeezing it made a stream of water jet out. At first she simply held the bottle upside down, waiting for the water to appear. Then she realized she needed to squeeze hard before seeing results. A great lesson in both cause-and-effect and motor skills!

Squirt Bottle (3)

Dish Soap Tub Bubbles

Dish Soap Bubble Bath (4)

Blowing bubbles in dish soap is always fun, whether your kids are old enough to blow into the mixture themselves, or young enough that you do it for them. Tonight, I took dish soap bubbles to Veronika’s bath for some great soapy play!

To start, I tinted the tub blue with a little food coloring.

Dish Soap Bubble Bath (2)

(Side note: This was purely for extra entertainment, and not necessary at all. We always love a colored bath around here whether red, yellow, green, or something in between.

Colored Bath (2)

Just squirt in a few drops of all-natural food coloring and let your toddler swish the colors around!).

Colored Bath (3)

Once the water this blue, I filled a Tupperware container with a few squirts of dish soap and added a little water.

Dish Soap Bubble Bath (1)

Blow into the mixture with a straw and honeycomb bubbles will begin to rise to the surface. Definitely only let your child use the straw if you are confident he or she can blow out, not in.

Dish Soap Bubble Bath (3)

Veronika loved it the moment the bubbles spilled over the top of the container! After watching a few times, she was brave enough to put her hands in. These dish soap bubbles won’t pop, making for endless fun dipping hands in and out of what feels like endless bubbles.

Dish Soap Bubble Bath (5)

We hid a few fish toys in the big bubbles and she loved feeling around for them!

Dish Soap Bubble Bath (7)

After holding the container for a while, I set it down to float in the tub and she continued to enjoy putting eager hands into the bubbles.

Dish Soap Bubble Bath (9)

This made them spill over into the water, so then she loved stirring at them with one of the straws I’d used!

Dish Soap Bubble Bath (11)

I think she wanted to stay in this bath forever.

Dish Soap Bubble Bath (8)

Soap Crayons and Bath Paint

Soap Crayons Bath Paint (4)

Some baths are for getting clean, but sometimes a bath is meant for playing! To wit, this afternoon I treated Veronika to an extra long bath just so she could enjoy some arts and crafts in the tub.

The bath is a perfect place for your toddler to experiment with art. What’s easier than a mess that can literally be washed down the drain?

We started out with soap crayons. You can make your own, but I skipped the labor of love and instead purchased a set from Sud Smart Bath Toys.

Soap Crayons Bath Paint (2)

Unfortunately they snapped into small pieces easily, but that didn’t deter Veronika from having a blast.

Soap Crayons Bath Paint (3)

Imagine her delight that she could scribble everywhere without being reprimanded!

Soap Crayons Bath Paint (5)

I made lots of squiggles and swirls for her, too, since you have to press hard with these crayons and her efforts didn’t always produce much color. Since we’re working on her budding vocabulary and object recognition, I drew simple shapes that she knows the word for, like the sun and birds.

Next up, we swapped out the crayons for paint! For an easy bath paint, look no further than the medicine cabinet: foamy shaving cream.

I squirted a generous amount of shaving cream into each of three cups and added a few drops of natural food coloring to each, resulting in pretty pastel colors. Insert a paintbrush into each color.

Shaving Cream Paint (1)

As with a recent edible paint, Veronika first just loved plunging the paintbrush up and down in the mixture.

Shaving Cream Paint (2)

Once I showed her how to smear it on the tub walls, she was game!

Shaving Cream Paint (6)

I also lathered some on one wall in a thick canvas, hoping she would run the paintbrush through.

Shaving Cream Paint (5)

She was more into the fact that she could paint it on her hands, though. Look mommy!

Shaving Cream Paint (4)

Throw in a little education if you want, writing letters (your child’s initials are always fun) or shapes. And when it’s done, just rinse it down the drain.

Shaving Cream Paint (3)

Toddler Bath: Mess and Clean

Bath Crayons (1)

Here are Veronika’s two current favorite games in the tub, at fourteen months old. One involves making a mess.. .and the other involves clean-up!

First up is bath crayons. Whether you’re using crayons or tub-safe finger paints, and whether they are store-bought or homemade, making art in the tub fascinates kids this age. The marks appear as if by magic on the white tub walls, and then wash off with one swish of the water.

Bath Crayons (2)

You can just set your artist free to make swirls or have fun helping your little one by drawing objects (boats, the sun) or drawing letters and shapes.

Bath Crayons (3)

For some clean up fun, we love to take toy cars into the tub! I showed Veronika how to use a washcloth to scrubby scrub scrub on the cars.

Wash Cars in Tub (1)

She loves to take a cup of water and pour it over them (cause and effect!) to help rinse the cars off.

Wash Cars in Tub (2)

Both of these are simple but turn a regular bath time into true play time for your tot.

String of Floaters

String of Floaters (2).JPG

It’s never too early to introduce a little science at tub time! Older toddlers will love experimenting with what sinks and what floats, and perhaps understanding a little bit of why. But for my one-year-old tonight, this activity was more about delighting with the visual of flotation!

Gather items around the house that float: corks, Styrofoam, and wooden beads are all perfect. I strung these items together in one big line. Now it was ready to be a boat!

String of Floaters (3)

Veronika loved towing the items along, running her fingers over each of the different materials and dragging them through the water.

String of Floaters (4)

I also cut a sponge into a few different shapes, like rectangles, diamonds, and triangles, and added these pieces to the tub.

String of Floaters (1)

Veronika loved grabbing the sponges and discovering she could squeeze them. Then she began scrubbing at the Styrofoam with the sponge pieces; cleaning and learning, what a double win!

String of Floaters (6)

We will definitely get good mileage out of this homemade tub toy. As always, make sure water play is 100% supervised.

String of Floaters (7)

Foam Sheet Bath

Foam Bath (5)
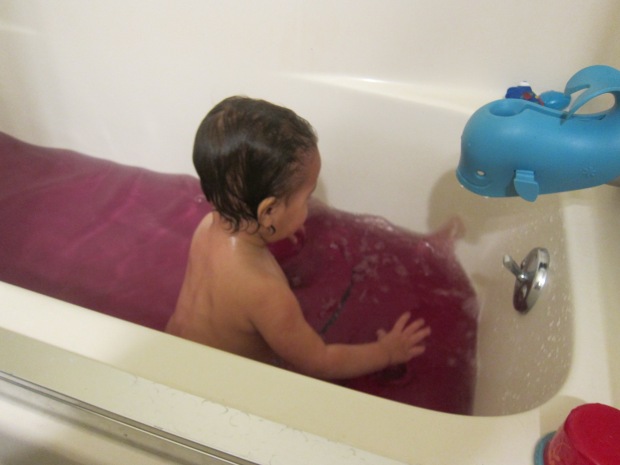
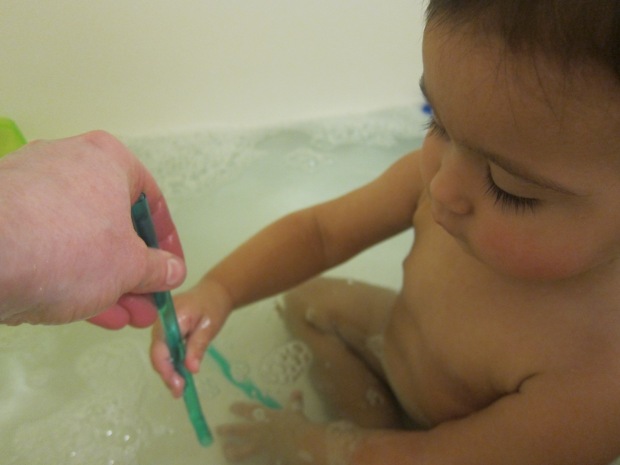
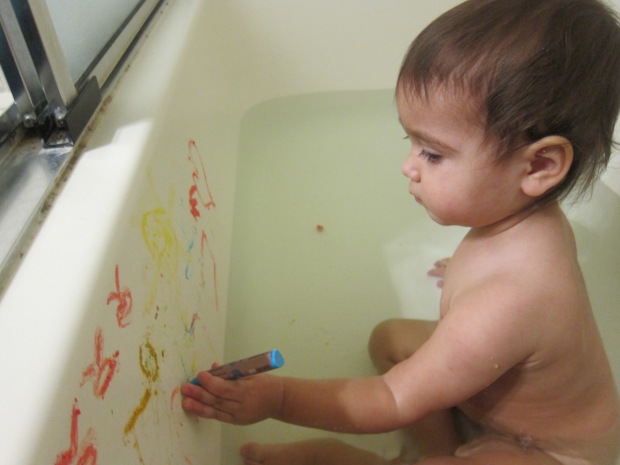
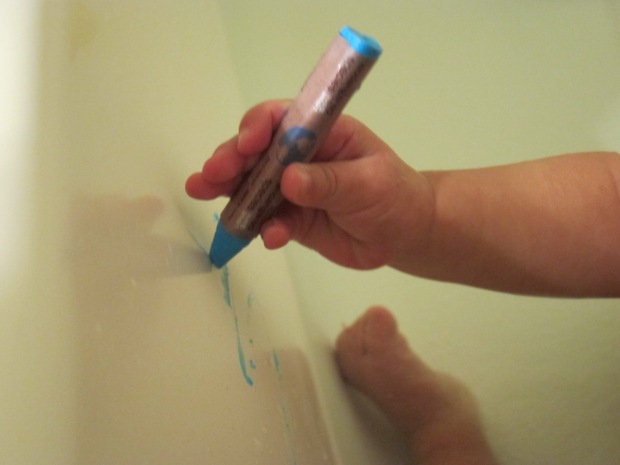
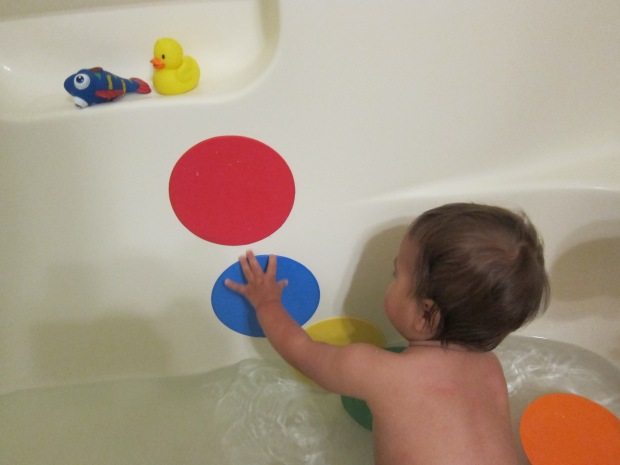
There’s a new favorite bath toy around here, and it’s as simple as this: leftover foam sheets from the craft store!

Foam Bath (1)

I happened to have circular ones, which were the perfect material for the tub. They are slightly smaller and thus easier to manipulate than standard rectangular sheets you can purchase. If you have big rectangular ones, consider cutting into smaller shapes in a variety of squares, circles, and triangles.

Veronika was soon squishing them in her hands in the water with glee.

Foam Bath (2)

I showed her how to stick them up to the wall as soon as they were wet, and she proceeded to pull them down and stick them back on all bath.

Foam Bath (4)

Rather obviously, the game was great for talking about colors, too! Could she put her hand on the blue one? Could she hand me a green one?

Foam Bath (6)

As a bonus, leave them in the tub for older siblings; big brother Travis turned these into “lily pads” for toy animals!

Foam Bath (3)

Developmental Bath Toys

Development Tub (1)

It can be hard to keep Veronika in one place long enough to “learn” from her toys these days (think: shape sorters and stacking rings). One great option for babies who just won’t sit still is to take advantage of a bathtub’s confined quarters. This makes bath time ideal for developmental learning and play!

I found a tub-safe shape sorter on Amazon and brought that to the bath, along with her plastic stacking ring set.

The shape sorter was an enormous hit! Whereas in her playroom she’ll fiddle around with the shapes for a moment and then lose interest, now she was fixed in front of the shape sorter.

Development Tub (2)

She spent quite some time trying to insert the circle into the square. Hmm, that didn’t work. I showed her the circle space. Tada! She was fascinated and wanted to play over and over.

Development Tub (3)

As a bonus, tub toys like this often have water wheel or pouring features, which further engaged Veronika.

Development Tub (4)

The stacking rings were also novel in the tub. She usually just likes to pull the rings off the center post, but now she had the time and incentive to stack the rings on.

Development Tub (5)

For any toys like this, keep up the dialogue as baby plays: shapes, colors, relative sizes. There is so much you can say!

Development Tub (6)

As an added bonus, all these fun toys kept my little imp from trying to pull up on the side of the slippery tub… but that’s a topic for another day!

Bubbling Bath Fizzies

Bath Fizzies (6).JPG

If you’re still wondering what to make for grandmas, moms, aunts, or any other special mother-figure this mother’s day, Travis and I have got you covered with this treat for the toes from Highlights magazine. The gift is equal parts craft and science, which makes it a fantastic way to engage kids in the spirit of gift-giving.

Bath Fizzies (2)

In a large craft bin, Travis mixed up the following ingredients:

1 cup baking soda

1/2 cup citric acid

1/2 cup Epsom salts

3/4 cup corn starch

Make sure to tell your child that the mixture isn’t edible, even though most of the ingredients are, especially if you’re used to cooking together!

Bath Fizzies (1)

In a small bowl, we whisked together 2 tablespoons olive oil and 1 tablespoon water. Add the liquids to the mixture slowly, stirring until combined. Kids will want to wear goggles (or sunglasses, in a pinch!) to protect their eyes, since it will bubble as you stir.

We also added blue food coloring for a pretty tint and a few drops of vanilla extract for a nice smell. The downside was that this made our mixture a little too liquidy (you want it to be slightly dry and crumbly). It seemed all right at first, but as our bath bombs dried, they puffed out. Note Travis in his too-cool-for-school sunglasses, ha!

Bath Fizzies (3)

Use an ice cream scoop to scoop out each portion, and pack down tightly. Gently release onto a paper towel and let dry for a full 24 hours.

Bath Fizzies (4)

Package the bath bombs in any pretty tissue paper or parchment paper.

Bath Fizzies (7)

We also added a little gift tag with instructions for treating those tootsies!

Bath Fizzies (8)

And of course we saved one to test out at home! Travis loved watching it fizz, before putting his feet in to soak. Don’t forget to give a quick explanation of why it all fizzes up – the baking soda and citric acid reacting together once in water, of course, which releases CO2 gas (ergo, bubbles).

Bath Fizzies (9)


Take a Bath with Your Baby

Take Bath (2)

New parents, you’ve been giving your baby a bath in an infant tub for a month now, so chances are you’ve become a pro – hurray! But if you find that bathtime is a struggle for an unhappy baby – or simply want to mix things up – try out this alternative.

Get right in there in the tub with your baby.

I slipped on a bathing suit (for blog purposes, ha!) and climbed into a tub that was felt lukewarm to an adult, and just right for baby. Not only was this super relaxing, but Veronika seemed to love sitting on my lap in the water, looking up at me with big, curious eyes.

I supported her as I washed her gently, and she seemed to delight in this new way of being washed, as opposed to alone in her own tub.

Take Bath (3)

To add to the fun, big brother Travis donned a bathing suit and climbed in with us – a family affair!

Take Bath (1)

Another solution to calm a nervous infant in the tub – since you probably won’t be able to bathe with them at every bath time – is to play soothing music. My taste leans toward Mozart, but play any soothing music that your child likes.

Take Bath (4)

Here’s to happy splashing!