Not Your Average Paper Clock

Paper Plate Clock (4)

It may be true that analog clocks are gong the way of cursive writing and the dodo bird, but I still hope to teach Travis the valuable skill of telling analog time. This paper plate clock is the best way I’ve found yet to visualize hours and minutes!

Most of the prep is grown-up work. If you have two different colored paper plates, simply use those, one atop the other. I solved the problem of having only white plates by coloring the rims with crayon, yellow for the hours and orange for the minutes.

Paper Plate Clock (1)

Hot glue the hour plate on top of the minute plate, making sure to glue only the center of the plates, not the rims.

Number the hours, and then cut the rims of the plate so each hour becomes a flap. You might want to make sure you’re numbering at more even intervals than I did in a hurry – whoops!

Paper Plate Clock (2)

Now lift back each hour flap and write the corresponding minute on the bottom plate. I cut out two hands in corresponding colors of cardstock, yellow for the hour and orange for the minute. Insert these into the center of the clock and attach with a brad.

It was time for a time telling lesson!

Paper Plate Clock (3)

Travis loved how intuitive this clock was! First we practiced skip counting by fives, just to familiarize him with how the minutes would read around the bottom rim.

Paper Plate Clock (5)

Then we had a few practice rounds. Once he latched on to how the yellow hand lined up with the yellow plate and orange with orange, he could answer almost any “pop quiz” I gave him.

Paper Plate Clock (6)

At various points throughout the day, I asked him to read our analog clock on the wall.

Paper Plate Clock (7)

“1, 10,” he said, but I reminded him: “Lift up the 10 and see what’s underneath!”

Aha! “1:50,” he said proudly. I can see how this will be an incredibly useful teaching tool.


Marble Timer Kiwi Crate

Kiwi Time (7)

Travis’s kit this month from Kiwi Co was all about time, and the different ways humans have devised throughout the centuries to keep time. I’ve simplified the steps we followed in my account below, but the projects could be put together with items from a craft and hardware store.

The main project was a Marble Timer. Travis gamely followed complicated instructions for applying nuts, bolts, and wooden pieces to the provided backboard in the proper order.

Kiwi Time (1)

Wooden shelves are then slotted into the holes of the backboard, following handy white lines as a guide. These now make a ramp that the seven provided black marbles can roll down.

Kiwi Time (2)

When one marble reaches the bottom, it falls into the notch of a wooden slat, which triggers the wooden handle, which turns the wooden circle, which then feeds the next marble onto the ramp. The instructions help kids understand how each marble takes the exact same amount of time to complete this course, hence why it can be used as a timer.

Kiwi Time (3)

Unfortunately, our alignment was slightly off, making this project frustrating for Travis. One of us had to keep a finger on the wooden slat at the bottom in order for it to function.

Kiwi Time (4)

But Travis was still able to grasp the concept, and he liked the Marble Timer Experiments that followed: what would happen when he rejiggered the position of the wooden pieces?

Travis loved fiddling with this idea. After a few tries where the marbles dropped straight down or missed the lever, he had a course set up that was much faster than the original “timer”.

Kiwi Time (12)

The final project was the A part of STEAM, as often seems to be the case in Kiwi Crates: Dip-Dye Wood Art. First he squeezed the provided liquid watercolors into the provided cups, adding water as instructed.

Kiwi Time (8)

Use a clip to hold wooden shapes into the dye for the length of time it takes the marbles to move through the “timer”.

Kiwi Time (10)

Kids can then experiment with what happens if a piece is dyed for a second round. Again, because our marble timer was slightly wonky, we sort of fudged this step and just counted out seconds.

As a nice final touch, Kiwi provided cord to loop through the dyed pieces.

Kiwi Time (5)

The resulting trinkets make great keychains on Travis’s backpack!

Kiwi Time (6)

The booklet this month contained no suggested books for further reading, which was a shame, but Travis did find goodies like time-telling methods through the centuries, a Find It page, and an experiment that turned our to be perfect for his upcoming school Science Fair (stay tuned!).

For further reading, I highly recommend Telling the Time from Usborne books and A Kids Book of Experiments with Time by Robert Gardner.

Kiwi Time alt

C Week!

C week (15)

Wow, just three weeks to go on our Letter of the Week journey – so let’s c what we did in C week!

C week (1)

Car: Believe it or not, we haven’t taken the time just to play with Travis’s car toys in a while, so this week was a nice reminder! We pulled out our town car mat and garages, set up a race course made from duct tape, drove cars down ramps and through tubes, and more. Want something more crafty? Make a car out of a box!

C week (4)

Clean: Getting children in the habit of cleaning up should be on your list every week, but this week in particular we made a game of it. Try simple ideas like setting a timer to see who can clean up the fastest, giving clear instructions (“Let’s put all the Duplo away first!”), or – for toys that are especially hard to part with at night – tucking them in to a cozy place to “sleep.” A tot-sized set of cleaning tools makes clean-up even more fun.

Cardboard Tube (10)

Cardboard: Cardboard is everywhere and it lends itself so easily to the imagination. Check out the two crafts we made this week, with cardboard tubes as the base!

C week (9)

Camping: Pitch a tent (or a blanket over a stool) and camp in your living room; your child will think they’re in heaven! We added a few cozy blankets, a campfire made of straw logs and felt flames, and then cozied up for books by flashlight. Check out Flashlight by Lizi Boyd or the Shine-a-Light series from Usborne.

100 happy (64)

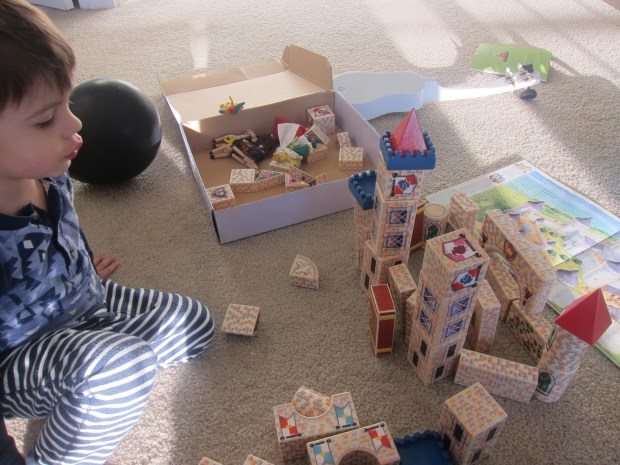
Castle: We headed to the non-fiction section of the library and got out a few neat castle books to help Travis understand more about what they are this week. From there, of course, we had to build our own from blocks at home! Fast Forward Castle and Look Inside a Castle are both neat options.

C week (6)

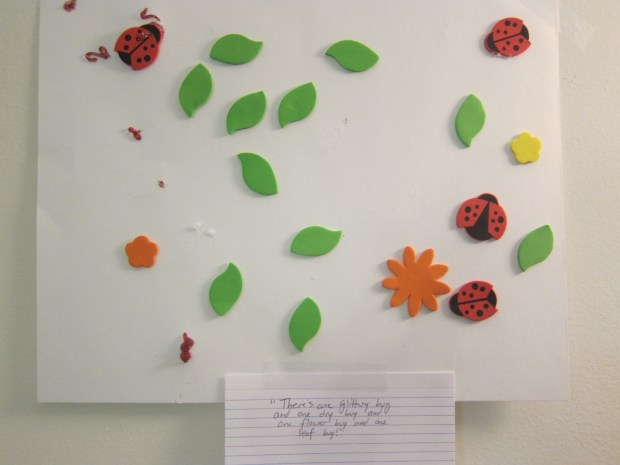
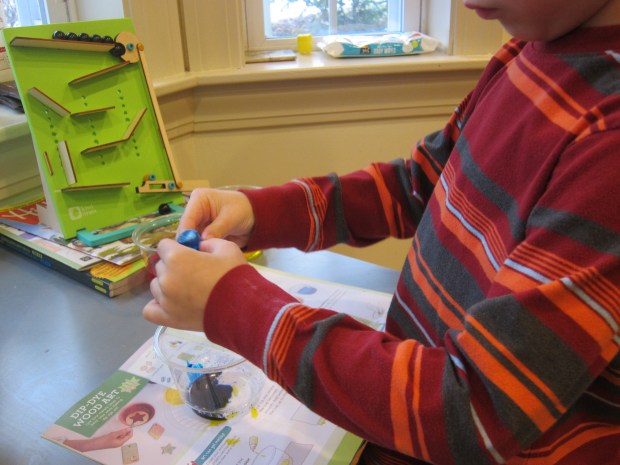
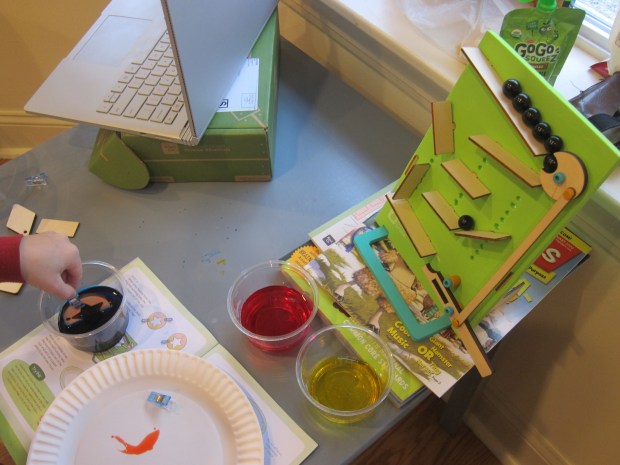
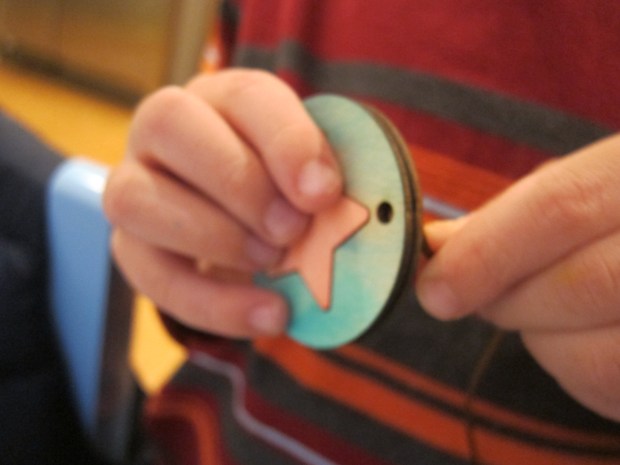
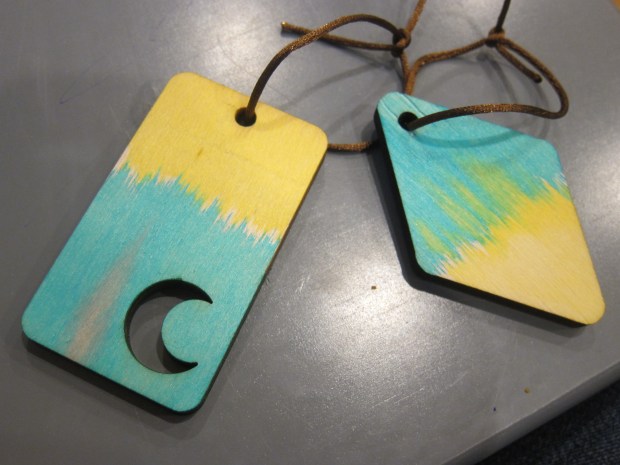
Captions: For several art projects this week, we added captions, so that by the end of the week, we had a mini art gallery! I loved this idea so much that I hope to continue it beyond C week. After your child finishes a project, simply ask him or her what is happening in the picture. Write down their words on a little index card. It’s a neat way to get them excited about art and reading.

Construction Bin (8)

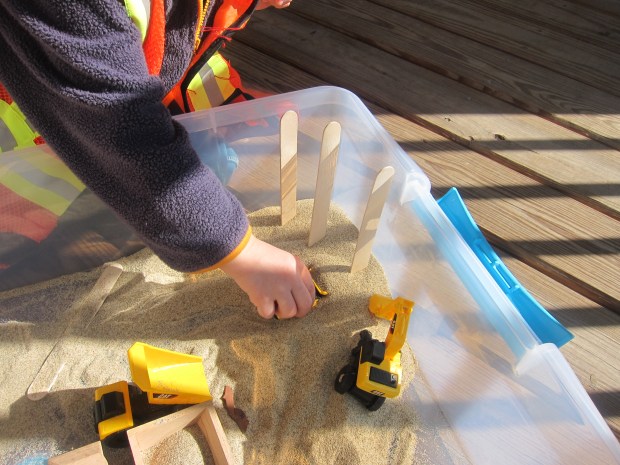
Construction: In addition to cars, play with any construction vehicles you have. Better yet, make a construction site sensory bin.

C week (14)

Cloud: We made a shaving cream cloud on a rainy day, then went cloud watching the next afternoon when the sun came out!

C week (16)

Caterpillar: Very Hungry Caterpillar delights everyone from babies on up. This week we made a color match caterpillar, and also played with Travis’s other caterpillar toy, which happens to be appropriately named the code-a-pillar, his first foray into computer coding.

C week (8)

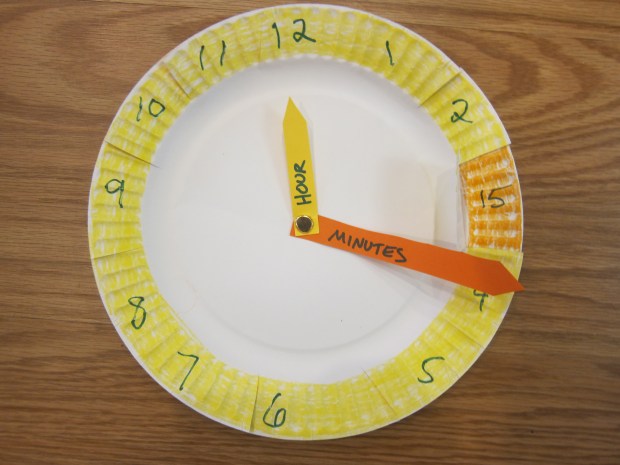
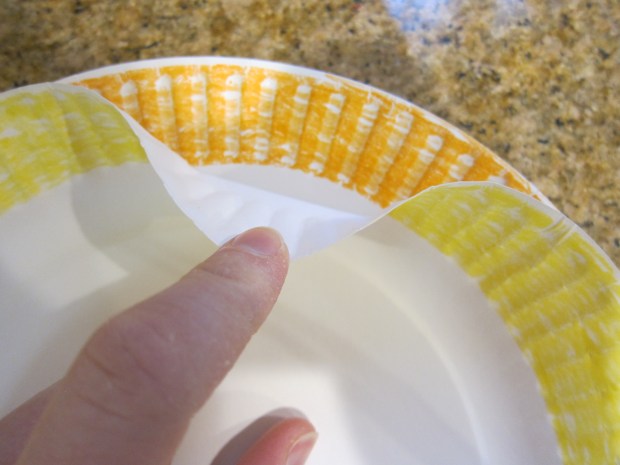
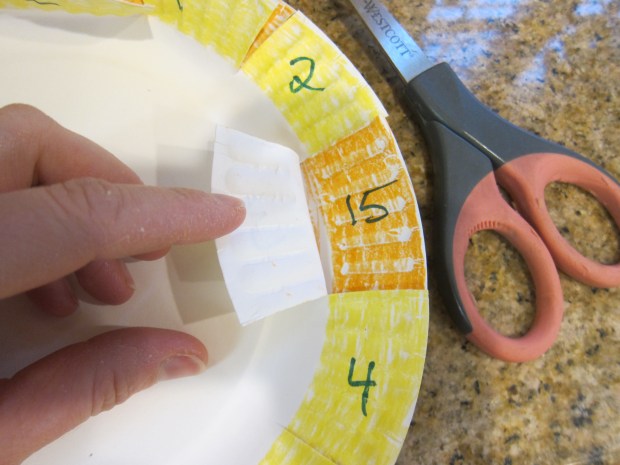
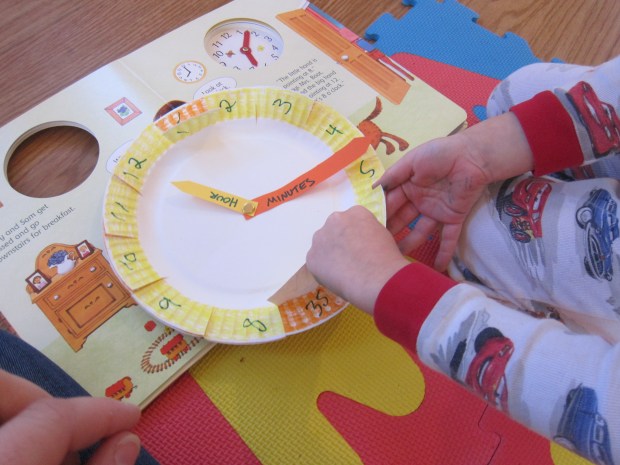
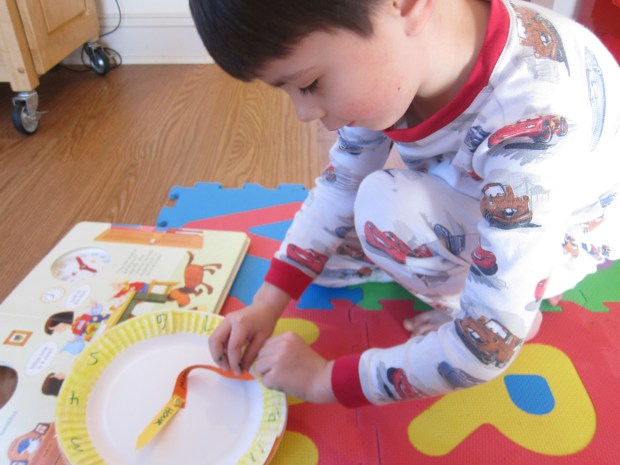
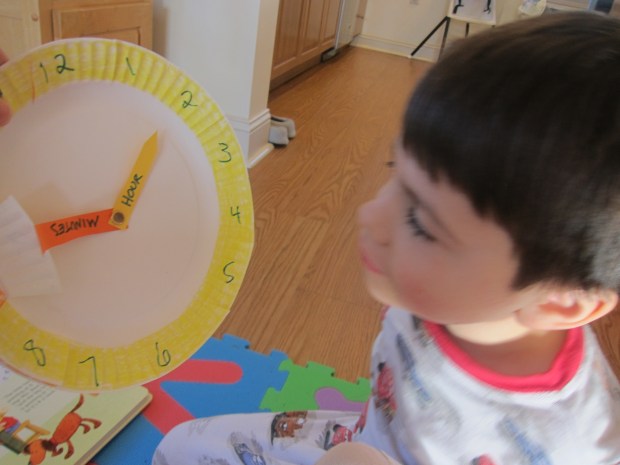
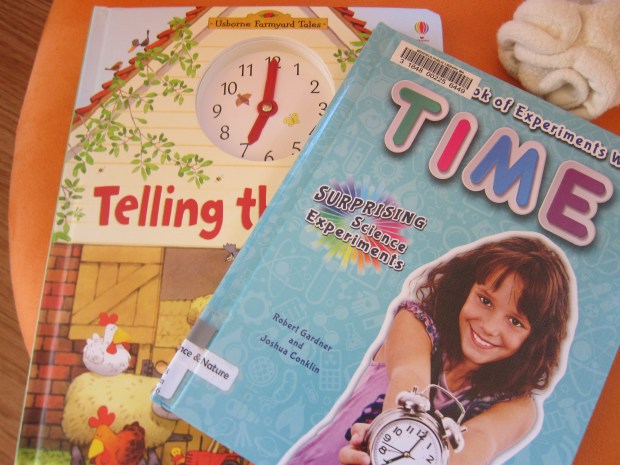
Clock: Toy clocks are great because you can gently introduce the notion of time as your child absorbs a little here and there while playing! Travis loves spinning the hands on his talking clock, and we read clock books like Tick and Tock’s Clock Book and Telling the Time.

For our weekly extras…

Fine art: Colors are the name of the game this week! First, try color mixing with paint. I gave Travis a little each of red, yellow, and blue… Soon enough we had a big goopy mess, but it was a great way to get talking about how colors combine to make different ones.

C week (3)

Read about colors with My Very First Book of Colors by Eric Carle or A Color of His Own by Leo Lionni, then continue the play by color mixing with ice cubes!

Food: Fun foods this week included carrot-raisin salad, homemade cornbread, crackers, cantaloupe, clementines, and a decadent bite of vegan cheezecake.

C week (12)

Books: We covered cats and cows in books this week. Some fun titles are The Cow Who Clucked by Denise Fleming, Click Clack Moo Cows That Type by Doreen Cronin, and They All Saw a Cat by Brendan Wenzel. Travis also enjoyed Caps for Sale by Esphyr Slobodkina.

C week (18)

Songs: Travis was in hysterics laughing over Never Smile At a Crocodile (from Peter Pan), and also enjoyed the changing pace of Little Red Caboose.

Math: You can try teaching your child to classify this week, or better yet – classify by color! We used our color match caterpillar for this, but there are toys you can purchase such as a color sorting pie as well. It’s also a great week for calendars; daily magnetic calendars are a nice tool to teach about the year/months/weeks/days.

C week (13)

Be back soon for B week!