Winter Flower Garden

Winter Garden (6)

Snow is always a bit less fun after that initial fluffy white turns to muck and slush outside. Here’s one beautiful way to bring the snow play indoors and prolong the fun!

The first step is to scoop some relatively fresh snow onto a tray and bring it inside. Next, simply set out the snow along with mini flower pots and a few flowers. (Note: You can use fake ones or real but we chose the latter to add a hint of future spring to a frigid day!).

Winter Garden (3)

The kids loved filling the little pots and making pretty arrangements.

Winter Garden (5)

There’s the added tactile element of playing with cold snow in a cozy indoor room.

Winter Garden (4)

In fact, the kids thought the little flower pots were so cute that they continued playing with flowers and pots long after our indoor snow had melted!

Winter Garden (8)

Snow Fun for Little Kids

Snow Fun (13)

As a big kid, Travis loves big drifts of snow (more on that later!), but all that powdery white stuff can be a bit intimidating for little sister Veronika. Here are a few fun ways we played off our patio when we got the first storm of the season!

First, carve out a maze. Use a wide shovel to make paths through the snow, bonus points if they connect in multiple ways…

Snow Fun (5)

…or go up a hill! This allowed Veronika to safely tramp around without being up to her knees in the stuff!

Snow Fun (4)

Next, we made a snowman with a twist. Pile a little snowman together, then use the accessories from a Mr. Potato Head to add features.

Snow Fun (6)

She loved the cuteness of this, and how easily she could poke the eyes and other items into the snow.

Snow Fun (7)

Next up, it was time for some sneaky snow science. Make a big mound of snow, then hollow out a crater in the center. We dumped in baking soda (nearly a full box), followed by a few drops of red food coloring.

Snow Fun (11)

When the kids are ready, add white vinegar and watch it explode.

Snow Fun (9)

Travis also loved filling in the crater of the volcano, after!

Snow Fun (1)

As for those big kids, the bigger the hill the better! We got a head start thanks to the neighborhood snowplow, then piled on extra snow so Travis could be king of the mountain!

Snow Fun (3)

Snowball Showdown

Snowman Showdown (3)

Here’s a fun twist on a snowball fight the next time you get a big snowfall!

We had nearly two feet of snow last night, so I shoveled out an area on our patio where Travis and I could make fort walls. Each of us then lined up mini snowmen along our side of the fort. Okay, the snowmen were basically just snowballs, because we didn’t have great packing snow that allowed us to make snow figures with a separate ball for the body and head. Still, they made cute targets!

Snowman Showdown (1)

Now, we took turns trying to knock each other’s “snowmen” over!

Snowman Showdown (4)

Depending how competitive your kids want to get with this, everyone can design their own full fort to defend with the snowmen sitting atop the walls, on opposite sides of a yard or patio. If you have enough family members for teams, then a player who gets hit by the opposite team’s snowball has to join that side. If your kids have a snowman showdown, we’d love to hear about it in the comments!

Snow Painting

Snow Painting (3)

When nature turns the world white with snow, then it becomes one giant canvas for your toddler to paint! To wit, Veronika and I tested two methods to paint the snow today. I recommend using all-natural food coloring for this activity, since the “paint” will be left behind once the snow melts, although technically you can use liquid watercolors.

Snow Painting (2)

First, I filled a spritz bottle with water and a generous amount of purple food coloring (a mix of red and blue). Veronika is still building up the strength to use the spritz bottle, so I helped her out to make neat purple “spray paint” splotches on the snow.

Snow Painting (1)

The second method was easier for her little hands. Fill a container with water and drops of food coloring, then hand over a wide bristle paintbrush.

Snow Painting (4)

All Veronika had to do was dip and paint! Soon we had a patio that was a vibrant mix of purple and green. As a note of caution, you may want to skip yellow for this particular project, since people tend to be leery of yellow snow!

Snow Painting (5)

In sum, this was a novel and fun way to play with the world’s white canvas.

Snow Squishy Bag

Snow Squishy Bag (4)

I’ve put together complicated sensory and squishy bags for Veronika before, but sometimes nature supplies you with all the materials you need! To wit, we had fresh puffy snow on the ground outside when we woke up this morning, so I simply dashed out, filled a bag with snow, and then sealed it shut. Instant sensory bag!

Snow Squishy Bag (1)

Of course the first thing your toddler will discover with this particular bag is the temperature. “Brr, that’s cold!” Veronika said with surprise.

Snow Squishy Bag (3)

And then she promptly placed her hands down again.

Snow Squishy Bag (2)

You can squish the snow around in fun ways inside the plastic. Then Veronika requested purple snow. I hadn’t even thought to add color, but why not! We squirted in red and blue food coloring and then tested whether we could mash the snow around enough for the two colors to blend.

Snow Squishy Bag (5)

And then of course the other fantastic thing about snow is that your toddler gets a quick STEM lesson on states of matter. It wasn’t long before the fluffy snow started to change…

Snow Squishy Bag (6)

…into purple water, instead! This sensory bag is by its very nature (heh), short lived, but lots of fun.

Snow Squishy Bag (7)

2 Ingredient Homemade Snowballs

2 Ingredient Snowballs (8)

There’s no need to wait for the next snowfall before your kids have a good old-fashioned snowball fight. Make your own snowballs at home with just two ingredients in this hands-on activity!

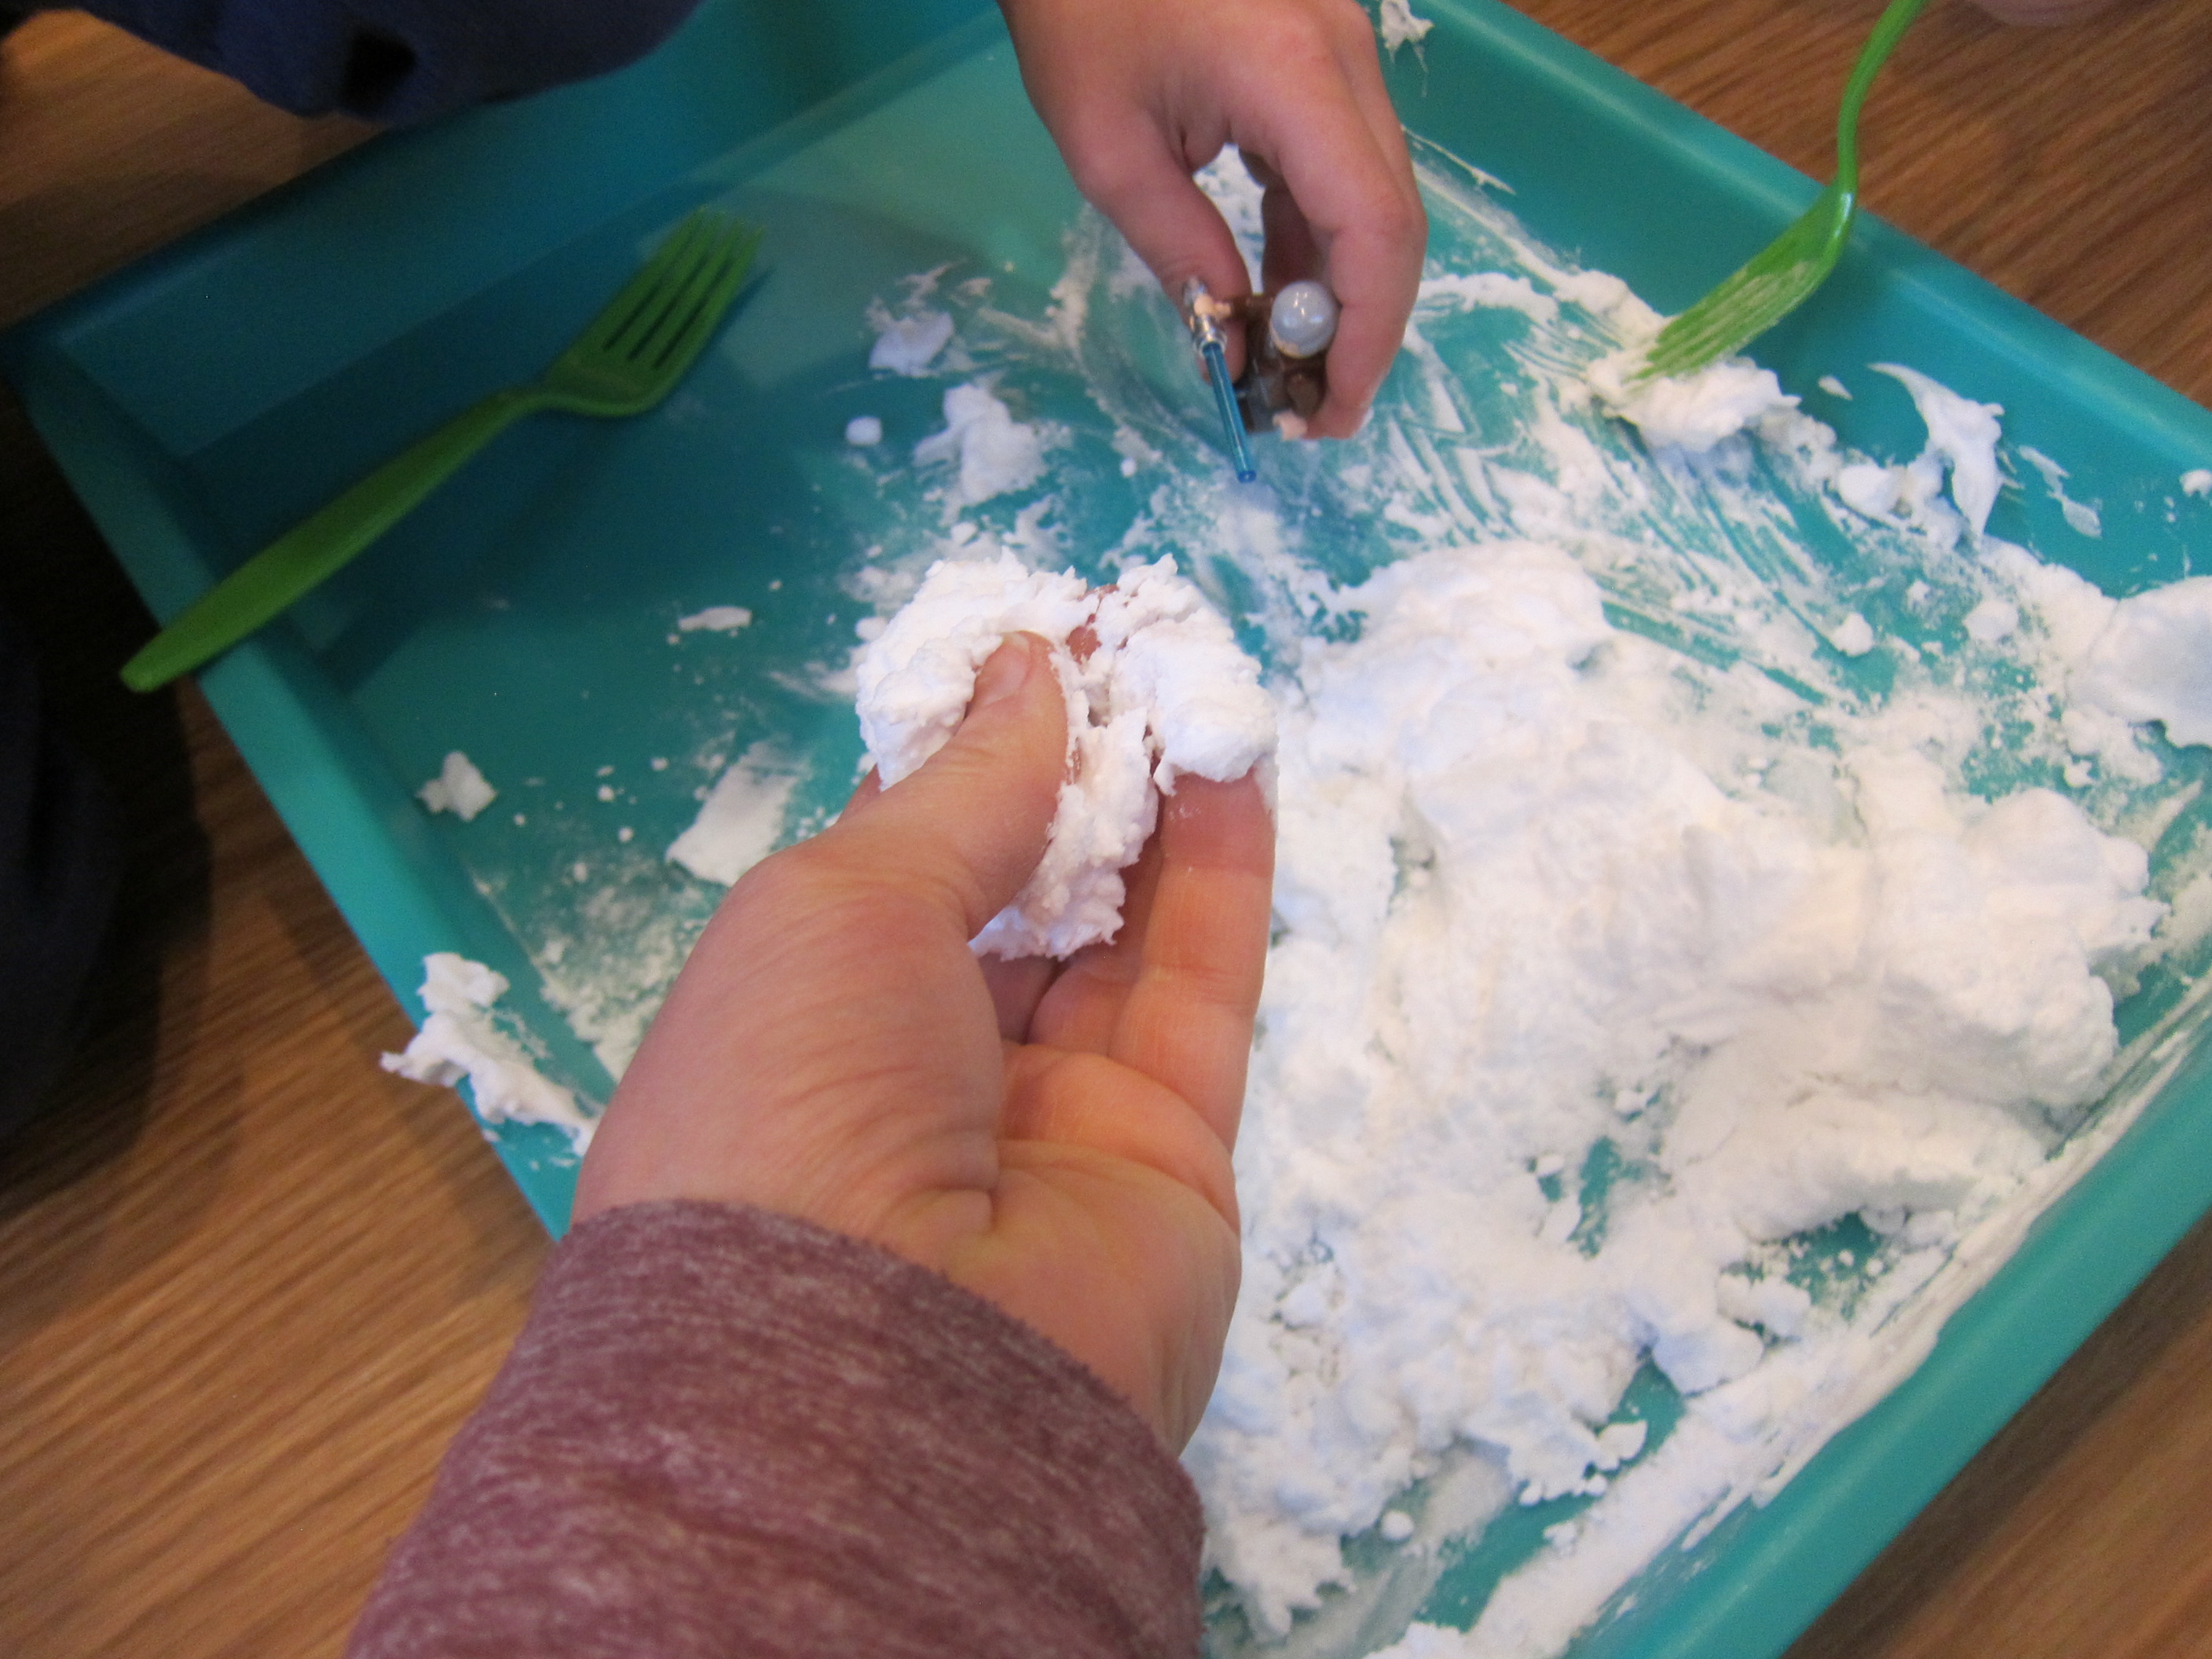
To make the snowballs, you’ll simply need 1 (16-ounce) box cornstarch and 1 (7-ounce) can shaving cream. Combine these two ingredients in a craft bin and stir.

2 Ingredient Snowballs (1)

I wish I had photos from the exuberant mixing session that followed. This is messy toddler play at its best, and Veronika was up to her elbows (literally!) in the mixture. Unfortunately, I was up to my elbows in it, too, so couldn’t grab my camera in the moment.

2 Ingredient Snowballs (2)

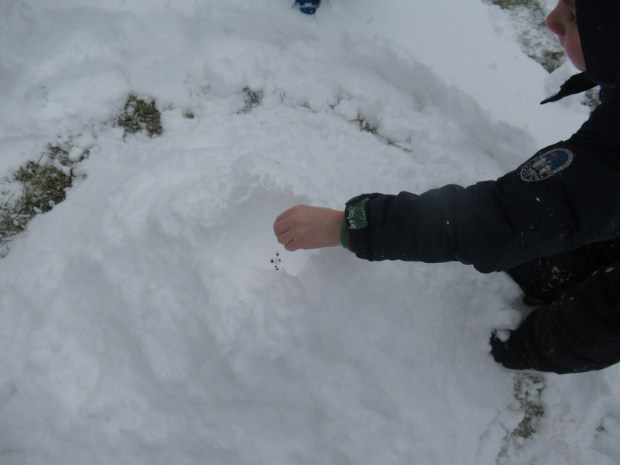
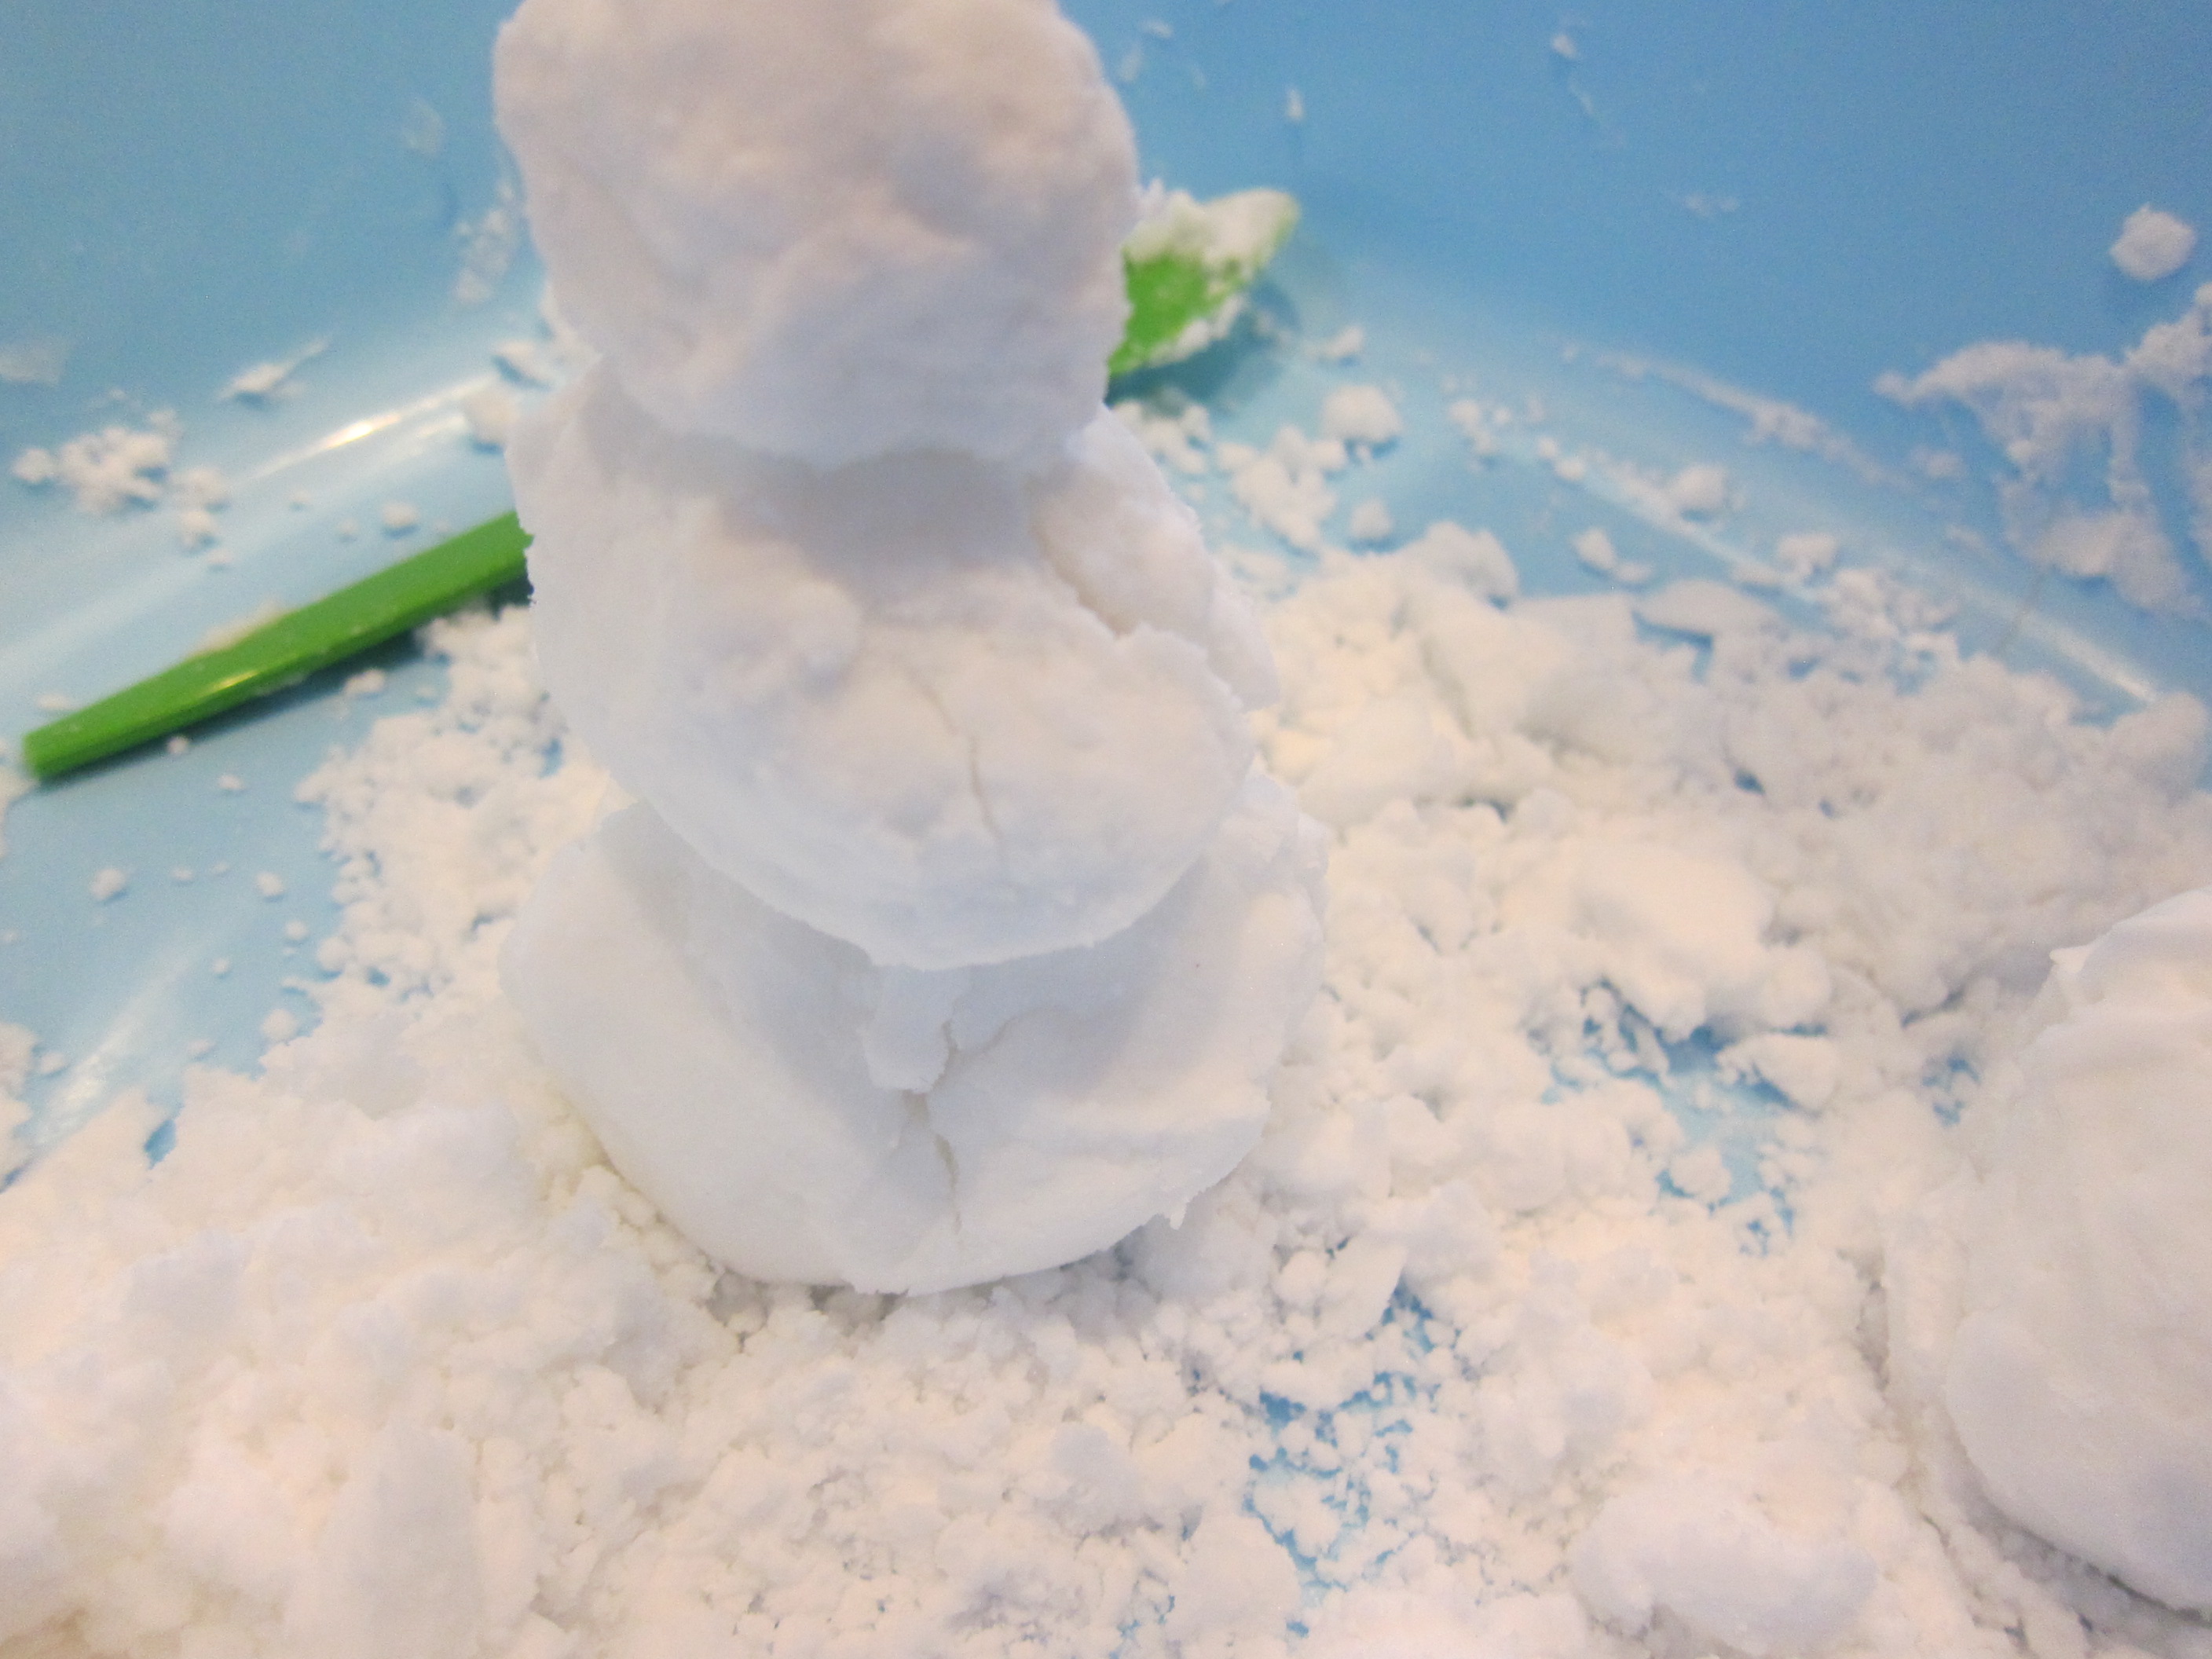
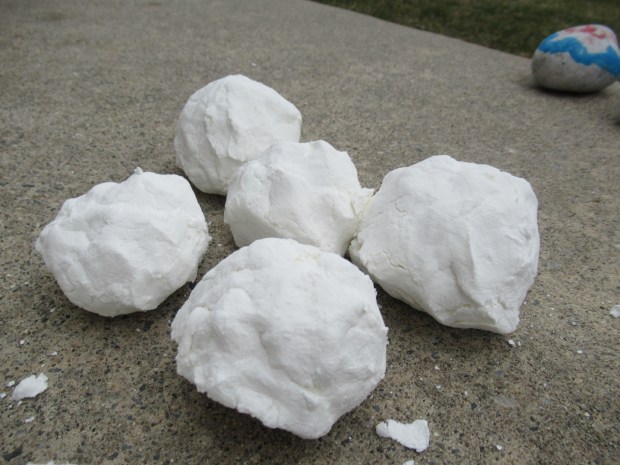
Once the mixture comes together, it is shockingly not messy at all, but rather squeezes together into perfect “snowballs”. We headed outside with our ammo!

2 Ingredient Snowballs (3)

Older kids will no doubt want to have a real battle. In that case, you’ll probably want to make a double batch, and then each team can make a fort and pelt away. The snowballs are so soft that there’s no need to worry about anyone getting hurt.

2 Ingredient Snowballs (4)

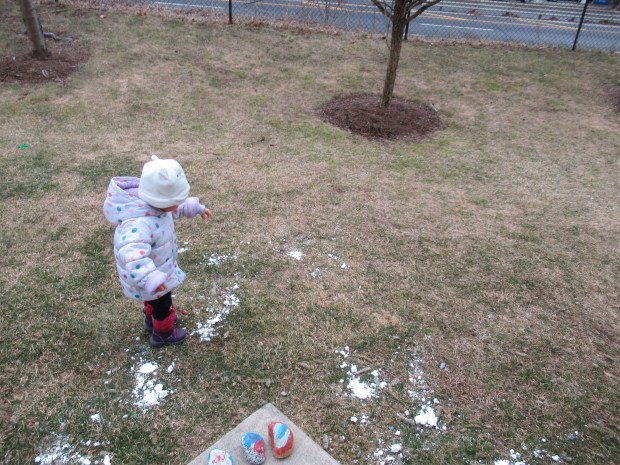
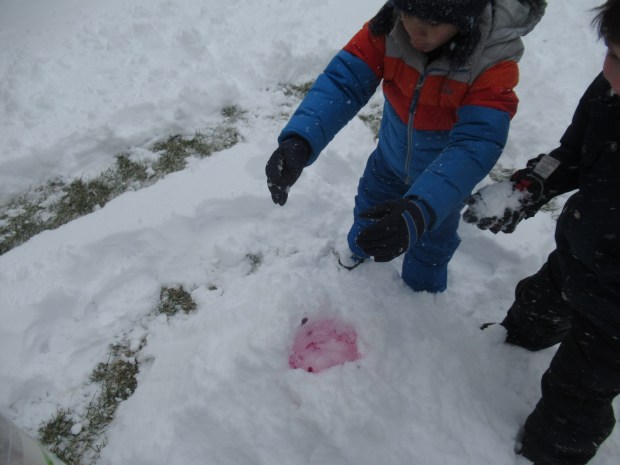
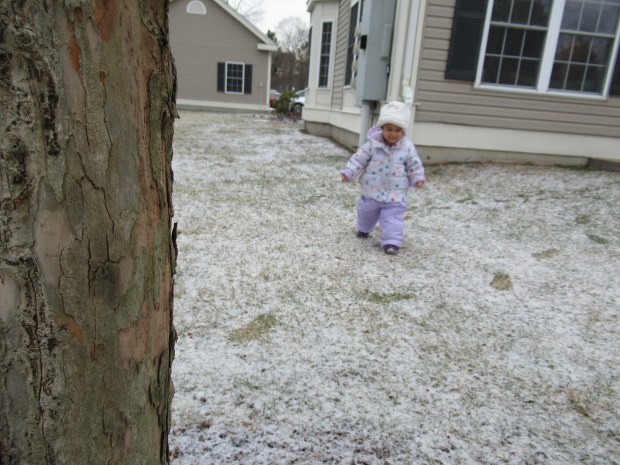
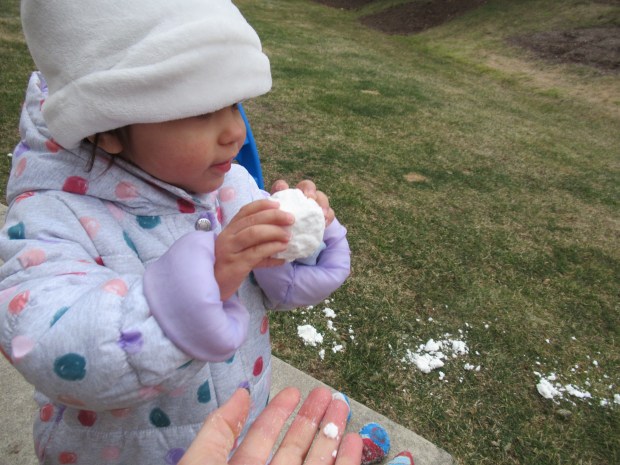
For toddlers, the delight is more sensory. Veronika loved the way she could hold one of the soft snowballs carefully in two hands. But the second she tossed it to the ground, it splattered into crumbles.

2 Ingredient Snowballs (6)

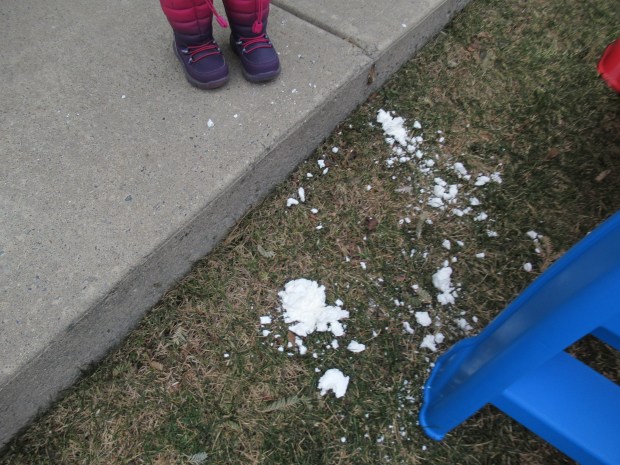
She loved doing this off our patio, or even sending snowballs down her plastic slide.

2 Ingredient Snowballs (7)

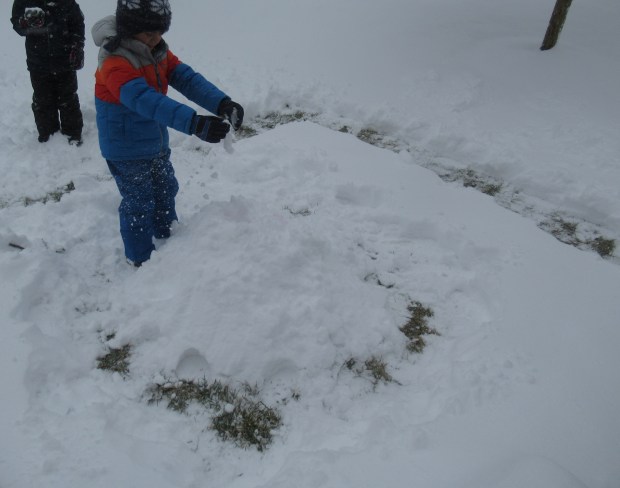
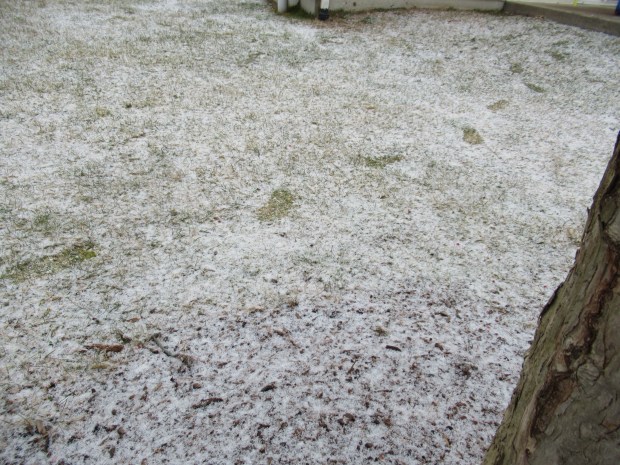
Once everything was in crumbs, she kept playing for a long time. She enjoyed picking up the leftover bits of the mixture and then sprinkling it down to make it “snow” all over the yard.

2 Ingredient Snowballs (9)

Although I wouldn’t recommend regularly sprinkling a shaving cream mixture on your grass, it doesn’t hurt once during the winter season!

2 Ingredient Snowballs (10)

Match the Tracks

Match the Tracks (4)

This winter twist on hide-and-seek is fantastic for early hiders and seekers (think preschoolers and toddlers), and you don’t even need much snow to play it; even a light dusting on the ground will do!

As soon as we saw it was snowing, the kids were eager to head outside, so I challenged them to find mommy… by following my tracks. Leave nice, clear footprints in the snow as you head to your hiding place. You can make your actual hiding place easy to spot or hard to find, depending on your child’s age.

Match the Tracks (1)

Veronika grinned as soon as she had the gist of the game, and eagerly followed along my prints in the snow.

Match the Tracks (2)

Peek-a-boo! She found mommy behind a tree.

Match the Tracks (3)

It was harder to get her to understand being the hider, but she did love noticing her own tracks in the snow!

The beauty of this game is that each round will gets successively harder as the tracks start to get muddled. You can challenge older kids to make a giant maze of footsteps by the end! And while they’re at it, keep an eye out for any other animals that might have left tracks in the snow.

Catching Snowflakes

Catching Snowflakes (4)

We learned about this neat trick for catching snowflakes from Parents magazine and had a chance to test it out today when we looked outside and saw snow flurries!

Ahead of time, place a few sheets of black construction paper in the freezer. Just leave them there if you live some place that’s bound to get snow during the winter, because you’ll want to have them at the ready.

When we saw the snow, we bundled up, grabbed the frozen black paper and a magnifying glass, and headed outside.

Catching Snowflakes (1)

When the snowflakes hit the icy cold paper, they won’t melt. That gave Travis and Veronika the chance to peer at them with a magnifying glass. Travis marveled at how we could see the six points of each flake.

Catching Snowflakes (6)

Veronika just loved the beauty of it, and kept eagerly holding out her paper for more.

Catching Snowflakes (5)

What a simple but wonderful way to experience winter.

Catching Snowflakes (2)

‘A Snowy Day’ Extension

Understanding Snow (3)

We’ve had fun playing with the snow lately, whether in it or just with our hands, or whether with the real stuff or the fake stuff. But thanks to a unit from Travis’s Snowed Inn Raddish Kids kit, we got a little more scientific about snow today. What is snow and what are its properties, and how is snow changing because of global warming?

A useful story for exploring all this is the winter classic The Snowy Day, and I asked Travis to pause and think at the end about the snow ball in the boy’s pocket. Travis could readily answer that it would melt, but why?

Understanding Snow (1)

So next he watched a video on “Snowflake Bentley”, the first person to capture snowflakes on camera. The video explores more both about how snowflakes form and how they melt.

Understanding Snow (2)

Take a moment here to pause and ask your child which of the two stories is fiction and which is non-fiction, a nice refresher on the two definitions.

After that, I challenged Travis to imagine what might happen next in The Snowy Day. What if the next few pages were from the boy’s friend’s point of view? The idea was challenging for a first grader (Travis’s extension involved magical keys and portals to another universe), but older kids can delve into explaining how snowflakes form and how they melt on their storybook pages.

Understanding Snow (4)

Travis then watched a news clip on the Inuits and how their way of life is changing due to climate change. There were many suggested extensions here that make sense for older kids, such as writing a poem or song about snowflake formation; reading about the 50 different Inuit words for snow; or writing a first-person narrative imagining life from the point of view of an Inuit child.

Understanding Snow (7)

For my first grader, we finished up simply by making a brief comic book about a sled dog and the icy landscape. We may delve more into all these topics again once Travis is older!

Understanding Snow (6)

Making Snow

Making Snow (7)

With a snowstorm outside, Travis and I tested how many ways we could make snow inside today. The answer was four, if you count cartoon snowflakes in a movie as the final way!

First, we got a little scientific and tested two homemade mixtures to see which made better snow.

In the first bin, we combined 1 cup baking soda with 1 cup shaving cream. This mixture looked a lot like snow, and had a nice chill to the touch, but didn’t clump together well.

Making Snow (2)

In the second bin, we combined 2 and 1/2 cups baking soda with 1/2 cup conditioner. This mixture turned out to be fantastic! We could shape it into snow balls and build little snowmen.

Making Snow (3)

And as you can see, it led to lots of joyful messy play.

Making Snow (4)

Once the mess was cleaned up, we turned to paper snowflakes. Fold a white square of paper into a triangle, then fold over itself again into a smaller triangle. Now fold this triangle up into thirds. A helpful visual on these instructions can be found here.

Making Snow (5)

Begin using scissors to snip any which way, just not cutting all the way through this folded triangle. The thick paper was tough for Travis to cut, so I helped him out and we ended up with beautiful snowflakes.

Making Snow (6)

They looked fantastic against our snowy window!

Making Snow (10)

Finally, we watched snowflakes on the TV screen. The The Snowy Day movie is a well-done extension of the classic book by the same name. It inspired us to think of all the ways we’ll play in real snow tomorrow.  In the meantime, we’ll be here eating snowball cookies!