Puffy Snowmen with Shaving Cream and Glue

Puffy Snowman (7)

I’ve been on a hunt this winter season to find the best toddler snowman project, whether stamping it with marshmallows, turning it into a melted snowman, and more. In this version, the snowman shape isn’t cut out until the end, meaning your toddler can simply have fun with painting on a more sensory level.

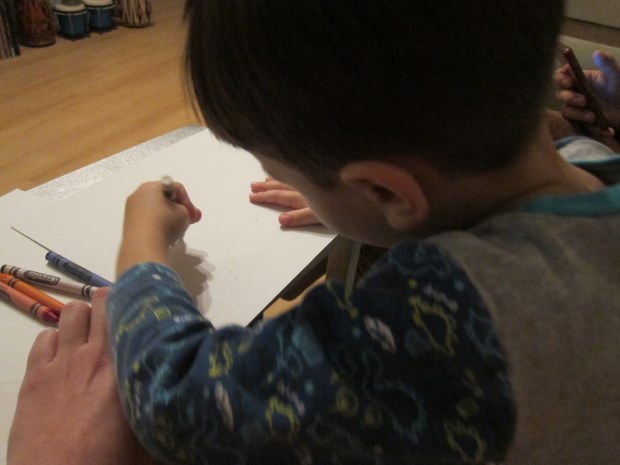
First, we needed to make puffy paint, which is fast becoming a favorite around here. I squirted equal parts white glue and shaving cream onto a paper plate and Veronika helped mix it all up with a paintbrush.

Puffy Snowman (1)

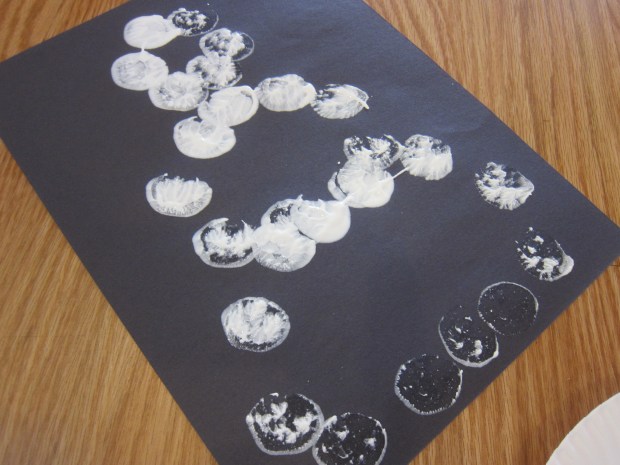
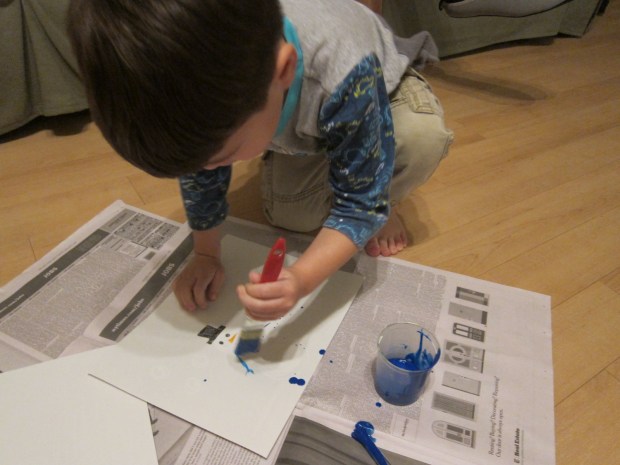
She began to smear it thickly over a sheet of white craft paper. I encouraged her to use all her senses for this particular paint. The shaving cream mixture smells fresh and soapy and has a wonderful goopy texture.

Puffy Snowman (2)

I encouraged her to make a handprint…

Puffy Snowman (4)

…which led to gleefully squeezing the mixture between her hands. We had a quick hand wash and then finished covering the white paper with the puffy paint.

Puffy Snowman (6)

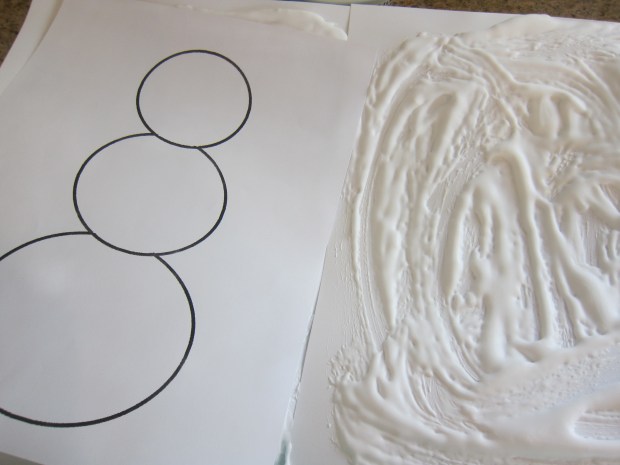
Once dry, I taped a snowman template onto the back of the paper and cut out. Be careful as you cut not to squeeze the puffy paint mixture, or it may flake off.

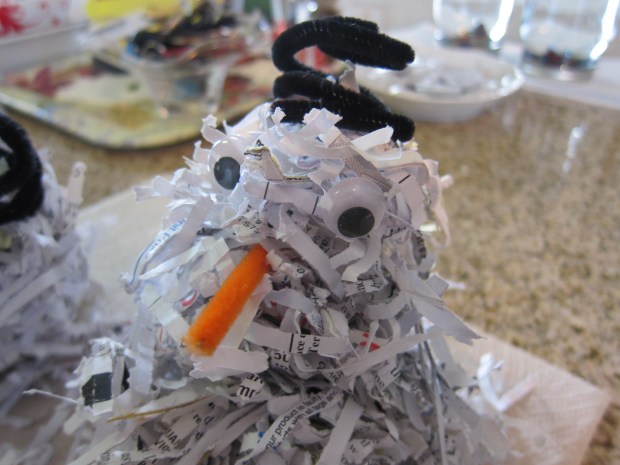
The snowmen looked so cute in the window, and almost like they were covered with real bits of snow!

Puffy Snowman (8)

Marshmallow Snowman Stamping

Marshmallow Snowman Stampers (7)

If your toddler loves dot markers, then edible dot markers are even better! To wit, all you need to make this craft are large marshmallows. We love the vegan ones from Dandies.

Marshmallow Snowman Stampers (1)

I set out a plate of the marshmallows along with a dish of white paint and black construction paper. I showed Veronika how to dip one end of a marshmallow in the paint and then onto the paper. It made a perfect circle!

Marshmallow Snowman Stampers (2)

Indeed, this craft was all about circles. The marshmallows make little circle prints, and if you help your toddler slightly, you’ll end up with three circles for a snowman: small, medium, and large. I highly recommend having a few marshmallows on the side just for eating so you can avoid paint on little tongues. Veronika loved snacking while we crafted!

Marshmallow Snowman Stampers (5)

The craft was easiest for her if I stamped an outline of the snowman first, which she then could fill in with her marshmallow stamp.

Marshmallow Snowman Stampers (3)

Once the paint dried, I cut out a few features from construction paper to glue down, like top hats, carrot noses, and tree branch arms. Add any final details with marker.

Marshmallow Snowman Stampers (6)

Why did we paint our snowmen on a black background? Because we finished the day with a read of Snowmen at Night, a book about all the silly things snowmen might get up to after dark. Hot cocoa and snowball fights? Yes please!

Marshmallow Snowman Stampers (8)

Snowman Craft Challenge

Snowman Craft Challenge (6)

Travis had lots of laughter tackling this month’s craft challenge from Highlights magazine: to make a snowman using anything except cotton balls. This very open-ended project had Travis raiding the craft bin for anything that seemed snowman-like: think white and fluffy. We also thought about accessories: orange for carrot noses, pom poms for buttons, etc.

On his suggestion, I cut out two circles from white felt to be the snowman’s body. From there, Travis veered in a decidedly nontraditional direction!

Snowman Craft Challenge (1)

First we used old thread and wiggle eyes for the face. Travis glued on a piece of string upside down to make it a sad snowman – oh no!

Snowman Craft Challenge (2)

Then he decided it was sad Santa (because no one believed in him!), and added red pom poms buttons and a “belt,”

Snowman Craft Challenge (3).JPG

The snowman got sillier and sillier from there, briefly adorned with holiday-patterned cupcake liners, and then soon denuded of its items.

Snowman Craft Challenge (5)

Travis thought ripping things off the felt was almost as fun as crafting them on. I guess snowmen do melt!

Snowman Craft Challenge (4)

Rock Snowman

Rock Snowman (6)

A recent burst of warm(ish) weather got us outside over the weekend, and my little collector is always eager to bring home treasures from our walks. In fact, I always carry a zip-top plastic bag with me when we outside just for this purpose!

Rock Snowman (3)

Today we returned him with a variety of rocks and sticks, so thought we could build little winter snowmen.

Rock Snowman (1)

First the rocks needed a good coat of white paint, and we left them to dry overnight.

Rock Snowman (2)

When we settled in to build our snowmen, it turned out we really only had one rock large enough to be the base, which meant only one snowperson could be built. The rest of the rocks ended up as little “snowballs.”

Rock Snowman (5)

I put together the snowman for Travis with hot glue – three rocks glued together, two little sticks for the arms, and buttons and googly eyes hot glued on.

The finishing touch was a little top hat I simply made from construction paper.

Rock Snowman (7)

Don’t have rocks on hand to make a snowman? Check out our shredded paper or glowing bottle versions instead!

Snowman Stacking Cups

Snowman Stack (5)

There are so many uses for these easy little snowman figures, from competitive stacking games to imaginative play. All you need are 12 Styrofoam cups and you’re ready to go.

The game couldn’t be easier to set up. First, we cut circles from adhesive-back black felt for the eyes. Whoops – at this point they looked almost like ghosts. Wrong time of year!

Snowman Stack (1)

Orange carrot noses and little dotted mouths helped set things right. Now they looked like snowmen.

Snowman Stack (2)

For older kids, you can stage great stacking games to see which formations you can come up with…

Snowman Stack (3)

…or who can stack them the fastest. Travis had a hard time getting the snowmen into a pyramid, but he loved running the stopwatch and timing while I tried! Note of caution: static electricity can make things especially funny and interesting when it comes to stacking Styrofoam.

Snowman Stack (4)

After that we used our cups more as a playful prop. Travis set all the snowmen up for a picnic with a campfire.

Snowman Stack (7)

We decided snowmen would melt if they had a hot campfire, so made it out of… shredded coconut snow!

Snowman Stack (8)

Nothing wrong with stealing a nibble.

Snowman Stack (9)

Again, for Travis as a preschooler, stacking into complicated arrangements wasn’t interesting. He preferred to pile the snowmen atop one another into one big stack.

Snowman Stack (11)

But big kids (and moms and dads!) can heat up the snowman stacking competition to see who goes the fastest, or who comes up with the best stacking arrangement.

Snowman Stack (10)

What games will you play with your snowmen cups? Please share in the comments!

Snowman Wax Resist Painting

Snowman Wax (7)

It’s always fun to find new uses for that pesky white crayon in the crayon box… Sure you can draw on black paper, but this fun seasonal project has a magical feel for kids since it features a big “reveal” at the end.

First, you need to draw with white crayon on white paper, which hopefully won’t frustrate your kids. I told Travis to imagine he was drawing anything snowy – the snow fort we’ve made outside our patio, snowflakes in the air, etc.

Snowman Wax (1)

Because I wasn’t sure how much his white scribbles would turn up in the “reveal,” I made him a separate drawing with a white snowman and big puffy white snowflakes.

Snowman Wax (2)

Now the fun part: could we magically make our white pictures appear?

To prepare the paint, thin blue tempera paint with water; you want the consistency to be closer to watercolor. I actually would make ours even thinner next time, since it was a bit dark over our final result.

Snowman Wax (3)

Travis was very excited to see where the white crayon was on the paper!

Snowman Wax (4)

Then he grew impish and slathered on the paint quite thickly. A little thinning out on my part helped reveal the snowman’s three round layers a bit better.

Snowman Wax (5)

Overall, cute and nicely seasonal. Please share in the comments if you have other fun white crayon projects at your house!

Looking for more wintery indoor fun? Check out our recent shredded paper snowmen and pinecone snow owl projects!

Shredded Paper Snowman

Shredded Snowman (6)

January is always a good time to clear out the old and make room for the new, and that goes for even mundane things like cleaning out old bills and files. All that paper means putting our shredder machine to good use, and the end result of all that shredding? A wintery snowman craft!

To make the snowmen, save any shredding scraps you have, and set them out in a bin or sheet of newspaper to contain the mess.

Shredded Snowman (1)

You only need to press clumps of the shredded paper together with your hands and it will stick together, as all the pieces intertwine. Nothing wrong with a good old paper snowball fight at this stage, if your kids are so inclined!

Shredded Snowman (3)

Once we had “snowballs” of various sizes, we stacked them into a snowman, gluing the layers together. Admittedly this was a little inexact – the balls looked more like lumps once glued, but the basic idea was there.

Shredded Snowman (4)

We stuck in orange pipe cleaners as carrot noses, and I coiled black pipe cleaners to be top hats.

Shredded Snowman (7)

Far more rewarding than this little craft, though, was Travis’s glee for all that shredded paper simply as a material.

Shredded Snowman (2)

He played games with it for ages, pretending it was “grass clippings” (yes, we like to pretend we’re landscapers around here) and then happily cleaning it with his toy tools.

Shredded Snowman (5)

What other fun uses can you think of for all that shredded paper? Please share in the comments! What a great way to recycle last year’s boring paperwork.