Texture Touch

Texture Touch (13)

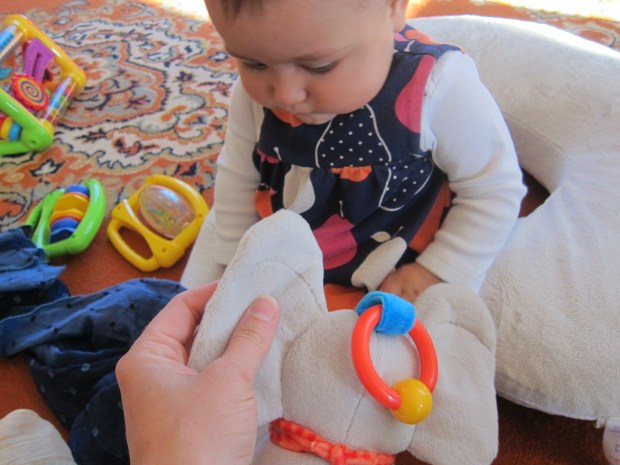
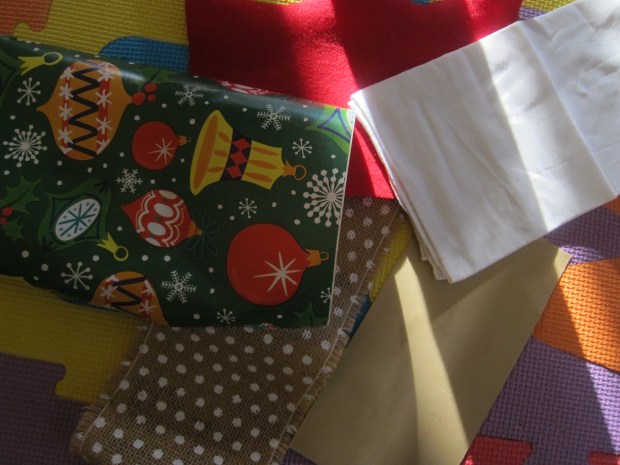
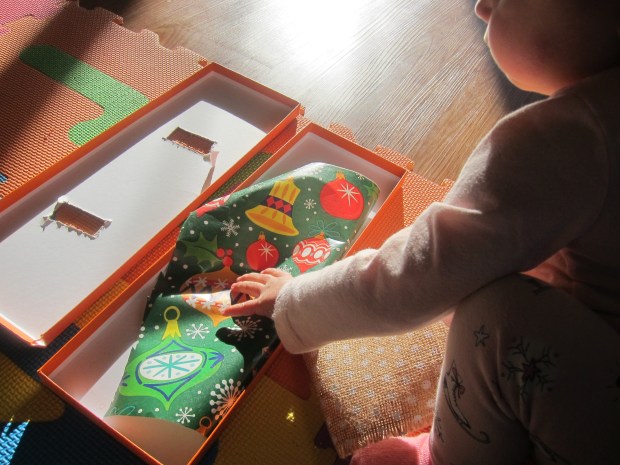
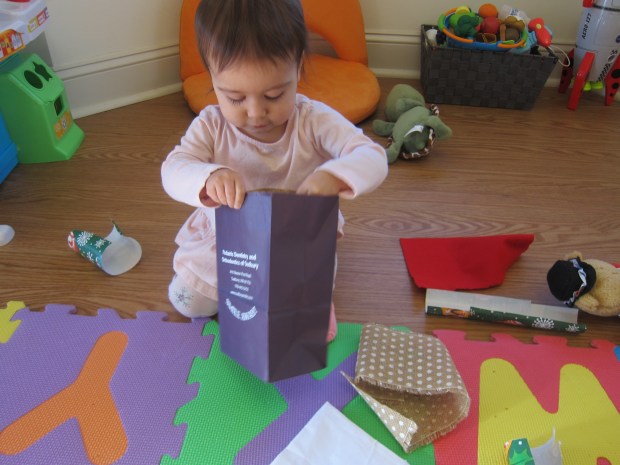
I have a neat set of fabric swatches for Veronika, featuring a pair of each item ranging from the nubby to the scratchy to the smooth. Today we played with the swatches in multiple ways, for games that involved both sensory play and learning.

Texture Touch (2)

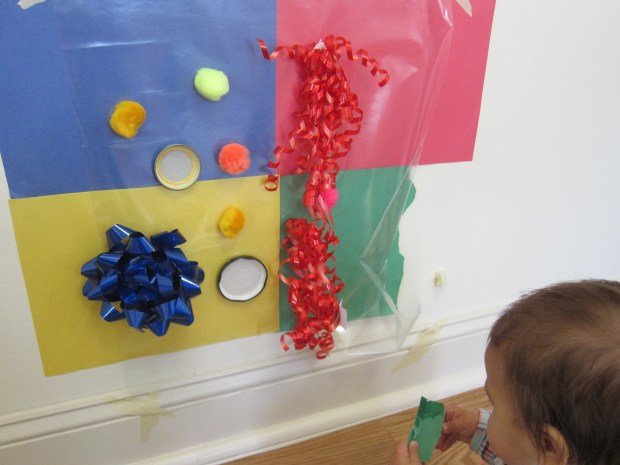
First, I hot-glued one of each pair onto a baby food jar lid. Hot-glue a magnet onto the other side. Now, the swatches had become magnetic toys that Veronika can slide around on a baking sheet!

Texture Touch (6)

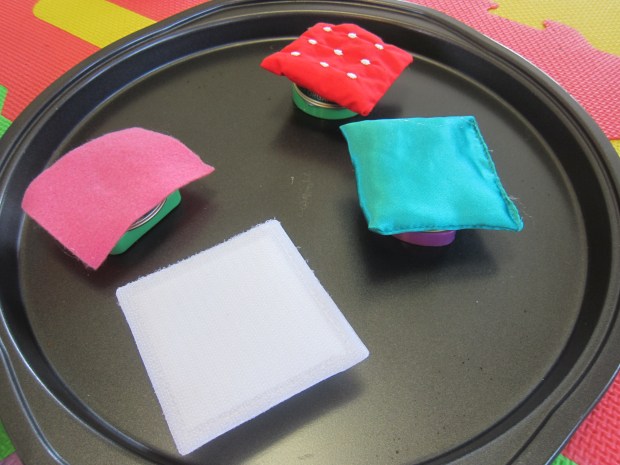
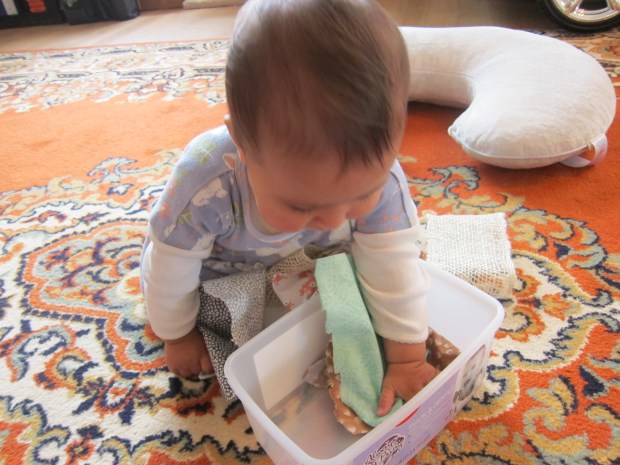
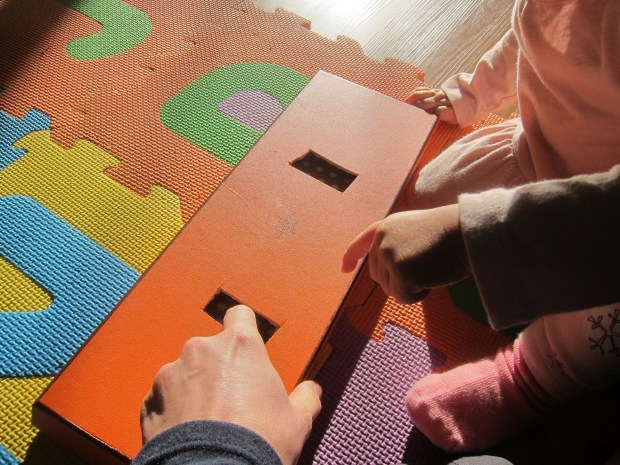
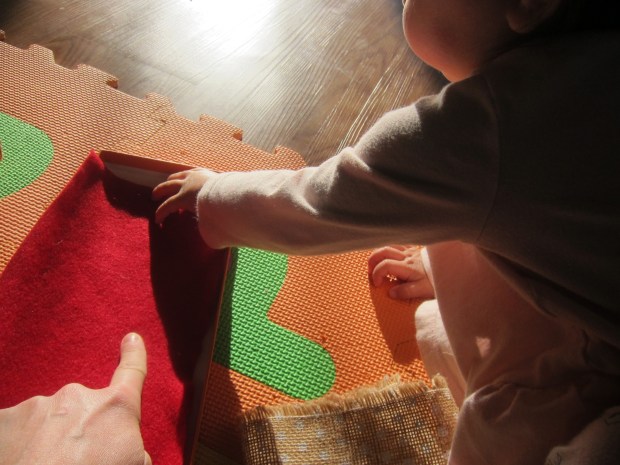
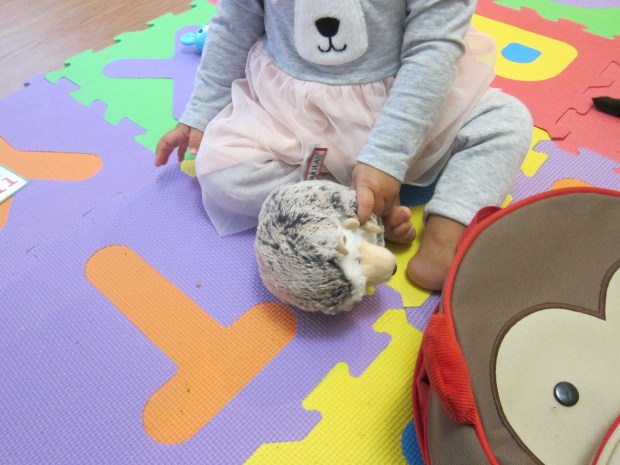
I set them out for her to explore at her own leisure, but then we took the time to go through the pile together, talking about each one. Rough and scratchy were definitely interesting.

Texture Touch (1)

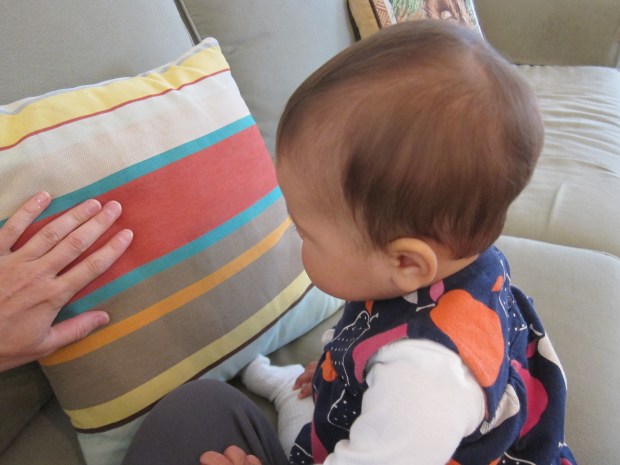
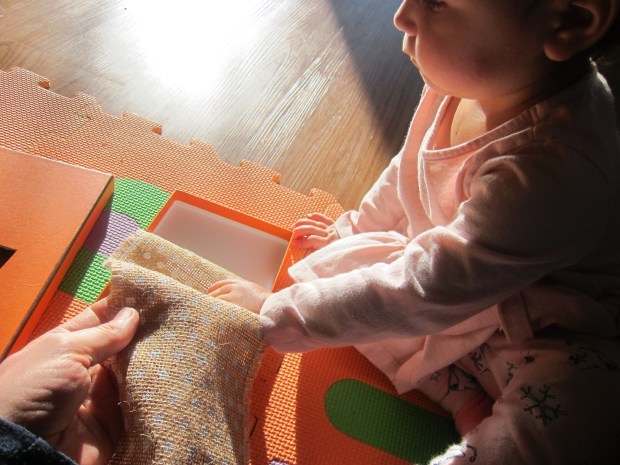
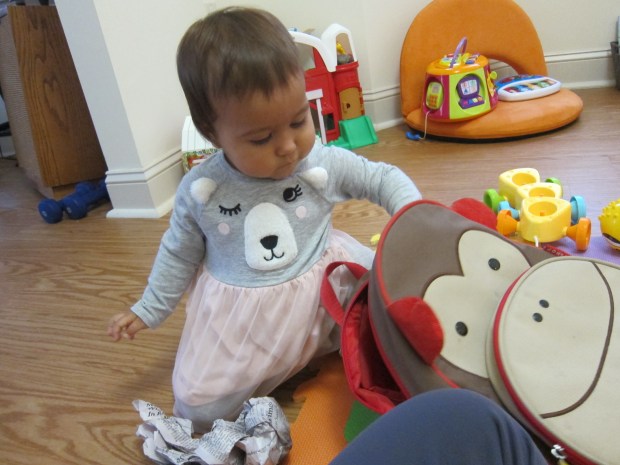
Veronika also loved any that were soft and smooth. When she felt the fluffy ones, she said our cat’s name and started rubbing it all over herself!

Texture Touch (11)

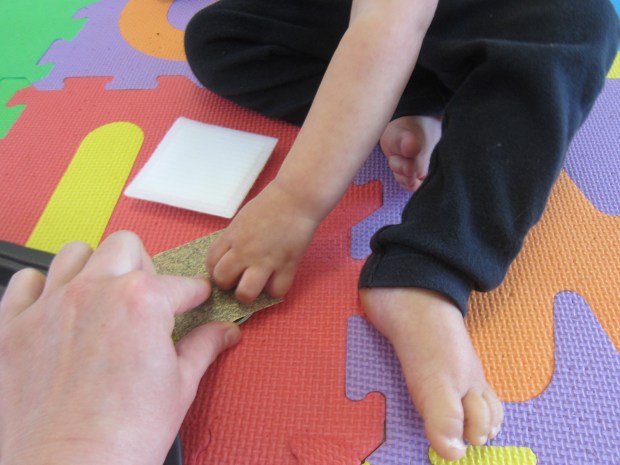
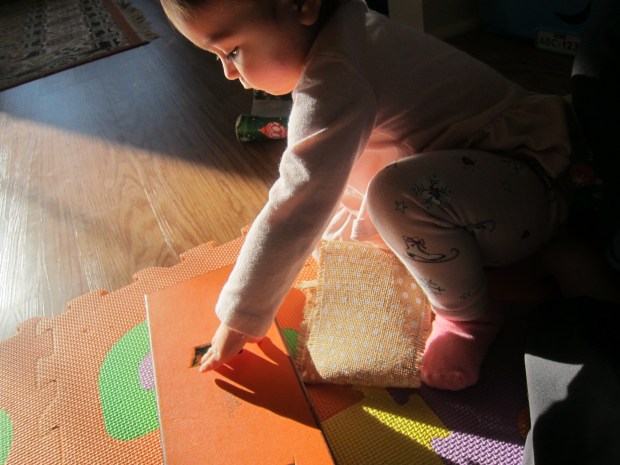
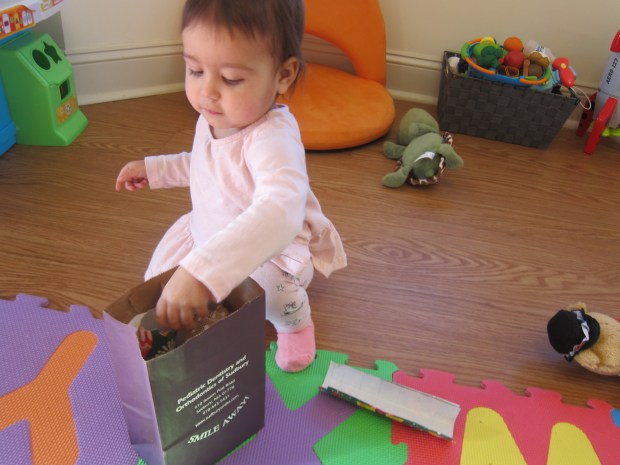
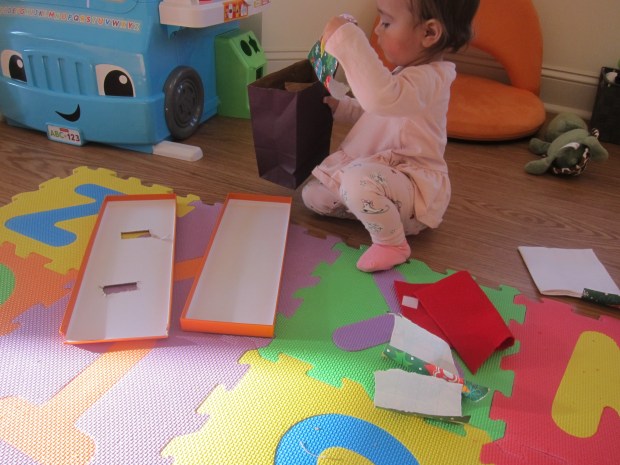
There are then lots of ways to extend the play. I gave her the other half of the swatches (not glued to magnetic lids), and helped her find the match for each one.

Texture Touch (9)

Although the ability to find a match will probably be beyond your 18-month-old’s ability, there has to be a first time for introducing any concept! I made things easier by giving her a choice of only 2 or 3 swatches. “Which one is the pair?” I asked her.

Texture Touch (7)

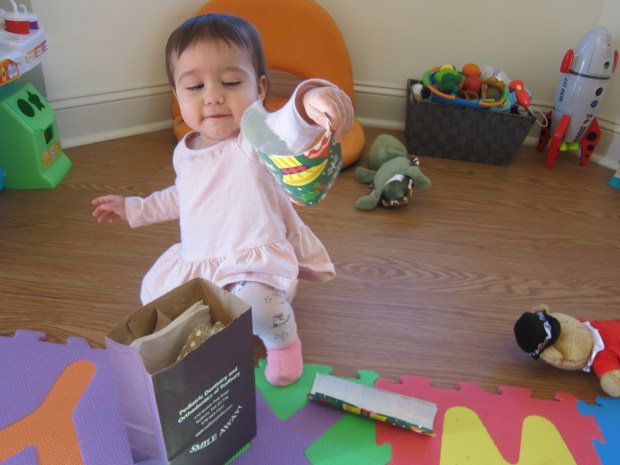
Then we lined them up in order, going from softest to roughest.

Texture Touch (12)

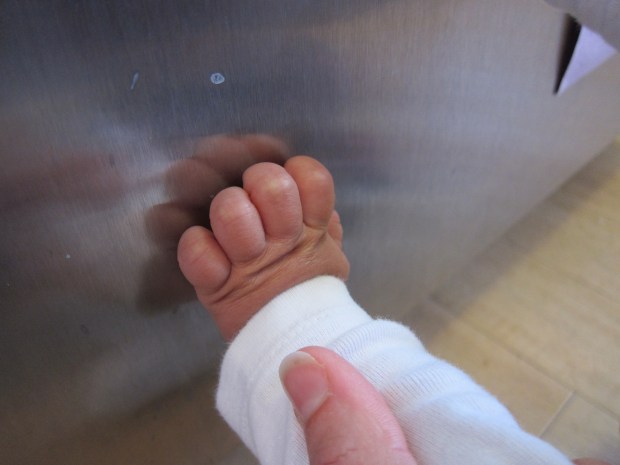
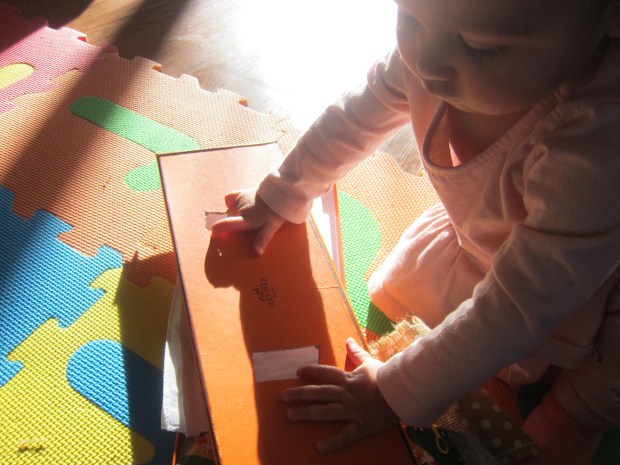
She also loved transferring the magnets over from the baking tray to our fridge. After that, I left the little swatches in a bin which meant she could return to them throughout the day. I have a feeling we’ll get a lot more play out of these!

Texture Touch (8)

Textured Touch

Textured Touch (9)

This advanced texture game will delight toddlers because it also contains an element of surprise!

Cut two holes in the top of a flat box (such as a tie or scarf box).

Textured Touch (1)

Next, gather together a variety of fabrics and materials. We had burlap, felt, cotton, silk, wrapping paper, and sandpaper, for lots of nice contrast.

Textured Touch (2)

One at a time, I placed a piece of material under the lid and showed her how to poke a finger through to explore.

Textured Touch (3)

She looked so intrigued by the mystery of it!

Textured Touch (5)

I put my finger in the second hole so I could describe the texture to her. Burlap, for example, was bumpy and rough. Then we lifted the lid to see what we’d been feeling!

Textured Touch (4)

Wrapping paper was next, smooth and slippery. Soon, Veronika loved being the one to remove the lid and discover what was inside.

Textured Touch (6)

The lid definitely adds a fun element to the game, since toddlers will adore putting it on and off between each new material.

Textured Touch (8)

We played a second version of the game in a paper bag. Again, she loved the surprise of reaching in…

Textured Touch (10)

…and lifting out a new fabric with delight each time.

Textured Touch (11)

Talk about all the different textures as you play this version of the game, too. The more descriptive your words, the better!

Textured Touch (12)

Chances are, your little one will be busy putting the fabric in and out of the bag for a while. Boxes plus bags plus fabric, oh my! This game was a winner.

Textured Touch (13)

Feely Bags

Feely Bag (9)

It’s been a while since I focused on a texture game with Veronika. To keep a one-year-old intrigued, you need more than just objects with texture: Make them a surprise with a reach-inside feely bag.

Fill a small child’s backpack with a few items, choosing ones that vary considerably in texture. First up, a crumpled piece of newspaper. This was crinkly and soft, I told her as she kneaded it in her hands.

Feely Bag (2)

Next up: a knobby sensory ball. We talked about how it was squishy and bumpy.

Feely Bag (3)

And best of all bouncy!

Feely Bag (5)

Then she pulled out a soft and fluffy stuffed hedgehog.

Feely Bag (6)

This was followed by a jingly set of toy keys.

Feely Bag (7)

Finally, I included a wooden block, using words like “hard” and “smooth” to describe it.

Feely Bag (8)

Meanwhile she had lots of fun simply filling the bag up with items, taking them out again, and repeating… A soon-to-be-toddler favorite activity, as I recall.


Textured Sensory Wall

Texture Wall (6)

This sensory wall is so easy to throw together, but your baby or toddler will love it! Adjust the height accordingly; for Veronika, I placed the wall low to the ground so she could manipulate items while sitting. For older toddlers, make it chest height so they can cruise along as they practice walking!

I taped four pieces of colored construction paper in a square on the wall to begin: visual stimulation!

Texture Wall (1)

Cover the construction paper with contact paper, sticky side out, and secure with tape. Now you can cover the sticky surface with whatever you like! Large pom poms, curly ribbons, and jar lids were all items that I had on hand that worked well.

Texture Wall (2)

I showed Veronika how to pull an item off and place it back on again.

Texture Wall (3)

She took to it right away, and surprised me with the objects she gravitated towards. I thought she’d love the pom poms, but jar lids were ab igger hit.

Texture Wall (5)

Talk about all the colors with your little one, or the crinkly sounds the riibbon makes, or the different textures.

Texture Wall (4)

Later, I added a few instant camera pictures for her. She loved peeling these off from the sticky surface.

Texture Wall (8)

And even was able to stick them back on!

Texture Wall (9)

Leave the wall up over the course of a day (or more!) and let your child return to it; you might notice him or her interacting with it different ways.

Texture Wall (12)

Jell-o Sensory Activity

Jello Sensory (5).JPGThis twist on jell-o play will be a delight for any baby around 7 months old! Not only are babies at this age making their first forays into finger-feeding themselves, but any activities involving texture are a hit. Add a prize to dig for and an edible medium, and you pretty much have the prefect game.

First I made jell-o with our favorite vegan brand, Simply Delish’s jel desserts. Big brother Travis picked the flavor – strawberry!

Pour the jell-o over soft toys in Tupperware containers (make sure all are large enough not to pose a choking hazard).

Jello Sensory (1)

I thought large containers would be easier, but the toys popped up to the surface! Instead, it was easier to “trap” them in small containers.

Jello Sensory (2)

You can also wait for the dessert to set slightly, then push the toy down inside.

I presented Veronika with the Tupperware and the task to dig up the toy treasure. Of course at first she was just fascinated with the container and lid!

Jello Sensory (3)

Then she became aware of the items buried inside. Little fingers began digging. Once the toys were out, it was straight to her mouth. Yum, it tastes like strawberry!

Jello Sensory (6)

Now she wanted more of what was in the bowl. After feeling around…

Jello Sensory (7)

…the dessert plopped out into her lap.

Jello Sensory (8)

I rescued her from this and now it was fun to squish around on the tray. Soon she had big fistfuls going right up to her lips.

Jello Sensory (10)

Basically this was messy and perfect fun.

Fabric + Wipes Container

Fabric Scraps (10).JPG

Veronika and I have played with fabric before as a texture sensory activity. Today, we played with fabric again but it was less about texture and more about the fun of putting in and pulling out!

An empty diaper wipe container is the ideal container for this game. It’s deep, but small enough for little hands. And the pop-up lid is perfect! In fact, before we introduced fabric into the game, Veronika just wanted to check out the box and pop the lid open and closed!

Fabric Scraps (1)

Next, I filled it with a variety of fabric scraps from our craft bin. I had some eye-catching patterns like bright green and little foxes, which provided visual stimulation.

Fabric Scraps (2)

A loosely-woven burlap and a few silky scarves provided textural variety. Old washcloths would work well, too!

Fabric Scraps (4)

Fill up the container and simply let your little one pull out the scraps.

Fabric Scraps (5)

What fun!

Fabric Scraps (6)

Then I made it more challenging, putting on the lid so she could pull the scraps up through the opening.

Fabric Scraps (7)

This was a little tough for her fingers at seven months old, but this is the kind of game we’ll revisit; it will be toddler heaven!

When she tired of the fabric, she went back to the box.

Fabric Scraps (8)

Playing with it lasted the whole time I made dinner – the perfect way to self entertain!

Fabric Scraps (9)

Take a Texture Trip

Texture Trip (3)

The other day, Veronika and I took a listening trip around the house, giving her plenty of auditory sensory play. Today, it was time to take a texture trip!

As with sounds, this is one of those activities that might seem simplistic, but your baby will never know these words and sensations if you aren’t the teacher! So we paused at some obvious contrasts. Cold fridge and hard wood floor.

Texture Trip (1)

Fluffy carpet:

Texture Trip (6)

Smooth pillow:

Texture Trip (2)

Soft towels:

Texture Trip (4)

Don’t feel like your need to stick to your child’s hands, either; rubbing a fabric on a baby’s cheek or leg is a great new sensation. Here’s Veronika feeling mommy’s silky scarves.

Texture Trip (5)

We also sought out toys today with lots of texture. She especially loves elephant’s crinkly ears!

Texture Trip (7)

In sum, have fun with this, and be sure to use lots of descriptive language and find exciting contrasts around the house. What textures will you show your baby? Please share in the comments!

Grab and Scrunch

Grab Scrunch (6)

Babies at four months old are all about texture, and this game couldn’t be cuter or easier! All you need are some common household items to introduce new sounds and textures in today’s play session.

I pulled out a brown paper lunch bag and a box of wax paper. For each one, I first showed it to Veronika completely smooth and uncrumpled. Let your baby feel the material at this stage, too.

Grab Scrunch (5)

Next, I crumpled each up. Hold the paper or wax paper close to baby’s ear for this; the sound is nearly as neat as the texture!

Grab Scrunch (2)

Finally, I handed her the wadded up ball. She loved passing the papers from hand to hand.

Grab Scrunch (1)

And of course giving it a test with her mouth, which is okay, but supervise since you don’t want a baby mouthing on wax paper for long.

Grab Scrunch (7)

Alternatively, don’t scrunch up the materials; instead, let your baby take them while smooth, and scrunch them up solo.

Grab Scrunch (3)

What other items does your baby love to hold at this stage? Please share in the comments!

Grab Scrunch (8)

Textured Paint Collage

Texture Paint (11)

This easy painting method is a neat way to add textures to your child’s next art creation… and all you need to do so is an old cereal box!

Cut portions of the cereal box so they are like combs that can be raked across a painting; I made Travis two version, one with boxy points and one more pointed like shark’s teeth.

Texture Paint (1)

But first we needed to make artwork with really thick paint! Travis was delighted when I told him the thicker the better for this particular project.

Texture Paint (7)

Once he’d covered the surface of his paper, he tried out the combs to see what kinds of lines or designs they made.

Texture Paint (5)

At not quite four years old, Travis’s artwork is still very abstract. Big kids can be more purposeful in their painting – think of textures like the bark of a tree, the waves of the ocean, blades of grass etc. I made a picture with an ocean, sun, and sky for Travis as an example, as well as some abstract shapes.

Texture Paint (6)

He filled two pages with color and shapes, which we left to dry overnight.

Texture Paint (8)

The next morning, we cut one picture into smaller pieces and used a glue stick to add them to the intact picture – this added still more texture to the final product!

Texture Paint (10)