Cardboard Tube Crafts

Cardboard Tube (10)

When is a cardboard tube not a cardboard tube? When it becomes anything your child can dream up for their crafting!

We made two adorable projects this week, one with a short toilet paper tube and one with a longer paper towel tube – seriously, why doesn’t someone just sell these so you don’t have to wait for the roll to end before crafting?

For the shorter tube, we made an octopus. I snipped the bottom to form 8 little tentacles, which absolutely delighted Travis as he helped fold them up.

Cardboard Tube (1)

I asked what color his octopus should be and he settled on yellow.

Cardboard Tube (2)

When the octopus dried, I glued on two googly eyes. Travis adored swimming his new little friend around, and wants to make a whole family (so we’ll have to wait for more empty rolls!)

Cardboard Tube (8)

Far more complicated, we turned our paper towel tube into a magic wand. To start, Travis very carefully selected which paints to use, adding a bit of white, purple, and blue.

Cardboard Tube (3)

Once the paint dried, we added further decoration with foam stickers and glitter glue.

Cardboard Tube (6)

For the top of the wand, I traced a heart from a cookie cutter on construction paper and cut it out for Travis. This, too, needed glitter glue and foam stickers!

Cardboard Tube (7)

I glued the heart onto poster board backing to make it a touch sturdier. Next, Travis wanted to help punch two holes in the heart. We threaded ribbon through this for a fluttery magical wand effect.

Cardboard Tube (9)

Finally, I affixed the heart to the top of our tube with glue. Now he can cast magical spells wherever he goes! What will Sorcerer Travis turn a cardboard tube into next?

Cardboard Tube (11)

Color Mixing Sensory Table

color-explore-1

With a little food coloring and an ice cube tray, you can start to teach your child all about how colors mix to form new ones. If you’re in a warm climate, play this game outside at a water table or empty sand table! Truth be told though, I’m glad we did it indoors since the clear glass containers we used made it easy to see the colors we created.

For my indoor winter set up, I laid out a few spoons and three glass containers on a towel in the bathroom, each filled with a little bit of water (use a towel that you don’t mind getting dirty!). I brought in the ice cubes I had frozen ahead of time, with drops of food coloring added in the 3 primary colors – blue, yellow, and red.

First, we simply dropped individual ice cubes into the containers – Travis loved seeing the water instantly turn a beautiful hue.

color-explore-2

It didn’t take long before he was mixing. Seeing yellow and blue make green was a big hit for Travis.

color-explore-3

Our red and blue made a very muddy purple, but even this was fun to stir around for a while. Whenever our containers got a bit icky in color from over-mixing, I poured them down the tub and refilled with clean water to begin again.

color-explore-4A big hit!

Glitter Volcano

glitter-volcano-7

Travis has been obsessed with volcanoes ever since we made one a couple of weeks back… so much so that if he sees me cooking with vinegar now, he asks if we’re about to make another. The only problem? We ran out of playdough!

No playdough? No problem! Set up this neat “volcano” in any old plastic container. If anything, the bubbles are even more spectacular, even though you don’t have an exact volcanic shape for your “lava” to run down.

First, fill a baking pan with cornstarch (about 1 to 2 cups) and set aside.

In your container, have your child help you combine 1/3 cup water, 6 teaspoons baking soda, and 2 teaspoons dish detergent.

glitter-volcano-1

Next we added pink glitter for a fiery and sparkly effect. Isn’t every project better with a little glitter?

glitter-volcano-2

Now for the explosion! Carefully pour 1/2 cup vinegar into the mixture – and watch it erupt.

There were lots of bubbles:

glitter-volcano-4

First we had fun scooping off the foam, and mixing that into the cornstarch around the pan.

glitter-volcano-5

In fact, as the lava mixture combines with the cornstarch, you’ll get something pretty close to… ooblek!

glitter-volcano-6

Then we had to do it a second time; luckily we had just enough ingredients for round two. If you like, keep repeating until your vinegar runs out!

glitter-volcano-3

D Week!

D week (20).JPG

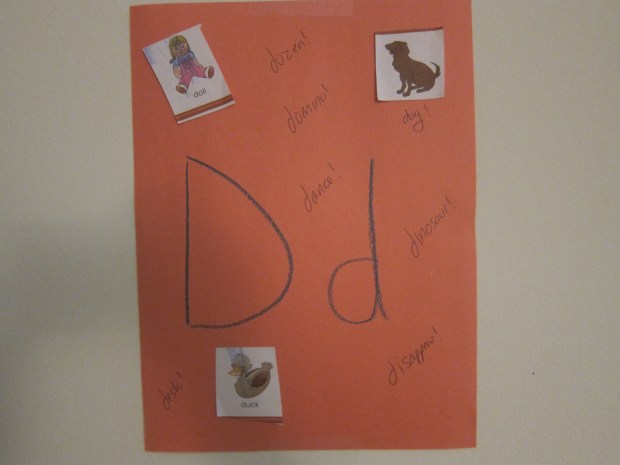
Only three weeks remain in our Letter of the Week journey! Travis has come to love discovering which letter I’ve posted to our wall, and asks all week if a song, food, or game is “special for ___ week.” I love the way this curriculum has built his understanding of the connection between letters and words. Without any further ado, here was our D week.

d-week-2

Dinosaur: What didn’t we do with dinosaurs this week? I pulled out all our dinosaur toys, which meant magnets, punch-out paper dinosaurs, miniature dinosaurs, dinosaur puzzles, dinosaur stickers, dinosaur coloring books, and dinosaurs stories to cuddle up with like That’s Not my Dinosaur (while wearing dino pj’s of course!)

d-week-3

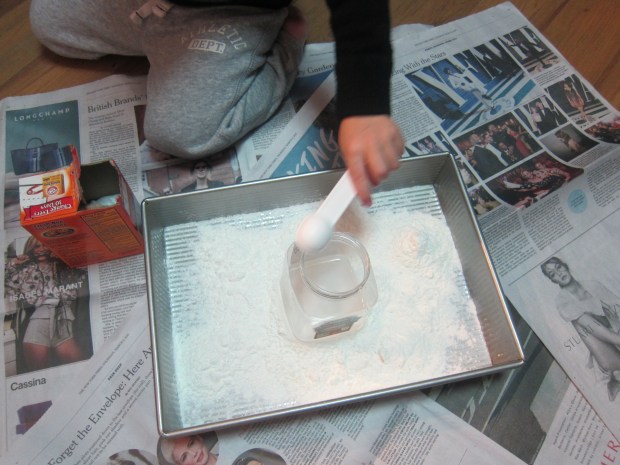
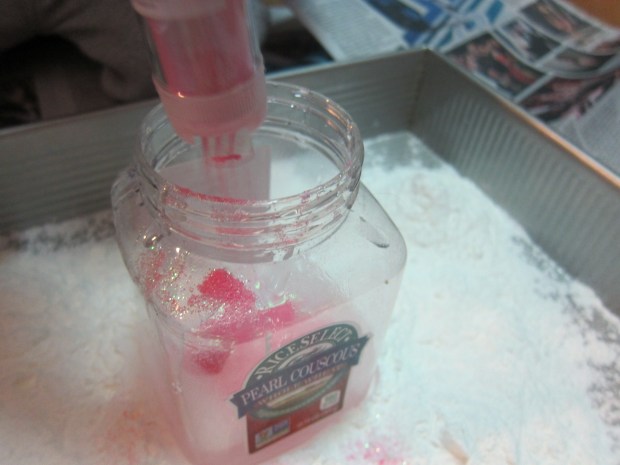
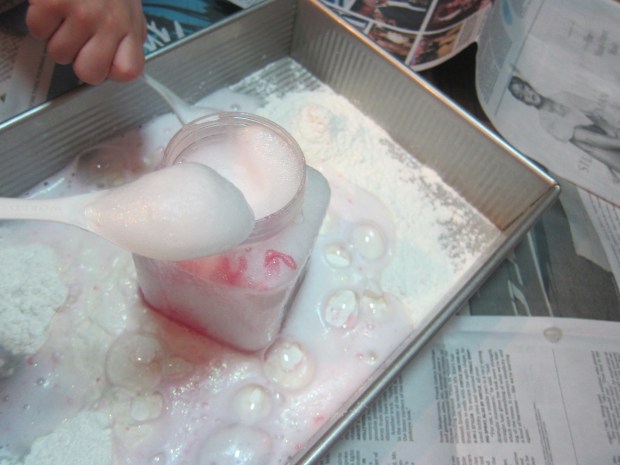
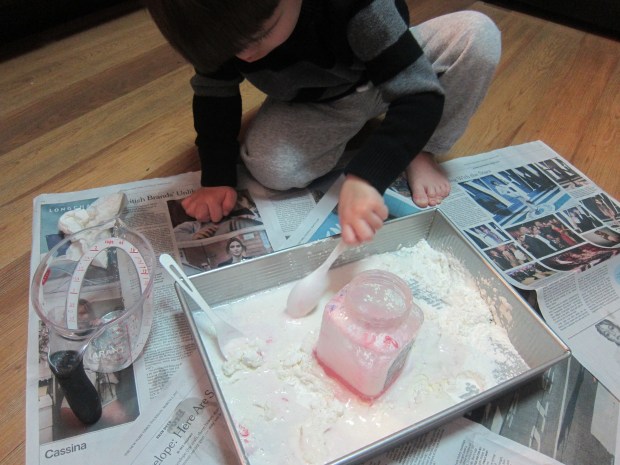
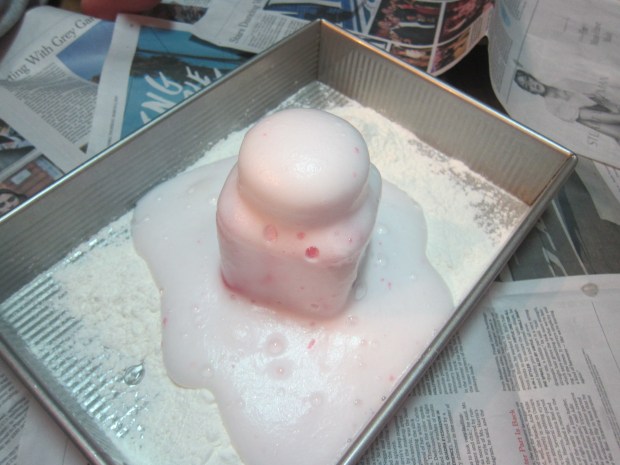
Dino crafts included a rather awesome Dinosaur Egg which merited its own blog post, and then we dug for “dinosaur bones” (i.e. popsicle sticks) in a mixture of flour and salt that looked a lot like desert sand.

d-week-5

After digging, glue your “bones” together into a dino skeleton!

d-week-6

Dominos: Children will delight in the chain reaction of dominos if you set them up, and manipulating the tiles is great practice for little fingers. You can also help tots line up dominos with pips that are alike for an early math lesson.

d-week-12

Dogs: Travis played with the stuffed animal dog toys we have, but then I decided we should visit real dogs at a local animal shelter for our field trip of the week. Even though we can’t currently adopt, it’s nice to spend time with animals who may have been caged for quite some time. Ask if there are older, gentler dogs who might like a little playtime in a room with a family. Your child will love the interaction, and get an early lesson in compassion!

d-week-18

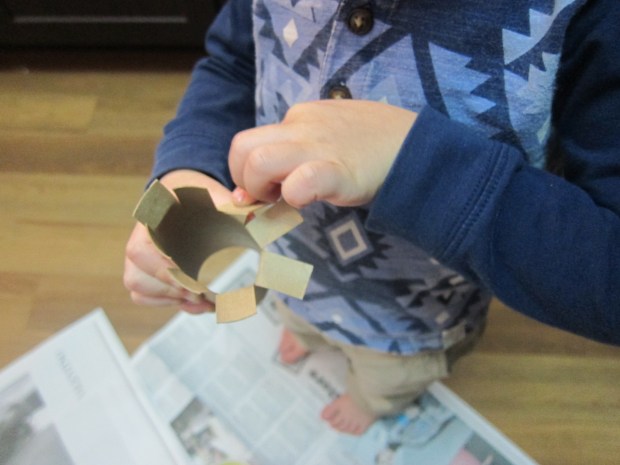
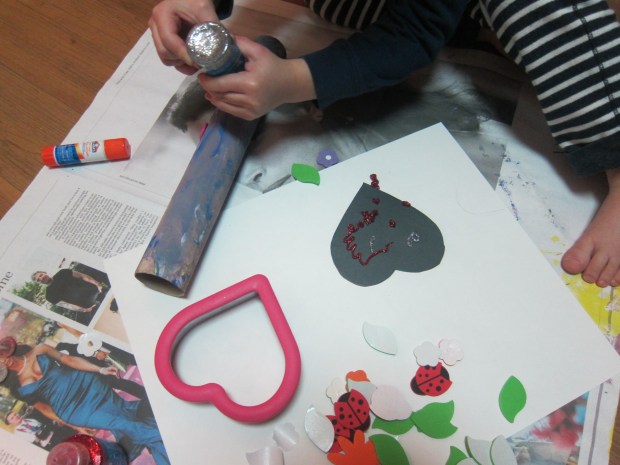
Doctor/Doll: I’m combining these two words, because if a doll comes out in our house, it’s probably going to get a doctor’s checkup. To keep things novel this week, we made a doctor’s hat for Travis! Fold two pieces of white paper into thirds lengthwise, then glue them together so you have one long band. Cover a circle of cardboard with foil, and glue this to the center of the hat.

d-week-17

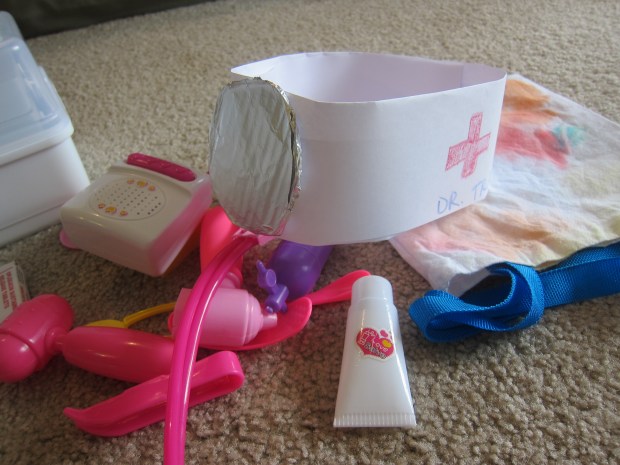
Dr. Travis was so proud to wear it!

little-white-duck-1

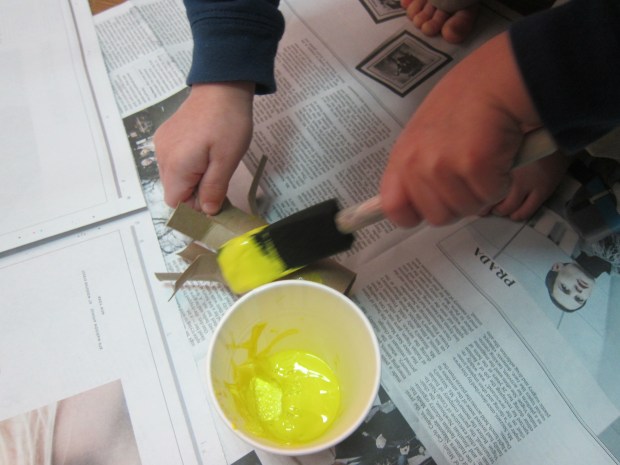
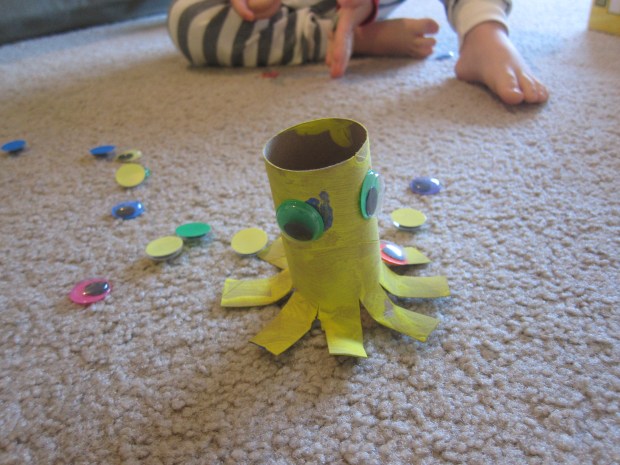
Duck: There are so many darling duck books to choose from (starting with Make Way for Ducklings by Robert McCloskey, and Little Ducks Go by Emily Arnold McCully). We read those stories and followed up with a little white duck craft.

d-week-14

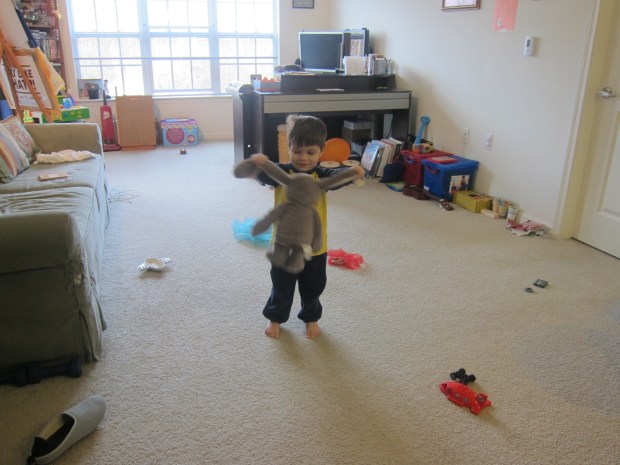
Dance: We dance a lot in this house, but we played two games this week to make things different. First, I gave Travis a stuffed animal and showed him how to dance with a partner – he loved it! You can also play a game of dancing statues, freezing the music on occasion and seeing who can hold still until the music starts again.

D week (9).JPG

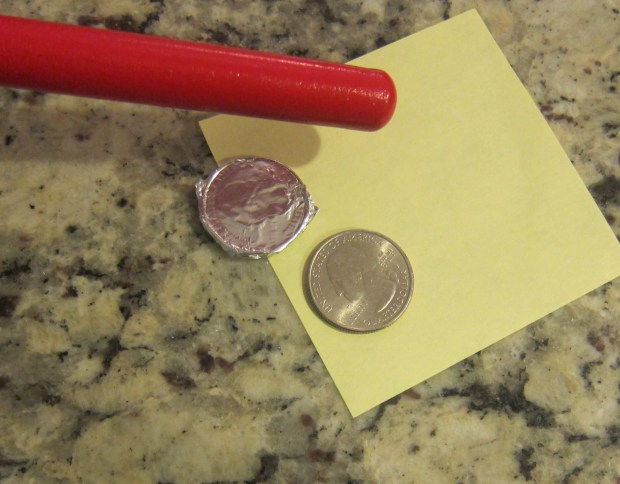
Disappear: Here’s a sleight-of-hand trick that might not fool older kids, but tricks a toddler! Press a piece of foil over a coin so you leave the coin’s imprint; carefully remove the coin. Place the foil in your hand and say you’ll make it disappear. Hold a piece of paper over your palm with a magic chant or two, but then “fail” to make the coin disappear. Repeat again. On the third try, get frustrated and crumple up the paper; the foil gets crumpled too and voila – your coin has disappeared! “Again!” Travis requested.

Some extras…

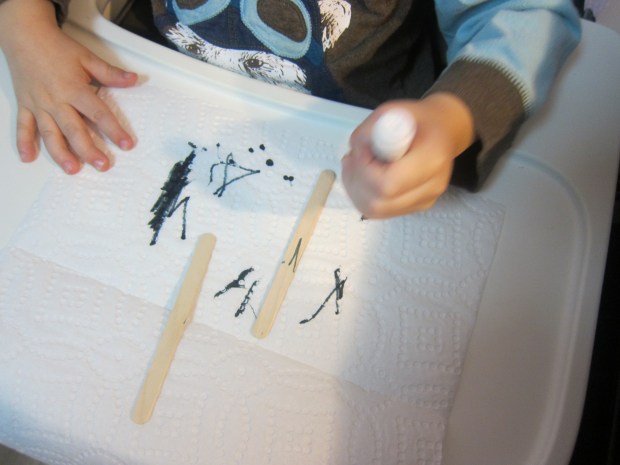
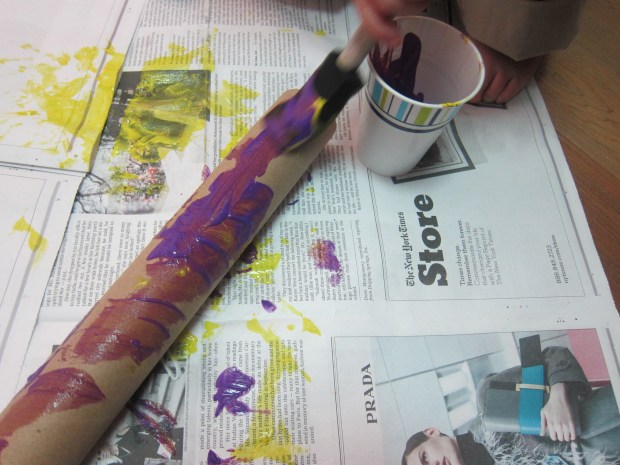
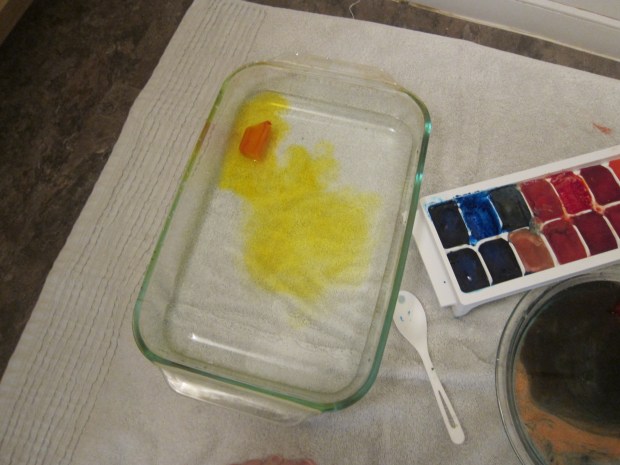
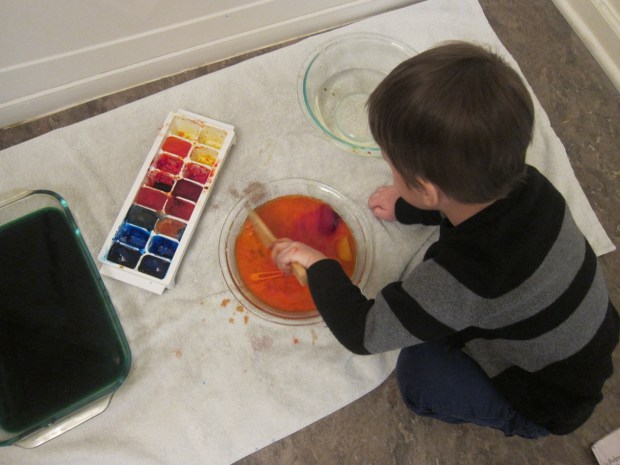
Fine art: Our art this week was simple: I have yet to meet a kid who doesn’t like dot markers, so we made lots of dots. You can have your child dot at random, or draw outlines for them to fill in, like flowers, shapes… or the letter D!

d-week-24

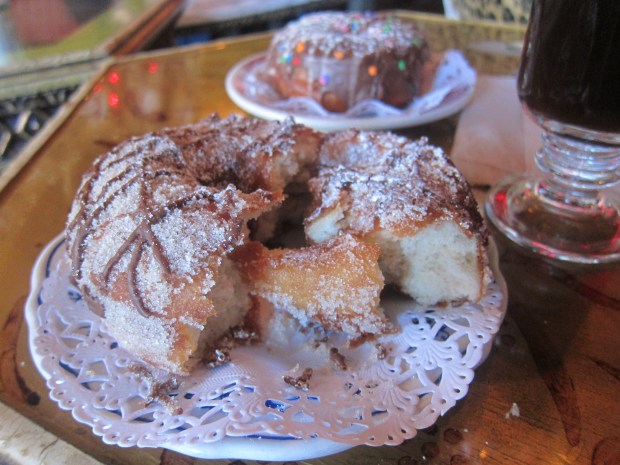
Food: Travis dined on dates and dill pickles, and then we made a special excursion for a vegan donut at a local bakery.

100-happy-61

Books: In addition to dinosaur and duck books, we read I Love My Daddy by Sebastian Braun, My Pet Dragon by Christoph Niemann, James the Dancing Dog by Linda Maybarduk, and Give That a Dog a Bone by Steven Kellogg

d-week-19

Songs: Little Baby Bum has cute dino songs, like Ten Little Dinosaurs, and Travis loves stomping to Laurie Berkner’s We are the Dinosaurs. Hey Diddle Diddle features lots of great Ds, beyond the title; don’t forget the dog laughing and the dish running away.

Math: Ambitious: I taught Travis that one dozen equals twelve. He still gets a little muddled counting objects higher than eight, but when I ask him how many are in a dozen now, he knows the answer is twelve!

We will “C” you next week…

Paper Plate Sheep

paper-plate-sheep-4

We made one final animal this week to cap off farm play (see my previous posts for our Koala Farm Crate and Little White Duck). Full disclosure: Travis wasn’t very into crafting this sheep, but he loved playing with it!

First, glue cotton balls (or white pom poms) all over a paper plate. It was hard to coax Travis into this step, only because he much preferred throwing the cotton balls all over the living room!

paper-plate-sheep-2

Once the glue dries, you can add two popsicle sticks as legs. Travis helped color them black, although I had to guide his hand to make sure the thin popsicle sticks received enough marker! Paper towel is just so much more fun to draw on, of course.

paper-plate-sheep-1

We glued on the legs, and then added a rather abstract-art eyes and smile with black marker. Then it was time to trot the sheep around the house!

paper-plate-sheep-3

Little White Duck

little-white-duck-2

Our recent play with a Farm kit from Koala Crate inspired this little craft. I always love crafts that feature handprints, turning the duck into a memento instead of just another crafty project.

To start, trace your child’s hands and one foot on paper; cut out.

little-white-duck-3

Glue the pieces down so the foot is the body of a duck and the hands are his two wings; toddlers will need help with this step to get the alignment right, but preschoolers can do so on their own!

little-white-duck-5

Now came Travis’s favorite part: ripping up toilet paper or tissue paper into small pieces to be the duck’s feathers. We dolloped glue all over our white duck, and pressed on his feathers.

little-white-duck-4

Once the feathers dried, Travis painted on two black eyes and orange “feet”, although he got a bit creative with the placement of the feet. Again, part of the charm of these projects is seeing the way kids interpret them!

little-white-duck-1

Overall, super cute and sure to adorn our fridge for a while.

Peanut Butter-Topped Bananas

peanut-butter-banana-3

It’s National Peanut Butter Lover’s Day, so we topped our bananas with peanut butter frosting, almost like cupcakes!

Travis loved helping to slice a banana. Give your child one banana to practice on, while you cut another into pieces about 1-inch wide.

peanut-butter-banana-1

Place peanut butter in a zip-top bag and cut a hole in one corner of the bag; squeeze like frosting onto the banana pieces.

peanut-butter-banana-2

Hint: Fill a second bag with peanut butter for your child to squeeze all over the cutting board, just for fun!

We topped our “cupcakes” with a sprinkle of shredded coconut and a raspberry.

What peanut butter creation do you love to make? Please share in the comments!