This is the first year since my son was born that I felt up to tackling complicated recipes for a crowd at Thanksgiving! I wanted to share the ideas below; feel free to mix and match, or add in your own family faves. As always, our favorite tradition is adopting a turkey in Travis’s name from Farm Sanctuary. This year Marnie’s picture adorned our tabletop.
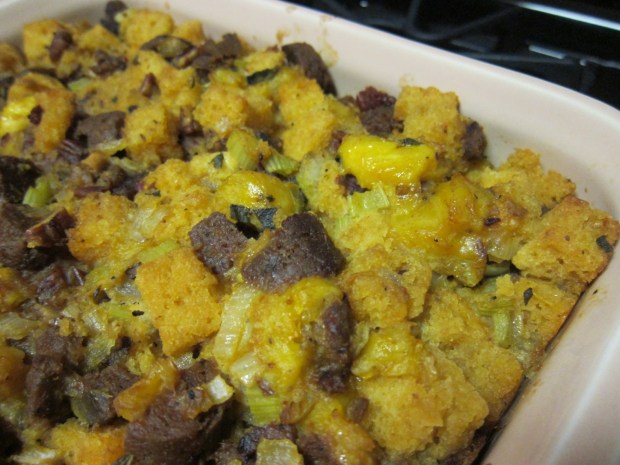
Chorizo and Plantain Stuffing
Ingredients:
- 1 (9×9-inch) prepared cornbread
- 1/2 cup chopped pecans
- 3 tablespoons olive oil, divided
- 4 Field Roast chipotle sausages, chopped
- 2 large yellow plantains
- 1/2 cup Earth Balance butter
- 3 chopped celery stalks
- 1 chopped medium onion
- 2 minced garlic cloves
- Juice of 1 lime
- 3 tablespoons chopped fresh sage
- 2 cups vegetable broth
- The night before or morning of, prepare a 9×9-inch loaf of cornbread from a mix according to package directions. Double check ingredients to be sure there are no milk products. Cool and refrigerate until ready to use.
- Cut the cornbread into cubes and arrange in a single layer on a baking sheet. Toast at 350 degrees F for 15 minutes, until golden; transfer to a large bowl.
- Place the pecans on the baking sheet and toast for 8 minutes; add to the cornbread cubes.
- Heat 1 tablespoon olive oil in a large skillet. Add the sausage and cook for 7 minutes. Add to the cornbread mixture.
- Peel the plantains and cut into 1/2-inch thick slices. Heat the remaining 2 tablespoons olive oil in the pan. Add the plantain and cook for 6 minutes, until soft and golden.
- Add the butter, celery, onion, and garlic; continue to cook for 10 minutes. Remove from heat and stir in the lime juice and sage. Add the plantain mixture to the cornbread mixture.
- Add the broth, stirring to coat, then spoon the entire mixture into a 3-quart baking dish coated with cooking spray. Cover with foil and bake at 350 degrees for 20 minutes. Uncover and bake a final 25 minutes, until crispy and golden.
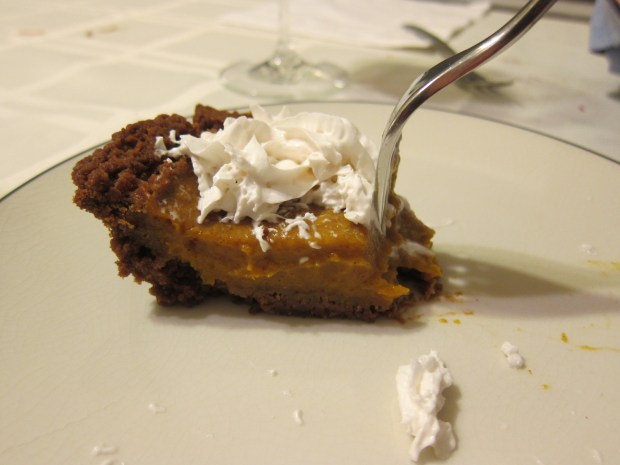
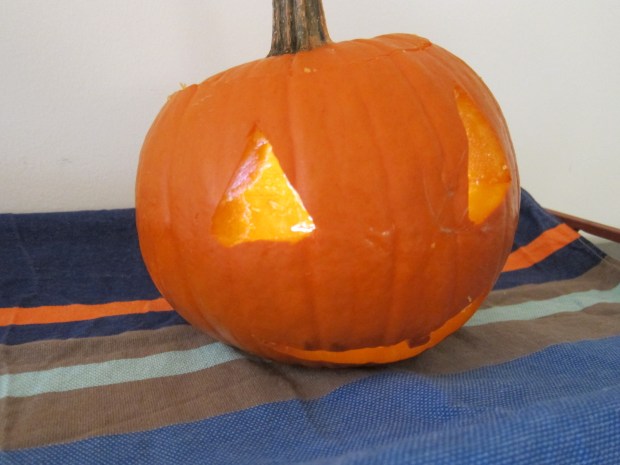
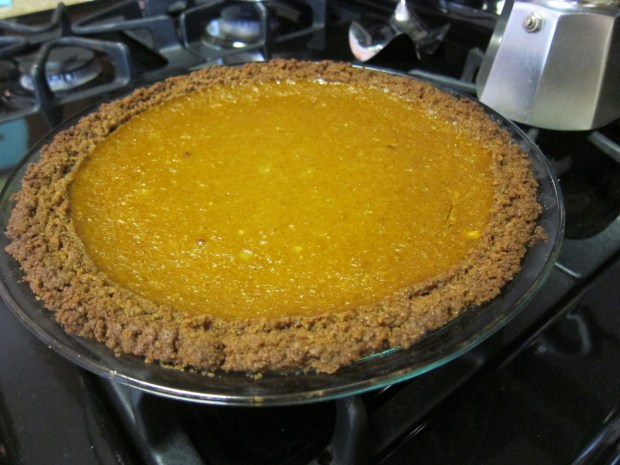
Fresh Pumpkin Pie with Gingersnap Crust
Ingredients:
- 2 cups gingersnap cookie crumbs (such as Mi-Del)
- 6 tablespoons Earth Balance butter, melted
- 2 (1.5 lb) sugar pumpkins
- 1/2 cup non-dairy creamer
- 3 Ener-G eggs
- 1/2 cup maple syrup
- 1 teaspoon cinnamon
- 1/2 teaspoon ginger
- 1/2 teaspoon salt
- Combine the cookie crumbs and butter in a bowl, then press the mixture into the bottom and up the sides of a 9-inch pie plate. Bake at 350 degrees for 5 minutes; set aside.
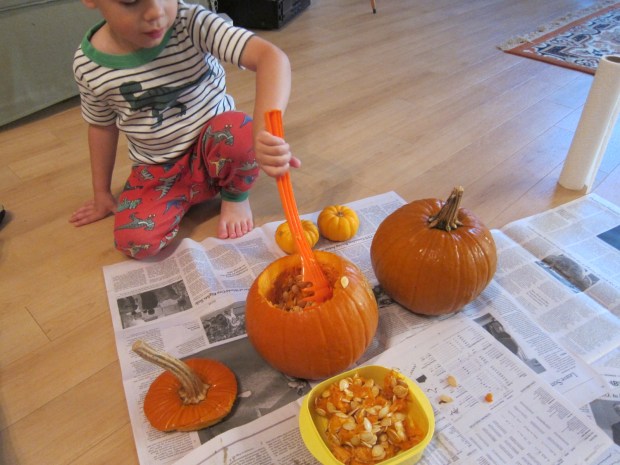
- To prepare the filling, cut the stem ends of the pumpkins, and cut into halves or quarters, depending on size. Place, flesh side down, on a parchment lined baking sheet. Bake for 70 minutes – the skins should pierce evenly when pricked with a fork. Let cool slightly, then scoop out the flesh with a spoon.
- Transfer the flesh to a food processor and puree until smooth – you’ll have about 1 and 3/4 cups.
- Combine the pumpkin puree in a bowl with the creamer, Ener-G eggs, maple syrup, cinnamon, ginger, and salt. Pour into the prepared crust. Place the pie plate on a baking sheet and bake at 350 degrees F for 50 minutes. Let cool, then refrigerate until ready to serve. Add non-dairy whipped cream if you like!
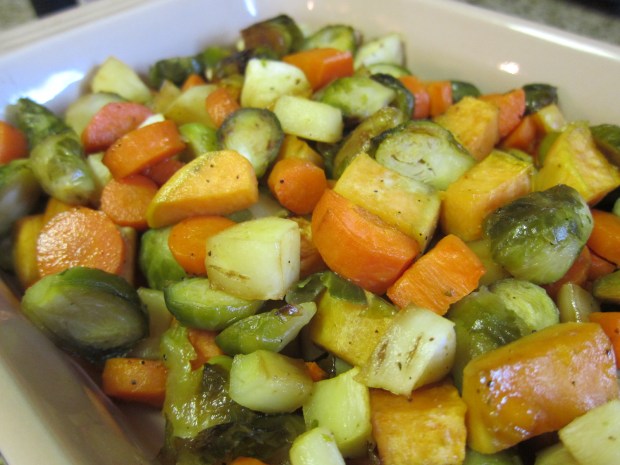
Maple-Roasted Vegetables
Ingredients:
- 1 (10-ounce) package frozen Brussels sprouts, thawed and halved
- 3/4 lb. parsnips, peeled and chopped
- 3/4 lb. carrots, peeled and chopped
- 1 sweet potato, peeled and chopped
- 2 tablespoons olive oil, divided
- 2 tablespoons maple syrup
- 1 and 1/2 teaspoons soy sauce
- 1/8 teaspoon salt
- 1/8 teaspoon black pepper
- Combine the Brussels sprouts, parsnips, carrots, sweet potato, and 1 tablespoon olive oil in a large bowl. Transfer to a foil lined baking sheet and bake at 425 degrees F for 20 minutes.
- In a bowl, whisk together the remaining 1 tablespoon olive oil, the maple syrup, and the soy sauce. Pour the mixture over the vegetables. Sprinkle with the salt and return to the oven; roast for an additional 10 minutes.
- Sprinkle with the black pepper, and serve.
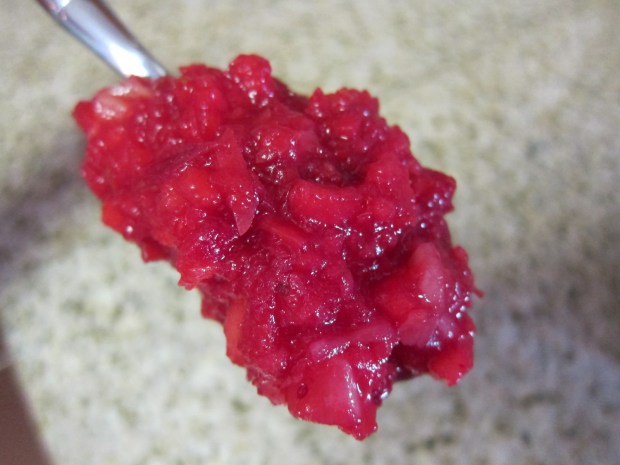
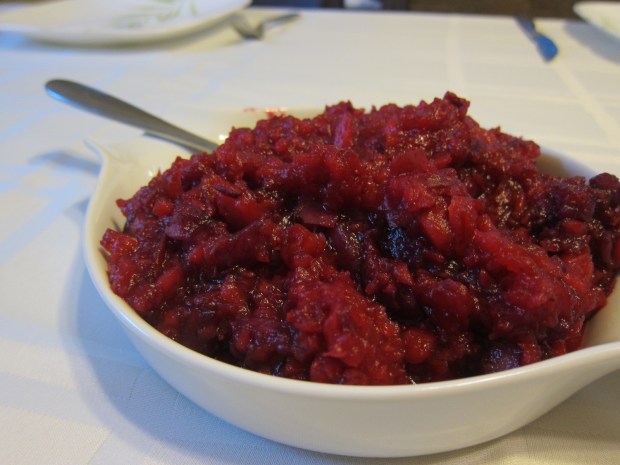
Pineapple-Cranberry Sauce
Ingredients:
- 2 Pink Lady apples, cored and chopped
- 6 oz fresh cranberries
- 1/2 cup water
- 1/4 cup brown sugar
- 1/8 teaspoon salt
- 1/2 cup canned pineapple chunks, drained and chopped
- 1 tablespoon maple syrup
- Combine the apples, cranberries, and water in a saucepan. Bring to a boil. Reduce heat to medium-low, cover, and cook for 20 minutes – the cranberries should have popped.
- Add the brown sugar and salt; continue to cook for about 7 minutes, until thickens, stirring often.
- Let the mixture cool slightly, then transfer to a blender and pulse until chopped. Stir in the pineapple and maple syrup.
Note: You can prepare the cranberry sauce up to 5 days ahead.
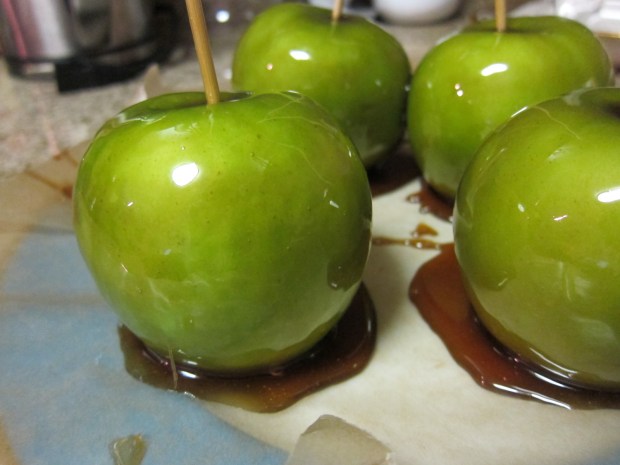
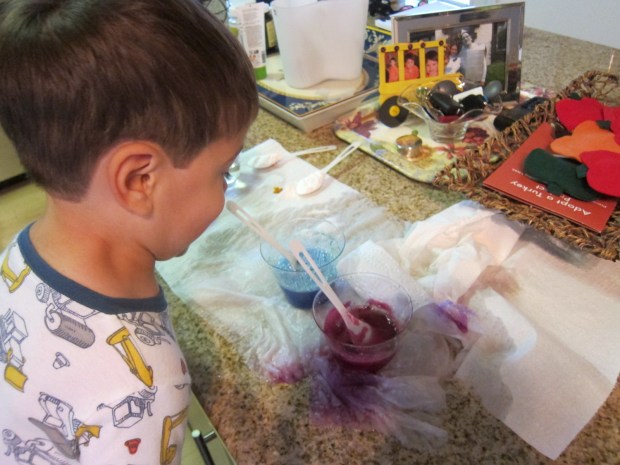
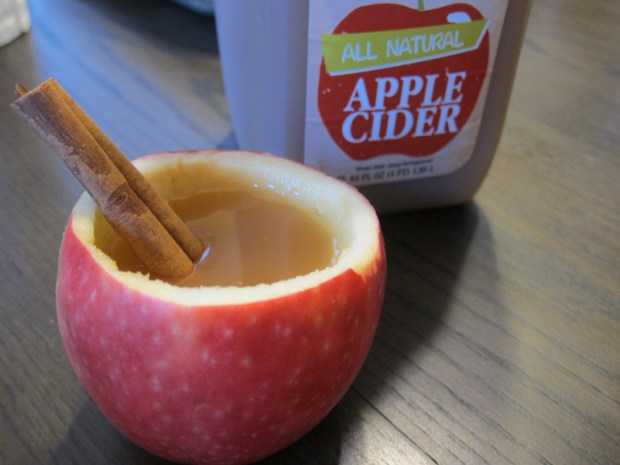
For a fun, kid-friendly aperitif, we also hollowed out apples with an ice cream scoop, and filled with apple cider and cinnamon sticks.
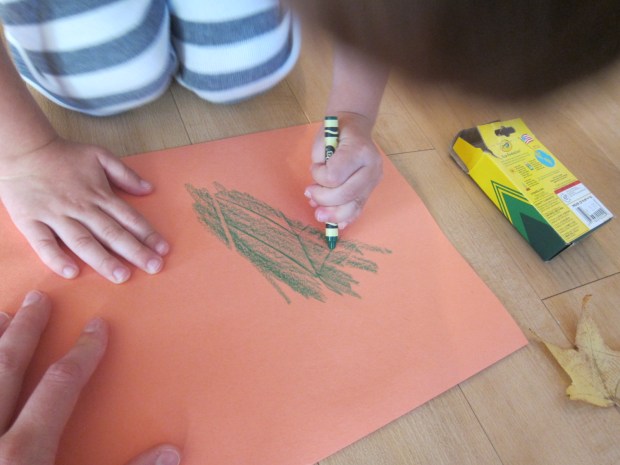
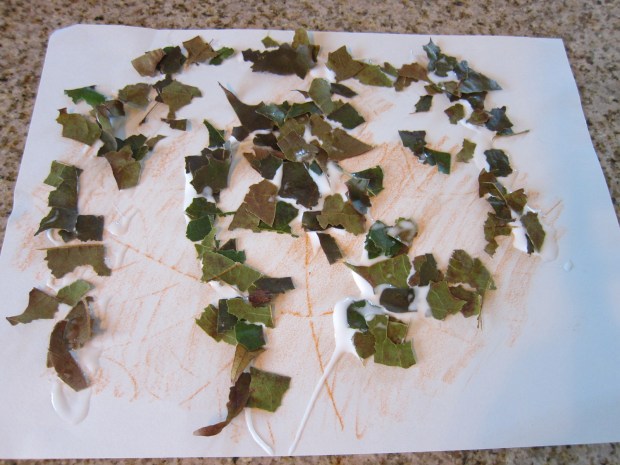
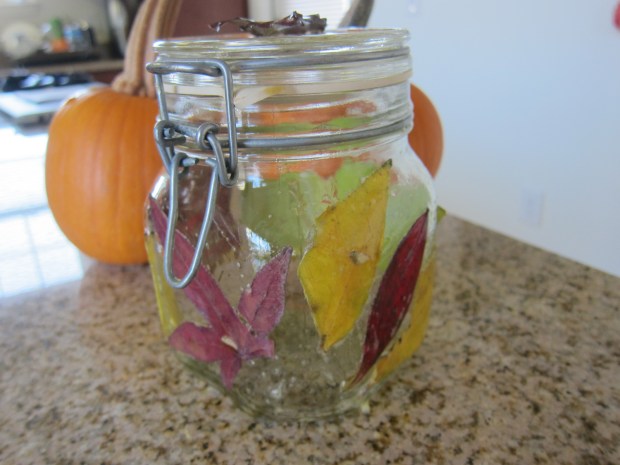
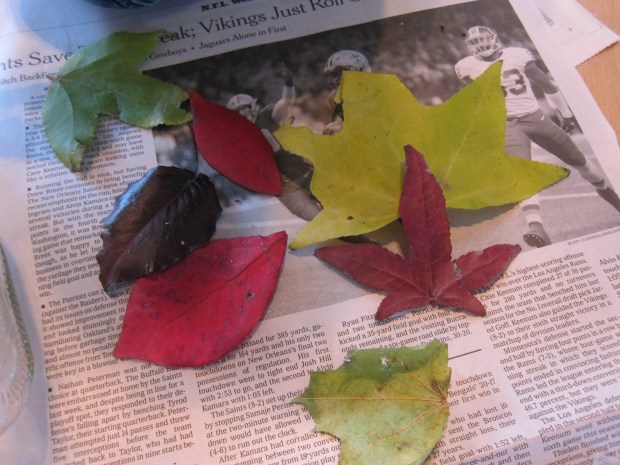
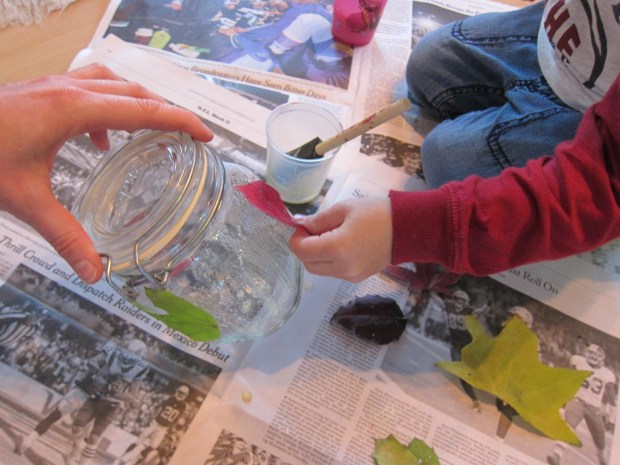
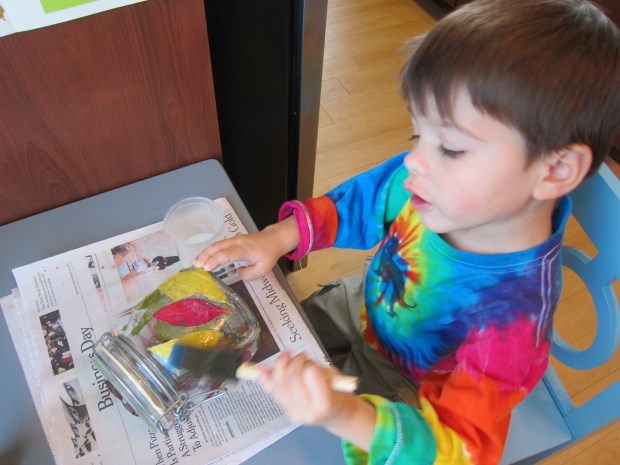
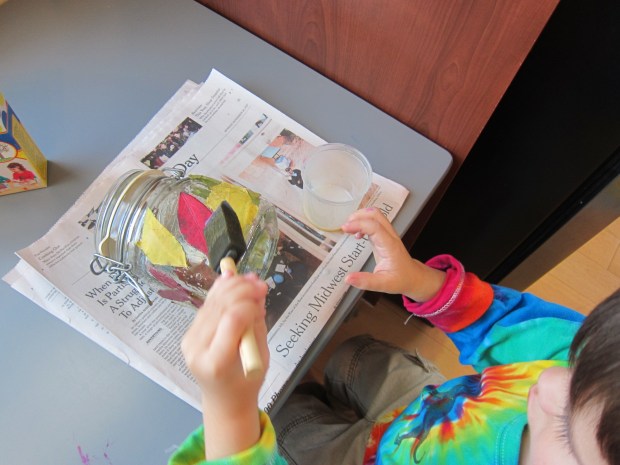
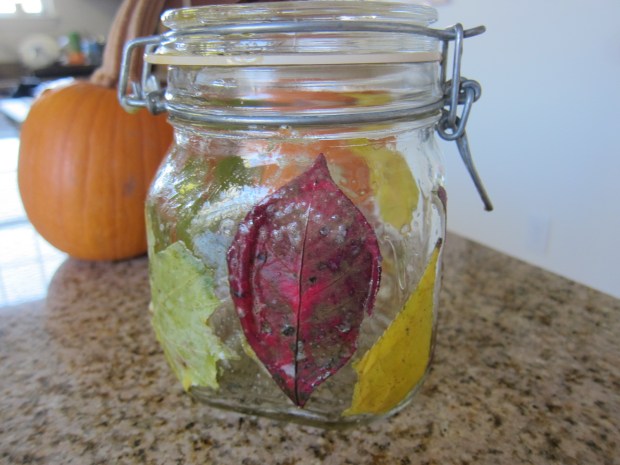
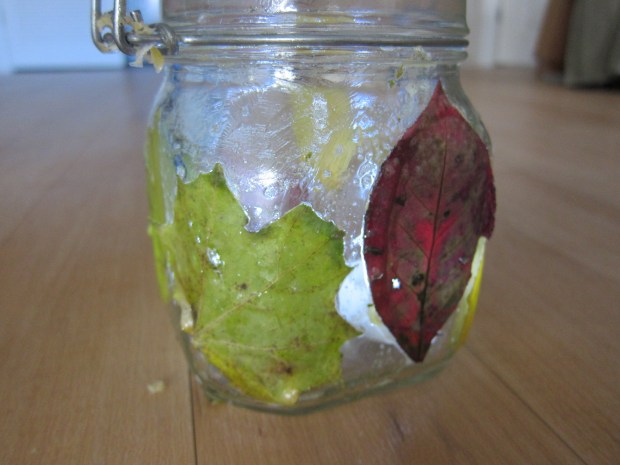
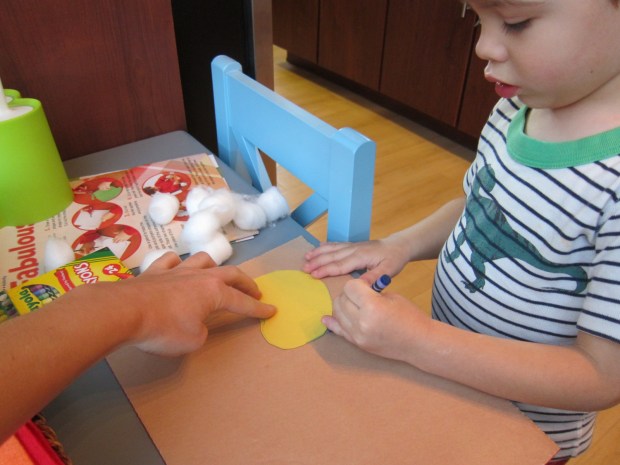
And you’ll notice our leaf votive centerpiece on the table!

As always, we finish off our Thanksgiving feast with the special treat of Gardein’s stuffed turkey roast. Wishing a wonderful celebration for the turkeys to all!