Diaper Time Massage

Diaper 2 (3)

Following in the heels of yesterday’s suggestion to enhance diaper time with a newborn, here’s another great way to use diaper-table-time as bonding time: Gently massage the baby’s body parts, pausing if they are not too fussy or too cold to pay attention to specific areas. Feet, hands, tummies, backs, and faces are great for this game.

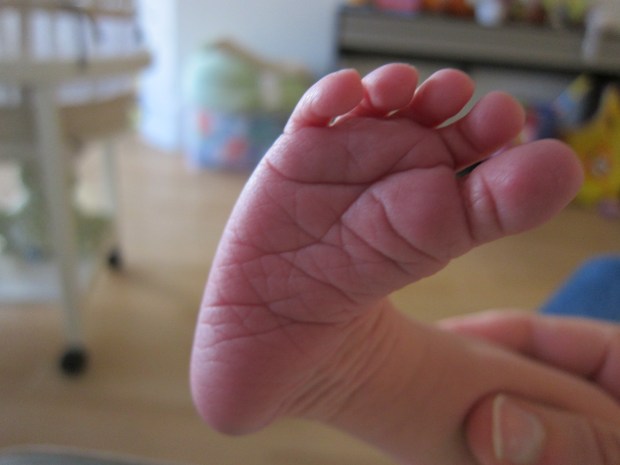
Little baby feet and hands come out so wrinkled and curled up, and a hand massage in particular can help unclench those little fingers.

Diaper 2 (1)

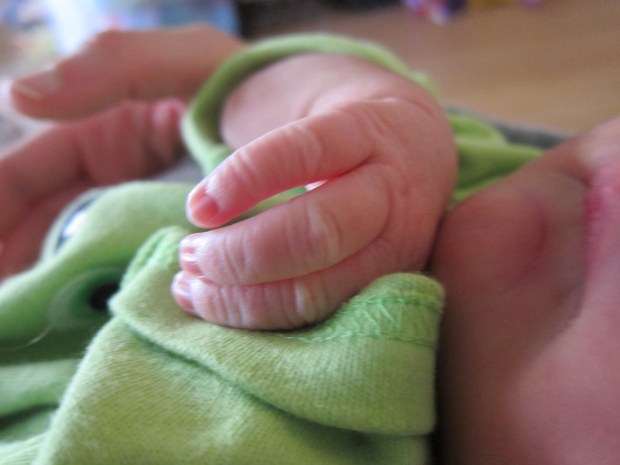
Don’t forget to point out the names of the fingers – Thumbkin and Tall Man! – or count as you touch each “little piggie.”

Diaper 2 (2)

Likewise talk about what you’re touching as you gently massage forehead, cheeks, nose, tummy, and back. Body parts are some of the first words that little ones learn, and it’s never too early to start!

Diaper 2 (4)

If your baby is just too fussy during a change, consider doing similar massages while nursing, or just cuddling.

Advertisement

Memory Box

Memory Box (4)

One great project for very early in your newborn’s life is putting together a memory box. This will be an ongoing collection, but it’s never too soon to start!

Before birth (if you can), select a pretty box that you’ll want to fill with mementos – this way you’re not running out to the store with a newborn! Any decorative box would work great; I love using this simple wooden box that was once given to us as a gift.

Memory Box (2)

You’ll have a few items to add the moment you return from the hospital. Think: mommy and baby ID bands; first footprints; any first hats or swaddles; and any other hospital souvenirs.

We also included notes and cards from family and friends!

Memory Box alt.JPG

This is a great project to involve big siblings – they’ll love placing the items in the box!

Memory Box (3)

What do we plan to add down the line?

  • A lock of hair
  • A first baby tooth
  • Baby booties
  • A first favorite toy
  • A first drawing
  • Baptism certificate

What else will go in your box? I’d love to hear in the comments!

Memory Box (1)

Coffee Filter Fish

Coffee Fish (9).JPG

Pretty rainbow fish are lighting up our doors and windows these days! This is an easy activity you can do with your child almost any time, requiring only coffee filters and markers.

First, be sure to cover your work surface (things will get wet!) and prep your materials. You’ll need permanent marker for this craft, not the washable kind, which made Travis feel very grown up.

Before he even started coloring our white coffee filters, he grew impish… Who doesn’t just want to spray water?

Coffee Fish (1)

He slowed down once I demonstrated how to color in a filter as completely as possible for the best results, so the colors will bleed together. Then he got to soak my marker-covered filter.

Coffee FIsh (4)

Now he had the idea!

Coffee Fish (5)

He scribbled in various color combos, declaring this one was a library fish, that one was a doctor fish, etc.

Coffee Fish (6)

We left our filters to dry completely.

To complete the fish, cut a triangle from one part of each circle as the mouth.

Coffee Fish (7)

Glue the triangle onto the opposite side of the circle – voila, a tail!

Coffee Fish (8)

Finish by drawing in eyes, and hanging the fish some place where they will catch the sunlight.

Coffee Fish (10)