Baby Food Jar Play

Baby Food Jars (6)

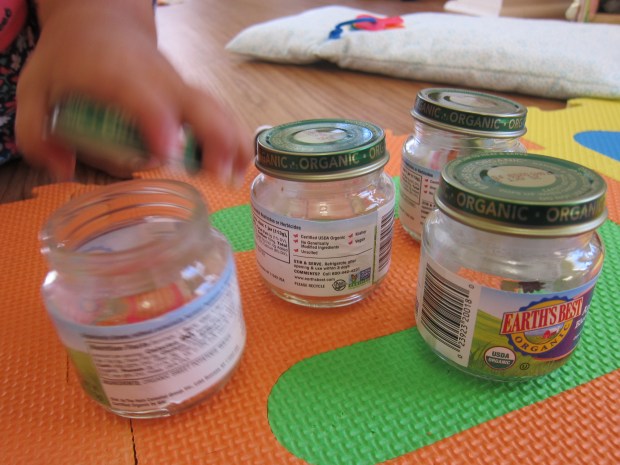
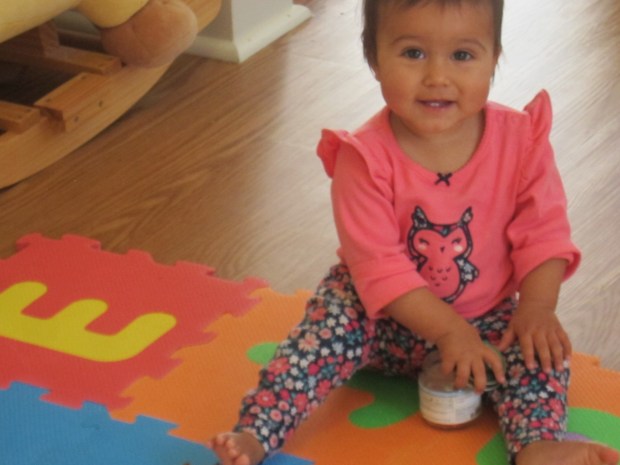
Veronika hasn’t eaten baby food out of jars in ages (this little miss prefers finger foods), but I like to keep a few empty jars on hand for games and activities. Today she kept so busy with 4 jars and 4 lids and this simple activity.

I set the jars in front of her on a soft surface (be sure your floor is well padded if using glass jars).

Baby Food Jars (1)

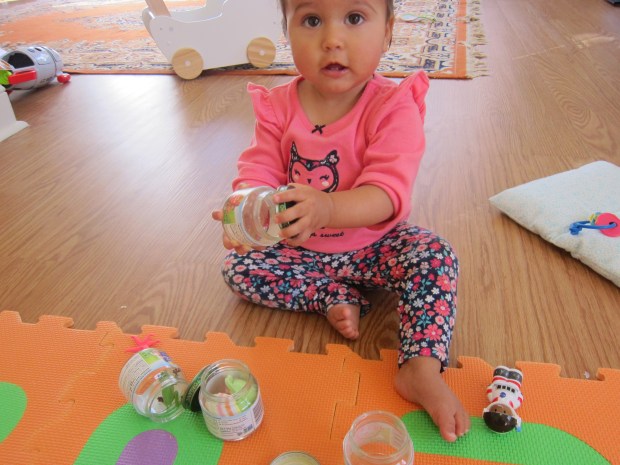
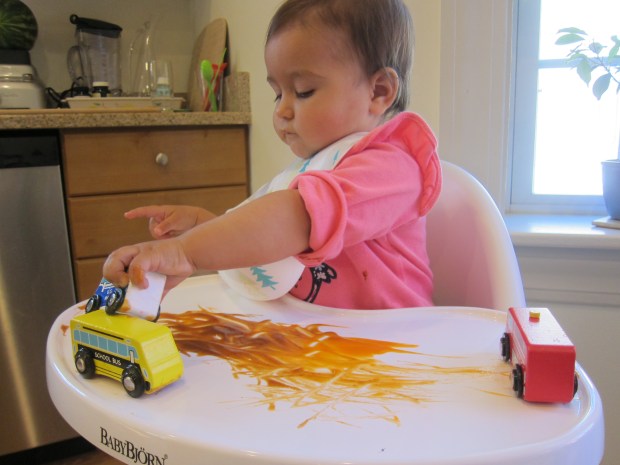
To start, I simply showed her how to remove a lid, and then place it back on. Babies will instantly want in on this action. Veronika snatched off the lids (I had them very loose) and tried to put them back on.

Baby Food Jars (3)

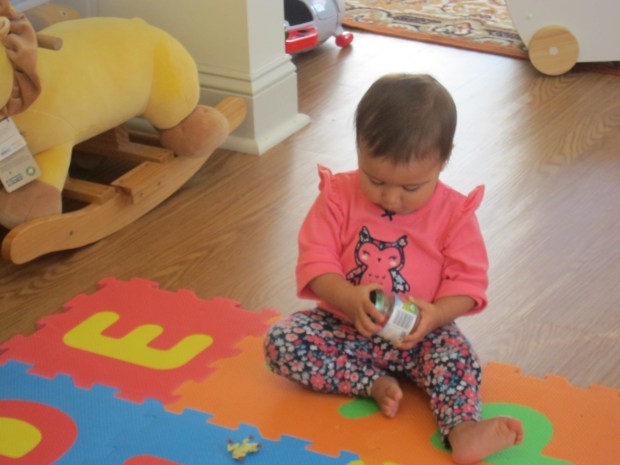
It was so interesting to watch the brain at work on this one. At first she put the lids on upside down, or on the bottom of the jars.

Baby Food Jars (2)

But after a few tries, she was putting them on right side up, even making them a little tight.

Baby Food Jars (7)

She looked so pleased with herself and had to do it over and over!

Baby Food Jars (4)

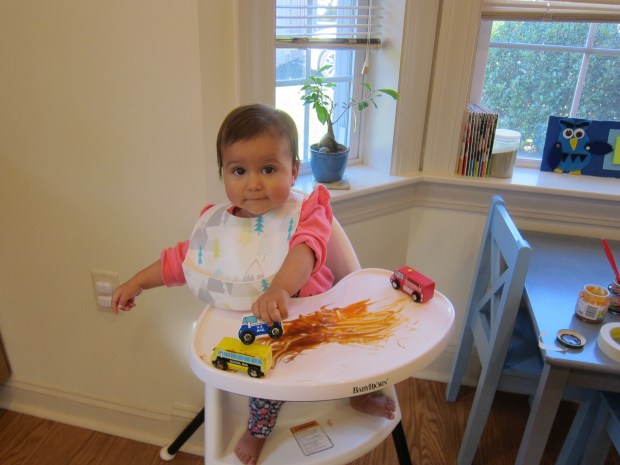
For extra fun, I put small toys inside a few of the jars. I thought she would be interested in digging for the rewards once the lids were off, but truly the lids and jars themselves were what fascinated her.

Baby Food Jars (5)

I loved watching this sequence: She gets the lid on.

Baby Food Jars (9)

Then off again.

Baby Food Jars (8)

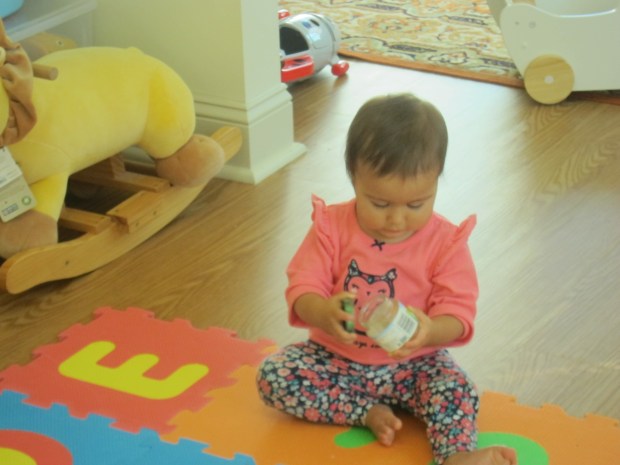
Then peeks inside for a toy!

Baby Food Jars (10)

She was one very pleased little girl.

Baby Food Jars (11)


Advertisement

Car Tracks in Baby Food

Car Tracks (2)

Veronika loves to vroom cars around on the floor (she even says “vvvv” as she does so!) and so I thought: Why not turn it into an art project?

I taped craft paper down to her highchair tray, and spooned on a little bit of jarred baby food. I added a few trucks (firetrucks and school buses are favorites) and let her go wild.

Car Tracks (1)

She immediately began vrooming the wheels through the blobs of food, and was rewarded with car tracks. I showed her how we could stretch these out to the edge of the paper, or make tracks that zig-zagged back and forth.

Car Tracks (3)

The paper seemed more hindrance than helper, so I stripped it off and repeated the game right on her high chair tray; luckily it’s an easy one to clean! She liked this version better.

Car Tracks (4)

And took a few tastes of her artwork, too!

Car Tracks (5)

A thoroughly enjoyable little activity, with a snack built right in.

Cauliflower & Potato Mash

Cauliflower Potato Mash

This twist on mashed potatoes is a great way to sneak in new veggies for babies and toddlers!

Ingredients:

  • 2 yellow potatoes
  • 1 head cauliflower
  • 1 cup soy milk
  • 1 tablespoon Earth Balance butter
  1. Peel and chop the potatoes. Place in a saucepan and cover with water; bring to a boil, then continue to cook for 10 minutes, until tender.
  2. Meanwhile, cut the cauliflower into florets. Steam for about 7 minutes, until tender.
  3. Combine the cauliflower and potatoes in a large bowl, along with the soy milk and butter. Mash with a potato masher until smooth.

We also like stirring in a few thawed green peas, which add nice texture!

Cauli Mash

Cranberry Chemistry

Cranberry Chem (6)

The cranberry harvest has hit the shelves, making it the perfect time of year to experiment with this under-appreciated berry. Okay, so this quick science trick uses cranberry juice, not whole fresh cranberries, but it’s still a fun seasonal project for kids!

I set up a few test tubes about 1/3 of the way full with cranberry juice and laid out baking soda and lemon juice.

Cranberry Chem (1)

First, Travis added 1 teaspoon baking soda to one test tube. It fizzed instantly, always the most exciting part.

Cranberry Chem (2)

When the bubbles settled, the cranberry juice was noticeably more yellow.

Cranberry Chem (3)N

ow add 1 teaspoon lemon juice (or citric acid) to the same test tube. It will return (almost) to the original color. The color became sort of striated in ours, so the return to normal was clearest near the bottom of the tube.

Cranberry Chem (5)

The science at work here is base (baking soda) first neutralizing the anthocyanins in the juice, and then the acid returning it to normal. Travis had fun simply experimenting from there! He thought we might make it extra yellow by adding 2 teaspoons baking soda (that one was really fizzy!).

Cranberry Chem (4)

Next time, we’ll think of other solutions we can add, like soda or baking powder.