Putting together this charming little caterpillar takes some time, but it’s worth it in the end!

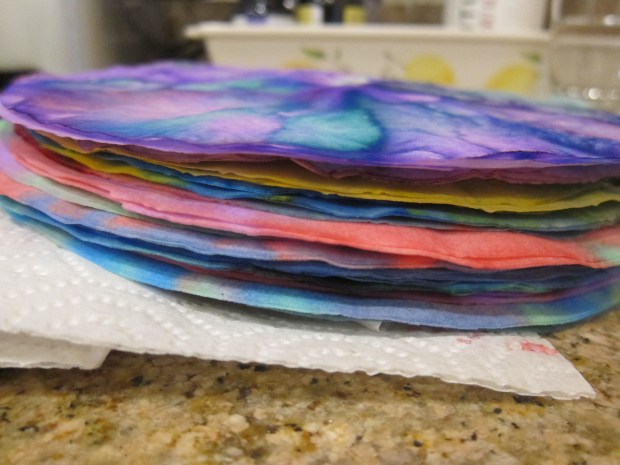
To start, you’ll want to dye as many coffee filters as you have patience for (and/or room to dry!) in liquid watercolor. For each color, I squirted a few drops into an empty butter tub and then added a few tablespoons of water. Scrunch up a coffee filter (or a handful of them is fine) and dip in.
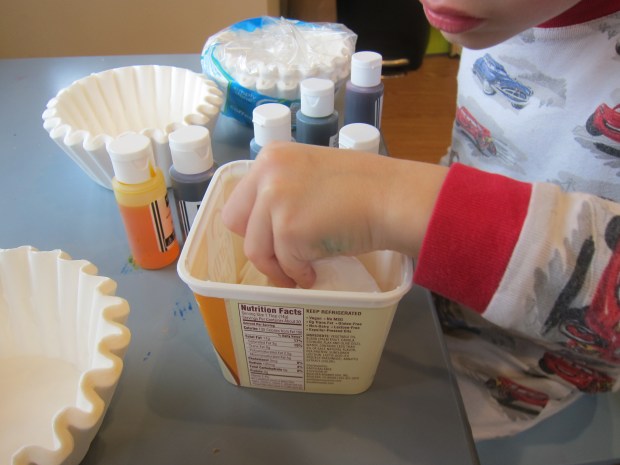
Travis loved watching the colors bleed up the filters! After a few single colors, he decided it was fun to re-dip some old ones, which resulted in a pretty mottled look on many of our filters.
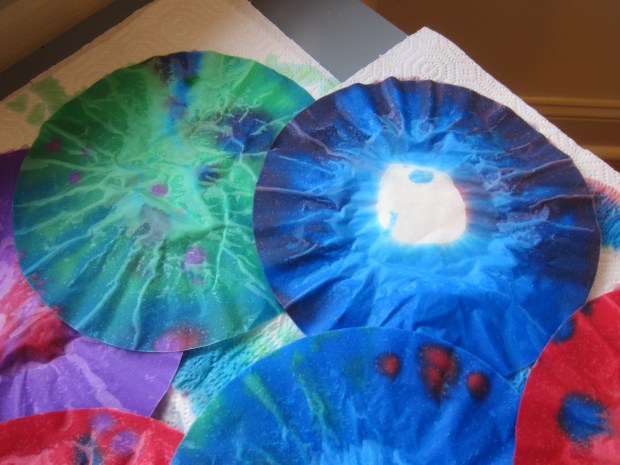
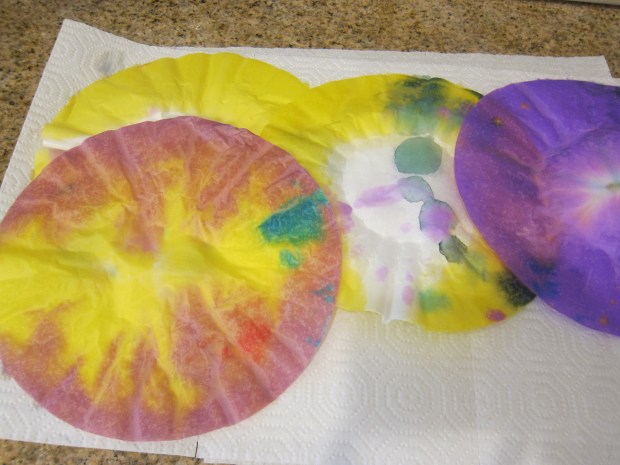
A tutorial online suggested using as many as 250 filters for this project (!), but I would guess we dyed about 50. Lay these on paper towels and dry completely.
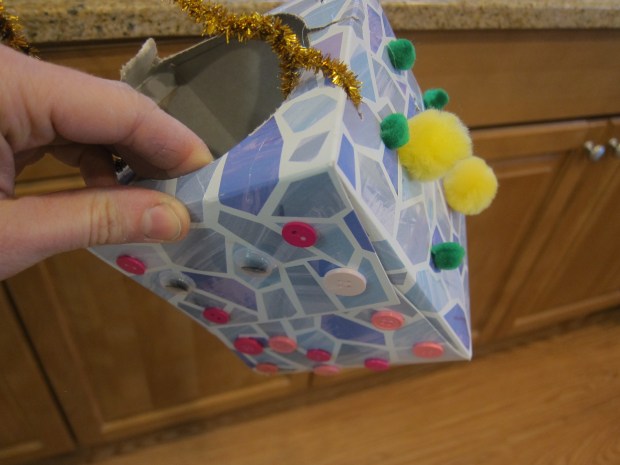
While the filters dried, we made the caterpillars head. Give your kids carte blanche to decorate an empty tissue box any way they like; it’s the perfect excuse to raid the craft bin for bits and bobs. Travis added buttons, pom poms, and wiggle eyes.
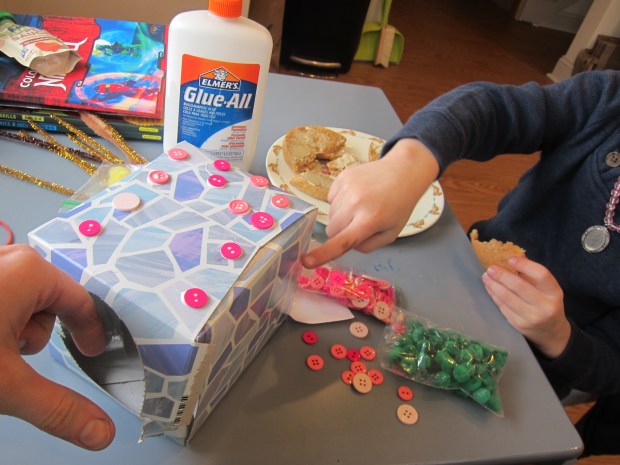
We twisted together sparkly pipe cleaners for the antennae.
Later in the day, it was time to poke holes in the coffee filters. Travis thought it was amusing to pierce each one with a kebab skewer. Kids will probably need grown-up help for this step, and to make the process move along more swiftly.
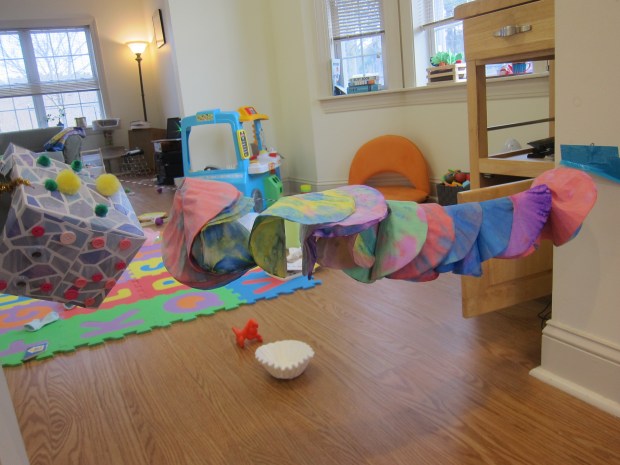
I then punched two holes in our caterpillar head, one in the top of the tissue box and one on the side. Using a large plastic needle, thread string through all of the filters and then up through the two holes in the head. Now suspend your caterpillar and watch it wiggle!
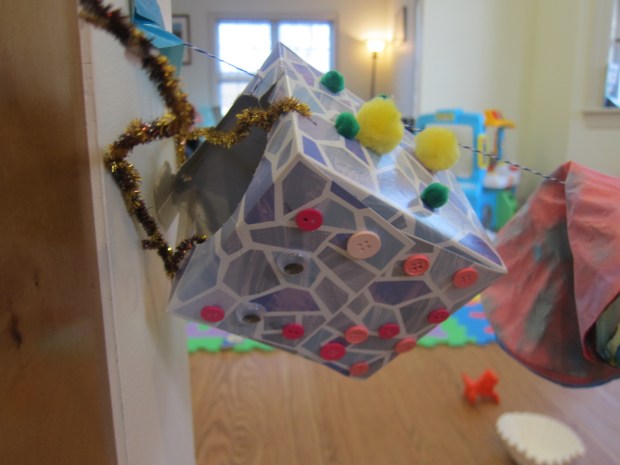
One of these would look so beautiful in a garden, but since we a) have no garden and b) it’s winter, we strung it up inside for a few days of play.
