Hedgehog Pencil Holder

Hedgehog Pencil (5)

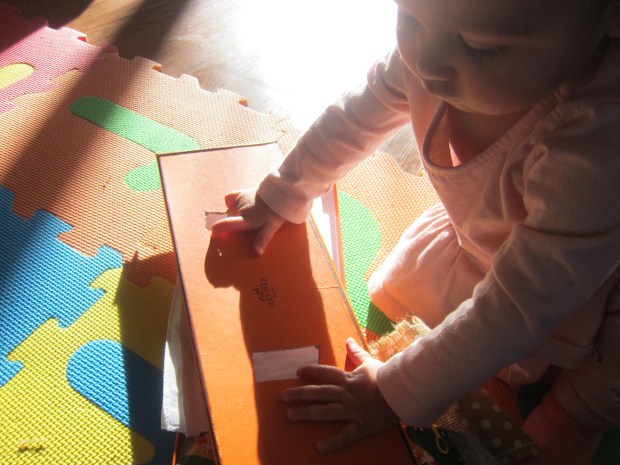
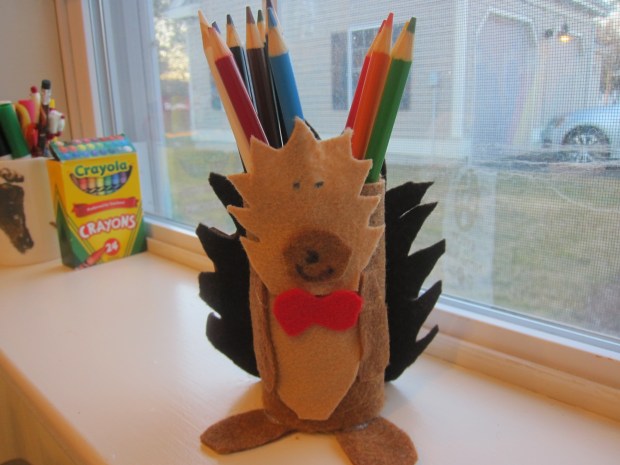
Travis has been so into coloring lately, and we need a spot for all his art supplies! This adorable hedgehog in his latest Highlights magazine came just in time, therefore. Now we can corral all those colored pencils.

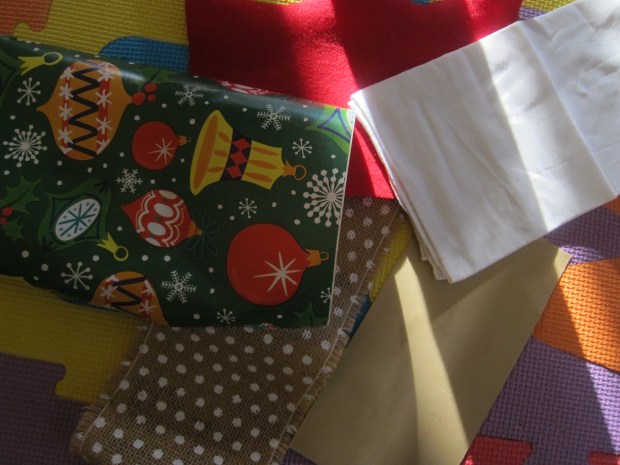
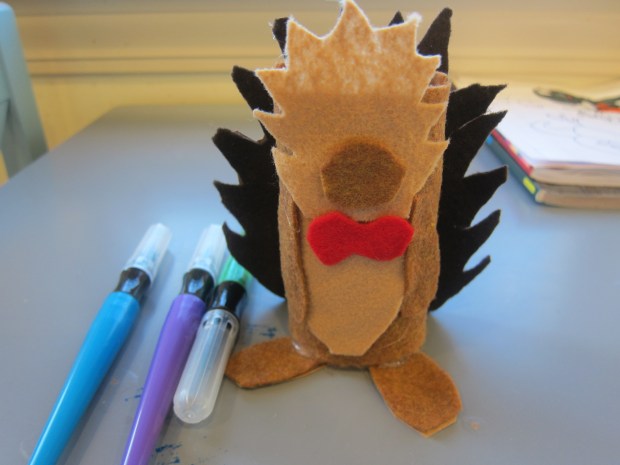
Older kids will likely enjoy cutting felt and designing all the features for their hedgehog critter solo; however, for a kindergartner I did most of the work, since cutting felt is still tough for Travis. Instead, he helped me decide what the hedgehog needed – arms, a belly etc. – and what should go where. Don’t forget a whimsical red bow-tie!

Hedgehog Pencil (2)

Once you have the pieces cut out, hot-glue light brown felt to an empty toilet paper tube. Then hot glue on the additional features you’ve made, including a head, belly, nose, and arms.

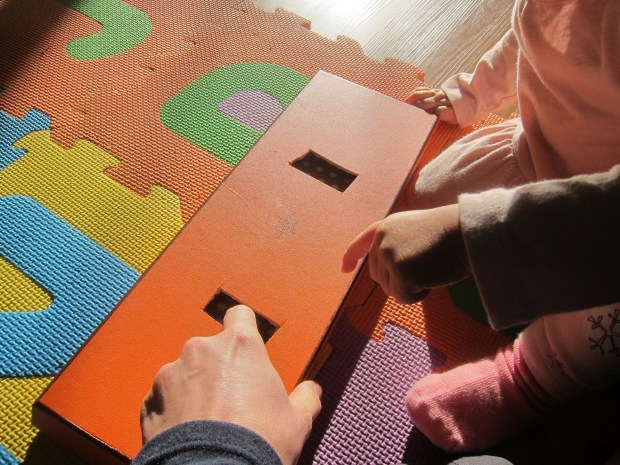
I hot-glued a piece of darker brown felt to a piece of thin cardboard to be the spikes.

Hedgehog Pencil (1)

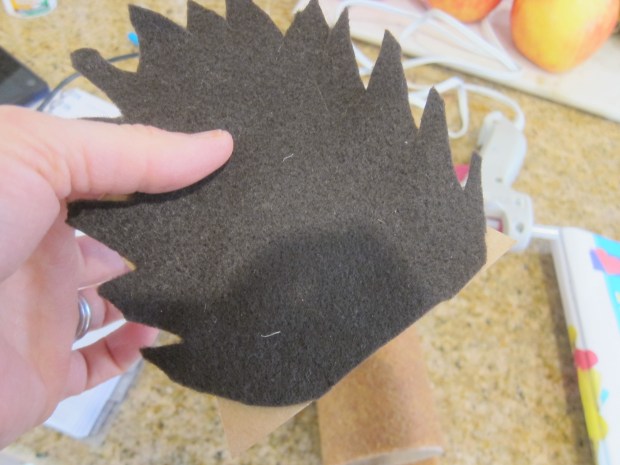
Similarly, hot-glue brown felt to thin cardboard for the feet; this will make the hedgehog sturdy enough to stand. Add these to the decorated tube.

Hedgehog Pencil (3)

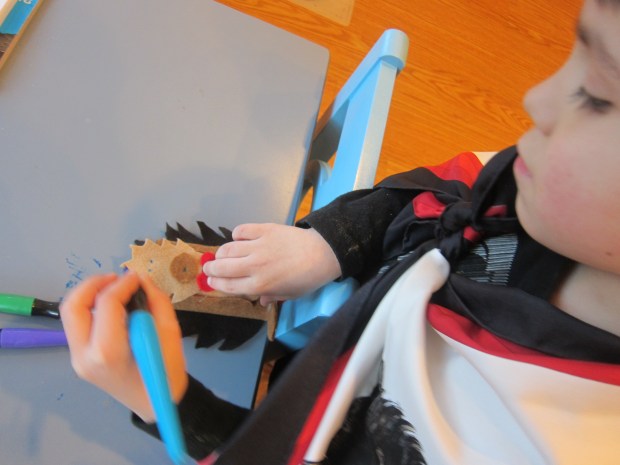
For the finishing touch, Travis added eyes and a nose with paint markers. Puffy paint would also work for this step. Slip in colored pencils and your artist is ready to create!

Hedgehog Pencil (4)

Advertisement

Creamy Salsa Dip

Creamy Salsa Dip (2)

This easy dip has big flavor but appeals to little tastes buds! It’s incredibly easy to halve the recipe or make a bigger batch, which means you can always tailor it to your needs.

Ingredients:

  • 1/4 cup non-dairy cream cheese
  • 1/4 cup mild salsa
  • 2 teaspoons agave nectar
  1. Stir together all ingredients in a small bowl.

My kids like this with steamed carrot sticks for dipping.

Salsa Dip alt

It’s also great with tortilla chips!

Creamy Salsa Dip (3)

Textured Touch

Textured Touch (9)

This advanced texture game will delight toddlers because it also contains an element of surprise!

Cut two holes in the top of a flat box (such as a tie or scarf box).

Textured Touch (1)

Next, gather together a variety of fabrics and materials. We had burlap, felt, cotton, silk, wrapping paper, and sandpaper, for lots of nice contrast.

Textured Touch (2)

One at a time, I placed a piece of material under the lid and showed her how to poke a finger through to explore.

Textured Touch (3)

She looked so intrigued by the mystery of it!

Textured Touch (5)

I put my finger in the second hole so I could describe the texture to her. Burlap, for example, was bumpy and rough. Then we lifted the lid to see what we’d been feeling!

Textured Touch (4)

Wrapping paper was next, smooth and slippery. Soon, Veronika loved being the one to remove the lid and discover what was inside.

Textured Touch (6)

The lid definitely adds a fun element to the game, since toddlers will adore putting it on and off between each new material.

Textured Touch (8)

We played a second version of the game in a paper bag. Again, she loved the surprise of reaching in…

Textured Touch (10)

…and lifting out a new fabric with delight each time.

Textured Touch (11)

Talk about all the different textures as you play this version of the game, too. The more descriptive your words, the better!

Textured Touch (12)

Chances are, your little one will be busy putting the fabric in and out of the bag for a while. Boxes plus bags plus fabric, oh my! This game was a winner.

Textured Touch (13)