Park Yourself

Park Yourself (8)

This activity was great for mapping skills. And although Travis has recently practiced making maps, today the idea was to follow one instead!

That means that the set up is a grown-up step. I drew a map of town for Travis from the park to a near-by intersection where we could leave the car. I made sure to include a legend box, lots of details like street names and symbols for main buildings, and more.

Park Yourself (1)

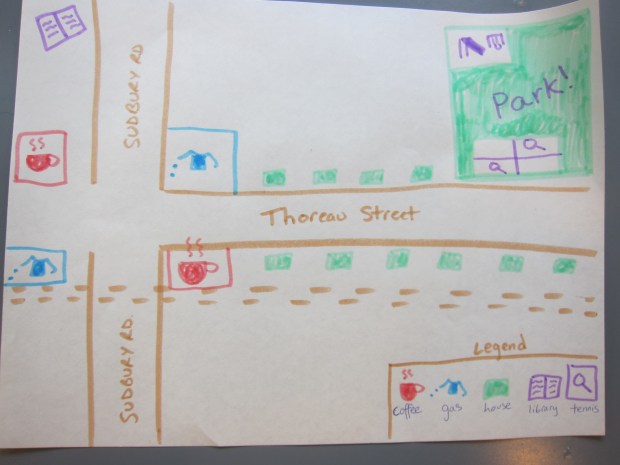
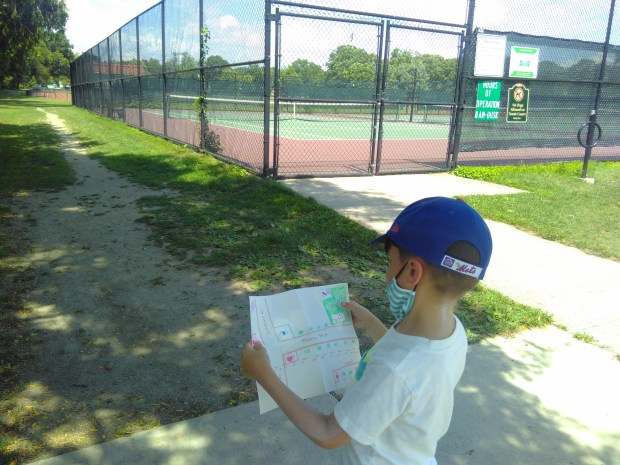
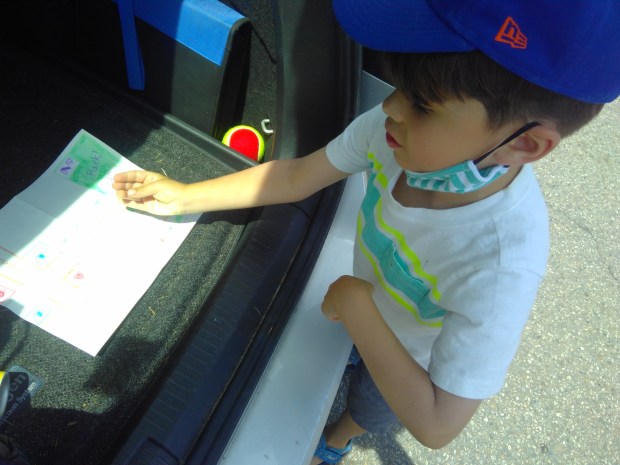
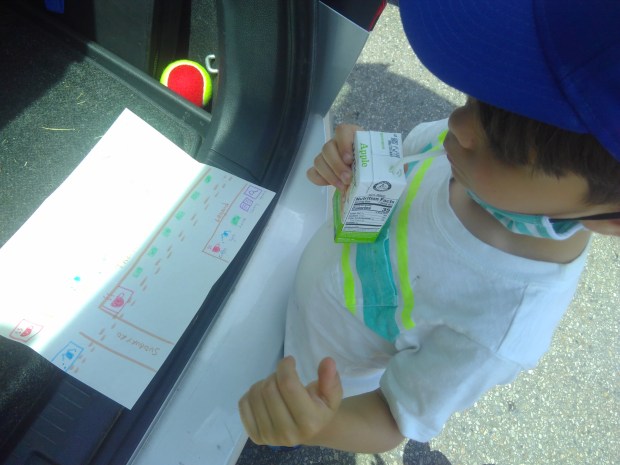
When we arrived, the first thing he had to do was orient us! Travis immediately picked out where we were based on the logo for a coffee cup I’d drawn. But now he faced a dilemma: which way to go.

Park Yourself (9)

There was so much to love about the process that followed, little things I realized we’d never touched on before like reading the street signs to assign a name to each street, or understanding how to orient yourself in 3-D space based on a 2-D drawing.

Park Yourself (11)

In short order, he puzzled out the map and we arrived. Now it was time for much deserved play!

Park Yourself (6)

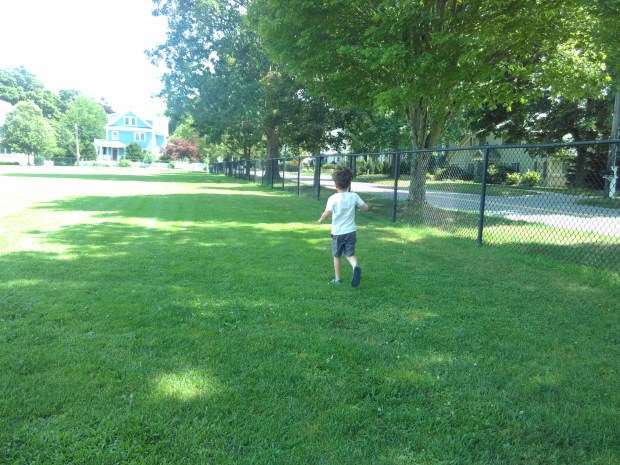
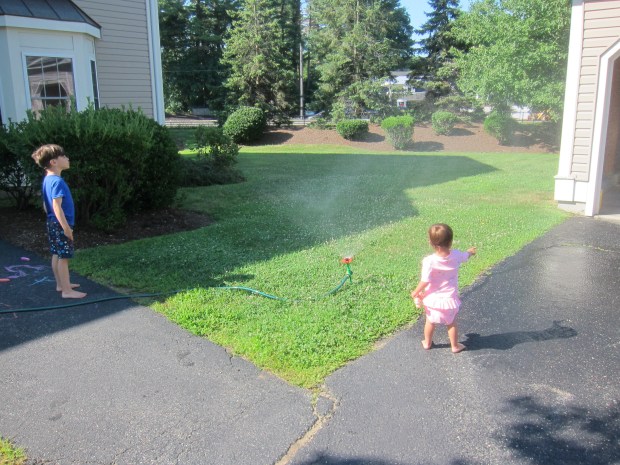
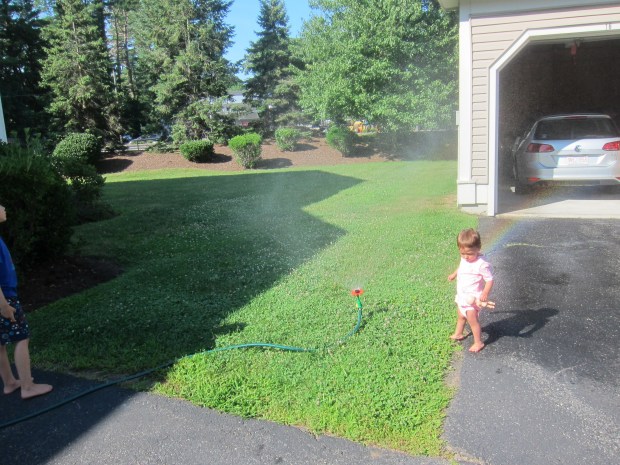
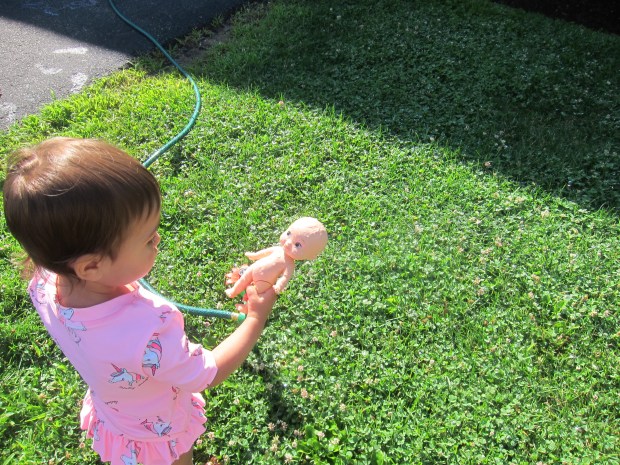
This turned into an unexpectedly awesome day in the park. The kids loved running through the grass…

Park Yourself (5)

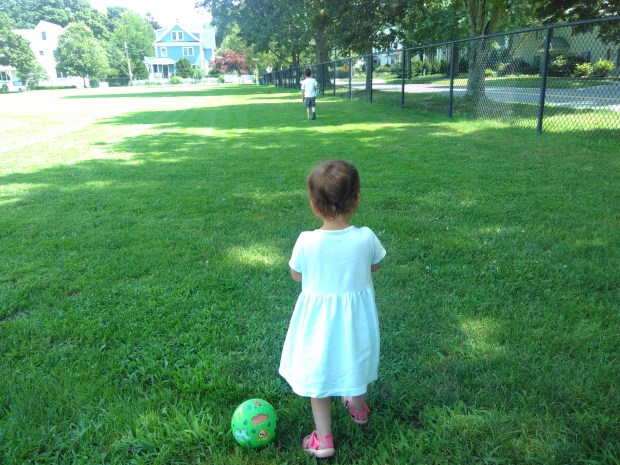
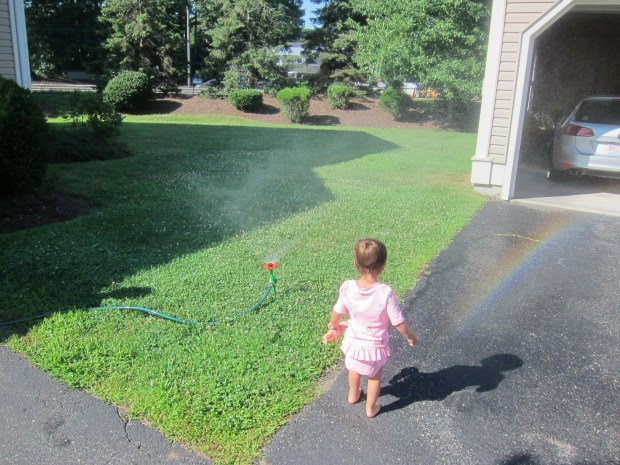
…waving to cars through the fence…

Park Yourself (4)

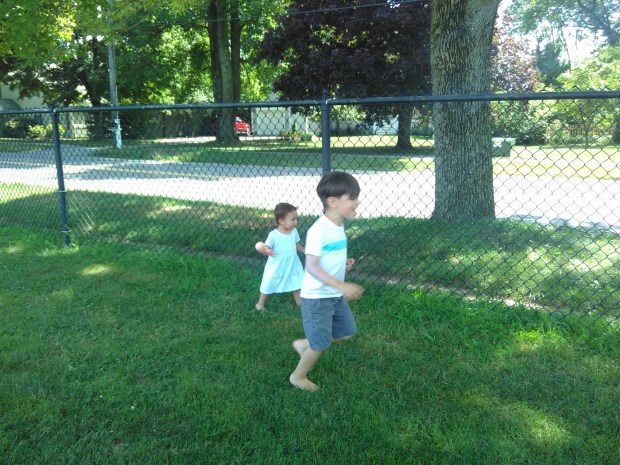
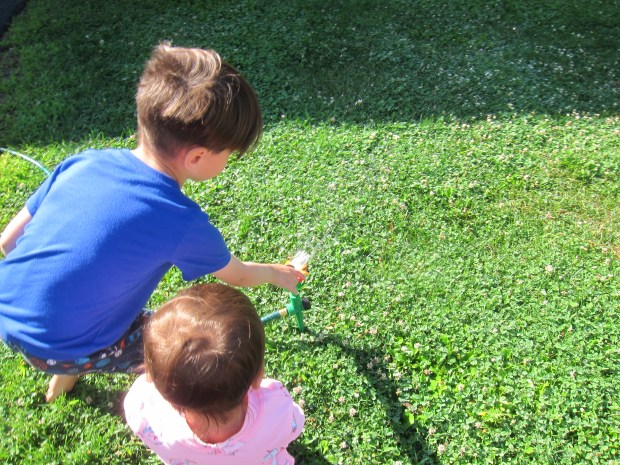
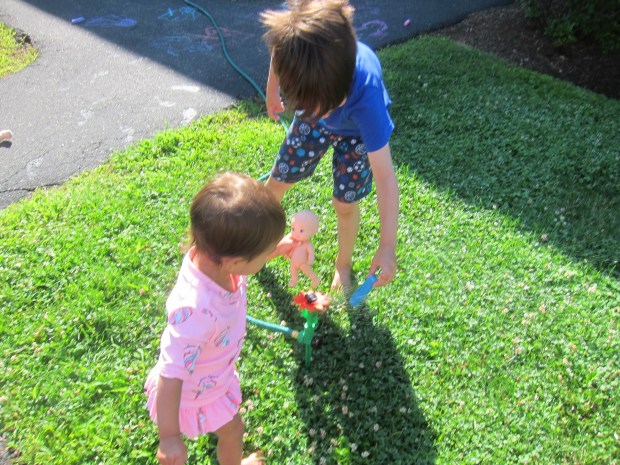
…finding clovers, and more.

Park Yourself (3)

Grandmother’s Glasses

Grandmother's Glasses (3)

I love nursery rhymes that lend themselves intuitively to hands-on play, and this one definitely fits the bill. If you don’t know this rhyme, here are the words:

These are grandmother’s glasses,

This is grandmother’s hat.

See the way she claps her hands

and folds them in her lap.

These are grandfather’s glasses,

This is grandfather’s hat.

See the way he folds his arms

and takes a little nap.

For grandmother, use a high, soft voice, and for grandfather, use a low, loud voice. You can also mime all the gestures. Circle your fingers over your eyes for glasses, pat your head for the hat, and copy the arm movements of each grandparent.

Grandmother's Glasses (1)

But for extra fun, today we turned the rhyme into a prompt for dress-up! I put on a different pair of sunglasses and silly hats for grandmother and grandfather, first on me, and then on Veronika.

Grandmother's Glasses (2)

She loved modeling all the accessories! And she got the giggles when dolls dressed up, too, to get in on the action. Long after the nursery rhyme fun was done, she was busy playing dress up.

Grandmother's Glasses (4)

Super Simple Color Collage

Simple Color Collage (7)

This is a great activity for a toddler who has just learned his or her colors, and it’s quite simple to set up. I laid out pieces of construction paper, and for each one I tore up scraps of paper in the same color and arranged them on a tray.

Simple Color Collage (1)

So as not to overwhelm your toddler with too many colors at once, I recommend starting with one background color at a time. “What color?” I asked her, pointing to the paper. “Red!” she said.

Simple Color Collage (2)

She was way more into the glue stick I gave her than in selecting which color of scraps to add from the tray, but I guided her back when I could. “Let’s add the red scraps!” I suggested simply, reinforcing her knowledge that the paper was red.

In this way, she worked through adding red scraps to red paper, yellow scraps to yellow paper, and so on.

Simple Color Collage (5)

Towards the end, I made it sightly harder and showed held up a scrap of paper. “Which color should we glue this one on?” I asked. She’d gotten the gist, now, to glue green onto green.

Simple Color Collage (3)

So as the title suggests, this activity was simple to set up, simple for a toddler to do, and simple to clean up. The trifecta!

Simple Color Collage (6)


Constellations

Constellations (1)

Who didn’t love staying up late as a kid to see the stars on summer nights? Tonight, Travis got to do just that, and to learn a little about constellations, too!

As night was falling, we fit in a refresher course on constellations, talking about what they are and then projecting a familiar one (The Big Dipper) against the wall. For this, simply poke holes in the constellation’s pattern in the bottom of an empty oatmeal container with a pen or pencil. Shine a flashlight into the container, and your stars appear!

Constellations (2)

Now it was almost dark enough, but still not quite. I challenged Travis to make up his own constellation, to name it, and then to make up a story about it. The idea was to highlight the long tradition of oral folklore that accompanies the patterns in the stars, among so many cultures.

Constellations (3)

After my example of a cat constellation, he drew a dot-to-dot boy and we wove a tale of how the boy had ended up in the stars. Next he drew a smile! I loved this childlike but beautiful idea of what images we can see among the stars.

Constellations (4)

Now it was time to spot the real thing. We headed out to the back patio and waited for final dark to fall. And then it was right to bed!

Constellations (5)

Small World Forest Play

Small World Forest Play (5)

I’ve always loved those detailed fairy houses that kids (and grown-ups!) craft from found items in the woods. Veronika is too young for it, but here’s an activity that’s suitable for a toddler and a precursor to that kind of imaginative play down the road.

First up was a quick sortie into nature to gather all the sticks we could find. She helped collect a handful, and a few tiny pinecones, too.

Small World Forest Play (2)

Inside, I wanted to fill the bottom of a shoebox with play dough, which would be the base for all the “trees” in our forest. I did have play dough on hand, but it was in vivid shades of purple and blue and I wanted something more realistic. Here’s a quick recipe that literally takes 5 minutes and cooks up like a charm:

In a saucepan, combine 3/4 cup water, 3 tablespoons lemon juice, and 1 tablespoon oil. Heat over medium heat, until warm, but not boiling.

Meanwhile, stir together 1 cup flour and 1/4 cup salt. Add the flour mixture to the hot water and stir with a wooden spoon until the mixture pulls from the sides of the pan and is no longer sticky.

Small World Forest Play (1)

Let cool on wax paper. Once cool enough to handle, pat into the bottom of a shoe box. Now we arranged all our little sticks like trees!

Small World Forest Play (4)

We added Veronika’s Duplo people to be the little forest inhabitants. She loved that they left footprints behind in the play dough!

Small World Forest Play (3)

She also liked rearranging the sticks in various patterns, or scooping up bits of play dough with the sticks as shovels.

Small World Forest Play (4)

This was a great activity for engaging the senses and the imagination.

Small World Forest Play (8)


Break Out the Sprinkler!

Break Out the Sprinkler (3)

I was reminded today that often the best activities are the simplest. And when it’s almost 100 degrees, “the simplest” can only mean one thing. It’s time to break out the sprinkler!

Just turn it on, sit back, and watch what your kids do.

Break Out the Sprinkler (5)

In truth, both my kids are reluctant to run and jump through the spray from our flower sprinklers, although this is the most obvious use of it. But they do love the following:

Splashing in the puddles it makes on the driveway;

Break Out the Sprinkler (4)

Watching for rainbows that arc through the spray of water;

Break Out the Sprinkler (2)

Washing dolls or other toys in the stream of water;

Break Out the Sprinkler (6)

Running chalk under the water (which then makes for dark, rich colors in our sidewalk drawings);

Break Out the Sprinkler (7)

And standing close enough to get misted with water…but not soaked!

Break Out the Sprinkler (1)

What do your kids love to do with the sprinkler? Please share in the comments!

Create a Driveway Mural

Driveway Mural (8)

Here’s a suggestion if your kids are tired of making hopscotch boards with their sidewalk chalk. Suggest they create a full character mural instead!

One way to do this activity would be to trace each other’s shadows, then fill in the details: clothing, hair, accessories, props, and more. I knew it would be hard to get my kids to stand still for shadow tracing, though, so suggested we trace their dolls!

Driveway Mural (1)

Travis loved the way the chalk outlines looked as soon as I made the first tracing.

Driveway Mural (4)

Immediately he was filling in the details. The first one was Yoda, with a light saber and cane!

Driveway Mural (2)

The Star Wars theme continued, including an Ewok, Darth Vader, and more. And some of them were just silly monsters!

Driveway Mural (6)

Older kids can be more serious and true to life in their mural. Challenge them with the following: Can you make the tracing look like yourself, or a friend? What would it wear? What props would it have?

Driveway Mural (9)

For kids who are almost 6 and almost 2, I’d say our turned out pretty nicely! I’d love to hear your results in the comments!

Driveway Mural (7)

Ice Cream Science

Ice Cream Science (4)

Although this is pretty much a repeat of homemade ice cream that Travis shook up back in March, we had no qualms doing it again on a 95 degree day! The recipe was a fun addition to Travis’s Edible Elements kit from Raddish Kids.

For variation, we decided to make two different flavors this time, turn the project into a blind taste test, too! We poured 1/2 cup non-dairy creamer and 1 tablespoon sugar into each of two small zip-top bags. Then we added 1/4 teaspoon vanilla extract to one and 1/4 teaspoon mint extract to the second.

Ice Cream Science (1)

We placed both these small bags in a gallon-sized zip-top bag filled with 4 cups ice and 1/2 cup coarse salt. Seal and shake!

Ice Cream Science (2)

Travis took a few shakes, but then he passed it my way for some mama muscle.

Ice Cream Science (3)

Get ready, because you may need to shake for as long as 10 minutes. Luckily, by the five-minute mark, our liquid creamer had turned into ice cream. (Note: we used oat milk creamer, and we’re curious to hear if other plant-based milks take less time or more, so please share in the comments!).

During all that shaking, we talked about the science behind what was happening; because salt lowers water’s freezing point, it makes the ice melt. As the ice melts, it absorbs heat from the cream. The cream, conversely, becomes colder. And here’s the important bit: because it’s churned, not just resting still on the ice, tiny ice crystal form. These give you smooth ice cream instead of a big chunk of ice.

All that aside, now it was time for the taste test! I spooned a scoop of each flavor into Travis’s bowl, and he proudly deduced which was which.

Ice Cream Science (5)

If your child prefers, you can add other toppings, too, like sprinkles, crumbled cookies, or candy. However you flavor it, this project is sure to beat the heat.

Ice Cream Science (6)

Paint Popsicles

Popsicle Painting (7)

For a cool toddler art project, today Veronika and I played around with paint popsicles in a few different ways. In retrospect, I would have waited on this activity until she was a little older, since today she really just wanted to eat a popsicle! But we did get in a little art, too.

The night before, freeze two kinds of “popsicles”. I poured tempera paint (in pretty metallic colors) into two popsicle molds, and then filled two more with plain water. Insert the sticks and freeze overnight.

The next morning, we headed out to the patio, already scorching hot!

Popsicle Painting (3)

We started with the plain ice popsicles, which was when I realized we were going to have a bit of a problem. Veronika spotted the popsicle molds, and wanted a taste! This didn’t matter with the plain water, but I worried what would happen when we got to the paint version.

Popsicle Painting (4)

Luckily, I was able to divert her attention to the craft: sprinkle a little powdered paint on a piece of poster board or thick paper. Use the ice “popsicle” to turn it into beautiful swirls of paint. She watched for a few minutes before joining in (and I did still need to deter a few licks).

Popsicle Painting (5)

As a result, I only briefly showed her the “popsicles” made from actual paint. These are similar in concept, except now there’s no need for powdered paint. Simply swirl the icy paint over thick paper. The more it melts, the more paint gets left behind.

Popsicle Painting (9)

But with her temptation to eat them, I detoured to a version she would be less likely to try to devour. We sprinkled powdered paint onto paper in a container small enough for her to hold in her hands.

Popsicle Painting (1)

Add ice cubes and show your toddler how to shake it side to side. Again, the ice melts and leaves pretty swirls of color behind.

Popsicle Painting (2)

As you can guess, this activity was short-lived, but fun nonetheless!

Popsicle Painting (6)

Circular-Loom Woven Trivets

Woven Trivet (7)

I intended for this old-school camp activity to help fill a Camp Mom morning at home, but it required more dexterity than Travis could master as a six year old. Still, both kids adapted the materials involved to play in their own way, keeping us all busy for an hour! I guess that makes it a Camp Mom success.

For this camp-inspired weaving project, you’ll need an 8-inch embroidery hoop. Separate the two pieces, and tie 6 pieces of string to the inner hoop so they form a starburst. Replace into the outer hoop and tighten.

Woven Trivet (1)

Now start at the center and begin weaving yarn, alternating over and under your starburst threads. I realized right away that this would have been a) quicker and b) much easier with a chunky thick yarn. So after Travis tried his hand at it a few times, I told him I would take over. Our thin yarn took quite a long time to fill up the hoop!

Woven Trivet (2)

But while I was busy weaving, Travis took the leftover ball of yarn and created an imaginary game involving monsters with tentacles, and pieces of yarn snipped all over the floor.

Woven Trivet (4)

Meanwhile little sister Veronika loved pretending her doll was dressed up in extra strands of yarn! So everyone was happy.

Woven Trivet (3)

To finish the project, keep weaving yarn, in alternating colors, until your trivet reaches desired size. Every time you switch colors, simply leave the loose threads hanging out the back.

Place the finished trivet over a piece of felt and trace. Cut out the felt, then use hot glue or fabric glue to attach to the back of your trivet, tucking in any loose pieces of string.

Woven Trivet (5)

Cover with parchment paper and a heavy book until the glue has dried completely, then snip the trivet from the strings holding it on to the inner hoop.

Woven Trivet (6)

Ours turned out to be just the right size for either a small pot or tea mug!