Strawberry Swimmy Fish

We adapted this recipe from Travis’s latest Kiwi Crate, all about pond life. The original recipe called for Greek yogurt, but you can use non-dairy yogurt in a pinch to make these little fishies vegan!

To start, place graham crackers in a zip-top plastic bag and crush with a rolling pin. Pour the crumbs into a bowl.

Working with 1 strawberry at a time, dip in a little vanilla non-dairy yogurt, then roll in the graham cracker crumbs. Transfer to a plate and add a mini chocolate chip (such as Enjoy Life) as an eye.

Chances are this snack will go down swimmingly!

Make a Gift Basket

This sweet flower basket makes a beautiful gift to any springtime recipient (hint: Mother’s Day is coming up), and helps elementary school kids hone important fine motor skills, like weaving.

To start, you’ll need a cardboard berry basket, which meant this activity began with a trip to the farm stand to pick out fresh tomatoes and strawberries! After a little snack, the crafting began. Travis chose green and purple paint, which didn’t actually show up that well, but he gave it a proud coating and we left it to dry overnight.

In the morning, he added decorations with marker. Next up was weaving! We used yellow and pink ribbon, and he worked diligently at poking the ribbon through each hole and pulling through.

I helped him tie the end of each ribbon into a bow.

As the final touch, punch holes in the top and loop pipe cleaners through to be the handles.

Fill with a spring bouquet, and give to your lucky recipient!

Pipe Cleaner Sprinkles

We have so many pipe cleaners in our craft bin right now that it seemed like a good time to put them to use. This activity was great for a toddler because it combined fine motor skills with a little imagination!

To start, I snipped a bunch of pipe cleaners into “sprinkles” i.e. one inch pieces. We had a nice assortment featuring with variety of colors, some sparkly and some not.

Next I gave Veronika a jar that she could fill. A washed and dried nutritional yeast jar was perfect since one side of the lid featured a large opening, and one side featured a small hole. Large spice jars would work well, too. Veronika was quite intrigued and tried out both openings. Sometimes she tried to add a whole handful at a time, but soon realize she needed to use more care.

When the jar is full, the pipe cleaners make a nice, soft shaking sound. Your toddler will no doubt enjoy dumping it out and starting over several times.


Then Veronika began adding “sprinkles” to her hair so proudly!

It was time to add a little twist and use our imaginations. We formed a few playdough “cupcakes” and she became a baker decorating her cakes. She loved placing pipe cleaner pieces just so for this.

In sum, this activity was a neat way to keep her occupied on a rainy morning.

Little Fingers Finger Plays

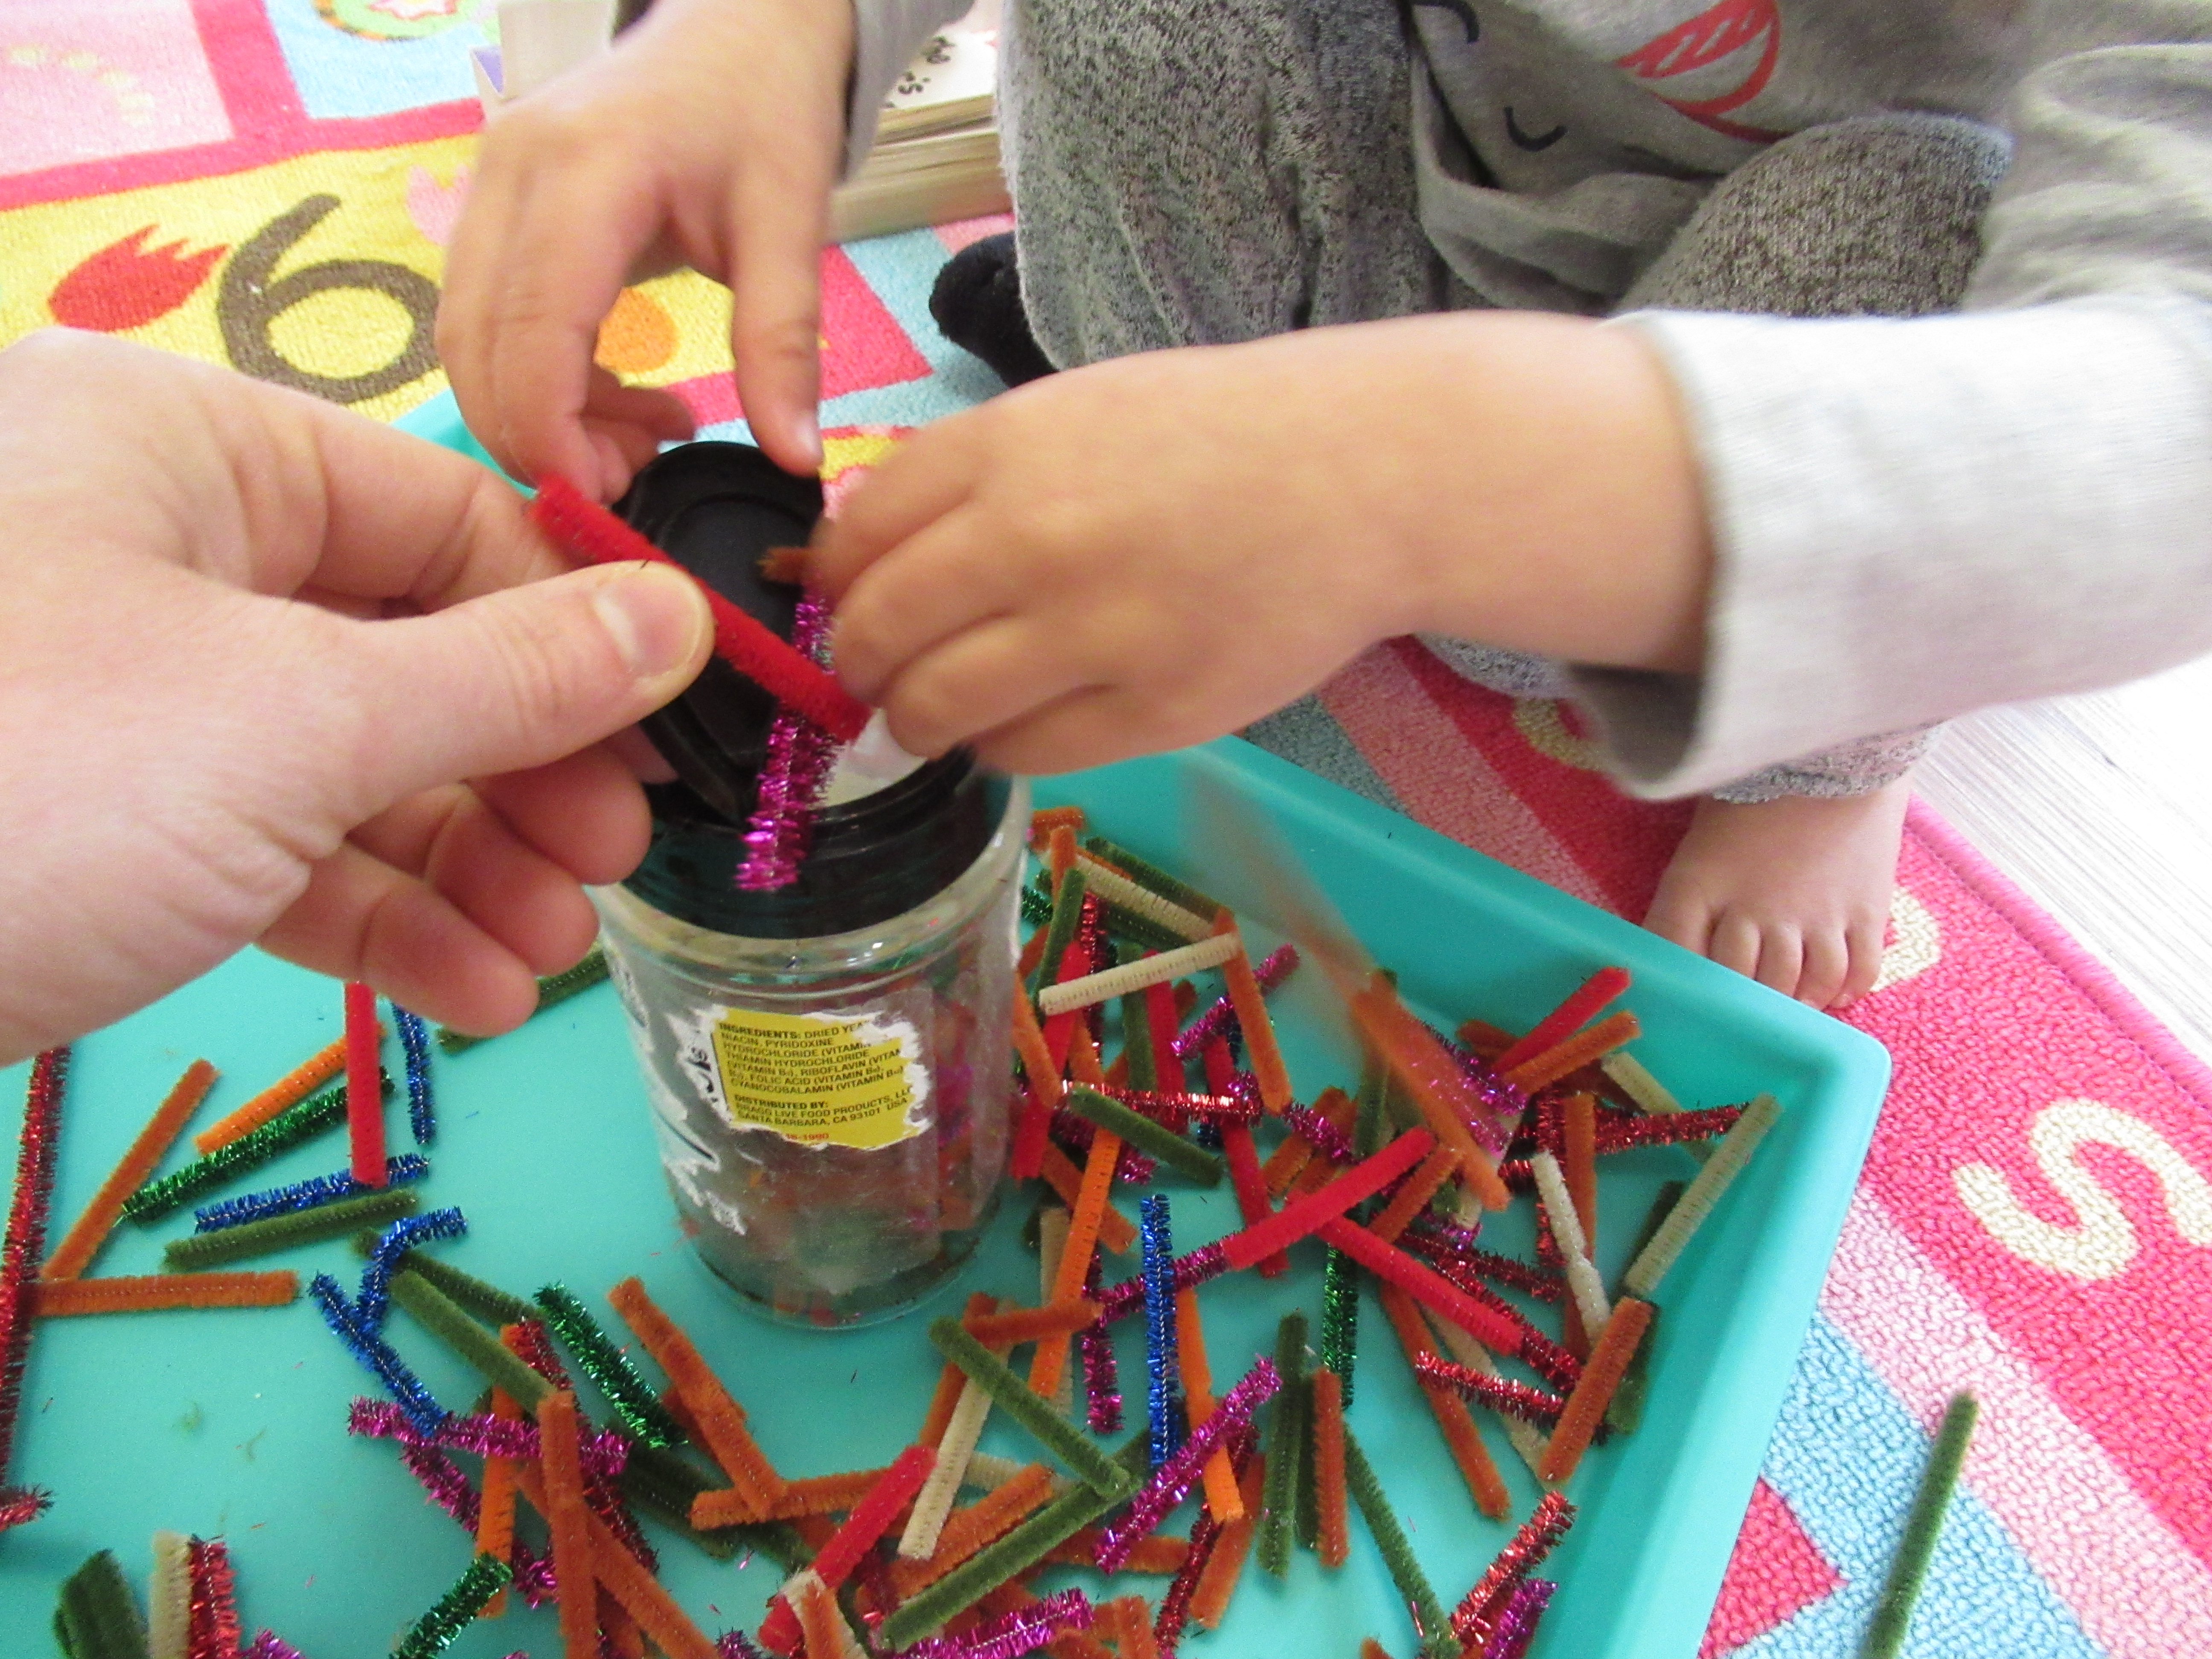
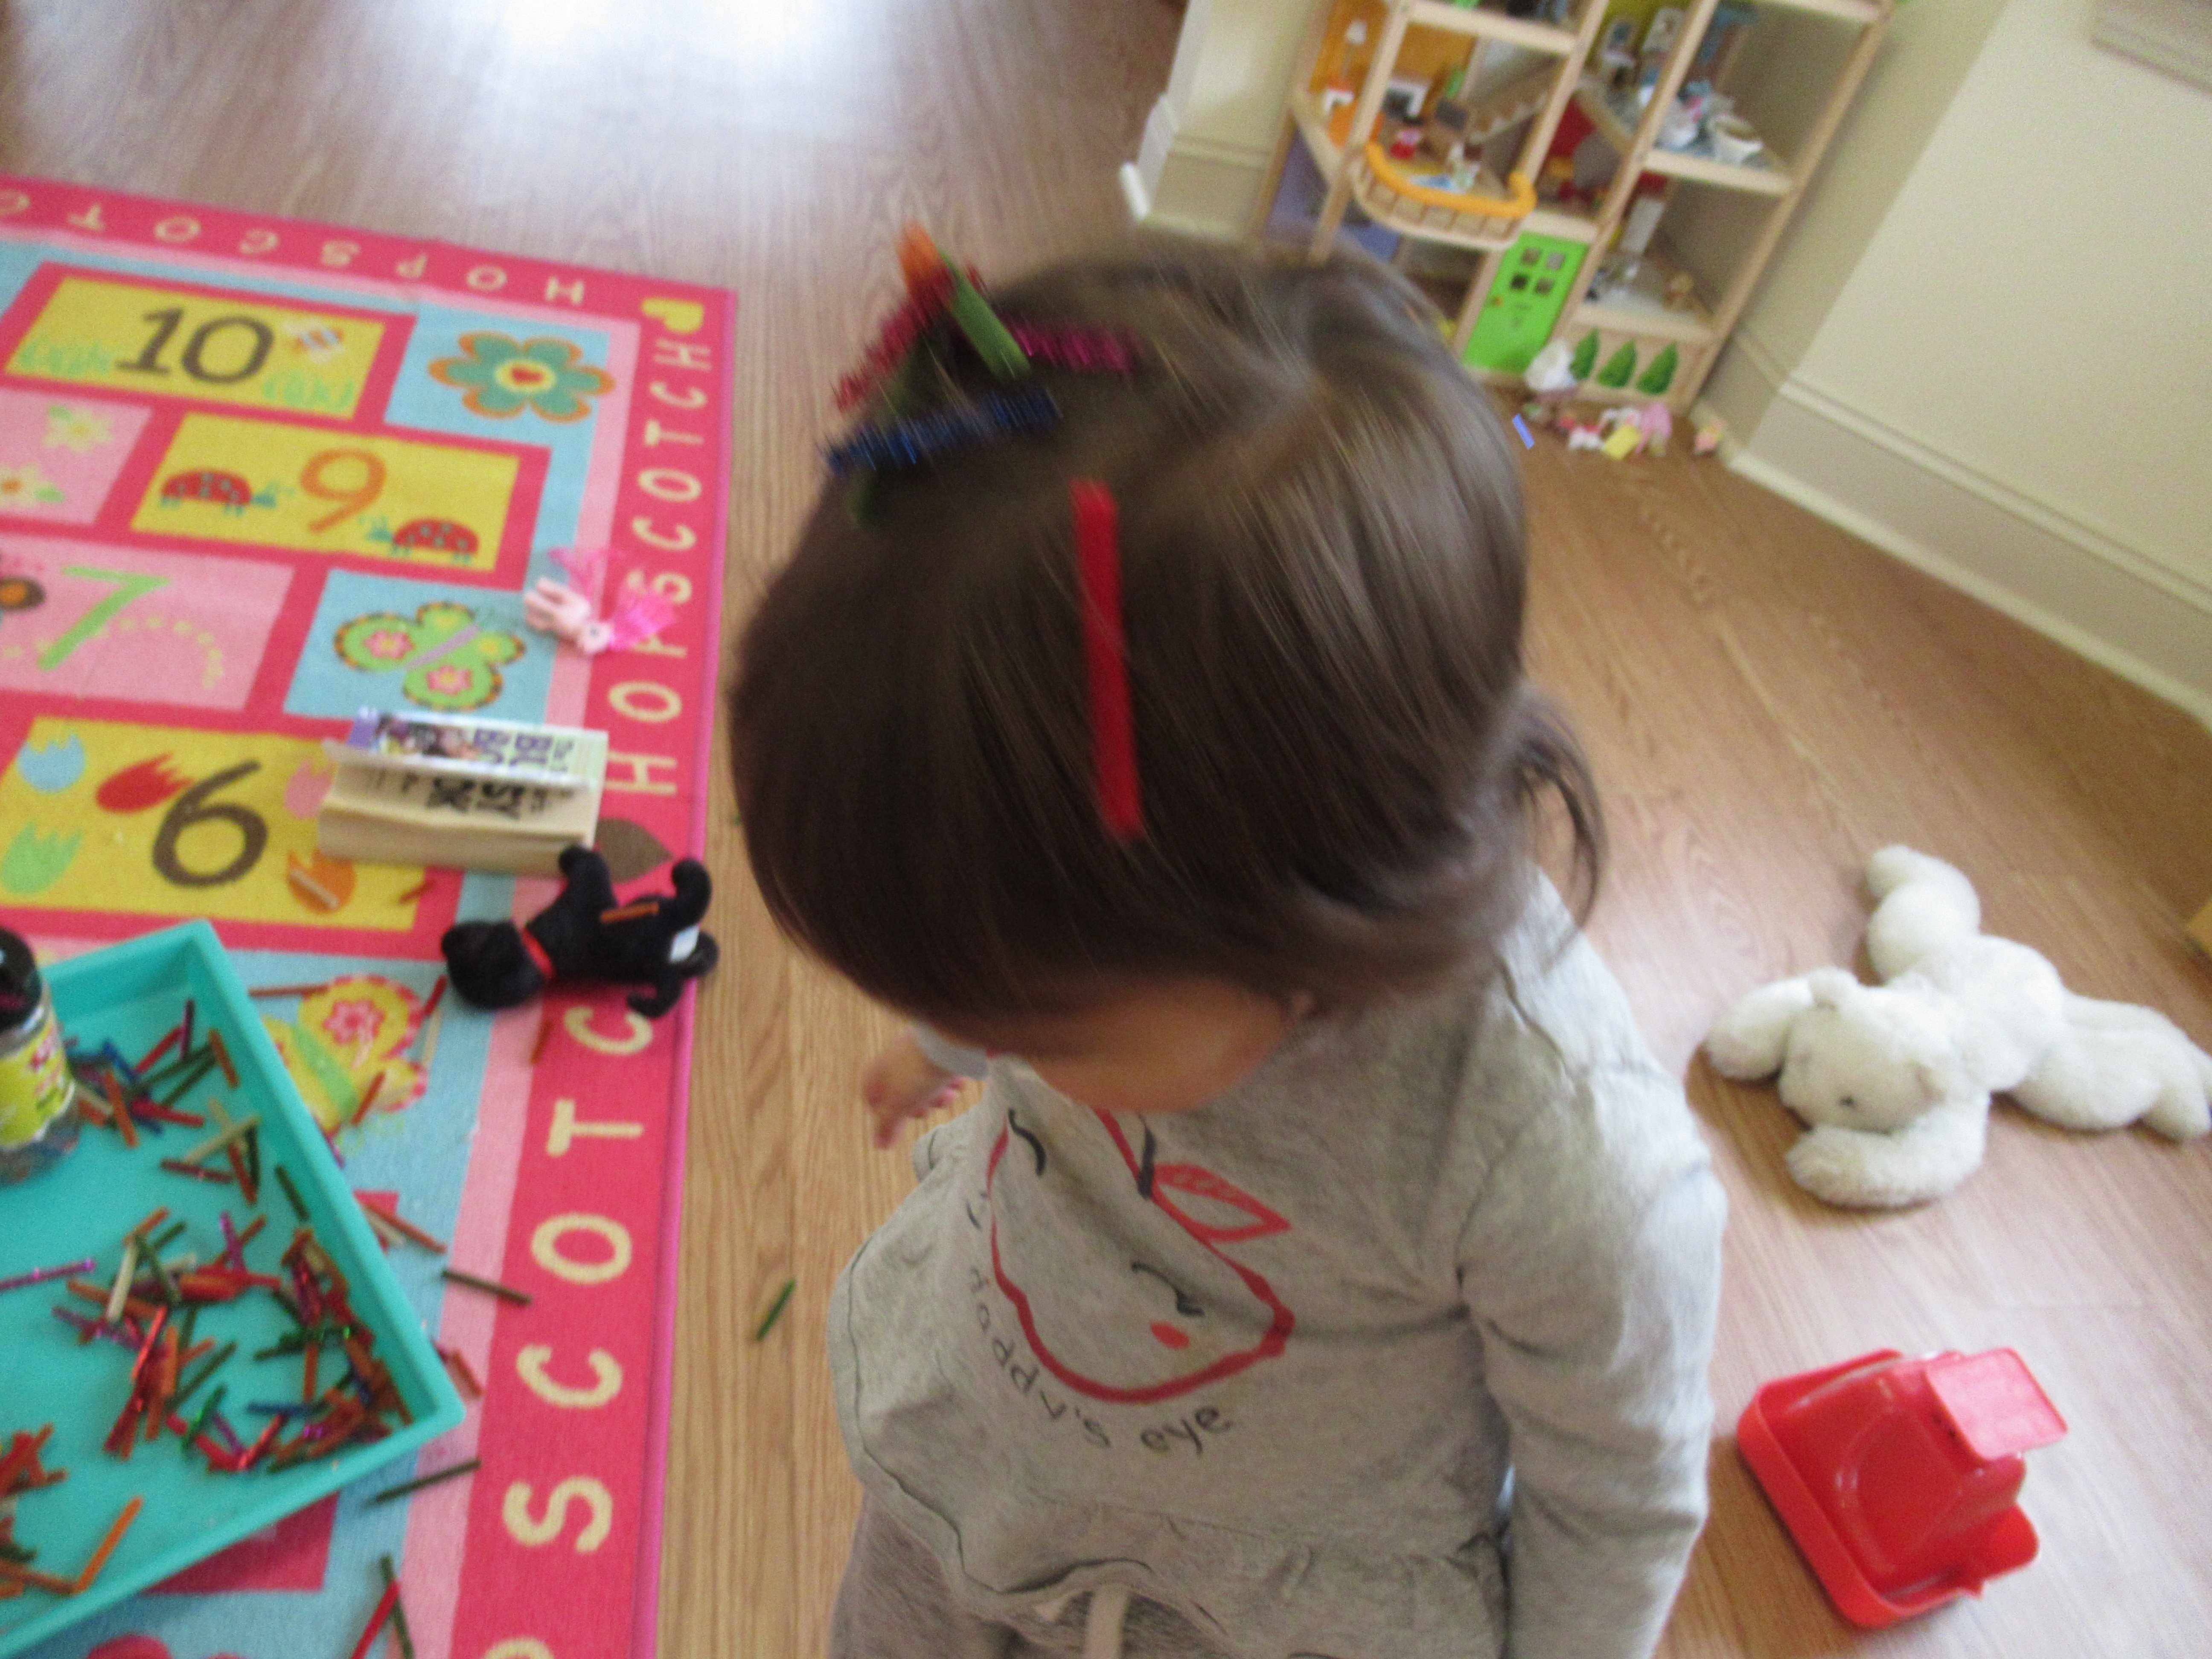
I love when we can add new finger plays to our repertoire, because let’s face it: Where is Thumbkin? can grow old after a while! These two new ones are fun any time, but especially on long car rides or waiting rooms since all you need are… your fingers! Depending which rhyme you choose, your fingers become four kitty cats or ten gentlemen.

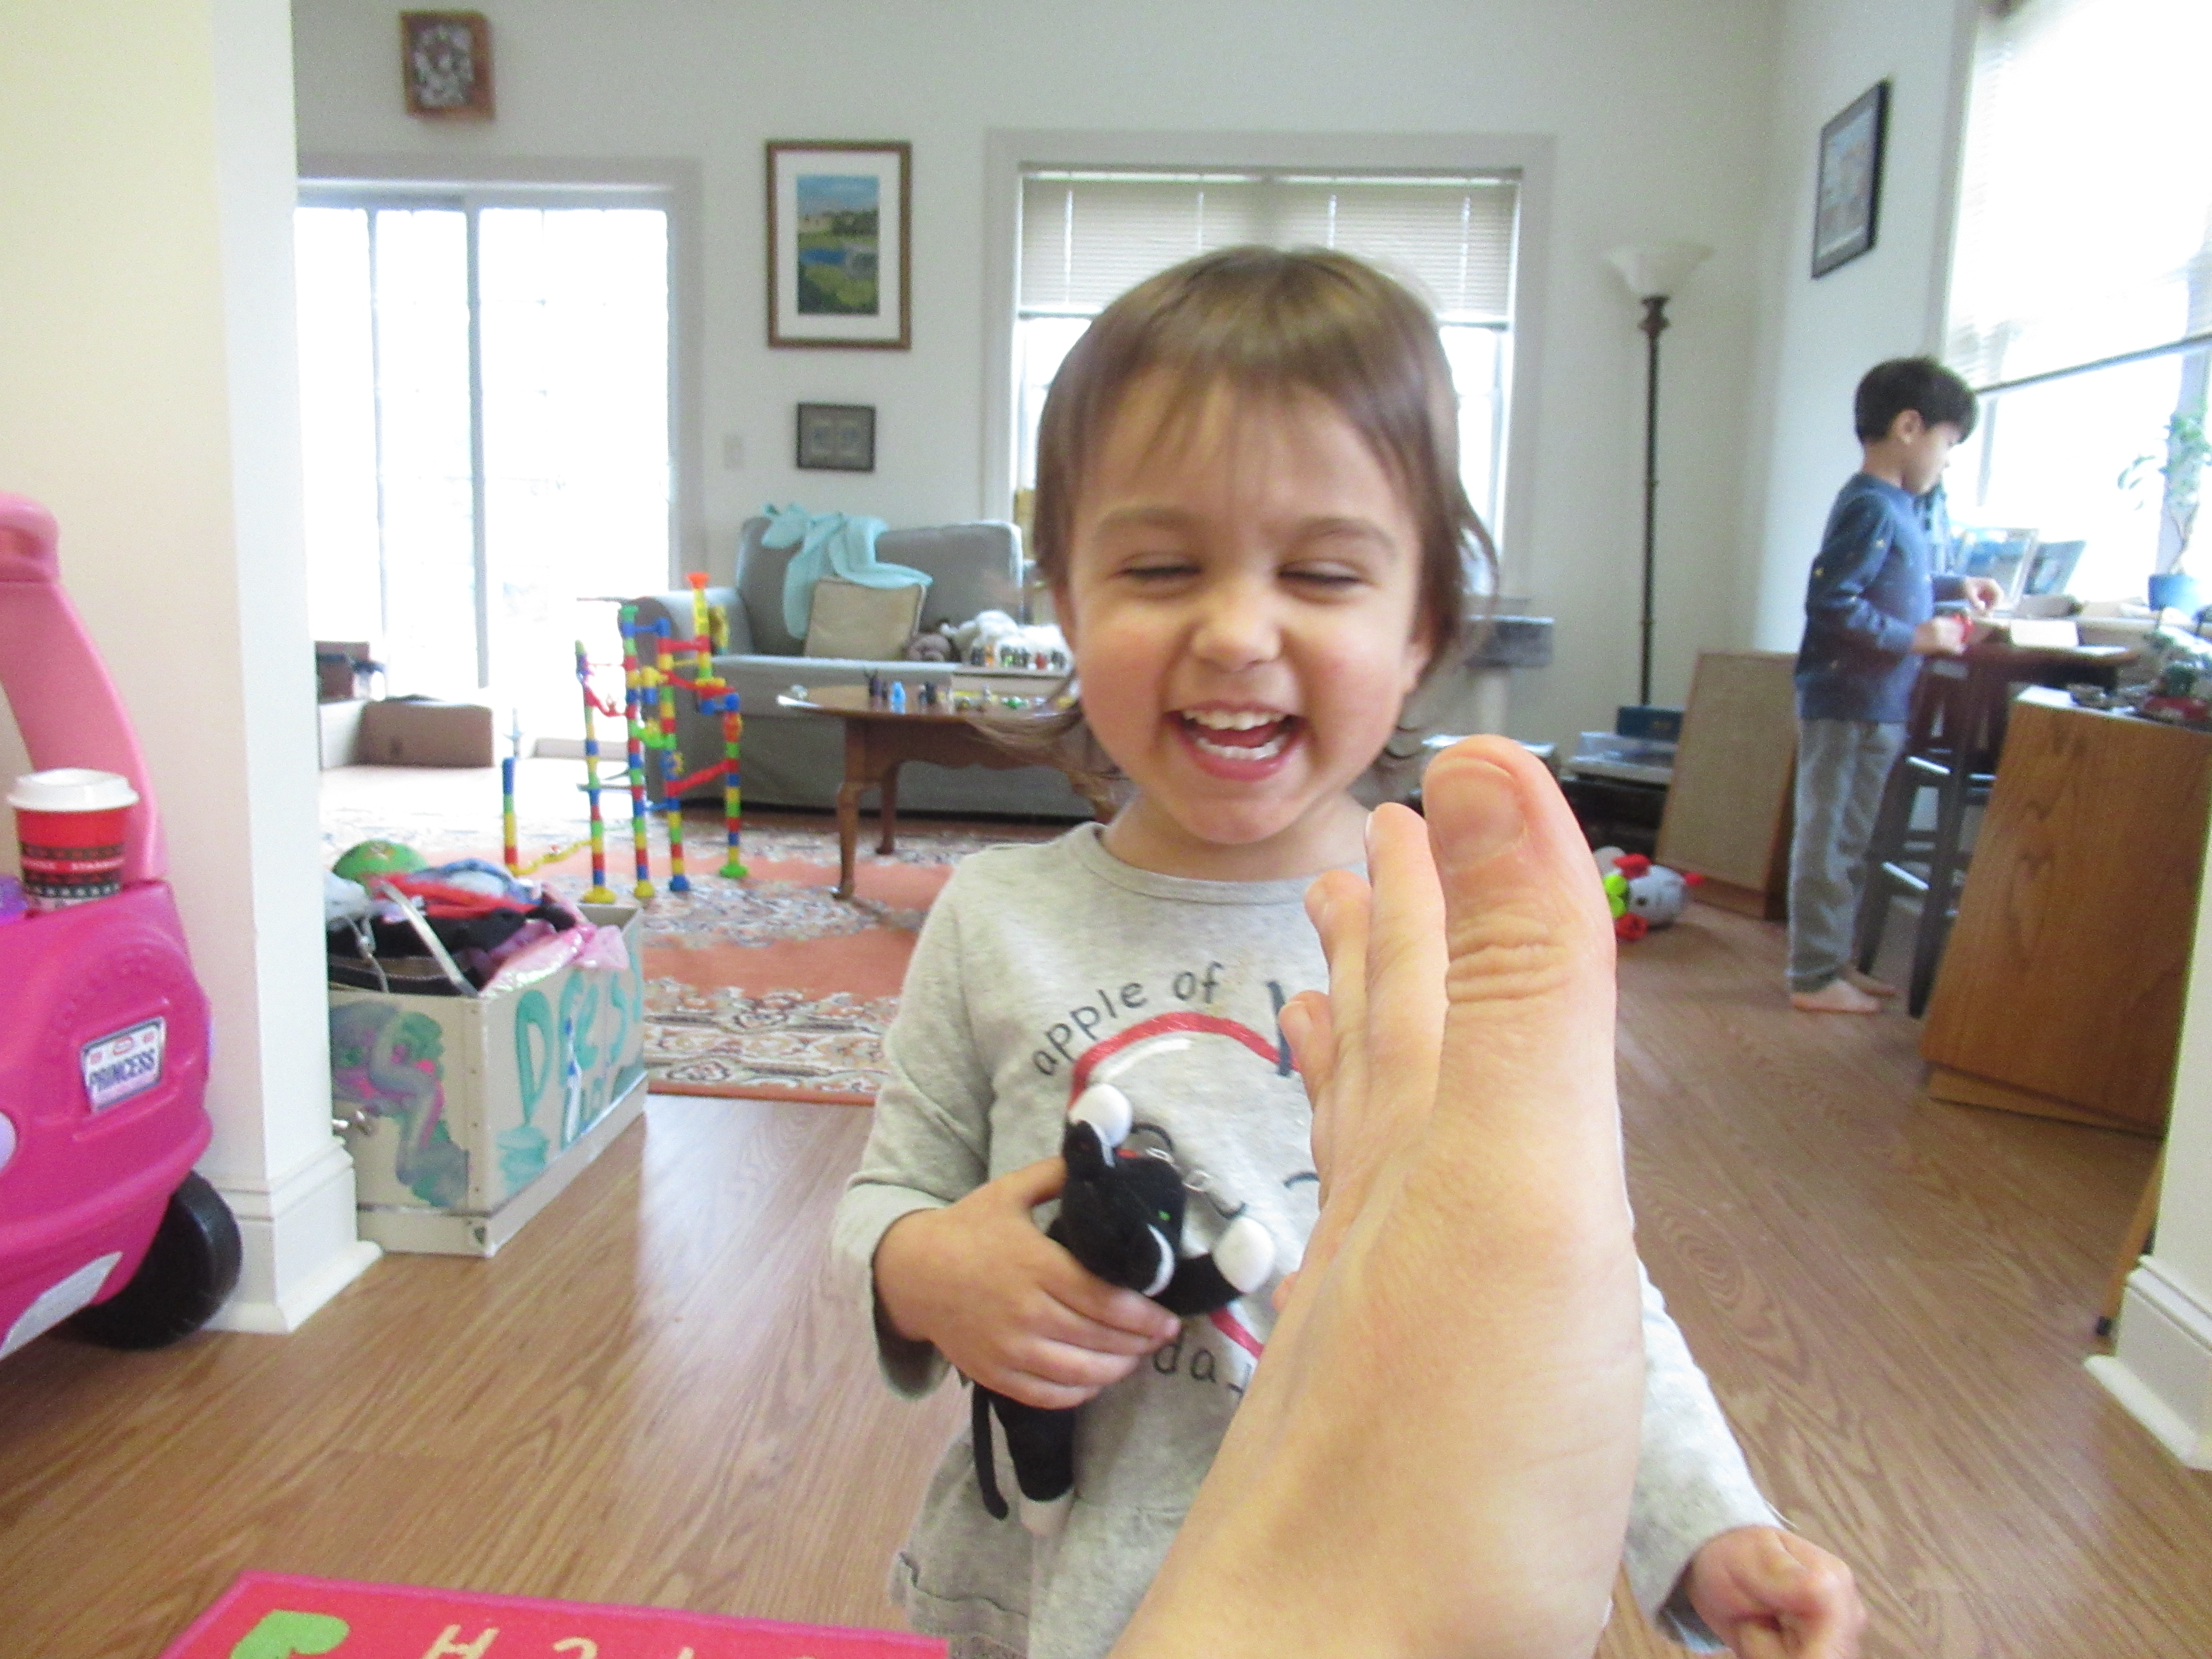
For Little Pussycats, Veronika loves to have her stuffed cat act out out the game alongside my fingers! Simply say the following:

One, two, three, four, (hold up four fingers)

These little pussycats came to my door.

They just stood there and said “good day” (bow your fingers)

and then they tiptoed right away!

End that last line with a tickle over your toddler’s shoulder as the cats run away!

Now you’ll need to recruit all ten fingers and turn them into Ten Little Gentlemen:

Ten little gentlemen, standing in a row. (Hold ten fingers up).

Bow, little gentlemen, bow down low. (Bend your fingers in a bow).

Walk, little gentlemen, right across the floor, (Walk your fingers around).

And don’t forget, gentlemen, to please close the door. (Give a clap!).

Veronika especially gets the giggles for this last clap every time, asking me to open and close the “door” over and over.

Cedar Shaving Indoor Sandbox

I love finding new materials for toddlers to use as an indoor sandbox, and today we tried something totally different: cedar shavings. Veronika took right to the material, and I quickly discovered there were three things to love about it.

First, it smells incredible. That meant the play doubled not only as tactile sensory play, but olfactory sensory play, too. Veronika would pick up handfuls and declare, “It smells really good!”

Second, there was a down-on-the-farm vibe to how the cedar shavings looked in a bin (they made me think of hay in a hayloft), so we set up a little pretend farm play. We added a funnel to be her “silo”, and Veronika loved filling it up with a pitchfork (er, beach shovel).

Then we added toy animals who could play on the farm. Veronika loved sprinkling the cedar down on them, or burying them underneath the shavings.

Finally, the cedar is a dream when it comes time to clean-up. Unlike tiny materials (rice!), this sweeps up cleanly and easily. A win for parents and kids both.

Picture Sort

Veronika and I are working on the concept of making a “match”, so here was a new way to turn the idea into a game!

To start, I cut images from magazines that could be sorted into pairs. These weren’t exact copies of each other, although you could make them so if you have a double copy of one magazine. Our pictures included: 2 shoes, 2 houses, 2 chairs, 2 images of flowers, and so forth.

Glue all these images onto index cards. For a more durable version of this game, you can try a few suggestions from The Toddler’s Busy Book. One option is to cover the cards with contact paper. To take it a step further, glue each image to a round metal lid, as from a frozen juice can, before covering with contact paper.

I kept things simple with the index cards, though, and set them out in a scrambled pile in front of Veronika. Her job was to make each match! When she picked up one shoe picture, I asked, “Can you find it’s match?” She quickly did so, showing that she’s grasped the concept.

Once the cards were all sorted, she had fun simply playing with them and looking at the images for a while. Next time, I might add magnetic strips to the back of the index cards so she can move them around like magnets on the fridge.

Rain Catcher

With two days of rain in the forecast, we took advantage and decided to make a rain catcher. This version is especially fun for toddlers since it involves a little “person” standing guard in the rain.

To set up, cut an empty plastic water bottle apart about two-thirds of the way up with a craft knife. Turn the top portion upside down so it forms a funnel down into the bottom portion, and then add masking tape along the rim to cover any sharp edges.

To make the person, mark off 1/2-inch increments on a wooden spoon with permanent marker. Add character with wiggle eyes and additional features in permanent marker. Travis decided our fellow should be called Dave.

We set the handle of “Dave” into the bottle, then placed him out in the rain. And just in time! Within a few hours, there was already half an inch of water in the bottom. Then, this happened:

Yup, snow in mid April! It was a wonderful and unexpected chance to show Veronika how several inches of snow melted down into only about 1/2 an inch of water, once the temperature warmed back up.

By the end of the evening, the water was nearing Dave’s two inch mark. But oh no, then the wind picked up… and knocked Dave and all our hard work over!

How much rain can you collect in your rain catcher? Please share in the comments!

Toppling Turtles

This adorable idea from Kiwi Co’s website brings Dr. Seuss’s story of Yertle the Turtle to life. It requires a bit of grown-up prep, but nothing too complicated. Ahead of time, I saved up bottle caps until we had 12. It would have been a bonus if they were green to begin with, but a quick coat of tempera paint solved the problem.

Meanwhile, I traced out turtle shapes on green felt around each bottle cap, (you just need a head and four limbs extending off the round body), and then cut out.

Use hot glue to add a green bottle cap in the center of each body and 2 wiggle eyes on each head.

Now it was time to watch the story! This was the perfect snuggle time on a rainy day, but the book was only halfway finished before the kids were trying to stack their turtles just like the ones in the tale.

Oh no, this tower toppled over at only seven turtles!

Veronika simply delighted in stacking a few before knocking them down on purpose. Clearly these turtles were a hit!

Travis, meanwhile, was the champion. He carefully began stacking…

…and managed to stack 10 turtles before his “king” hit the ground.

This was a wonderful way to make the book come alive.

Color Cube

This giant color “dice” is a fun way to play with toddlers or preschoolers for a variety of color games. Even better, all you need to make it is two upcycled cartons (I used soy milk).

Clean and dry the cartons completely, then cut each one in half. You can now nest them together so they form a perfect cube.

Cut squares of construction paper in a different color for each side, and glue onto the cube. Let dry overnight. The next morning, Veronika couldn’t wait to give the dice a few rolls the moment she spotted it.

Then we started adding in some color challenges. Depending what color landed face up on the cube, I had her run to fetch an object of that color.

Her favorite was a version where we matched the cube to crayons. After each roll, she selected a crayon from our set, and then of course wanted to color on the corresponding side of the cube. Pretty soon we had a decorated dice!

You can play lots of variations on these games, whether having your child hunt for a color object, race to see who can bring back the correct color fasted, have your child hand you a corresponding color of construction paper, and more! Next time we might try a shape cube for a shape hunt instead.

Decorate a Castle

This might not have been the most intricate castle we’ve ever put together, but a few large boxes are all any child needs to be king or queen of the realm for the day!

I recommend starting this project the night before, unless you want very impatient kids waiting for paint to dry. We used a big bristle brush to slather the sides of 4 cardboard boxes with paint. Because it was a lot of surface area to cover, this quickly needed to become a multi-colored castle, but the kids loved the result.

In the morning, it was time to assemble. I cut a few holes in some of the boxes for various purposes; some were small holes to be windows; some were large for Veronika to be able to crawl from box to box; and one was cut out on three sides but still attached at the bottom, to be the drawbridge of course! Be prepared for kids already crawling through and playing while you work. Chances are you won’t be able to keep them away.

You can leave the tops of the boxes straight, or cut out a few crenelations.

To make a working drawbridge, just attach a string or rope to the drawbridge flap that your child can pull on. Now Veronika could safely guard against intruders (like a certain big brother).

For window curtains, I hot-glued a few fabric scraps to a wooden dowel, then hot-glued the dowel over the smallest cut-out.

The queen was ready to rule! Having recently discovered that chalk works great for coloring big boxes, this proved to be a much cleaner method for her to decorate than painting. Veronika loved scribbling, and wanted me to add rainbows and sunshine, too.

I loved watching her take charge of the decorations!

I recommend leaving up big creations like this for at least a week, so your child can revisit it, continue to decorate, and play in new ways. What will your child’s castle look like? Please share in the comments!