Bear in the Basket

Bear in Basket (4)

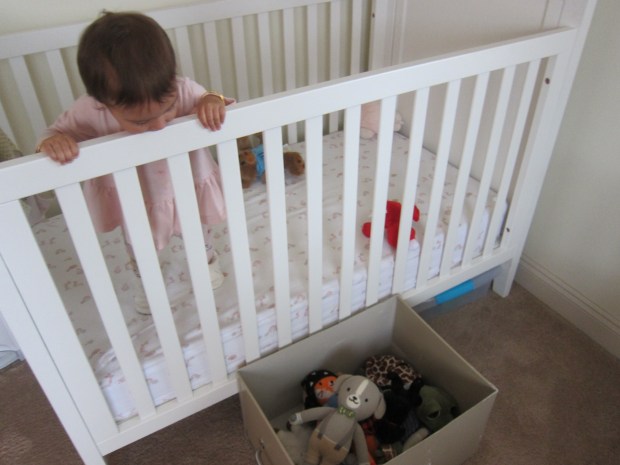
This simple game is pure delight for a toddler! I put Veronika in her crib, which startled her momentarily since it’s not a place she normally plays. Surprise turned to excitement when I added all her stuffed animal friends.

Bear in Basket (1)

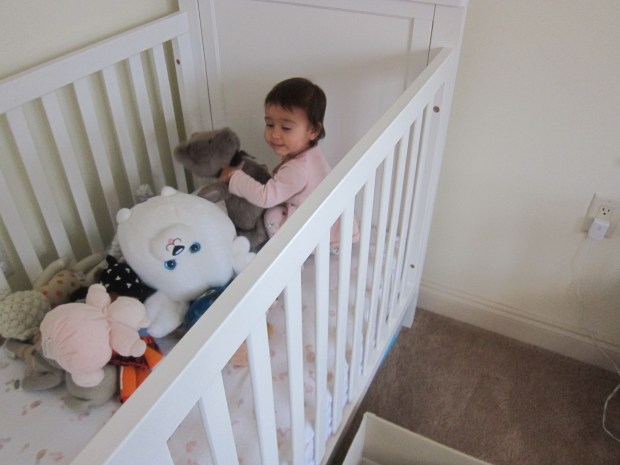
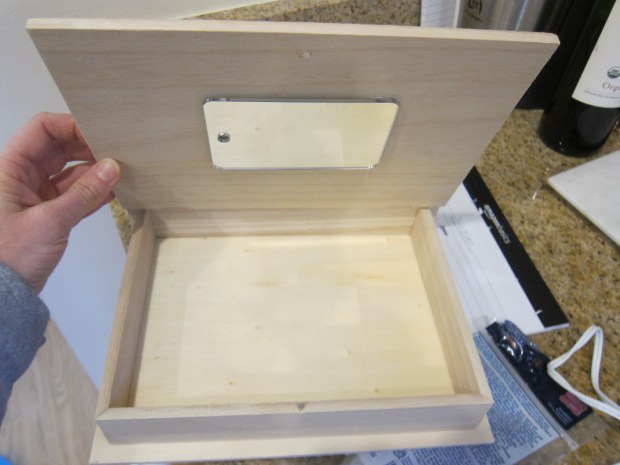
I placed a basket below the crib (a laundry basket would be perfect, or any old storage box like the one I had on hand), and then showed her how drop in a stuffed animal. “One, two, three, whee!” I counted. The first animal jumped in.

Bear in Basket (2)

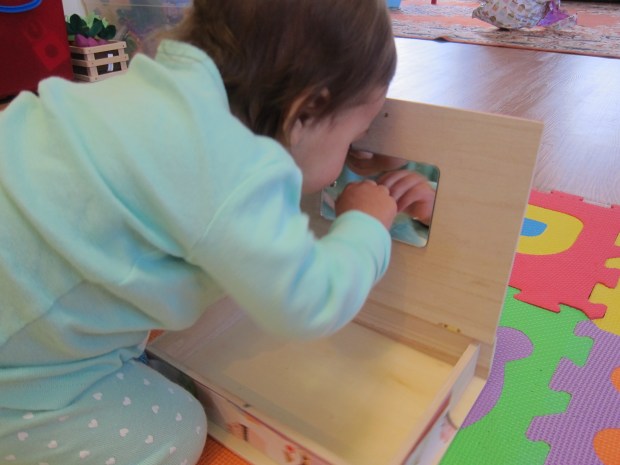
Well she had to see what this was all about!

Bear in Basket (3)

She was eager to copy me, parroting my words and holding an animal over the railing. Sometimes she didn’t realize she needed to let go with those little fists; there’s a cognitive step of cause-and-effect here that’s great for motor skill development.
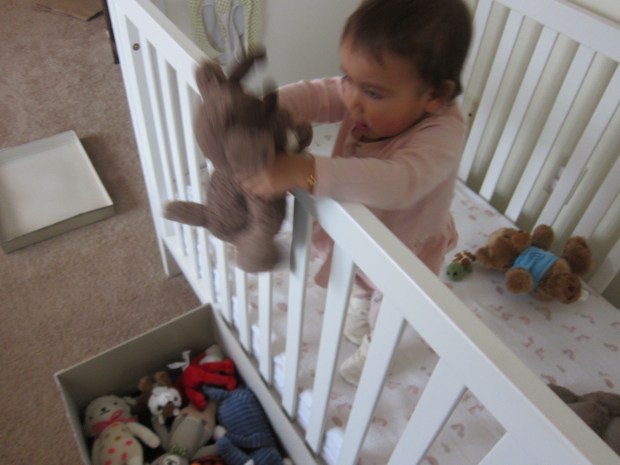
Bear in Basket (5)

Here goes reindeer!

Bear in Basket (6)

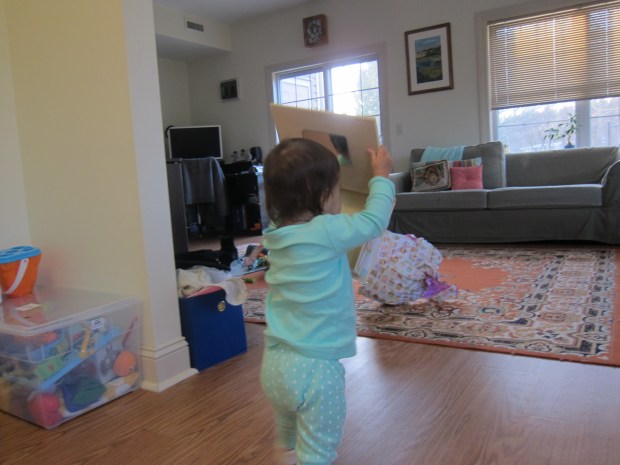
Once the basket was full, we tossed the animals back in the crib…
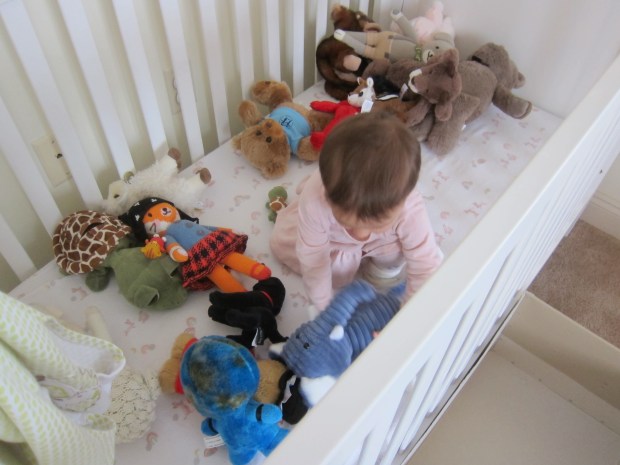
Bear in Basket (8)

…and played again.

Bear in Basket (9)

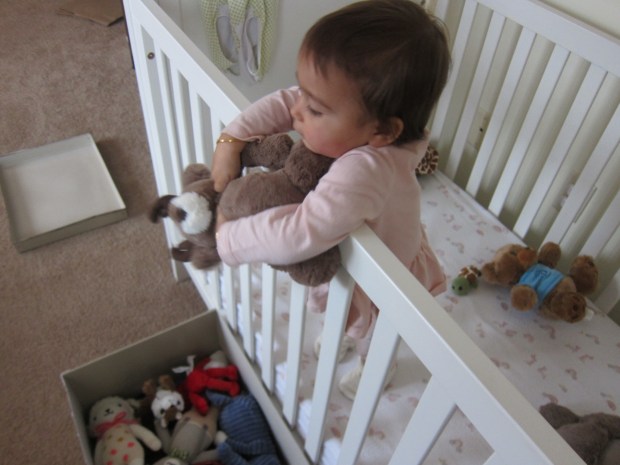
She was happy to play so many rounds of this game.

Bear in Basket (10)

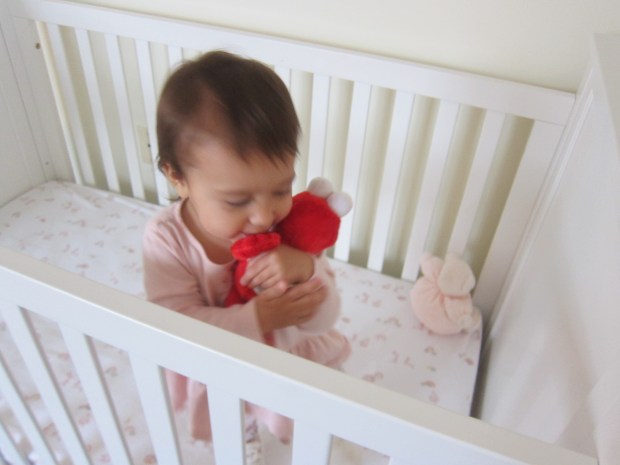
Or sometimes to pause for a hug.

Bear in Basket (11)

Just for the heck of it, we extended the stuffed animal play with a dry animal bath tub!

Bear in Basket (12)

This oldie-but-goodie never grows old. Simply throw all the stuffed animals in for a soft landing and add one toddler.

Bear in Basket (13)

Graphite Circuit

Graphite Circuit (5)

Did you know that graphite conducts electricity? Neither did Travis and I until we set out to light up an LED bulb with a 9V battery. You can create some serious wow factor with this easy STEM project; even grown-ups might be amazed!

Make sure you have graphite pencils or the project won’t work; check the art section of the craft store, not the kids’ section, to be sure.

On our first try, we drew a  bus shape for our circuit. Be sure to leave two gaps, about 1 cm wide, on each side of your drawing. Label them + and – as well. Travis loved making our graphite line nice and thick, and added bus windows.

Graphite Circuit (1)

Tape the LED light down on one side of the gap, aligning + to + and – to – and making sure the two filaments are firmly on the graphite line. (Note: the longer end of the LED is positive).

Now place the 9V battery upside down across the other gap, making sure the + and – nodes align once more.

Graphite Circuit (3)

Hmm… our light didn’t light up!

Graphite Circuit (2)

We did a little research and found out that the longer your graphite drawing, the less strong the current will be that reaches the bulb. So we made a very small rectangle and tried again.

Graphite Circuit (4)

And success! Travis was thrilled when we saw it light up.


Surprise-Inside Muffins

Surprise Muffins (2)

There’s a sweet swirl of peanut butter and jelly hiding just below the crumb topping of these muffins. If you prefer your PB&J savory, check out the cheddar meltswe made earlier this week!

Ingredients:

  • 2 cups all-purpose flour, divided
  • 1/2 cup rolled oats
  • 1 teaspoon baking soda
  • 1/4 teaspoon salt + dash, divided
  • 3/4 teaspoon cinnamon, divided
  • 3/4 cup brown sugar, divided
  • 1/2 cup canola oil
  • 3/4 cup vanilla almond milk
  • 2 Ener-G eggs
  • 1 teaspoon vanilla extract
  • 1/4 cup creamy peanut butter
  • 1/4 cup strawberry jam
  • 3 tablespoons Earth Balance butter
  1. To prepare the batter, combine 1 and 1/2 cups flour, the oats, baking soda, 1/4 teaspoon salt, 1/2 teaspoon cinnamon, and 1/2 cup brown sugar; set aside.
  2. In a bowl, whisk together the oil, almond milk, Ener-G eggs, and vanilla. Add the wet ingredients to the dry ingredients and stir until combined.
  3. Fill the muffin cups about half way with batter. Drop 1 teaspoon peanut butter and 1 teaspoon jam over each, swirling slightly with a toothpick if desired.
  4. To prepare the crumb topping, combine the remaining 1/2 cup flour, 1/4 cup brown sugar, 1/4 teaspoon cinnamon, and a dash of salt in a small bowl. Add the butter, and use your fingers to mix until combined. Sprinkle over the muffins.
  5. Bake at 350 degrees for 23 minutes. Cool in the pans and store in an airtight container.

Surprise Muffins (1)


Paper Towel Drawing

Paper Towel Drawing (2)

Here’s an easy art hack for toddlers, especially if you have a child who wants to get into an older sibling’s art supplies. Give them a paper towel to mark up instead! Because the paper towel has absorbency, the colors blur and bleed in fascinating ways.

I gave Veronika four different color markers and showed her how to make thick lines across the paper towel.

Paper Towel Drawing (1)

She didn’t need to be shown twice! Soon she was coloring avidly, clearly interested with how the markers felt on the slightly bumpy surface.

Paper Towel Drawing (3)

Next I showed her how to press in one spot and make a dot (almost like dot markers). “Dot dot dot!” she started saying happily as she imitated.

Paper Towel Drawing (7)

She also said the names of the colors as she drew, parroting back “pink!” or “yellow!”

Paper Towel Drawing (5)

Eventually, I taped the paper towel pieces down so she could keep going without direct supervision.

Paper Towel Drawing (6)

Even when the paper towels slipped, I didn’t have to worry since the washable markers wipe clean from her high chair tray in a pinch.

Paper Towel Drawing (8)

Note: You can also try this activity on coffee filters, which we did later in the day. They have a similar absorbency for a similar effect.

Paper Towel Drawing (9)

Who Do You See?

Who Do You See (4)

For toddlers who are forming a firm sense of “me”, the chance to see themselves in a mirror is especially exciting. This little project lets your toddler play peek-a-boo with him- or herself!

To make a mirror box, I used a wooden box with a hinged lid that Veronika would easily be able to flip open and closed. You can also find boxes like this at the craft store.

Use hot glue to attach a small flat mirror inside the lid of the box.

Who Do You See (1)

I decorated the outside with pretty wrapping paper, purely for the aesthetic. And of course she loved playing with extra wrapping paper as I put it together!

Who Do You See (2)

We started with just the mirror inside. You can tell from the photos that she was smitten.

Who Do You See (3)

She tried playing peek-a-boo with her reflection, and said “hello” to it and paraded around so proudly with the box.

Who Do You See (6)

And of course tried climbing in it!

Who Do You See (5)

I later added a few photos of family member’s faces, thinking to make the surprise inside the lid different each time. You can mix this up by taping in pictures of animals or other favorite items from magazines, too.

Who Do You See (8)

Even once the surprise of the mirror wears off, this makes for a special box to store little keepsakes in.

Who Do You See (7)

Peanut Butter and Cheddar Melts

PB Cheddar (1)
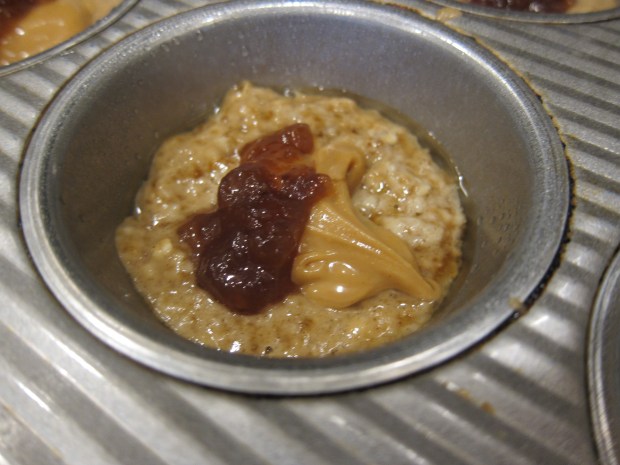
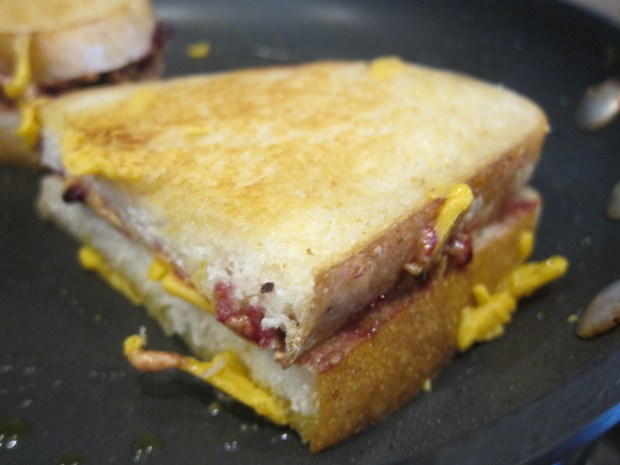
This gourmet sandwich is the perfect marriage of two kid classics: PB&J and grilled cheese. It’s sure to bring a smile to kids’ faces at lunchtime! Use your favorite jam for this recipe. Cherry would taste nice, as does mixed berry.

Ingredients:

  • 4 slices sourdough bread
  • 4 teaspoons Earth Balance butter
  • 1/2 cup shredded Daiya cheddar
  • 4 teaspoons creamy peanut butter
  • 4 teaspoons berry jam
  1. Spread one side of each bread slice with 1 teaspoon butter; set aside.
  2. Place two of the bread slices, butter side down, in a skillet over medium-high heat. Sprinkle each with 1/4 cup cheese. Cook for 3 minutes.
  3. Meanwhile, spread the remaining two slices of bread with the peanut butter and jam, on the opposite side from the butter. Place over the cheesy bread in the skillet; flip and cook for an additional 2 to 3 minutes.

PB Cheddar (2)

Let’s Build a Flashlight

Build a Flashlight (4)

Kids will feel like real electricians with this easy project! All you need is a cheap flashlight, the kind you’ve probably picked up at a drugstore or dollar store check-out in the past and have lying around.

I disassembled the flashlight into all of its components and arranged them on a tray so it felt very official, then called Travis over.

Build a Flashlight (1)

He was so excited when I challenged him to put it together again! At first he was twisting together just the body and the screw cap, without a thought for coils or batteries or other pieces that might need to go inside.

Build a Flashlight (2)

Hmm… it wouldn’t turn on. What was missing? Now he worked hard to figure out where the coils should go.

Build a Flashlight (3)

Being allowed to handle the batteries all by himself was super thrilling!

Build a Flashlight (5)

It took a few tries before he had everything arranged in the right direction.

Build a Flashlight (6)

He was so proud once a push of the button turned it on!

Build a Flashlight (8)

This is a great introduction to battery power that even young children can grasp.

Build a Flashlight (7)

Kindergarten Home School Day 10

Home School 10 c

Another week under our belt. I can’t claim today felt as strong as yesterday, but we did enough, and sometimes that’s OK.

8.30: Check-in. We started early because Travis’s teacher had recorded their morning meeting songs. He grinned to see her on video as we went through all the songs and watched her read a story.

Home School 10 a

9-10: ELA. First we played ‘I Spy’, taking turns finding something that started with each letter of the alphabet. “I spy something that starts with B: Banana!” and so on.

Home School 10 b

He also did one ltter page (F), a few worksheets on concepts (wet, hot, cold), and loved sitting down for Lexia online again.

10-11: As a special treat, there was a class Zoom session. The kids took turns doing show-and-tell and clearly loved the chance to see classmates.

11-12: Math: There were three assignments today, which felt like too much. First he hunted for a shape in the house, then took a picture of it with the camera of an online program. The program allowed him to then trace the shape and record himself saying what it was.

From there, he formed the letters 10 through 20, first with colored crayon, then with Legos.

Home School 10 e

We were supposed to go on a hunt for numbers around the house, but I could tell he was tired. Instead we made t-shirts!

12-1: Lunch/free play. Little sister needed to nap.

1-1.30: Science/Art: He watched a BrainPop video on spring and took the quiz, then drew a picture of himself in the springtime. Love those sunshine hands!

Home School 10 f

1.30-2: Outside time: We went for a nature walk looking for items that the school’s counselor had suggested, including something you find beautiful.

IMG_0020

2-2.30: Mental Health: It was a low-key afternoon. We played a board game to get laughing and went through a few more of the counselor’s suggestions, including a 5-minute guided meditation video; looking through old photos and sharing memories; and learning something new about a family member.

IMG_0023

Is your school counselor providing mental health resources for kids in this strange time? Please share in the comments!

Big Brother and Little Sister Shirts


Brother Sister Shirts (10)

It’s such an exciting development for my kids that now they can do projects together, as was the case with these brother-and-sister shirts. Obviously you can tailor the shirts to fit your family, whether that means two brothers, three sisters, or even mommy & me shirts!

Brother Sister Shirts (1)

I purchased blank white tees at the craft store in the kids’ sizes, and first wrote on the front “I am the little sister” and “I am the big brother” with fabric pens. Note: This is harder than it looks, because the fabric kept pulling!

We then wanted to put Veronika’s footprint on Travis’s shirt. I squirted a little fabric paint onto a sponge and pressed it to her foot, then pressed her foot to the fabric. It didn’t come out completely clear, but Travis loved knowing it’s there! If your big kids want to, have them put handprints on the little sibling’s shirt in the same manner.

Brother Sister Shirts (3)

Then the kids loved dabbing the sponge all over the shirts, squirting it first with different colors.

Brother Sister Shirts (5)

The fabric markers were running low on ink, but they discovered that they could squirt a little fabric paint onto a shirt and use the tip of the markers as the “paintbrush”.

Brother Sister Shirts (4)

They had so much fun making these!

Brother Sister Shirts (6)

And they looked adorable wearing them.

Brother Sister Shirts (8)

Kindergarten Home School Day 9

Home School 9 f

Hallelujah, we finally had what I would call a great day of home school. Travis stayed in a positive mood, we powered through lots of activities early while everyone was fresh, and there was even time for a baby gym class online with my toddler.

9-10: Check-in/ELA: After watching an online read of Clark the Shark, it was time to make a shark and feed it words! We loved this activity, first coloring in a shark and then cutting it out so the mouth was open with lots of jagged teeth.

Home School 9 c

I cut “fish” from construction paper and added a consonant/vowel/consonant word to each one. The rule was you had to read the word before feeding a fish to the shark.

Home School 9 d

10-10.30: Math: Still in high spirits, we tackled a math shape hunt before snack, looking for: 3 triangles, 4 circles, 3 squares, and 5 rectangles. Travis learned that triangles are much harder to come by than the others!

Home School 9 e

10.30-11: Free play/snack. Travis requested to play inside with Legos while baby sister had some sensory fun.

11-12: Science/Social Studies. First we watched a Mystery Doug video on the world’s biggest tree, than did the website’s weather mystery lesson. Using “clues” in each picture, Travis aced figuring out which season was which. He loved coloring the pictures in so much he spent 45 minutes on it! I had time to prep dinner!

Home School 9 g

He was on such a creative roll that we went ahead with social studies. After saying the Pledge of Allegiance and talking about the American flag, he designed a flag for our family. This is a great project for raiding the craft bin.

Home School 9 h

12-12.30: Lunch break!

12.30-1: Music. His music teacher had recorded a full 15 minute video. Travis confessed that this felt different than really being in the class, and I was proud he stuck with it.

1-1.30: Spanish/Yoga. The afternoon, as you can see, was super light as a result of all the early academia. We did a Spanish video counting to 7, and I roped the kids into a few yoga poses.

Home School 9 j

1.30-2.30: Outdoor time. We took advantage of gorgeous weather for a “sandbox” on the porch and other fun games, including a homemade boomerang.

Home School 9 i

The afternoon was now beautifully open for free play, a family walk, and chatting with friends online.

Please do let me know how home school is going, if your district, too, is closed for COVID-19!