Sunny-Day Clay

We’ve made homemade playdough before, but haven’t ever tried our hand at homemade clay! This version comes together fairly easily and has a fantastic texture.

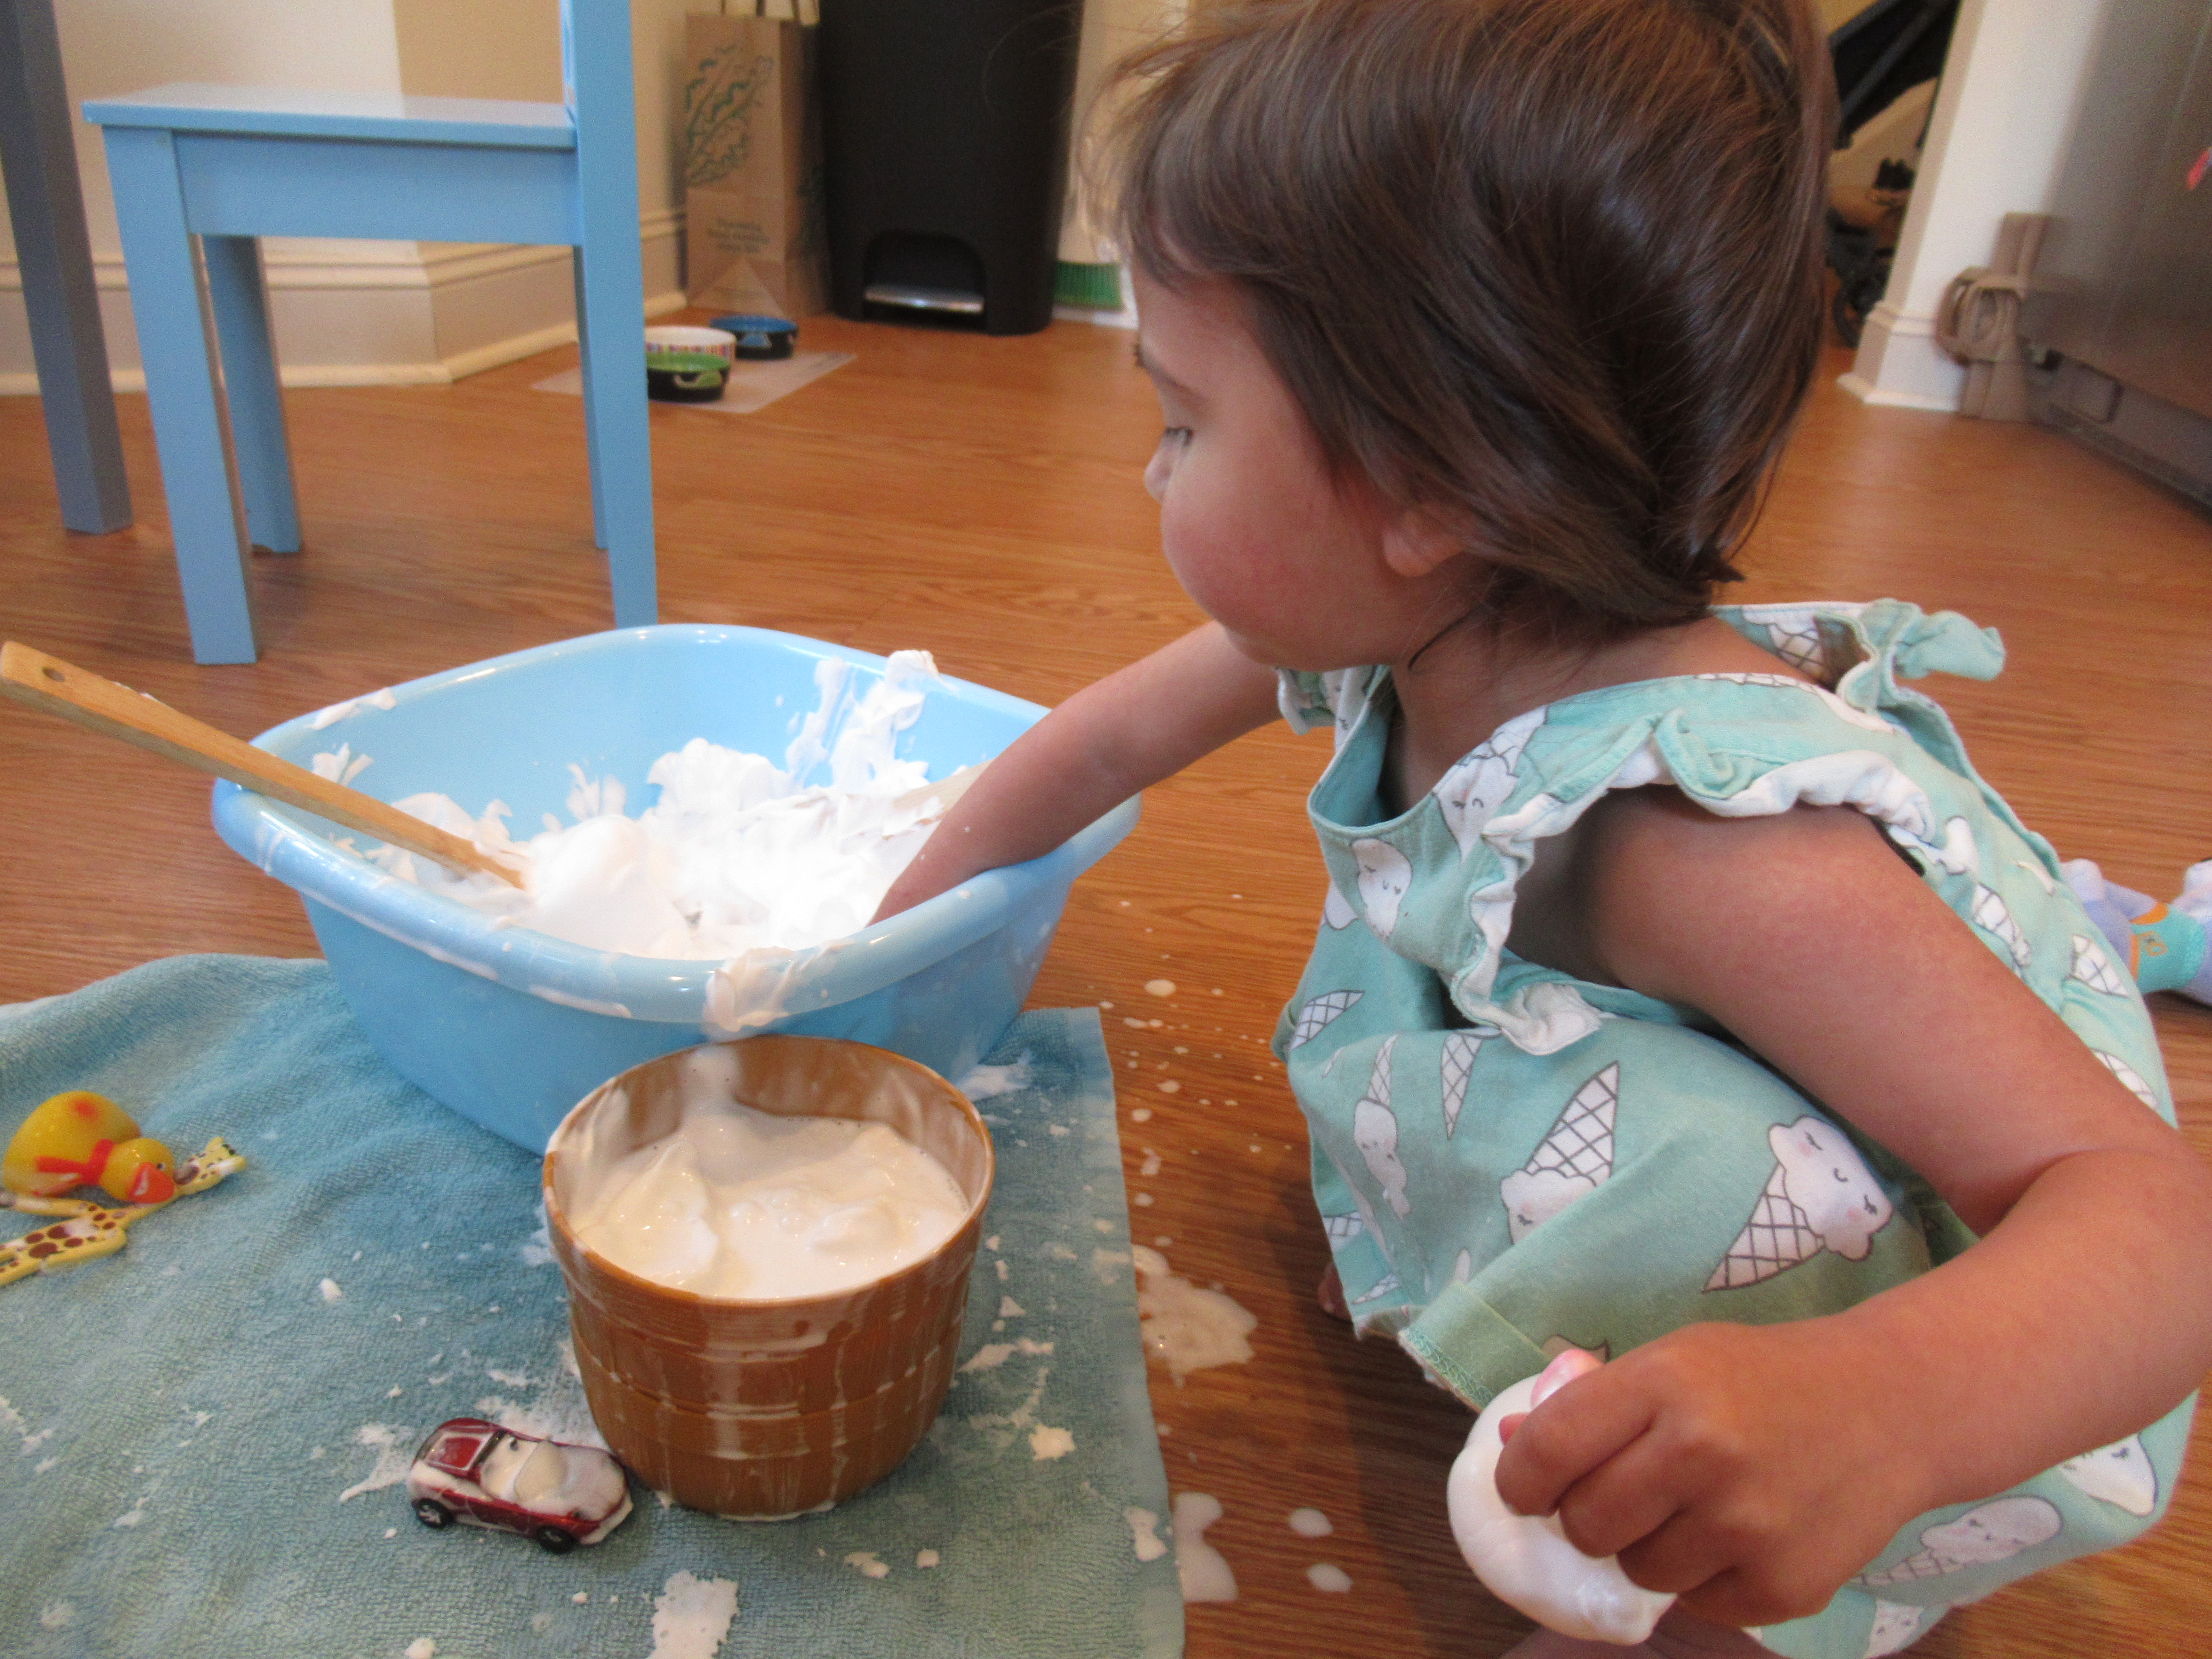
To start, have your kids squeeze in some quick math by helping measure out 2 cups baking soda, 1 cup cornstarch, and 1 and 1/4 cups water into a saucepan.

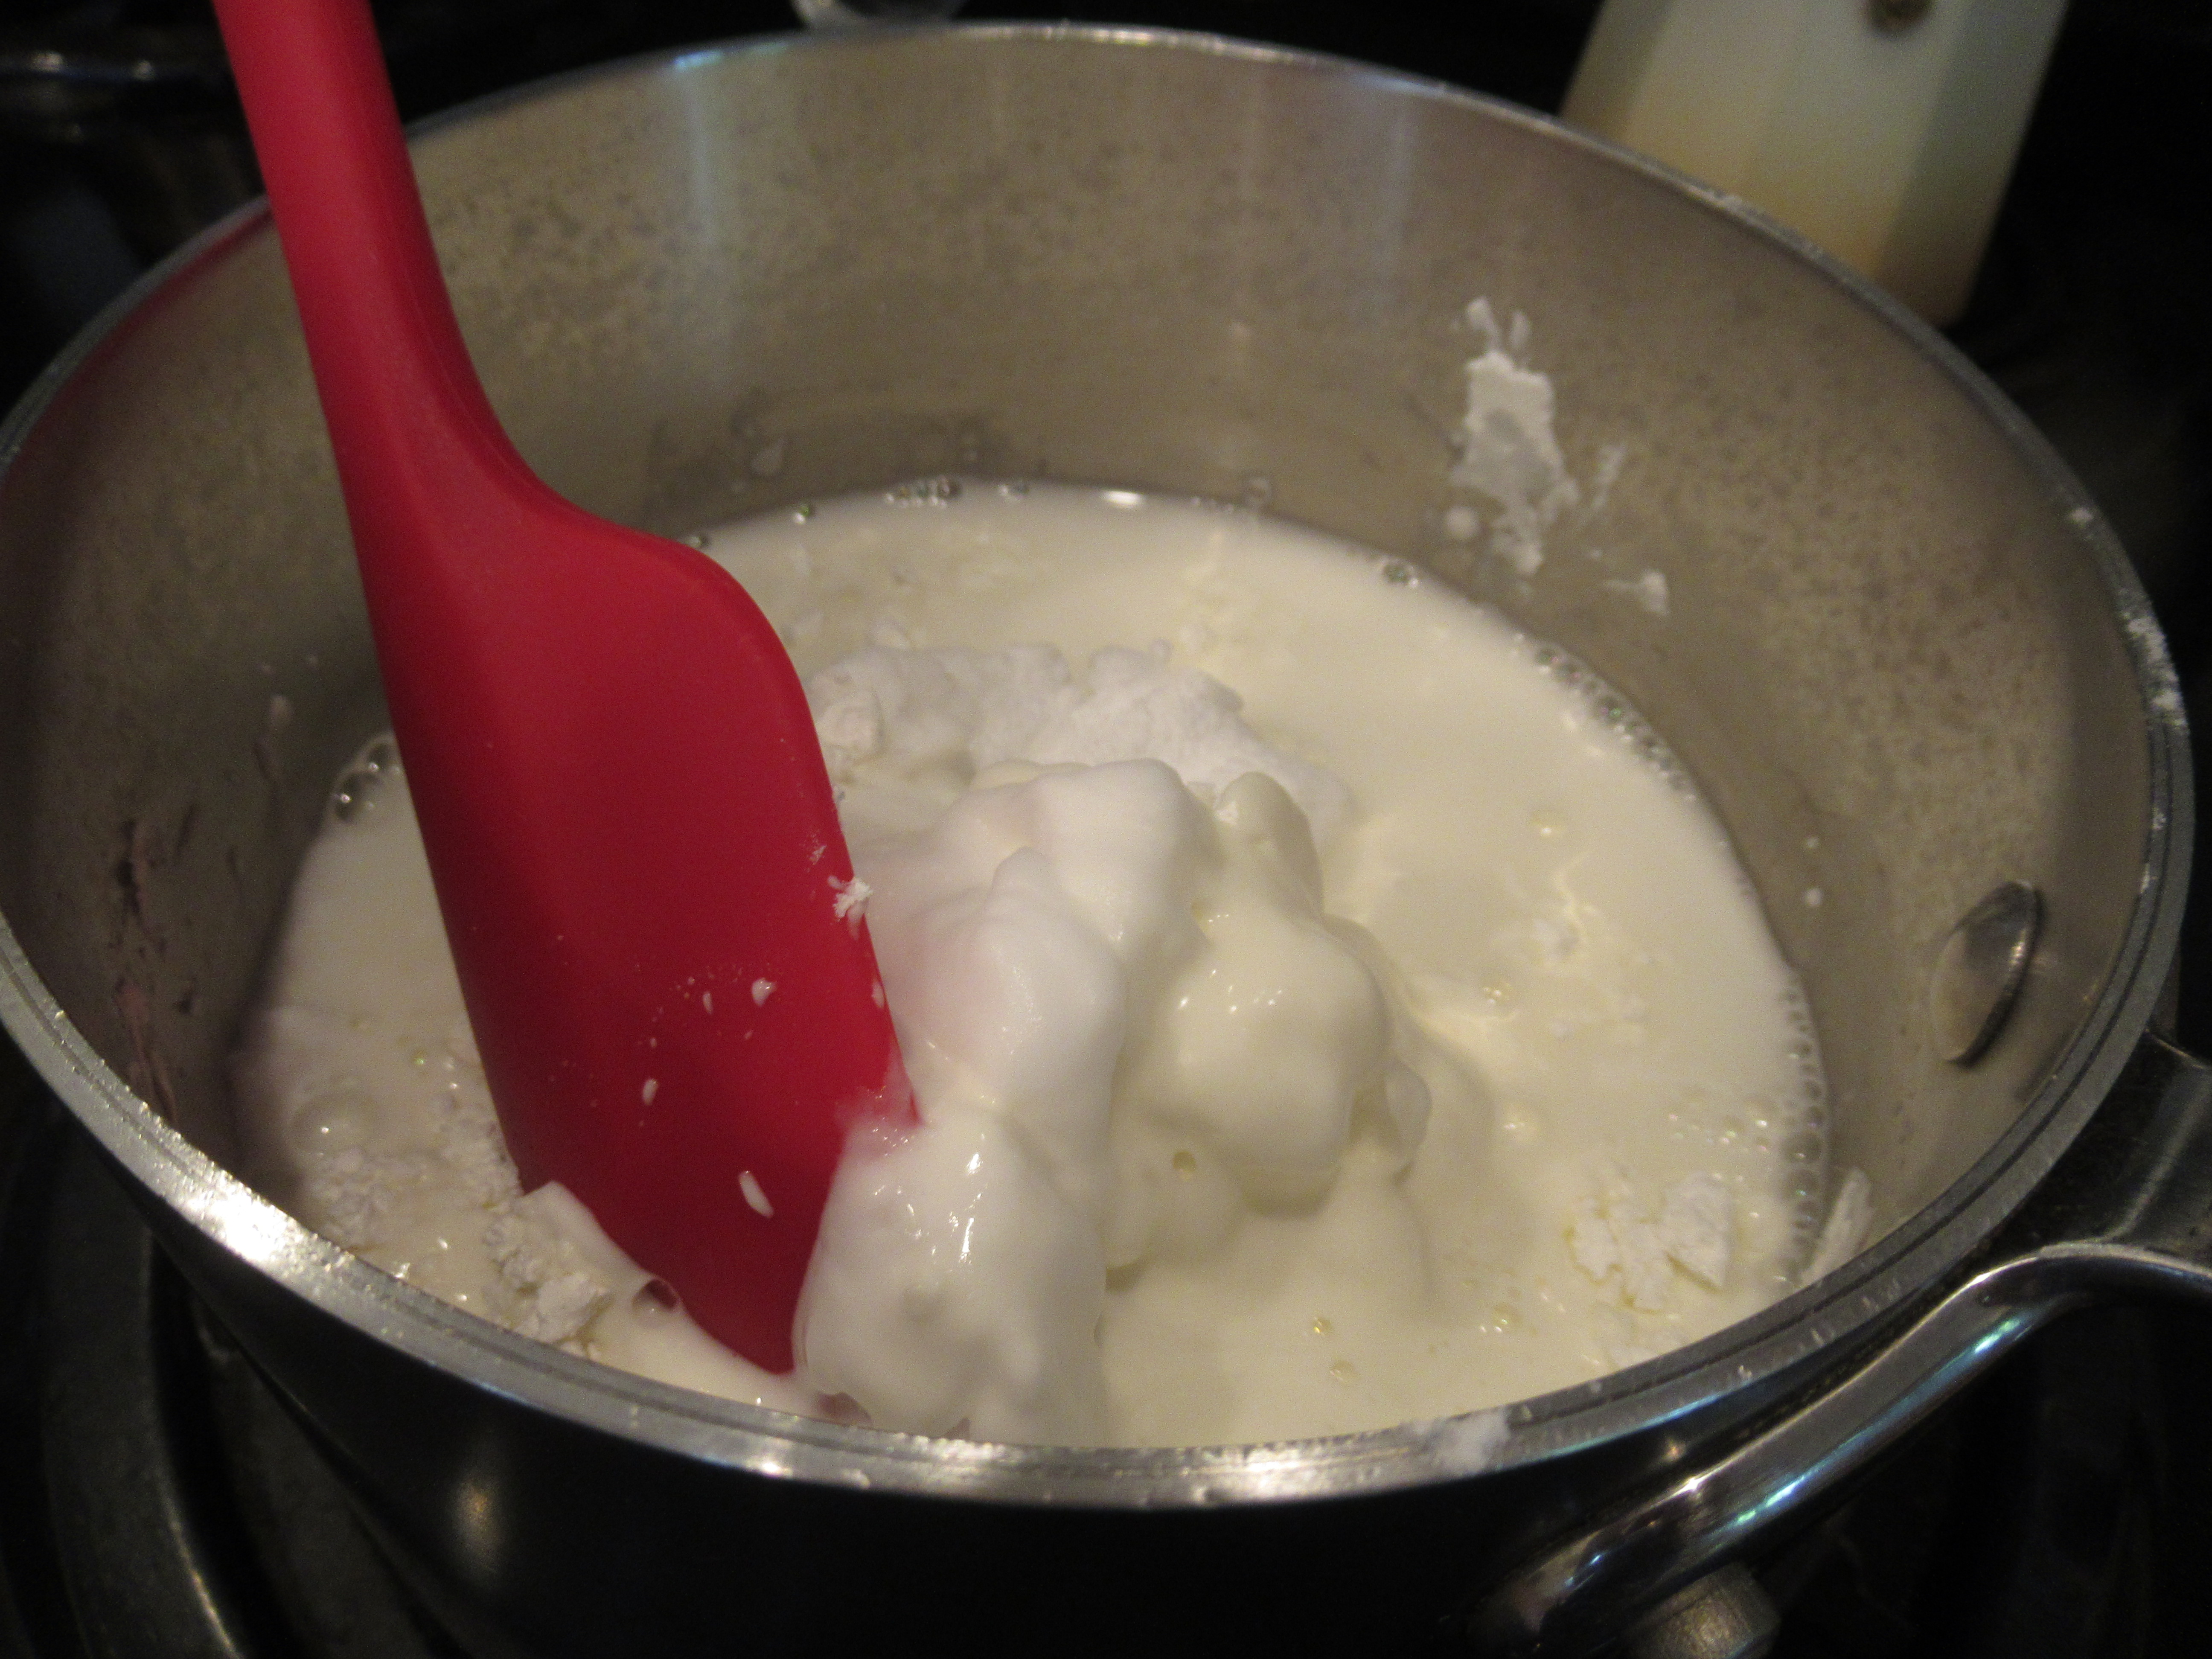
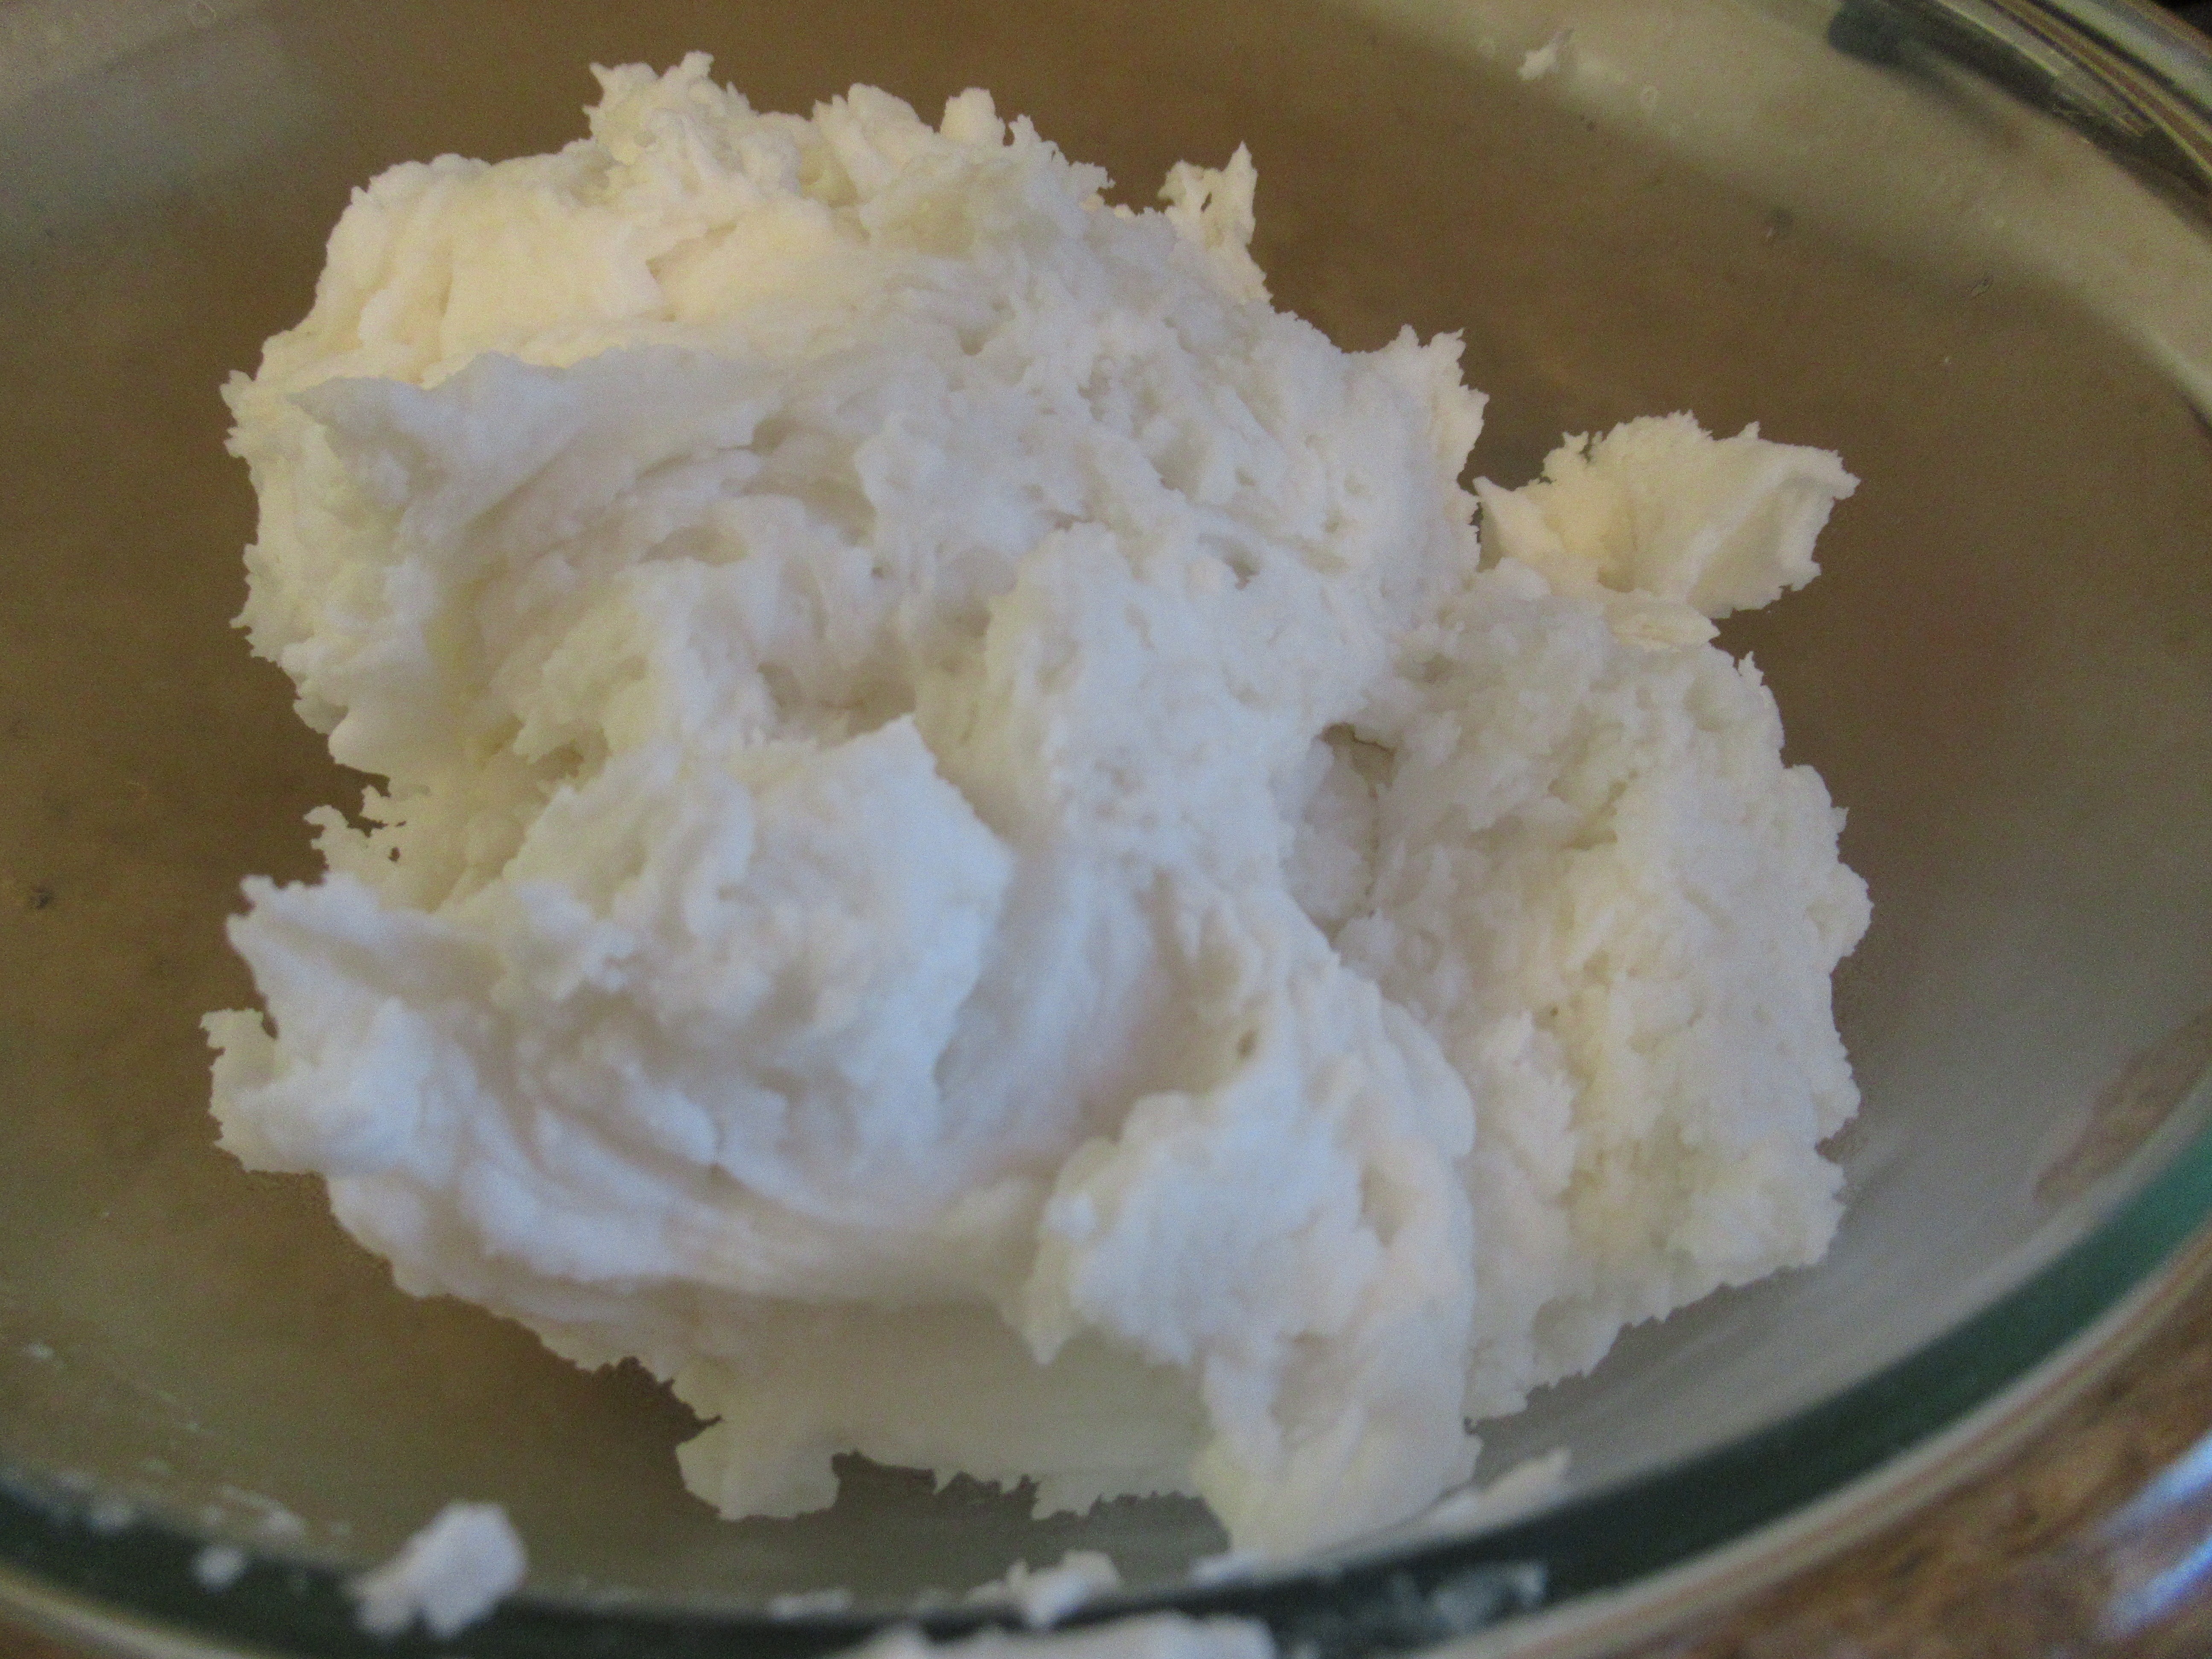
Cook the mixture over medium heat for about 5 to 10 minutes. By the end, it should pull away from the sides of the pan and look almost like mashed potatoes. Let cool completely.

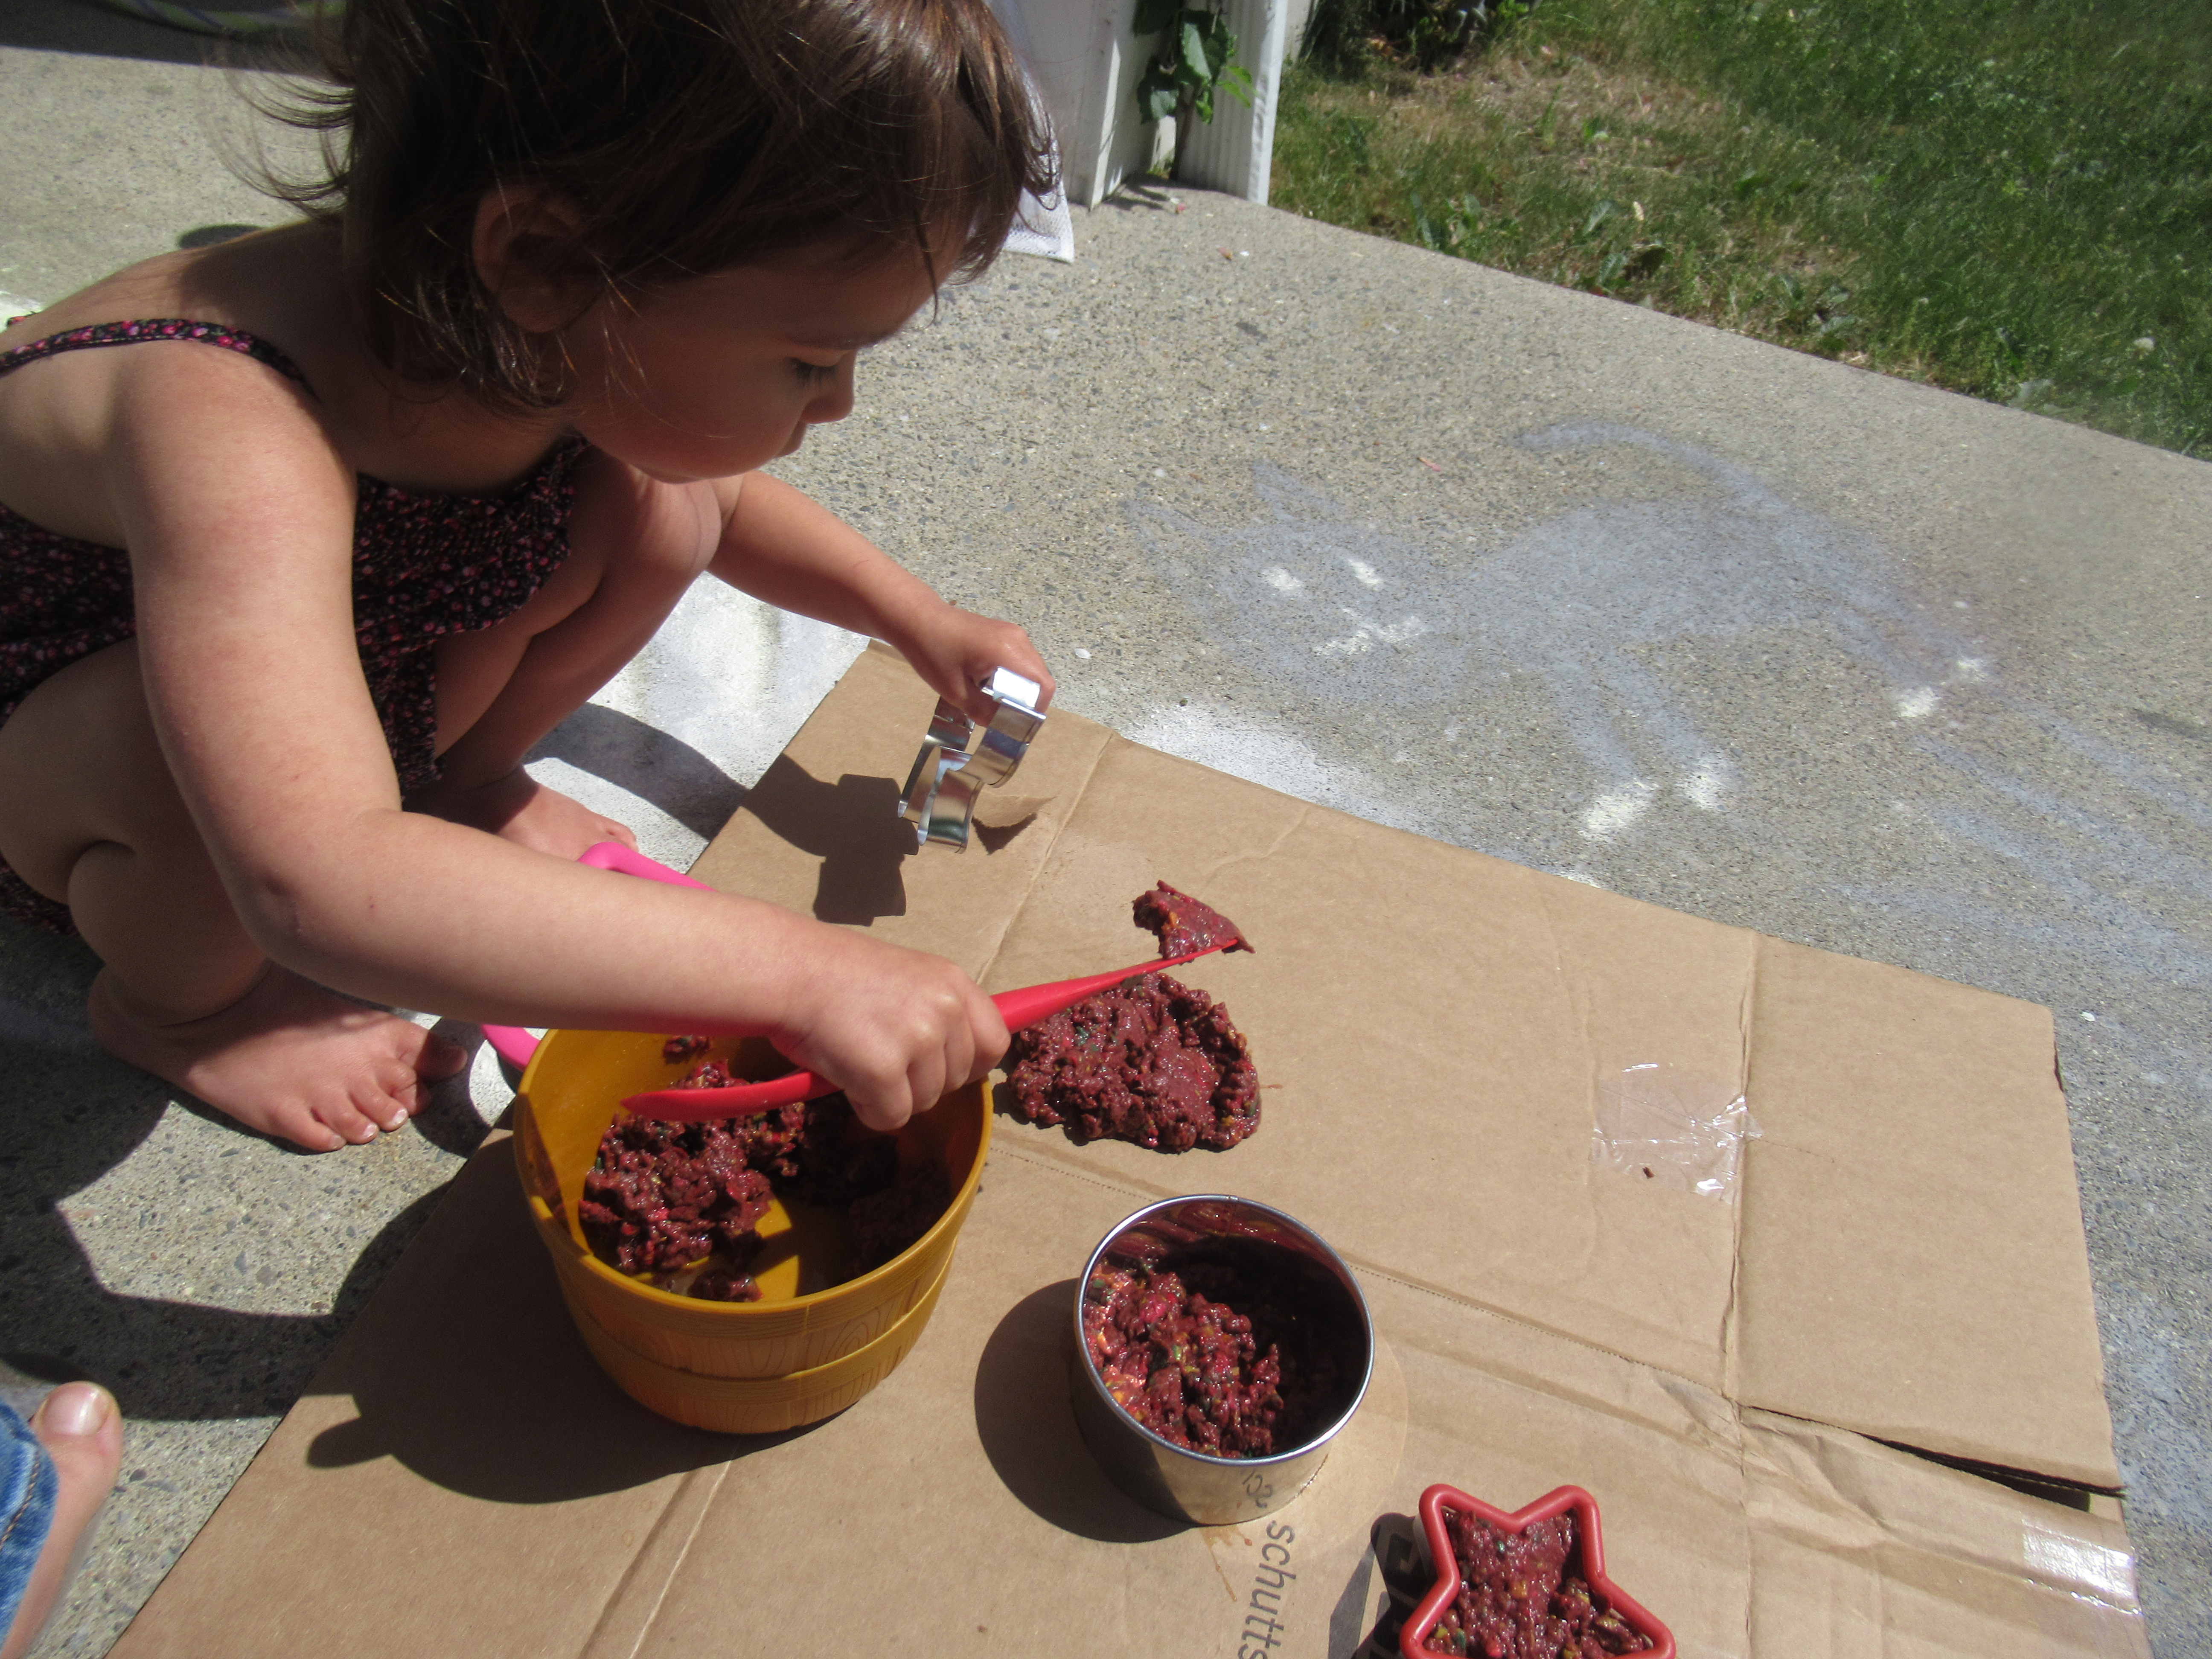
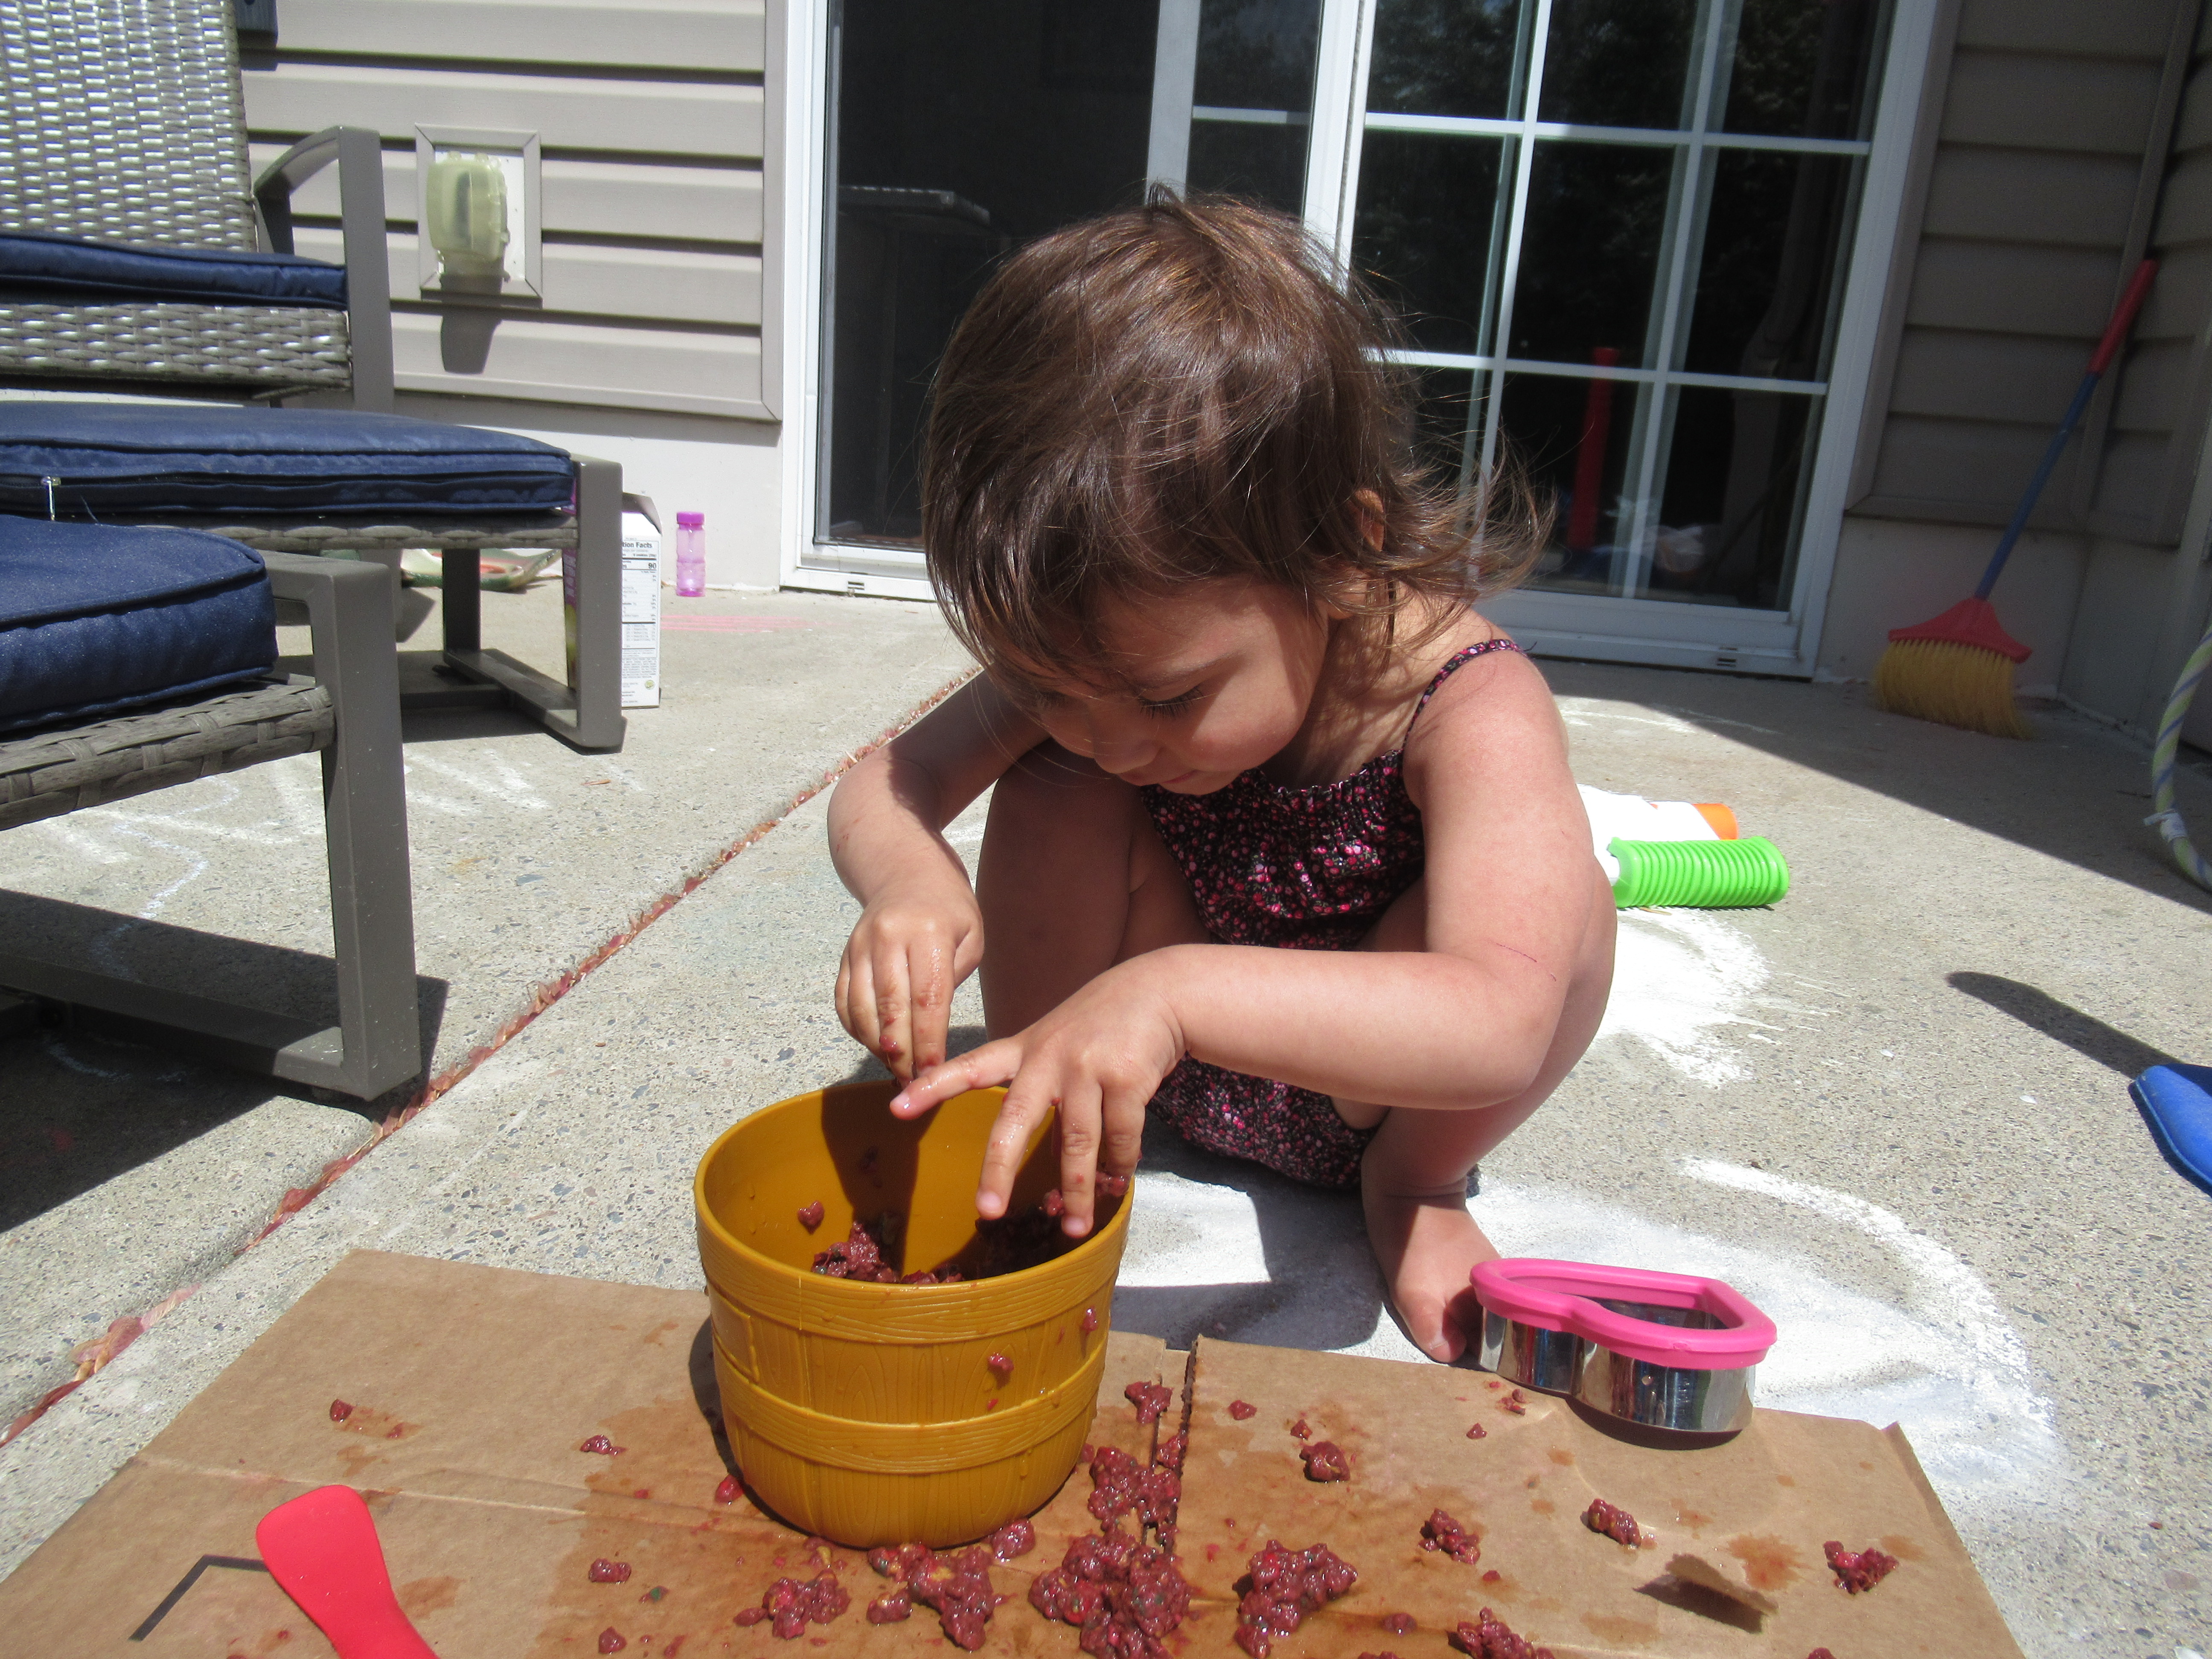
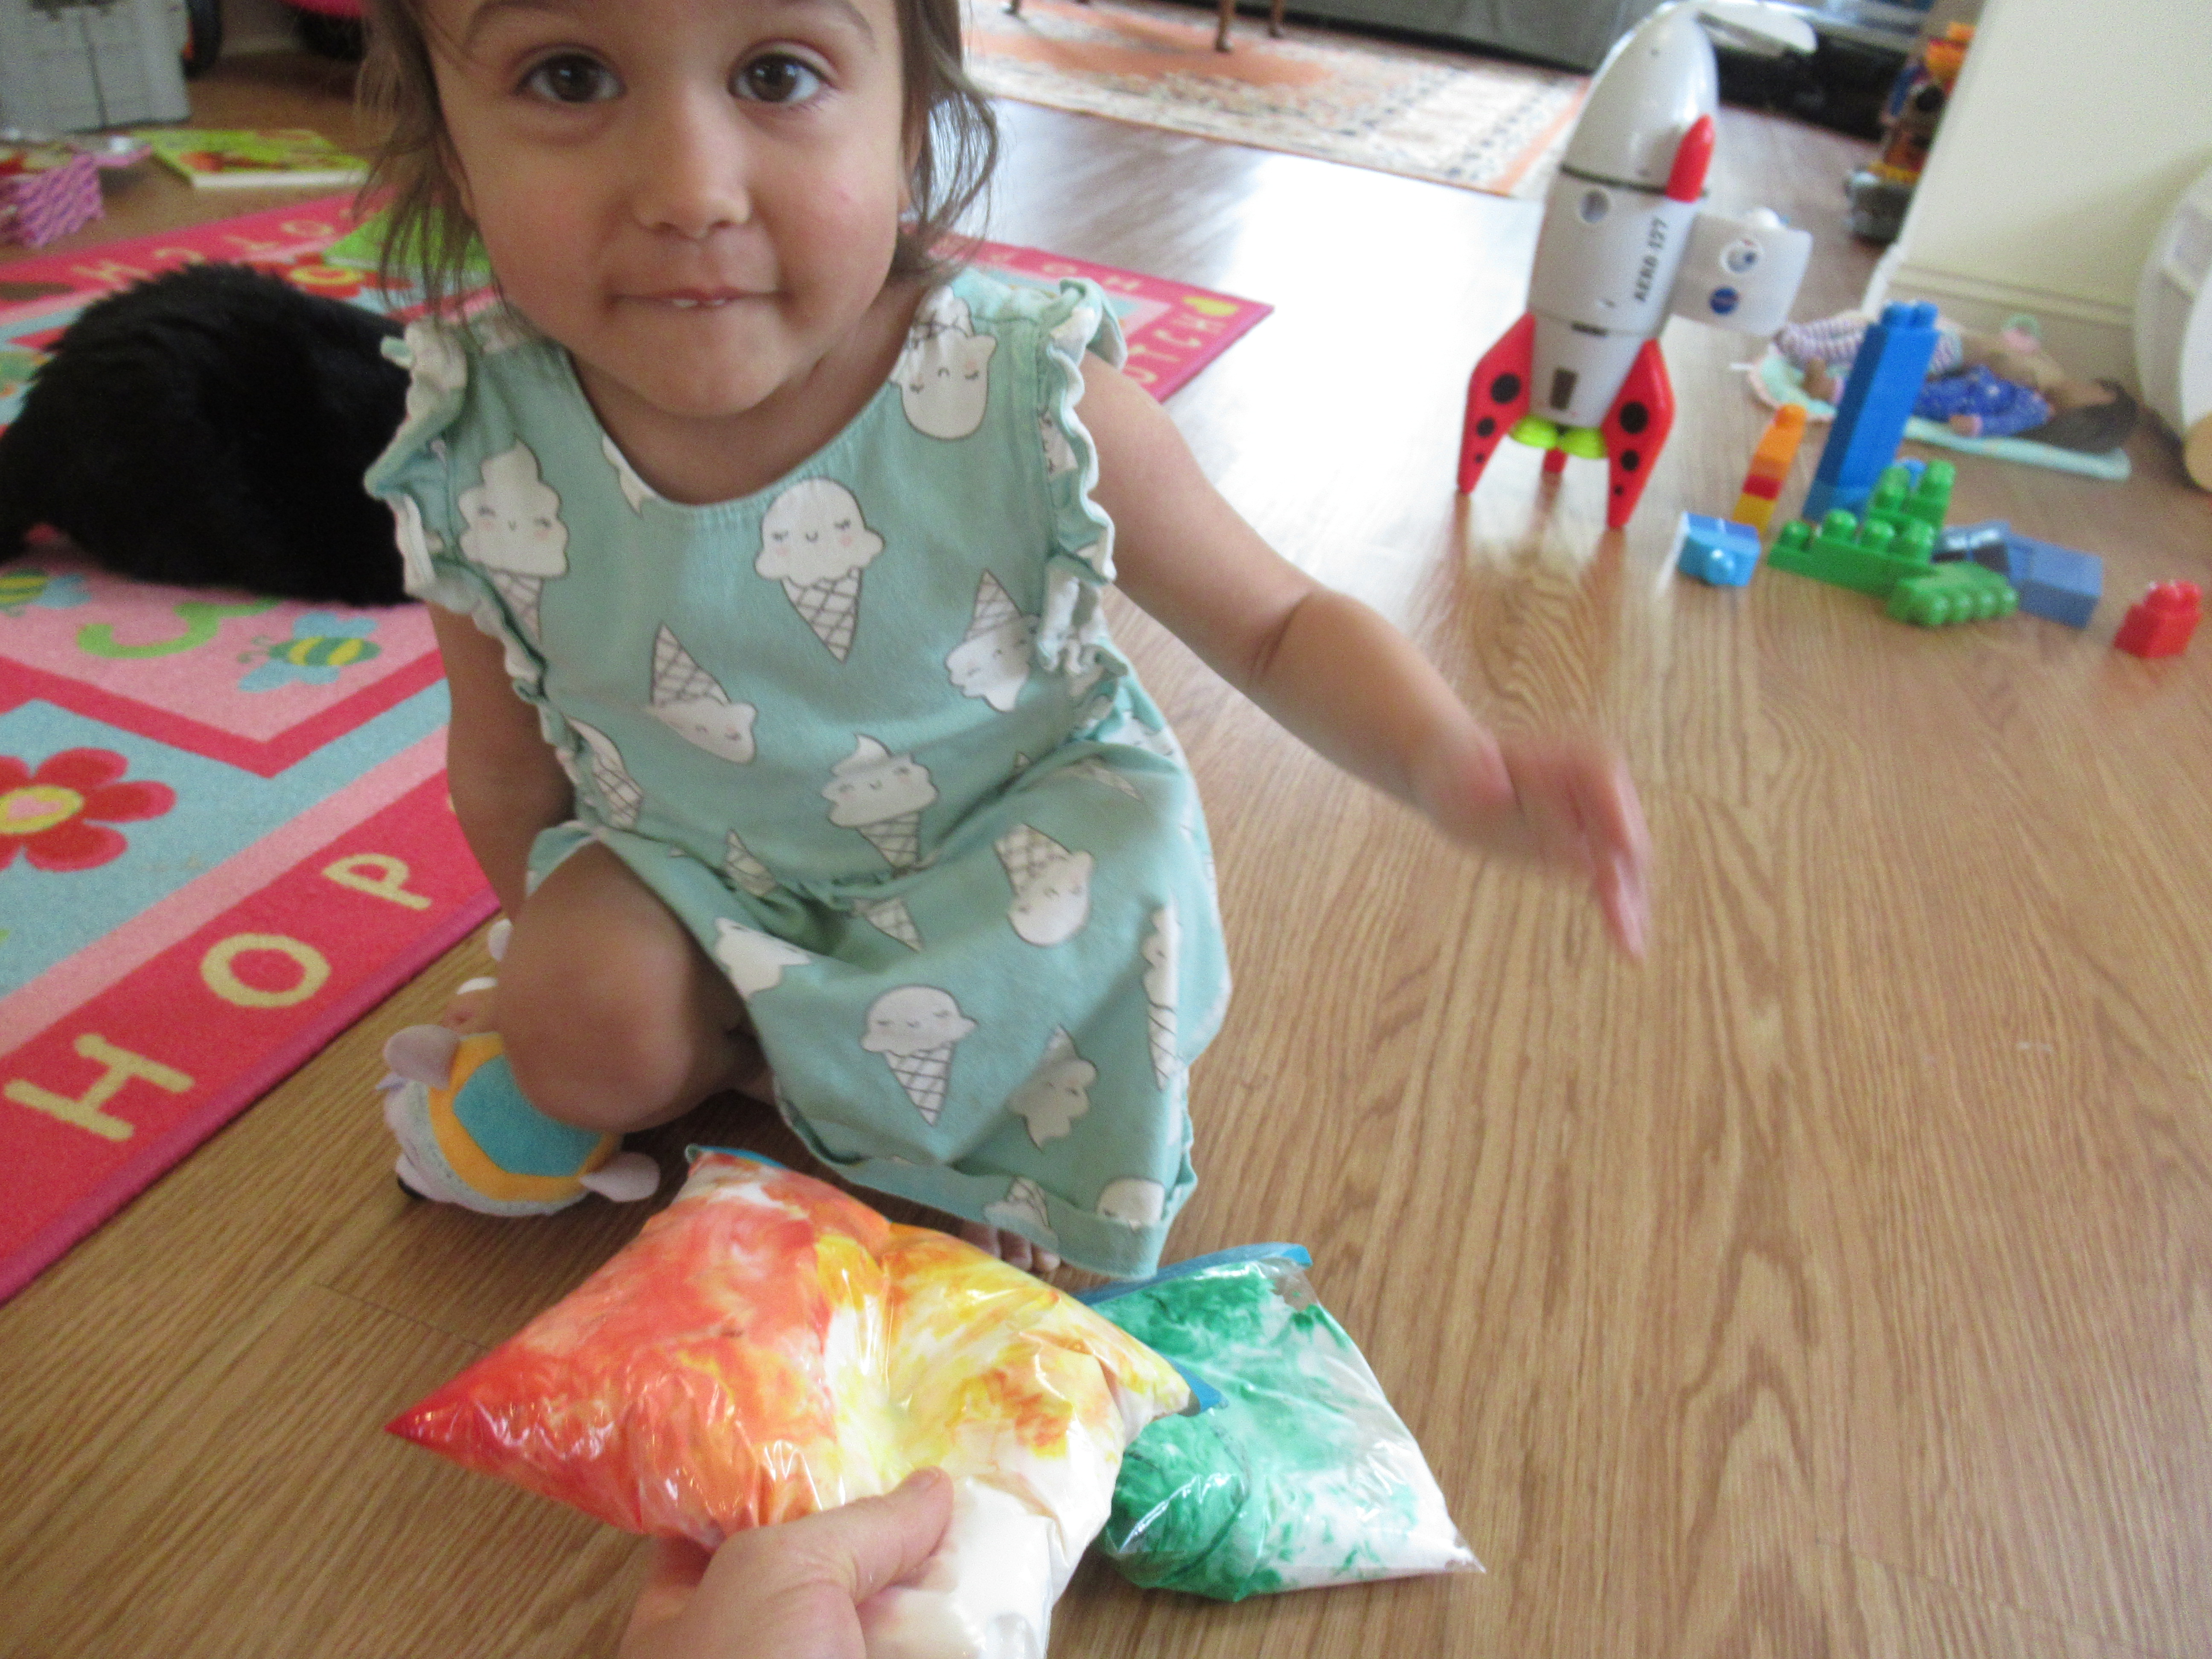
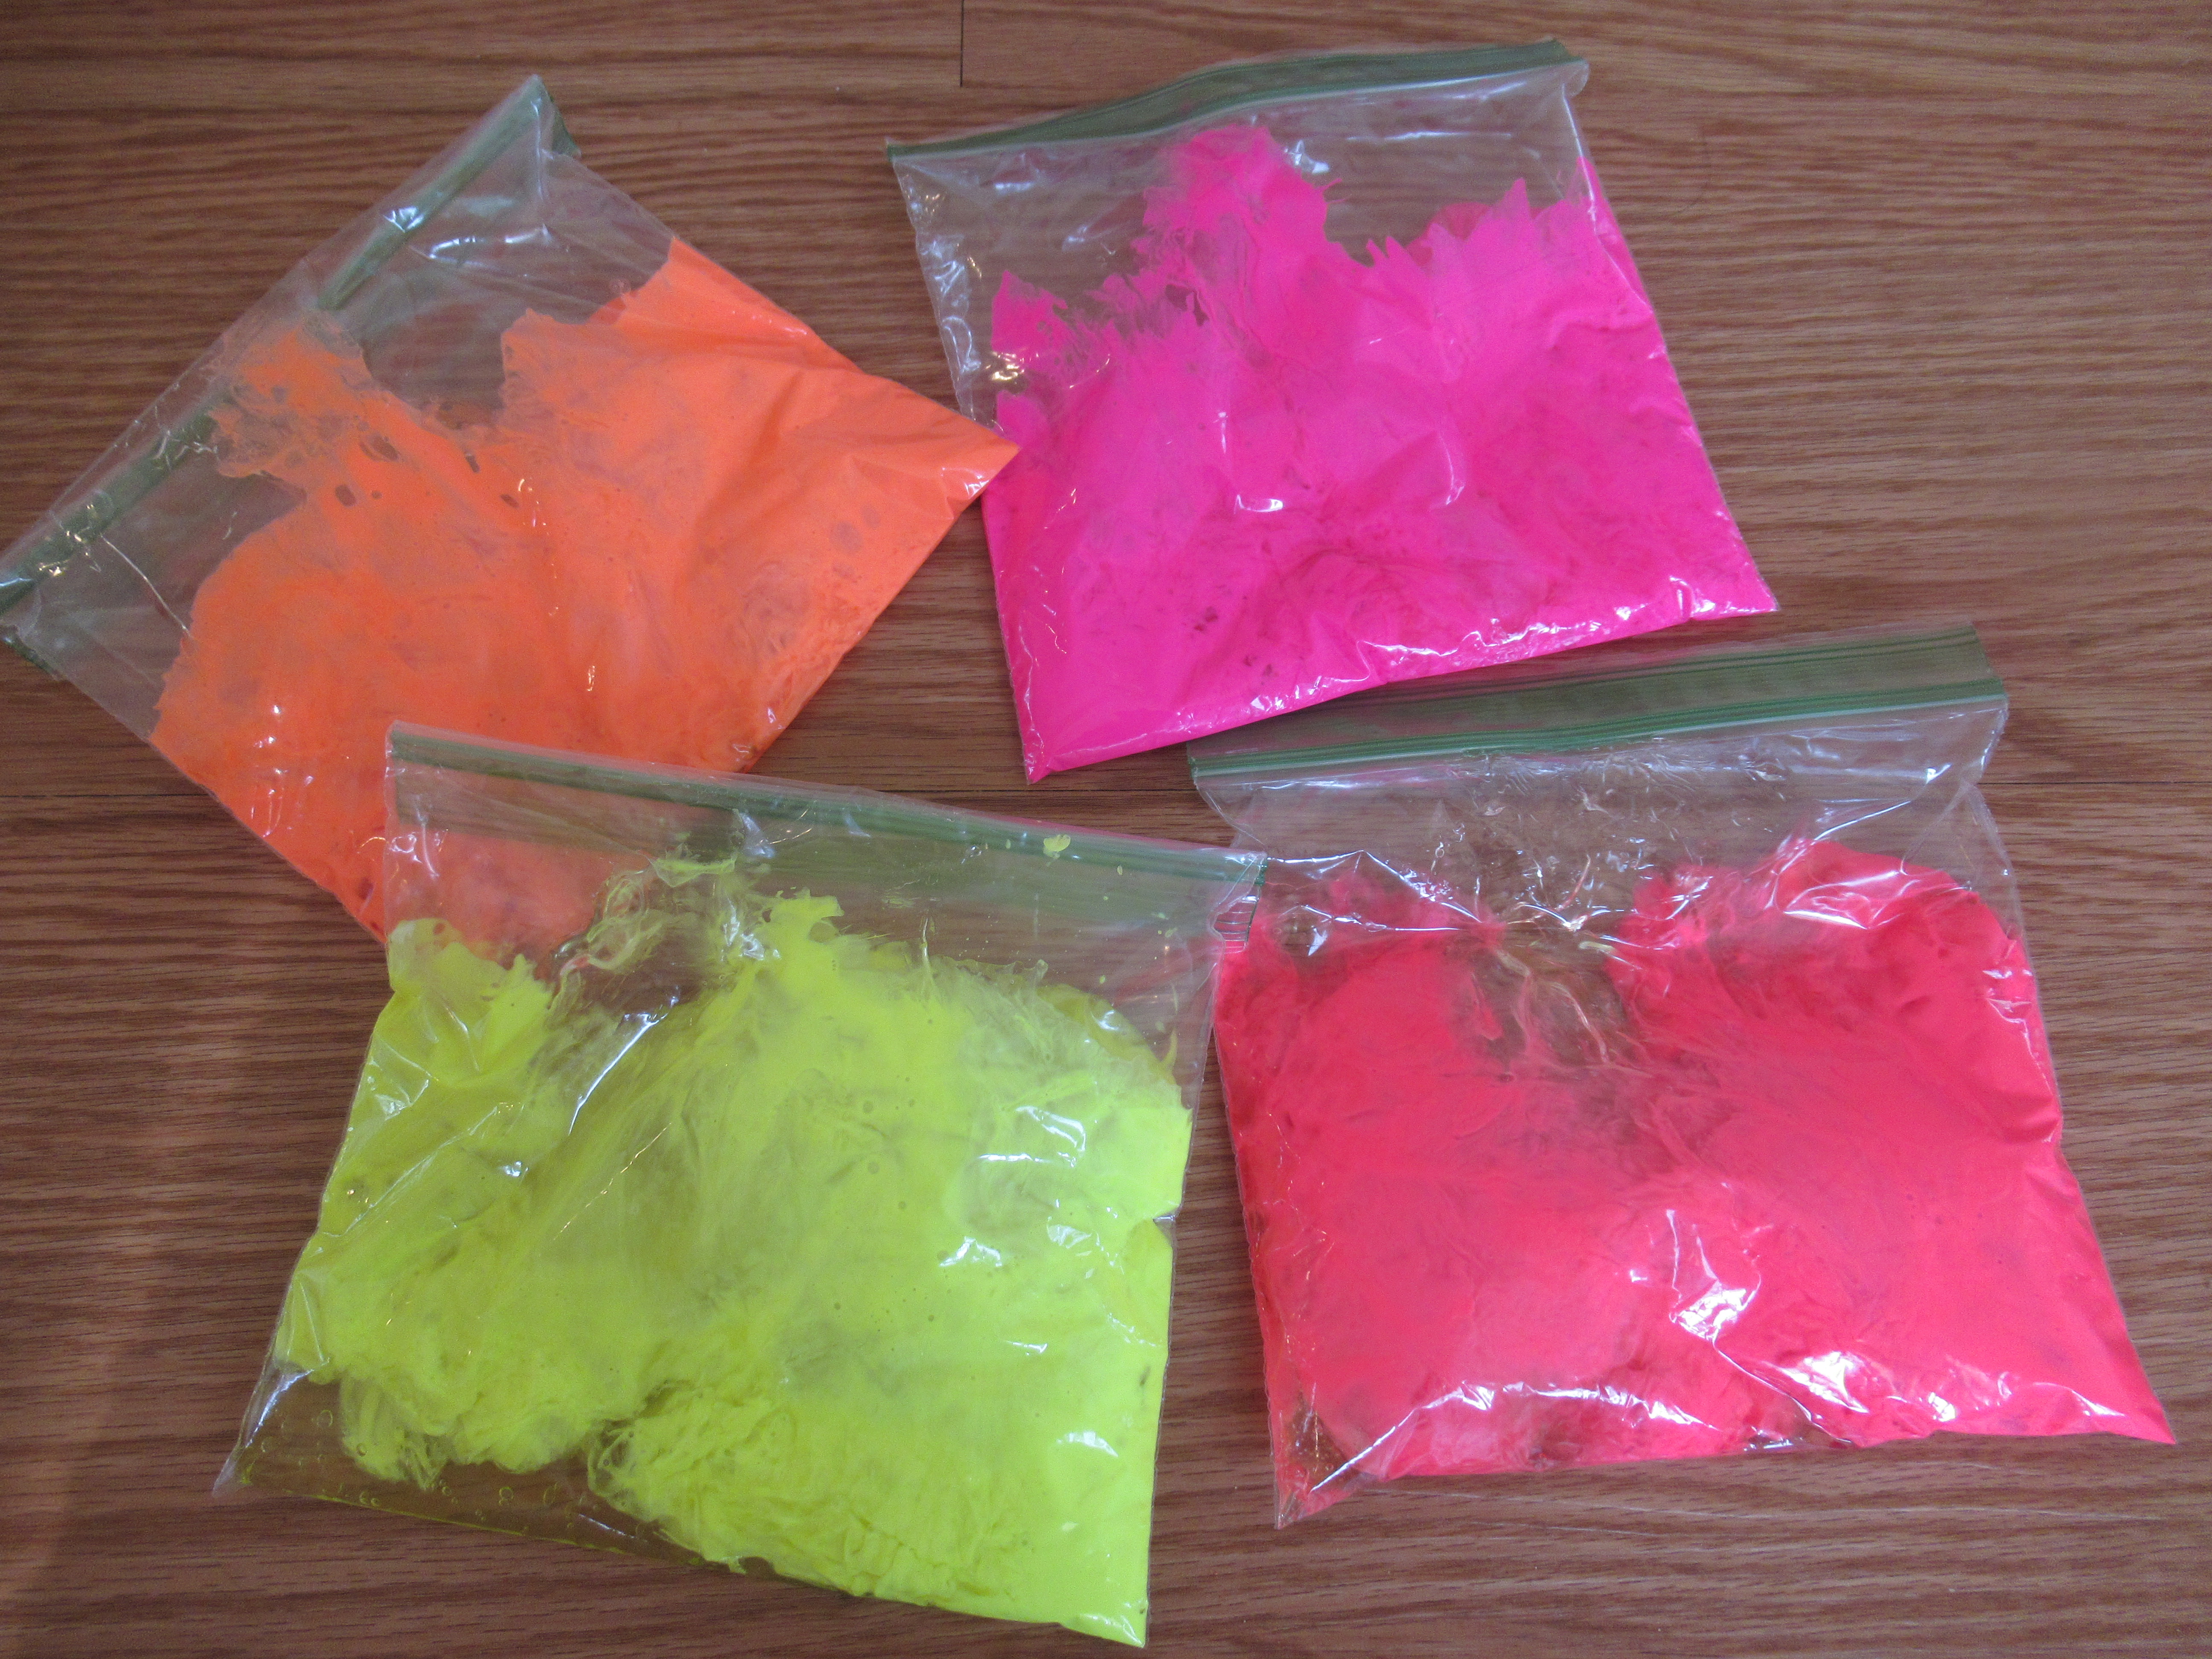
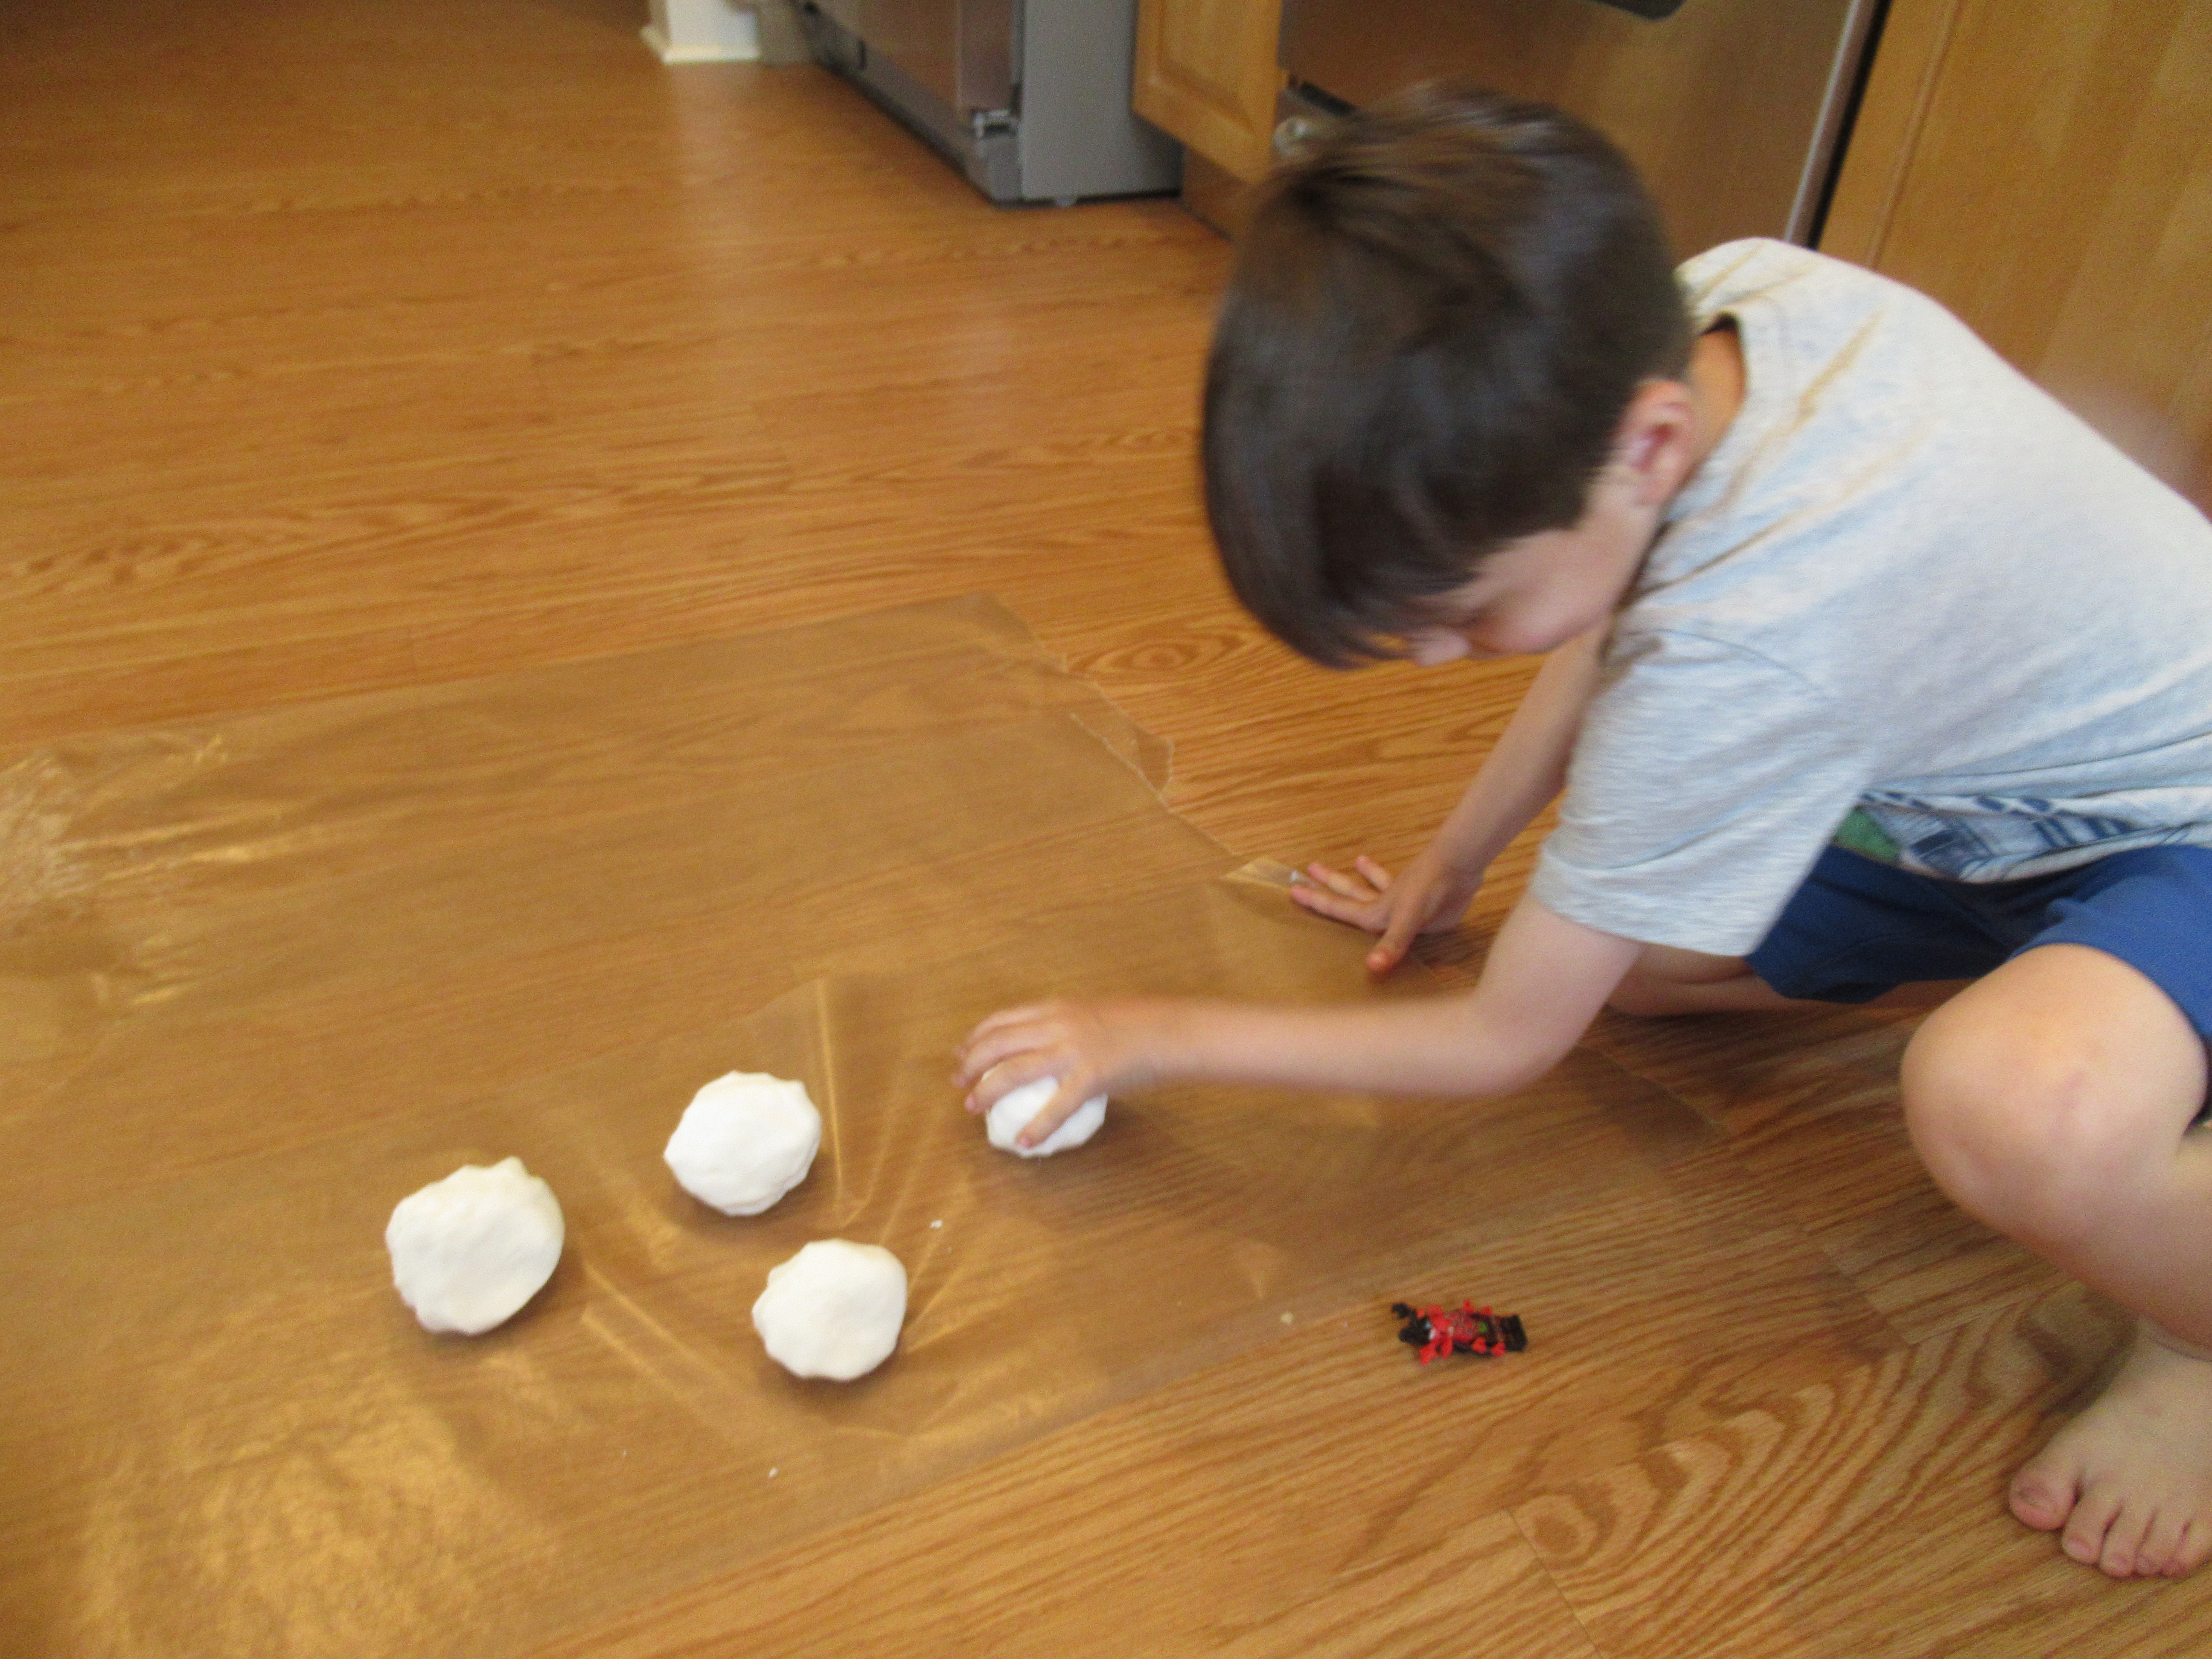
We divided the clay into 4 portions, with the intention of adding a different color to each portion before starting to roll out sculptures.

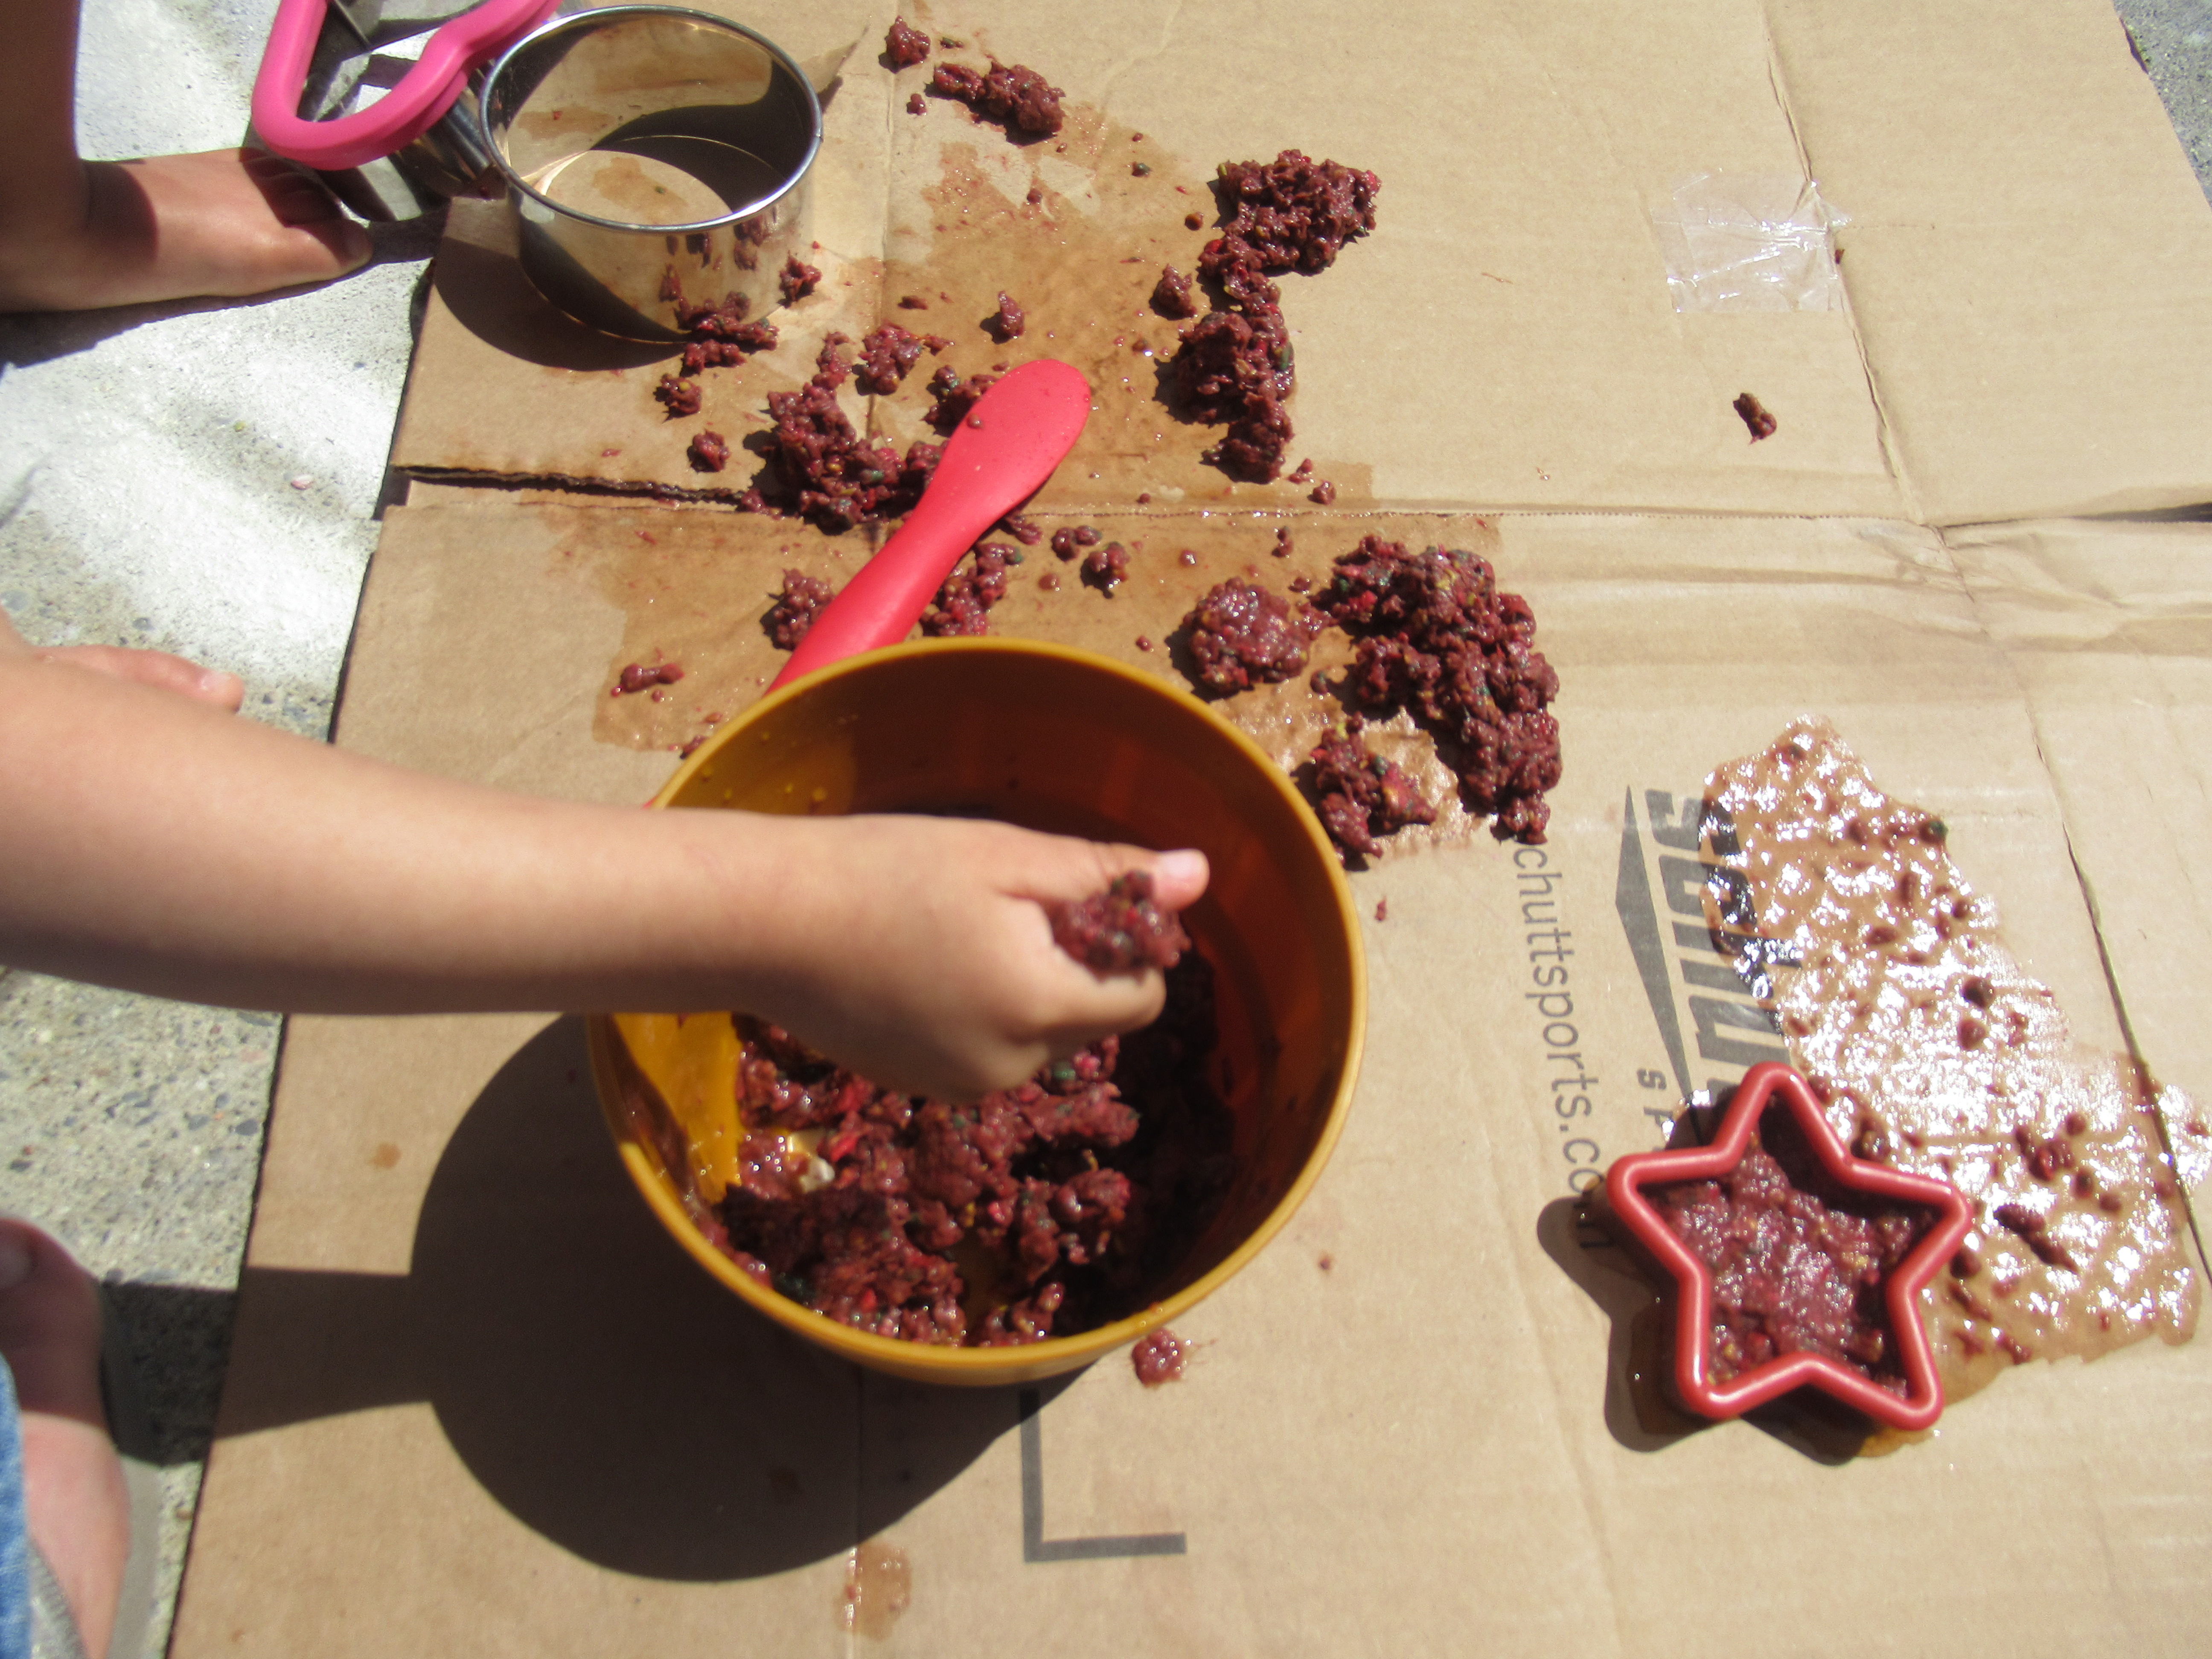
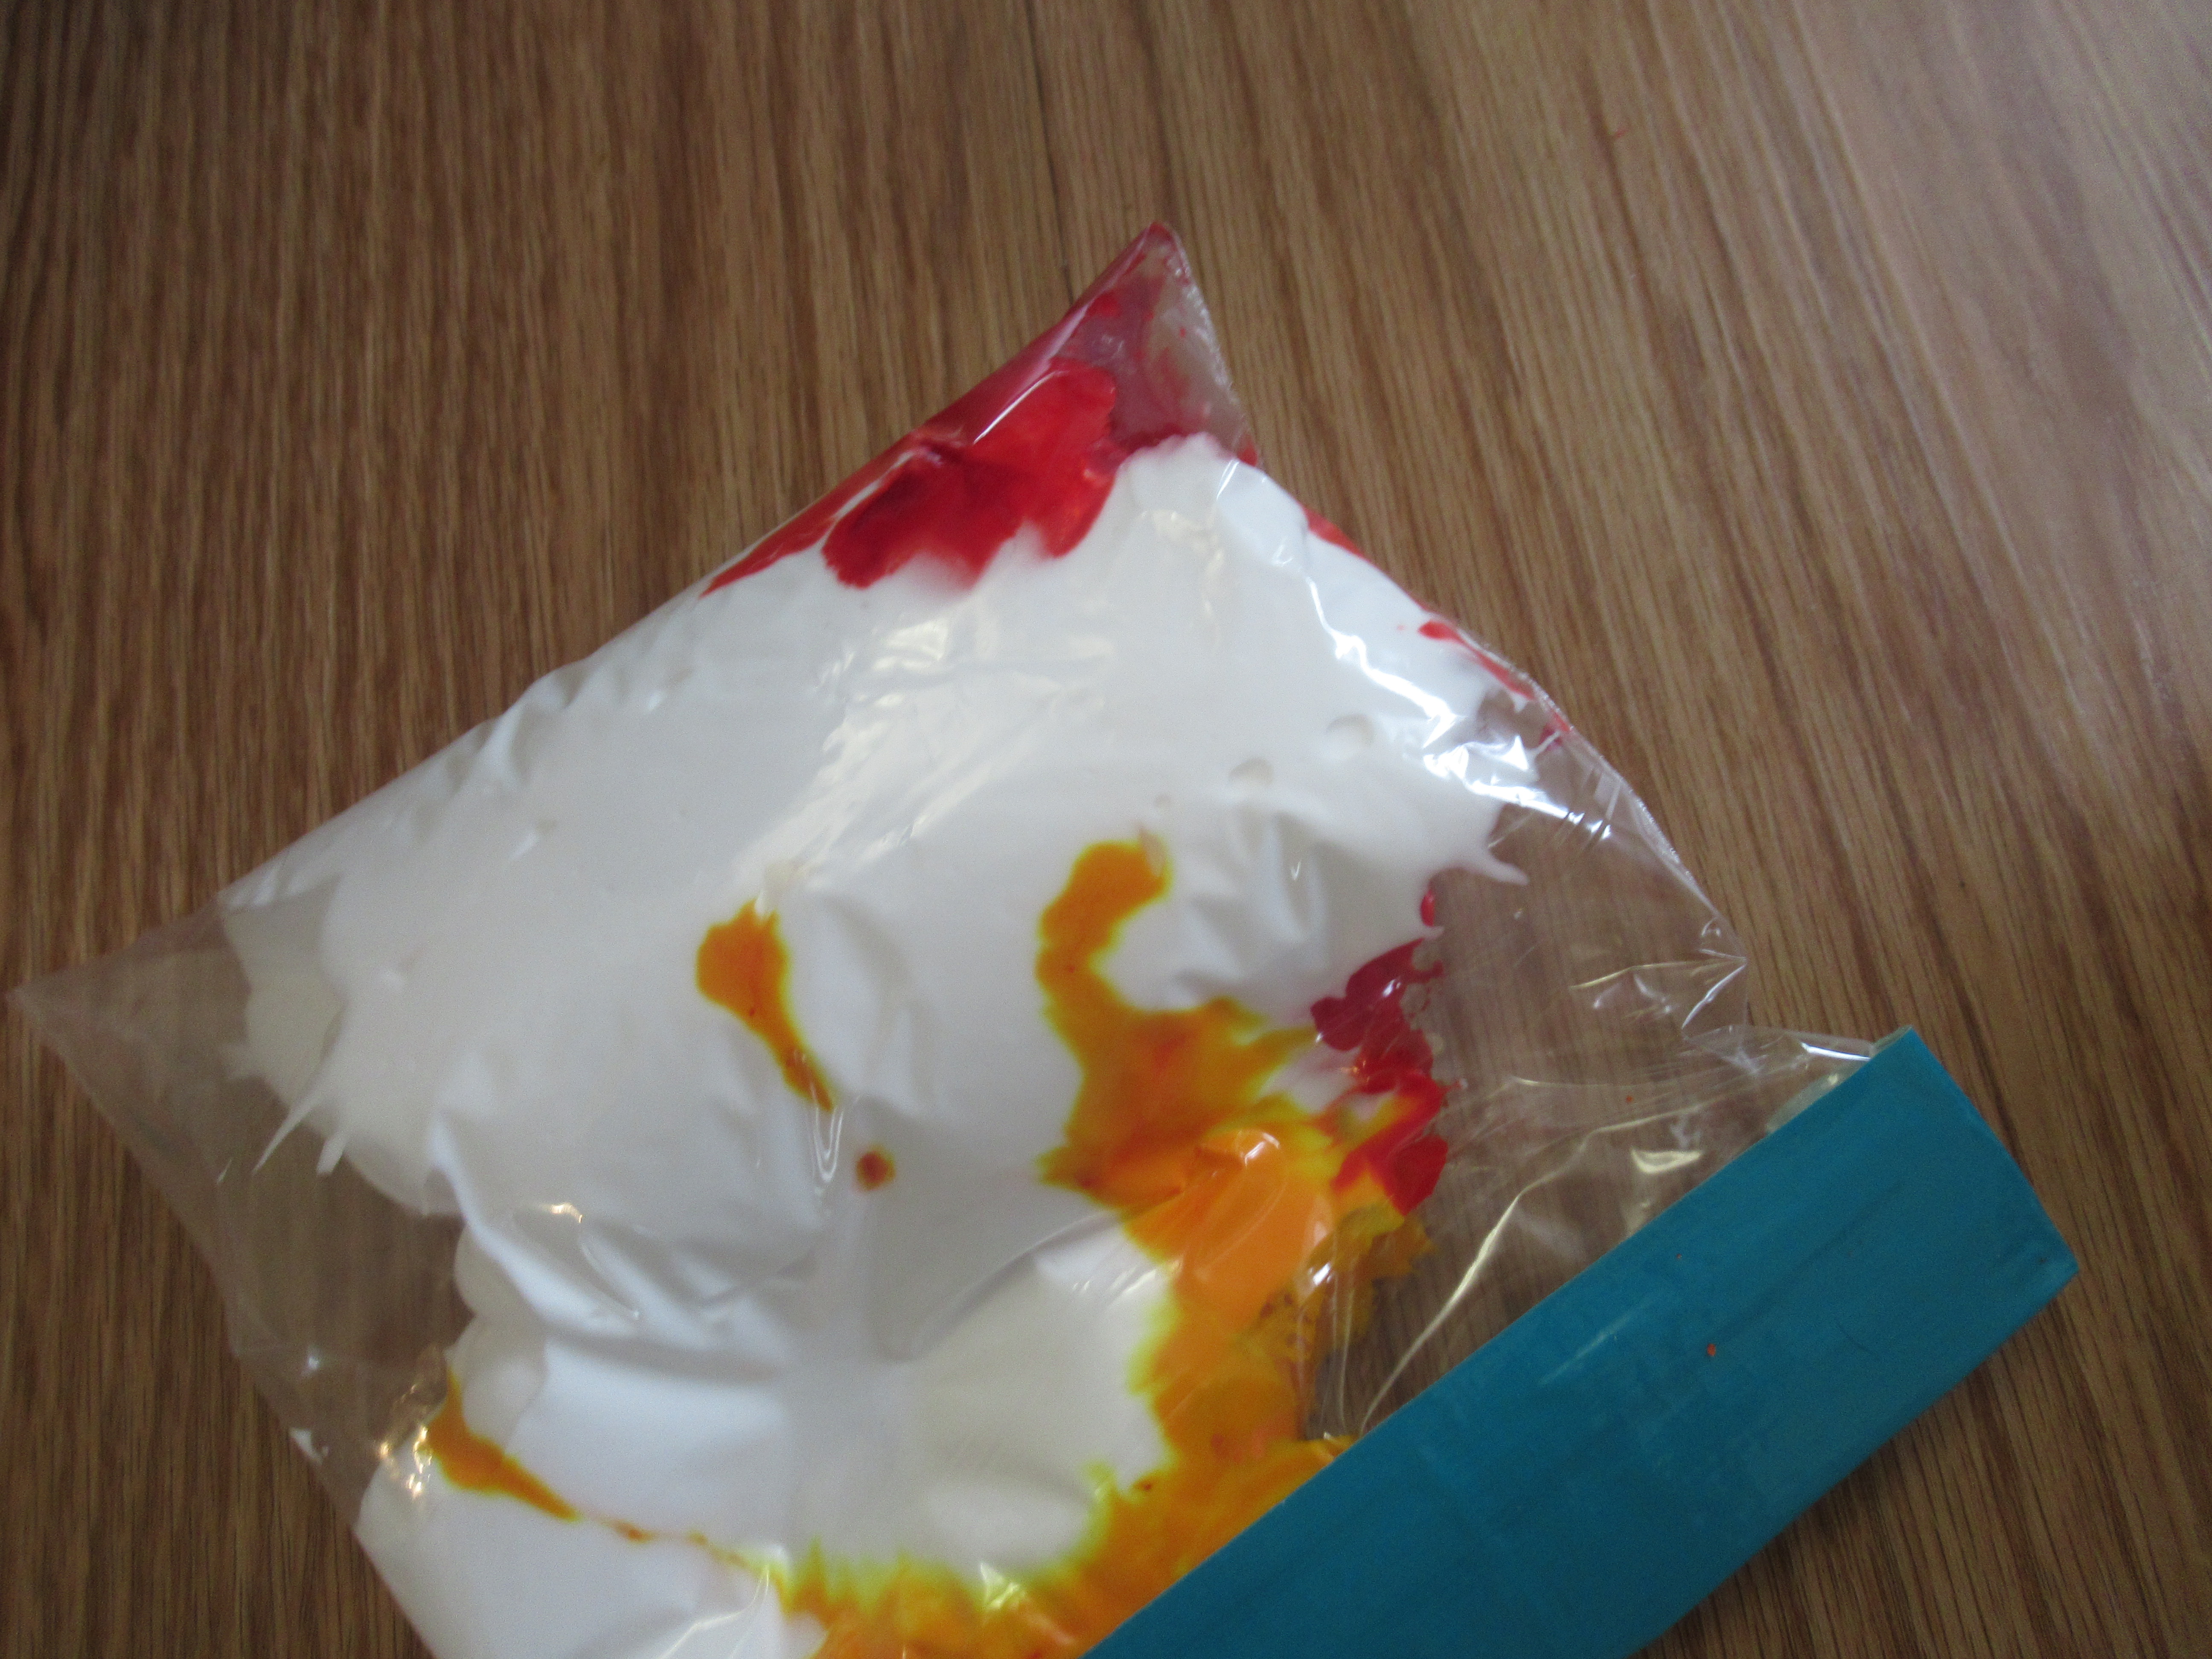
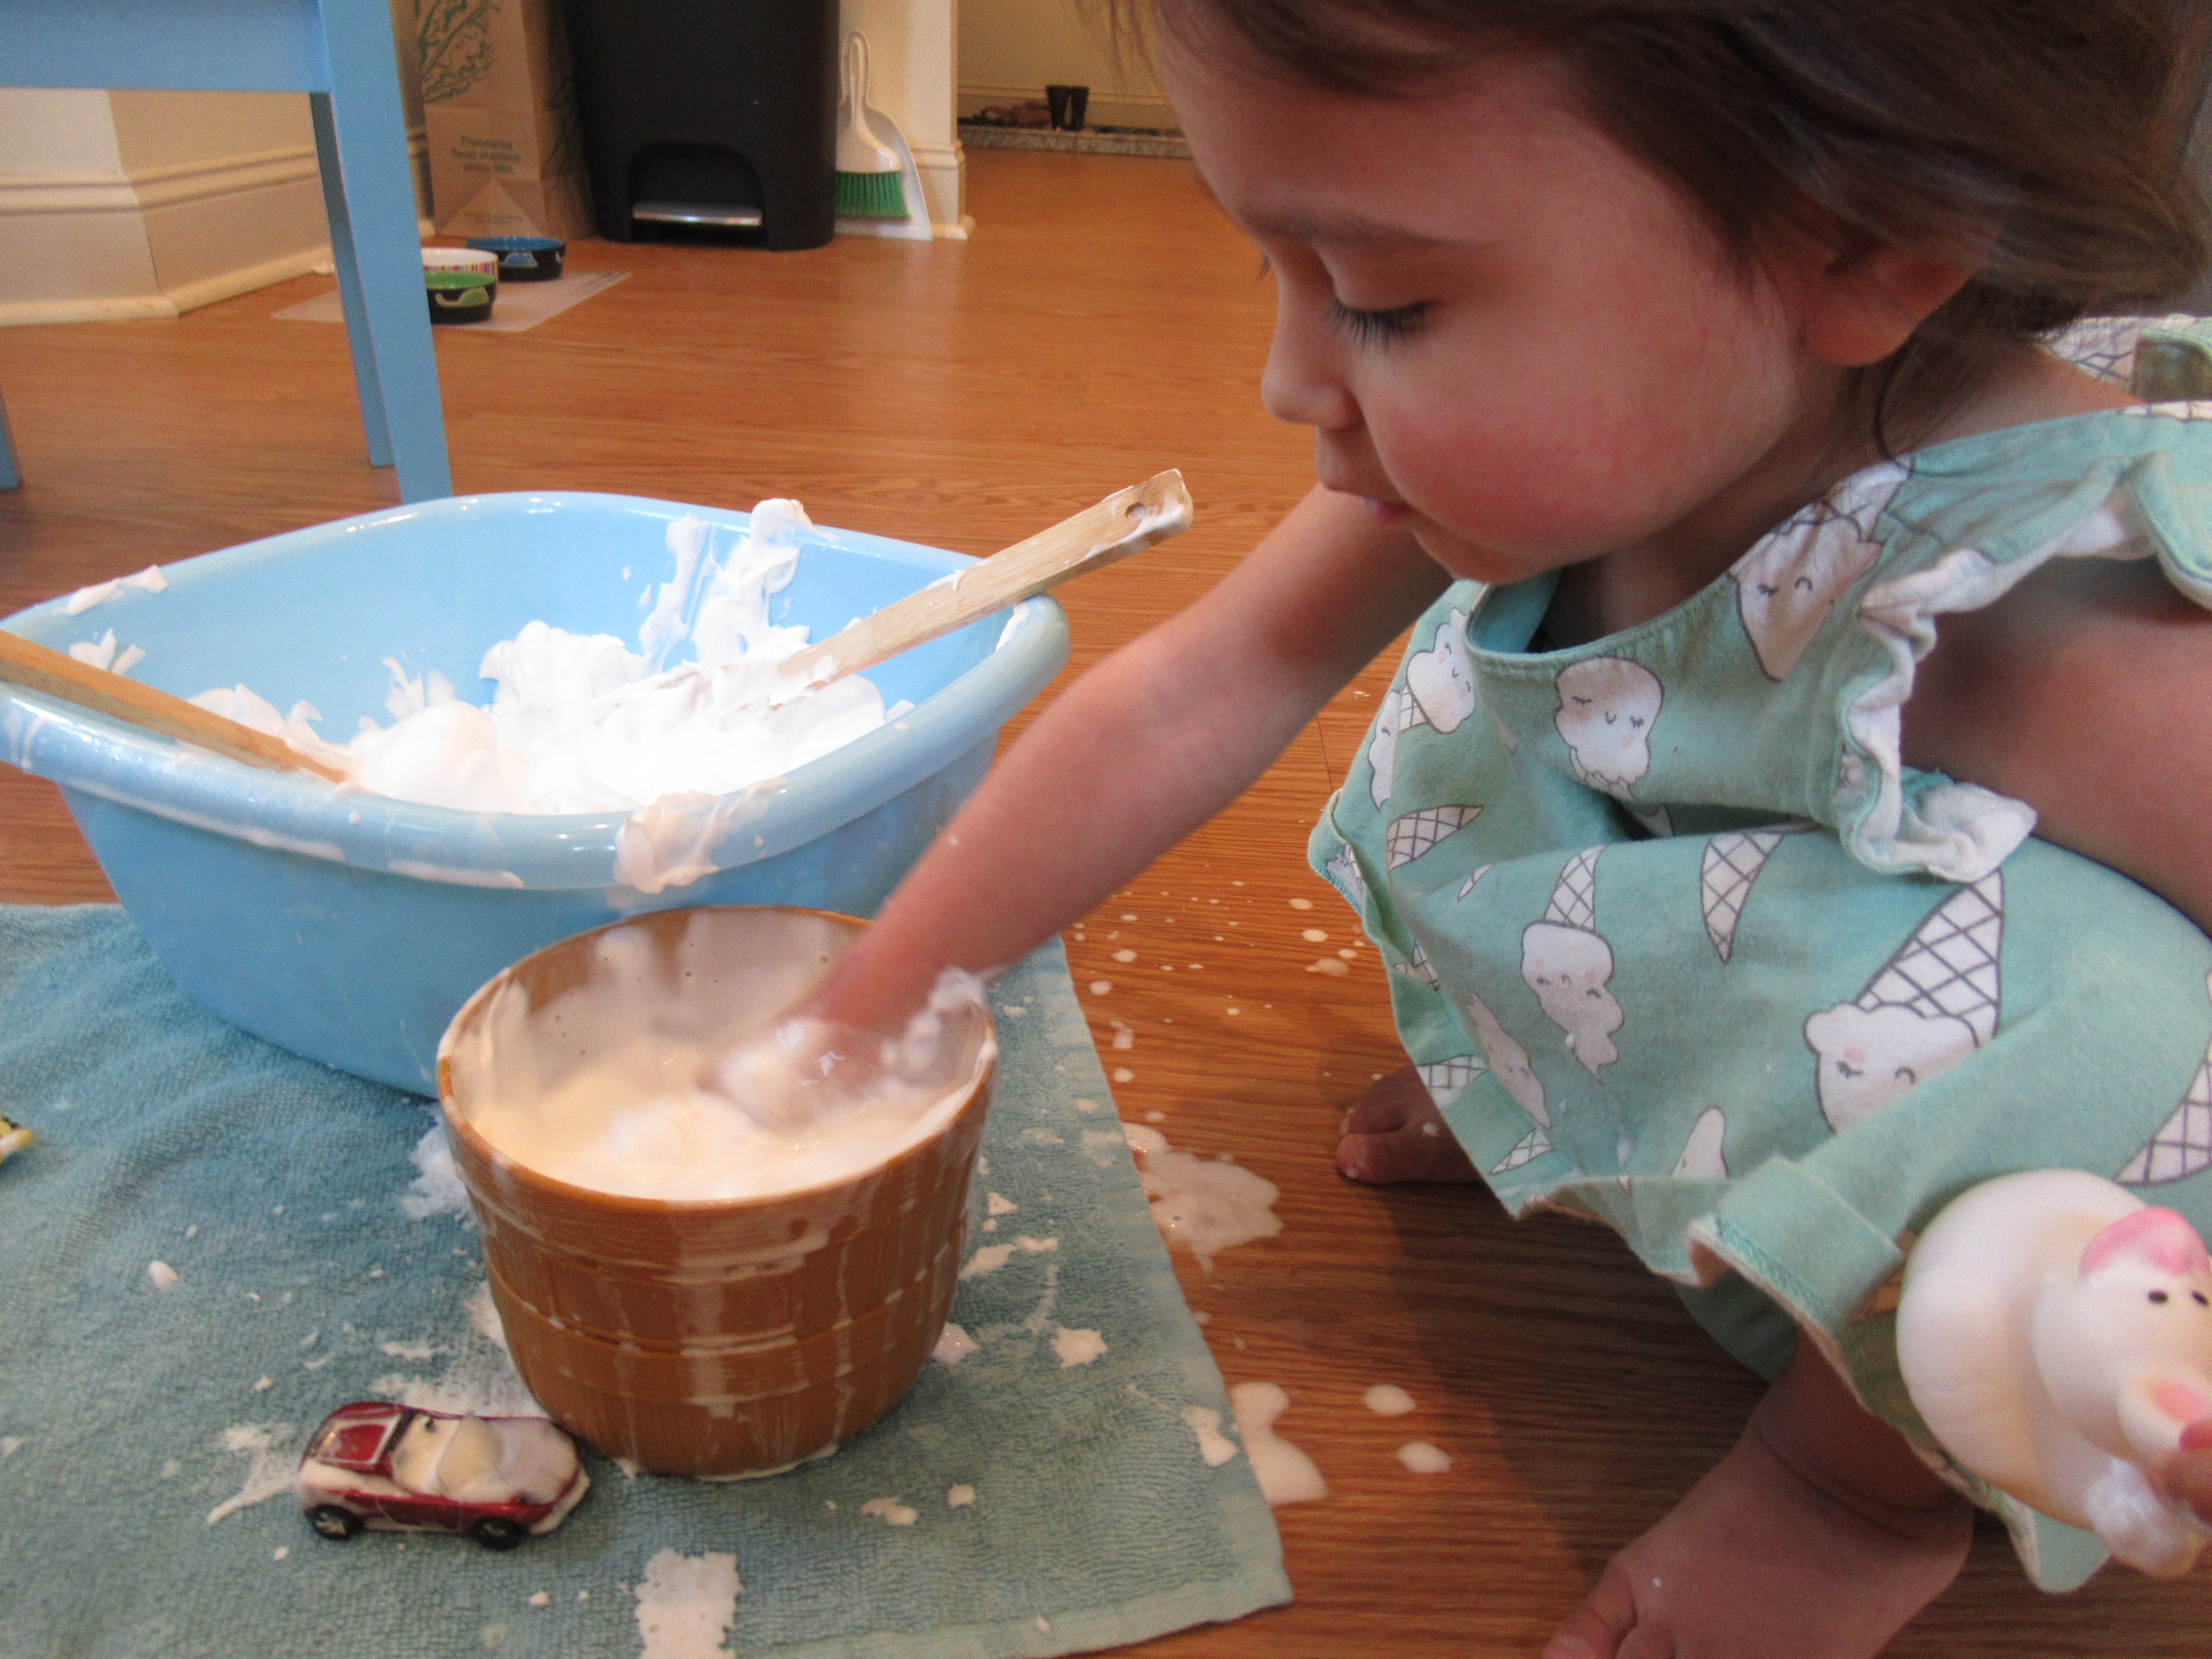
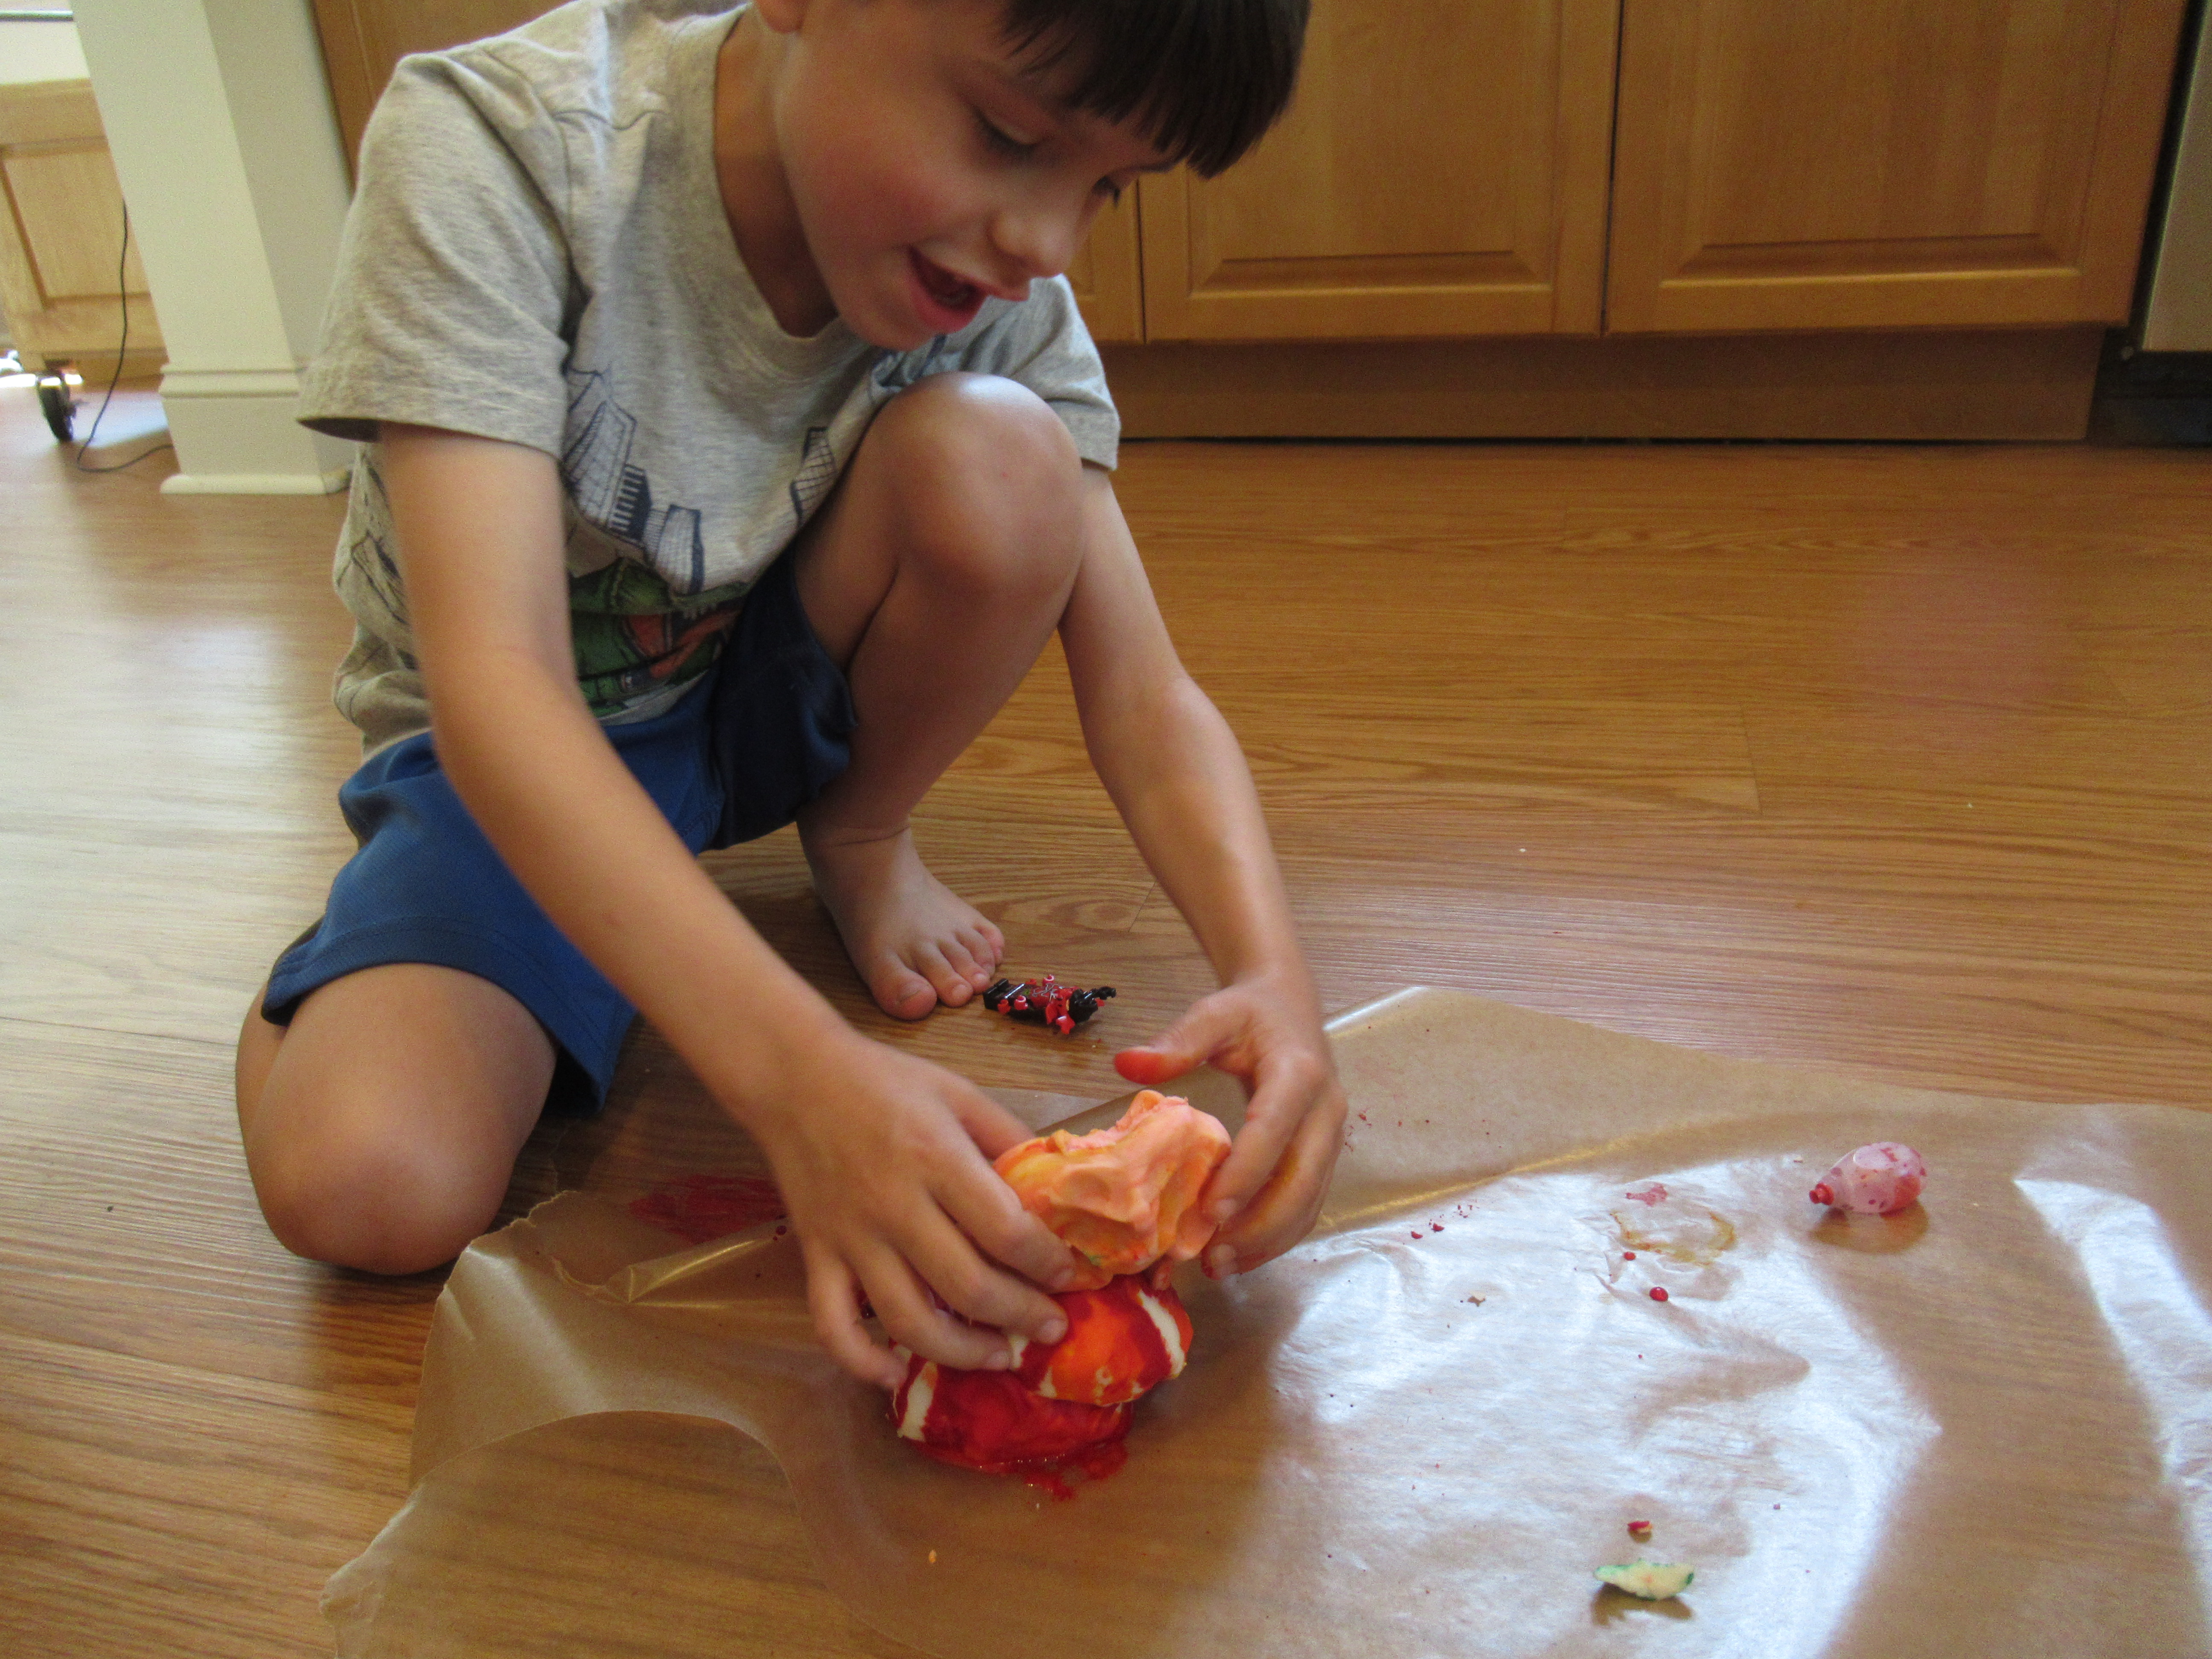
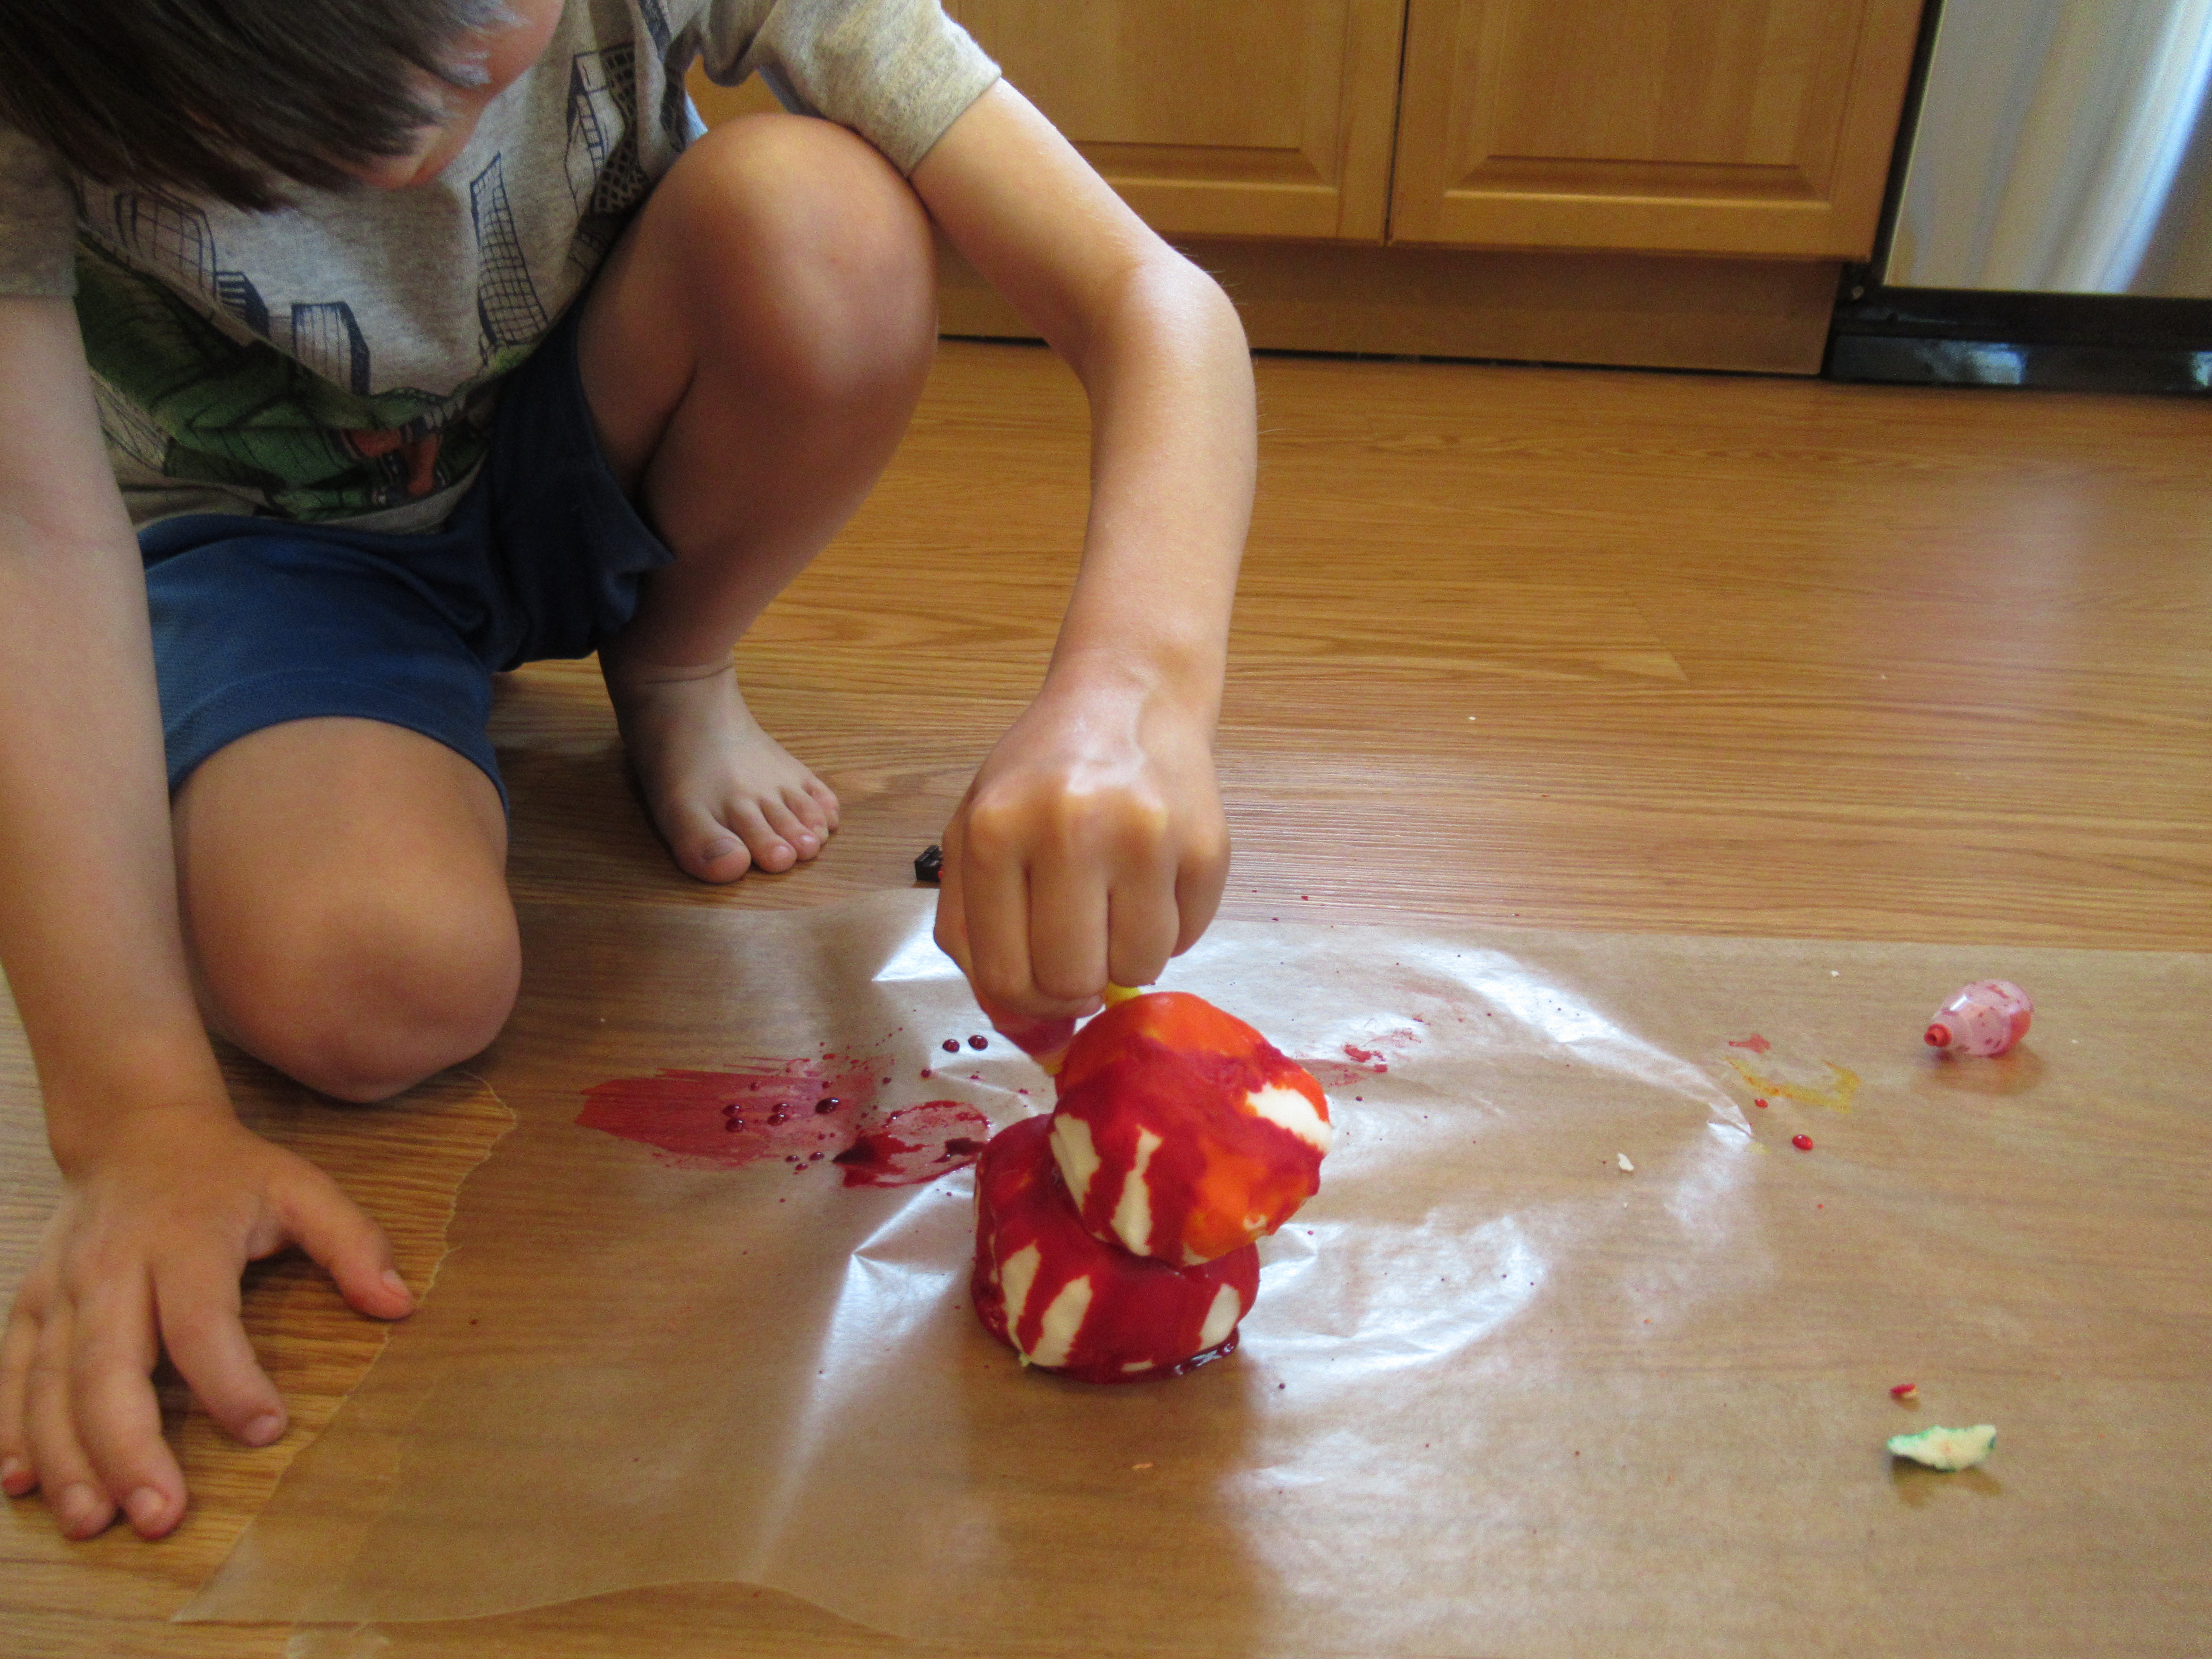
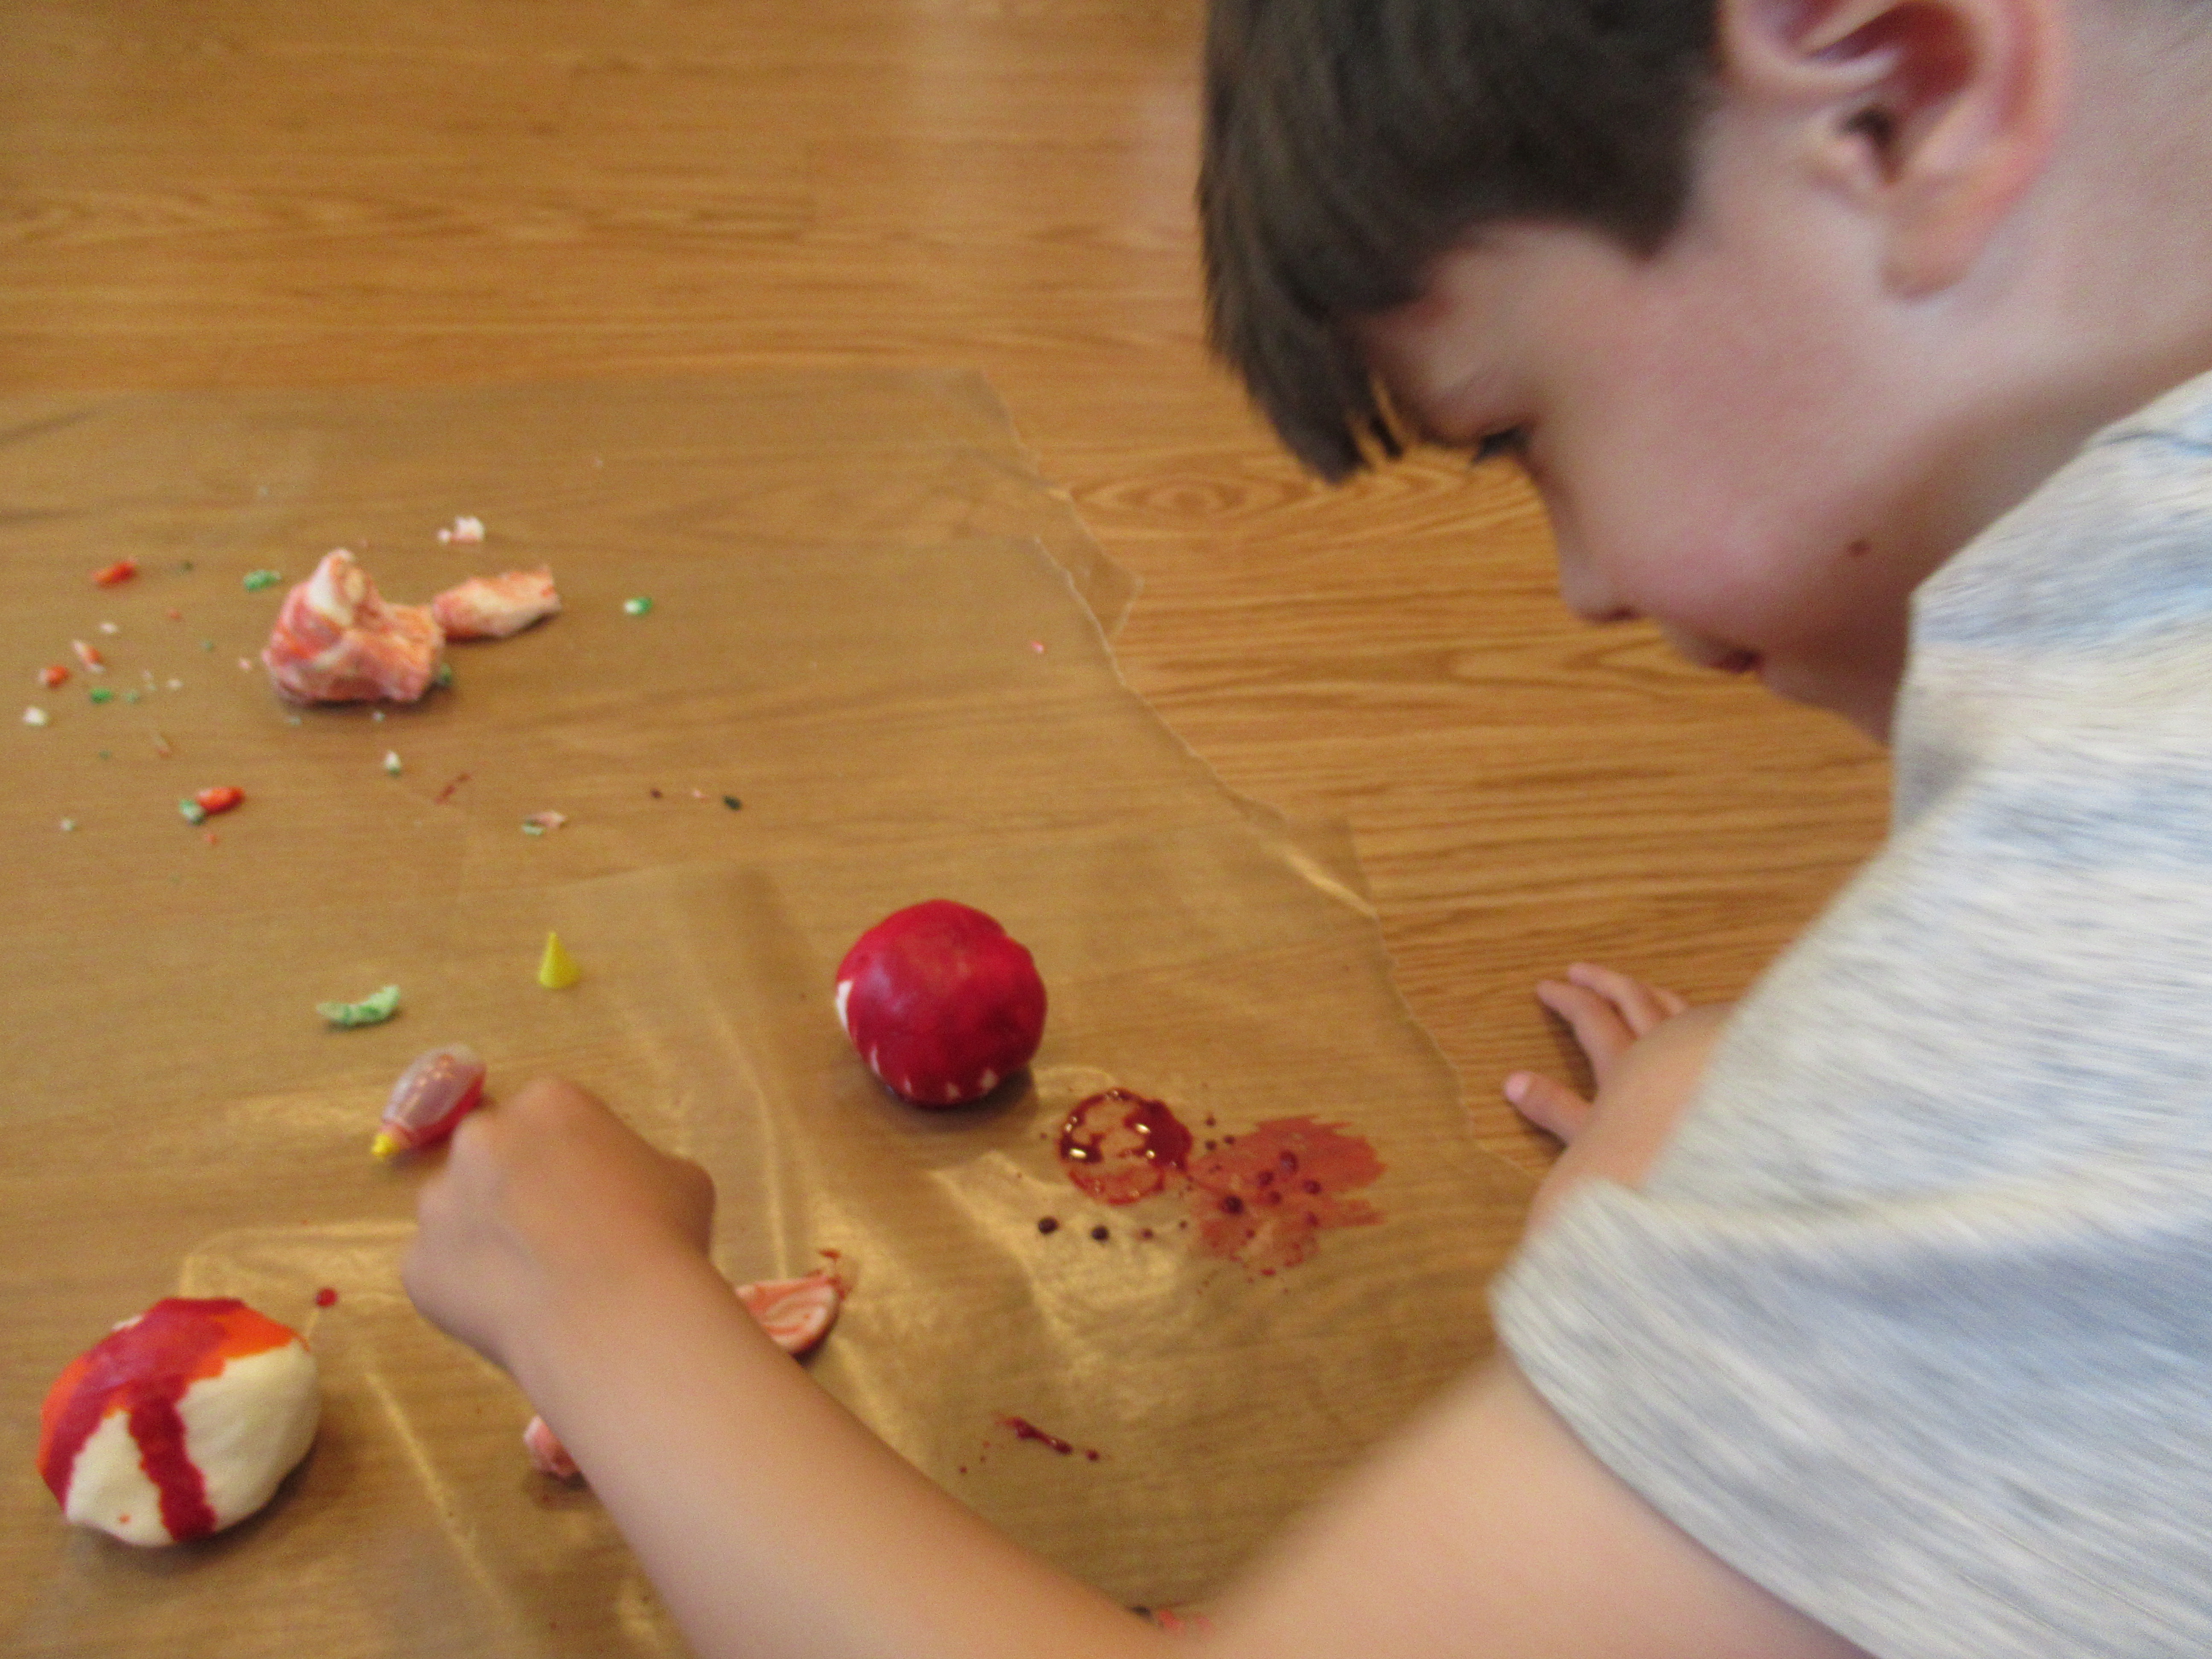
Travis thought it was much more fantastic fun to squeeze tons of food coloring onto the white clay, however, which meant soon we had a goopy mess!

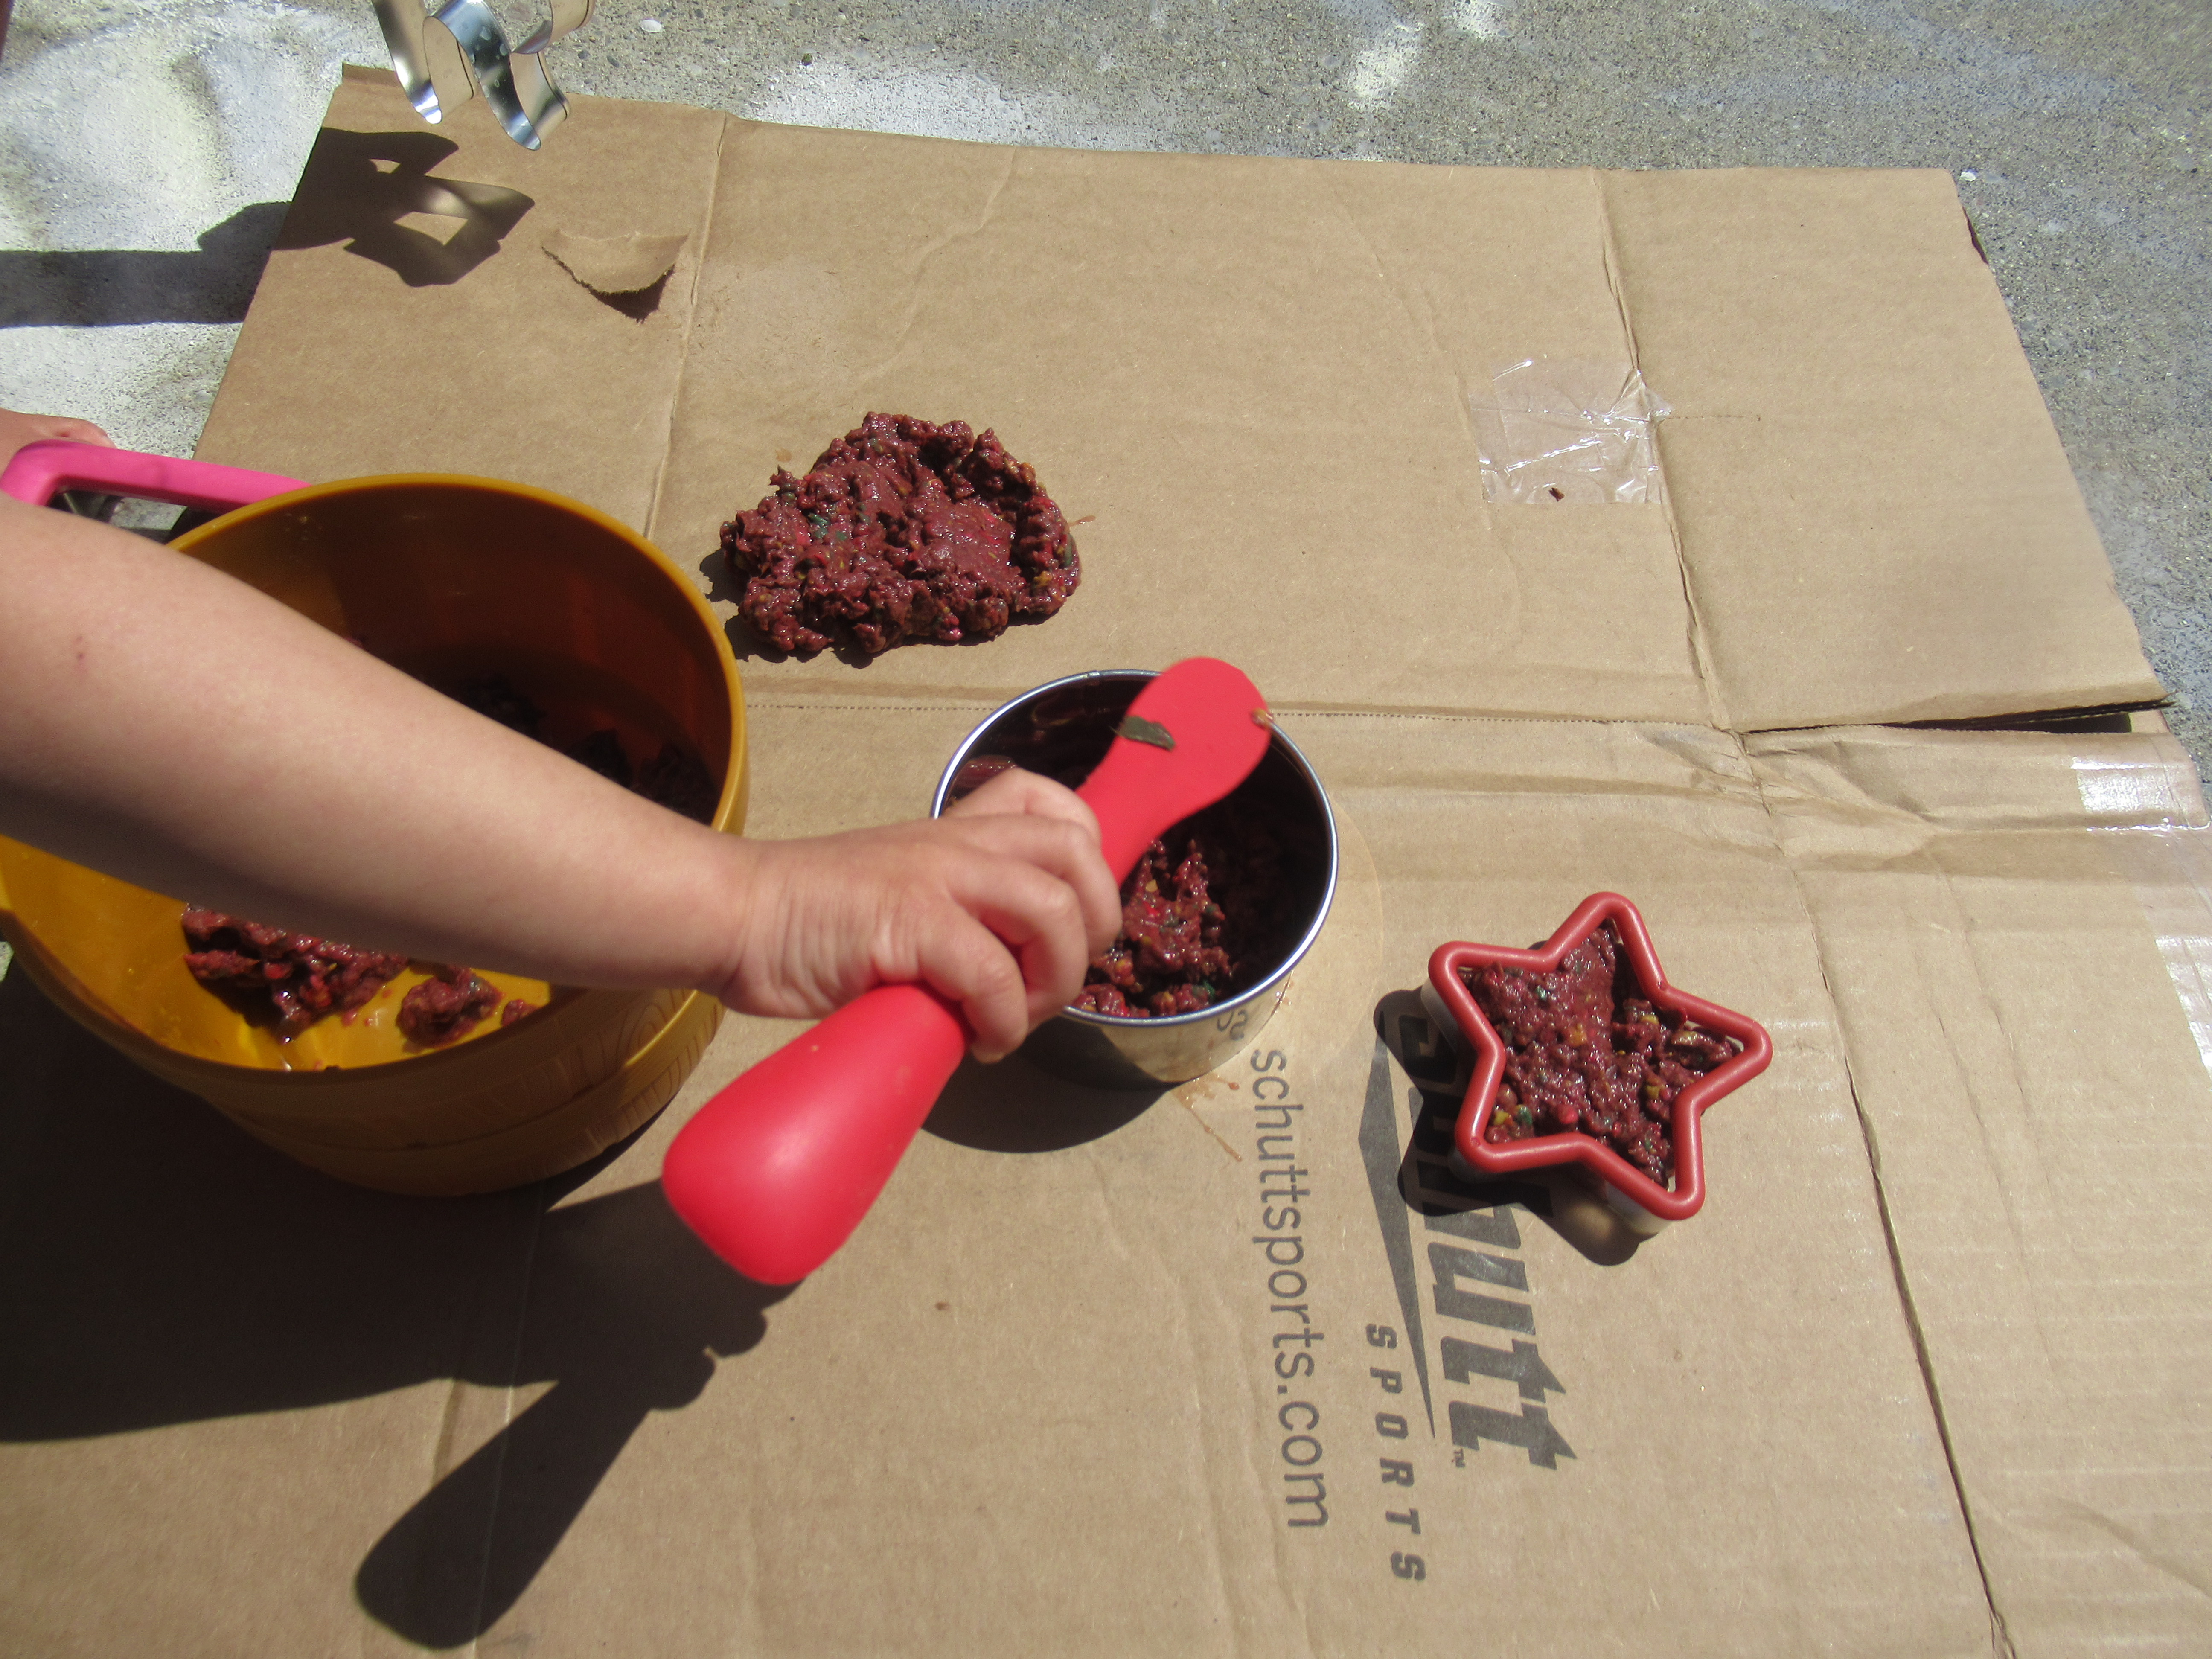
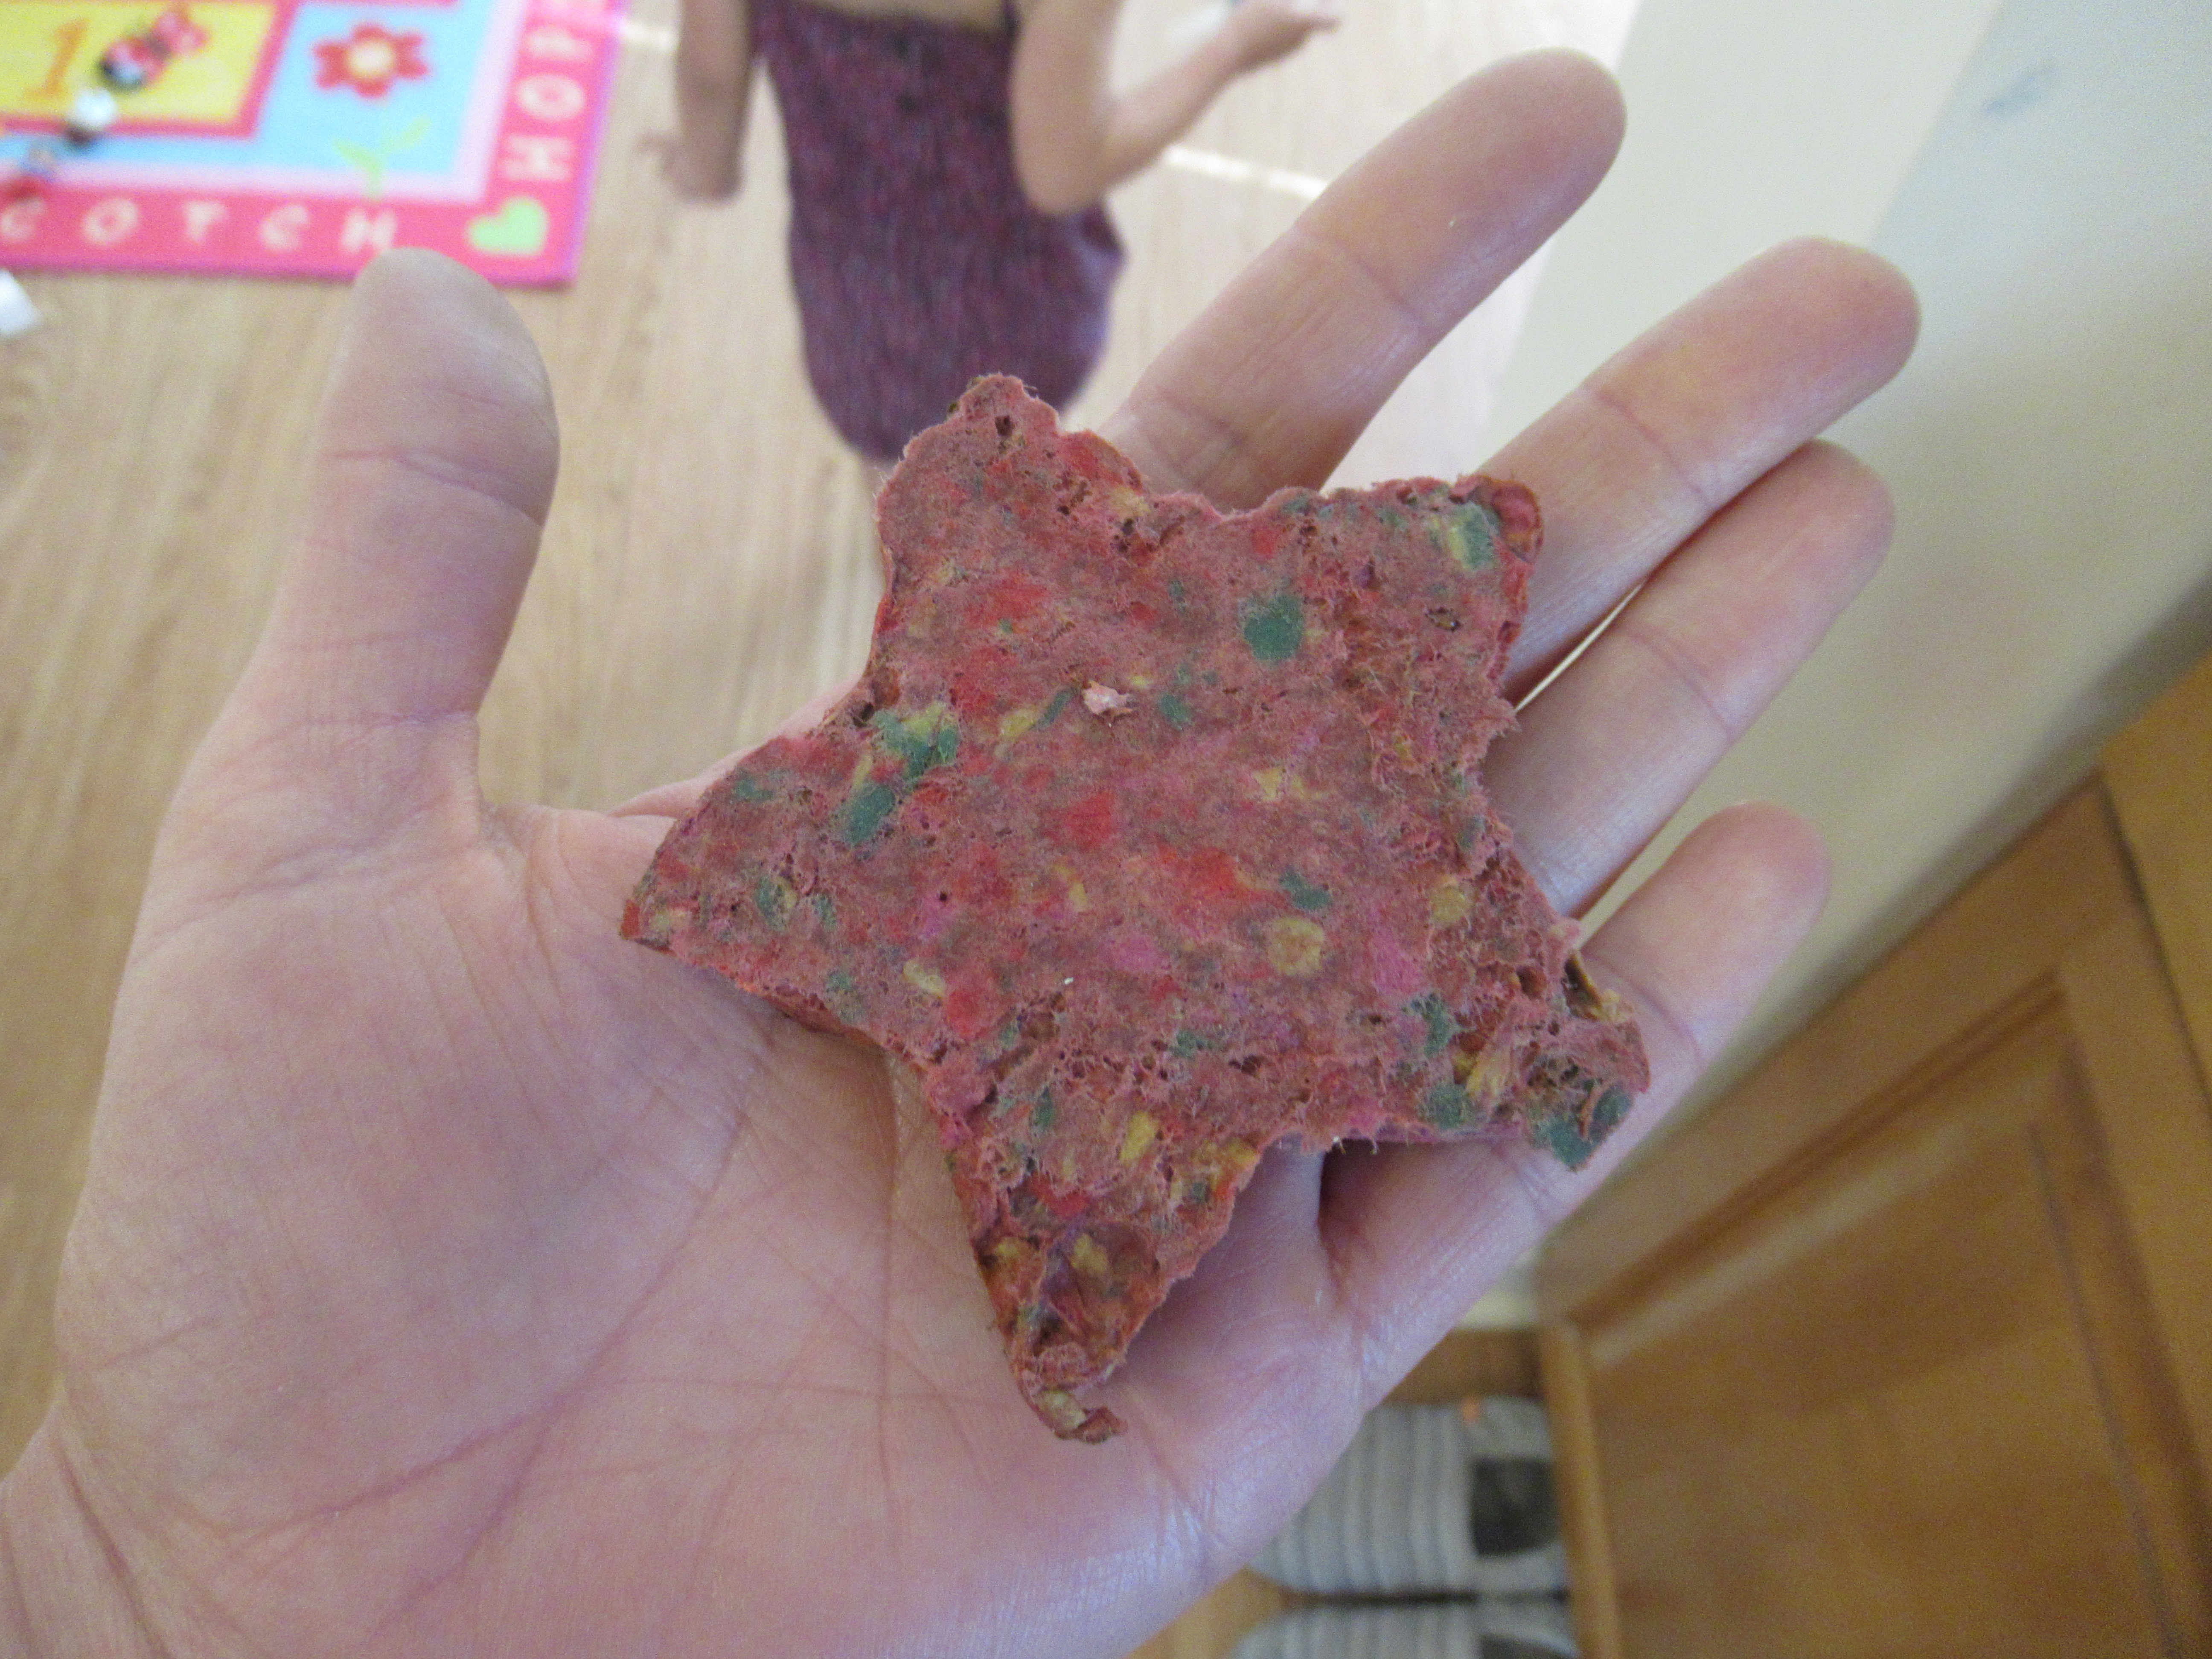
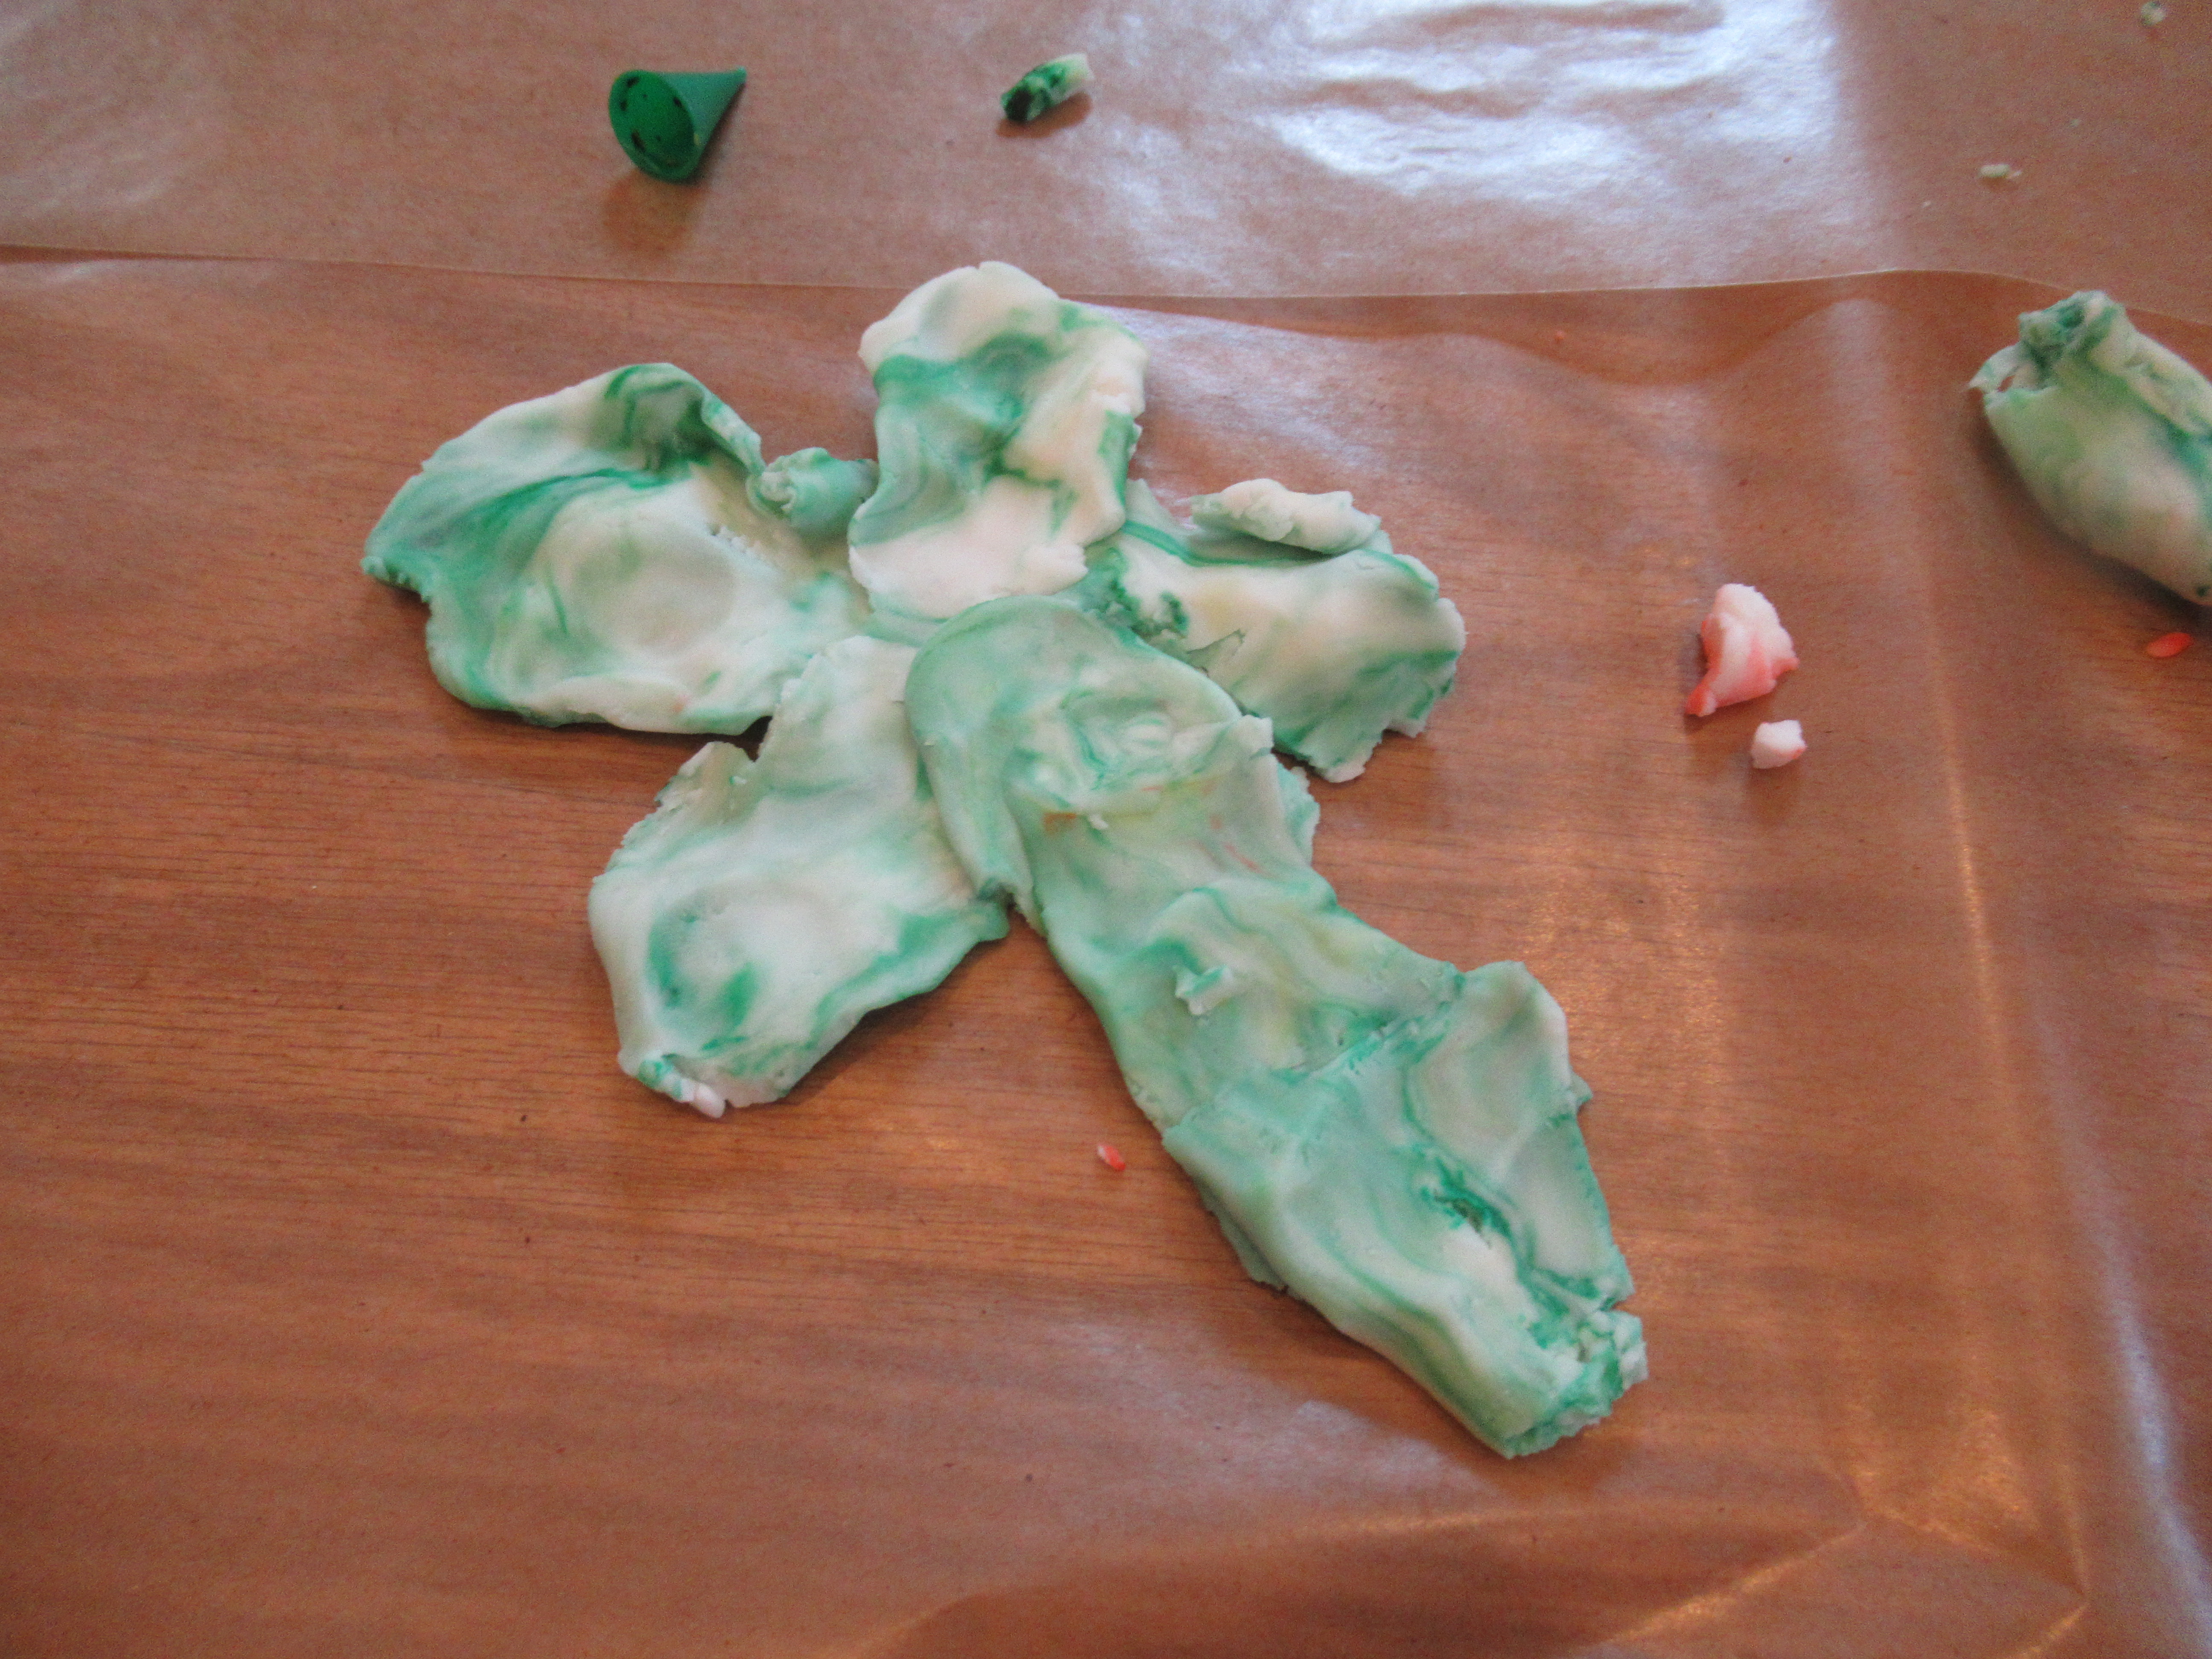
There was a brief moment where the subtle color in the clay was just right…

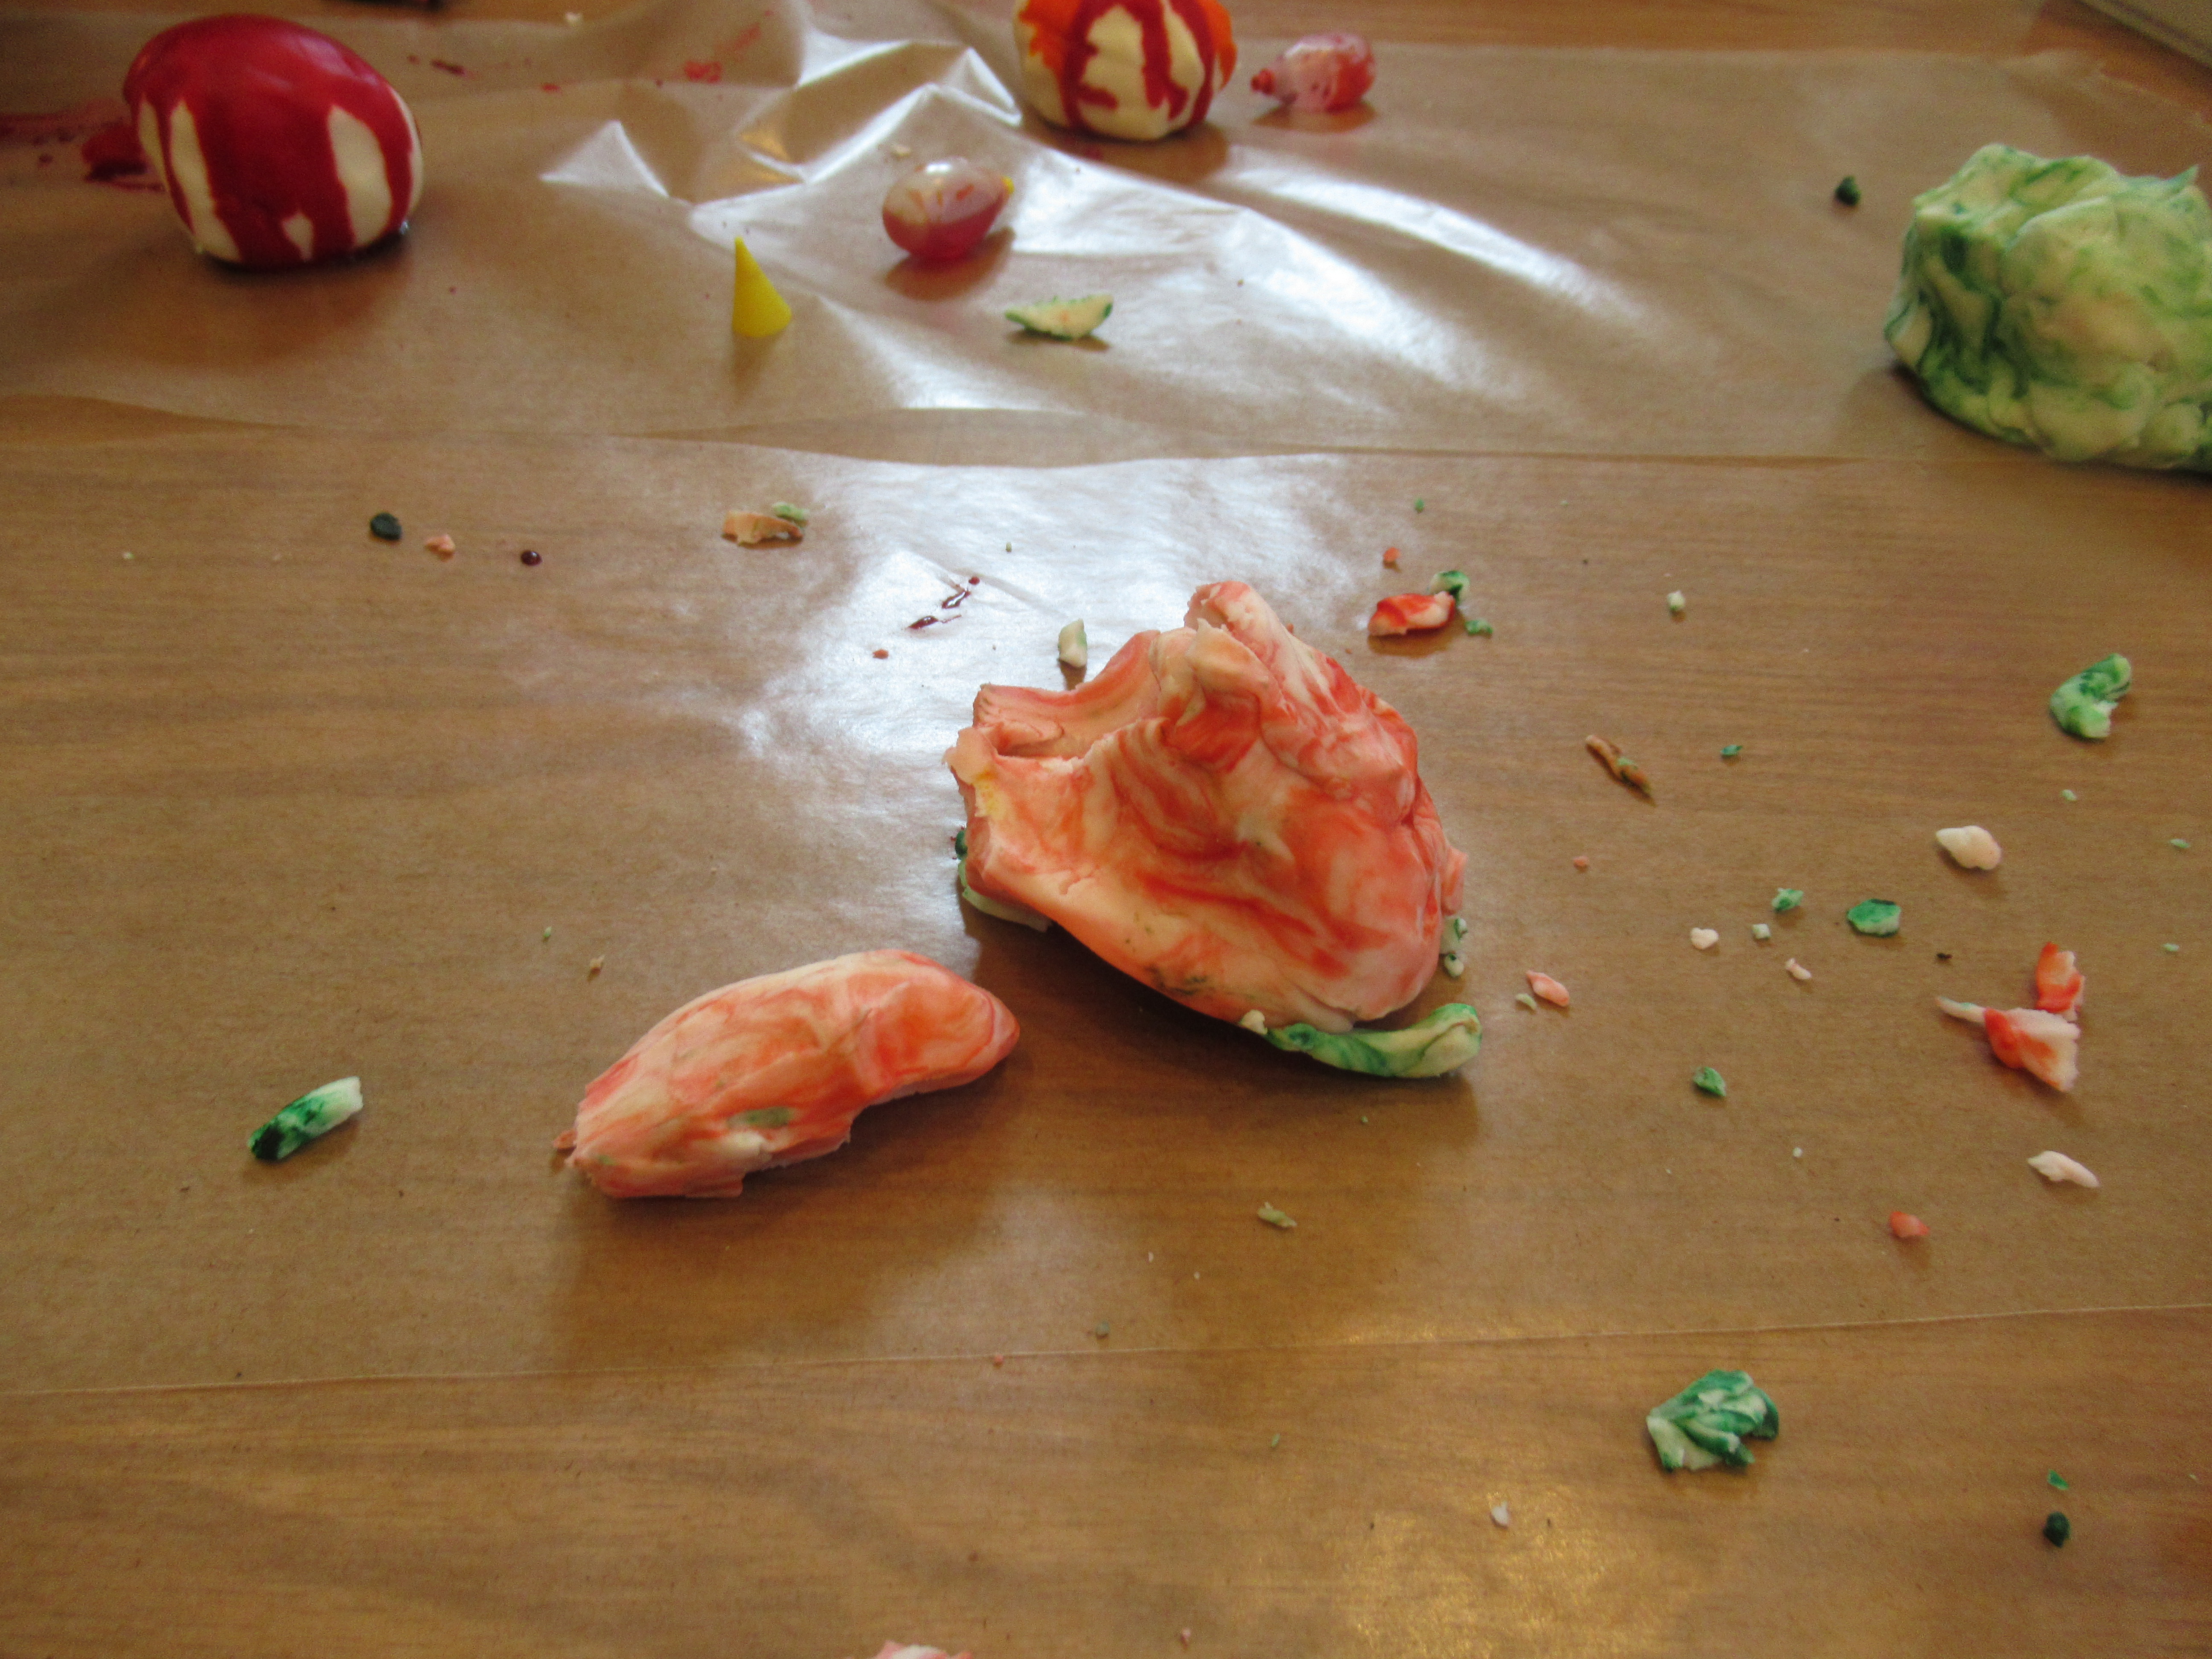
(I managed to snap a quick pick of this shamrock)

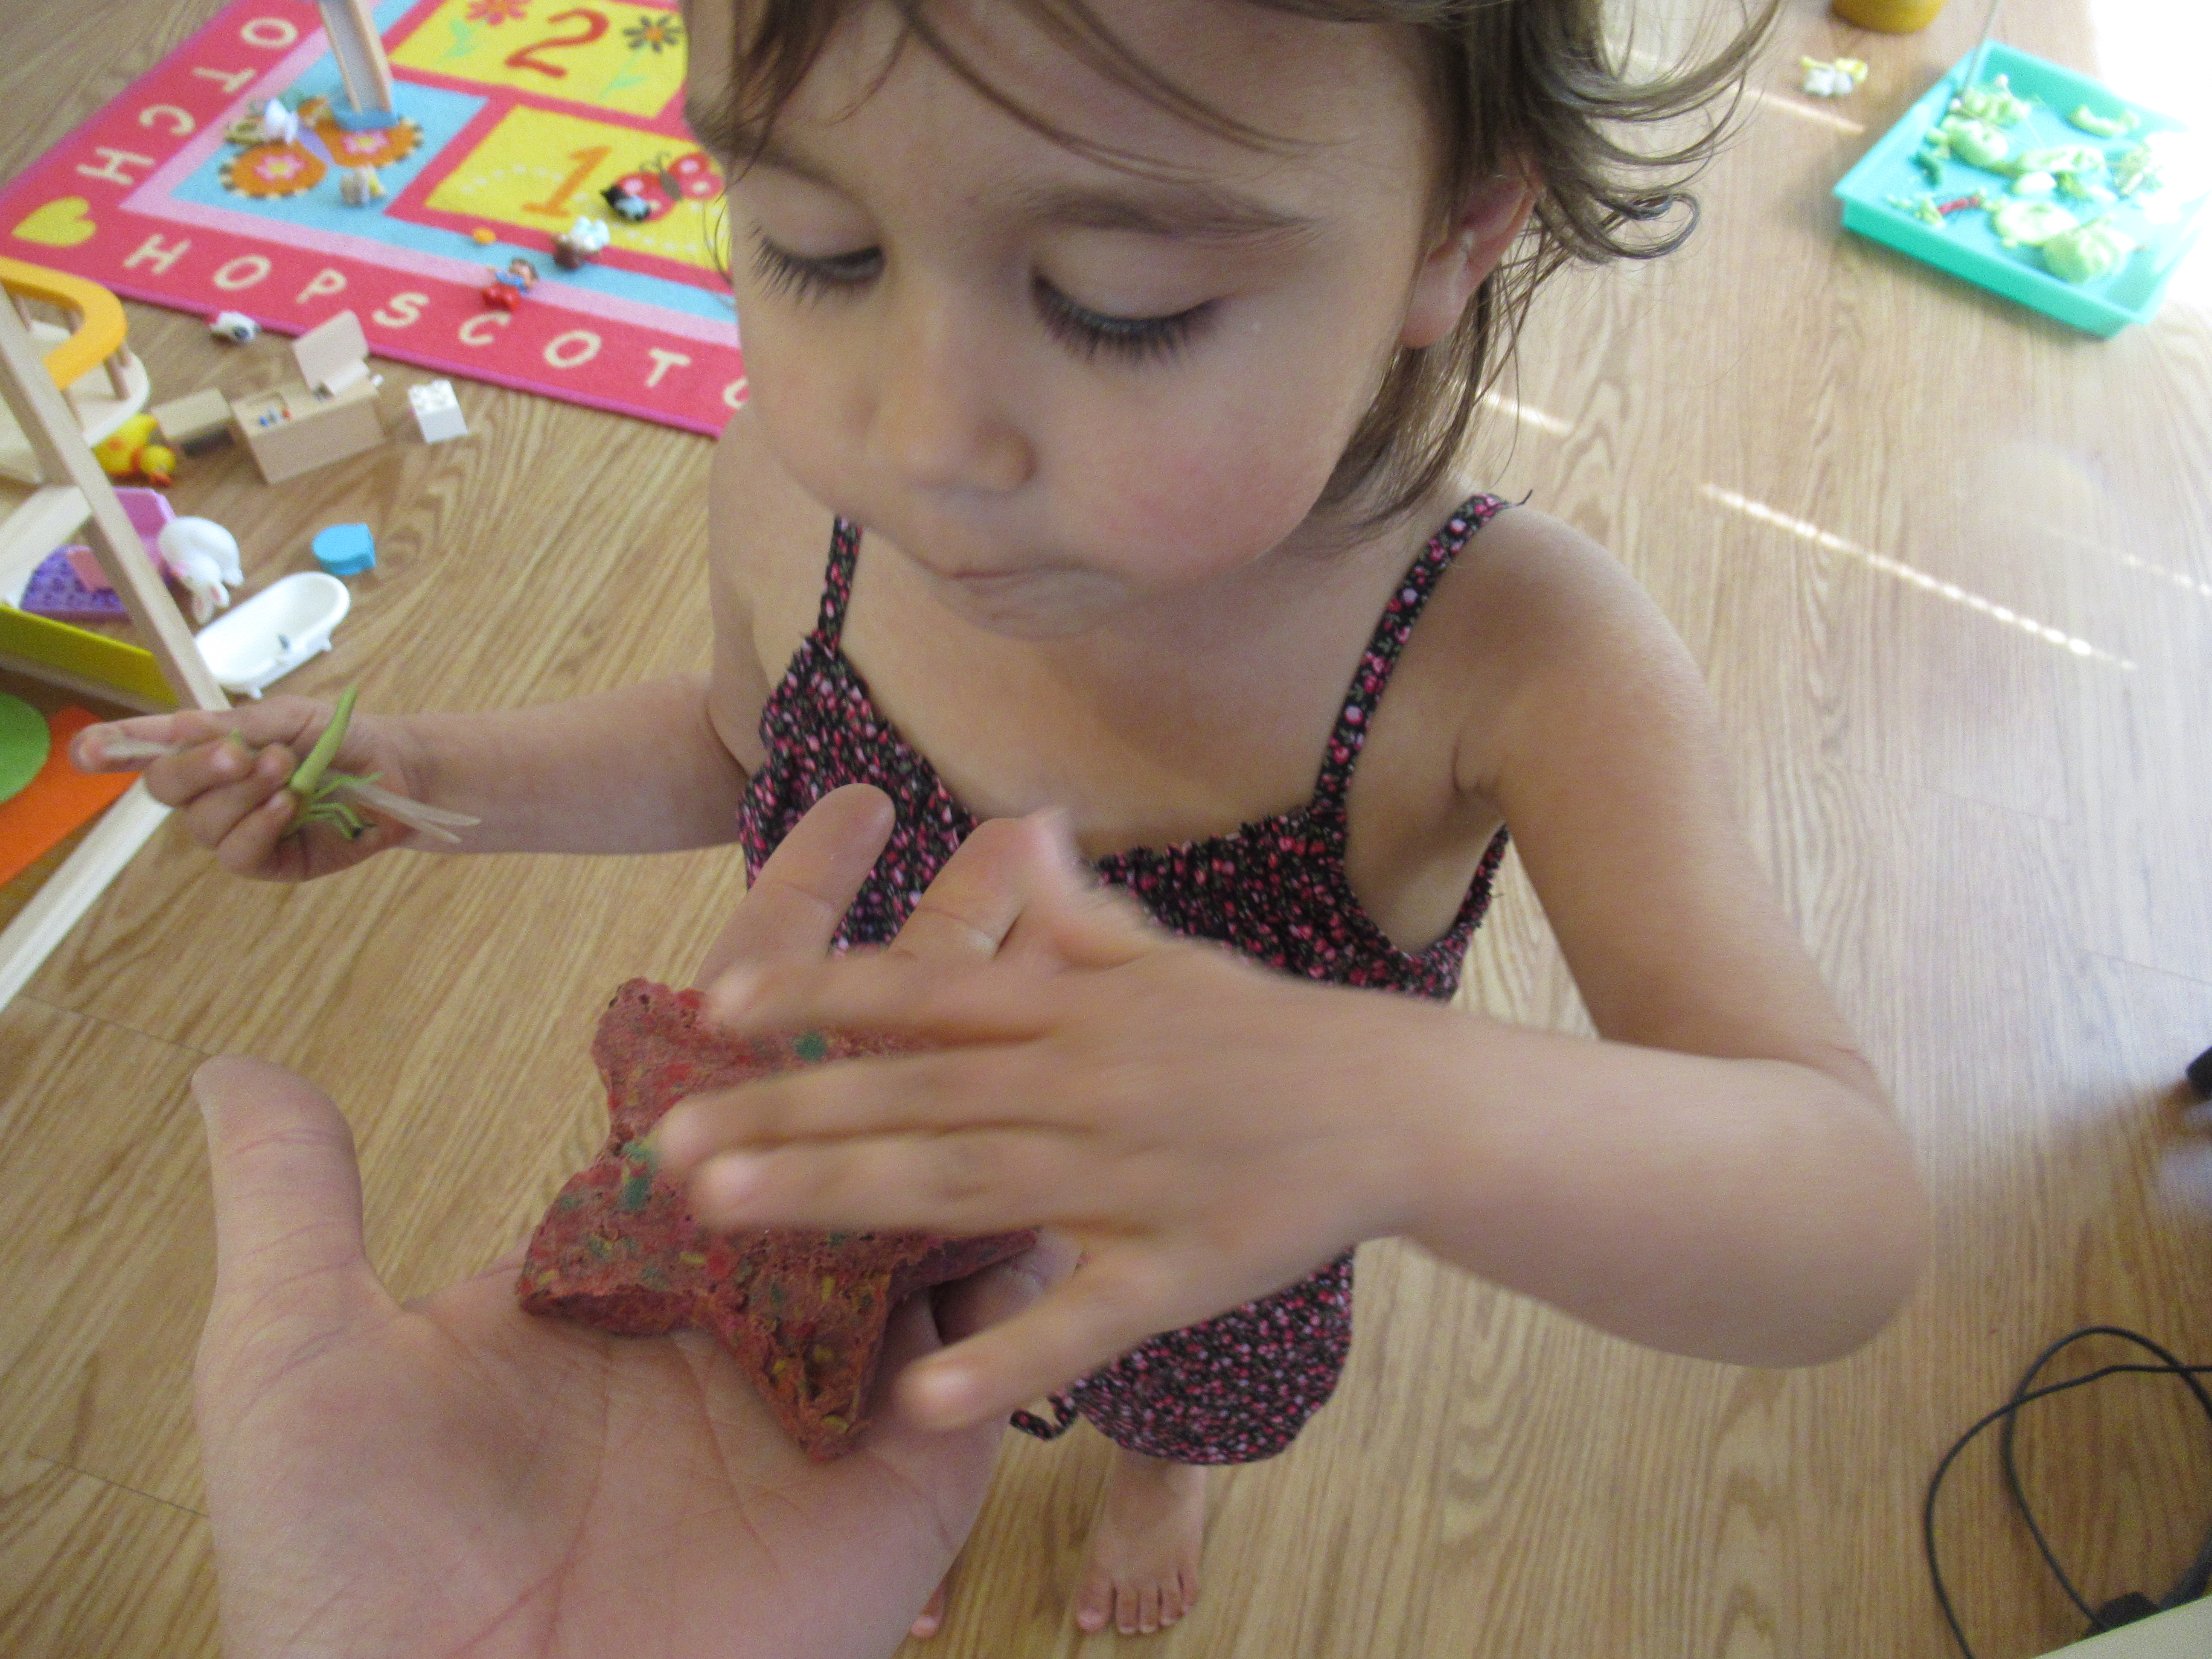
…before there was so much food coloring that the clay became a squishy mess. This thrilled Travis of course, but for actual sculpting and building purposes, I rather wish we’d left it white!

As a side note, the texture of this homemade clay is wonderful. I find that store-bought clay has a tacky feeling and sticky residue, whereas this was silky smooth.

Press Homemade Paper

The idea for this messy hands-on play came from Parents magazine, although I had to adapt the activity slightly based on materials in our house. Still, it filled a morning of play for Veronika in the best, messiest way!

To start, Veronika helped tear up sheets of colored construction paper. Even better was pouring water from the watering can over the pieces until covered. Let soak for at least a few hours.

We headed out for a few activities, then came home to check on the paper. Nice and soggy! We transferred it to a blender, along with a little extra water. Blend until you have a thick paste. I didn’t measure the water, so just eyeball this until it seems right; you don’t want the mixture to be soupy, but you also don’t want it to seem too dry.

Transfer back to a bowl and stir in a packet of flower seeds, then head outside! Here’s where I needed to improvise; ideally, I would have set out the paper mush on an old window screen (or in a pinch, even a nylon stocking stretched over a hanger frame. Having neither, we just worked on a piece of cardboard, which I hoped would absorb the excess water as our paper dried.

I set out cookie cutters to press the paper pulp into, and Veronika briefly scooped some of the mush into them. But she was much too interested in this goopy mixture for it to stay in the cookie cutters for long! She loved scooping the mixture in and out of the bucket. At first she was hesitant to get her hands in it, but I demonstrated that you could pick up handfuls, squeeze it, and yet still have remarkably clean hands.

“I did it with my hands!” she said, and that’s exactly what she did for the next half hour. She picked up the paper pulp, squihsed it, filled the bucket, dumped it, and began all over again.

Luckily, I did manage to salvage two cookie cutter shapes: one star and one circle, and left these to dry in the sun. After about 5 hours, we checked on the shapes. They weren’t completely dry, but had set enough that we could remove the cookie cutters and then finish the drying process inside.

Veronika marveled at the texture as she touched the paper she had made!

Even better, we plan to actually plant these later in the summer, and see if the flowers grow. Stay tuned!

Sprout Some Beans

Sprout Some Seeds (5)

Spring is the classic time of year when elementary school kids learn about gardening, parts of the plant, and the process behind sprouting seeds. Although we’ve planted seeds in the past, Travis and I tested out a step-by-step method this year for a scientific spin on the activity.

To start, soak kidney beans in a cup of warm water for about 3 hours. Drain.

Travis selected a few of the beans to place on a wet paper towel. Fold the towel up over the beans, then place inside a zip-top plastic bag and seal. We set this inside a cabinet for 2 days. (Note: Any similar warm dark place will work fine).

Sprout Some Seeds (1)

Two days later, we checked to see if the roots had started to grow.

Sprout Some Seeds (3)

They sure had! Travis was amazed at the curly root we could see coming from each bean.

Sprout Some Seeds (4)

Now, plant the seeds in a bit of dirt with the root pointing down. Set some place sunny and add a little water each day. Then just watch the plants grow!

Sprout Some Seeds (6)

In addition to the hands-on portion of the activity, I had Travis write down a few things about the experiment, to work on conceptual knowledge. First, he listed all the supplies that were needed. His list included:

Dirt

Cups

Paper Towel

Plastic Bag

He also answered conceptual questions, like what happened after each consecutive step, or his observations at the end. A perfect project for a budding (ha) scientist.

Target Practice

Kids seldom need an excuse to bring out the water guns on a hot day, and today we had temps above 80 shortly after breakfast. Here was a fun way to combine water play with some hand-eye coordination.

As targets, I set up a few empty plastic water bottles in a line on the patio and then placed a ping pong ball on top of each.

I showed Veronika how to take aim with our smallest water gun. It was hard for her to pull the orange handle by herself, but a mommy-daughter team could knock off the balls.

Big brother Travis wanted a turn, and was so proud to squirt water right on target, watching the balls go bouncing into the grass.

Needless to say, pretty soon the kids wanted to water the grass, the patio, their feet, and more! A special note to add that this game was for water fun and to cool off only.

Chocolate Chip Cookie Icebox Pie

Cookie Icebox Pie (3)

This chilled dessert feels just right on a hot night, just layers of vegan whipped topping and chocolate chip cookies. For something truly decadent, use double the ingredients listed below, and repeat the layers!

Ingredients:

  • 1 (10-ounce) container frozen non-dairy whipped topping, thawed
  • 6 ounces vegan chocolate chip cookies
  • Mini chocolate chips, for garnish
  1. Spread half of the whipped topping in the bottom of a 9-inch pie plate. Top with the cookies, breaking into smaller pieces as necessary to evenly cover the surface.
  2. Top with the remaining whipped topping. Cover with plastic wrap and chill for at least 6 hours, and up to 12 hours.
  3. Just before serving, decorate the rim of the pie with mini chocolate chips.

Cookie Icebox Pie (2)

Jel Dessert Sensory Bag

I enjoy making squishy bags for the kids, but don’t always love going through bottles of hair gel (a convenient base of choice) to do so. A great alternative, with the added bonus of the leftovers being edible, is to make a squishy bag from your favorite jel dessert!

The night before, I prepared a batch of the orange flavor from Simply Delish so it was chilled and set by morning. Fill small zip-top plastic bags with some of the jel, then add something fun to squish around in it. We used a mix of beads and bottoms. Note: For something a bit more gruesome around Halloween, use wiggle eyes instead!

Veronika loved the cold and squishy texture on her hands, which she could feel even through the plastic.

We hung it in the window where the sun made it almost like a suncatcher, too. She would press both palms against it so intrigued…

…and also enjoyed pushing individual beads around.

A simple way to keep little hands busy.

Watermelon Pizza

This is a great recipe for kids to tackle solo, since it involves steps for early slicing and knife skills in the kitchen. Travis proudly made the whole “pizza” himself.

To start, I cut a section from a mini watermelon that was about 1 inch thick. First Travis needed to put on the pizza “sauce”. He slathered on raspberry jam, very carefully making sure to smooth out any lumps.

Next he cut a banana into slices and green grapes in half. These fruits are great for early cutting, since both are soft enough to cut through with a butter knife.

We pretended the bananas were mushrooms and the green grapes were broccoli! Place on top of the “pizza”, then cut into 4 wedges to serve.

Shaving Cream, Inside and Outside

Shaving Cream Squish (9)

Veronika’s fun with sensory materials continues, first inside a bag, and then out! Today, it was shaving cream’s turn as the starring material. To start, squirt a little shaving cream into sandwich-sized zip-top bags, then add a bit of food coloring to each.

Shaving Cream Squish (3)

I used just green for one bag, but combined yellow and red in a second for some coloring mix. Seal tightly and add duct tape across the top for security.Veronika loved helping disperse the colors in the bags by squishing them. These were as soft as pillows to hold!

Shaving Cream Squish (4)

But now it was time to get messy. I placed a few toys in the bottom of a craft bin. Choose items that will be easy to wash off, like plastic dinosaurs or animals, or toy cars. Now fill the container with shaving cream! I used about 1 and 1/2 bottles of shaving cream to completely bury the items.

Shaving Cream Squish (5)

Veronika’s job was to dig! Your kids might want to immediately get up to their elbows in the stuff.  Veronika preferred to start with a wooden spoon, daintily stirring to uncover items.

Shaving Cream Squish (7)

When she found the first car, she wanted to rinse it, so I gave her a separate small bucket of water.

Shaving Cream Squish (8)

Now she wasn’t afraid to get soapy! She would dip her hands in the shaving cream, transfer a toy or her hands to the water, rinse, and repeat. “Now giraffe will be all clean,” she said proudly. Sometimes she wanted to dunk a toy right back in the shaving cream after rinsing it off!

Shaving Cream Squish (10)

The messier the better with this one, because all said and done, your child is really playing with… soap!

Sweet Potato Fries

These easy homemade fries have a great crunch from the panko coating!

Ingredients:

  • 3 sweet potatoes
  • 2 tablespoon ground flaxseed
  • 6 tablespoons water
  • 1/8 teaspoon garlic powder
  • 1 cup Italian-seasoned panko
  1. Peel the sweet potatoes and cut into matchstick pieces. Place in a pot and cover with water, then bring to a boil. Continue to cook for 5 minutes; drain and immediately rinse with cold water.
  2. Meanwhile, whisk together the flaxseed, 6 tablespoons water, and garlic powder in a bowl. Add the sweet potatoes and toss to coat.
  3. Working with one sweet potato piece at a time, dredge in the panko and transfer to a baking sheet lined with foil. Repeat with the remaining sweet potato pieces.
  4. Bake at 450 degrees for 14 minutes, turning over halfway through.

Sensory Paint, Inside and Outside

Lately, Veronika has loved sensory play where we begin with a material contained in some way (a bottle, a zip-top plastic bag) but then take it out of the container for something much messier! To wit, today we started with paint in the bag and then moved it out.

For the inside version, I squirted a generous amount of hair gel into sandwich-sized zip-top plastic bags, then added bright neon colors of tempera paint to each. Bright food coloring gel would work, too. I deliberately chose colors that felt just right for a hot sunny day: think neon oranges, pinks, and yellows. Press out most of the air, then seal the bags. You can add a little duct tape at the top if you’re worried about curious fingers opening the bag.

Veronika briefly squished the vibrant colors all around, and liked tossing them to the floor with a splat.

They were also fun to stomp on with bare toes! But, as I anticipated, they didn’t hold her interest long.

Neither did a second sensory bag for writing practice. For this one, I used a gallon-sized zip-top bag and only a thin layer of paint so that the squiggles and shapes she made would show up clearly.

I showed her a few letters like V for Veronika, and we even could make hand prints. Still, she lost interest after a few swirly lines.

It was time for something decidedly messier. Lay down a piece of cardboard to protect your patio or lawn, and place sheets of white paper on top.

We made blobs of paint on the paper and then covered each with a cotton pad. (Note: You could also apply the paint directly to the cotton pad, and then set down on the paper). Now whack with a wooden spoon!

Similar to fly swatter painting, whacking the paper is sure to be irresistible for kids. The clear winner once more? The outside messy way!