Solve with Me Panda Crate

Panda Solve final

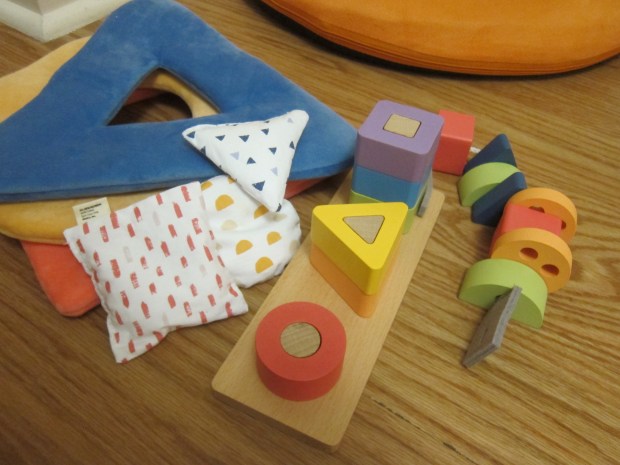
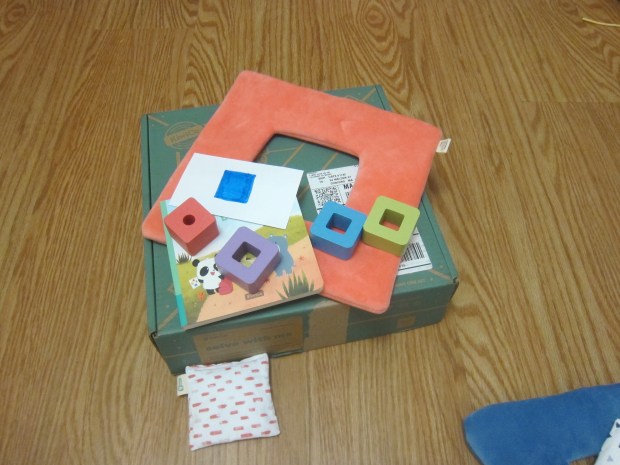
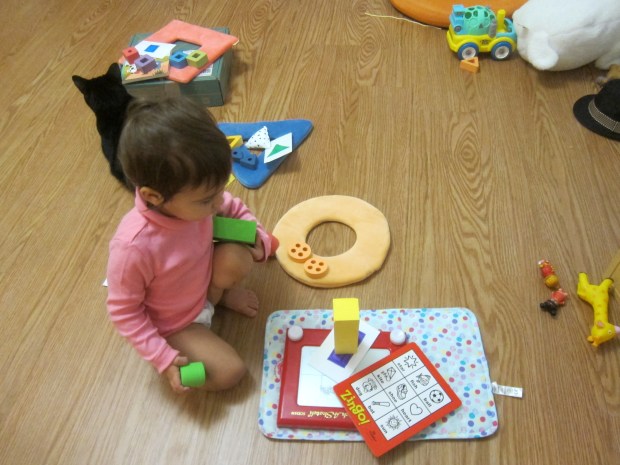
Veronika’s latest Panda Crate, Solve with Me, was easily her favorite yet. With an emphasis on shapes, puzzles, and problem-solving for kids (aged about 18 months and up), here’s what she received.

One: Peg Puzzle

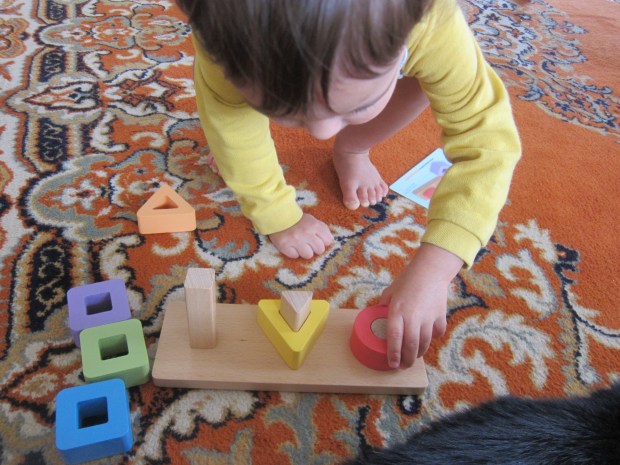
First up was a classic shape puzzle, with a square peg for squares, triangle peg for triangles, and so on. To start I simply laid out all the pieces and she had to figure out what went where.

Panda Solve (1)

As soon as I asked, “Can you put the triangle on the triangle?” she had the idea. The puzzle is also great for colors (“How about the blue square next?”) and for counting, since it ranged from 1 circle to 3 squares.
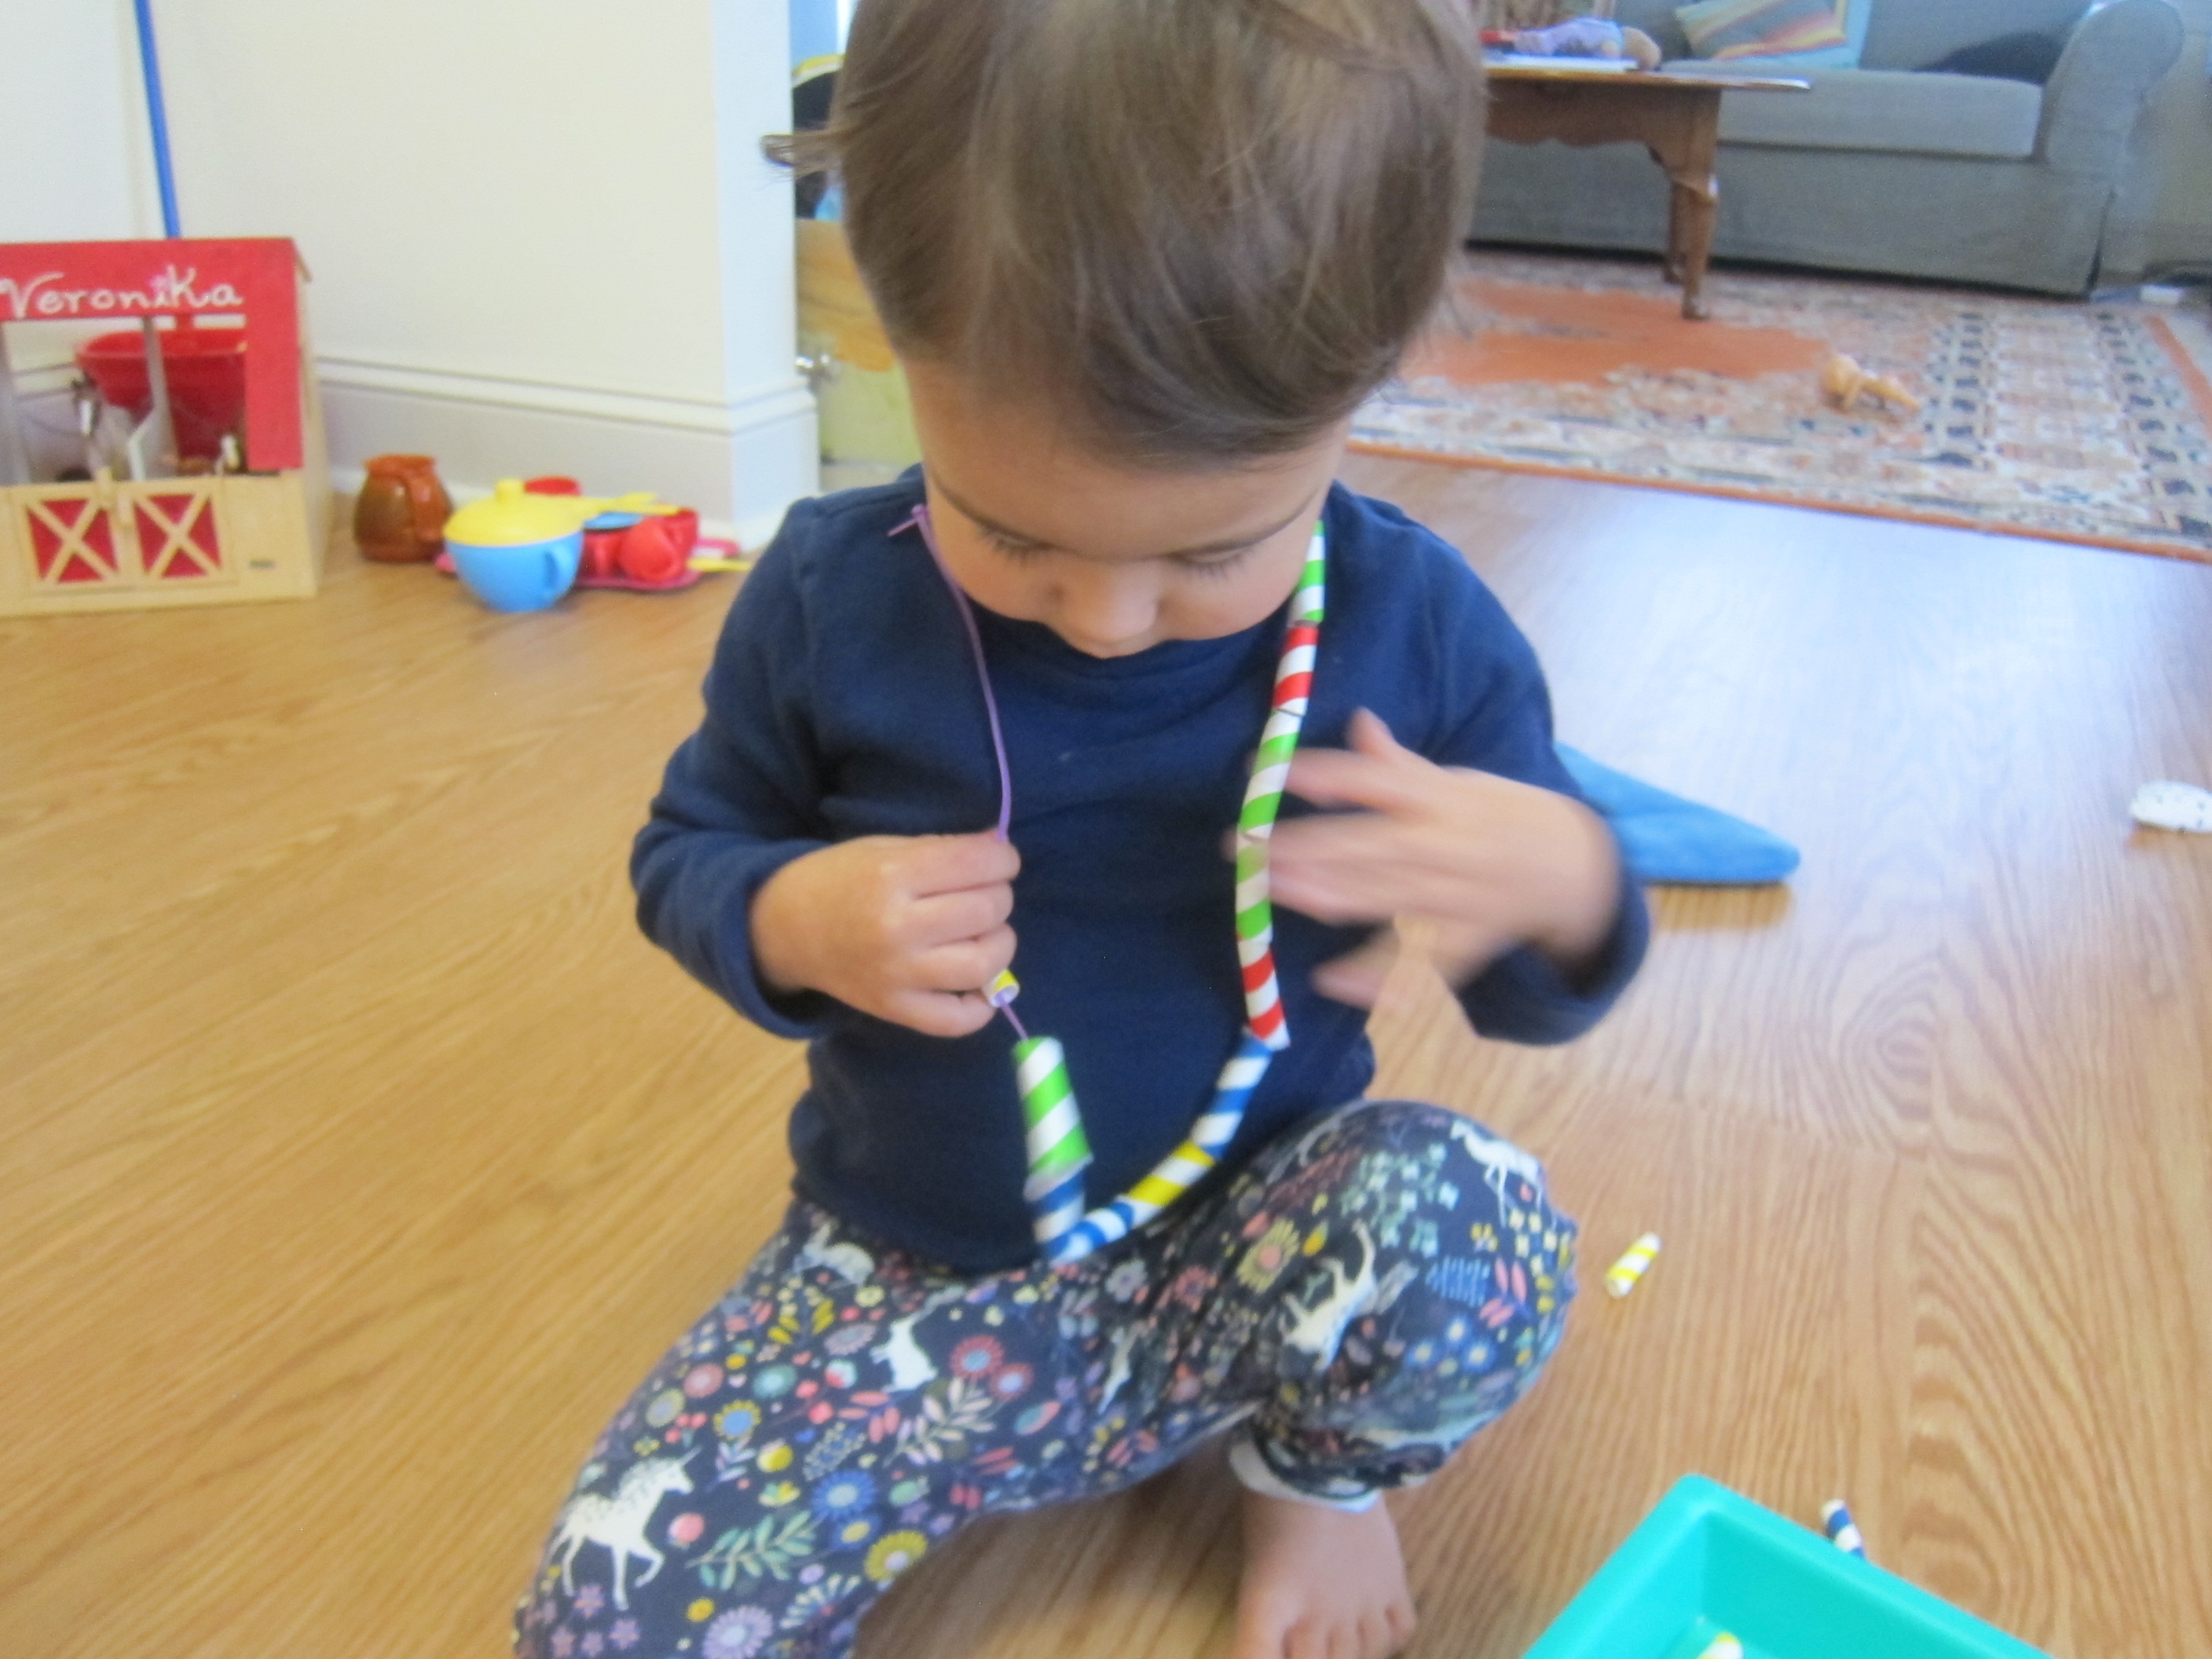
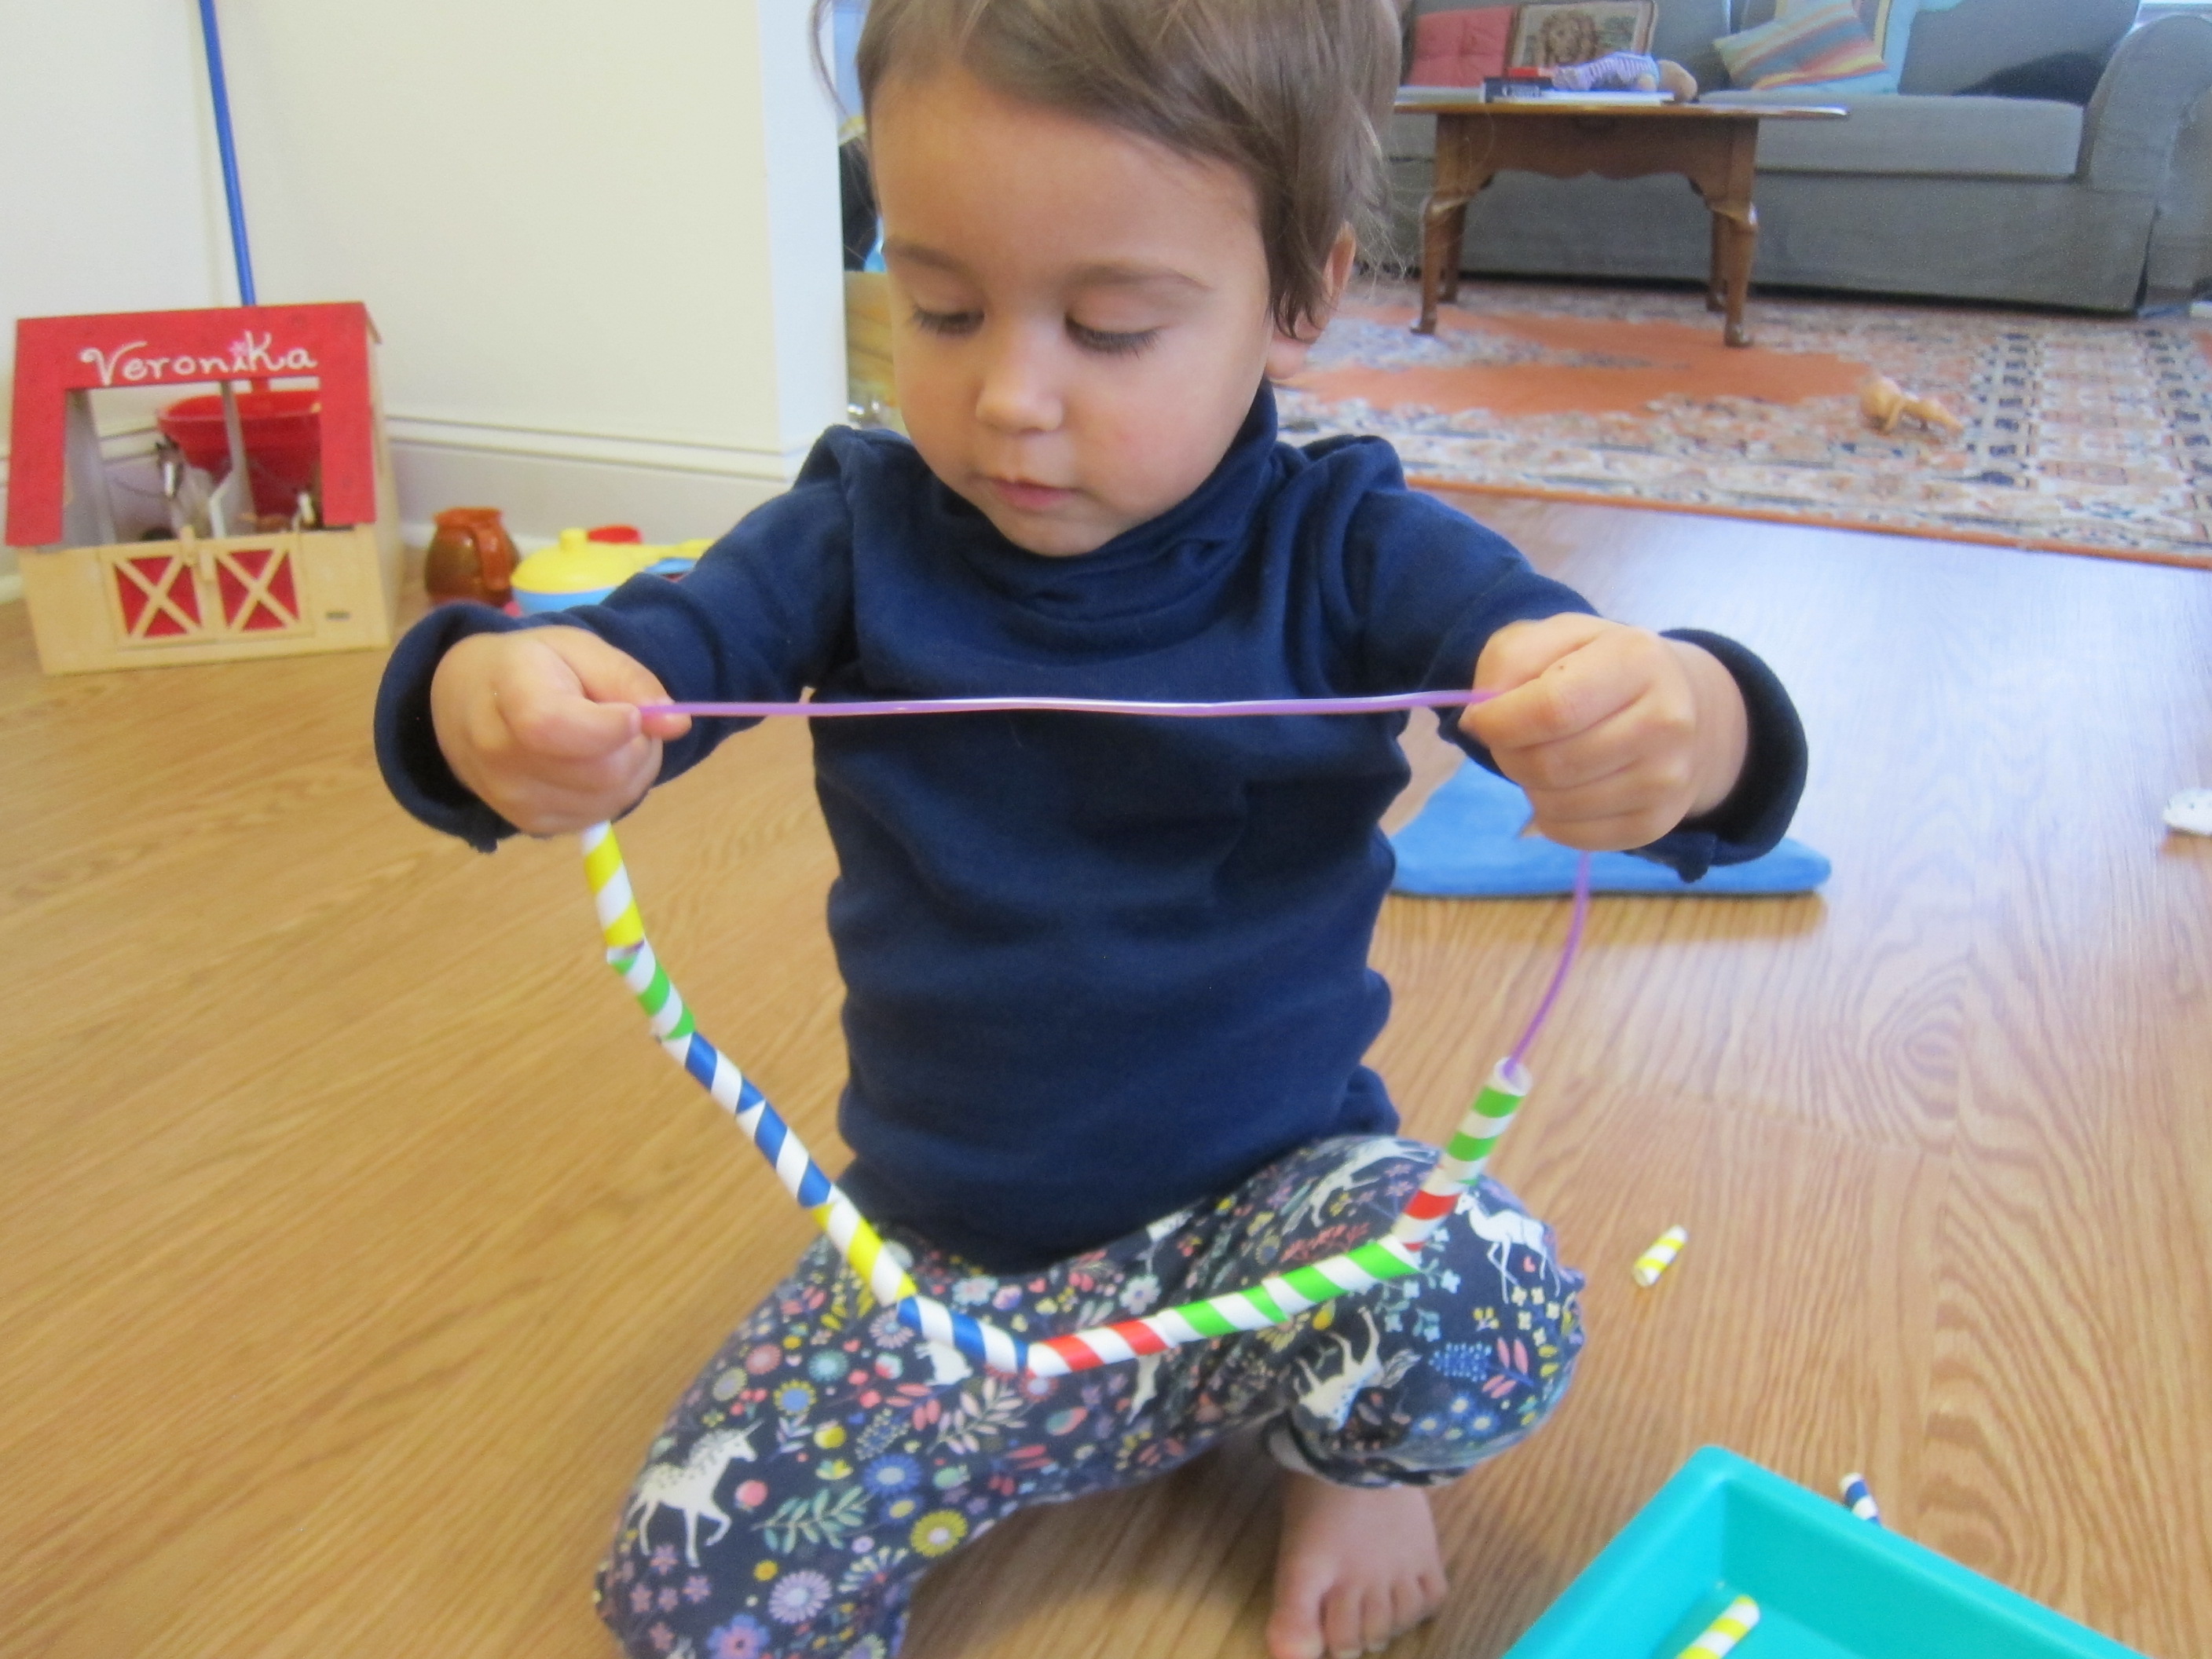
Panda Solve (4)

Two: Lacing Beads

This was the best child’s lacing toy I’ve ever seen. The “needle” is actually made of stiff felt, but pokes easily through the wooden beads. Peek-a-boo, pull it through!

Panda Solve (5)

She loved that she could master this lacing all by herself. She also loved when I showed her a pattern (early math!): square, semi circle, triangle, repeat!

Panda Solve (6)

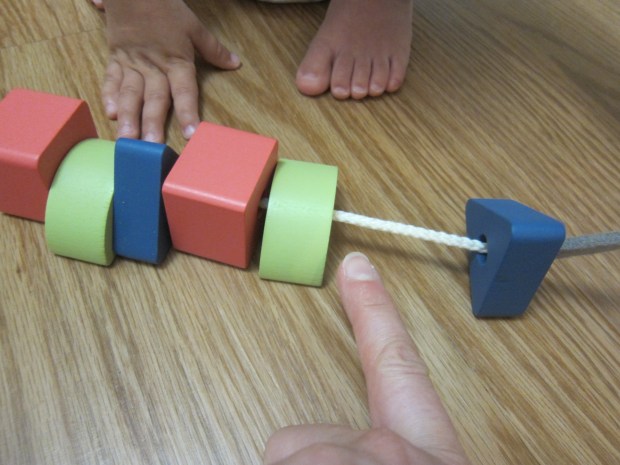
The thread and needle also come with two giant buttons, so you can even teach your older toddler how to make a crisscross. Parent bonus: you can store the beads right on the lace.

Panda Solve (14)

Three: Squishy Shapes

These giant shapes were Veronika’s favorite of the lot, first of all because they were just so squishy and big, like stuffed animal friends in geometric form!

Panda Solve (9)

We laid them down and first used them for gross motor skills. Give your toddler instructions like “Hop to the triangle!” or “Run to the square!” and watch him or her happily comply.

Panda Solve (12)

She had a blast with this game. Then I held her hands and helped her “trace” each shape with her feet, almost like mini balance beams.

Panda Solve (10)

Toddlers can also trace a finger along the inside of each shape, which has immediate tactile rewards and larger learning benefit for pen control later on.

Panda Solve (11)

Finally, we sorted the other items from the crate onto them, which was great for helping her categorize shapes.

Panda Solve (13)

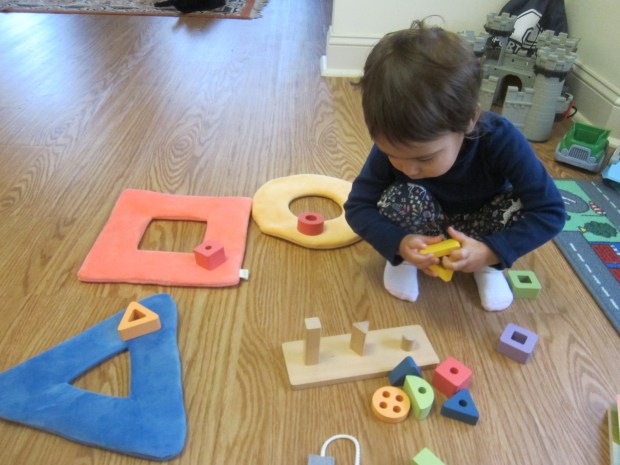
Four: Beanbag Shapes

These classic beanbags, one each for triangle, circle, and square, extended the squishy shape play. Firstly, each one nests perfectly on the inside cut-out of the corresponding squishy shape.

Panda Solve (15)

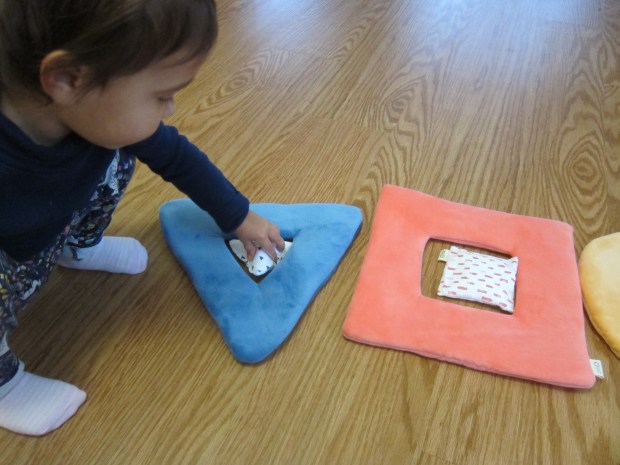
“Let’s the put the triangle here!” Veronika proudly said, and narrated this play solo to herself for a while. Don’t forget to point out size comparisons, like how the beanbag makes a little circle and the squishy shape makes a big one.

Panda Solve (16)

Second, we played hide and seek! I tucked a beanbag under its corresponding squishy shape and she proudly found it each time.

Panda Solve (19)

Finally, it was gross motor skills time! Move the squishy shapes back a few steps and take aim with the beanbags. Veronika also adored this part, and we’ll work up to throwing from further away.
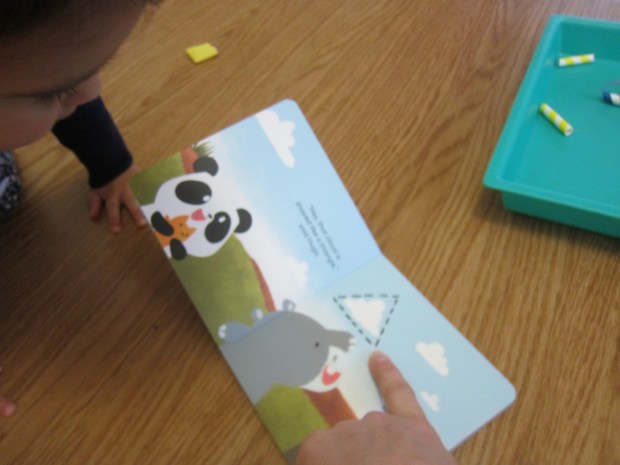
Panda Solve (17)

Five: Board Book

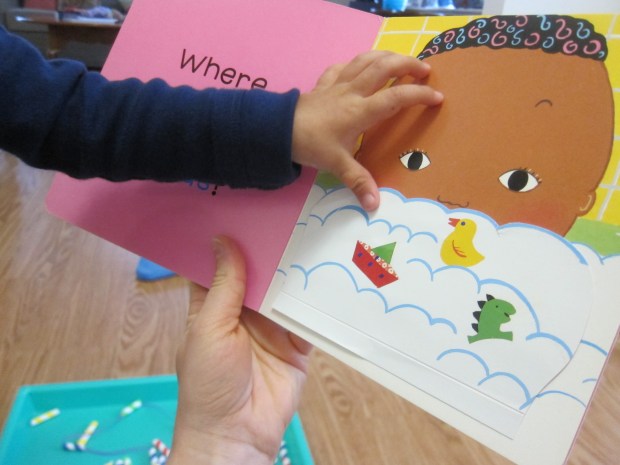
As with past crates, I was disappointed in the caliber of the book. There was so much more that could be done for a shape-themed book, starting with having the book come in a fun shape. Still, Wonder magazine suggested using this book for a shape hunt.

Panda Solve (22)

You can extend this idea to your child’s favorite books from home. Veronika spotted diamonds, triangles, and more in one of her go-to books!

Panda Solve (23)

In Wonder magazine, parents can read more about the benefits of letting your toddler puzzle solo, as well as tricks for when those little brains get frustrated.

We did a final activity of a Shape Scavenger Hunt in two ways. First, I drew shapes on 4 index cards in big bold colors.

Go On a Shape Hunt (2)

Time for Veronika to pick a card! As we went through each one, we made a pile of items in that shape on the floor.

Go On a Shape Hunt (4)

Rectangle was the only one not included in the crate, so I could see her brain working extra hard when it came to finding items in that shape.

Go On a Shape Hunt (5)

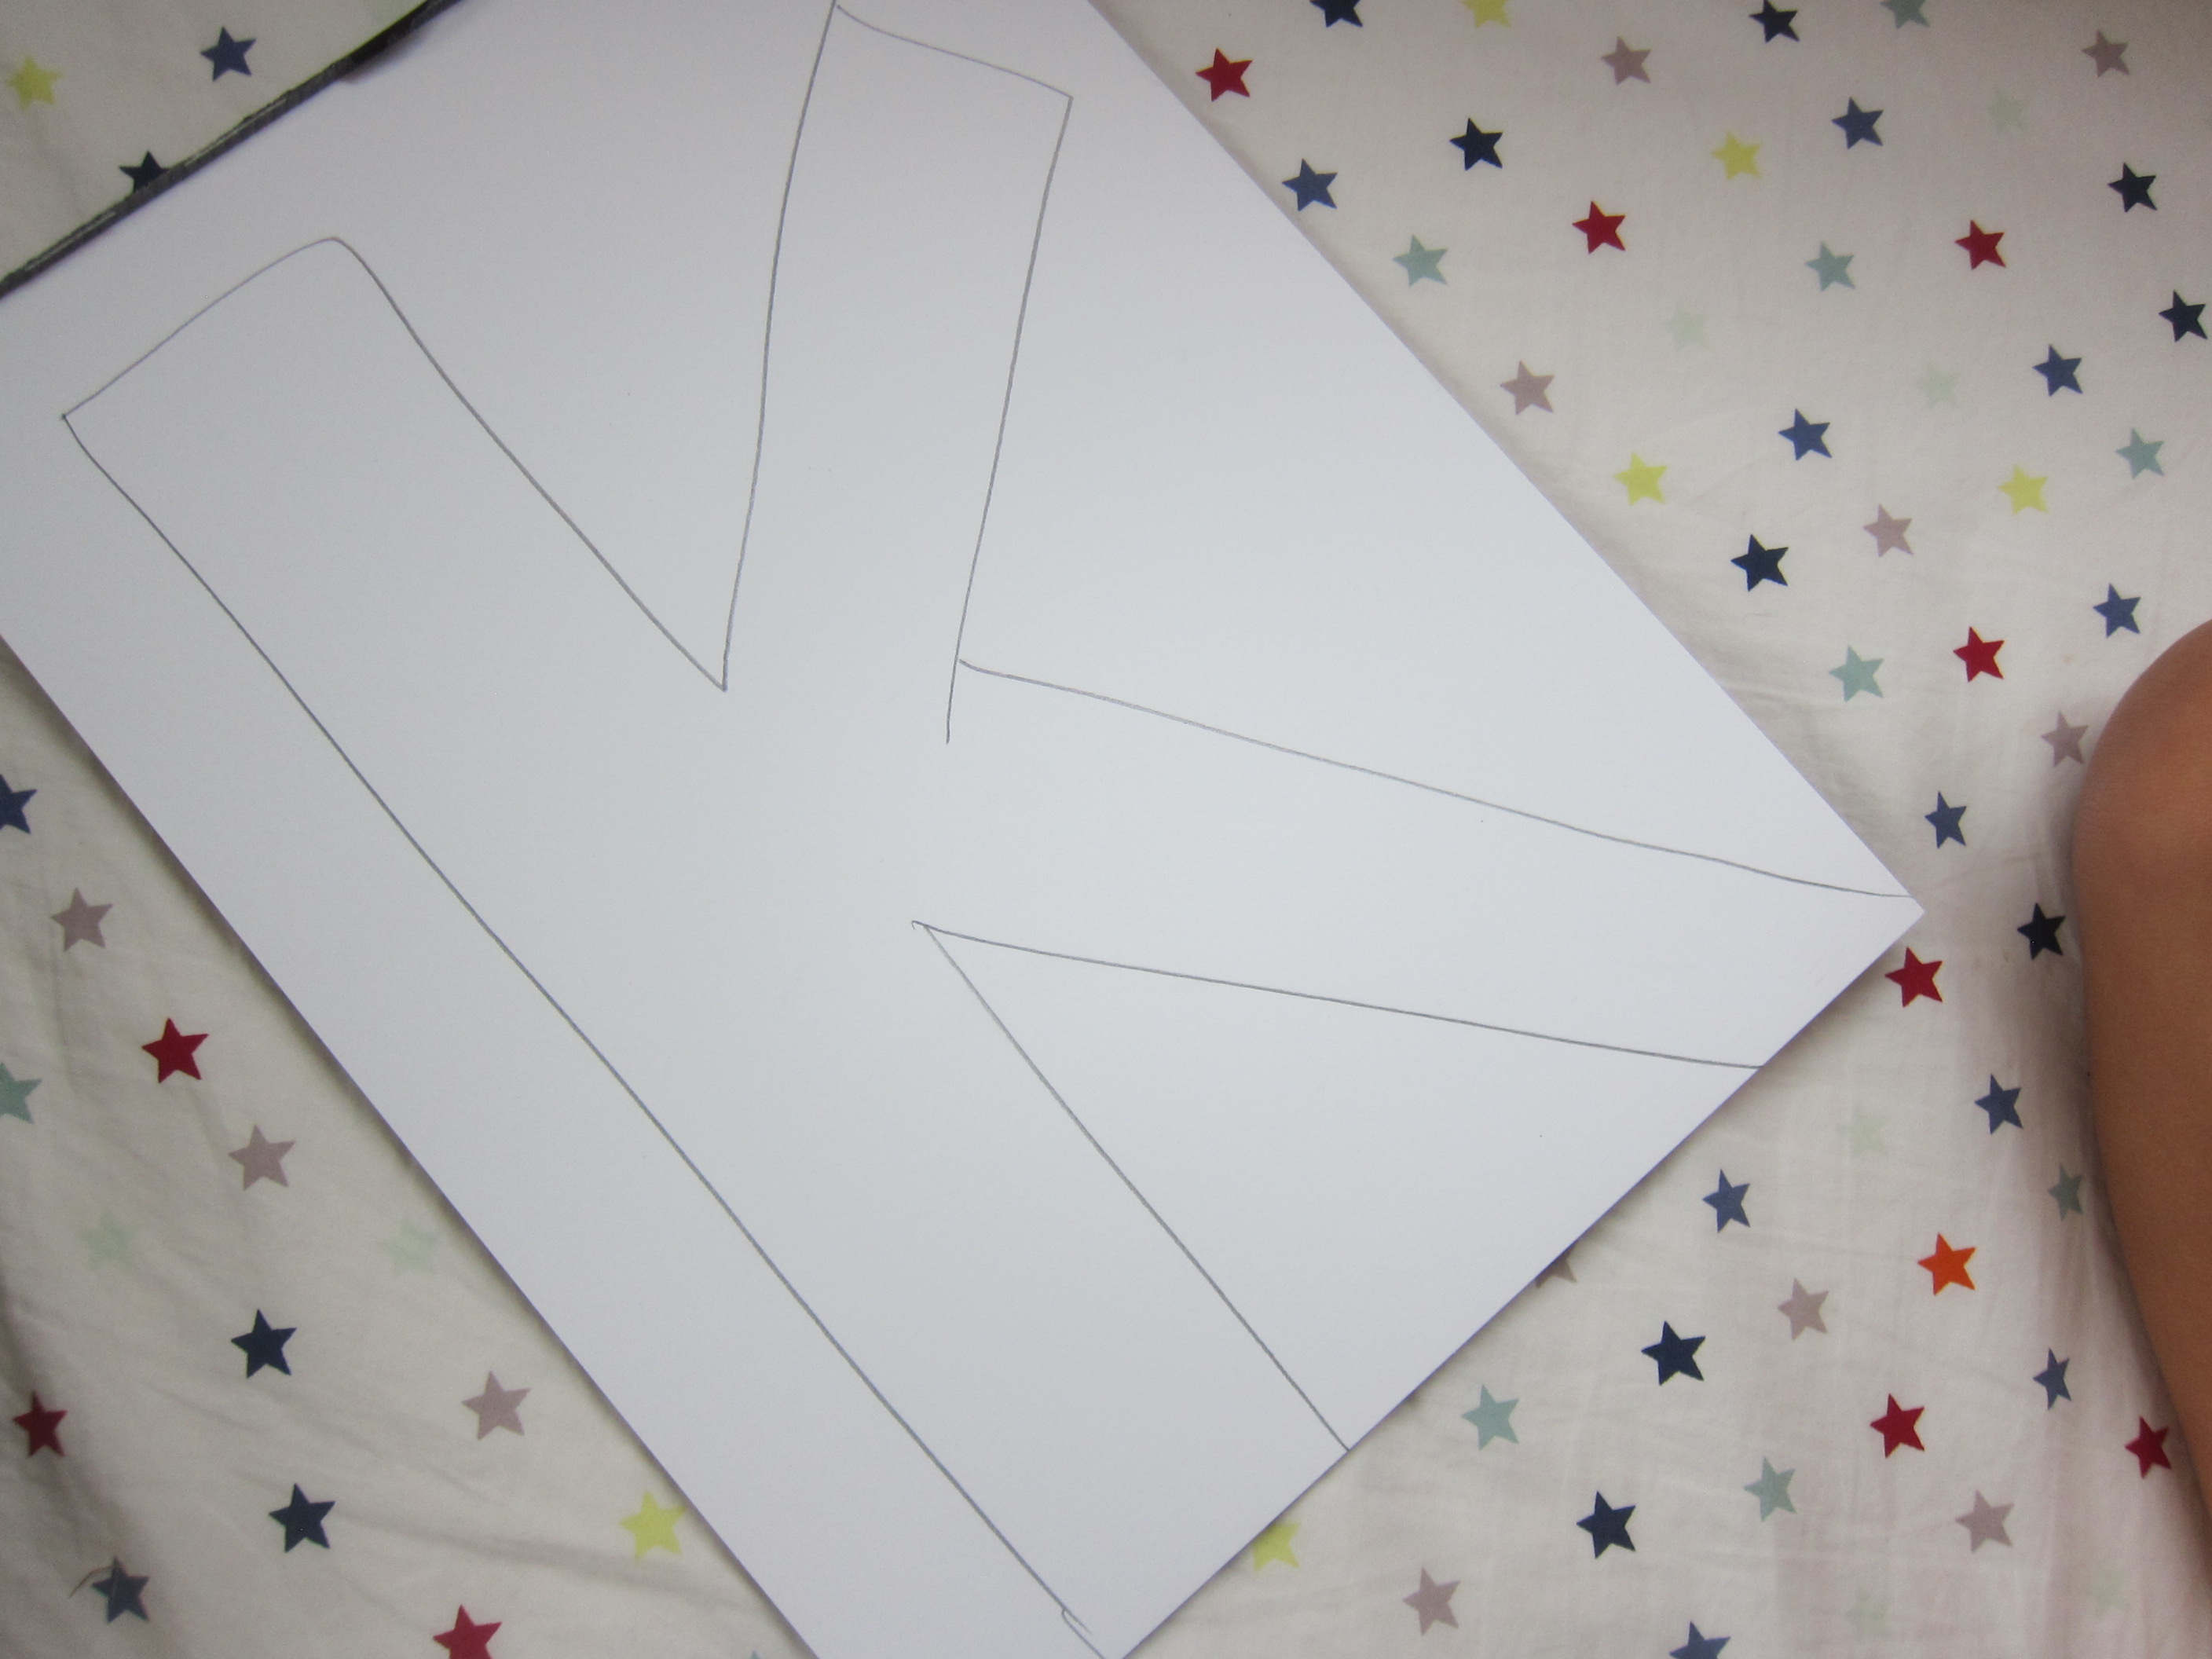
As a variation, I then traced several shapes onto white paper, this time including heart and star for some outliers.

Go On a Shape Hunt (6)

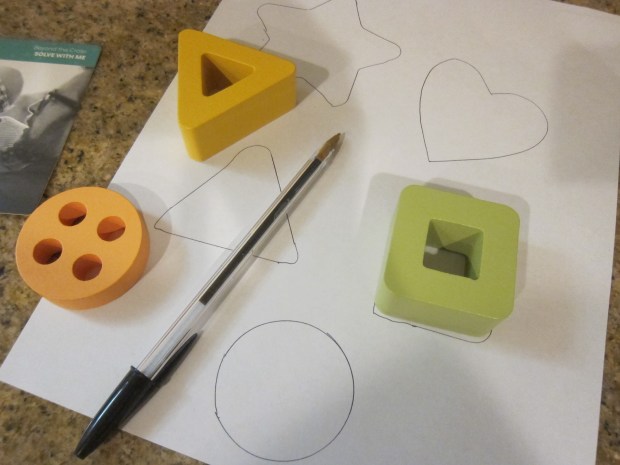
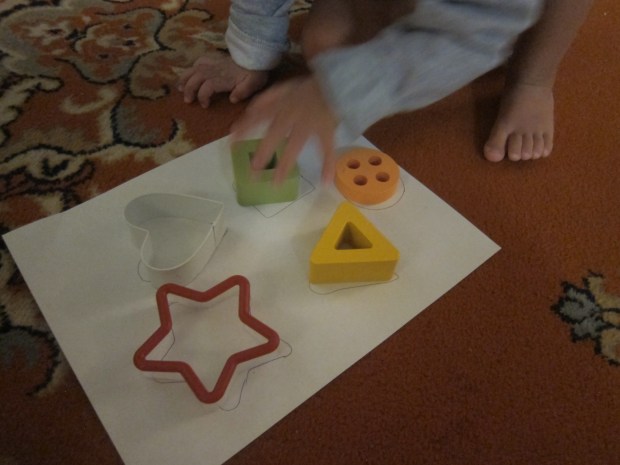
You can head off around the house and find one item for each shape. Or, use the paper more like a shadow-matching puzzle and have your toddler fill it in with 3-D versions of each shape.

Go On a Shape Hunt (8)

Since music always aids in learning, we sang a shape song to the tune of The Farmer in the Dell:

A circle’s like a ball,

A circle’s like a ball.

Round and round,

It never stop.

A circle’s like a ball.

Make up verses for every other shape your toddler knows, too!

Finally, it was storytime. We had fun checking the following three out at the library:

  • Shapes, by John Reiss
  • Curious Baby Everyday Shapes Puzzle Book, by H.A. Rey
  • Sweet Shapes by Juana Medina Rosas

Sunscreen Paint

Sunscreen Paint (3)

If you’re feeling nostalgic for summer, the smell of this paint will instantly bring you back to warmer days, at least for a moment. Meanwhile toddlers will love the sensory play involved in this craft.

I squirted a tube of old sunscreen into a foil pan, and added three dollops of food coloring around the sides, one each for yellow, blue, and red.

Sunscreen Paint (1)

I handed over paintbrushes and it was time for Veronika to mix it all up. She loved this activity! To start, she was so into the color aspect, seeing what happened when she swirled each color individually into the lotion…

Sunscreen Paint (2)

…and then what happened when they started to mix.

Sunscreen Paint (4)

Truth be told, the mixture did turn a muddy purple-brown, but that didn’t stop her. “It’s beautiful!” she said as she stirred it all around with a paintbrush.

Sunscreen Paint (5)

She didn’t actually do much painting, although I had laid newsprint underneath as a canvas in case she wanted to try a few swirls.

Sunscreen Paint (6)

And the best part about this “paint” is that it won’t matter a bit if your toddler decides to paint him or herself instead of paper. There’s nothing wrong with a little extra sunscreen!


Puzzling Plates

Puzzling Plates (5)

These easy one-piece puzzles are great for toddlers who are just beginning to fit pieces together.

Start by covering the center of paper plates with any easy-to-identify picture. If you have large photo prints of friends and family, those would work great. In a pinch, I cut pictures out of magazines that depicted familiar items (a house, a cat, vegetables) and glued them on.

Puzzling Plates (1)

Cut one “wedge” from each puzzle pie and scramble them. Now see if your toddler can tell which wedge goes where!

Puzzling Plates (2)

The hardest part for Veronika, more so than matching a piece to its correct puzzle, was making sure the wedge was oriented in the right direction when she slotted it back into the pie.

Puzzling Plates (3)

But once she got the hang of it, she aced the game.

Puzzling Plates (6)

You can make this activity harder as your child gets older simply by cutting multiple wedges from each puzzle pie!

Puzzling Plates (4)

K is for Kiss

K is for Kiss (9)

Veronika loves to play with the makeup under the bathroom sink, so today I decided to let her have free reign with a tube of old lipstick. We even threw in some early letter recognition and phonics!

To start, I drew a big letter K on white paper and cut it out.

K is for Kiss (1)

Then I showed her how to apply lipstick first on mommy and then on herself. This girl loves to make herself up!

K is for Kiss (5)

Now we each gave the K a kiss, and I emphasized the beginning letter sound as I told her what we were doing. She thought this was so silly! I added lots of kiss marks so our K was covered.

K is for Kiss (6)

There was still a little lipstick left in the tube, which she could use like a paintbrush on an extra piece of paper.

K is for Kiss (4)

She also loved taking the tube cap off and on again, which was great for fine motor skills.

K is for Kiss (7)

Who knew a tube of old lipstick was a great toy for a toddler!

K is for Kiss (8)

Pipe-Cleaner Party

Pipe-Cleaner Party (7)

Here’s an old activity I used to do with Travis, and today was Veronika’s turn. Make your kitchen colander into the prettiest one in the world with pipe cleaner decorations!

I set out a big handful of pipe cleaners and showed Veronika how to poke one down into the colander’s holes.

Pipe-Cleaner Party (1)

She took over immediately!

Pipe-Cleaner Party (4)

Big brother Travis wanted in on the party, too! He liked making the pipe cleaners into loops instead of simply sticking them out straight.

Pipe-Cleaner Party (5)

I challenged the kids to see if they could fill all the holes, which they nearly achieved!

Pipe-Cleaner Party (6)

For an extra challenge at the end, I sorted the pipe cleaners around the colander by color. Could Veronika figure out where a few leftovers were supposed to go?

Pipe-Cleaner Party (8)

After a bit of prompting, she aced the test! This was a great way to play with common household items, now that colder days have us inside longer hours once more.

Pipe-Cleaner Party (9)

Toddler Treasure Box

Toddler Treasure Box (2)

It’s never too early to introduce the fun of treasure hunts and pirate play, even for toddlers who don’t understand the nuances of the make-believe. Here’s a way to let even a toddler dig for “gold”!

We have a collection of old foreign coins, which are perfect for pretend play like this. I clinked a few down in the bottom of a craft bin (making sure Veronika saw), and then buried them under “gold” crinkle paper. (Note: You can pick up the latter at any party store or craft supply store).

Toddler Treasure Box (1)

Veronika immediately began taking out big handfuls of the crinkly paper to find that treasure underneath. Not only does the crinkly paper make for fantastic tactile play, but it sounds neat, too!

Toddler Treasure Box (3)

Once she reached the bottom of the bin, I made a big deal about finding the treasure.

Toddler Treasure Box (5)

“Let’s hide it!” she said. She plinked the coins back in the bin, and this time we layered everything: some paper, a coin, some paper, a coin, and so on.

Toddler Treasure Box (7)

Time to dig it all up again!

Toddler Treasure Box (9)

My little pirate kept busy with this one for quite a while even after I stopped our joint play.

Toddler Treasure Box (10)

Craft-Stick Matching

Craft Stick Matching (7)

Here’s a great DIY puzzle for toddlers who have recently learned their shapes. Matching up the outlines of craft stick is great for fine motor skills, too!

To set up, I arranged jumbo craft sticks on plain white paper and traced the outlines. I made one page each for a triangle, square, and diamond, and decided to trace each shape with a different color just in case we wanted to add a color component to the game.

Craft Stick Matching (1)

I also then colored on the craft sticks with crayon in corresponding colors. We now had a red triangle, green square, and purple diamond.

Craft Stick Matching (3)

Now slip each shape into a zip-top plastic bag and show your toddler how to line the craft sticks up over each outline.

Craft Stick Matching (5)

Because there’s nothing to hold the craft sticks in place as in a puzzle board, Veronika’s shapes were always a little askew, but she certainly had the right idea!

Craft Stick Matching (8)

There was even a happy victory dance after she finished the triangle!

Craft Stick Matching (10)

I loved watching her puzzle through exactly where each stick should go.

Craft Stick Matching (11)

It turned out that she mixed and matched the colors, rather than placing a purple stick in a purple outline, etc., but that was just fine, too.

Craft Stick Matching (9)

Straw-Threaded Shoestring Necklace

Straw-Beaded Necklace (6)

Veronika is just starting to love dress-up, especially adorning herself with ribbons, beaded bracelets, and other accessories. She’s also at the perfect age to hone the fine motor skills needed for threading. So this activity combined the two perfectly!

To start, I set out a tray with colorful paper straws and her safety scissors. She wasn’t strong enough to cut through the straws, but she loved trying! Meanwhile, I worked alongside her and snipped each straw into several smaller pieces.

Straw-Beaded Necklace (2)

Give your toddler a shoelace or craft lace, and show him or her how to poke the tip into each piece of straw, then pull all the way through.

Straw-Beaded Necklace (3)

Veronika was delighted when she could do this alone, working with such concentration on her face. It was harder for her to pull the lace all the way through, but a little mommy assistance did the trick.

Straw-Beaded Necklace (5)

She loved deciding which color straw piece we should add next! Once the lace was full, I tied it into a knot so she could wear it as a necklace.

Straw-Beaded Necklace (7)

My little fashionista! She had so much fun that we made a second one for mommy to wear, too.

Straw-Beaded Necklace (4)

Flour Piping Sensory Activity

Flour and Water Piping (8)

A word of warning parents: this game is a messy one, but definitely worth it. It combines food play, painting, sensory play, art, and more!

To start, I set out a bowl for Veronika filled with flour, which immediately grabbed her attention. We started pouring in water and she was fascinated watching it change from powdery flour into, well, goop!

Flour and Water Piping (1)

Keep adding water until your mixture is a thick paste, then use a ladle to scoop some into zip-top plastic bags. Veronika chose blue and green when I asked what colors of paint she wanted. Add a little drop of paint to each bag, then seal and show your toddler how to squish the bag so the color mixes.

Flour and Water Piping (2)

Snip a small hole in the bottom corner of each bag. Veronika could now “pipe” the paint onto sheets of thick craft paper I had laid down.

Flour and Water Piping (3)

Note: I recommend a tray or newsprint underneath the paper, since the flour mixture is quite messy.

Flour and Water Piping (4)

She absolutely loved this step, using great concentration as she dribbled out the contest of the bag. I would make our flour mixture a little thicker next time so that it required more squeezing on her part. With that said, she was pleased as punch watching the results of her work as she dribbled the bag back and forth across the paper.

Flour and Water Piping (5)

Inadvertently, her final “painting” almost looked like planet Earth!

Flour and Water Piping (6)

As the final touch, we added glitter because, well, everything is better with glitter. She loved shaking out lots of it from the jar and making her final work of art gleam.

Flour and Water Piping (7)

Straw Windpipe Craft

Straw Flute (9)

This classic DIY instrument is a perfect one for toddlers, requiring no complicated steps or materials.

Simply line up brightly colored plastic or paper straws. I made some flutes that were 8 “pipes” long and a few smaller ones only 6 straws long, which were easier for Veronika to hold in her hands.

Straw Flute (2)

Secure with tape near the top and bottom third, then use scissors to snip in a diagonal so your pipes run from longest to shortest.

Straw Flute (4)

Toot toot toot! These were perfect to play during her at-home Zoom music class, adding to the hands-on fun!

Straw Flute (10)

It turned out that big brother Travis loved the windpipe, too, quickly incorporating it into his play.

Straw Flute (7)

The perfect instrument for a homemade marching band, in sum.

Straw Flute (8)