National Puzzle Day

National Puzzle Day (6)

January 29 is National Puzzle Day, and if ever there was a day to stay cozy and warm inside with puzzles, the 10 degree day we had today was it! We played with puzzles in a variety of ways for my big kid and toddler both.

First up, we marked the holiday by learning a few puzzle trivia facts. Travis was wowed to learn that the jigsaw puzzle was invented as long ago as the 1760s, and that the world’s biggest jigsaw puzzle comes in with 54,000 pieces!

National Puzzle Day (1)

Veronika celebrated too, thanks to toddler-friendly Cereal Box Puzzles!

Cereal Box Puzzles (2)

The bright pictures on the front of cereal boxes make perfect puzzles for toddler hands. I cut triangles from a few box covers (making one or two pieces, depending on the picture), and set her to puzzling over how to slot these triangles back in.

Cereal Box Puzzles (5)

You can make this task harder for older kids by increasing the number of pieces to put together. Big brother Travis wanted a turn, too!

National Puzzle Day (4)

Next, I simply set out wooden puzzles for each of the kids. Veronika loves her chunky peg puzzles, or those that feature items like vegetables and shapes.

National Puzzle Day (2)

Travis puzzled over a few classic jigsaws, which is always great to see.

National Puzzle Day (5)

But don’t forget that jigsaw puzzles aren’t the only kind out there! Picture puzzles, word searches, or trivia all fit the bill, too. Even mama stole a moment for a puzzle or two.

National Puzzle Day (3)

Mac and Cheese Mania

Mac Mania (6)

Thanks to Travis’s Highlights magazine, it’s been mac ‘n’ cheese madness around here, trying versions of this kid favorite over the course of the week. If you want true mania, your family could even prepare all 4 of these version in one day; there’s an option below for breakfast, lunch, dinner, and even dessert! Here’s what we tried and what was declared the winner.

The Early Bird:

Mac Mania (5)

The night before, cook a batch of your favorite macaroni and cheese. In the morning, heat the past and add chopped and cooked vegan breakfast sausage (such as Field Roast), your favorite scrambled tofu recipe and a drizzle of ketchup.

Rainbow Pepper Mac:

Mac Mania (3)

Make a bright and colorful version that’s sure to get kids to eat their veggies! Simply prepare a batch of your favorite mac ‘n’ cheese, then dice 1/2 a red bell pepper, 1/2 a green bell pepper, and 1/2 a yellow bell pepper; add to the mac n cheese while the pasta is still hot.

Mac and Meatballs:

Mac Mania (1)

This was the perfect marriage of regular mac ‘n’ cheese and spaghetti-meatball night: simply prepare your favorite mac and cheese, then top each serving with a little marinara sauce, your favorite brand of plant-based meatballs, and a sprinkling of vegan Parmesan. Yum!

Mac and Cheesecake:

Mac Mania (4)

Finally, you can try this sweet version for dessert! In advance, prepare a batch of vanilla pudding and chill until ready to use. Top each portion of cooked elbow macaroni pasta with a dollop of the pudding, crushed graham crackers, and sliced strawberries.

The verdict? “Mac and meatballs” was the hands-down winner. Everyone also loved the Early Bird, too. While the dessert version was novel, the kids deemed it a little strange.

Which mac does your family like best? Please share in the comments!

Little Passports: Israel

LP Israel (9)

Travis latest package from Little Passports was all about Israel; the activities for this particular country were less hands-on than previous packages he’s received. Still, Travis is always excited for the latest from “Sam and Sofia”!

LP Israel (1)

Through the booklet, he learned about ancient artifacts that have been found in Israel, sea creatures of the Red Sea, shuk shopping markets, and more. Most were age-appropriate for a 1st grader except a tough mystery to solve using Hebrew letter characters.

LP Israel (7)

Souvenir:

I wish Travis had received this particular kit back in December, because the souvenir was a game of dreidel, complete with a spinning top and a set of felt gold coins. Even though it wasn’t Hanukkah, Travis loved playing a few rounds!

LP Israel (2)

Further Activities:

Of course next we needed to color in the flag of Israel, and there was also a coloring page to teach about the holiday of Tu B’Shvat (new years for the trees), which Travis colored quite carefully.

LP Israel alt

Next up was a science experiment to see what salt does to objects in water, as with the salty Dead Sea. The original instructions were to do this activity with an egg, but we used carrots to make it vegan. Fill each of 2 glass cups with 3/4 cup warm water. Add 1 baby carrot to the first cup. Ker-plop, it sinks!

LP Israel (5)

Next, add 1/4 cup salt to the second cup, stirring until it dissolves. We added a second baby carrot… and it floats!

LP Israel (6)

From here, we turned to Little Passport’s blog for a DIY Hanukkah Menorah. To start, cut a large paper plate in half, then mark 8 notches at the top with blue marker. Use the marker to connect these, so you have a series of increasingly smaller U shapes.

Next, we colored 9 clothespins with blue marker and decorated with silver glitter glue; let dry, then twist a small piece of yellow or gold pipe cleaner and use hot glue to attach to the open end of each clothespin. Cut a small paper plate in half; make slits in each half, as well as two slits in the bottom of the larger plate so they notch together to form a stand. Finally, attach the clothespins as the candles!

LP Israel (8)

Recipe:

It was time to end the exploration with dessert. We prepared a recipe for traditional Hamantaschen, a triangle-shaped pastry eaten during the holiday of Purim. Pinching the cookies into triangles took a bit of practice, but soon we had a knack for it!

Hamantaschen (2)

Ingredients:

  • 2 cups flour
  • 2 teaspoons baking powder
  • 1/4 teaspoon salt
  • 8 tablespoons Earth Balance butter, softened
  • 1 cup sugar
  • 1 tablespoon orange juice
  • 1 tablespoon ground flaxseed
  • 3 tablespoons warm water
  • 1 cup jam, any flavor
  1. In a bowl, combine the flour, baking powder, and salt; set aside.
  2. In the bowl of a stand mixer, cream the butter, sugar, and orange juice.
  3. Whisk the flaxseed into the warm water to make 1 flax egg. Add to the butter mixture and beat until combined.
  4. Stir the dry ingredients into the wet ingredients, then wrap the dough in plastic wrap and refrigerate for 2 hours.
  5. On a lightly floured surface, roll out the dough and use a 3-inch round cookie cutter to make circles. Spoon a scant tablespoon of jam into the center of each, then pinch the dough into a triangle, forming three corners with your fingers.
  6. Bake at 375 degrees F for 18 minutes. Let stand at least 5 minutes before serving.

Hamantaschen (3)

Unpoppable Frozen Bubbles

Unpopable Bubbles (4)

My philosophy about really cold weather with kids has become not to shy away from it, but to embrace it. That’s exactly what we did today with frozen bubbles; this is the kind of trick that can only work once the weather dips down low.

The secret to making this activity a success is to leave a bottle of bubble solution outside overnight so that it’s chilled and ready to go when your bundled-up kids get outside.

The second trick is to wave the bubble wand, instead of blowing through it. With those two modifications, the bubbles will act differently, freezing in kids’ hands or in the air (if it’s cold enough!) instead of popping.

Unpopable Bubbles (3)

The first time we tried this, our solution wasn’t quite cold enough.That meant the kids could still pop the bubbles on their fingers.

Unpopable Bubbles (2)

But they lasted and froze over if they landed on cold surfaces, like our plastic slide. This was mesmerizing to watch!

Unpopable Bubbles (6)

Travis wondered if this particular bubble might just last forever.

Unpopable Bubbles (5)

The next night was even colder, so we headed outside for more everlasting bubble play.

Unpopable Bubbles (7)

And this time they were so cold that sure enough we could poke at them without making them pop!

Unpopable Bubbles (8)

Is it cold enough for frozen bubbles in your area? Please share in the comments!

Match the Tracks

Match the Tracks (4)

This winter twist on hide-and-seek is fantastic for early hiders and seekers (think preschoolers and toddlers), and you don’t even need much snow to play it; even a light dusting on the ground will do!

As soon as we saw it was snowing, the kids were eager to head outside, so I challenged them to find mommy… by following my tracks. Leave nice, clear footprints in the snow as you head to your hiding place. You can make your actual hiding place easy to spot or hard to find, depending on your child’s age.

Match the Tracks (1)

Veronika grinned as soon as she had the gist of the game, and eagerly followed along my prints in the snow.

Match the Tracks (2)

Peek-a-boo! She found mommy behind a tree.

Match the Tracks (3)

It was harder to get her to understand being the hider, but she did love noticing her own tracks in the snow!

The beauty of this game is that each round will gets successively harder as the tracks start to get muddled. You can challenge older kids to make a giant maze of footsteps by the end! And while they’re at it, keep an eye out for any other animals that might have left tracks in the snow.

Art and Science of Leonardo da Vinci

Da Vinci (9)

Travis did a series of projects this weekend to learn all about inventor and artists Leonardo da Vinci, a lesson to go alongside an Italian culinary journey from Raddish Kids. Here’s what he uncovered!

First up he needed some basic background info on who da Vinci was. Travis watched a silly YouTube clip, as well as a read-aloud of Leonardo and the Flying Boy. Now he knew that Leonardo made early inventions of flying machines, mixed up his own paints, and more!

Time to act like da Vinci! First up was drawing from multiple perspectives, just like the artist. I encouraged Travis to first draw a toy that he loves… and then to draw it upside down! The most amazing thing happened during this exercise: this remarkable stillness descended on both kids as they concentrated so hard on their work.

Da Vinci (3)

And Travis was so proud of the resulting side by side drawings!

Da Vinci (5)

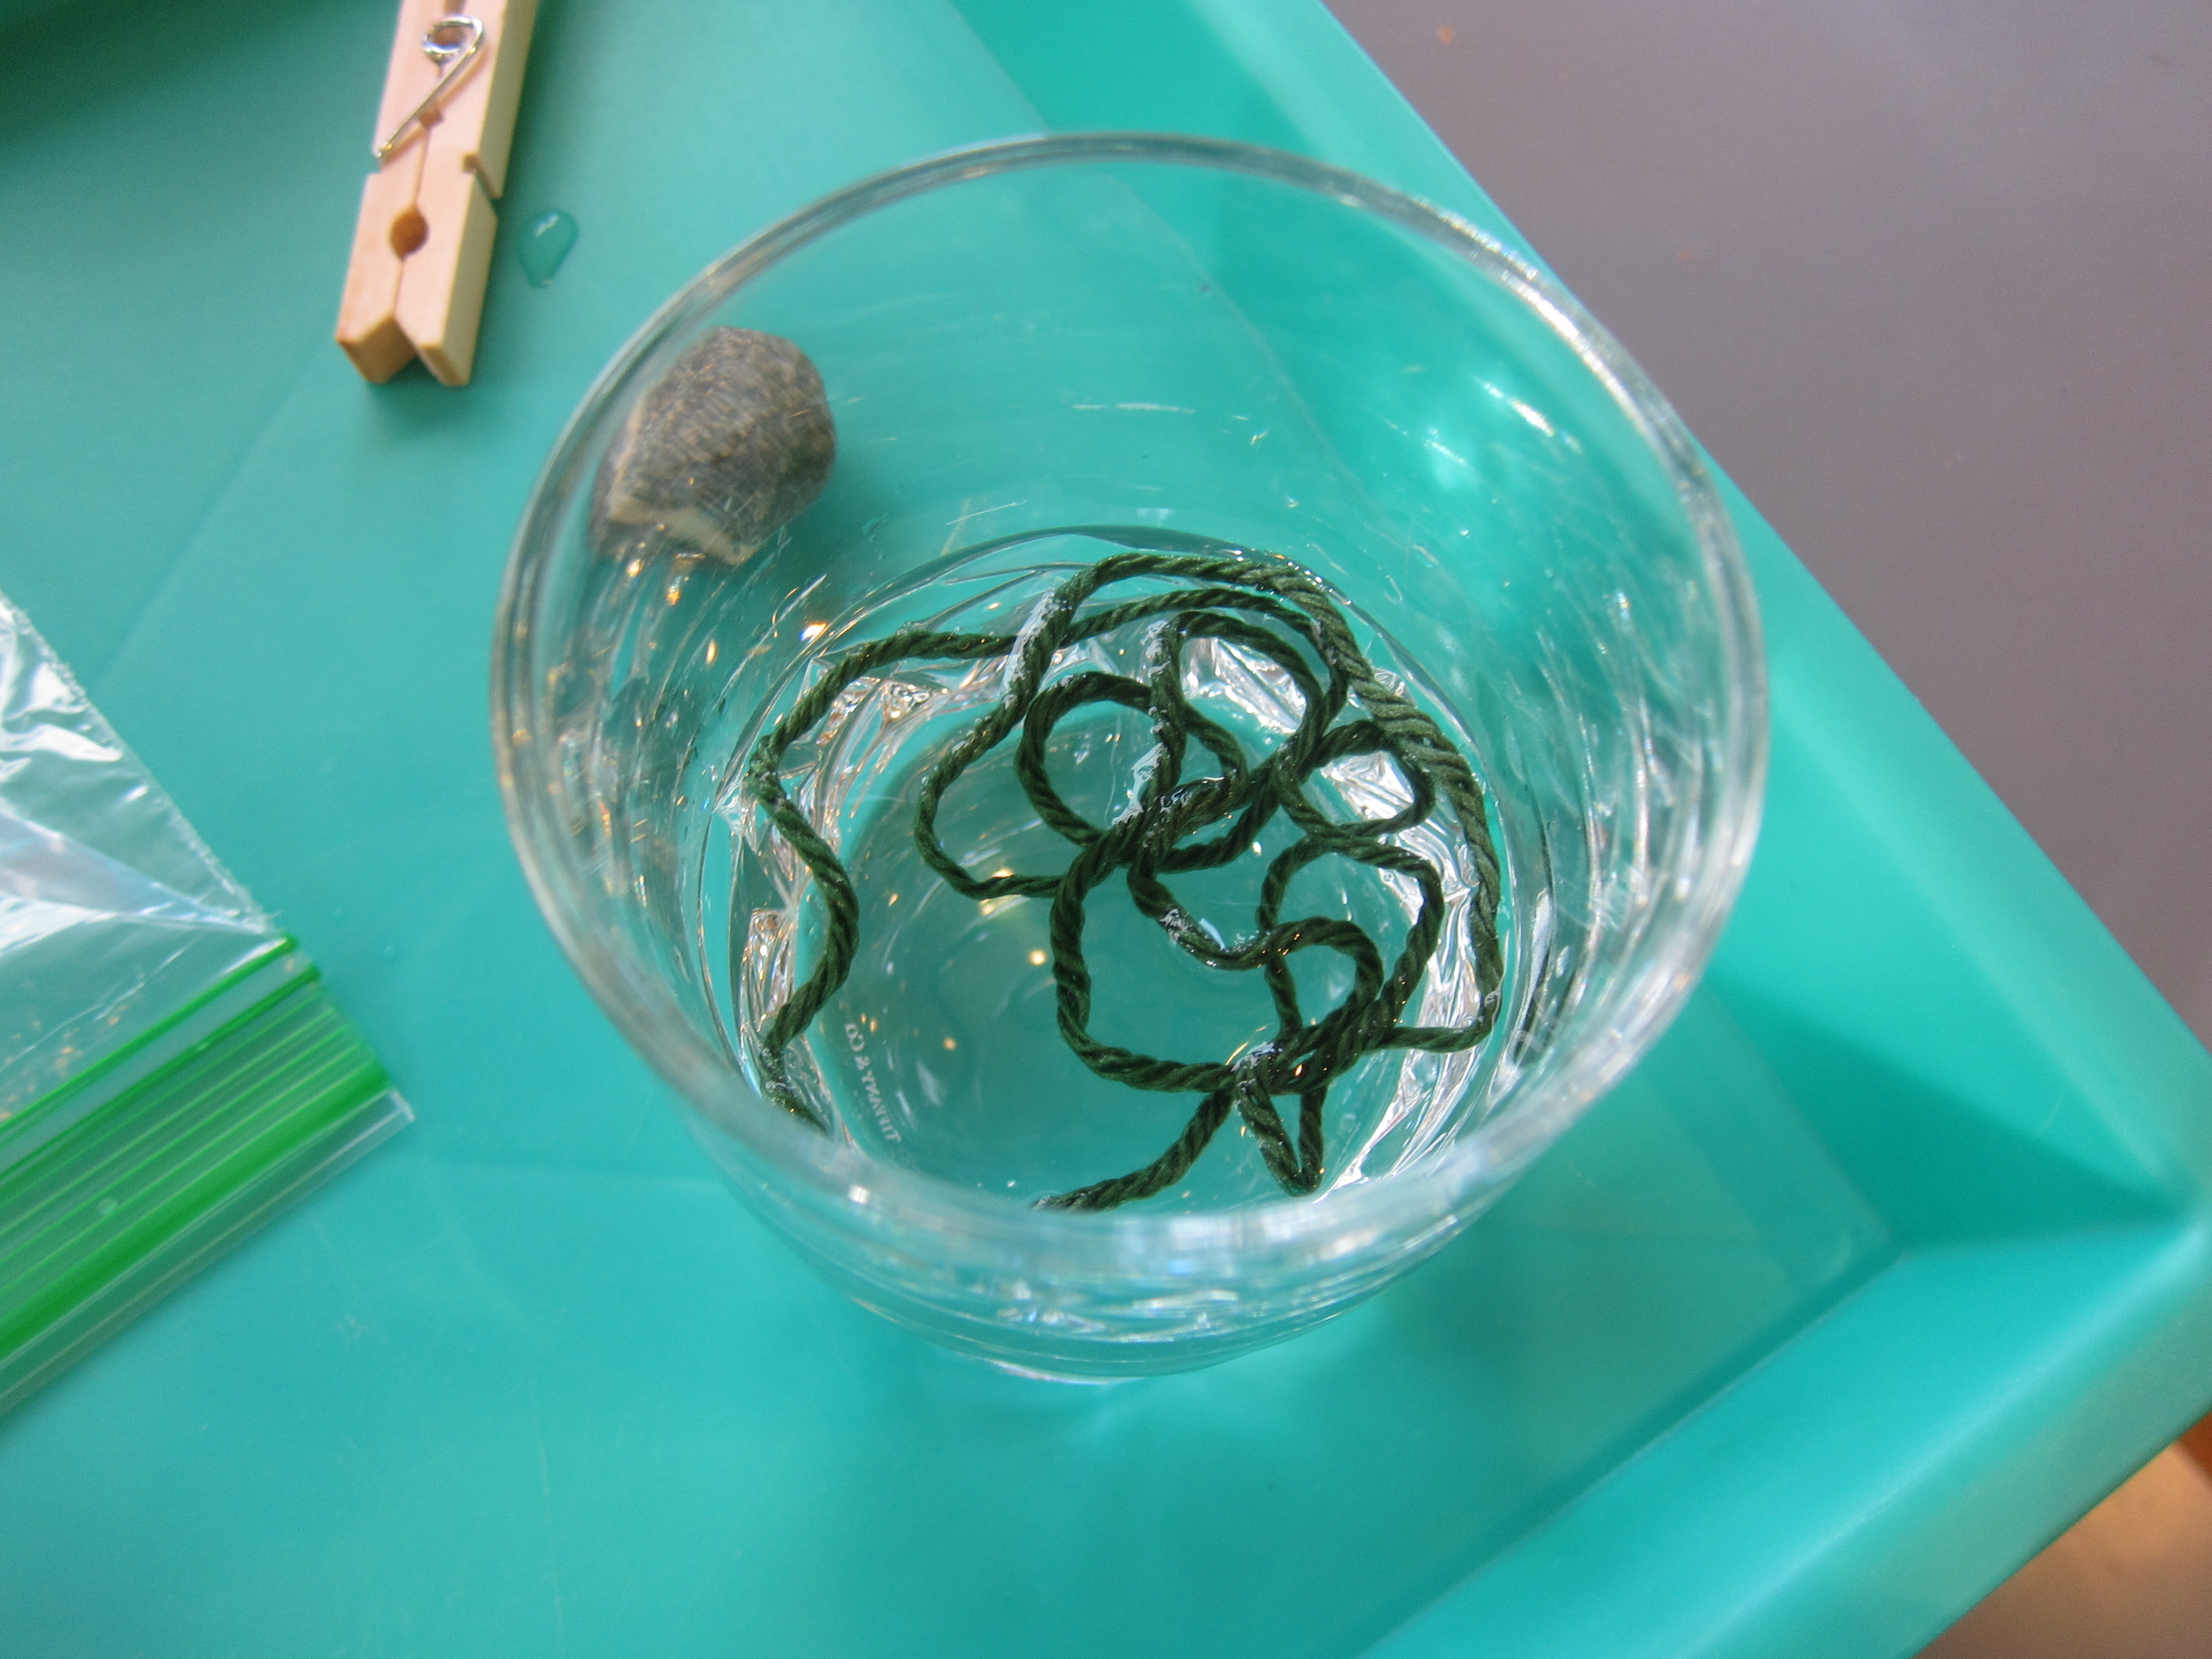
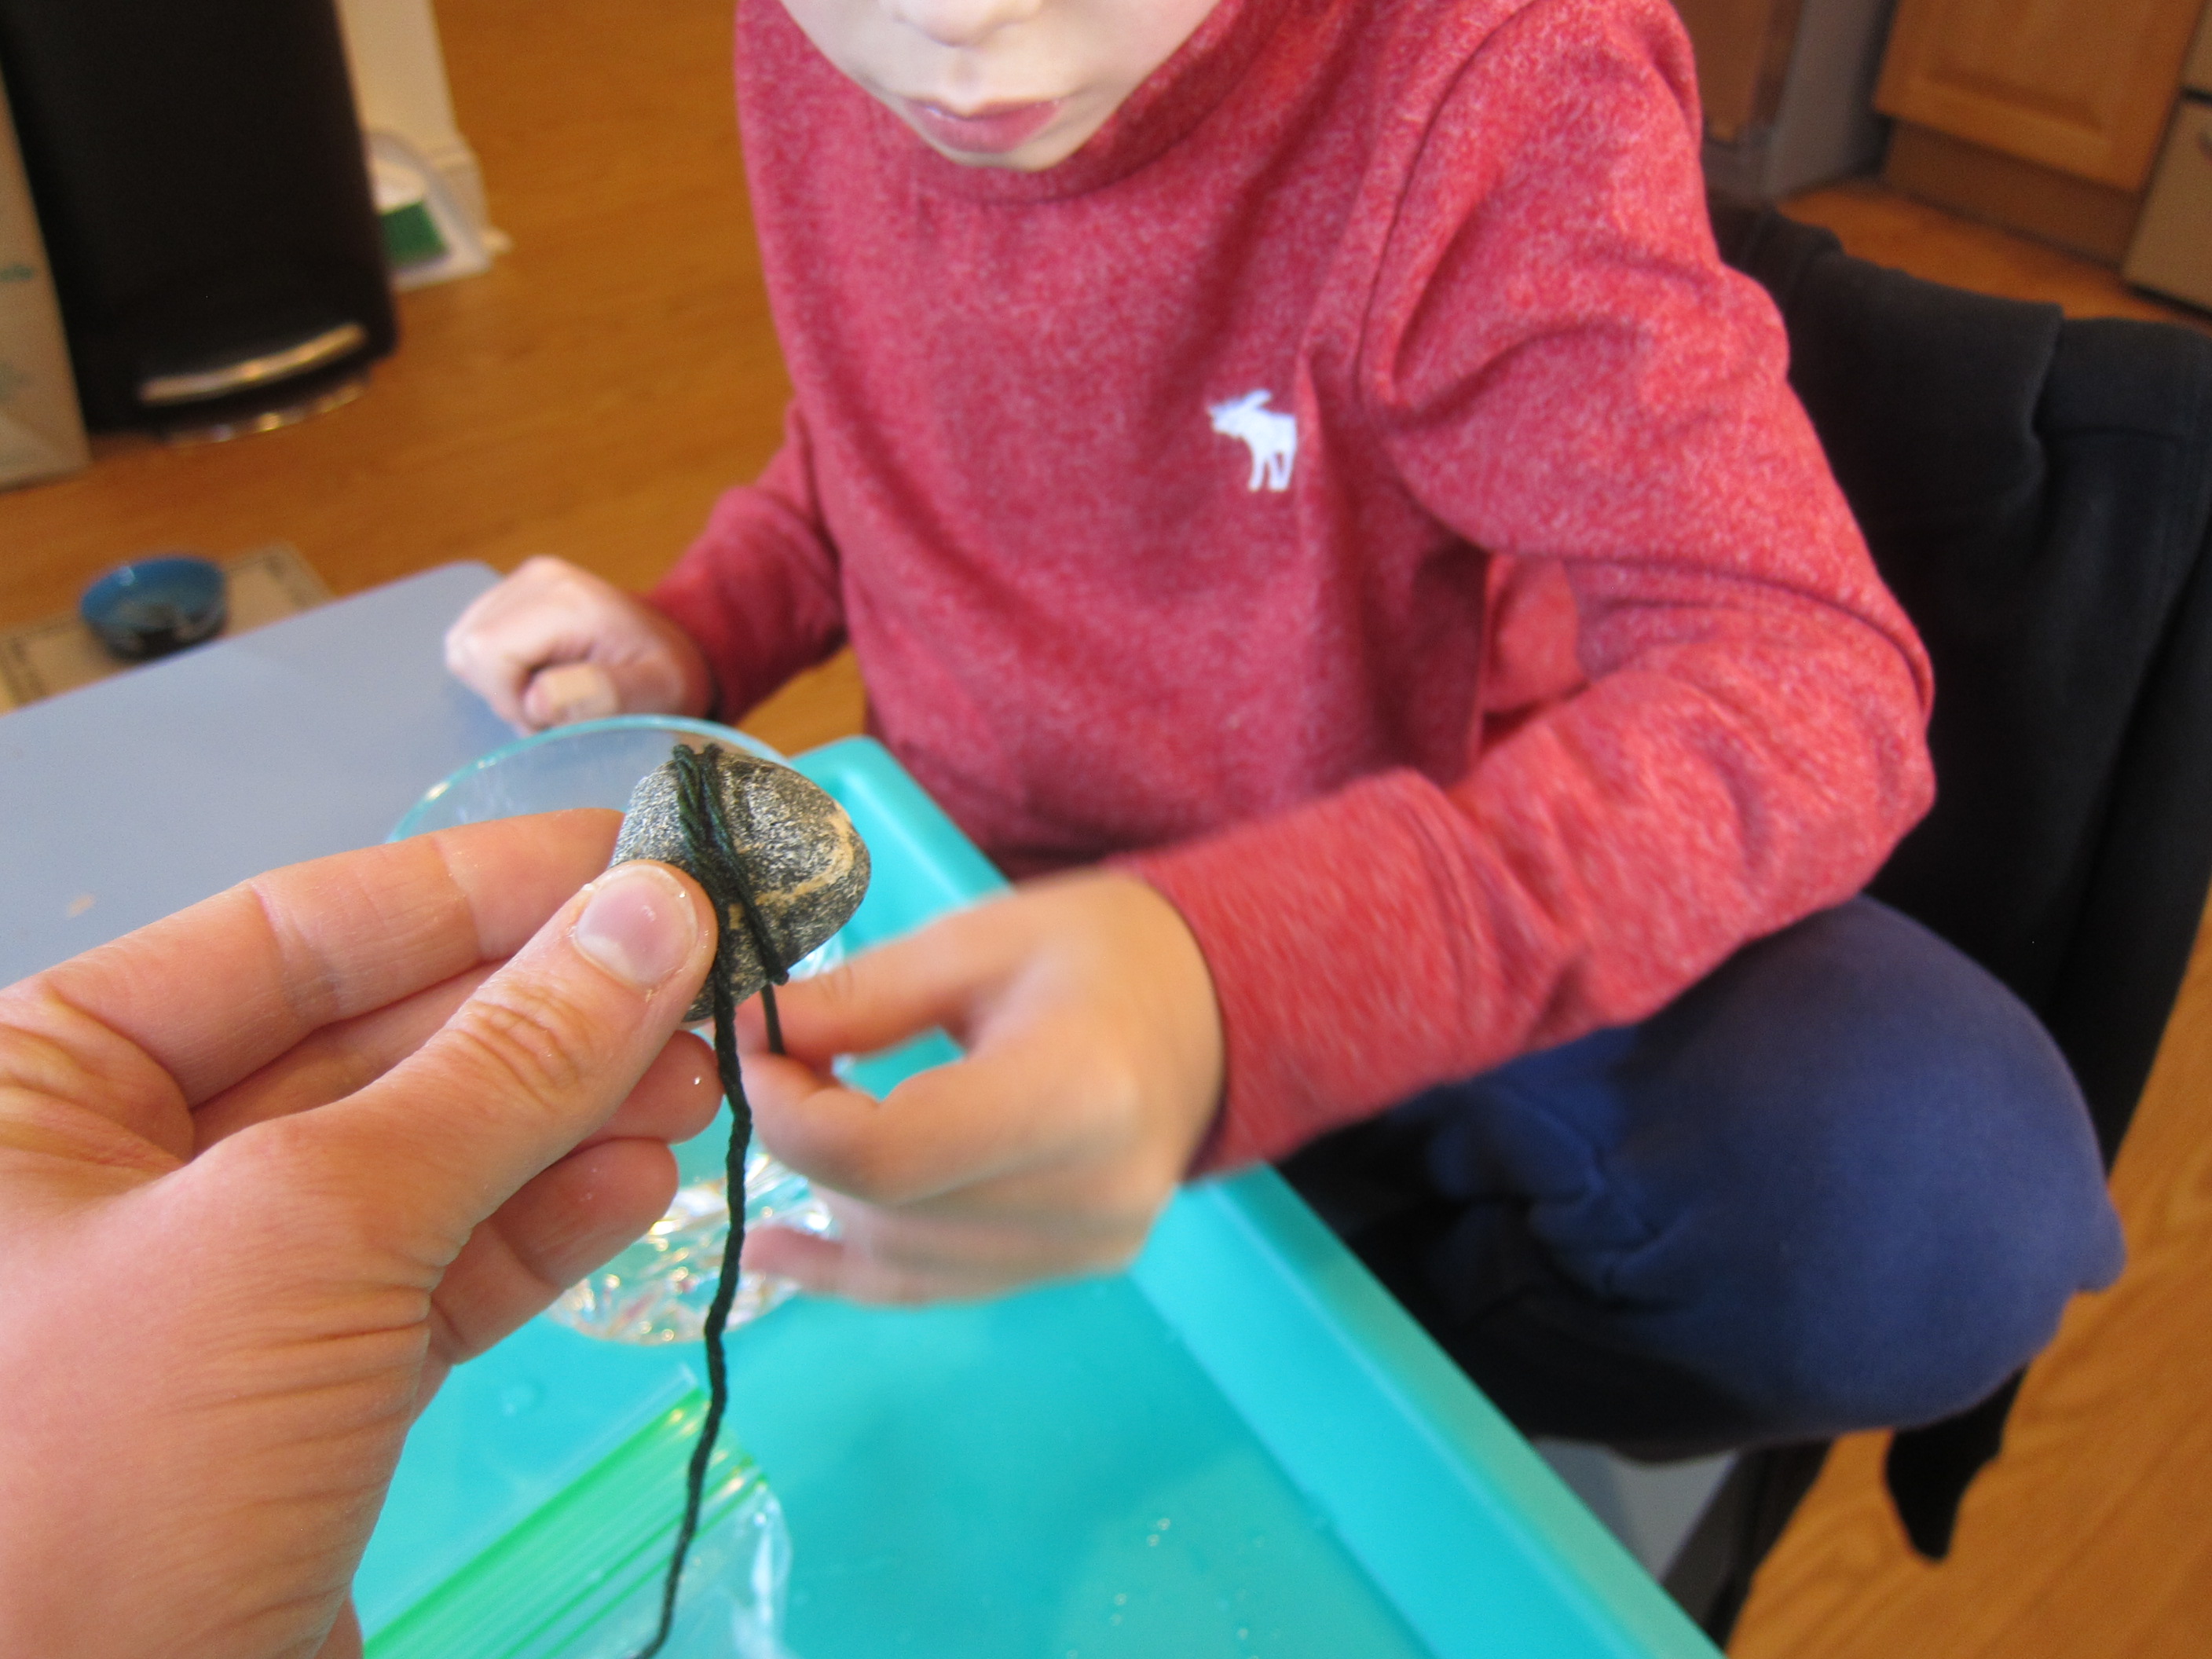
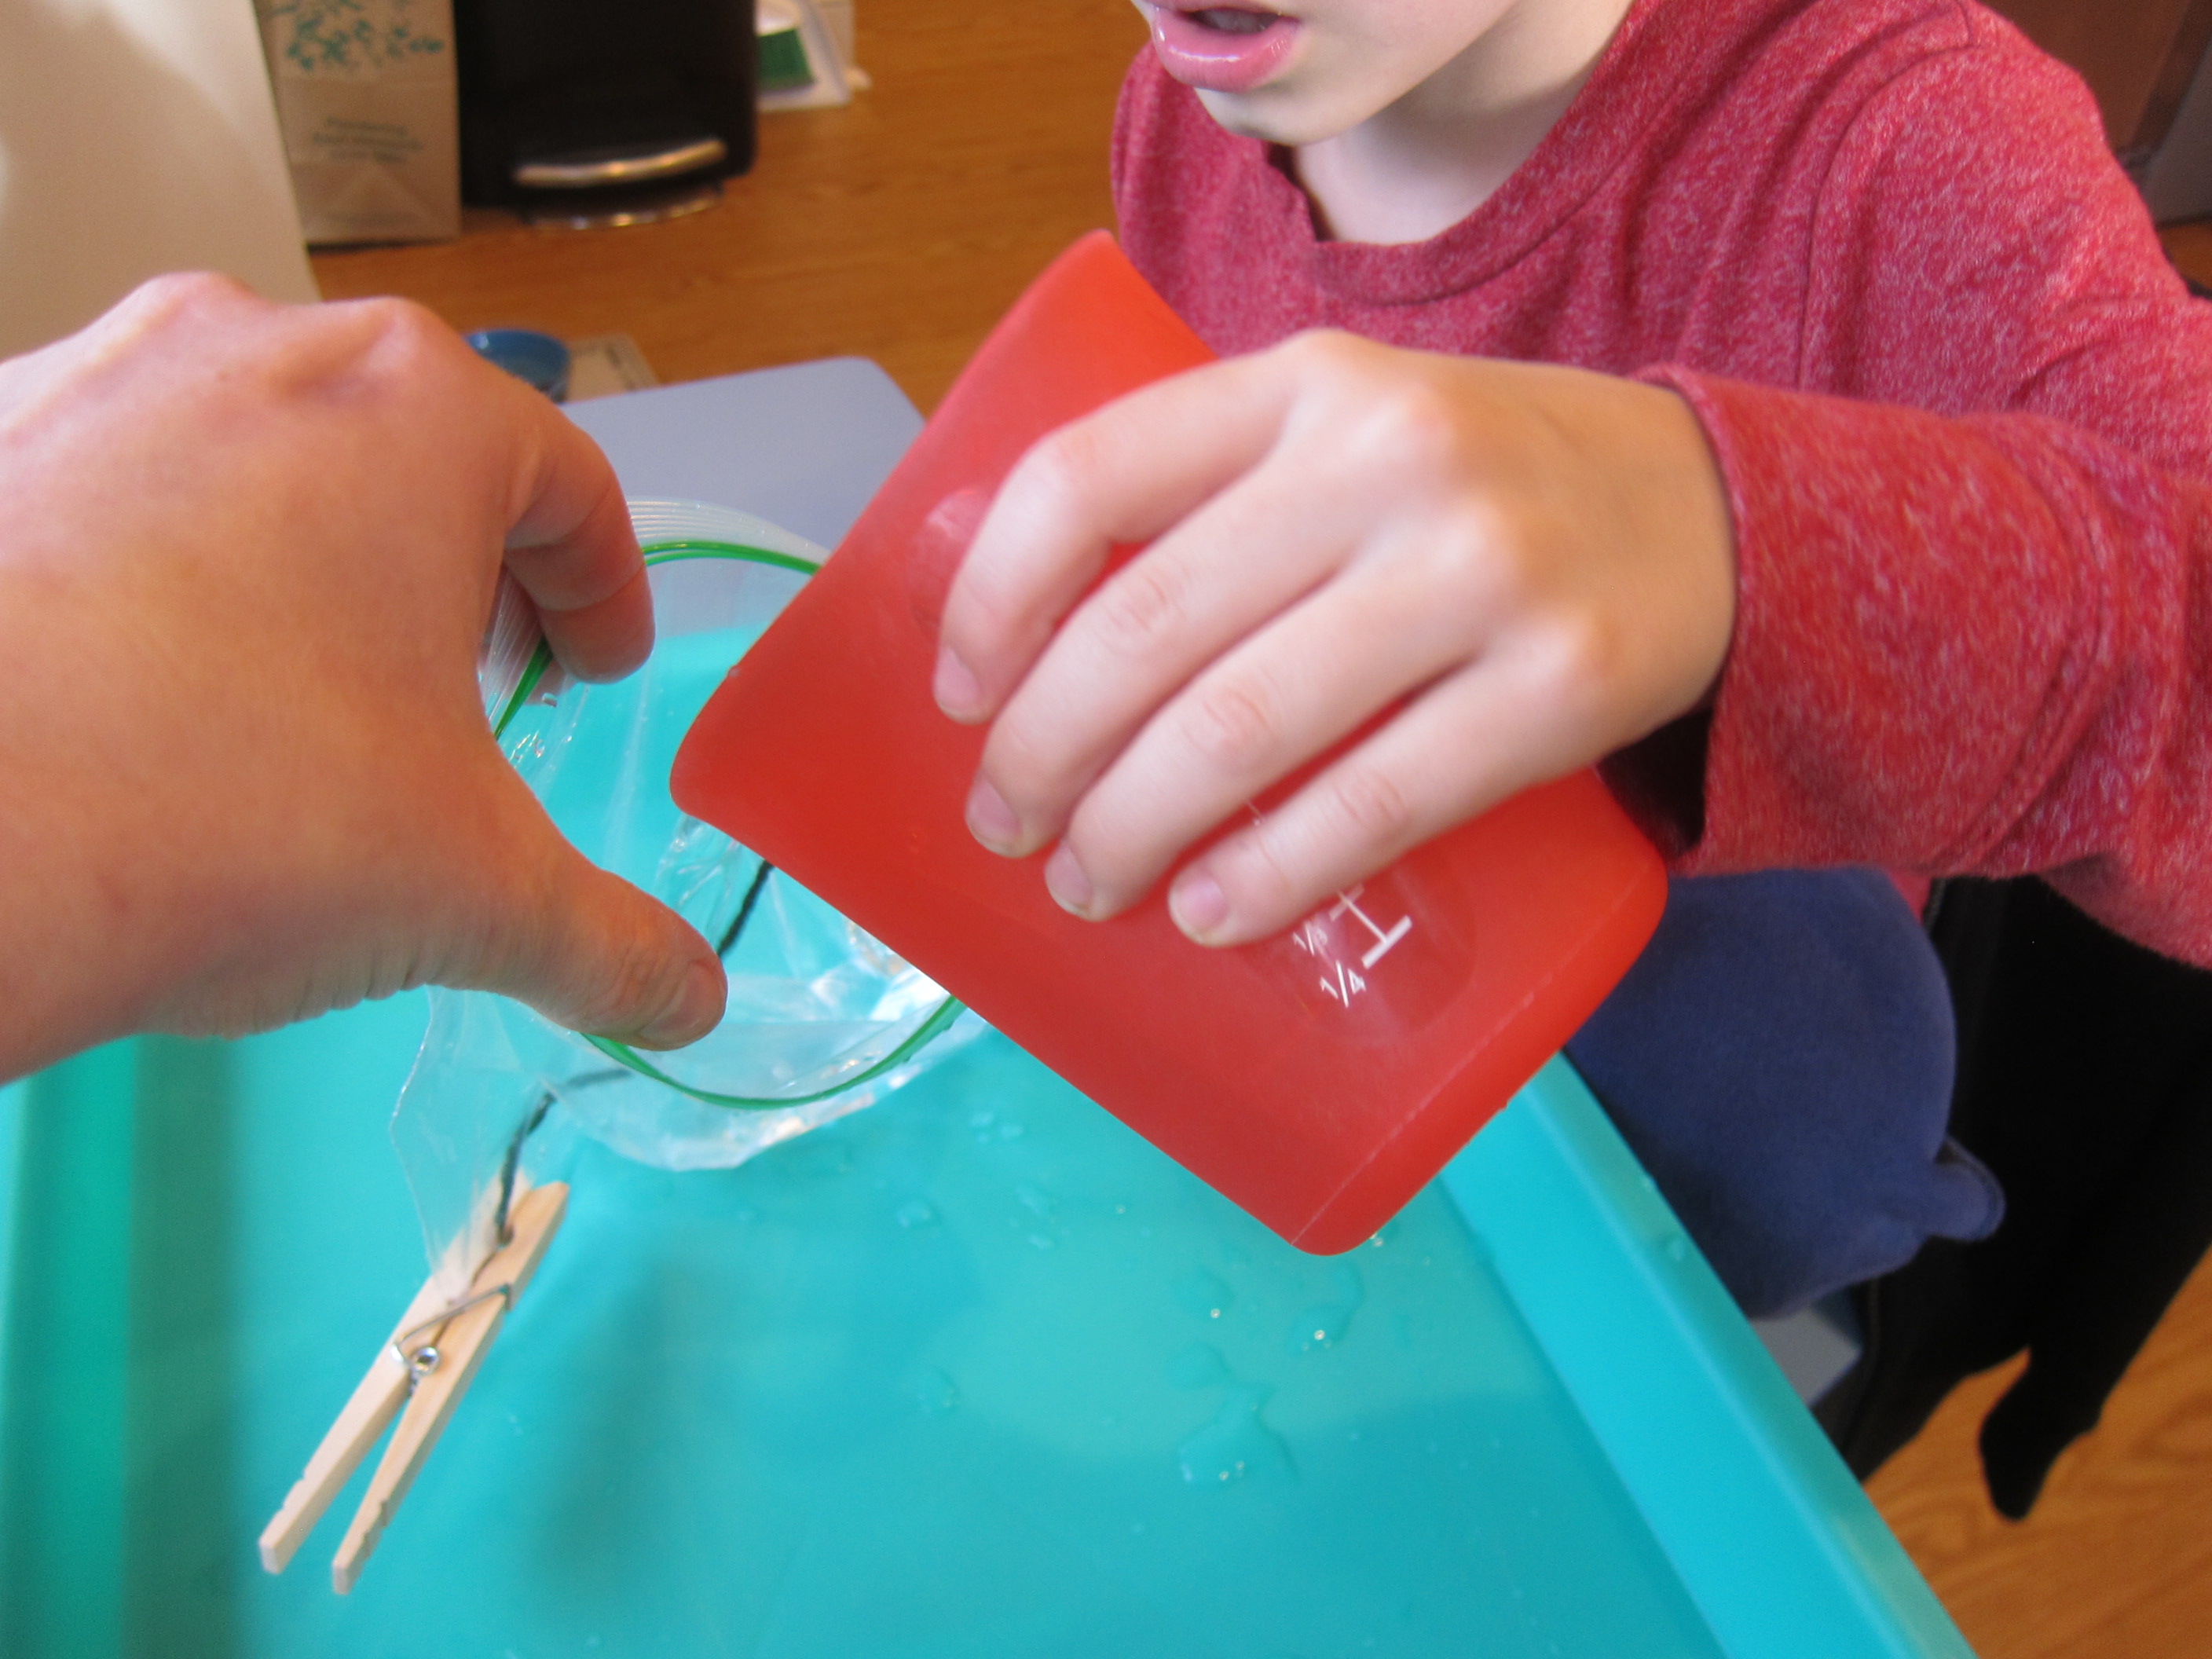
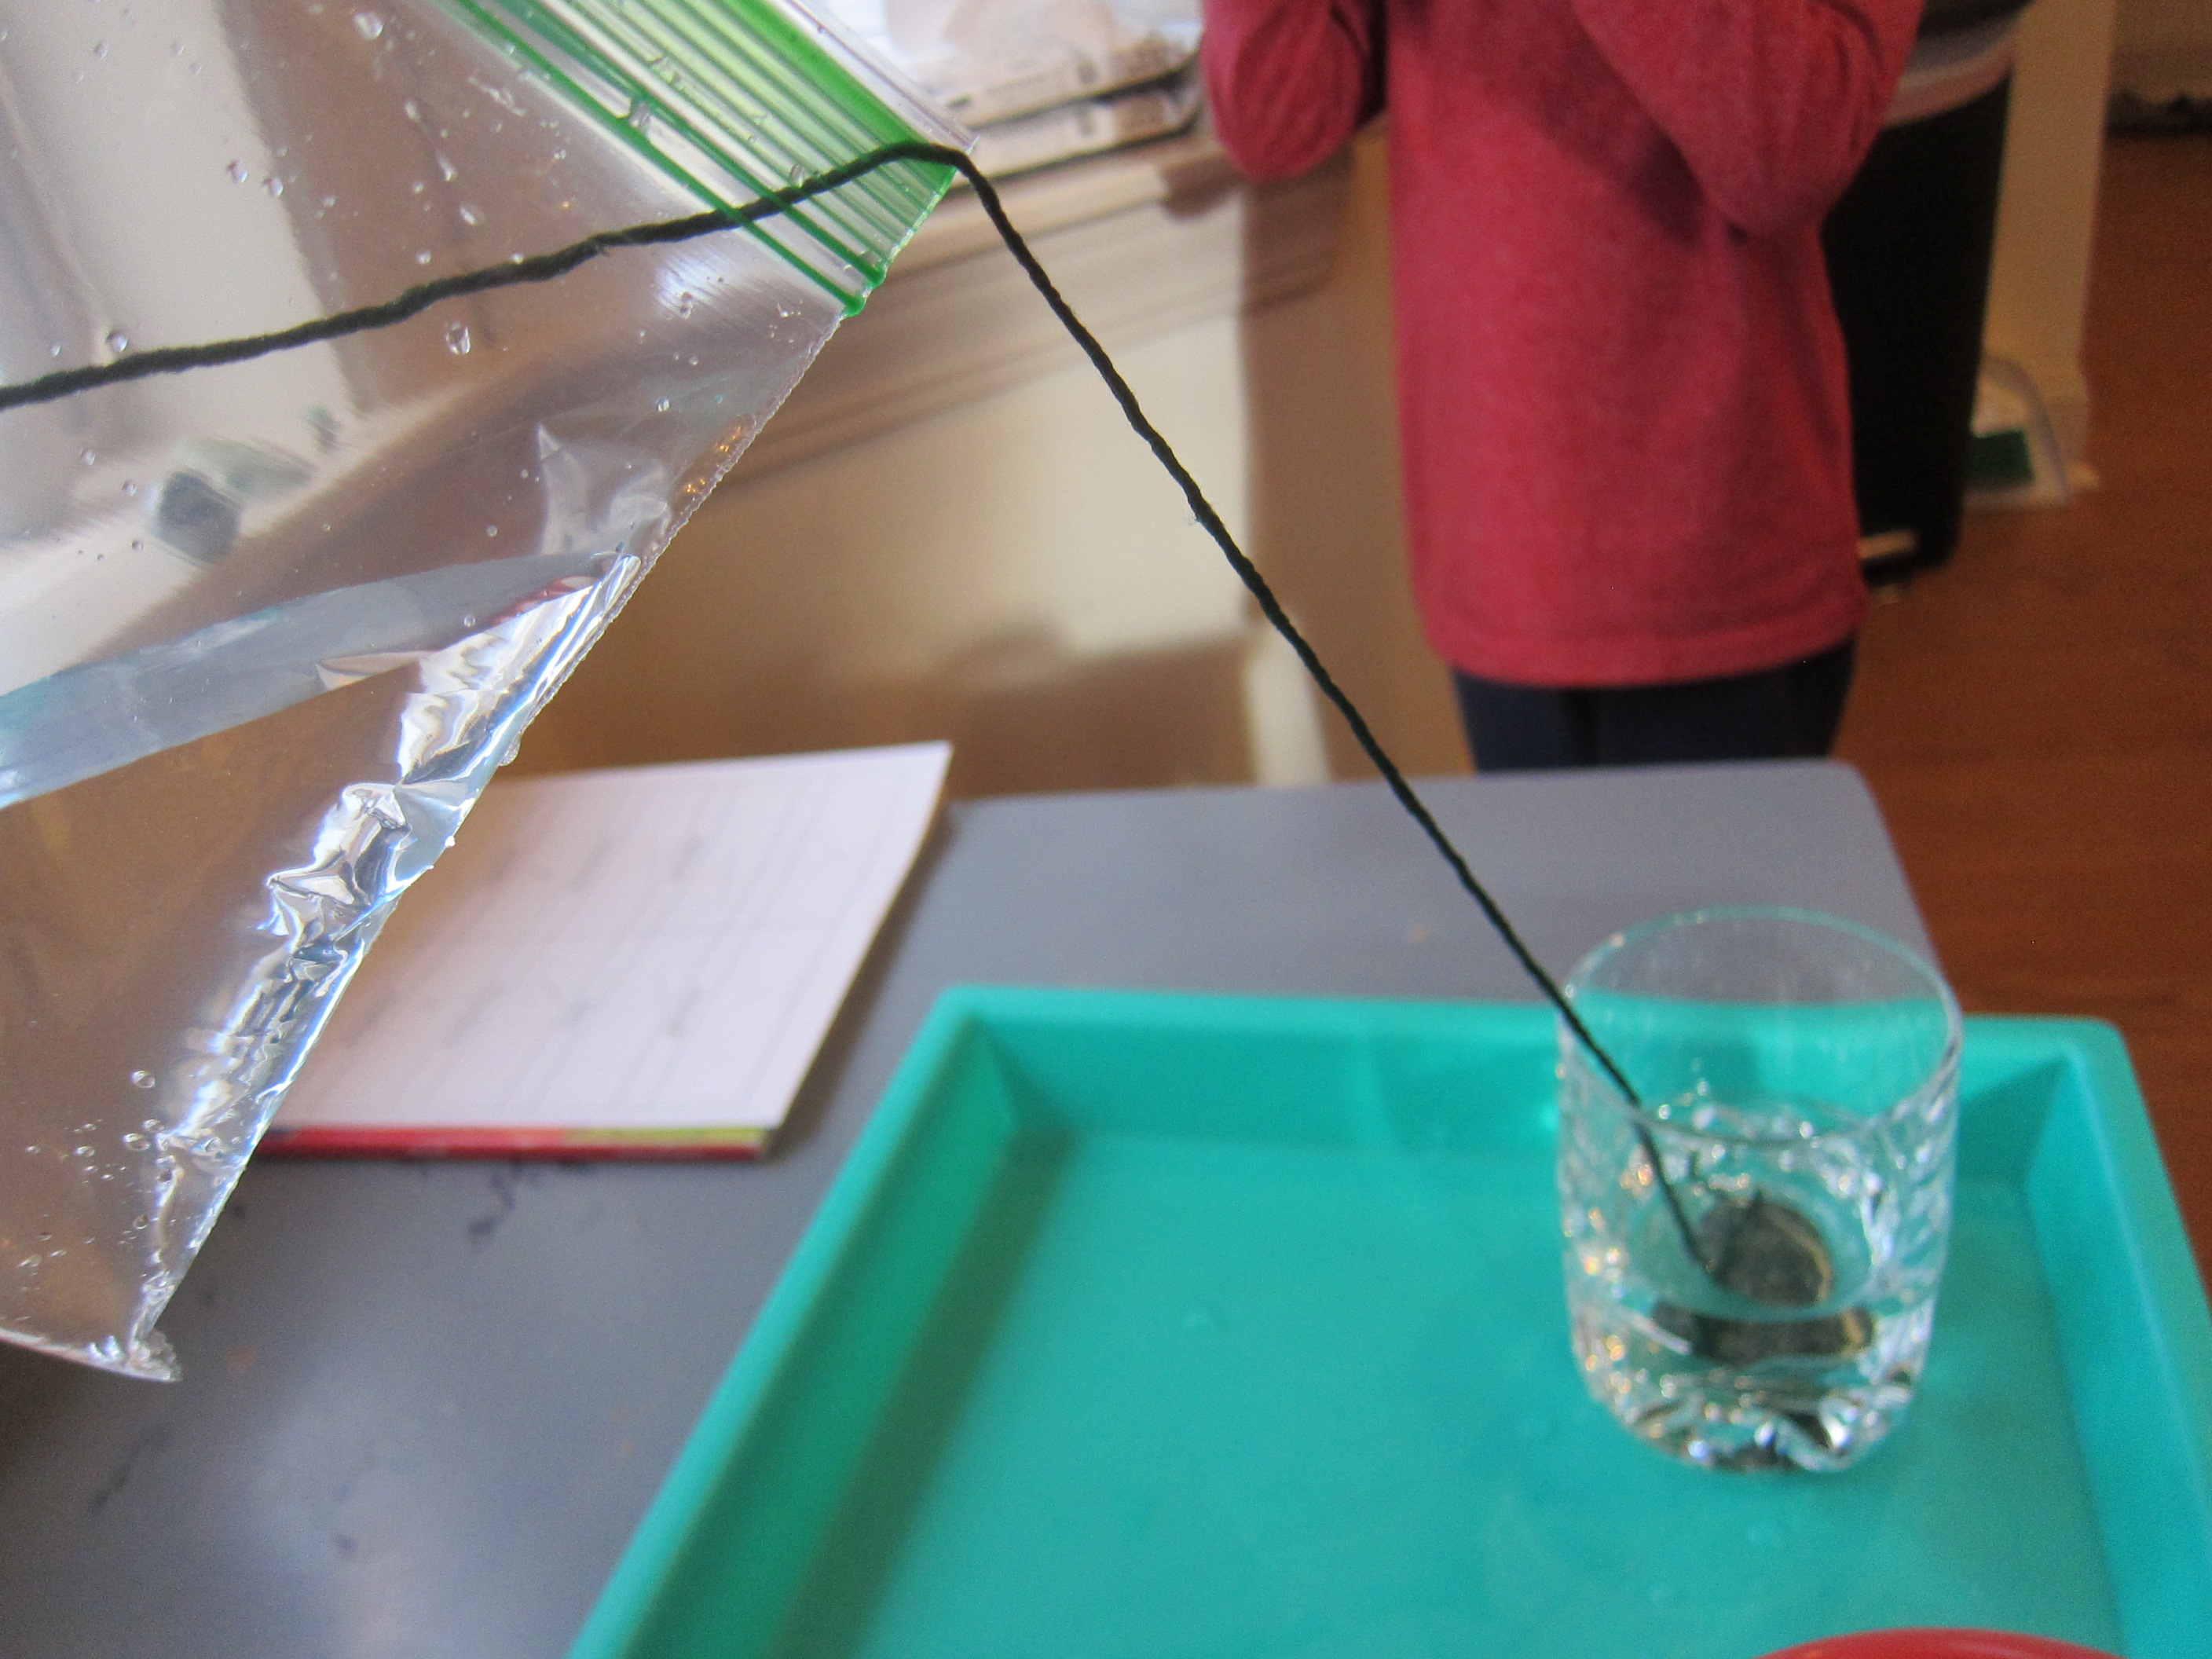
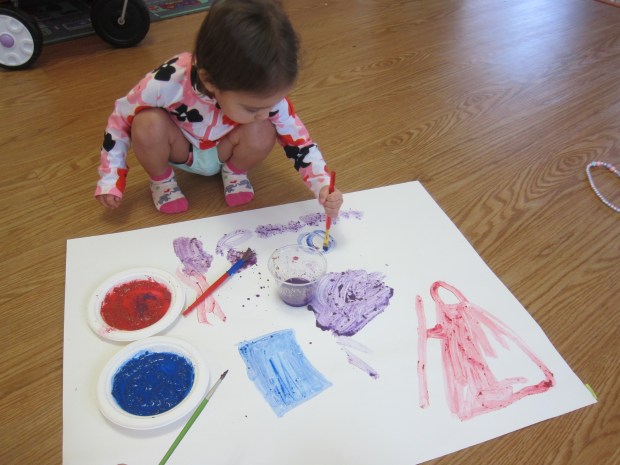
Next we wanted to see if we, too, could make our own paint! Obviously we couldn’t use chicken’s eggs like da Vinci, but we tested out a flax “egg” paint. I whisked 1 tablespoon flaxseed into 3 tablespoons warm water. Then we ground up chalk powder! Place a piece of chalk in a zip-top plastic bag and seal; whack with a mallet until finely ground.

Da Vinci (6)

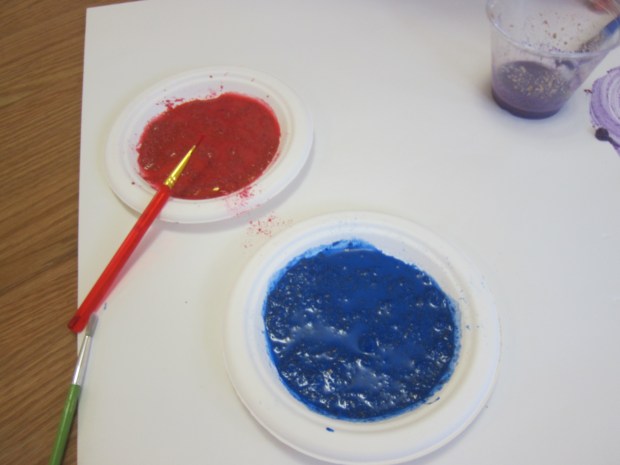
We mixed each chalk pigment with about 1 tablespoon of the flax mixture. It wasn’t as smooth as tempera, but it did make a rather neat paint. Little sister Veronika in particular loved using this all over a piece of poster board.

Da Vinci (7)

Next up was a closer look at arguably da Vinci’s most famous work, The Mona Lisa. Travis watched a video about this enigmatic painting before we followed a step-by-step tutorial. This was fun for mama, too!

Da Vinci (8)

We then turned back to da Vinci’s scientific side, learning more about some of his flying machines. Travis watched a video on the engineering of flight before we tested out our own: fold a rectangular piece of poster board in half, then fold each side in toward the half crease so it now folds up into a triangle. Tape shut.

Da Vinci (10)

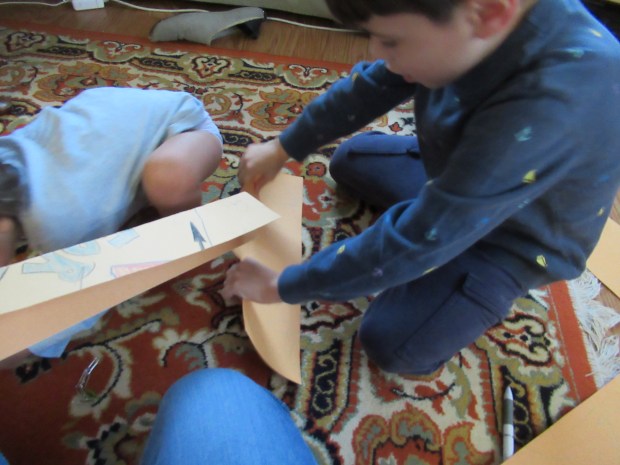
Add wings and a tail of any design, and see how your machine flies! Travis chose triangular wings, which might not have been the most aerodynamic, but he liked that this was bigger than a standard paper airplane!

Da Vinci (12)

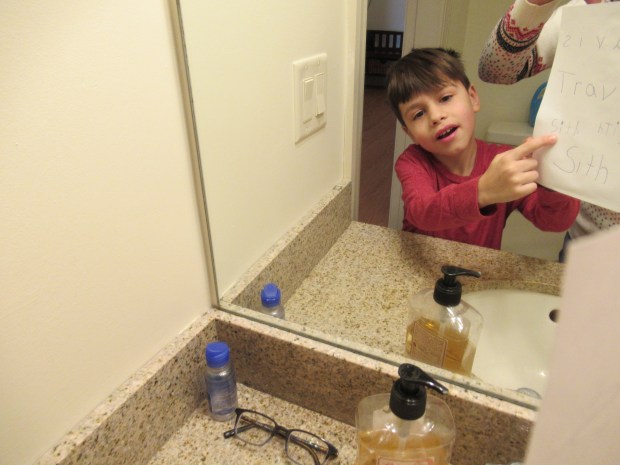
Travis was also intrigued with da Vinci’s left-handedness and backwards writing, particularly as a lefty himself. We turned this into a game of making secret codes for each other, and he loved checking them out in the mirror!

Da Vinci (14)

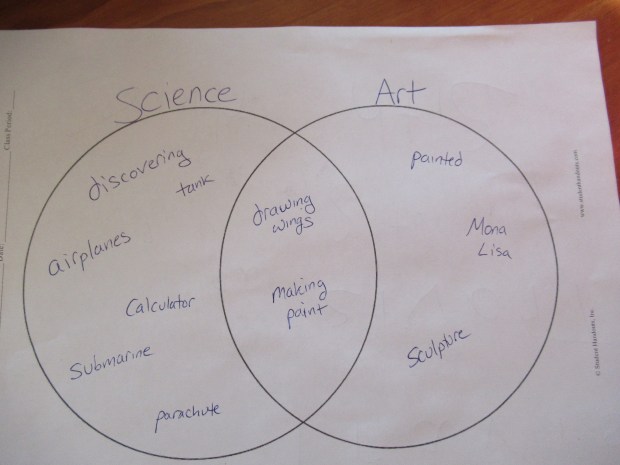
To cap it all off, we filled out the provided Venn diagram, labeling one side Science, and the other side Art. Now Travis knew lots about da Vinci, including what fell in the overlap in the middle.

Da Vinci (15)

There is so much more that older children can do with this lesson (learning more about the idea of the “Renaissance Man”, researching other Renaissance figures like Isabella d’Este, creating an art gallery slide show presentation, just to name a few!). But this was a great “first bite” of da Vinci for my 1st grader.

Sock Puppets

Sock Puppets (4)

Stuck inside on a rainy day? Then it’s time to make silly sock puppets!

Sock Puppets (5)

We always seem to have extra pairs of socks (no thanks to indoor playrooms that require them even in flip flop weather!), so we simply grabbed a pair and set to work.

Sock Puppets (1)

First up was adding facial features with fabric markers. I folded the toe of the sock down toward the heel so Veronika could visualize where the head would be, but mostly she just scribbled any which way.

The fabric markers were a little frustrating for her, too, since they tend to catch in the fabric, but I assured her that any markings at all looked great!

Sock Puppets (2)

Once we had decorated the bodies, I also used hot glue to add pom pom eyes. Time to slip on those socks and put on a show! Veronika giggled just seeing the sock on her hand or my own.

Sock Puppets (3)

She laughed even harder once the socks “talked to her”.

Sock Puppets (6)

And it turns out that sock puppets like to go on toes, too!

Sock Puppets (8)

Winter Bowling

Ice Bowling (2)

Every season seems to have its own perfect variation on bowling, whether giant inflatable unicorns in the summer, haunted bowling in the fall, and now ice bowling in the winter!

For pins, fill water bottles about 3/4 of the way with water and let stand outside overnight to freeze (or place in your freezer if the temperature in your region doesn’t dip that low). Make sure to leave some room in the bottles for the ice to expand.

For balls, fill water balloons with water and freeze overnight. In the morning, slip off the rubber and you have perfect ice spheres to bowl with. The little balls of ice absolutely delighted both kids, so much so I worried they would just play with those and ignore the bowling completely!

Ice Bowling (1)

Eventually Travis loved taking tosses and rolls at our ice “pins” and seeing how many he could get with one shot.

Ice Bowling (4)

There’s an extra catch that makes this version of bowling harder; if you throw your ice ball too hard, it might shatter!

Ice Bowling (5)

Come to think of it, that fact probably added to Travis’s fun.

Ice Bowling (6)

Veronika didn’t seem to be a huge fan of the ice bowling, so I took her inside for a warmer and more toddler-friendly version. We emptied the ice from the bottles and simply rolled a nice big bouncy ball at empty ones.

Bowled Over (1)

For a toddler, persistence is key! I showed her how to reset the pins and try again after each roll.

Bowled Over (2)

We also lined up the bottles in different formations to make the game more interesting.

Bowled Over (5)

And sometimes, she preferred just to sit and play with the bottle pins, which was all part of the fun!

Bowled Over (4)

What’s your winter spin on bowling? Please share in the comments!

Bowled Over (3)

Water Flow Experiment in a Bag

Water Bag Experiment (7)

This experiment was a bit of a repeat from a recent Kiwi Crate on surface tension, but so cool it was worth a re-do with materials from home. The “wow” factor of it wasn’t lost the second time around!

First, soak a length of yarn in a cup of water for about 2 minutes, until completely saturated.

Water Bag Experiment (1)

Insert one end of the yarn into a sandwich-sized zip-top bag and use a clothespin to pinch the yarn securely in place in the bottom left corner.

Water Bag Experiment (2)

Wrap the opposite end of the yarn around a small rock and place the rock in a glass over a tray (to catch any spills…just in case!).

Water Bag Experiment (3)

Fill the plastic baggie with a little water.

Water Bag Experiment (4)

Now tilt and begin pouring!

Water Bag Experiment (5)

Thanks to surface tension, the water flows directly along the wet yarn into the cup, as long as you keep the yarn taut. Ours wasn’t always exact, so we were glad we had the tray underneath to catch a few inevitable spills. But for the most part we got the experiment to work great.

Water Bag Experiment (8)

This homemade version of the Kiwi Crate suggestion was definitely worth it a second time around.

Water Bag Experiment (6)

Skating Party

Skating Party (2)

When ice cubes melt against a slippery surface like metal, they start to naturally slip and slide around. Turn that little scientific fact into a “skating party” by freezing small plastic animals in the ice ahead of time!

I filled an ice cube tray with water and then after about 2 hours, when the cubes had started to set but weren’t frozen solid, I pressed a toy animal into the top of each. A set of arctic animals fit nicely with the icy winter theme. I wish I’d had a few penguins to include, too! Let freeze completely overnight.

Skating Party (1)

At first I set these out on a plastic tray, where Veronika was immediately delighted to see favorite animals in the ice. But it quickly became apparent that we needed a metal cookie sheet for them to “skate”.

Skating Party (3)

The ice started to melt almost immediately once we made that switch, and just a gentle tap of the finger sends your animals “skating”.

Skating Party (5)

Veronika’s favorite was the snow hare, which she hopped and skated all about. Travis loved making the animals take wild skating spins across the tray.

Skating Party (6)

He also wanted to try freeing them from the ice, another oldie-but-goodie ice game.

Skating Party (7)

And we all laughed at the way the ice animals could spin and move.

In sum, a fun quick activity before even heading off to school!

Skating Party (9)