Christmas Noisemaker

Christmas Noisemaker (4)

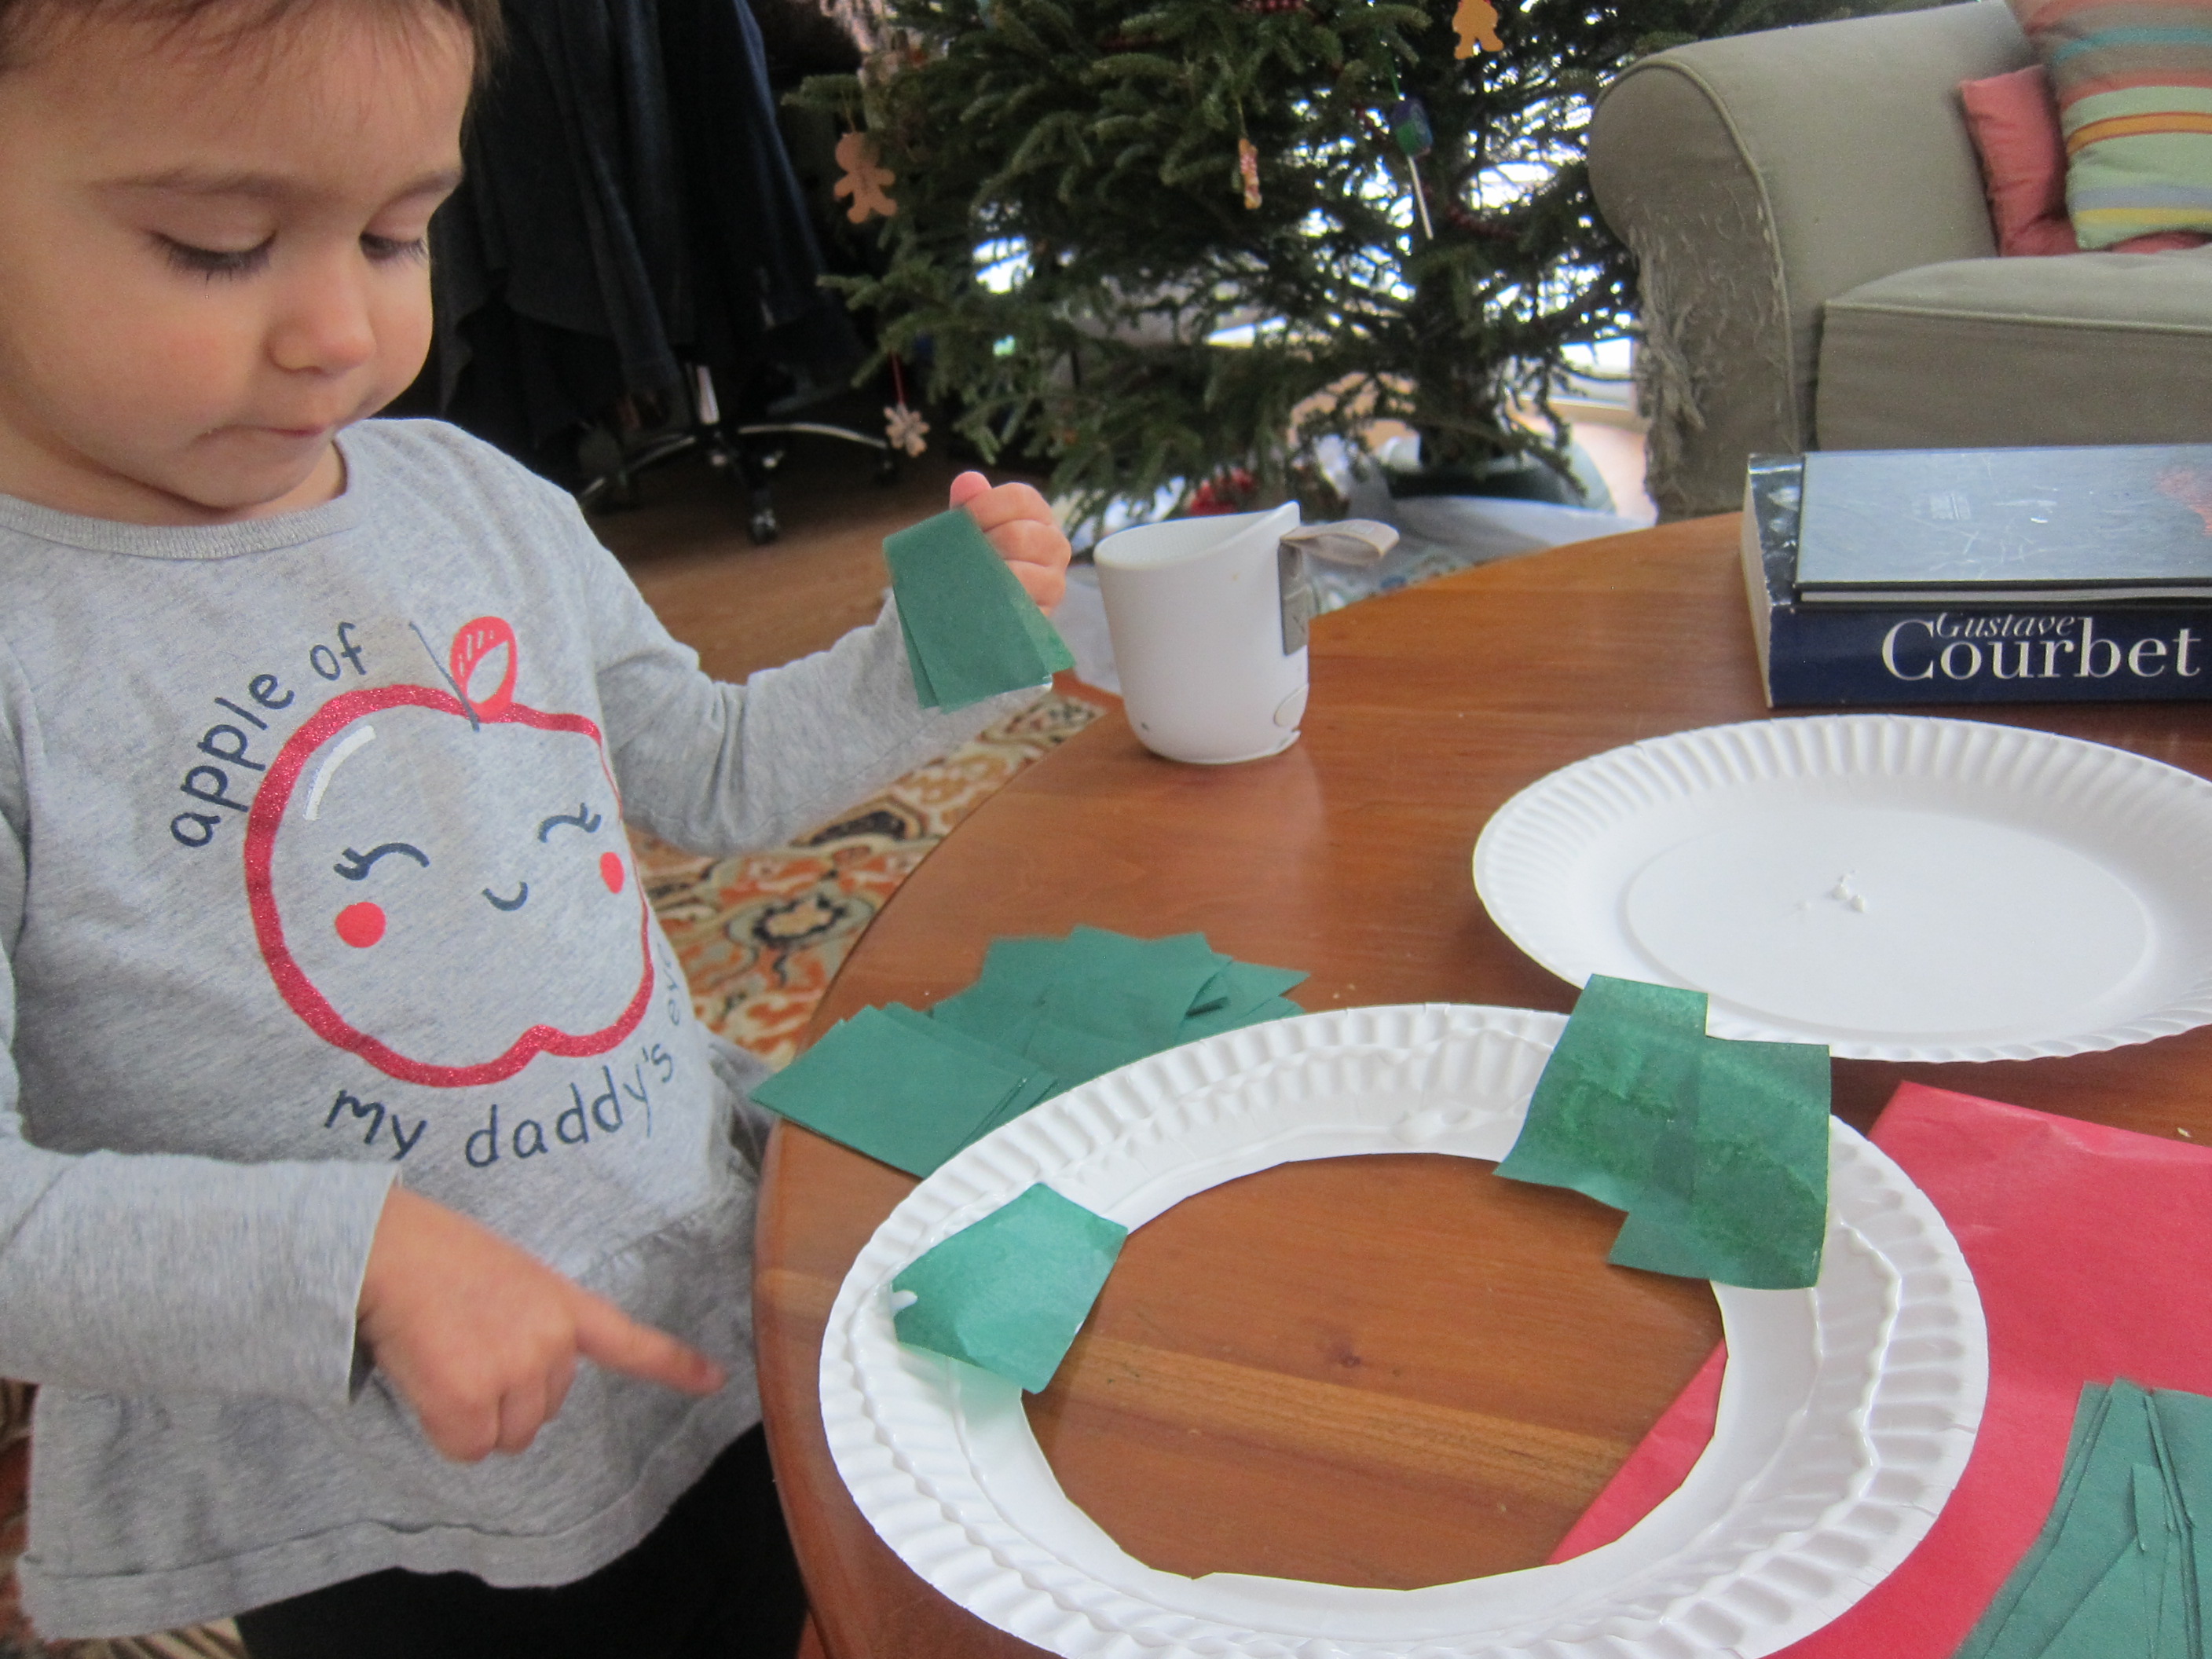
I love Christmas music and have been introducing Veronika not just to the classic carols this holiday season but also to fun contemporary tunes (think: Rockin’ Around the Christmas Tree and Jingle Bell Rock). So of course she needed a Christmas instrument to shake along as we rocked (around the tree quite literally!).

An empty frozen juice can makes the perfect size shaker. We filled this was dried beans and a few jingle bells. Popped popcorn pieces would work, too!

Christmas Noisemaker (1)

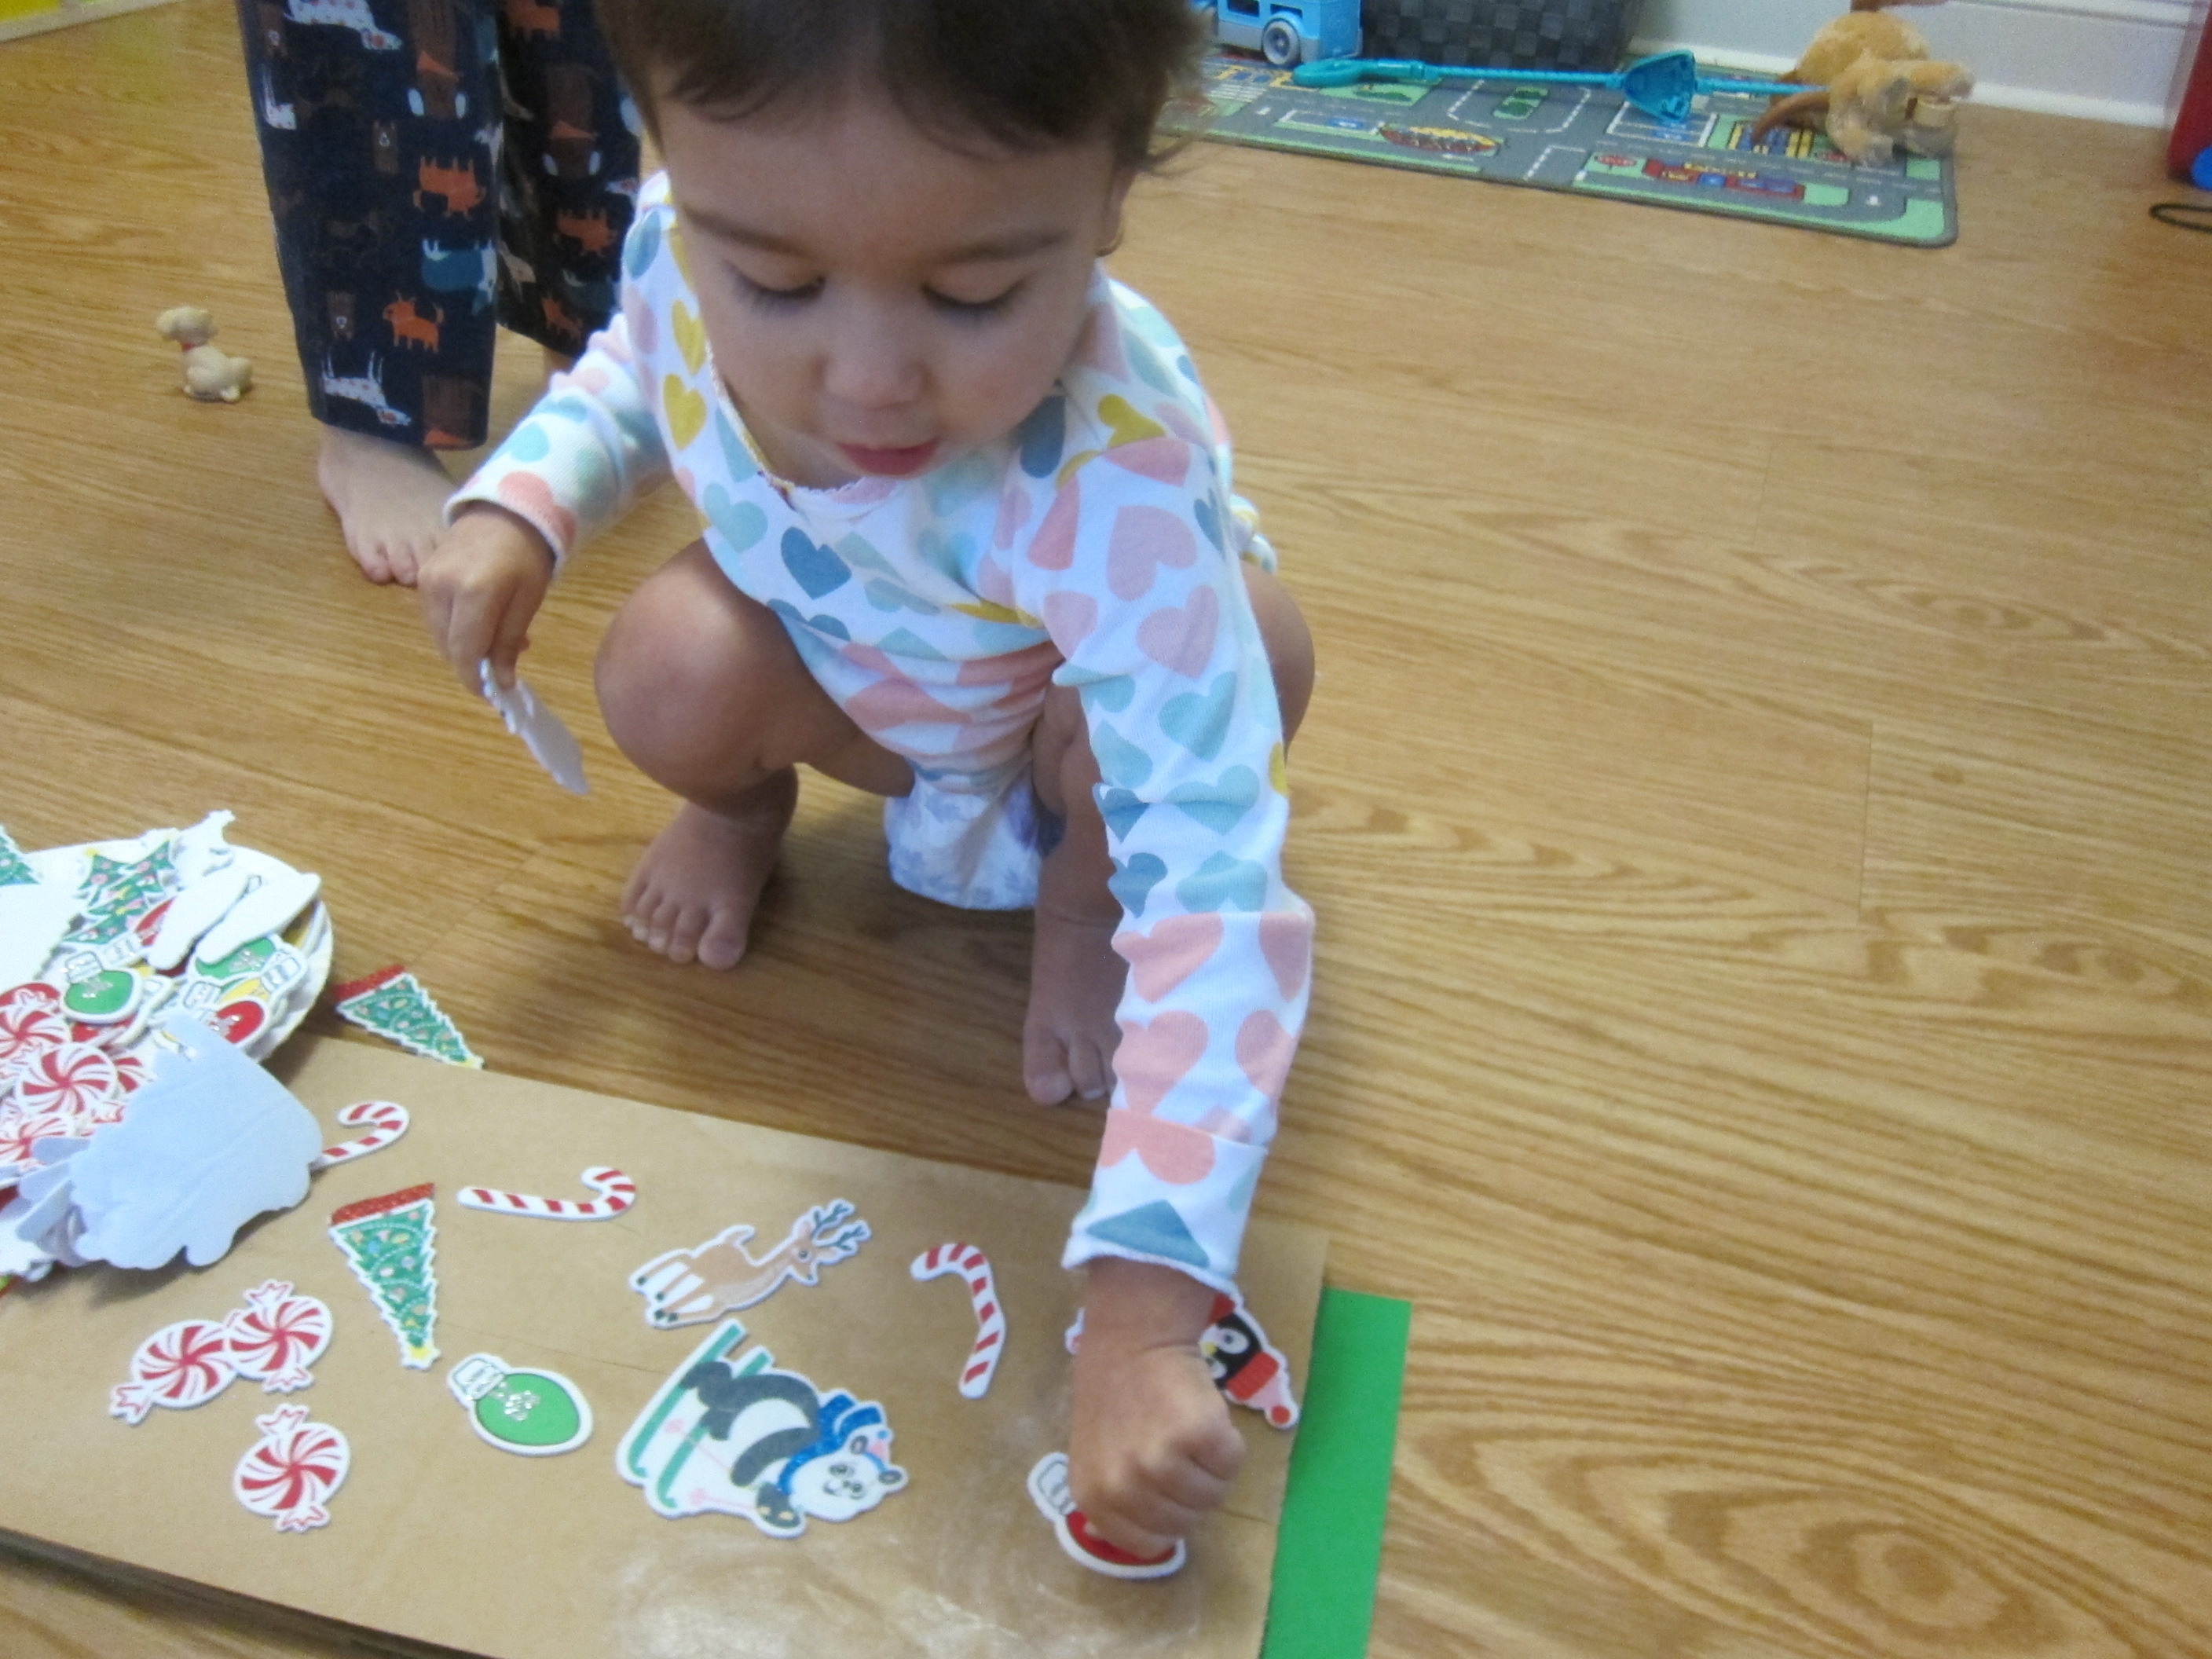
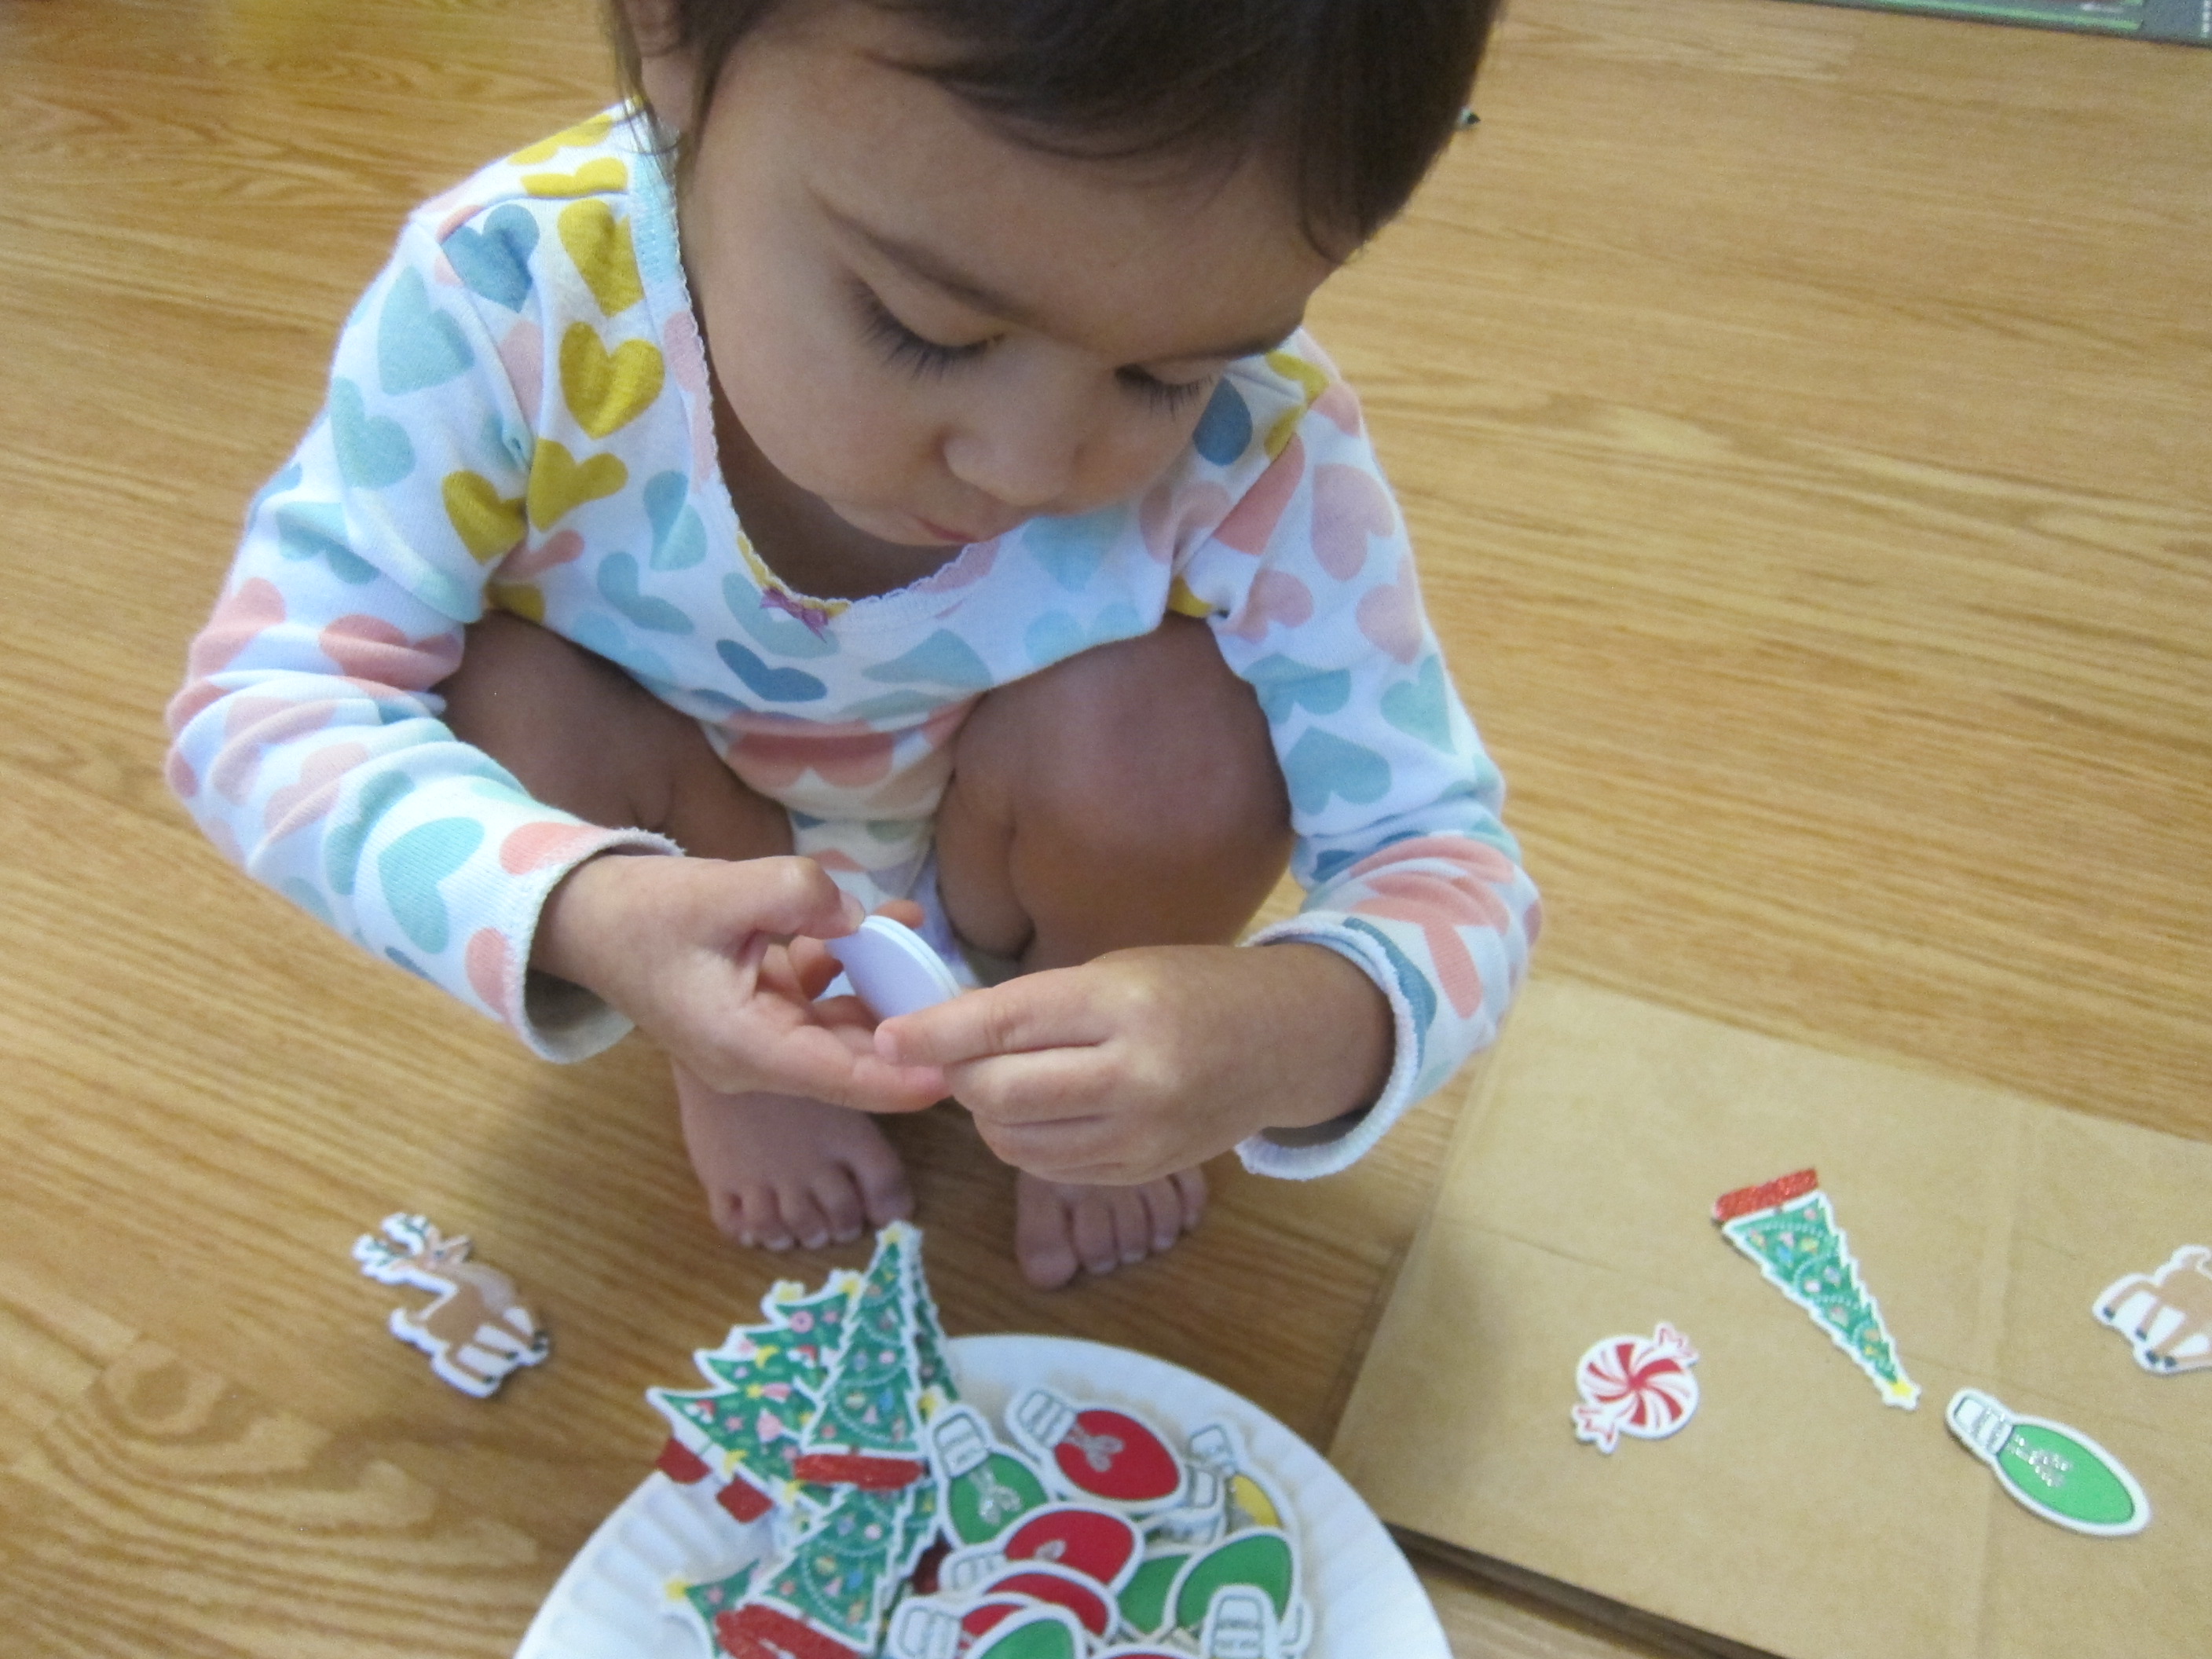
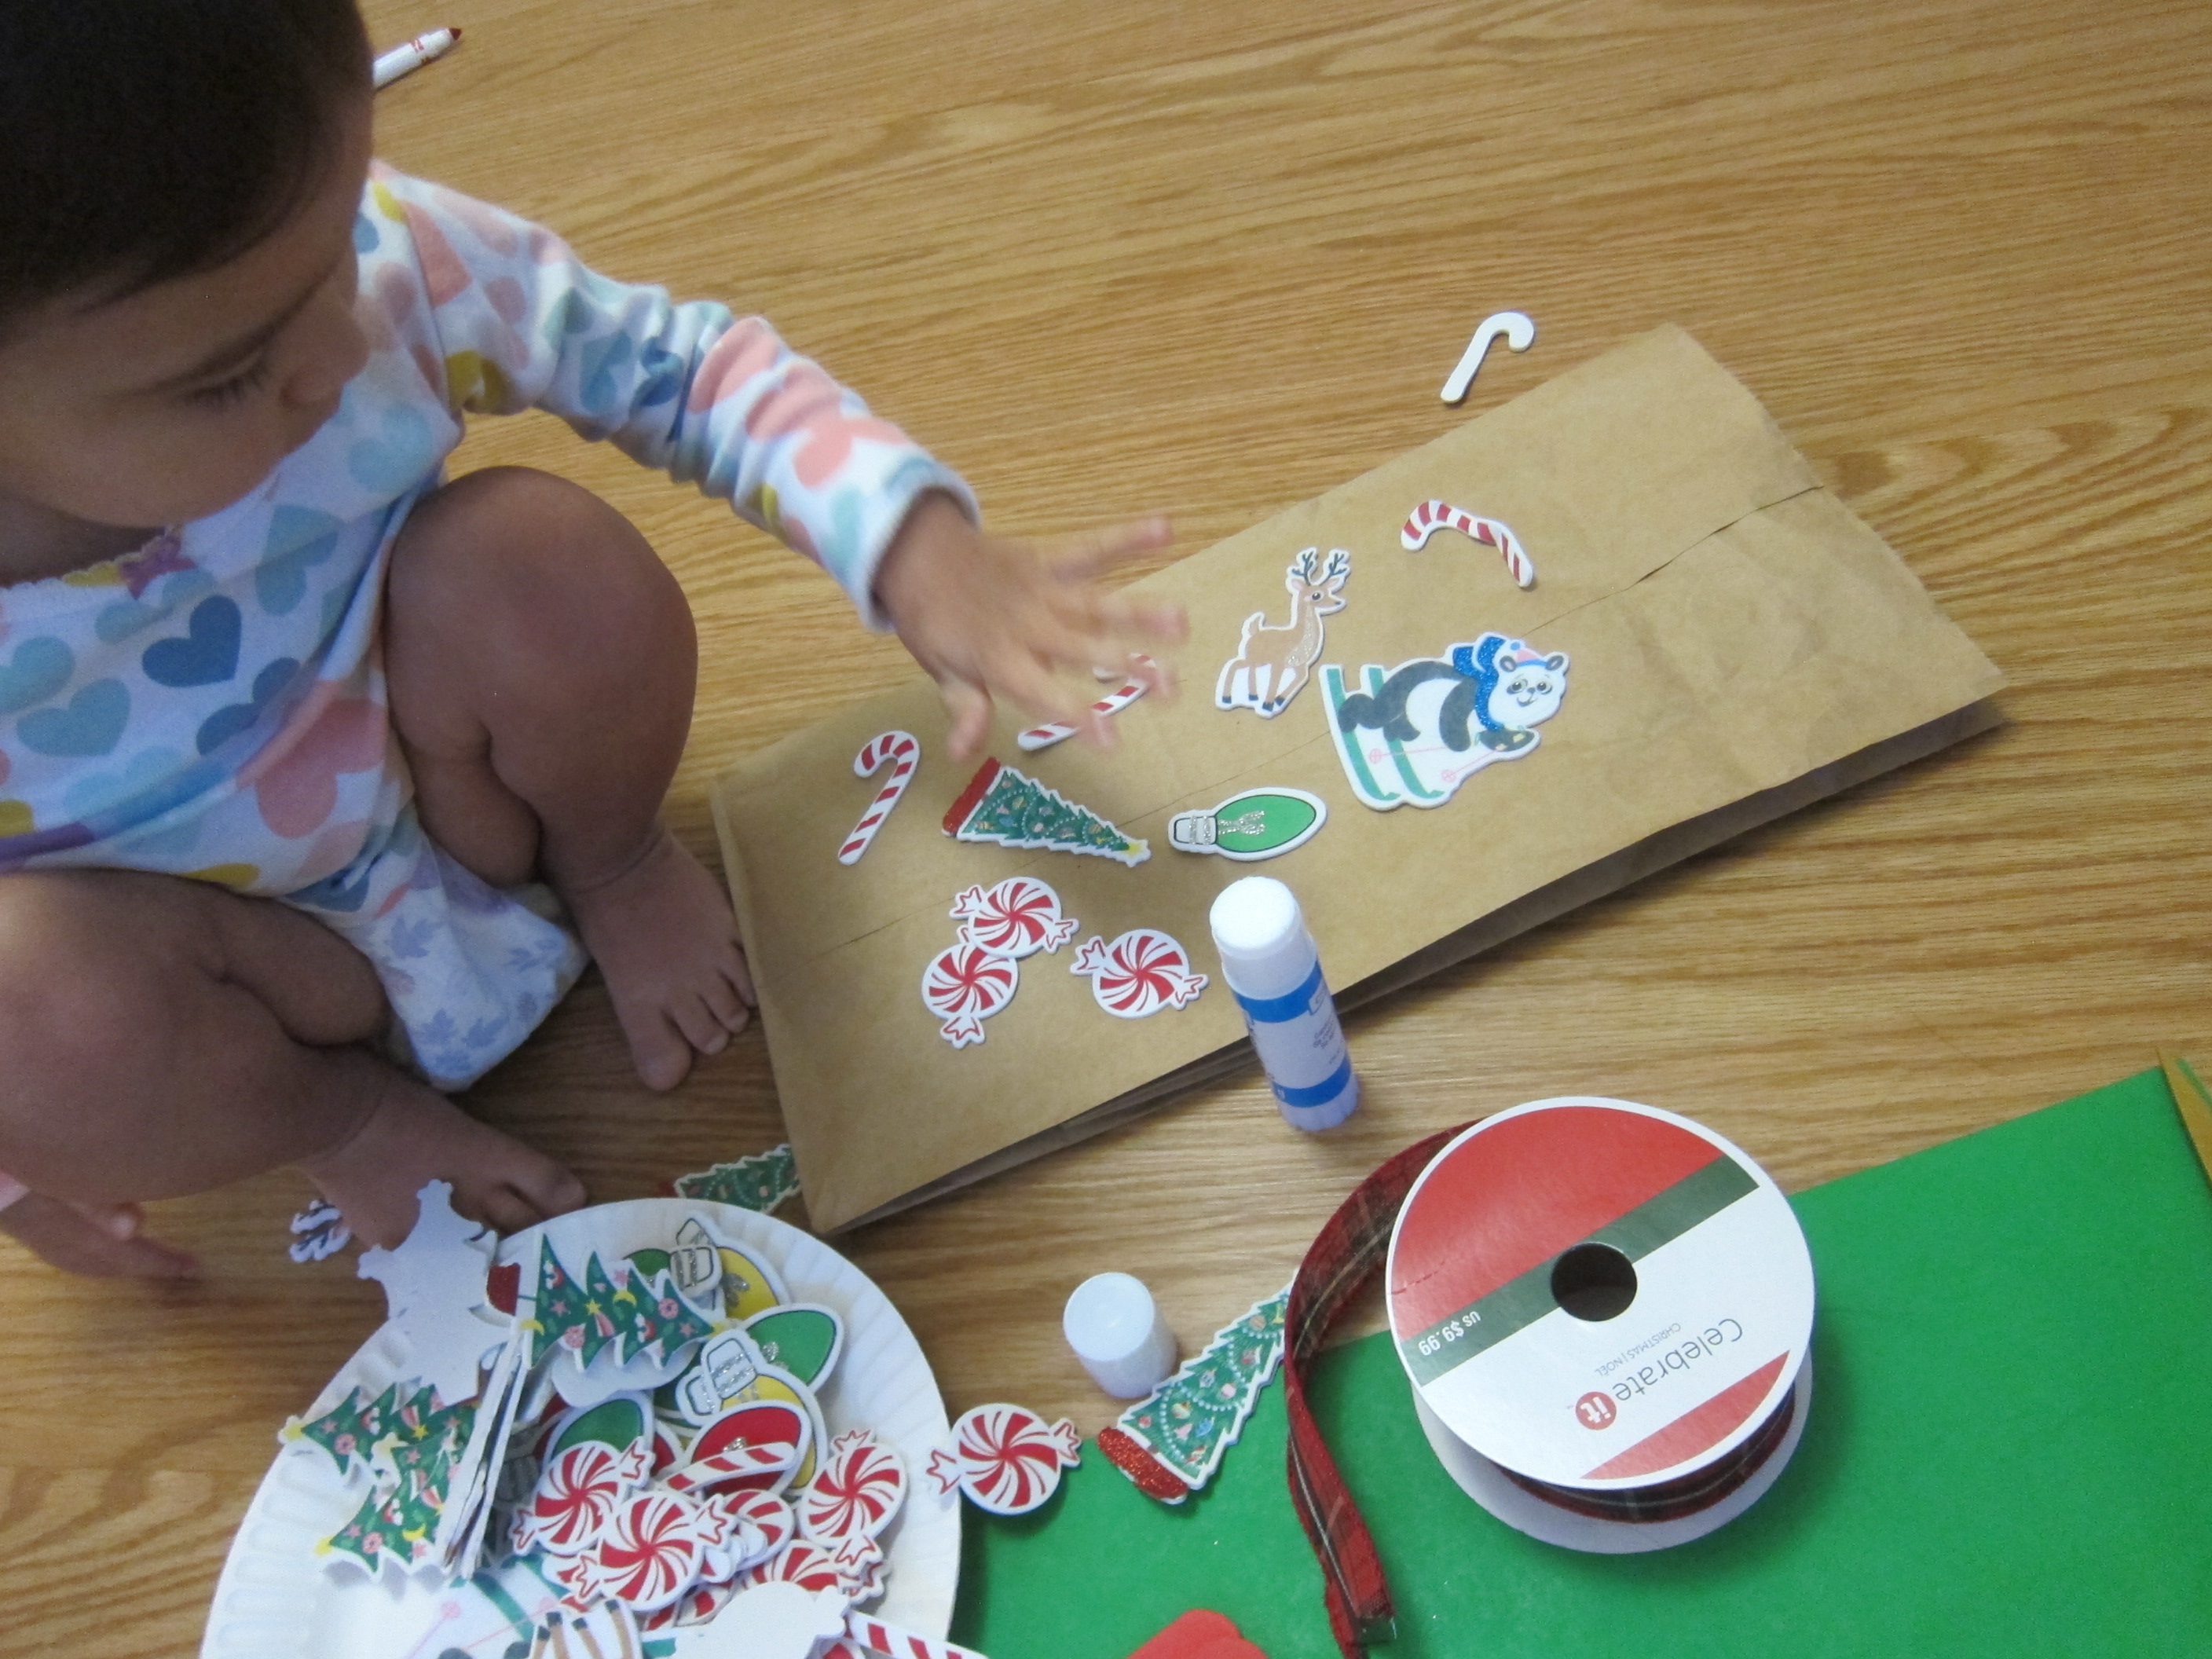
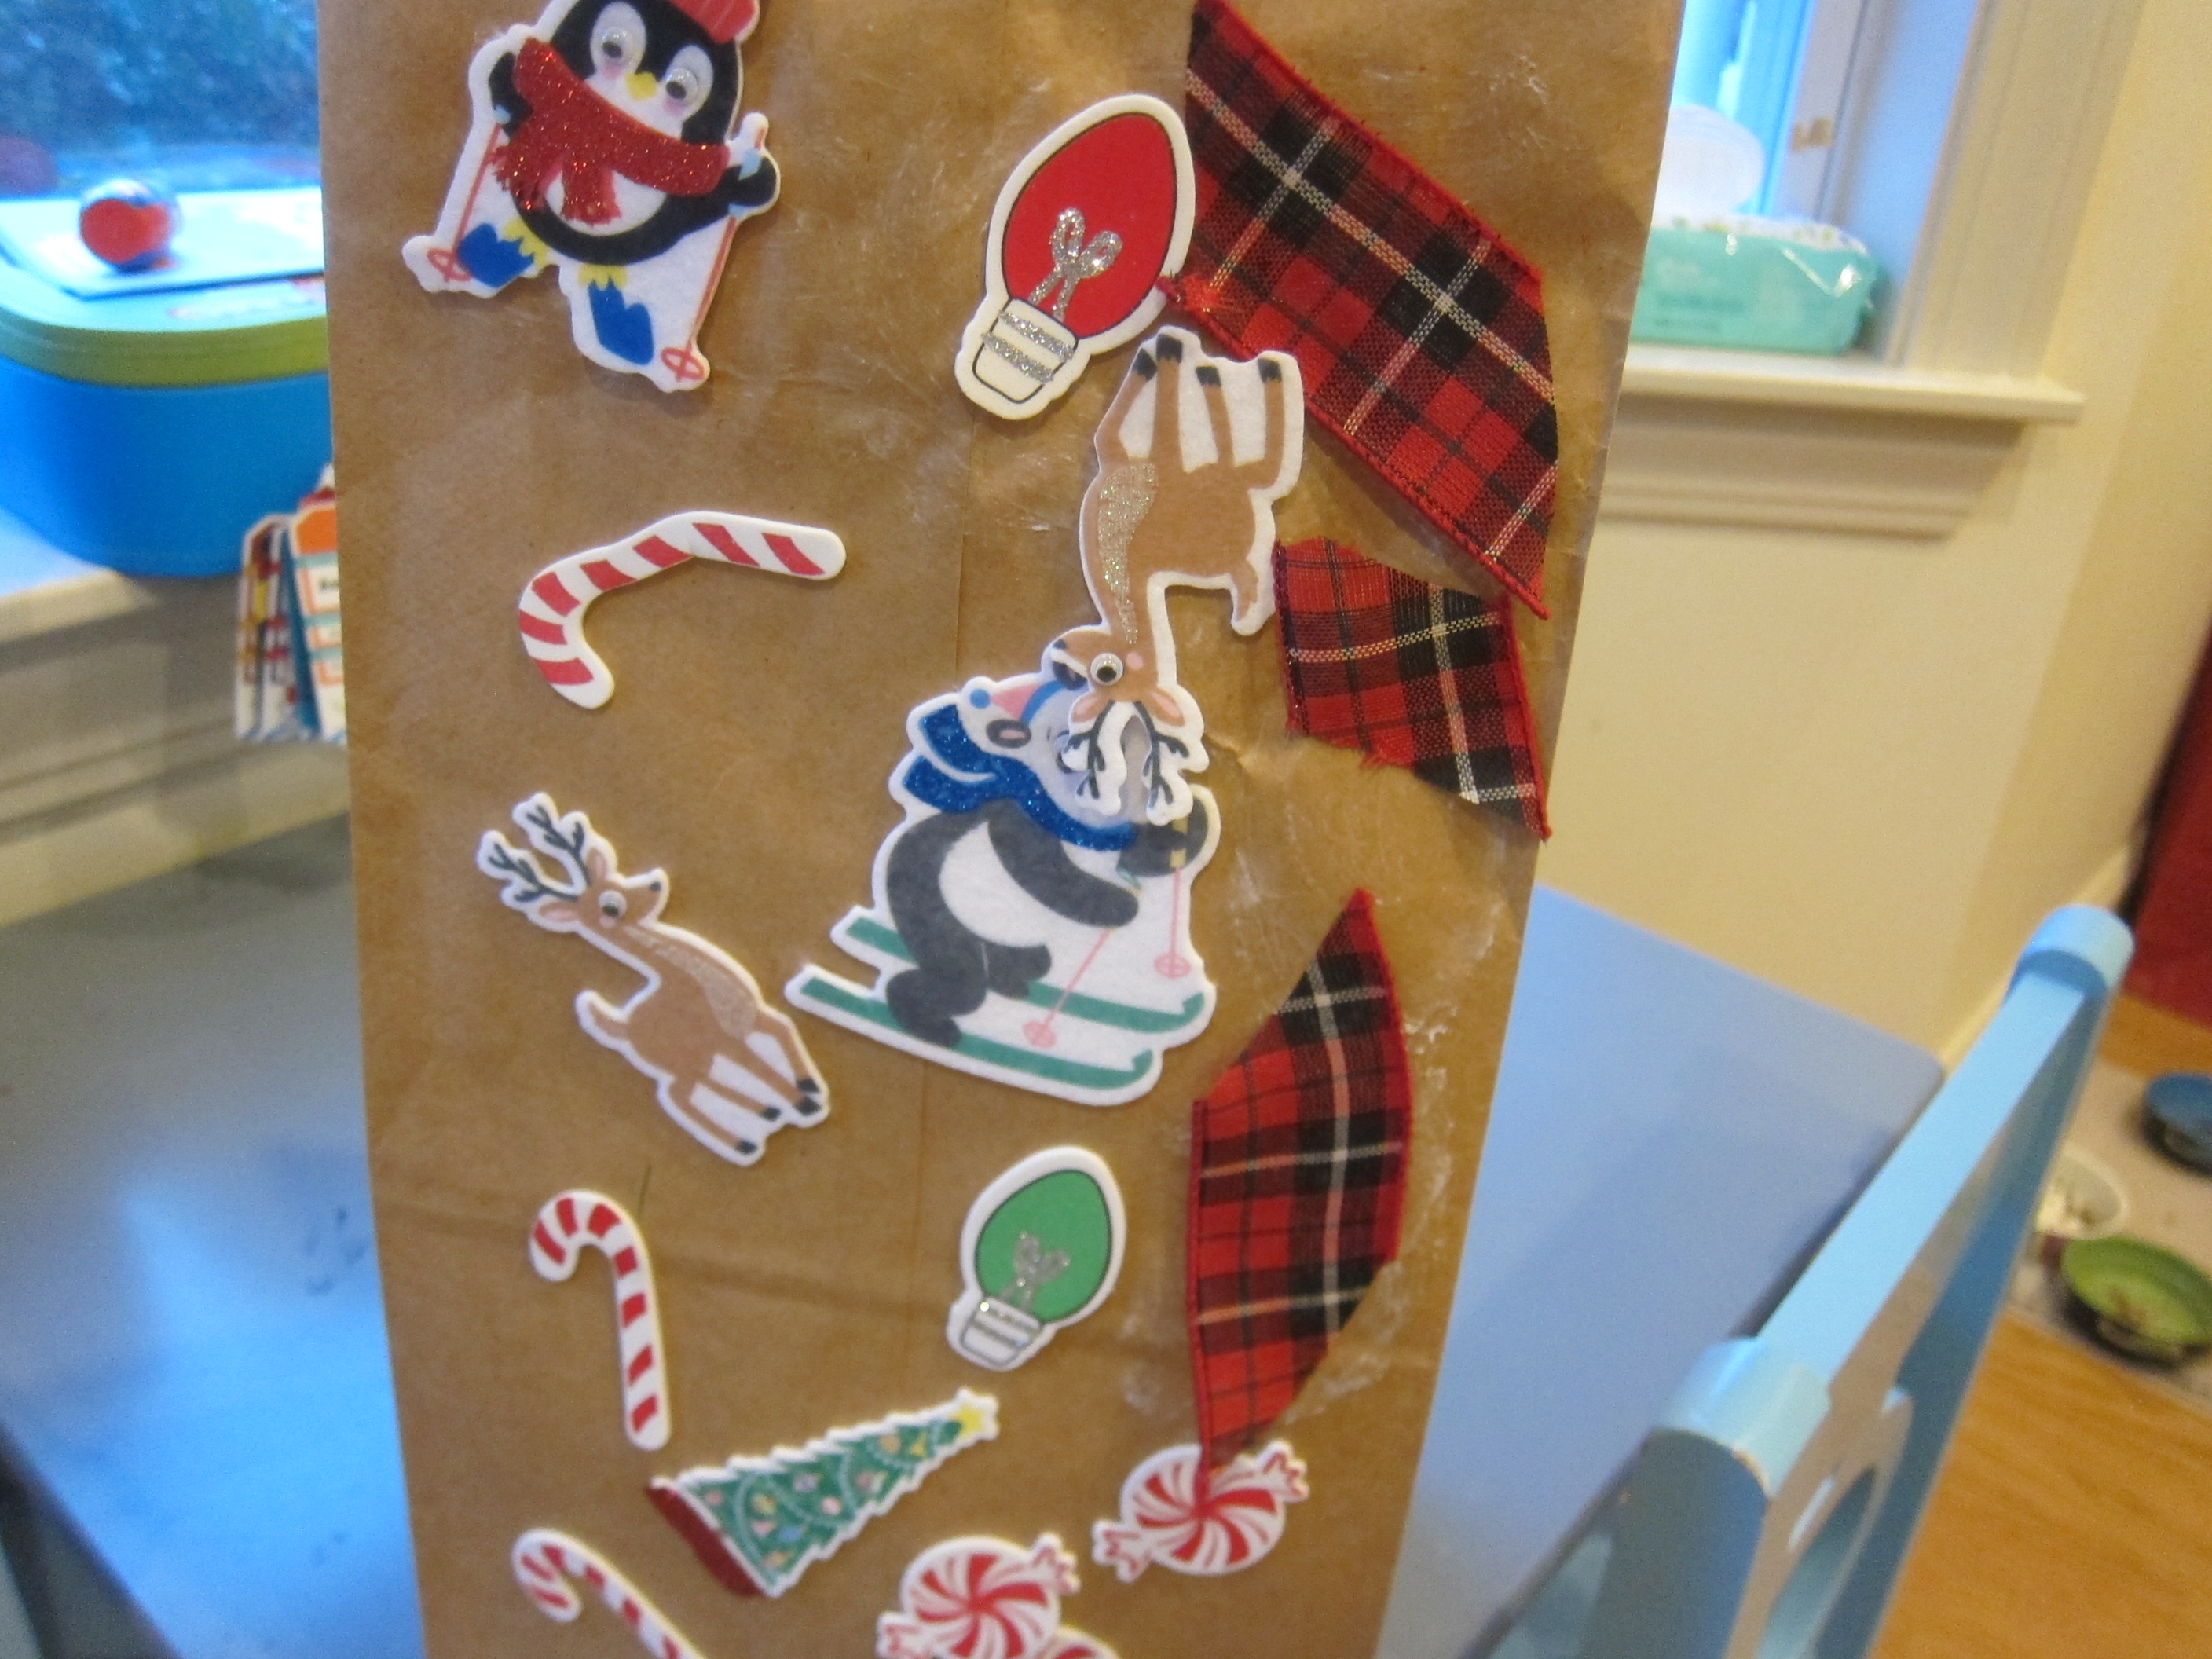
Seal the lid tightly. I used hot glue, but you can also secure with tape. We then covered with red felt and Veronika helped decorate it with Christmas-themed stickers.

Christmas Noisemaker (3)

Time to shake!

Christmas Noisemaker (5)

She loved prancing around with the shaker and drumming on drums as we put on our favorite Christmas tunes.

Christmas Noisemaker (6)

We wish you merry music making!

Cookie Plate for Santa

Cookie Plate for Santa (6)

Leaving out treats for Santa is one of Christmas Eve’s biggest highlights in our house, that thrill of the idea that he’ll really come in and take a nibble! This year we decided to make a special plate that can be just for Santa, this year and years to come.

Any plain white plate will work for this project; I purchased one cheaply at the store, but you can use an old white plate if you have one on hand. I set it down in front of Veronika, along with red, yellow, and green acrylic paints.

Cookie Plate for Santa (1)

My original intention was to trace a star-shaped cookie cutter at the top and paint it yellow, then to have Veronika fill in around it. But she quickly had other plans!

Cookie Plate for Santa (2)

She painted the star red before I had even finished tracing! Then the various colors of paint were all smeared together and making a glorious mess. But I loved that the plate was authentically her own creation for Santa Claus.

Cookie Plate for Santa (4)

After it dried, I added in a message around the rim, writing ‘To Santa’ and ‘Christmas 2020’ in red and green sharpies.

Cookie Plate for Santa (5)

If your kids want to have a laugh during the creation of the plate, watch a read-aloud of Father Christmas Needs a Wee. Because Santa will be drinking lots of (almond!) milk alongside all those cookies!

Paper Plate Bow Wreath

Paper Plate Wreath (7)

Toddlers love tissue paper projects any time of year, but this is a fun way to play with the material around the holidays!

I cut the center out of two paper plates and then helped Veronika squeeze glue all around the outer rim.

Paper Plate Wreath (1)

Next I set out cut squares of green tissue paper and showed her how to attach them over the glue. Veronika loved how easy this was to do, despite getting sticky a few times.

Paper Plate Wreath (2)

I then gave her circles of red tissue paper and she repeated the task, placing them over dots of glue I had made at intervals on the wreath.

Paper Plate Wreath (4)

That was it! Add a pretty red bow and it’s ready to hang.

Paper Plate Wreath (6)

As a bonus, Veronika loved playing with leftover scraps of green tissue paper for a while.

Paper Plate Wreath (3)

Brown Paper Bag Owl Puppets

Paper Bag Owl Puppets (7)

My kids love to play a game together involving a stuffed animal owl, so I knew they would go nuts for these easy owl puppets. We made two so that each sibling would have an owl to fly around.

To start, you’ll need two lunch-sized brown paper bags (ideally without any company writing on the front, but oh well…). I then cut out various features from colored construction paper, including triangle beaks, three sizes of circles for eyes, and a brown cut-out for each belly.

Paper Bag Owl Puppets (1)

Travis loved helping glue down all the pieces with a glue stick, especially the three-layered eyes.

Paper Bag Owl Puppets (4)

We added feather markings to the bellies with orange marker.

Paper Bag Owl Puppets (6)

And that quickly, the owls were ready to play.

Paper Bag Owl Puppets (2)

It was safe to say that the kids thought these puppets were a hoot!

Palm Puppets

Palm Puppets (6)

These quick puppets are easy to put together and can be decorated to look like just about any character your child desires!

They’re called ‘palm’ puppets not in reference to the palm of your hand, but because puppets like these were originally made from palm fronds in countries like India. You can replicate the idea with thick paper.

Both kids had high enthusiasm when I suggested the craft to fill a winter afternoon, and they were soon busily drawing their characters. To make sure your puppet has a front and back, fold a piece of construction paper in half and draw the head where the paper is creased.

Palm Puppets (1)

Travis proudly drew a favorite Star Wars character, while Veronika was happy just to scribble at his side!

Palm Puppets (2)

Cut out the bodies and then tape onto straws. (Note: You could also staple the bodies to the straws or use glue, but tape was quickest). I then cut 4 rectangles for each puppet to be the arms and legs. Poke a small hole in each rectangle, as well as in the body of the puppet where the limbs will attach, then insert a brad at each joint.

Palm Puppets (3)

The puppets arms and legs will flap about if your child rubs the straw briskly between their palms. If the limbs aren’t moving, check that your brads aren’t too tight.

Palm Puppets (5)

Obi-Wan Kenobi soon had a blue light saber!

Palm Puppets (4)

Meanwhile Veronika loved the Baby Yoda we made.

Palm Puppets (7)

Whether spinning them or just waving these puppets around for make-believe play, this was a great craft for a cold afternoon.

Christmas Bag

Christmas Bag (5)

If you have lots of  Christmas-themed tidbits in your craft bin, here’s the perfect craft to use them up. And you can put it to good use once it’s finished, too!

I gave Veronika a brown grocery bag and set out lots of odds and ends that she could use to decorate. She especially loved an assortment of felt stickers, including tree lights, silly animals skiing, and candy cane shapes.

Christmas Bag (1)

Peeling the backing off the stickers was excellent exercise for her little fingers!

Christmas Bag (3)

I also gave her a glue stick and some leftover gift ribbon. She smeared the glue stick all over the bag and then pressed down pieces of the ribbon.

Christmas Bag (4)

I thought she might want to use markers in red and green, too, but she declared the bag finished and looked so proud of her work.

Christmas Bag (2)

This festive bag now has a useful purpose! On Christmas morning, make it your toddler’s special bag to store all their gifts in (especially those tiny stocking stuffers!). That way nothing will be misplaced.

Christmas Bag (7)

Christmas Doorknob Decoration

Christmas Doorknob (6)

Here’s a sweet Christmas decoration that toddlers will feel so proud to have made when they see it hanging around the house!

To start, I cut two shapes from felt. On pink felt (or red would work, too), I traced a 4-inch circle, then cut a smaller circle in the center, as well as four slits that would allow it to slip over a traditional round doorknob.

I then cut a Christmas tree shape (about 7 inches tall) on green felt. Use hot glue to attach the two together.

Christmas Doorknob (1)

Now it was up to Veronika to decide how to decorate! I helped her squeeze tacky glue all over the tree, and then she liberally dumped on red sequins and red and green beads.

Christmas Doorknob (2)

“Look at all the sparkles!” she said, as she let them trickle down.

Christmas Doorknob (3)

I only helped now and then by adding extra glue or pressing on a bead in a few places, otherwise it was all up to her.

Christmas Doorknob (4)

Once the glue dried, it looked beautiful hanging on a hallway door.

Christmas Doorknob (5)

Star of David

Star of David (6)

Travis has been learning about different winter festivals at school, so today we made two versions of the iconic Star of David to celebrate the start of Hanukkah. These crafts turned out quite pretty, and are easy enough even for younger siblings to join in.

For the first version, we twisted two yellow pipe cleaners into triangles and then glued them one atop the other. Drizzle with extra glue and sprinkle with glitter!

Star of David (1)

For the second version, we painted 6 craft sticks yellow and then glued them into 2 triangles. Glue one triangle on top of the other, drizzle with extra glue and add more glitter. The glitter was definitely Veronika’s favorite part!

Star of David (2)

Note: Next time I would use blue glitter for a better final result. The gold glitter we tried didn’t look as nice as we hoped against the yellow background. They were still pretty, though!

Star of David (4)

Handprint Menorah

Handprint Menorrah (6)

We don’t celebrate Hanukkah, but we have family and friends who do and wanted to mark the occasion with a few crafts. This keepsake handprint menorah is perfect to send to relatives!

To start, I needed to paint Veronika’s hands with three colors of washable paint, which I worried would be a wriggly and messy affair. But she held absolutely still, fascinated. White went on her palm, yellow on her fingers, and orange at the tips to be the candle flames.

Handprint Menorrah (3)

Cross your child’s hands so the left is on the right side of the paper and the right on the left. The pinkies should overlap, or you’ll have one candle too many!

Handprint Menorrah (2)

Her print was complete and I let it dry before covering with contact paper. It makes a lovely, durable card this way!

Handprint Menorrah (8)

Meanwhile, she loved having her hand painted so much that she wanted to do it herself a few times. I left her quite happy with extra paint and a spare piece of paper.

Handprint Menorrah (4)

Happy Hanukkah to those who celebrate!

Handprint Menorrah (7)

Smelly Christmas Tree

Smelly Christmas Tree (7)

This is a holiday craft I’ve wanted to do for a while, but never followed through because I couldn’t find a vegan jel dessert that was green. This year, I decided not to let that stop us, though it did require a little improvising!

If your family eats regular Jell-O, all you need is white construction paper and green Jell-O powder. For our version, I drew a Christmas tree shape on green construction paper and hoped that the yellow (peach) vegan jel powder would look nice against this background.

Smelly Christmas Tree (1)

All those logistics aside, Veronika loved brushing glue over the tree shape.

Smelly Christmas Tree (2)

The next step was even better: sprinkling on the jel powder! She tried applying it with a paintbrush first, but this was sticky and difficult. Instead, she loved scooping it on with a plastic spoon. This was great for her fine motor skills, too!

Smelly Christmas Tree (3)

The big payoff is that as soon as the powder hits the wet glue, it smells delicious. Veronika loved that sensory element of the craft.

Smelly Christmas Tree (6)

We ended up just using this activity for the fun and sensory aspects. That said, it can make a nice keepsake! You could mail it to a relative for a delicious-smelling Christmas card. Or, punch a hole near the top and hang it as an ornament from the tree. That said, ours had so much powder on it (Veronika sprinkled it on liberally!) that I worried it would make a mess in either of those scenarios.