Edible Finger Paint Activity on Foil

Baby Foil Painting (6)

Between an edible yogurt-based paint, pretty colors, an outdoor setting, and a shiny piece of foil as the canvas, what’s not to love about this project? The edible paint means it’s safe to play with toddlers or even younger babies.

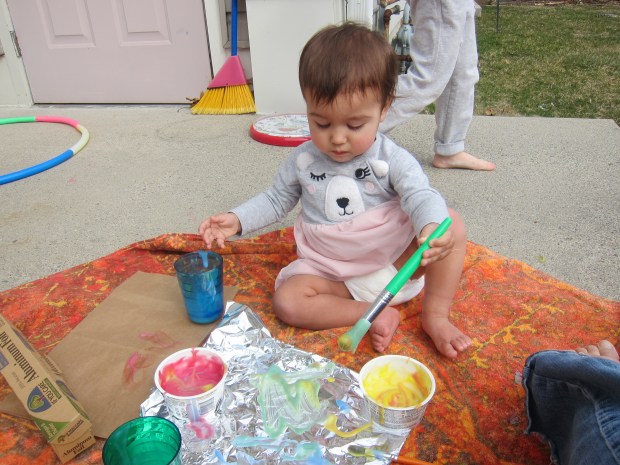
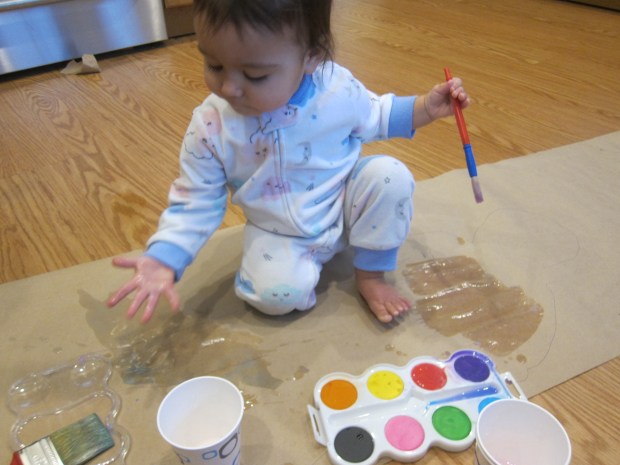
It was warm enough that we took the activity outside to the patio, where a big beach towel could contain any mess. If it’s summer, you might consider stripping baby down to a bathing suit or diaper, in fact!

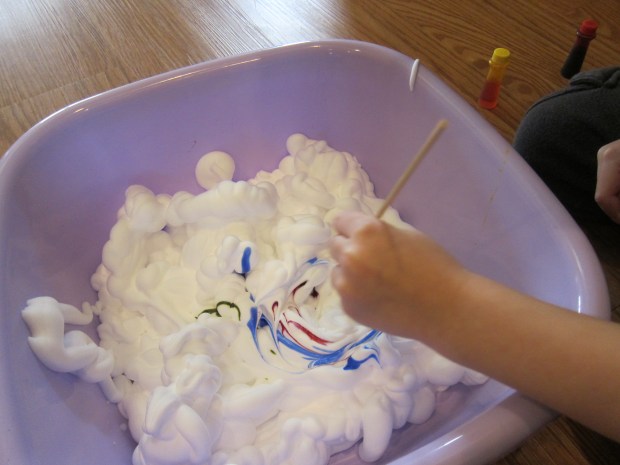
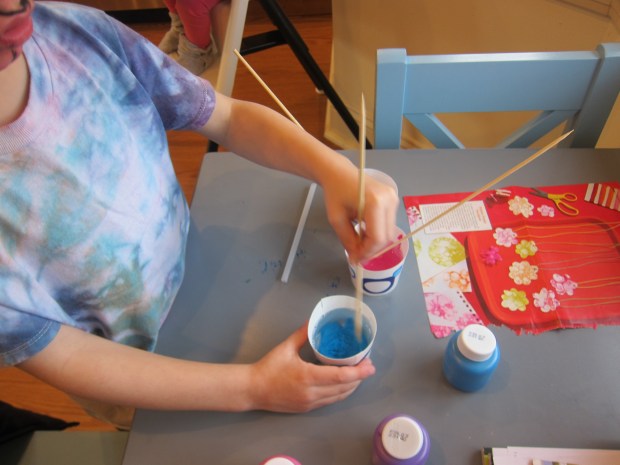
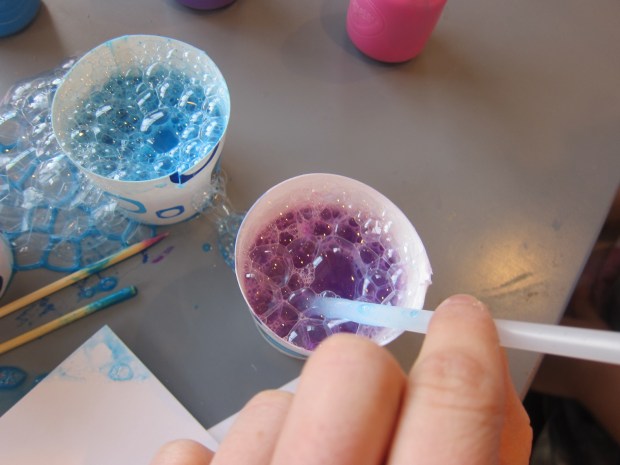
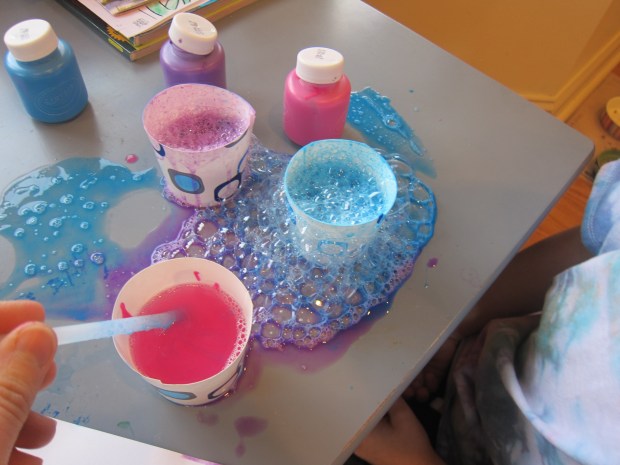
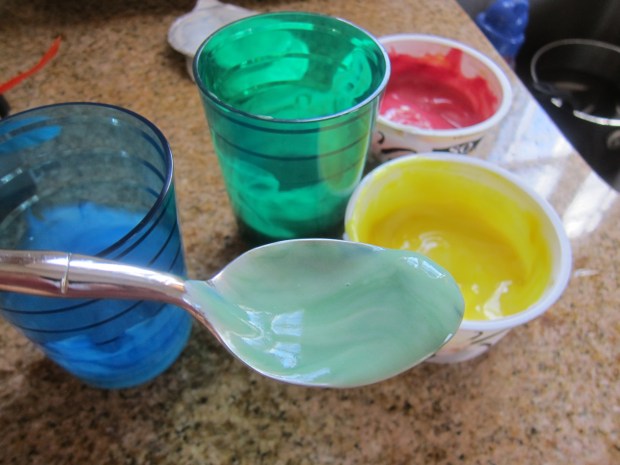
To make the paint, spoon non-dairy vanilla yogurt into containers or cups and add a few drops of food coloring to each. The pretty pastel colors felt just right for spring.

Baby Foil Painting (1)

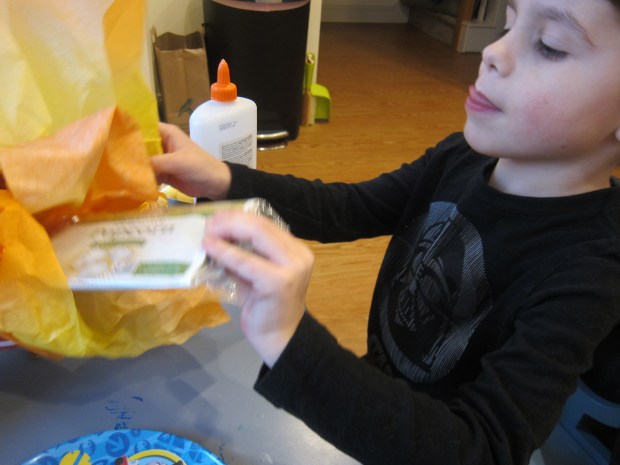
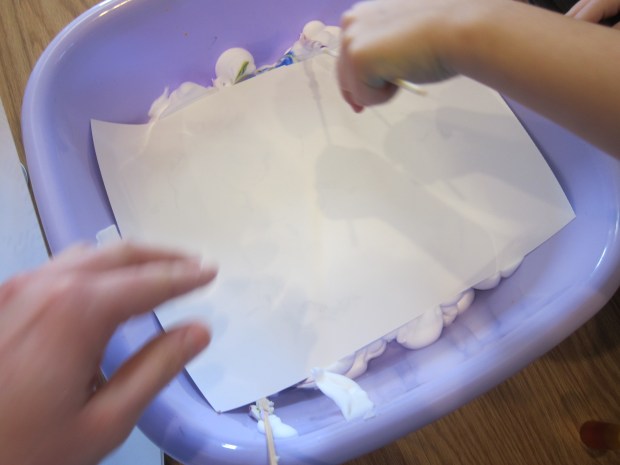
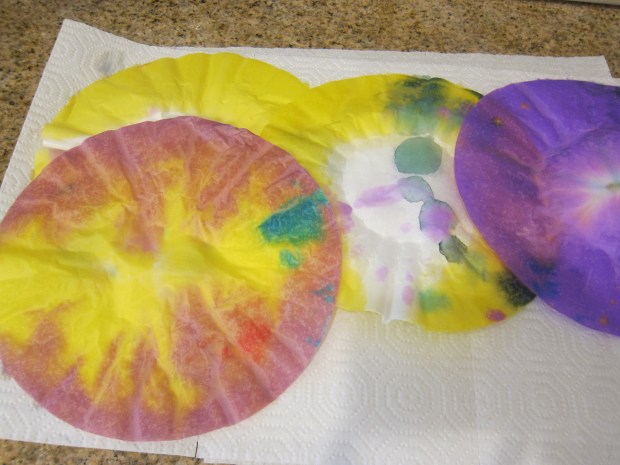
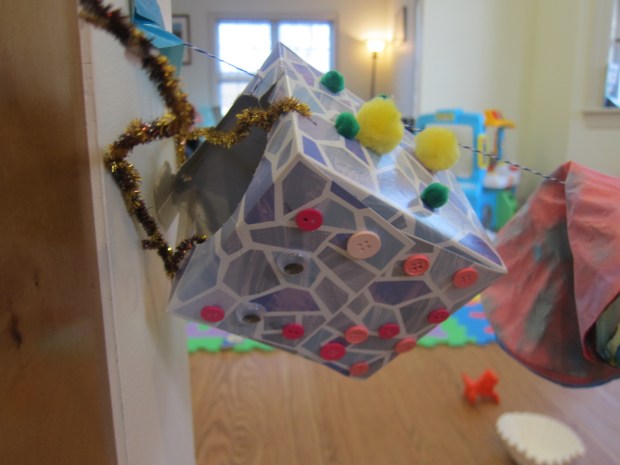
For her “canvas”, I lightly crumpled up a piece of aluminum foil, then opened it back up again. This added lots of fun texture and shine to capture her attention. Note: I did also set down a brown paper bag in case she wanted to paint on that, too, but the foil was the definite favorite.

Baby Foil Painting (3)

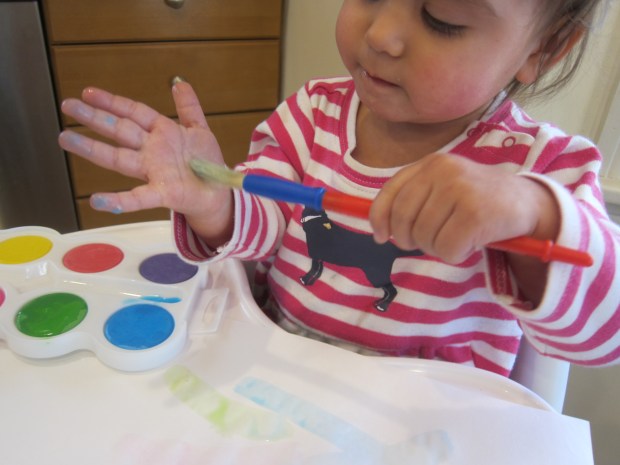
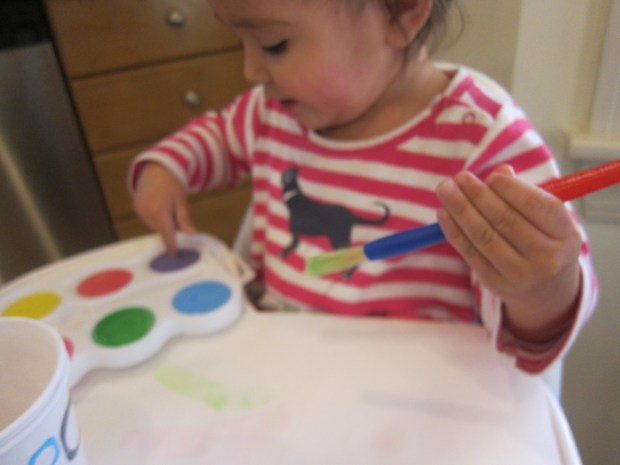
She was eager to paint right away, and especially intrigued with using a brush instead of her fingers. Then she started painting her pants! Luckily it was warm enough to take them off and continue the activity.

Baby Foil Painting (5)

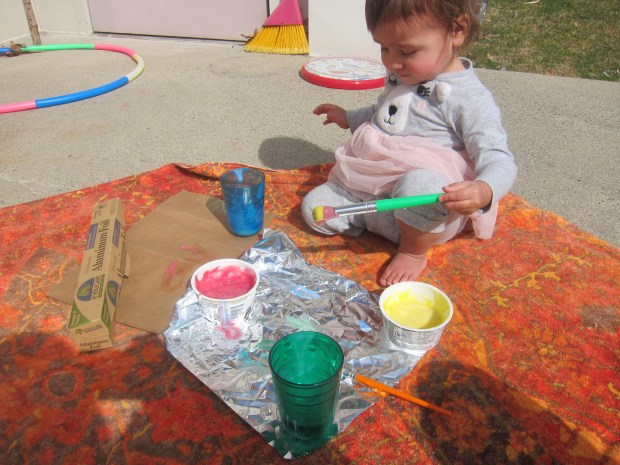
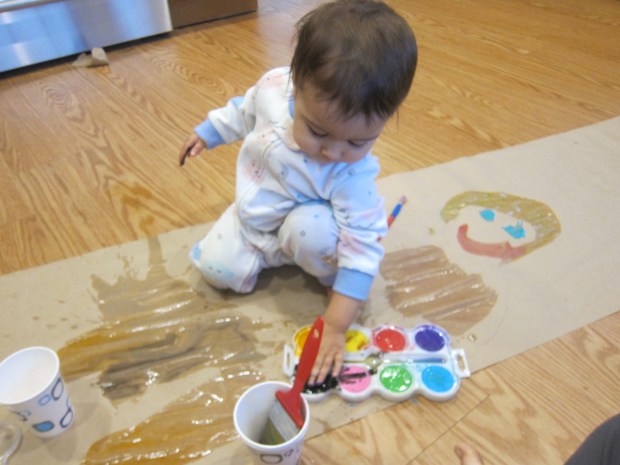
Next she loved pouring the paint cups right onto the canvas. After that we swished the yogurt around to even out the big blobs.

Baby Foil Painting (7)

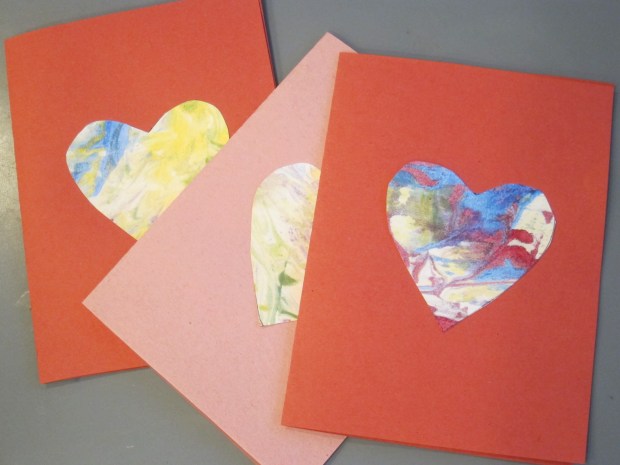
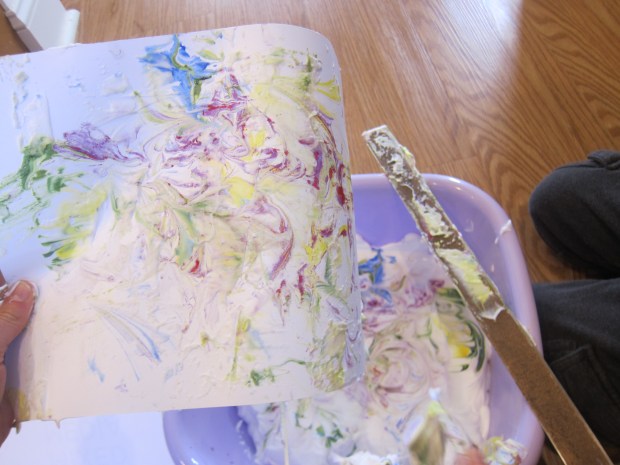
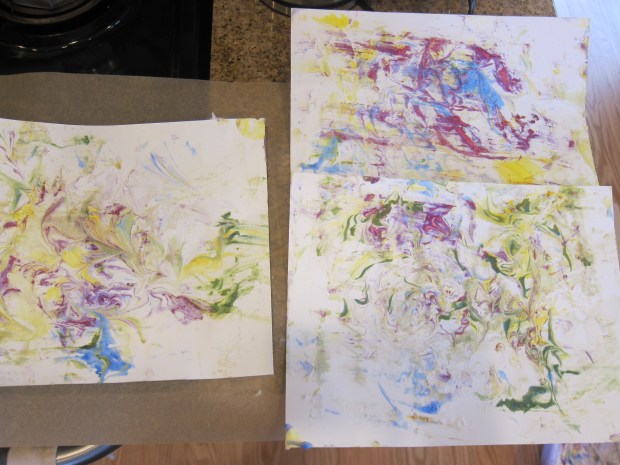
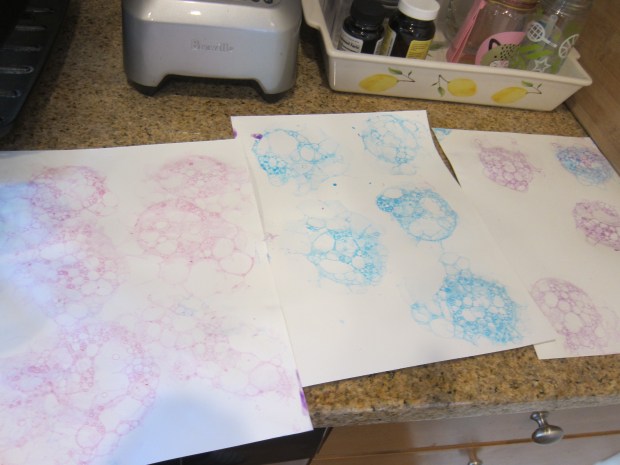
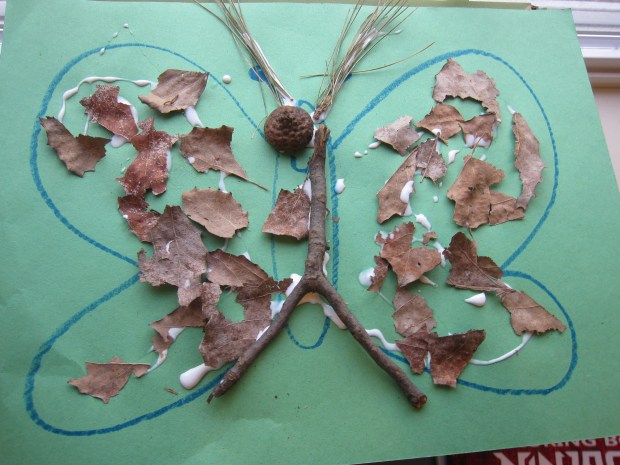
Here is her final masterpiece:

Baby Foil Painting (8)

This activity was good yummy colorful fun.


Nature Collage

Nature Collage (9)

This was Travis and Veronika’s first art project together, a really wonderful milestone for siblings.

It started with a nature walk! On a gorgeous spring-like day, we took Veronika out to stretch her legs, and although she has come along on nature hikes, this was the first time she walked on her own two feet.

Nature Collage (1)

Travis was a great help along the trail, pointing out the names of objects. “Log!” he told her proudly, and also pointed out grass, acorns, pine cones, sticks, pebbles, and dirt.

Nature Collage (4)

Of course dirt had to be explored.

Nature Collage (3)

When Veronika saw that big brother had a walking stick, she needed one too!

Nature Collage (2)

As we hiked, the kids added treasures to a brown paper bag. Because it is late winter, there wasn’t a whole lot of color, but there was beauty to be found in dried brown leaves, curiously-shaped sticks, and bristly pine needles.

Nature Collage (5)

Once home, I asked Travis what shape we should draw on construction paper. He chose a butterfly, but anything else from nature – a flower, a favorite animal – would be fun.

Working together, we dripped on glue and applied bits of our nature finds into a collage. Travis loved using an acorn for a big eye and pine needles for antennae. Veronika loved pressing down pieces of leaf on the wings. Something for everyone!

Nature Collage (6)

She even loved squeezing the glue bottle.

Nature Collage (8)

This project helped shape an absolutely beautiful afternoon, and I hope you find the project equally magical.

Nature Collage (7)

Tie-Dye Cloth Napkins

Tie Dye Napkin (8)

This fun tie-dye project is a nice way to intro the method to kids, smaller than tie-dyeing a full t-shirt. As an added bonus, you can tuck one of the napkins into a child’s lunchbox for a sweet reminder from home while he or she is at school!

We actually started with blank handkerchiefs from the craft store, not technically napkins. Twist them tightly and secure with elastics at several intervals.

Tie Dye Napkin (1)

We purchased two bottles of dye that came ready to mix in a squirt bottle, one blue and one green, which made the whole project extremely easy.

Tie Dye Napkin (2)

Travis thought it was fun to wear plastic gloves as we mixed the solutions, then dyed sections of the napkin in alternating colors.

Tie Dye Napkin (4)

Seal the napkins in a zip-top plastic bag and let dry for 6 to 8 hours.

Tie Dye Napkin (5)

Ring out the extra liquid over a sink, then wash in the laundry machine in cool water.

Tie Dye Napkin (6)

Tumble dry, and repeat if necessary. We thought these came out so pretty!

Tie Dye Napkin (7)

National Polar Bear Day

Polar Bear Day (3)

I’ve wanted to introduce Travis to the idea of global climate change, and chances are other parents struggle with how to discuss the issue with their kids. As a citizen of the world, this is going to be a very real issue in Travis’s lifetime, but I also don’t want to alarm him. When I learned from Highlights that February 27 is National Polar Bear Day, I seized the opportunity to open the discussion!

We started off with a read of two picture books that gently address the warming Arctic and the threat to polar bears as a result. Check out The Last Polar Bear, by Jean Craighead George or Where do Polar Bears Live? by Sarah Thomson, or see what your library has to offer!

Polar Bear Day (2)

After discussing his takeaway from the books, it was time to get crafty! This was a simple project, gluing cotton balls to a paper plate for a furry polar bear face.

Polar Bear Day (1)

Add a black button for a nose, and glue on wiggle eyes. Finally, I cut two ear shapes from cardstock, which we glued to the plate and covered with additional cotton balls.

Want more polar bear ideas? Try a shaving cream version instead!


Hedgehog Pencil Holder

Hedgehog Pencil (5)

Travis has been so into coloring lately, and we need a spot for all his art supplies! This adorable hedgehog in his latest Highlights magazine came just in time, therefore. Now we can corral all those colored pencils.

Older kids will likely enjoy cutting felt and designing all the features for their hedgehog critter solo; however, for a kindergartner I did most of the work, since cutting felt is still tough for Travis. Instead, he helped me decide what the hedgehog needed – arms, a belly etc. – and what should go where. Don’t forget a whimsical red bow-tie!

Hedgehog Pencil (2)

Once you have the pieces cut out, hot-glue light brown felt to an empty toilet paper tube. Then hot glue on the additional features you’ve made, including a head, belly, nose, and arms.

I hot-glued a piece of darker brown felt to a piece of thin cardboard to be the spikes.

Hedgehog Pencil (1)

Similarly, hot-glue brown felt to thin cardboard for the feet; this will make the hedgehog sturdy enough to stand. Add these to the decorated tube.

Hedgehog Pencil (3)

For the finishing touch, Travis added eyes and a nose with paint markers. Puffy paint would also work for this step. Slip in colored pencils and your artist is ready to create!

Hedgehog Pencil (4)

Watercolor for Toddlers

Watercolor (7)

It may seem like a recipe for disaster, but don’t be afraid to use a washable watercolor with even the youngest toddlers (just save the liquid watercolors for bigger kids!). Today it was Veronika’s turn to experiment with this medium.

In all honesty, she was an imp about the whole craft. Much more so than pressing the brush to paper, she liked to squeeze the brush…

Watercolor (6)

…paint on her hands…

Watercolor (3)

…dip in her fingers…

Watercolor (2)

…and even lift the bristles to her mouth with a cackle one time.

Watercolor (1)

To excite her about setting the brush to page, I drew a simple picture with crayon and then showed her how to paint over it. Kids will love the way the color runs off the wax instead of adhering, leaving pretty pockets of color.

Watercolor (4)

For extra fun, we moved the art to a bigger canvas. First, I laid Veronika down on a large sheet of craft paper and traced her. This got giggles!

Watercolor (9)

The idea is to let your little one fill in “self-portrait” features with the watercolor. Obviously at 15 months old, Veronika had only a rudimentary understanding of what we were doing, but I showed her how to paint on pants and a shirt, and a few cartoonish facial features.

Watercolor (12)

Really she just loved exploring the medium, dipping the brush in the water, watching how it could swirl the colors from dry to wet, and testing it with her fingers.

Watercolor (11)

In conclusion, Veronika was a bit too young for this first foray into watercolor, but I did enjoy introducing it; you have to start somewhere! I would definitely repeat this activity when she’s older, especially the self-portrait part, which older toddlers can tackle with greater care.

Watercolor (13)

Dip-Dye Caterpillar

Dip Dye Caterpillar (9)

Putting together this charming little caterpillar takes some time, but it’s worth it in the end!

Dip Dye Caterpillar (1)

To start, you’ll want to dye as many coffee filters as you have patience for (and/or room to dry!) in liquid watercolor. For each color, I squirted a few drops into an empty butter tub and then added a few tablespoons of water. Scrunch up a coffee filter (or a handful of them is fine) and dip in.

Dip Dye Caterpillar (2)

Travis loved watching the colors bleed up the filters! After a few single colors, he decided it was fun to re-dip some old ones, which resulted in a pretty mottled look on many of our filters.

Dip Dye Caterpillar (3)

A tutorial online suggested using as many as 250 filters for this project (!), but I would guess we dyed about 50. Lay these on paper towels and dry completely.

Dip Dye Caterpillar (4)

While the filters dried, we made the caterpillars head. Give your kids carte blanche to decorate an empty tissue box any way they like; it’s the perfect excuse to raid the craft bin for bits and bobs. Travis added buttons, pom poms, and wiggle eyes.

Dip Dye Caterpillar (5)

We twisted together sparkly pipe cleaners for the antennae.

Dip Dye Caterpillar (6)

Later in the day, it was time to poke holes in the coffee filters. Travis thought it was amusing to pierce each one with a kebab skewer. Kids will probably need grown-up help for this step, and to make the process move along more swiftly.

Dip Dye Caterpillar (7)

I then punched two holes in our caterpillar head, one in the top of the tissue box and one on the side. Using a large plastic needle, thread string through all of the filters and then up through the two holes in the head. Now suspend your caterpillar and watch it wiggle!

Dip Dye Caterpillar (10)

One of these would look so beautiful in a garden, but since we a) have no garden and b) it’s winter, we strung it up inside for a few days of play.

Valentine’s Day Popcorn Gift

Popcorn Valentine (9)
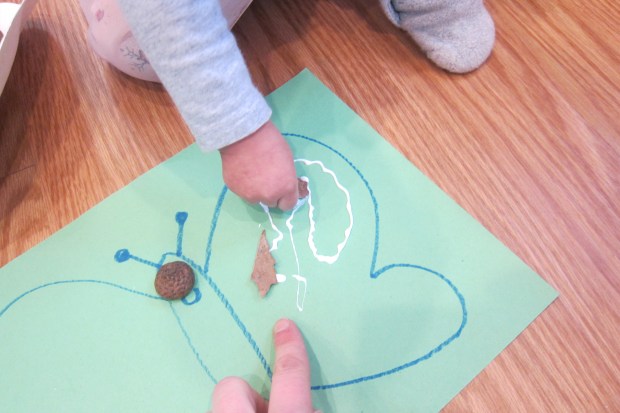
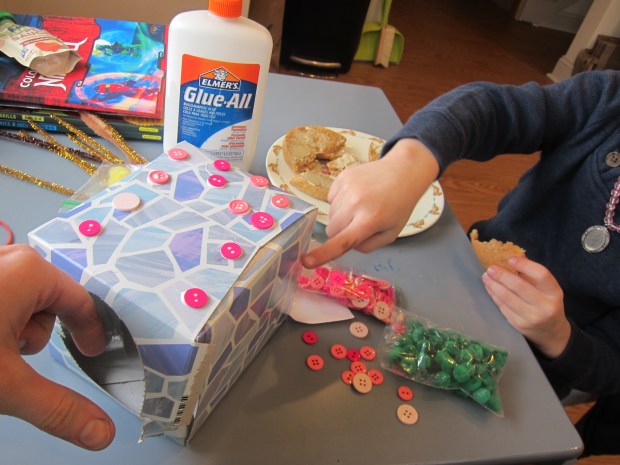
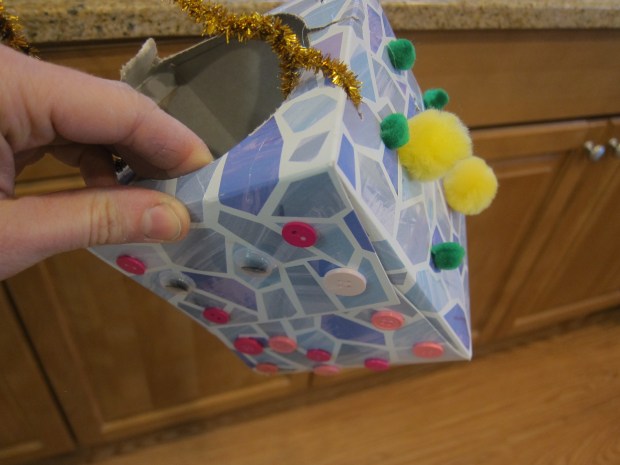
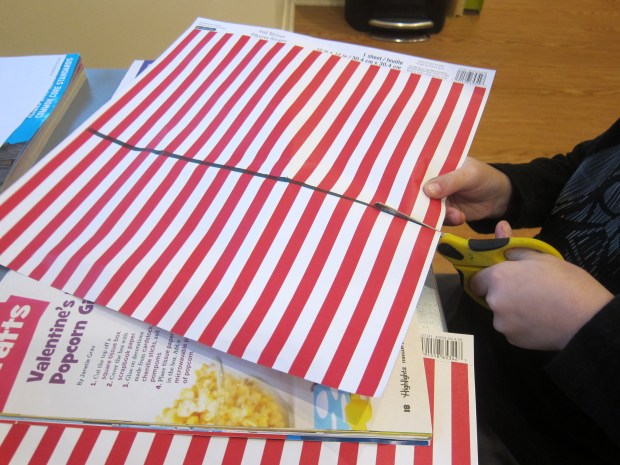
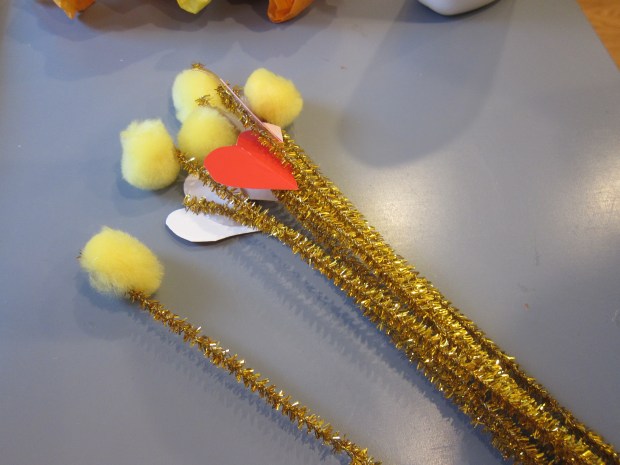
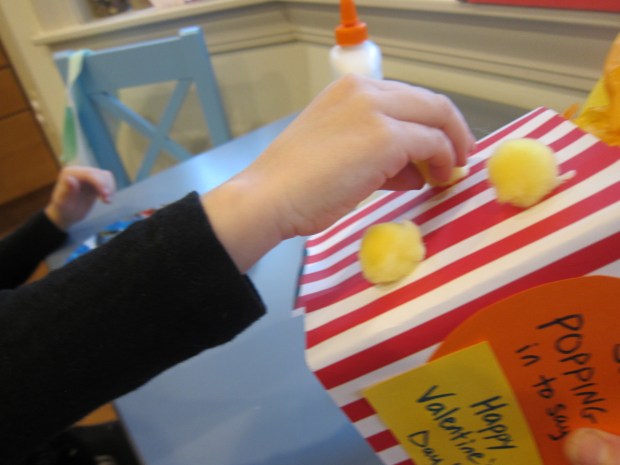
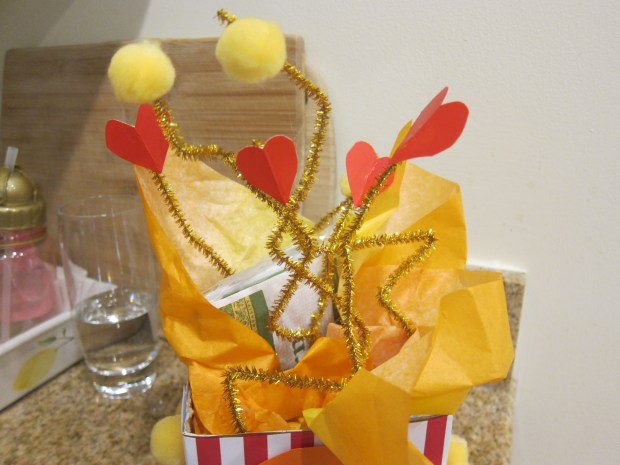
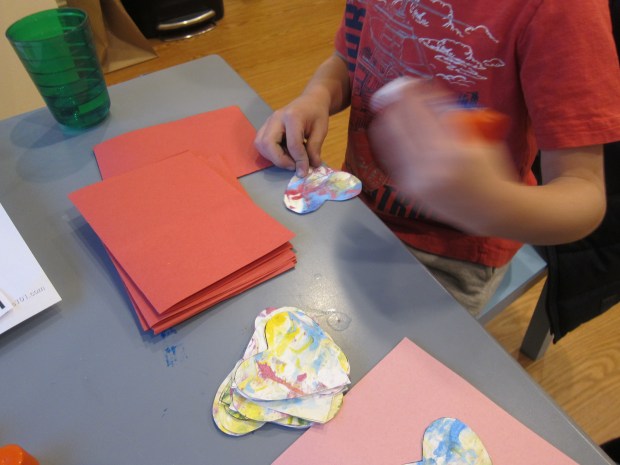
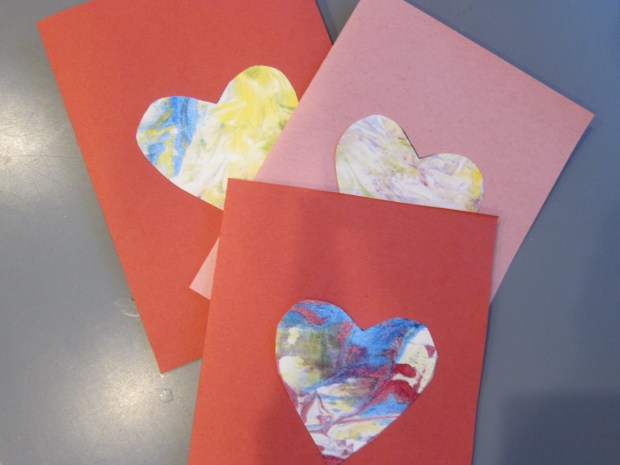
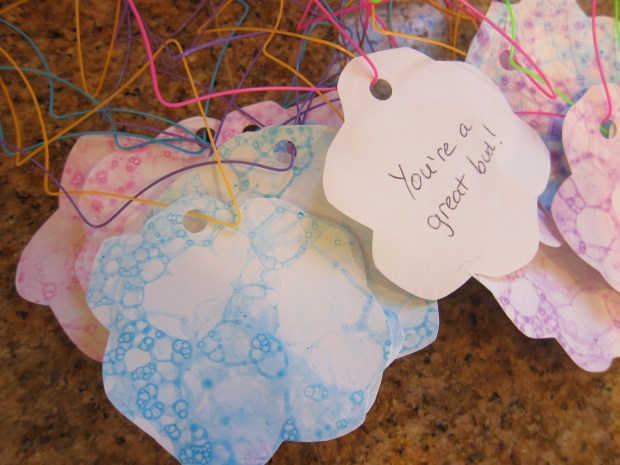
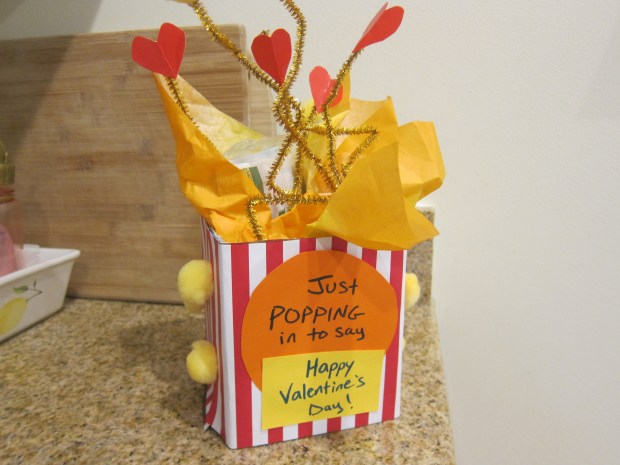
Here’s a novel way for kids to pop in and say they love someone this Valentine’s Day! This rather lengthy project wouldn’t be great for class Valentine’s since it’s big and involved, so save it for someone special like a parent or grandparent.

Popcorn Valentine (1)

To start, Travis helped cut red and white pinstripe craft paper to fit an empty tissue box. Cut the top off the box and use a glue stick to attach the paper around the sides.

Popcorn Valentine (2)

Travis needed grown-up assistance for a few of the decorations. Cut a circle and rectangle from colored cardstock (we chose yellow an dorange), and arrange on the front of the box. We wrote in the message, “Just popping in to say… Happy Valentine’s Day!”

Popcorn Valentine (3)

Next we hot-glued pom poms and cardstock hearts to the tips of sparkly gold pipe cleaners. Stuff a little yellow or orange tissue paper into the box.

Popcorn Valentine (4)

Add a package of microwave popcorn – yum! An I.O.U. for a movie night would be a fun addition!

Popcorn Valentine (5)

Travis helped bend the pipe cleaner decorations and slip them in among the tissue paper.

Popcorn Valentine (6)

Add a few yellow pom poms to the outside of the box as “kernels”, for the finishing touch.

Popcorn Valentine (7)

He was so proud of this and made sure we hid it from daddy’s eyes until Valentine’s Day!

Popcorn Valentine (8)

Valentine’s Day Marbled Messages

Marble Messages (8)

Your kid can wow the class this year with these swirled heart cards. Classmates will love learning that the marbled colors were made with shaving cream paint!

To set up, Travis and I filled a shallow craft bin with a thick layer of shaving cream. Add generous drops of food coloring in multiple colors and stir with a skewer.

Marble Messages (1)

Press a thick piece of white paper firmly onto the surface of the shaving cream.

Marble Messages (2)

Lift up and scrape off the excess shaving cream with the side of a ruler. Travis loved the big blobs of shaving cream this produced!

Marble Messages (3)

Repeat as needed for the desired amount of Valentines. We found we needed to add more food coloring to the shaving cream base after pressing in 3 sheets of paper. Let dry completely.

Marble Messages (5)

Once dry, we traced hearts onto the paper with a cookie cutter and cut out. Cut red and pink construction paper into 8×5-inch rectangles and fold in half. Glue one heart to the cover of each card.

Marble Messages (6)

Don’t forget to write a sweet message inside! Prefer your class Valentines with a little less mess? Check out past ideas for necklaces, bookmarks, and even “tacos“!

Marble Messages (7)

Flower-Power Pendants

Flower Pendants (7)

Kids will love this novel bubble-based painting method. The resulting pendant necklaces are perfect for class Valentines!

To create the bubble paint, fill a short cup with 3 tablespoons dish soap, 1 tablespoon water, and 2 tablespoons paint. In order to make our cups short enough, I snipped the top half from regular 8-ounce paper cups.

Flower Pendants (1)

Use a straw to blow into the mixture and you’ll create colored bubbles that rise to the surface. Press a piece of thick white paper firmly over the top. Repeat with more bubbles and more pressing until you’ve covered the sheet of paper, then let dry.

Flower Pendants (2)

Travis loved that the bubbles toppled over the edge of our cup each time; needless to say, this is a bit of a messy project! We repeated with three different paint colors.

Flower Pendants (3)

Once dry, cut the pages into flower shapes, repeating for the desired amount of Valentines.

Flower Pendants (4)

Punch a hole in each flower and thread with cord (available at craft stores), to complete each necklace.

Flower Pendants (5)

On the back, we wrote the sweet message, “You’re a great bud!”

Flower Pendants (6)