Paper Plate Bow Wreath

Paper Plate Wreath (7)

Toddlers love tissue paper projects any time of year, but this is a fun way to play with the material around the holidays!

I cut the center out of two paper plates and then helped Veronika squeeze glue all around the outer rim.

Paper Plate Wreath (1)

Next I set out cut squares of green tissue paper and showed her how to attach them over the glue. Veronika loved how easy this was to do, despite getting sticky a few times.

Paper Plate Wreath (2)

I then gave her circles of red tissue paper and she repeated the task, placing them over dots of glue I had made at intervals on the wreath.

Paper Plate Wreath (4)

That was it! Add a pretty red bow and it’s ready to hang.

Paper Plate Wreath (6)

As a bonus, Veronika loved playing with leftover scraps of green tissue paper for a while.

Paper Plate Wreath (3)

Blowing a Kiss Christmas Card

Blow Kiss Card (7)

This would be a fantastic idea for a holiday card to faraway relatives any year, but particularly in this year of COVID-19, we plan to send a copy even to relatives who live close by.

To make the card, all you need is to capture your kids on camera blowing a kiss. It was so cute to coach Veronika through this.

Blow Kiss Card (1)

Travis happily demonstrated, and then I had the pictures printed at the drugstore and we were ready to design the rest of the card! Veronika loved seeing the prints of herself and big brother.

Blow Kiss Card (3)

I folded red construction paper in half and we used glue sticks to attach the photos.

Blow Kiss Card (4)

While Veronika happily scribbled on extra scrap paper, I wrote the following message in each card:

We can’t see you this Christmas

but we’re blowing you kisses

And sending you wishes.

Blow Kiss Card (5)

Veronika helped add a few puffy Christmas stickers on the cover of each to complete the project.

Blow Kiss Card (8)

For a slightly different look, you can have the words printed directly onto the photo and mail it more like a postcard. But I like that our version of the card was so easy and quick to make.

Blow Kiss Card (9)

Christmas Tree Magnets

Christmas Tree Magnets (4)

Veronika loves to stand at the fridge and reorganize the alphabet magnets I keep there year-round, so I thought she would enjoy this Christmas spin on the activity! I saved up lots of baby food jar lids for this game, but frozen juice can lids would work, too.

I wanted to cover the majority of the lids in green felt to form the outline of a Christmas tree, but also added a few in shades of blue for ornaments and one brown (for the tree trunk).

Christmas Tree Magnets (1)

Trace the lid onto your various colors of felt and cut out, then attach to the underside of each lid with hot glue.

Christmas Tree Magnets (2)

Next, use hot glue to attach magnets onto the top of each lid. I cut these from a strip of magnet tape, which you can purchase online or in craft stores.

Christmas Tree Magnets (3)

They were now an instant mix-and-match puzzle for her on the fridge! I started with the lids in the shape of a Christmas tree so she could see the possibility, but of course she soon had her own agenda.

Christmas Tree Magnets (5)

She loved sorting the lids by color.

Christmas Tree Magnets (7)

Or just mixing and matching them.

Christmas Tree Magnets (6)

I love that she can return to these for the rest of the holiday season any time she trots by the fridge. Have fun seeing how many different kinds of tree you can design!

Christmas Tree Magnets (8)

Threading Pipe Cleaners for Christmas

Threading Christmas Pipe Cleaners (3)

I had intended this project as a fine motor activity with a holiday twist for Veronika, but big brother Travis immediately wanted in on the action, too, so it makes a great project for the whole family on a winter afternoon.

First up, I filled a tray with the following: sparkly red, silver, and green chenille stems; red and green beads; and an assortment of colored jingle bells.

Threading Christmas Pipe Cleaners (6)

I showed Veronika how to thread a bead onto one of the pipe cleaners.

Threading Christmas Pipe Cleaners (8)

She took a few tries, but then was much more interested in the jingle bells. She actually was quite skilled at inserting a pipe cleaner into the narrow loop on each bell!

Threading Christmas Pipe Cleaners (9)

I helped a little and she produced this little bracelet.

Threading Christmas Pipe Cleaners (12)

Travis jumped in on the action and wanted to make holiday gifts for friends, a unexpected bonus of the activity.

Threading Christmas Pipe Cleaners (2)

I was so proud that he even made patterns, counting out the same number and color of beads on each side of his jingle bells.

Threading Christmas Pipe Cleaners (4)

Meanwhile, Veronika was honing those fine motor skills or just busy digging through the materials as if this were a sensory tray. Between the sparkly chenille stems and the jingling bells, there was lots to love!

Threading Christmas Pipe Cleaners (11)

Sticker Christmas Tree Craft

Sticker Christmas Tree (9)

This activity will appeal to both kids and caregivers equally; toddlers will think they’re simply having fun with stickers, but you’ll secretly know that the craft hones fine motor skills and teaches direction-taking!

To start, I drew a Christmas tree shape on green construction paper, then cut out and glued down to a sheet of red paper.

Sticker Christmas Tree (1)

Next, draw zig-zag lines across the tree with pen, as if you’re drawing on strings of lights or garlands. I sat Veronika down with this tree and a bunch of happy face circle stickers. You can use Christmas-themed stickers instead, but I wanted her focus to be on the placement of the stickers, not the images.

Sticker Christmas Tree (2)

I asked her if she could put a sticker directly on the black line I had drawn. “Anywhere you see black!” I told her with a big smile. After one moment of hesitation, Veronika aced the task every time!

Sticker Christmas Tree (5)

In fact, when I worried she was running out of blank spaces to cover on the line, I suggested she could start to sticker anywhere. She looked at me like I was crazy and stuck to the line! She even fixed her own errors a few times.

Sticker Christmas Tree (6)

I had intended the activity as a test in listening to instructions only, and never would have guessed my 26-month-old would do so well. Look at this work!

Sticker Christmas Tree (7)

If you have preschoolers, this would make a great “busy bag” activity to work on solo, particularly if you need to, oh, wrap presents.

Sticker Christmas Tree (8)

Krispie Christmas Treats

Krispie Christmas Treat (5)

The combination of gooey marshmallows, crisp rice cereal, and holiday shapes means this quick cooking project is a toddler’s kitchen dream come true.

First, melt 1/4 cup Earth Balance butter in a large saucepan over low heat. Add 4 cups mini Dandies marshmallows; continue to cook until gooey and melted.

At this point we stirred in green food coloring. Veronika loved watching the white turn to green! You could also use red food coloring, or a mix of the two if you divide the marshmallow mixture in half at this point.

Krispie Christmas Treat (1)

Next, we added 5 cups rice crisp cereal, stirring until coated. Pat the mixture into an even layer on a baking tray.

Krispie Christmas Treat (2)

I made sure to let the mixture cool slightly so it wouldn’t burn tiny hands, and then showed Veronika how she could press our Christmas-themed cookie cutters into the mixture. She loved pressing these down as hard as she could!

Krispie Christmas Treat (3)

I lifted the cookie cutters out and showed her that we now had Christmas shaped treats to eat. She loved selecting which shape to press onto the mixture, especially the candy cane (“minty!”) and the gingerbread men.

Krispie Christmas Treat (4)

You can’t exactly gather the scraps and re-roll this mixture as you could with sugar cookie dough, but you can pat the mixture back together and get a few more rounds of cookie cutter shapes done.

Krispie Christmas Treat (7)

Meanwhile Veronika didn’t waste a moment before starting to snack! She pretty much took a bite in between each cookie cutter we pressed down.

Krispie Christmas Treat (6)

Whether you devour them all at home or share these Christmas treats with friends and family, they’re a great cooking project for the holiday season.

Krispie Christmas Treat (8)

Christmas Tree & Presents Matching

Christmas Tree and Presents Matching (9)

Here’s a fantastic way to get a little learning out of those scraps of leftover holiday wrapping paper you surely have at this time of year: turn them into a matching activity for toddlers!

I started by cutting a Christmas tree shape from each of three different wrapping paper patterns and taped these to a larger piece of craft paper on our floor.

Christmas Tree and Presents Matching (2)

I then cut additional squares and rectangles from each pattern to be little “presents”. Now it was Veronika’s job to match each gift to the corresponding tree!

Christmas Tree and Presents Matching (3)

I showed her how the game worked for the first few examples. “The peppermint-print present goes under the peppermint-print tree!” I told her with excitement. She quickly understood that she was looking for a match.

Christmas Tree and Presents Matching (5)

Still, she simultaneously understood the game and had her own agenda. She loved using a glue stick to attach the wrapping paper squares down anywhere she pleased, which of course was just fine.

Christmas Tree and Presents Matching (4)

But if I prompted her directly, she could place a square under the “correct” tree.

Christmas Tree and Presents Matching (8)

This activity was a nice mix of learning and just letting her play her own way.

Christmas Bag

Christmas Bag (5)

If you have lots of  Christmas-themed tidbits in your craft bin, here’s the perfect craft to use them up. And you can put it to good use once it’s finished, too!

I gave Veronika a brown grocery bag and set out lots of odds and ends that she could use to decorate. She especially loved an assortment of felt stickers, including tree lights, silly animals skiing, and candy cane shapes.

Christmas Bag (1)

Peeling the backing off the stickers was excellent exercise for her little fingers!

Christmas Bag (3)

I also gave her a glue stick and some leftover gift ribbon. She smeared the glue stick all over the bag and then pressed down pieces of the ribbon.

Christmas Bag (4)

I thought she might want to use markers in red and green, too, but she declared the bag finished and looked so proud of her work.

Christmas Bag (2)

This festive bag now has a useful purpose! On Christmas morning, make it your toddler’s special bag to store all their gifts in (especially those tiny stocking stuffers!). That way nothing will be misplaced.

Christmas Bag (7)

Christmas Tree Transfer Activity

Christmas Tree Transfer (4)

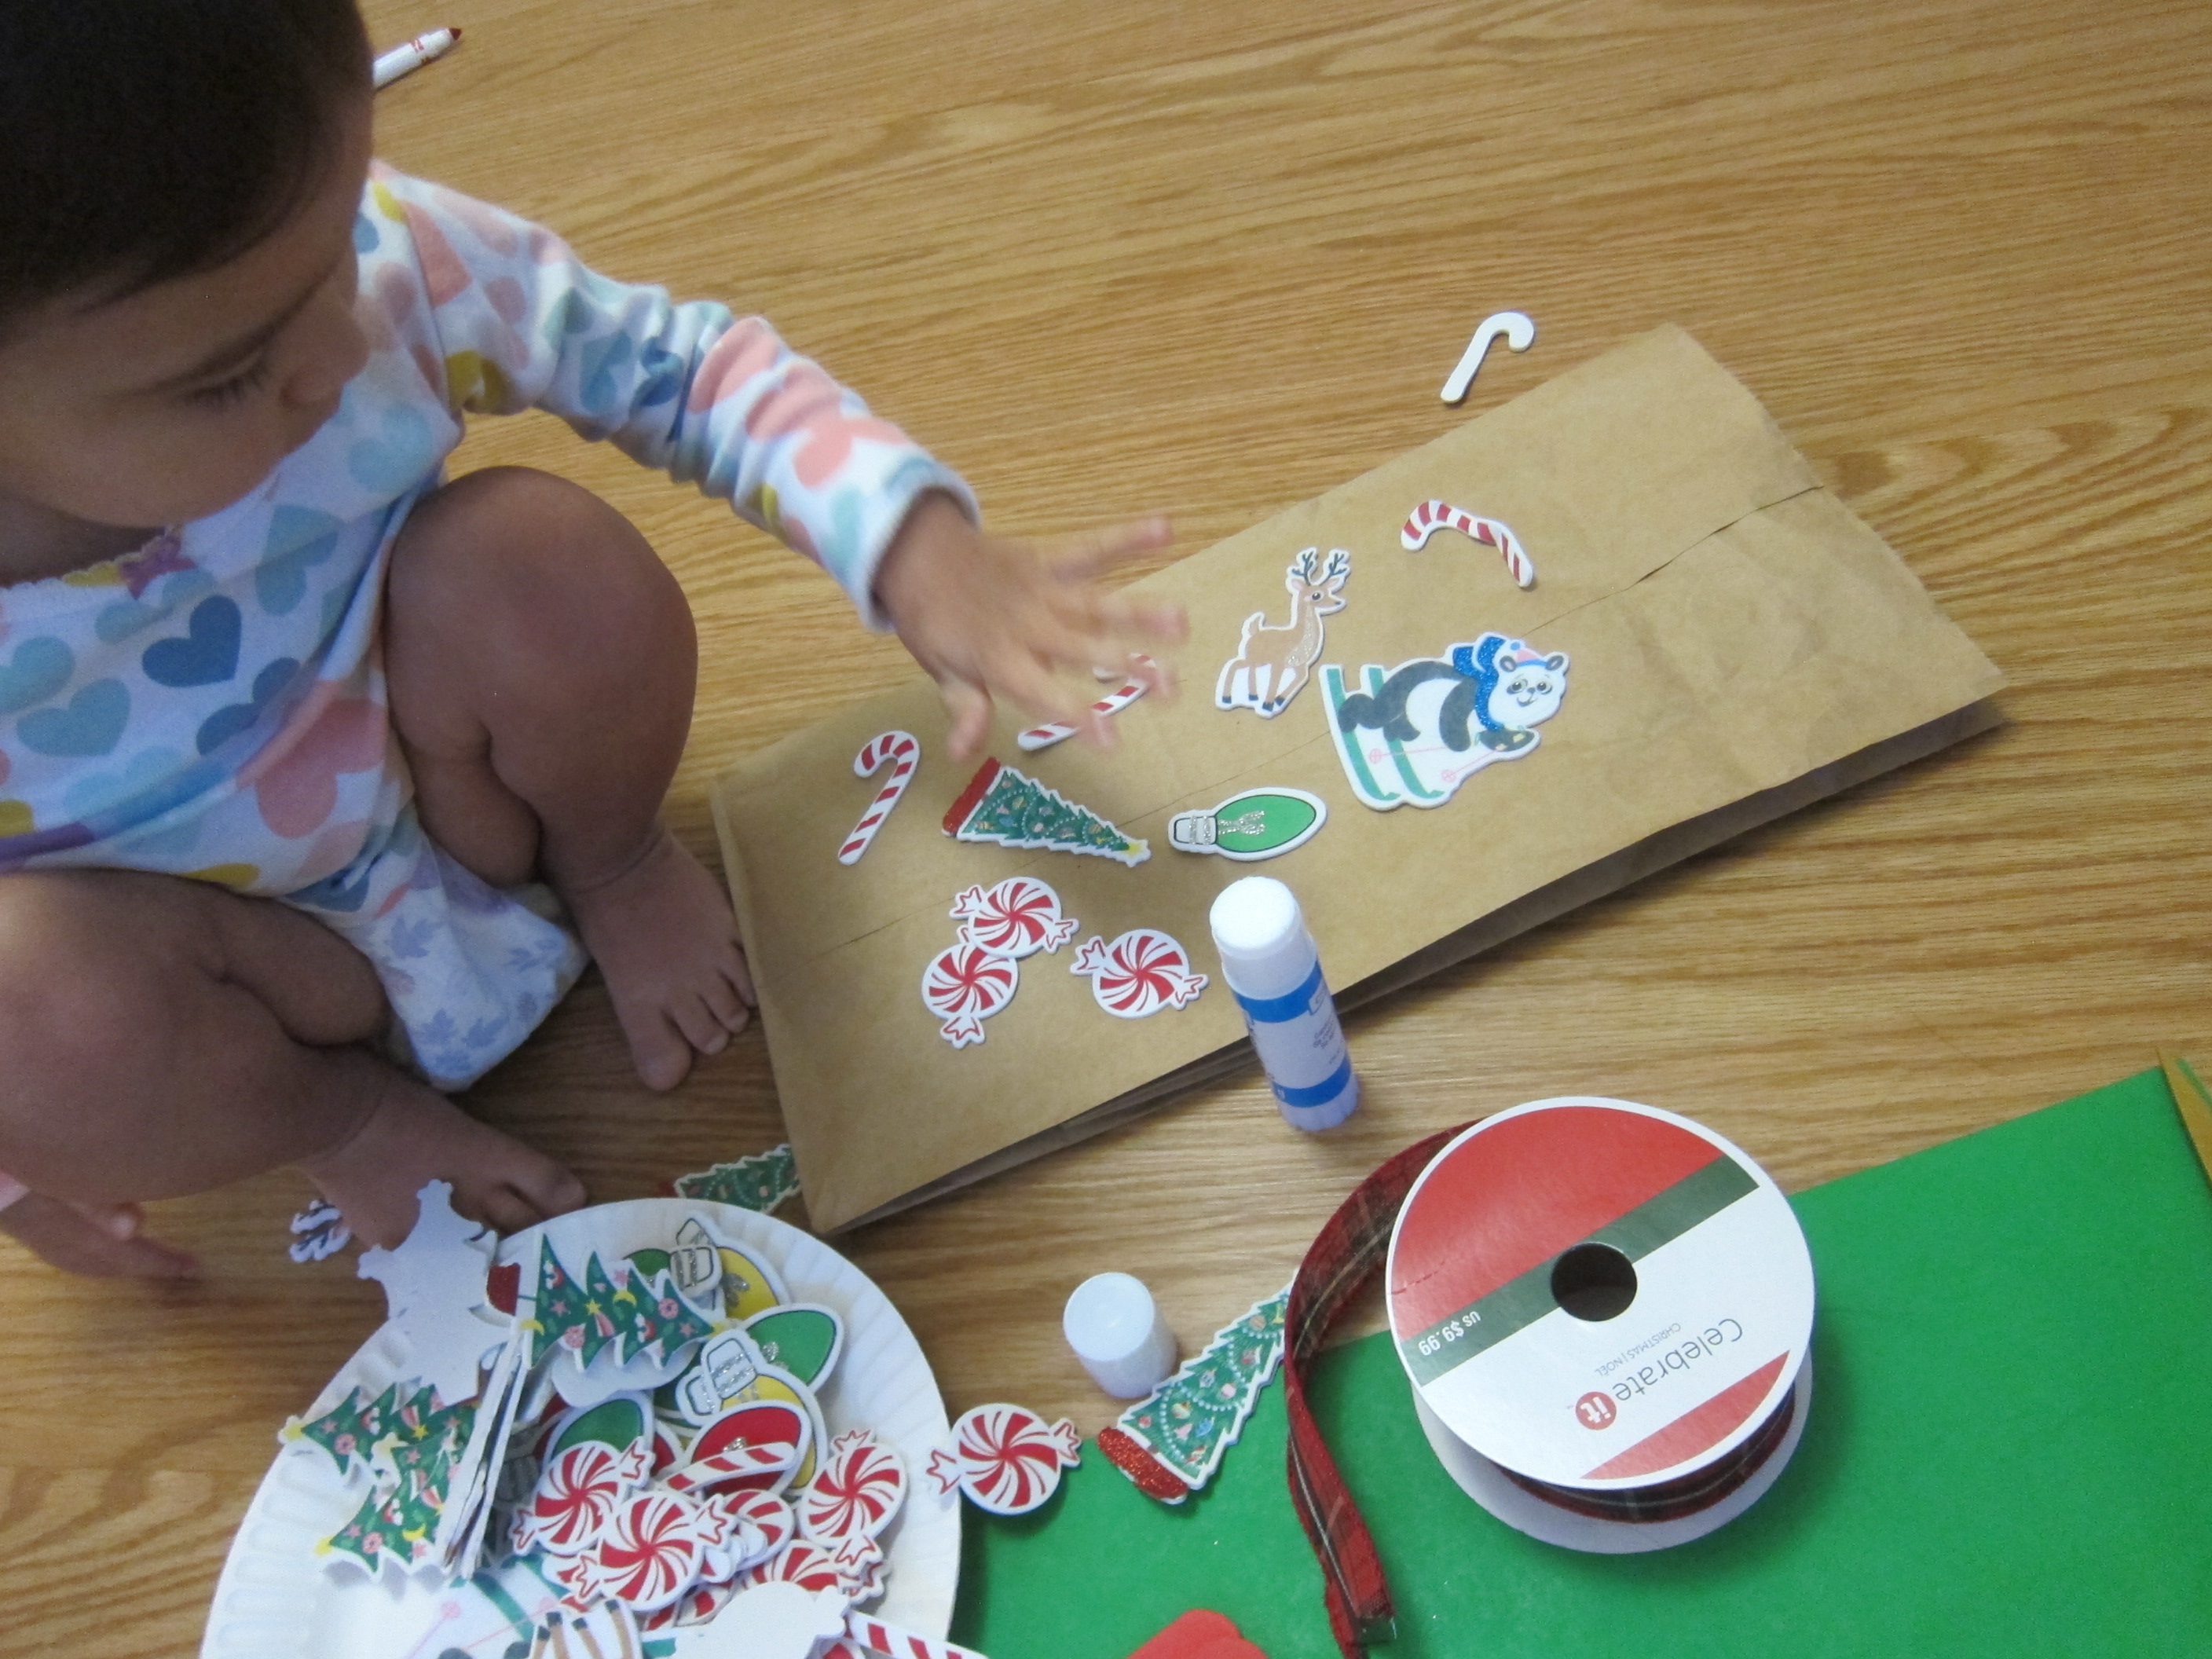
This Christmas-themed activity is great for toddlers to work on number and color recognition and it’s also excellent for fine motor skills. It can easily be adapted as more of a challenge if you have preschoolers, too!

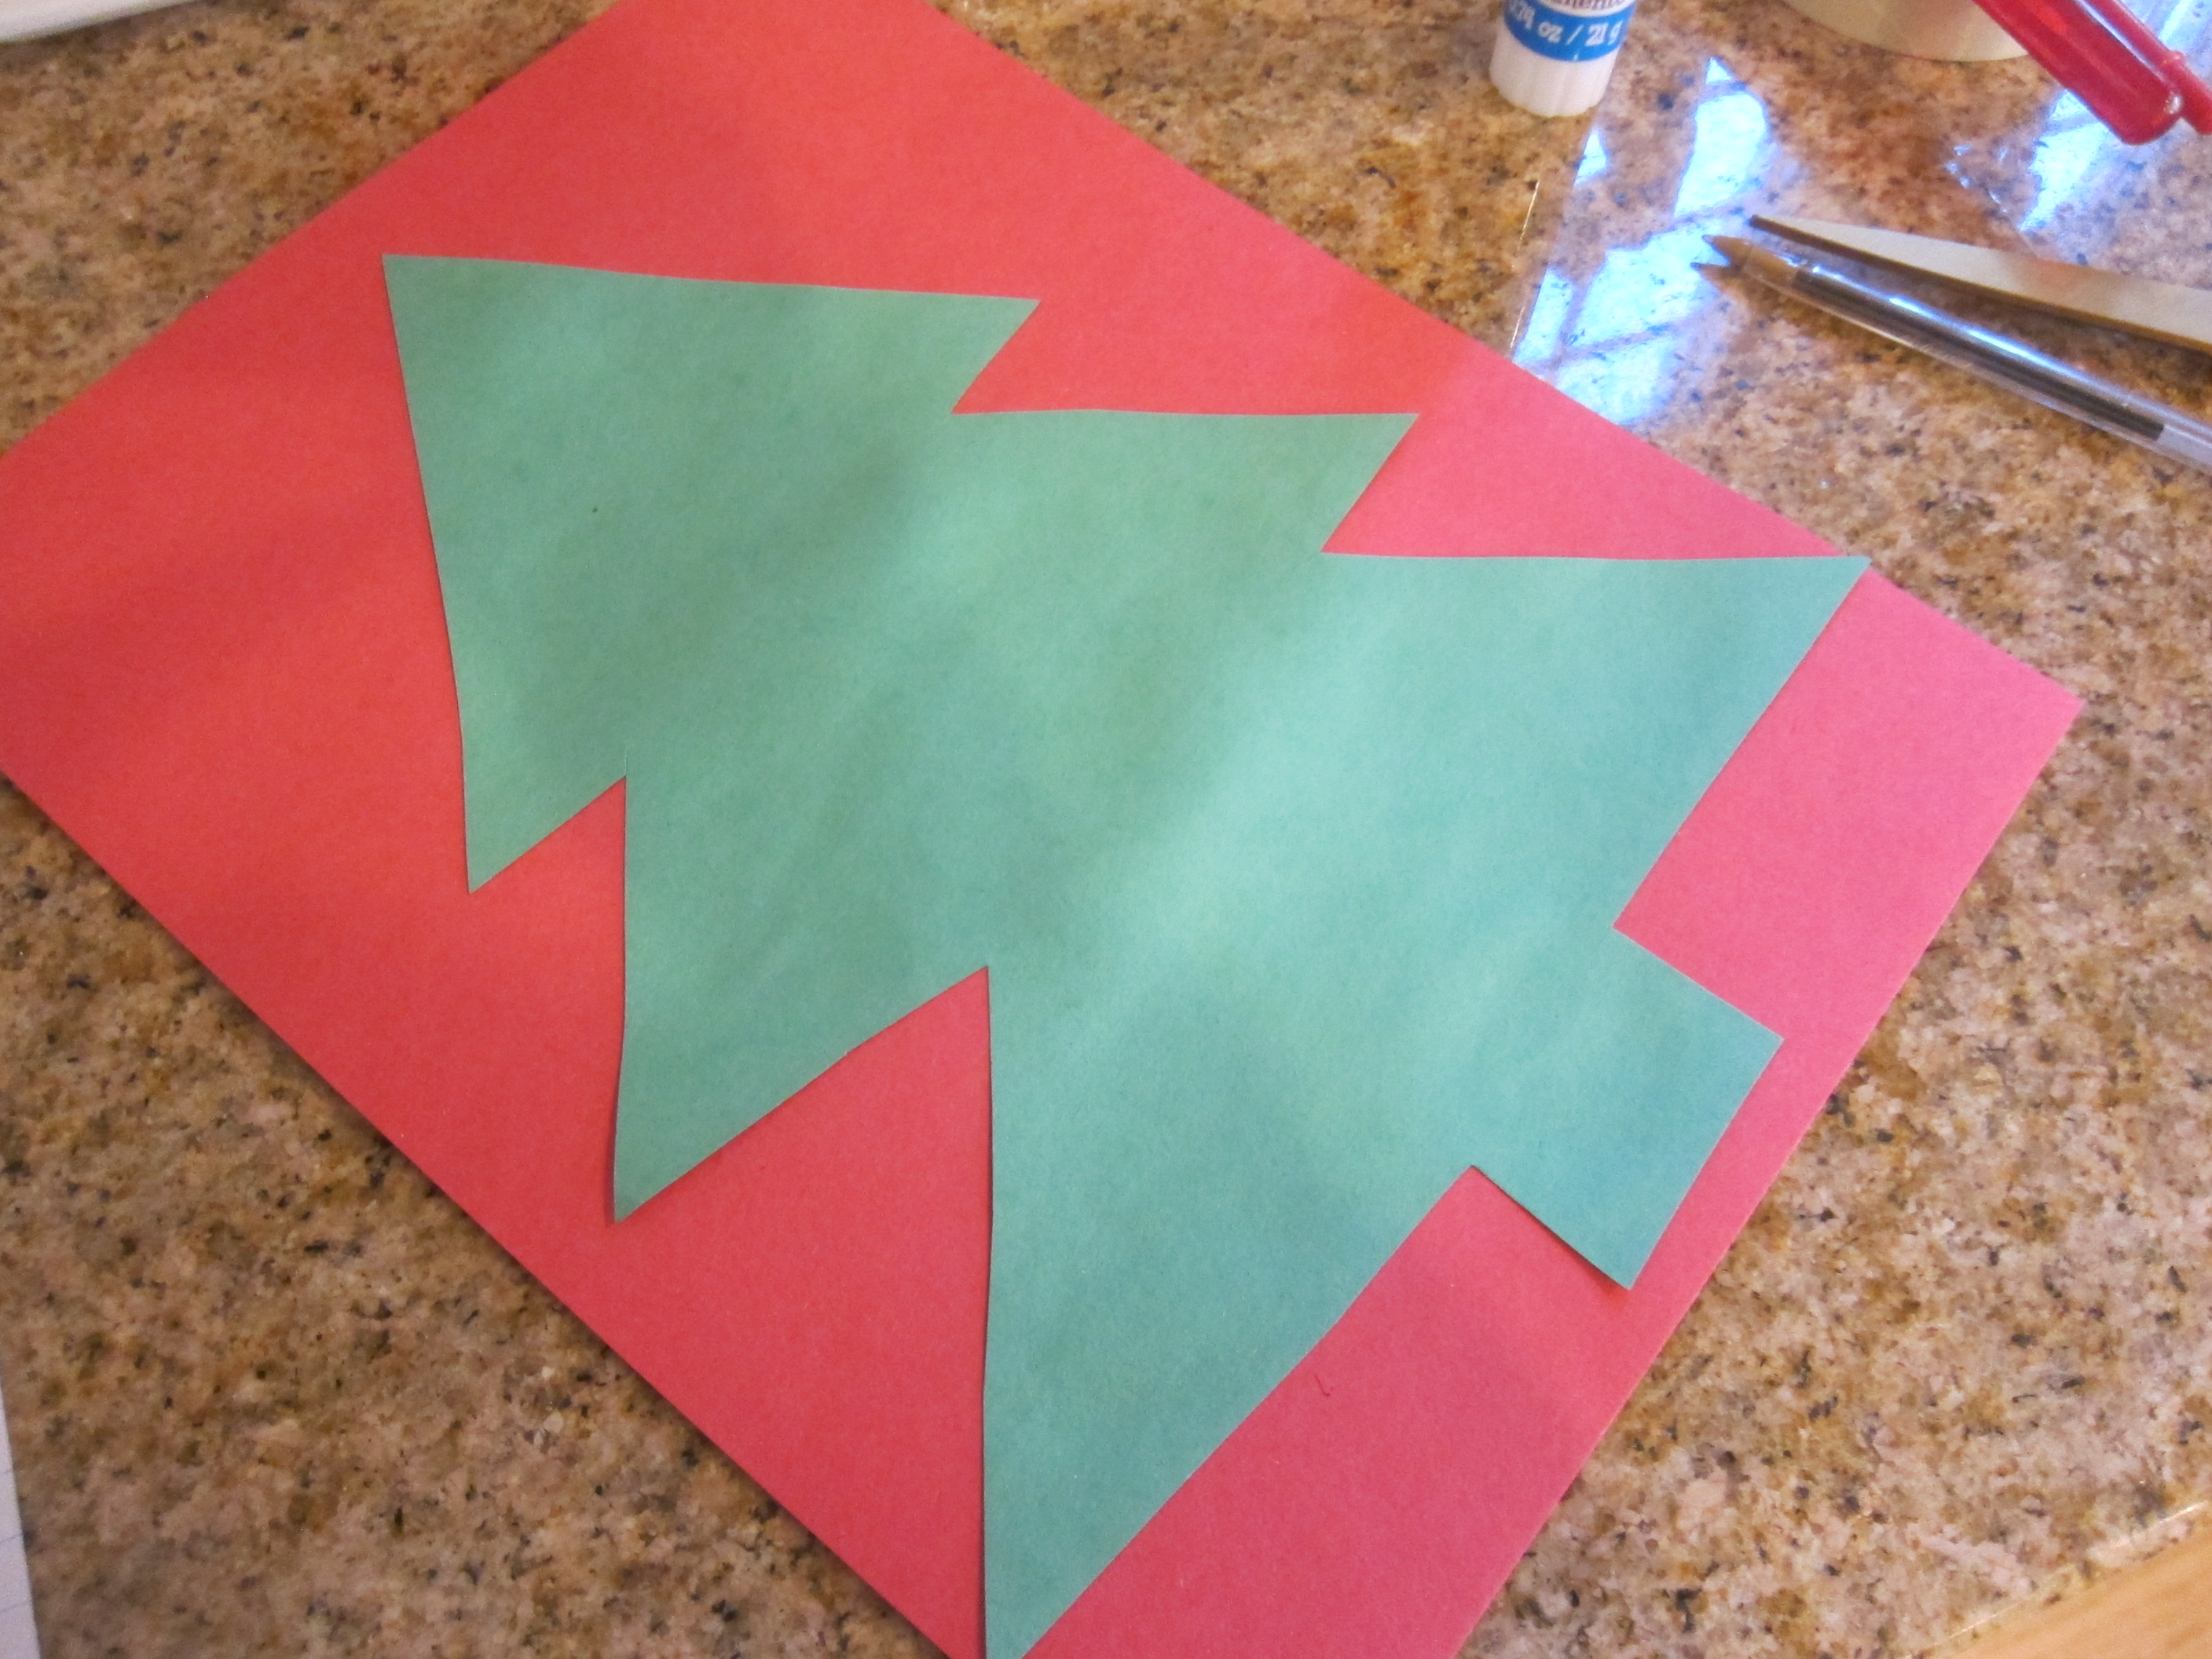
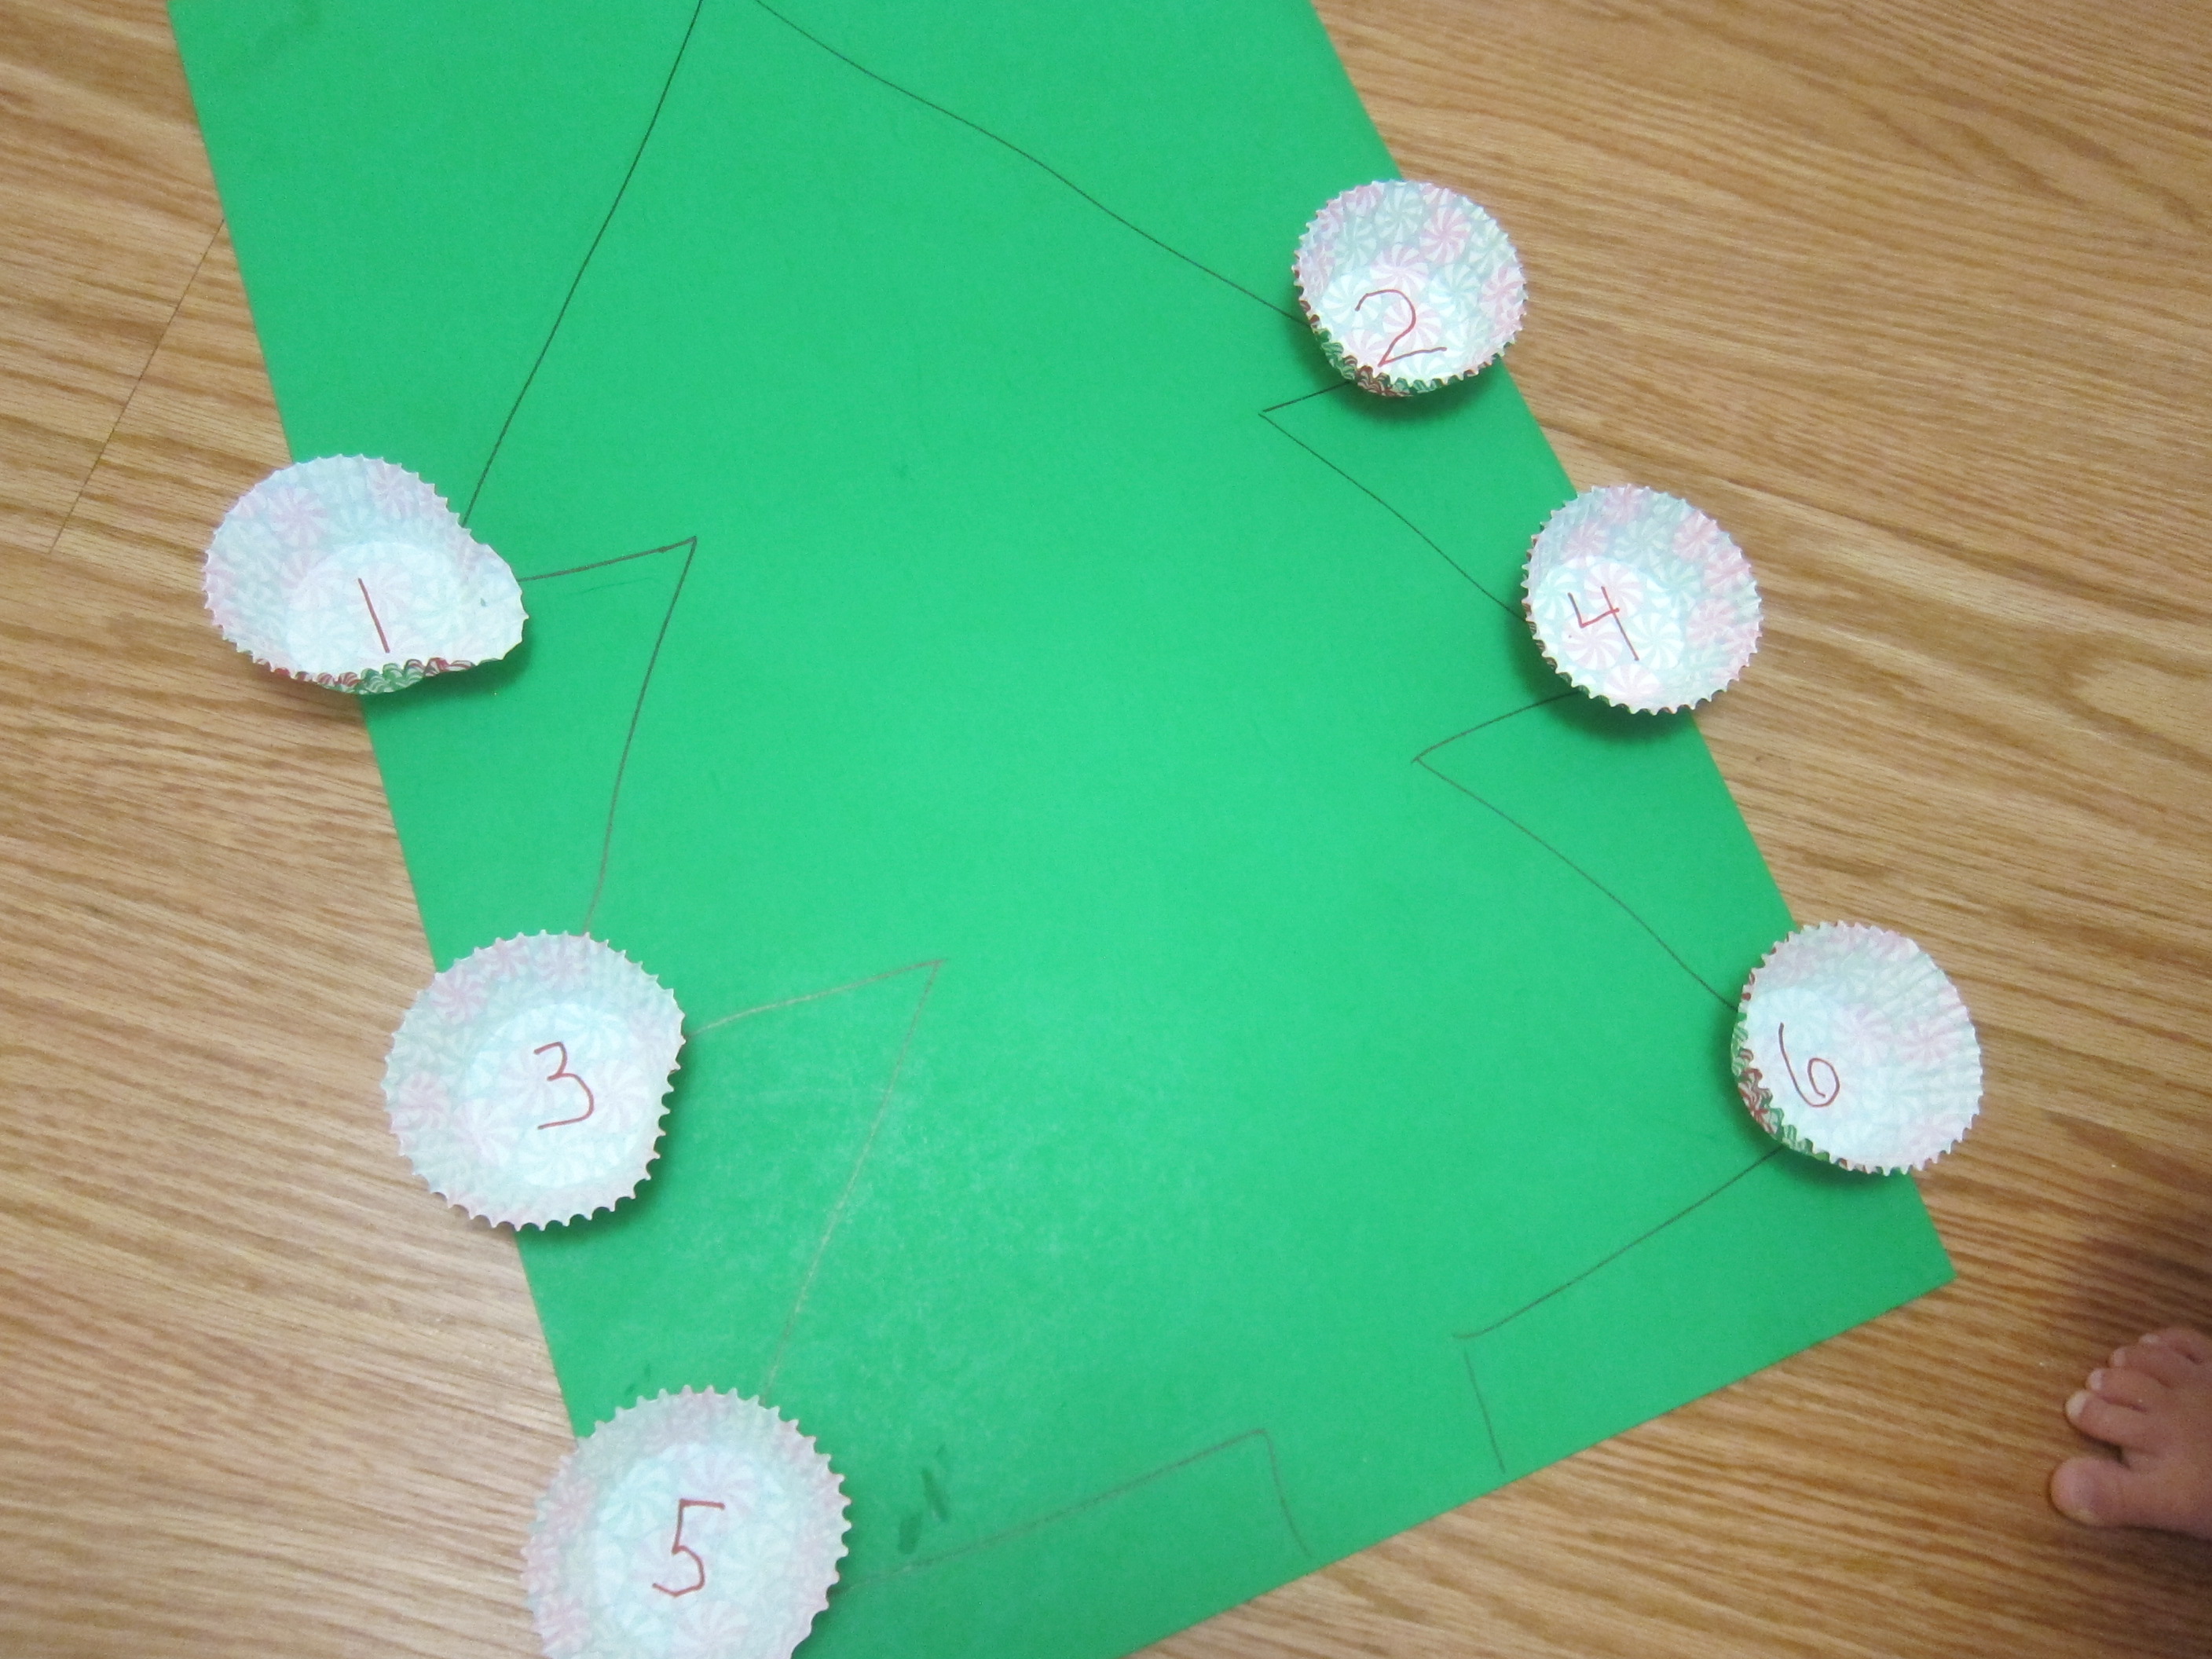
I started by drawing the outline of a Christmas tree on a large piece of green poster board.

Christmas Tree Transfer (1)

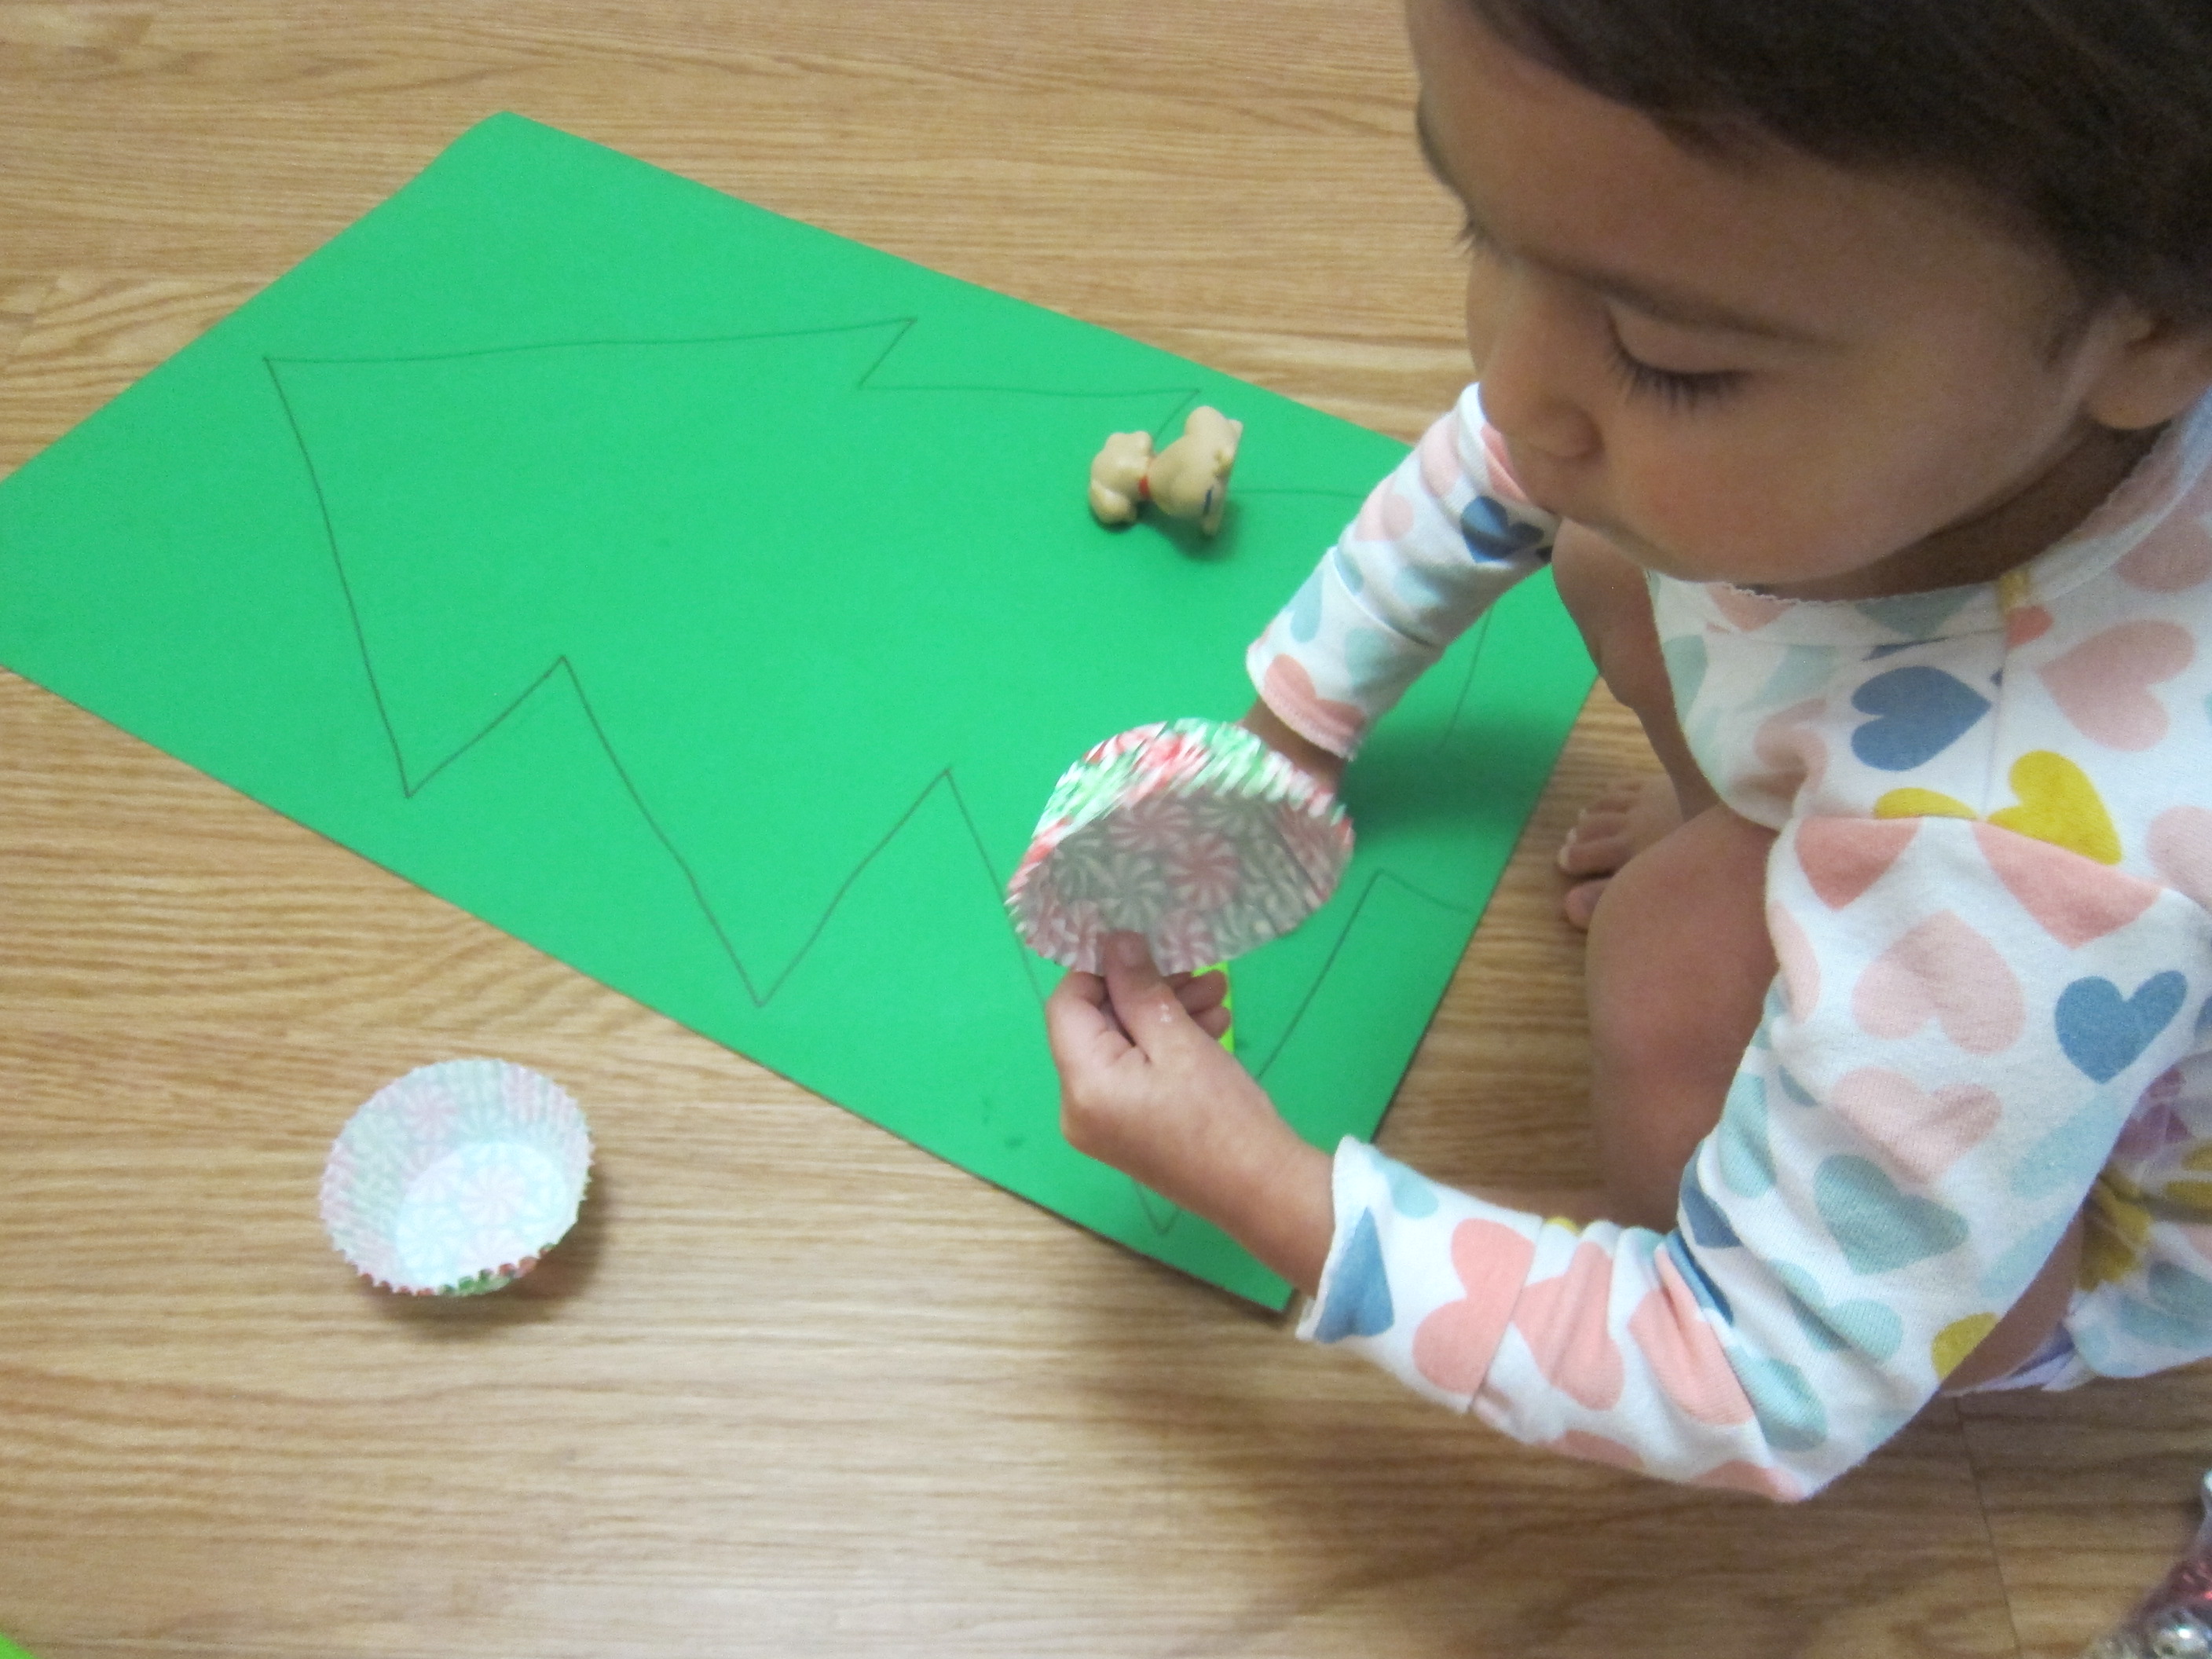
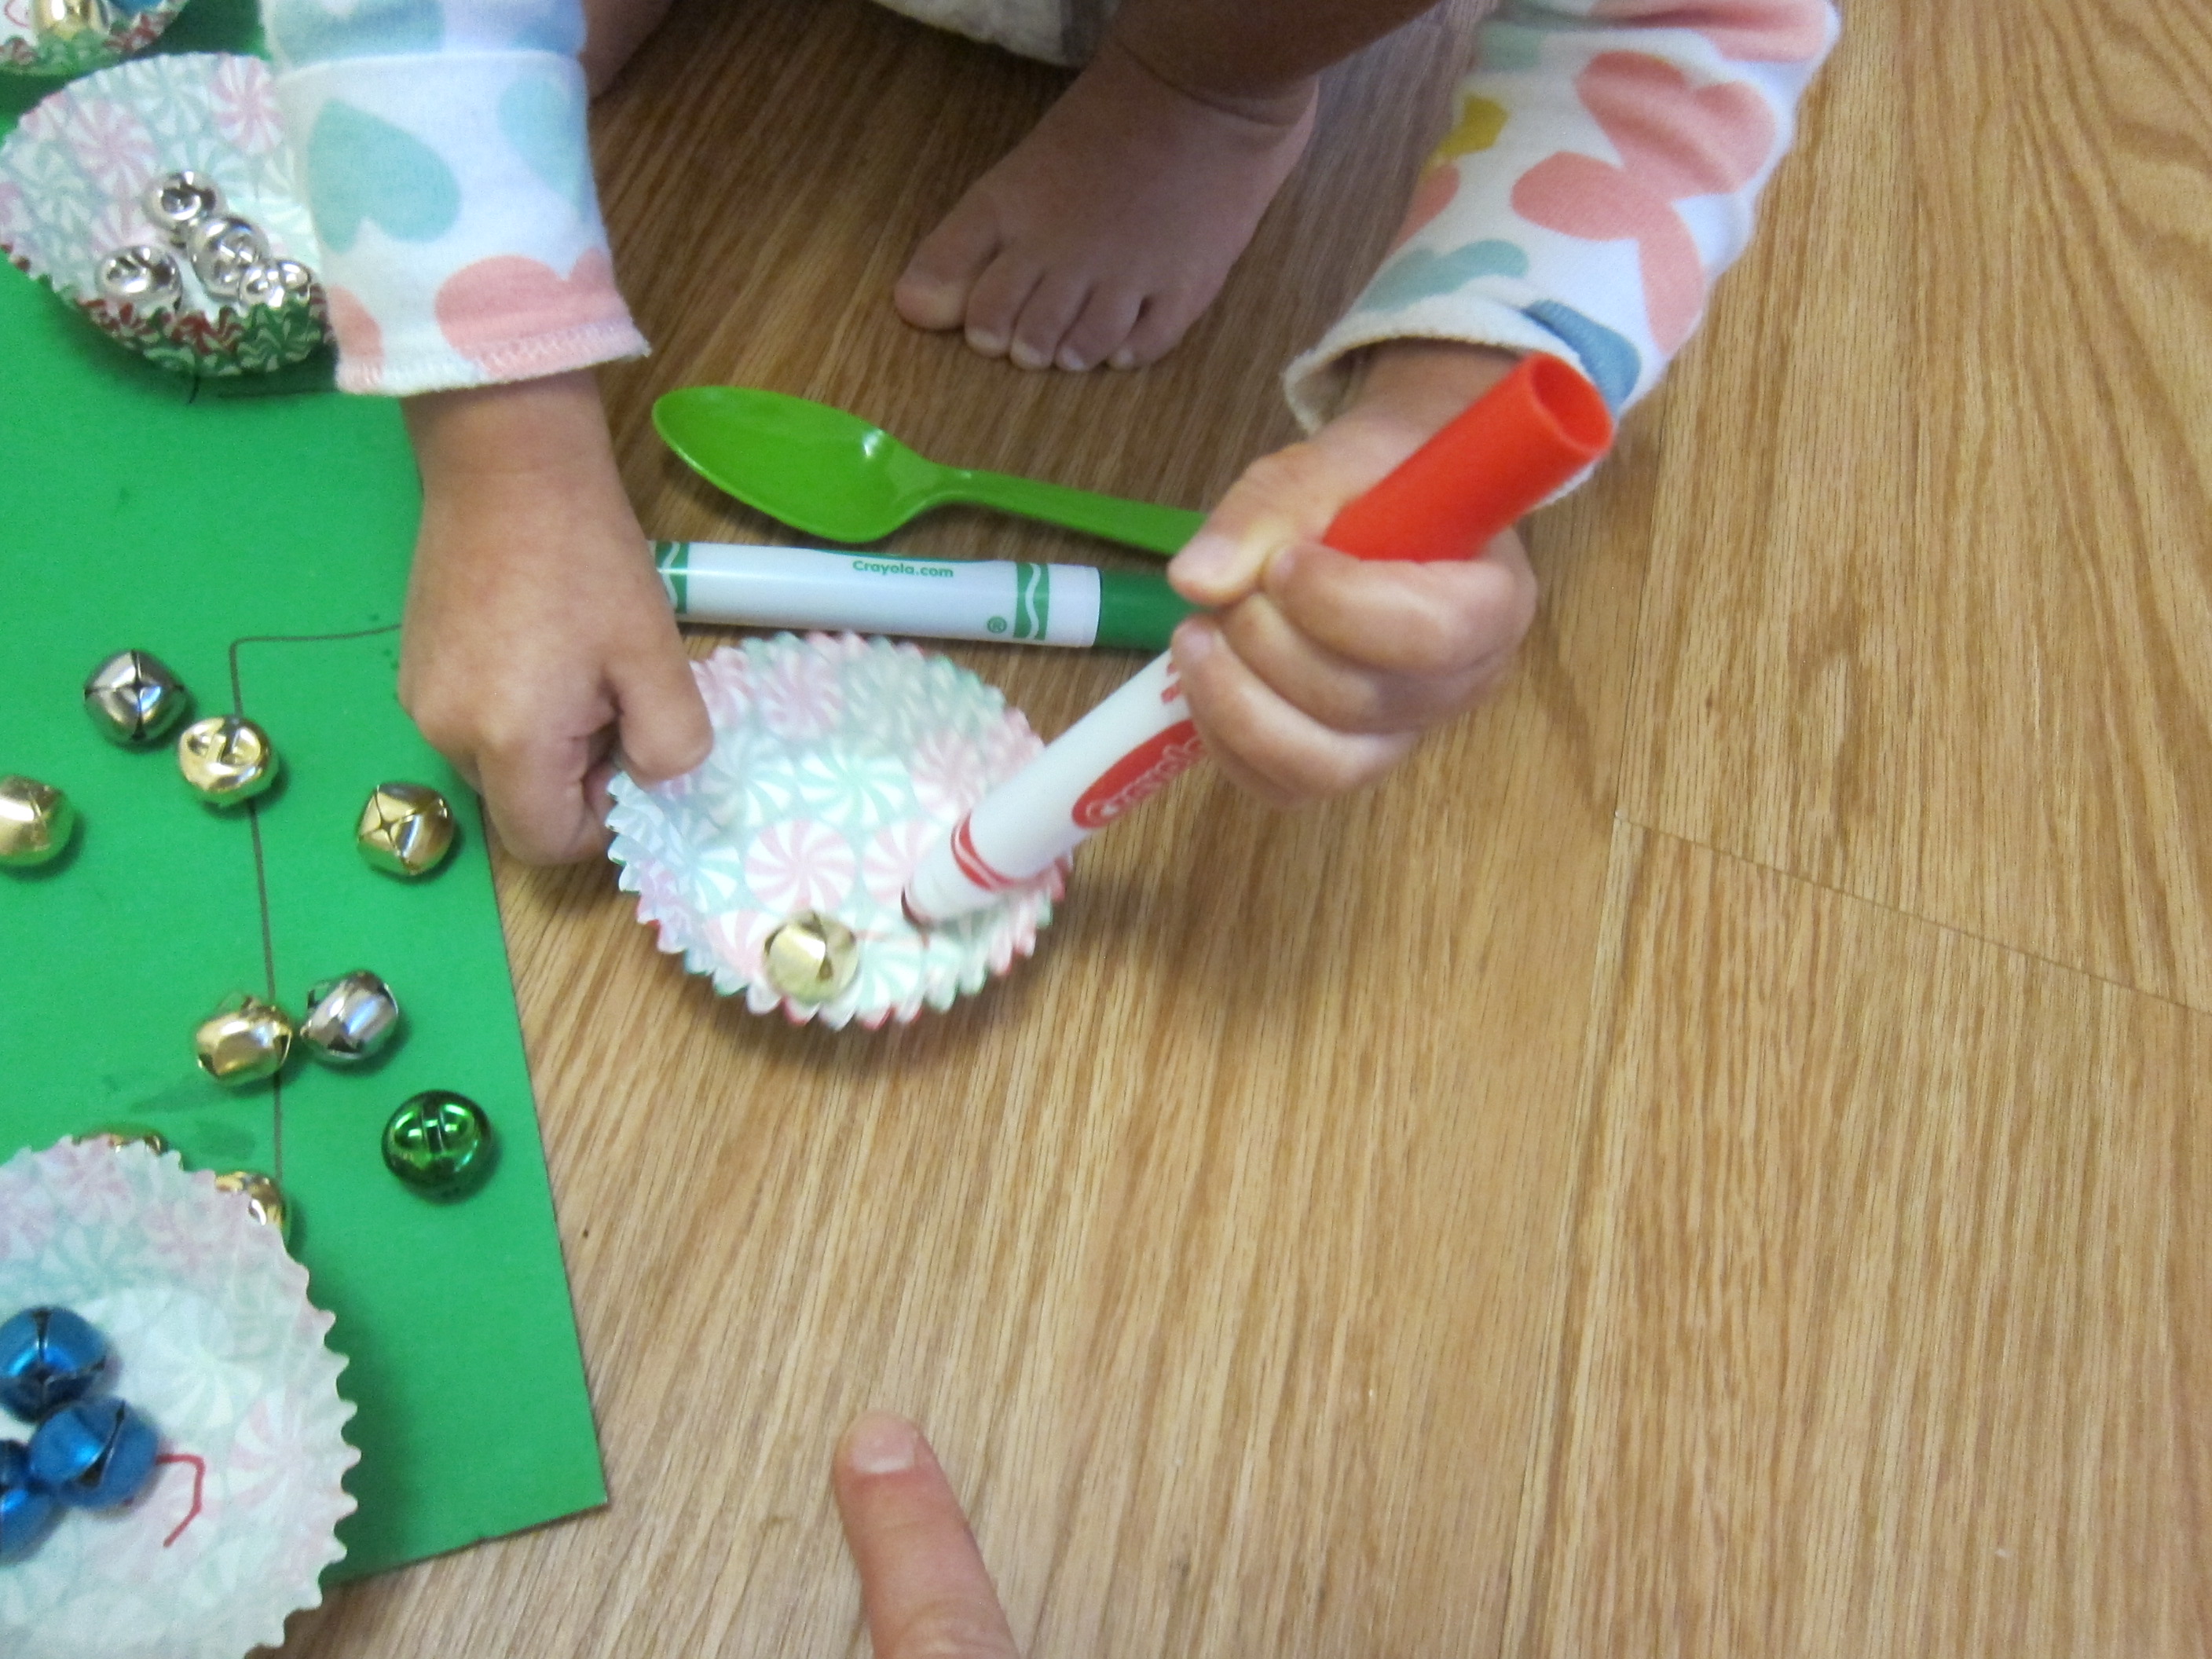
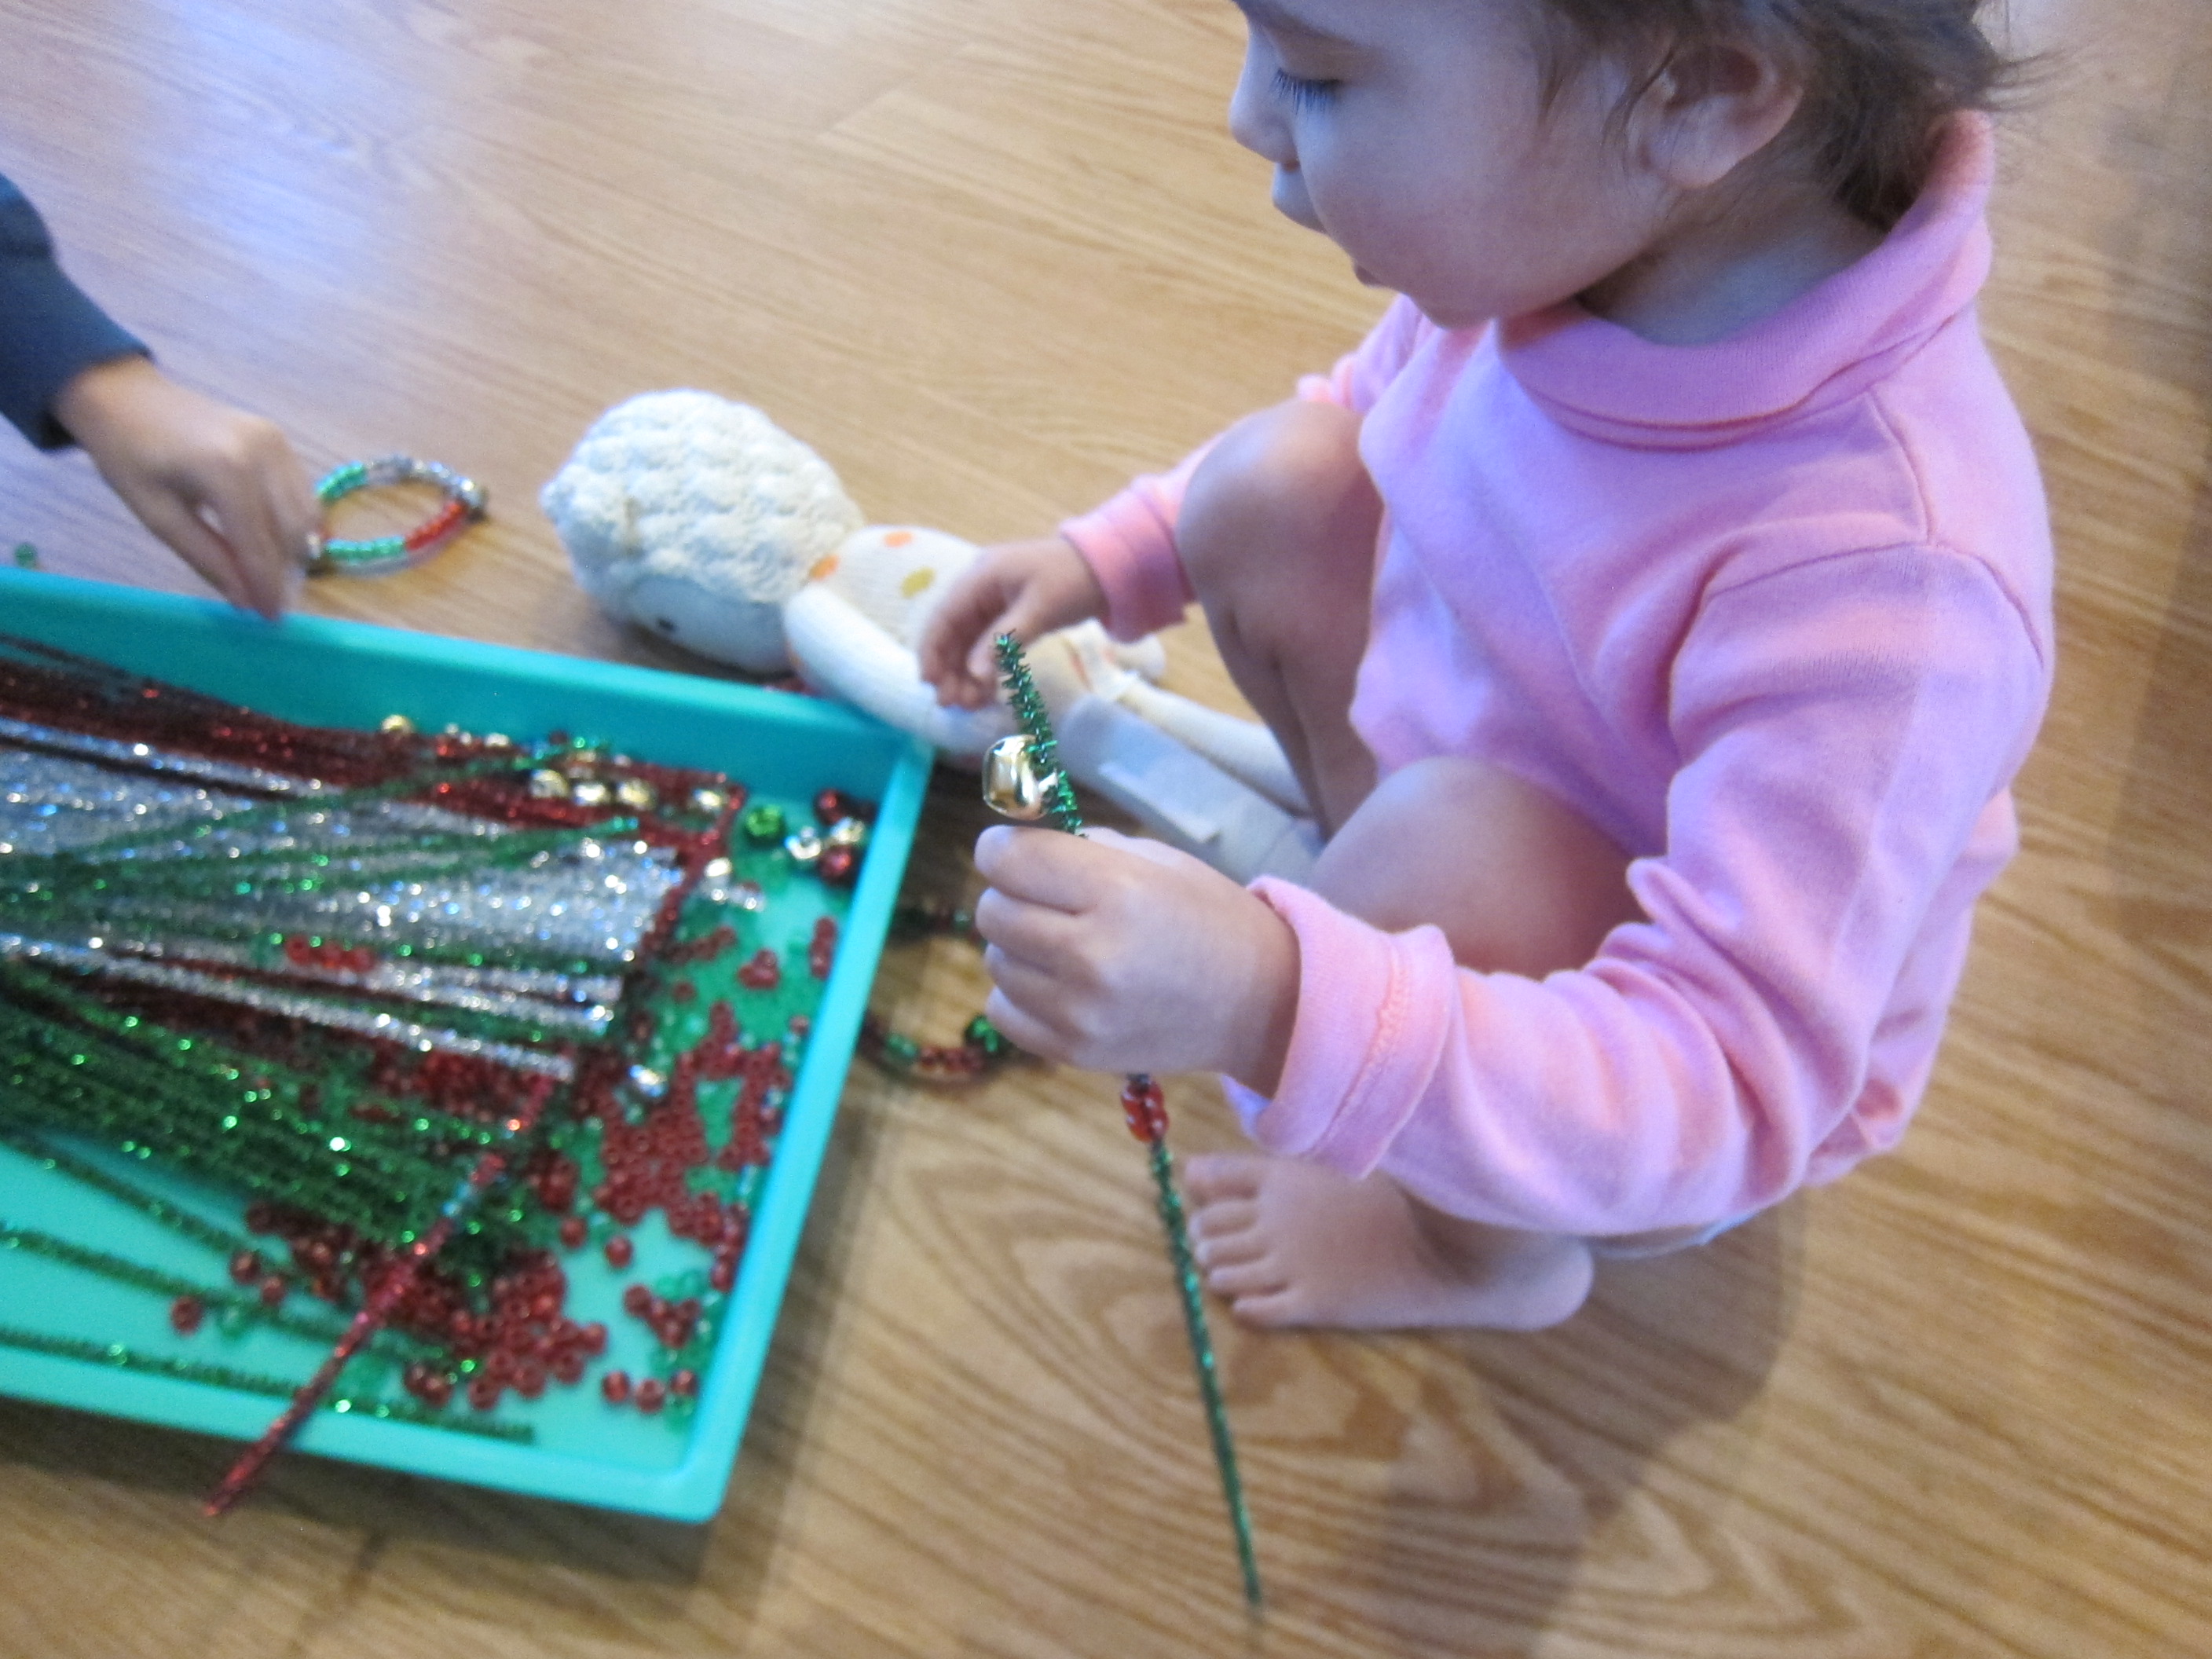
With Veronika at my side, we counted up from 1 to 6 as I wrote the numbers in the bottom of Christmas cupcake liners. She has learned to count by rote up to 11, but this was a great pause to show her the numeral attached to each number as we counted up. We then taped these down at the tips of the tree’s “branches”.

Christmas Tree Transfer (2)

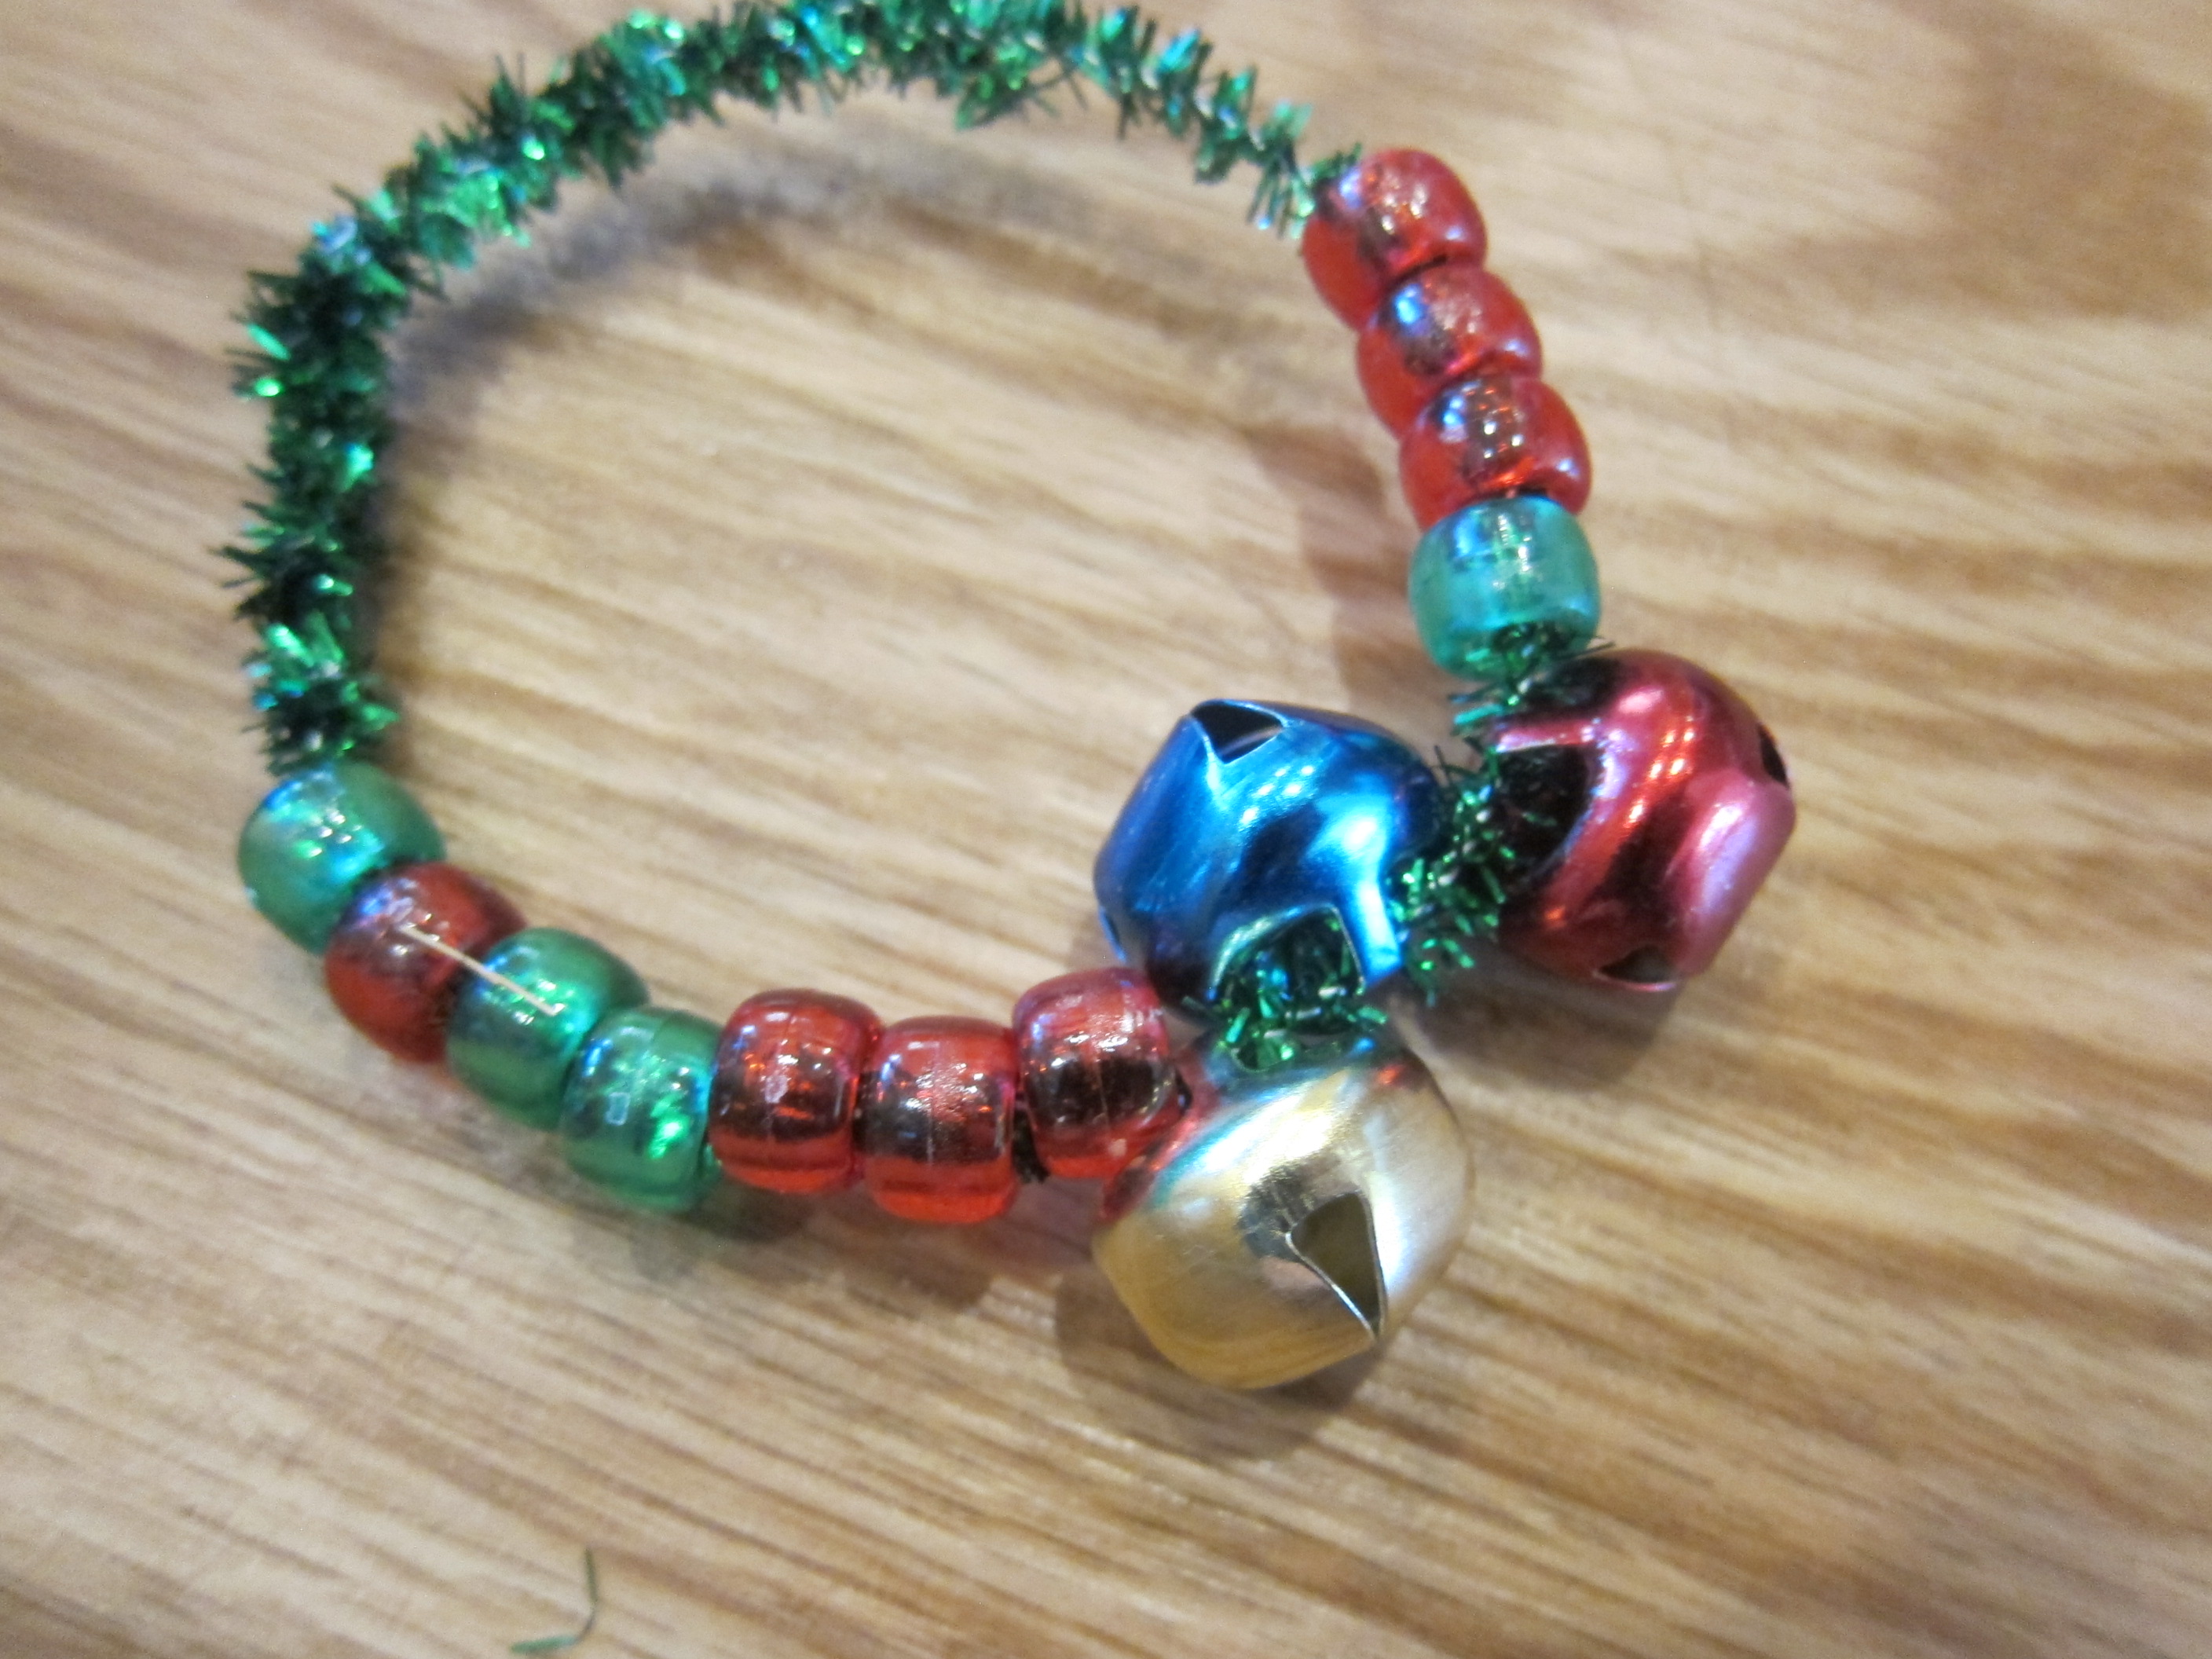
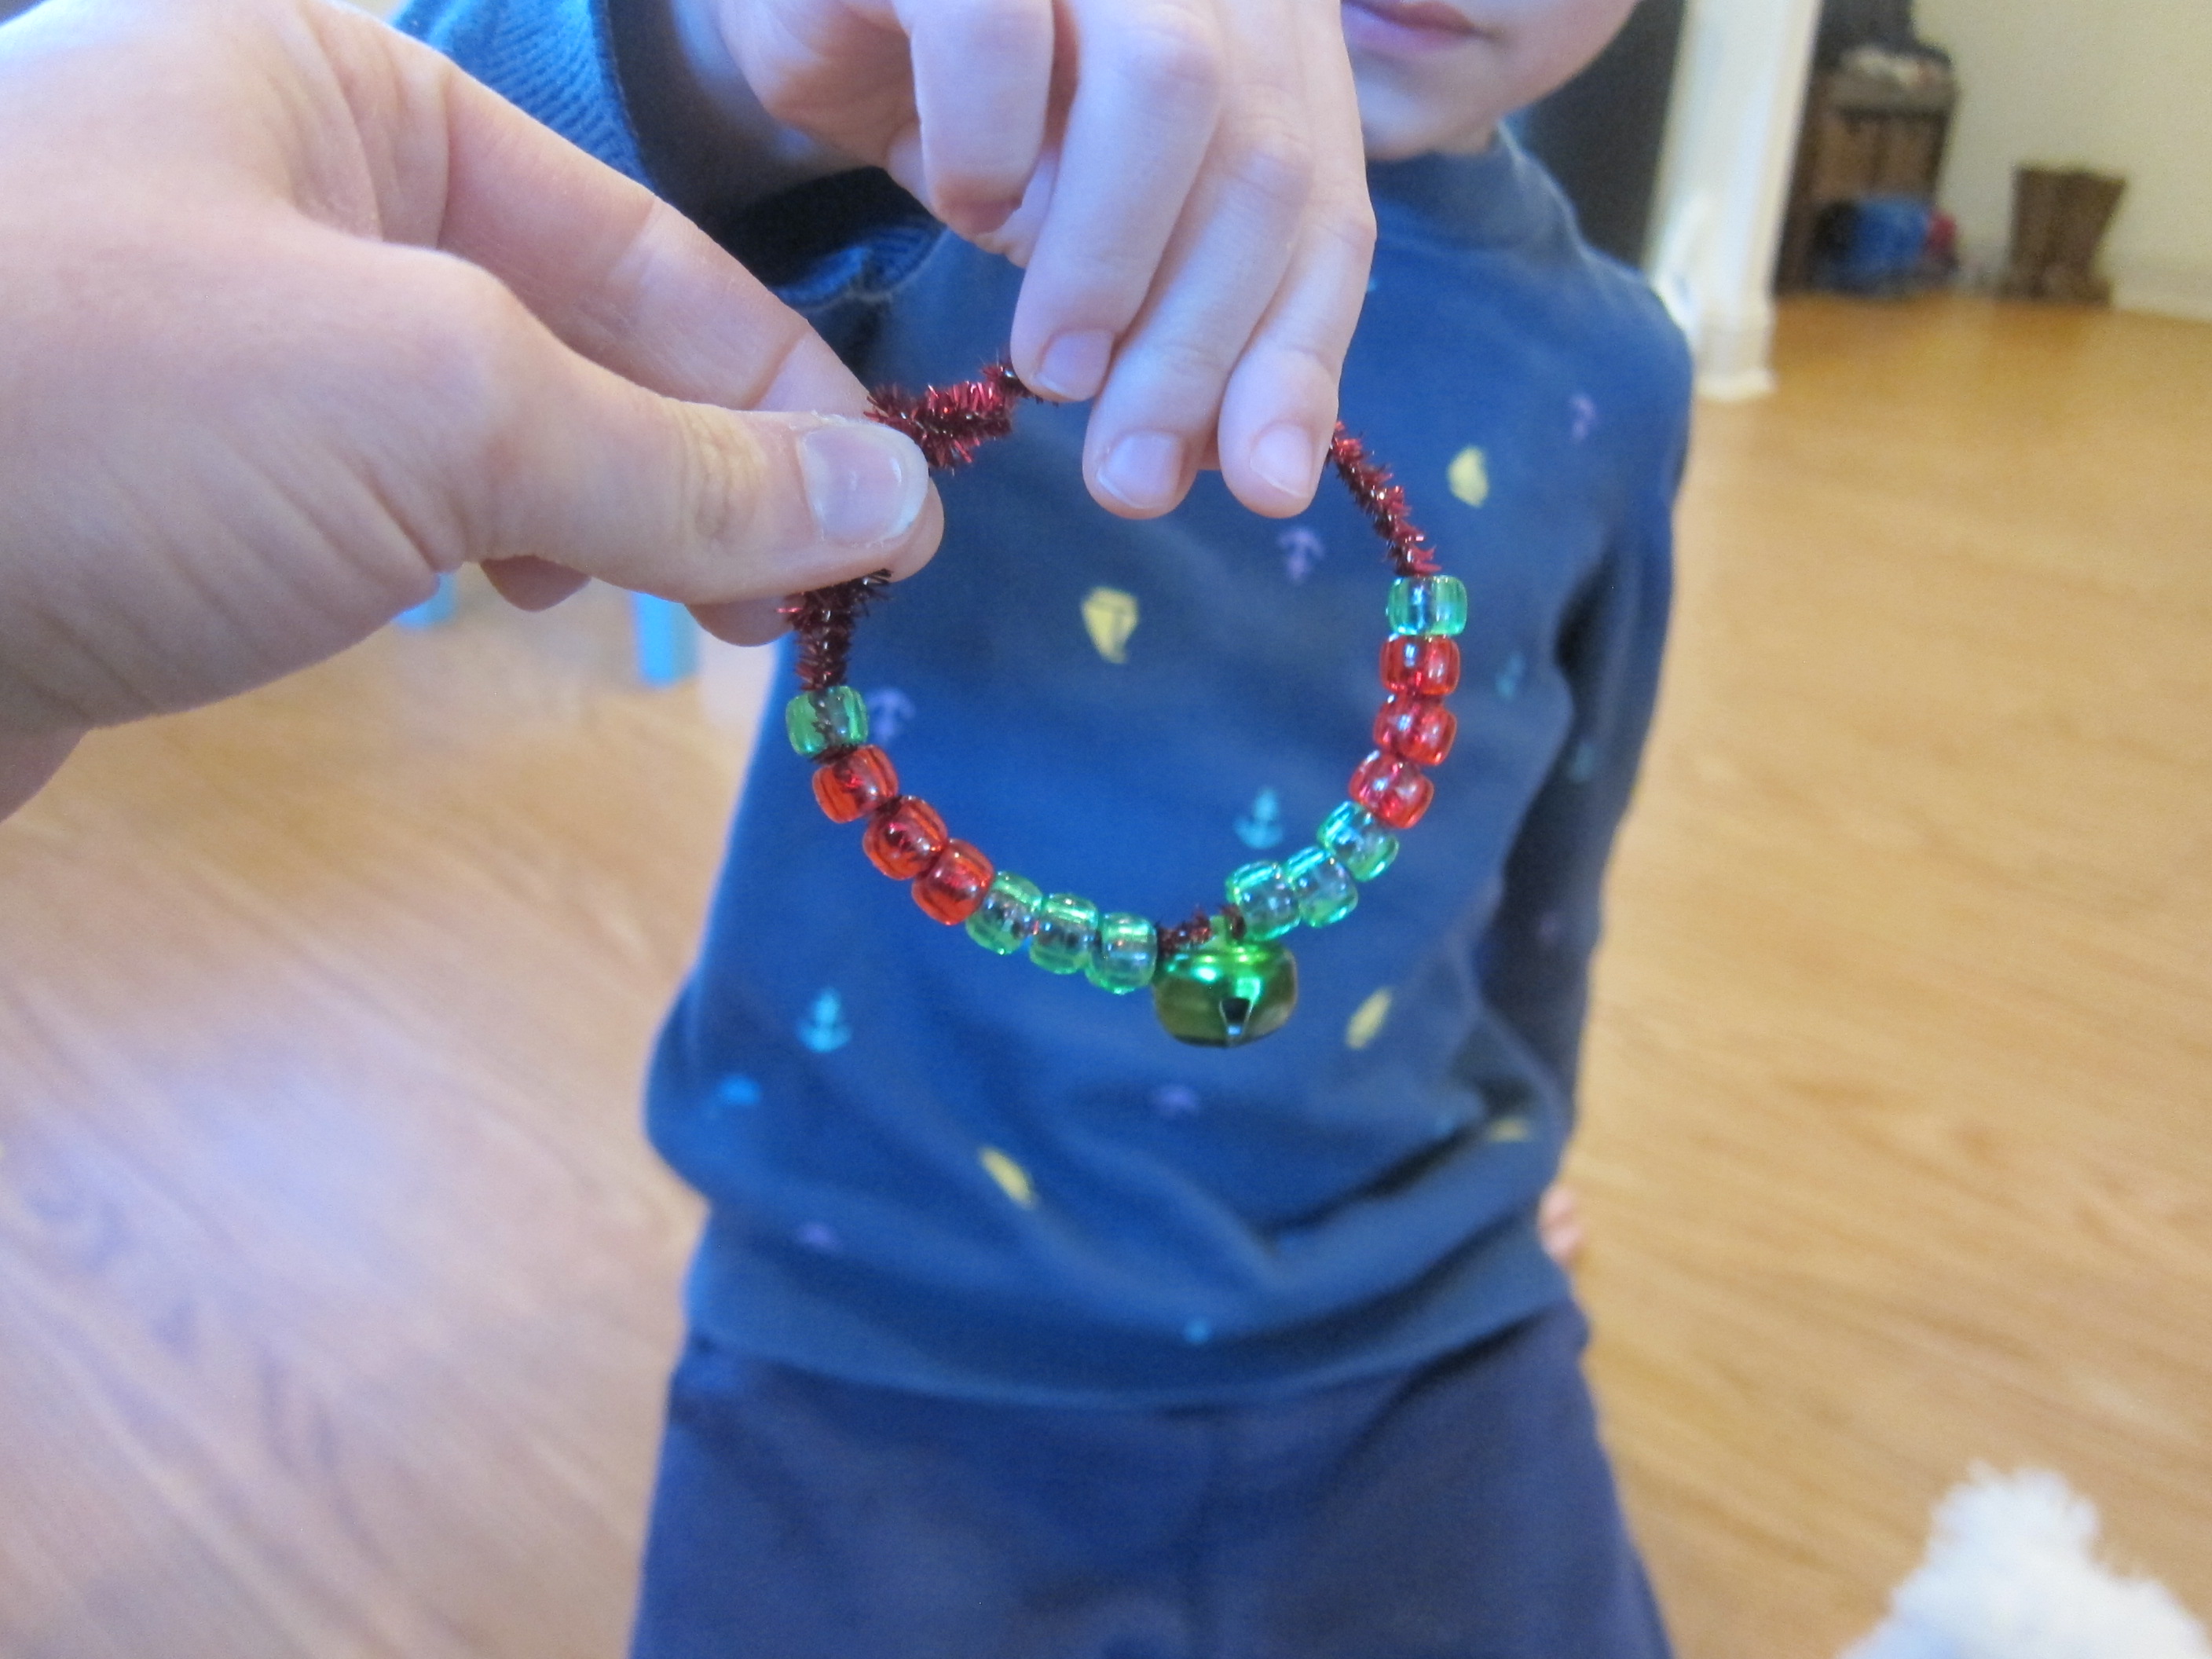
Next, I filled the cupcake liners with jingle bells! I started with the corresponding number of bells in each cupcake liner (one bell in the liner marked 1, two in the liner marked 2, and so forth), even knowing they wouldn’t stay like that for long. This is a part where you can challenge a preschooler to add the right number of bells to each liner!

Christmas Tree Transfer (3)

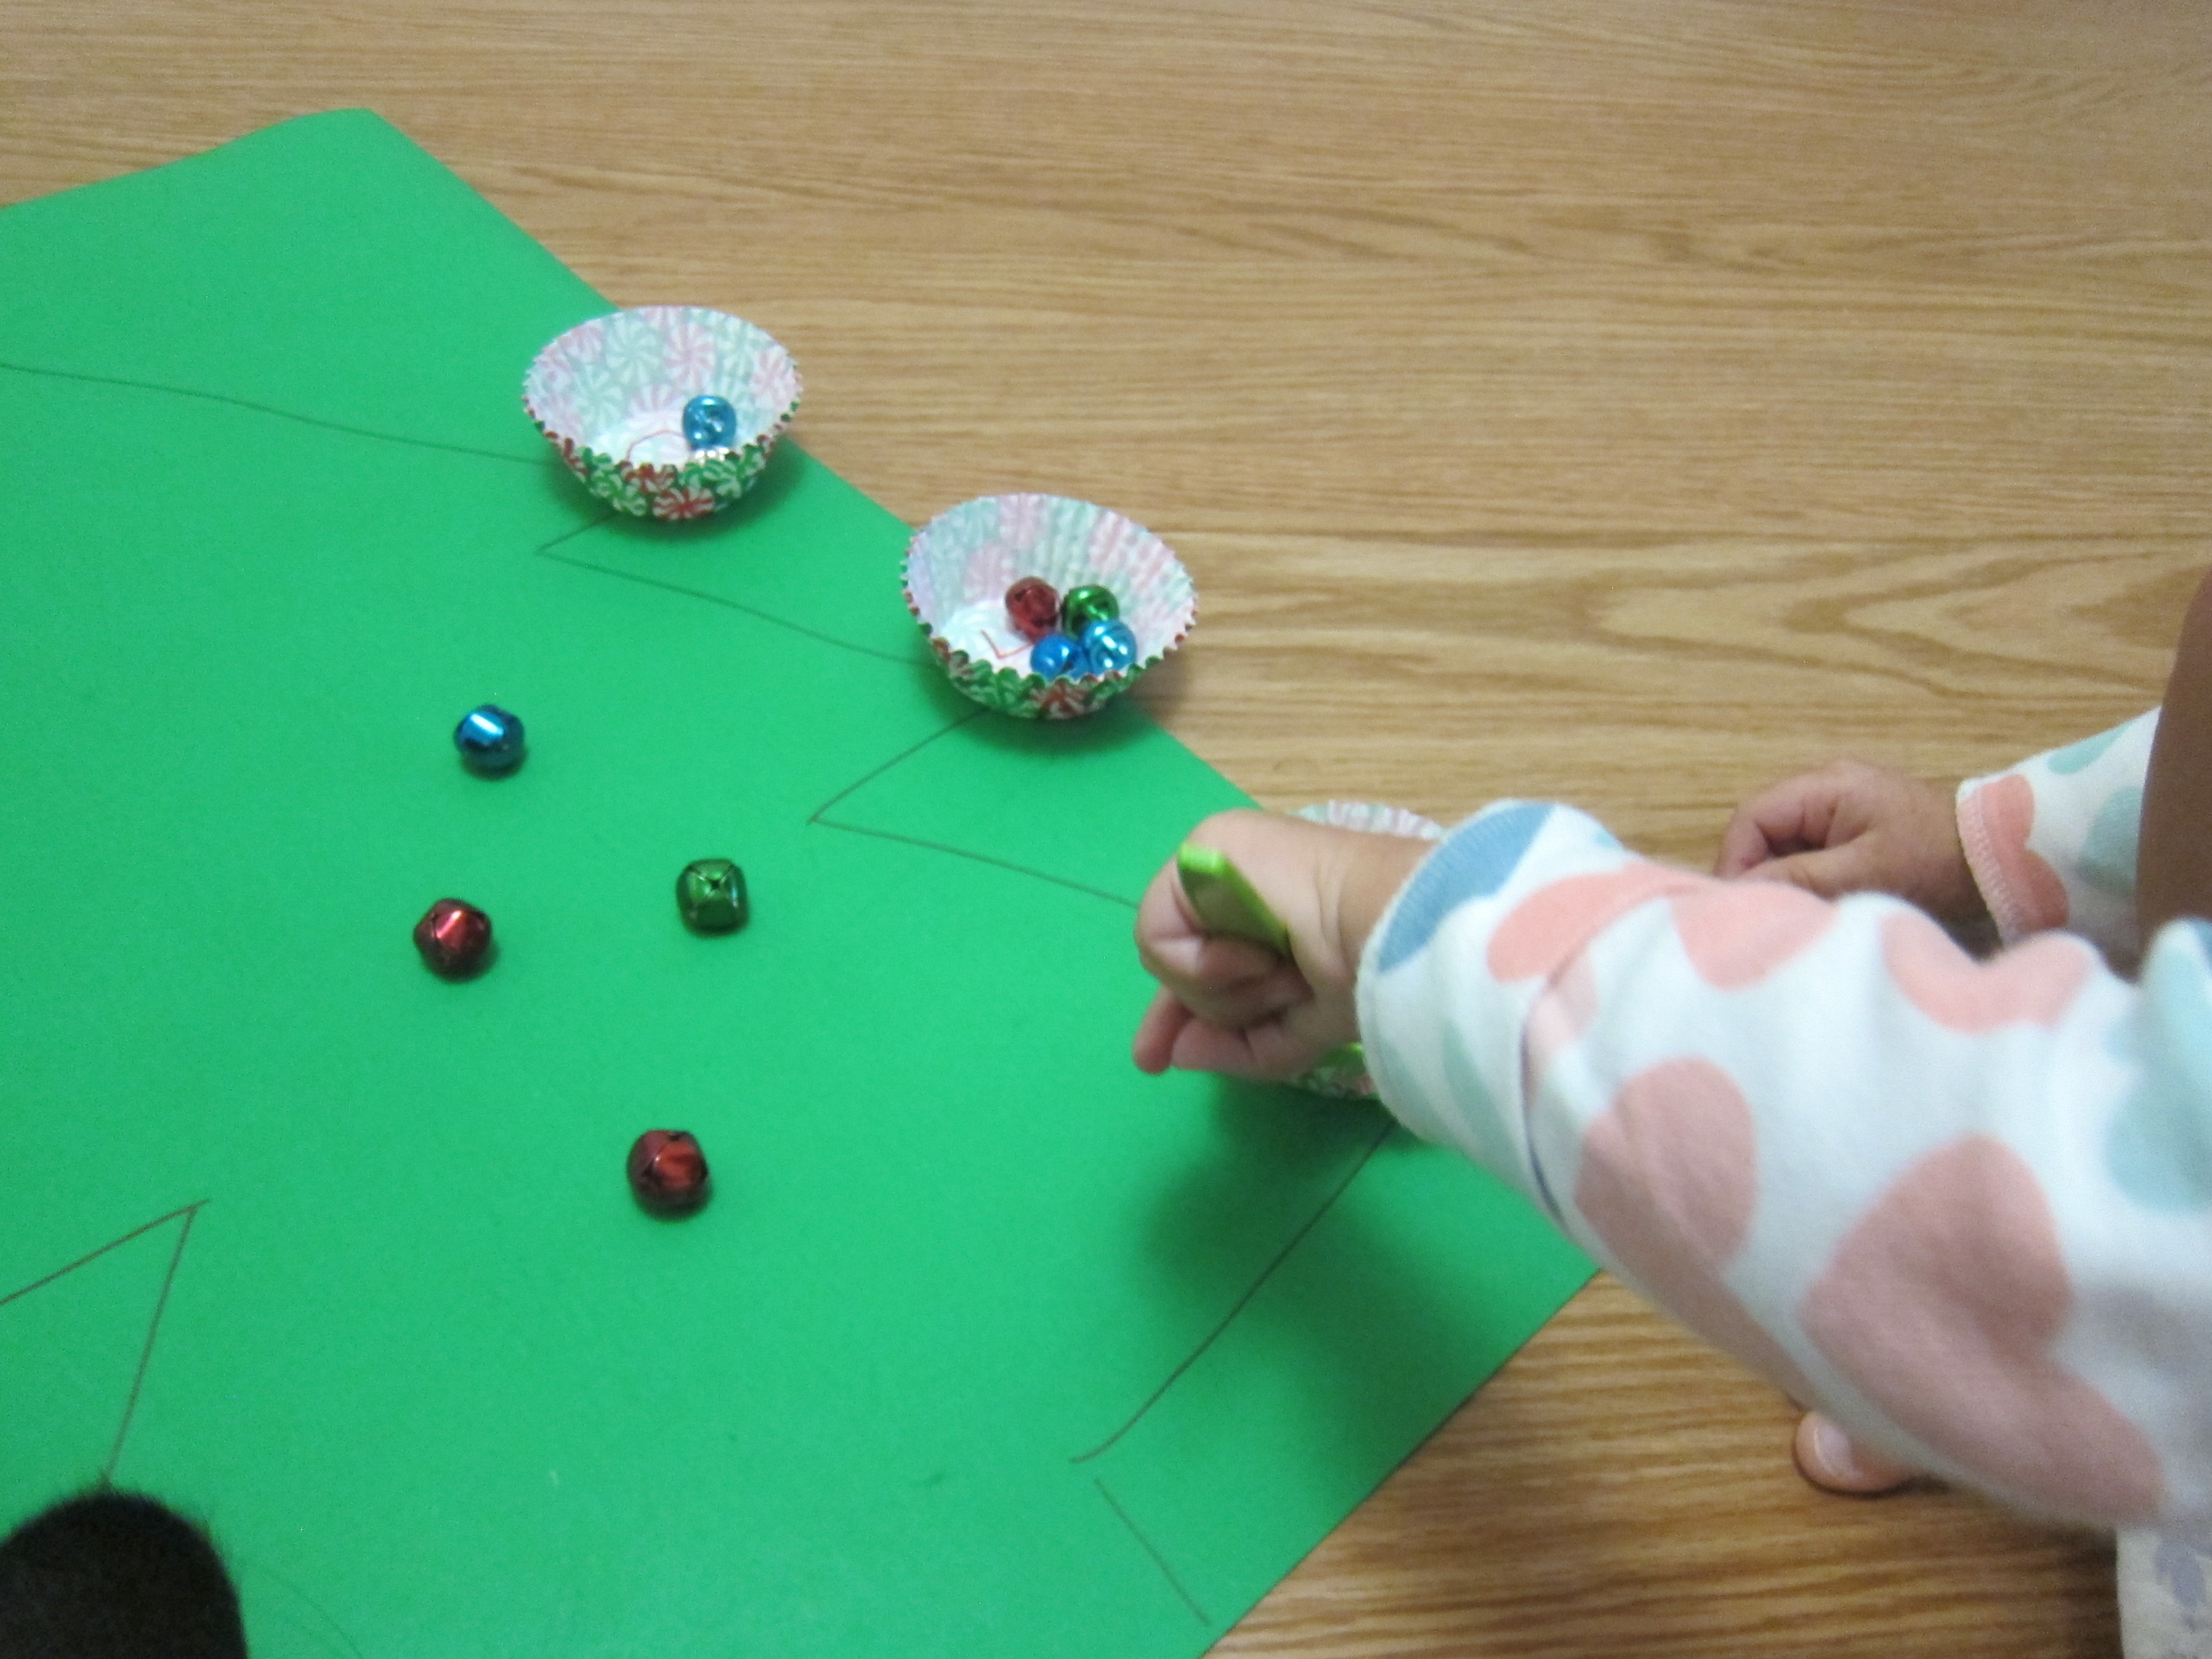
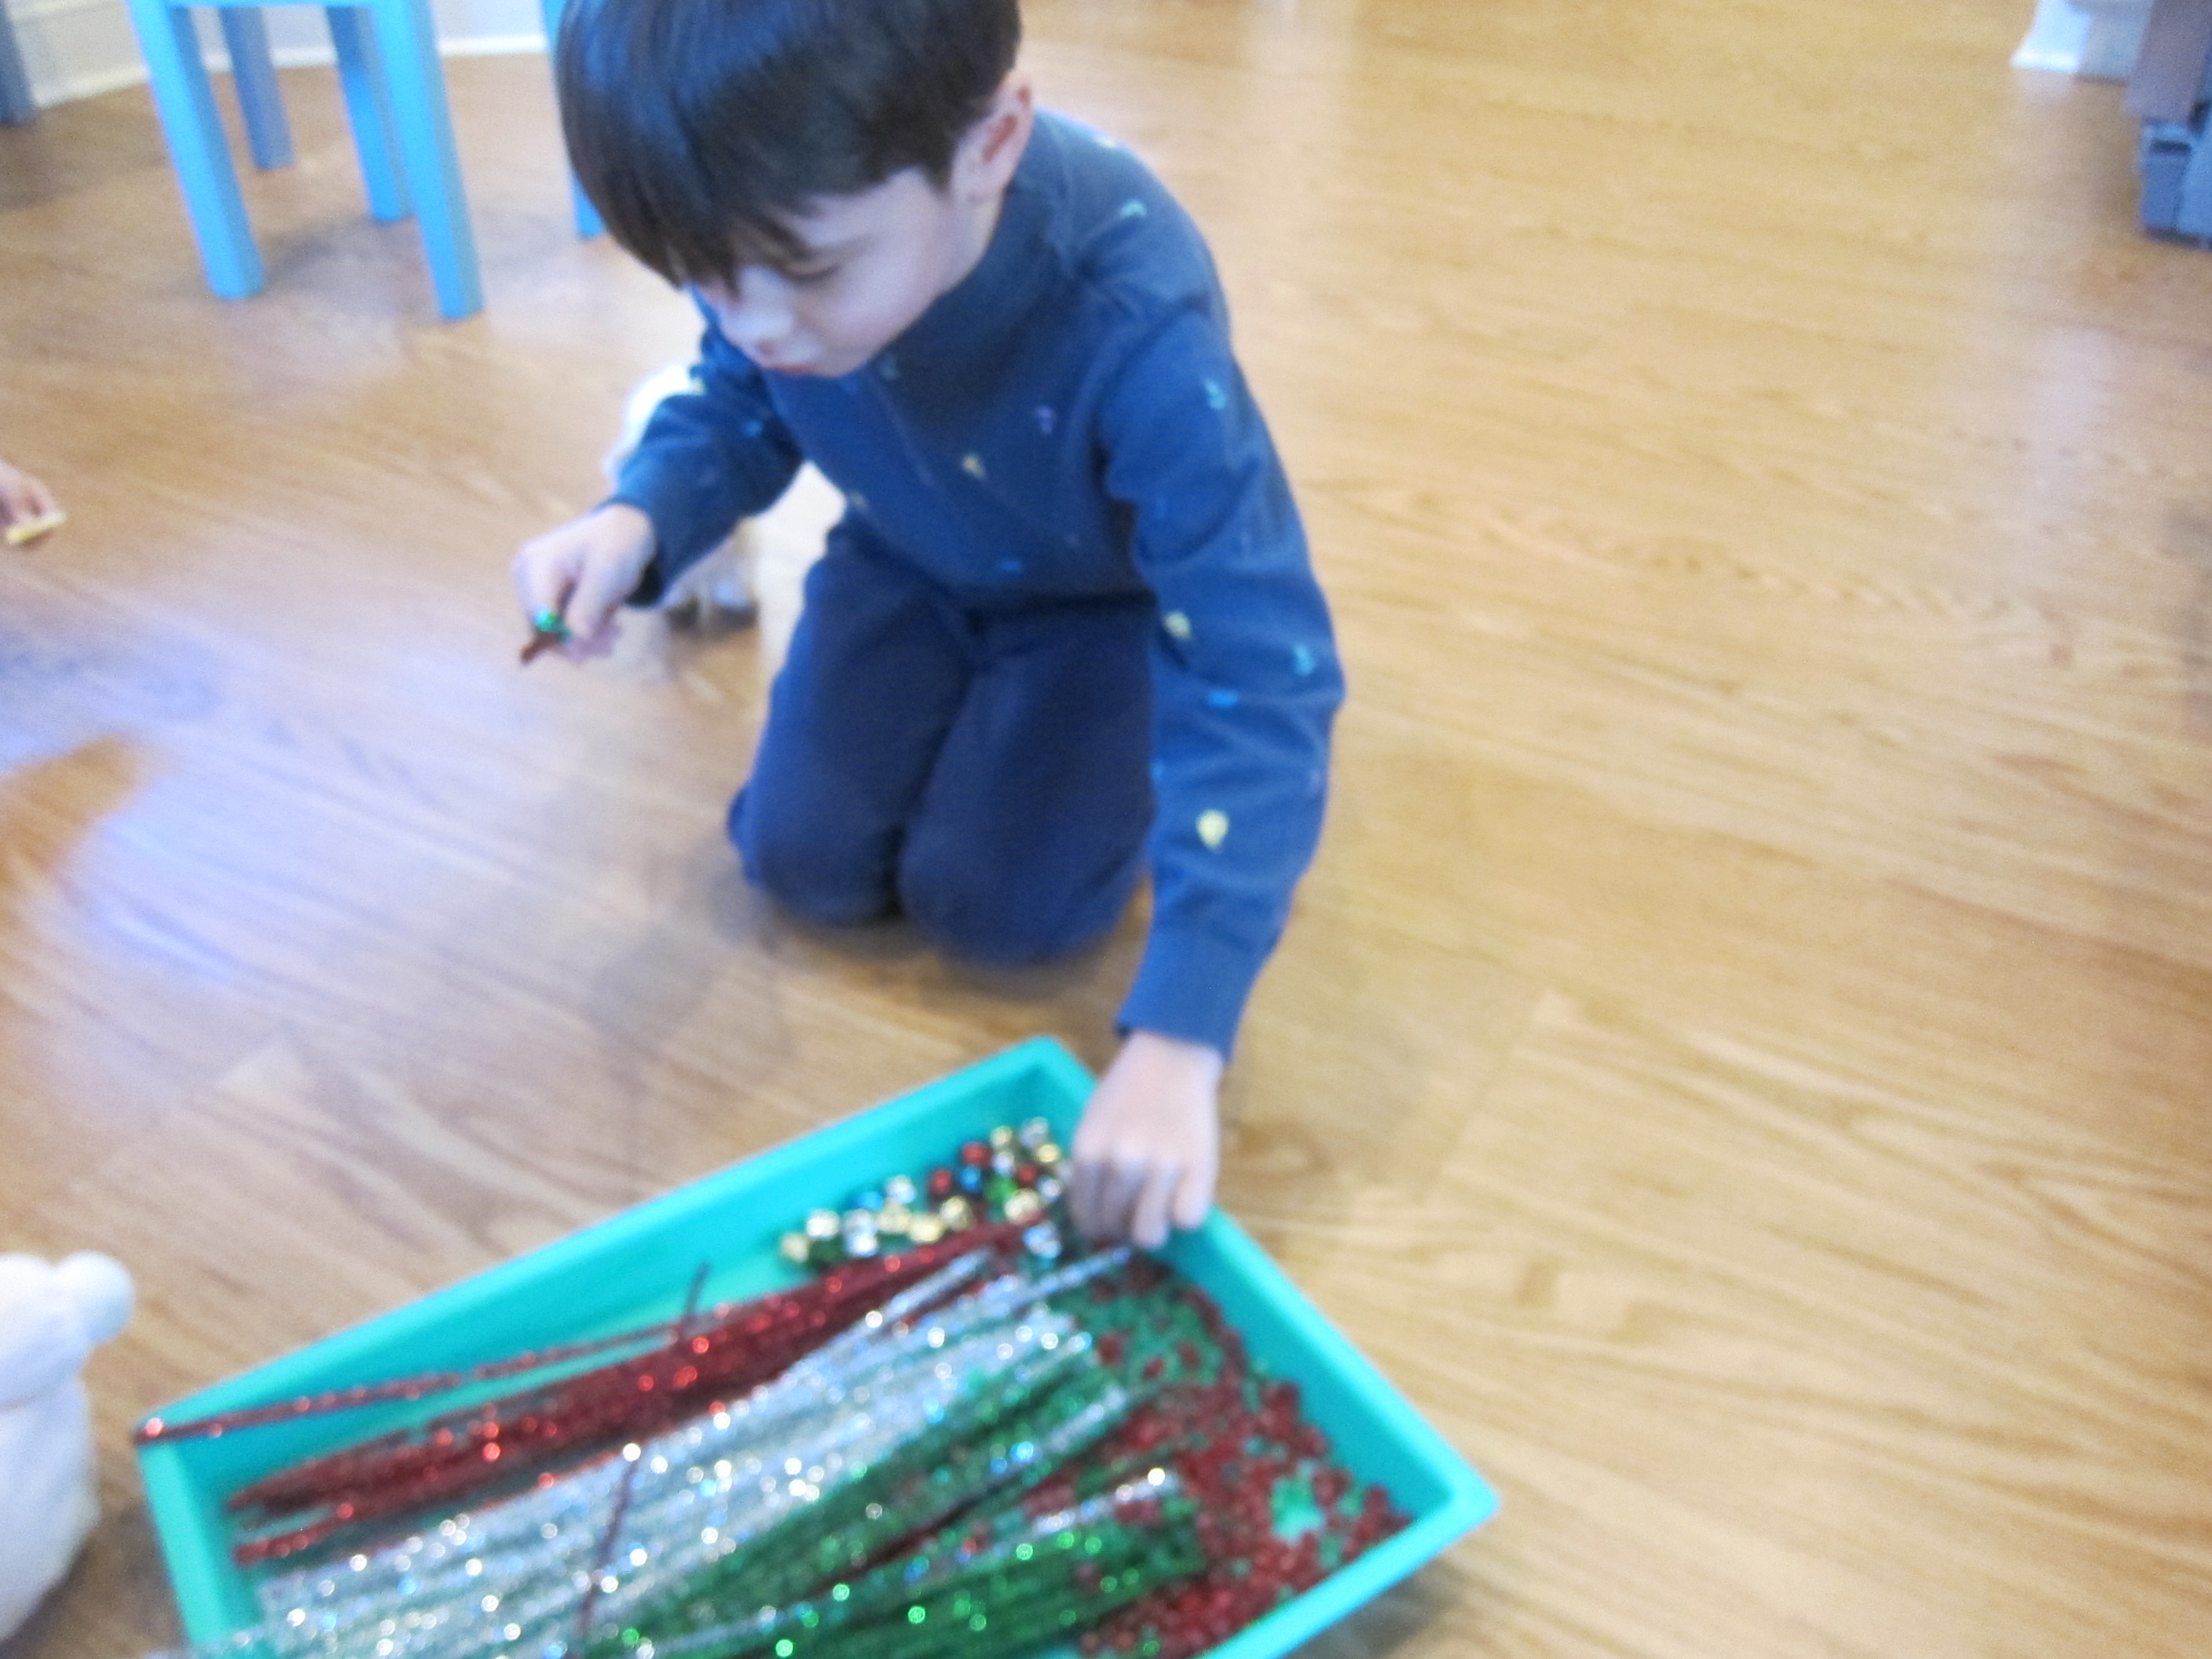
For Veronika, it was more a game of fine motor skills and sensory play. I gave her a plastic spoon (green, naturally) to scoop the jingle bells from one liner to another. She also loved picking up extra liners that weren’t taped down and dumping the bells.

Christmas Tree Transfer (8)

And of course each movement she made was accompanied by the delightful auditory jingle of a Christmas bell.

Christmas Tree Transfer (6)

For a quick color variation, I colored the bottom of one liner with red marker and another green, and challenged her to put corresponding bells over the correct color.

Christmas Tree Transfer (5)

She aced the test but lost interest in that quickly. This is another great extension for preschoolers, especially if you include less familiar colors like silver and gold. After that she wanted a turn with the markers, coloring on the poster board and inside some of the liners. So all told, this activity filled quite a lot of time on a Sunday morning!

Christmas Tree Transfer (7)

Christmas Doorknob Decoration

Christmas Doorknob (6)

Here’s a sweet Christmas decoration that toddlers will feel so proud to have made when they see it hanging around the house!

To start, I cut two shapes from felt. On pink felt (or red would work, too), I traced a 4-inch circle, then cut a smaller circle in the center, as well as four slits that would allow it to slip over a traditional round doorknob.

I then cut a Christmas tree shape (about 7 inches tall) on green felt. Use hot glue to attach the two together.

Christmas Doorknob (1)

Now it was up to Veronika to decide how to decorate! I helped her squeeze tacky glue all over the tree, and then she liberally dumped on red sequins and red and green beads.

Christmas Doorknob (2)

“Look at all the sparkles!” she said, as she let them trickle down.

Christmas Doorknob (3)

I only helped now and then by adding extra glue or pressing on a bead in a few places, otherwise it was all up to her.

Christmas Doorknob (4)

Once the glue dried, it looked beautiful hanging on a hallway door.

Christmas Doorknob (5)