Scarf Scuffle

Scarf Scuffle (3)

Toddler’s love scarves, and of course you can always turn to go-to activities like dancing with them, or tossing them in the air to watch them float down, or crumpling them up into a tiny ball that pops open. But today, we headed outside with scarves to engage Veronika’s imagination a little, too!

Scarf Scuffle (1)

What could she be with her scarf? First up, we were fluttering birds and butterflies. She loved flapping and tweeting as she pranced around the patio this way.

Scarf Scuffle (4)

How about a flower growing? We pretended we were flowers stretching high towards the sun, the scarves rising up above our head. Pretending to be a leaf would work, too, fluttering down instead!

Scarf Scuffle (2)

Her favorite was when I wrapped one around her waist (this girl loves dress-up!), and told her she was a ballerina. She danced…

Scarf Scuffle (6)

…and twirled…

Scarf Scuffle (7)

…and went up on tippy-toe!

Scarf Scuffle (5)

What a wonderful way to imagine and play. Are there any favorite scarf games in your house? Please share in the comments!

Sprinkler Freeze Dance

Sprinkler Freeze Dance (2)

This game is perfect for a summer day! You’ll have water to cool off, tunes to jam to, and a little bonding and learning thrown in.

Sprinkler Freeze Dance (6)

We changed into bathing suits and set up the sprinkler in the yard… so nothing was out of the ordinary yet. But this time, I cranked up the car stereo so the tunes were playing!

Sprinkler Freeze Dance (5)

If the music was on, we boogied. When the music paused, we showed Veronika how to freeze. Older siblings will love showing a toddler how to do this; big brother Travis threw in some fancy hip moves and footwork.

Sprinkler Freeze Dance (3)

Veronika started to catch on. And as soon as the music began again, her whole body bopped along.

Sprinkler Freeze Dance (8)

As an alternative version, make the freeze about the water speed, not the music. When the sprinkler turns off… Freeze! When it turns on again, bring back those dance moves.

Sprinkler Freeze Dance (4)

Veronika’s signature move was stomping in puddles.

Sprinkler Freeze Dance (7)

Here’s a quick clip of her moves. She’s got style!

You’ll definitely want to enlist the whole family for this one!

Sprinkler Freeze Dance (1)

Ice Cube Bags

Ice Bags (7)

If it’s going to be hot, then I’m going to put the heat of the sun to work for me! These ice cube sensory bags turn into a color mixing experiment the longer they’re out in the sunshine.

For set up, I thought it would be fun to freeze cube-shaped ice instead of ice in a standard ice cube tray. I colored one-third of them yellow with food coloring, one-third red, and one-third blue.

Ice Bags (1)

In the morning, I set up three gallon-sized zip-top bags for Veronika: one had yellow and blue ice, one had red and blue, and the third had blue and yellow.

Ice Bags (2)

At first, it was all about the sense of touch. “Ooh! cold!” Veronika said, squeezing her hands on the ice.

Ice Bags (6)

It was fun to watch the ice cubes slip and slide around in the bag!

Ice Bags (5)

As the cubes melted, the color mixing became more apparent.

Ice Bags (4)

As mentioned, you can move the game outdoors to the hot sun to speed the process along. Pretty soon your primary colors will have given way completely to secondary colors!

Ice Bags (8)

Chocolate-Dipped Fruit Activity

Chocolate-Dipped Fruit (3)

Looking for a fun way to keep toddlers busy if big siblings are helping in the kitchen? Give them extra ingredients and chocolate to dip it into!

This activity can get messy but is bound to keep little fingers busy. I gave Veronika chunks of fruit (sturdy fruits like cantaloupe, strawberries, and bananas all work well) with a toothpick in each.

Chocolate-Dipped Fruit (1)

In a microwave-safe bowl, combine 5 ounces chopped dark chocolate and 1 tablespoon vanilla frosting. Microwave at 30 second intervals until melted. Let cool slightly, then place on the high chair tray for your toddler, along with the cut fruit. Time to dip!

Chocolate-Dipped Fruit (2)

I showed Veronika how to poke the other end of the toothpick into a Styrofoam block while the chocolate set, which is half the fun!

Chocolate-Dipped Fruit (4)

After initially snacking on some strawberries, it turned out she was much more into this as artwork, spreading chocolate onto a paper plate with the toothpicks. But between nibbling at strawberry pieces and dipping fingers into the chocolate, it kept her busy while big brother cooked, which was all I needed!

Five Senses Car Games

Car Games (9)

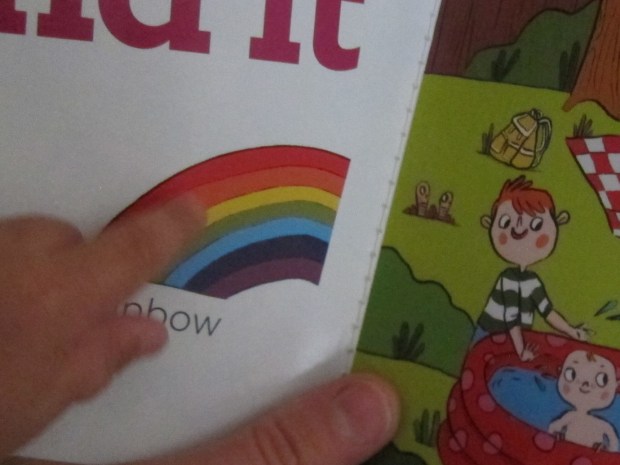
In general, Veronika is an easy child to travel with in the car. She loves to “read” books to herself, or listen to music, or even just look out the window. But I also like finding new ways to keep her entertained in the back seat! Here are a few fun suggestions that will engage all of your toddler’s senses.

Taste & Smell: Make a snack necklace. Remember those candy necklaces from the penny candy store? This is like that, only healthier. Thread o-shaped cereal onto string or a shoelace, and knot into a necklace.

Car Games (5)

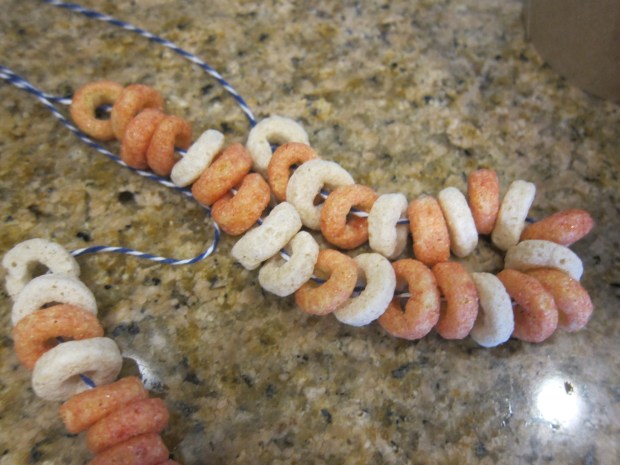
It was a little difficult for Veronika to understand the mechanics of biting off one cereal piece at a time, but once she figured it out, this was a big hit. And it’s way less messy than handing a bag filled with snacks into the back seat!

Car Games (7)

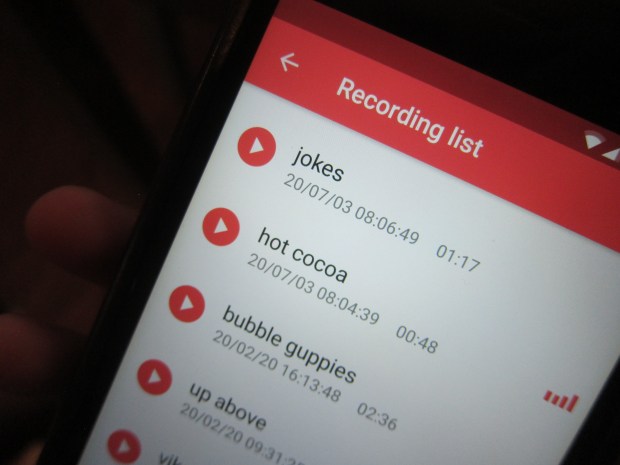
Sound: Ahead of time, enlist other family members to help make a voice recording on your phone. When you then play the sound in the car, your little one will look around for where the voice is coming from! Big brother Travis was my cohort to record a few knock-knock jokes. Then we recorded ourselves humming Darth Vader’s theme song. Poor Veronika looked so confused when we played the jokes, not understanding why Travis’s real mouth wasn’t moving. But she grinned when the song began!

Car Games (1)

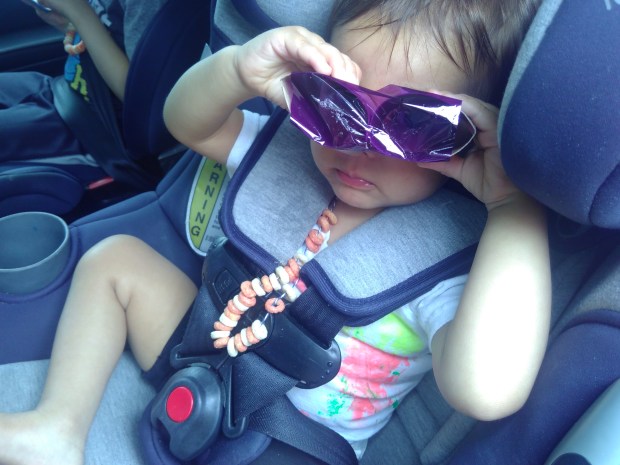
Sight & Touch: For a whole new view of the world (literally!), make mini toddler binoculars. I cut empty toilet paper tubes a little shorter than actual length, and then hot glued two pieces together for each set of binoculars.

Changing Colors (4)

Cover the front of the tubes with a sheet of colored cellophane.

Car Games (3)

The world could be pink! Or purple! Or green!

Car Games (8)

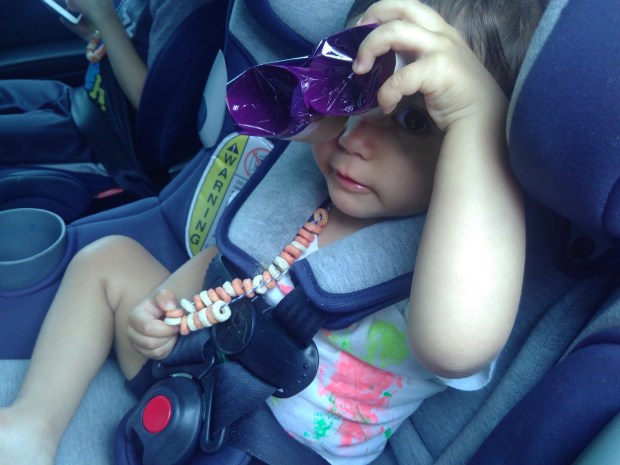
These were the biggest hit of the day, and I could hear her little fingers crinkling along the smooth slippery cellophane with interest, too, adding an element of touch to the game.

Changing Colors (1)

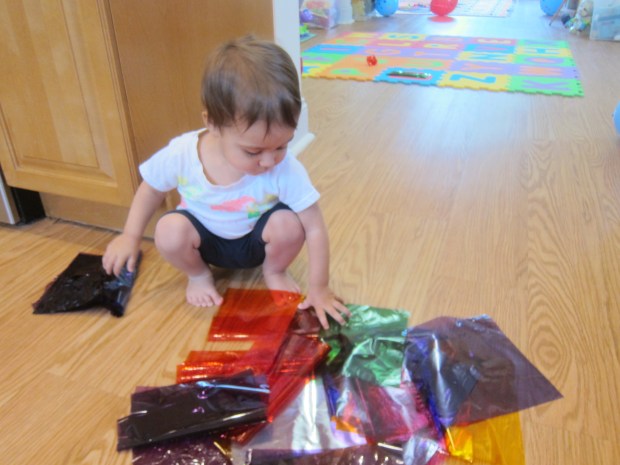
Note: These cellophane sheets are great for changing up the “view” at home, too, You can have your toddler peer through just one color…

Car Games (2)

…or overlap two colors to see color mixing. Veronika likes to look from object to object. “Orange Baby!” she might say, or “Orange Mommy!” Be sure to supervise this game closely so cellophane doesn’t obstruct breathing.

Changing Colors (2)

After all that sensory play in the car, you might just get this:

Car Games (6)

Does your toddler have a favorite car game? Please share in the comments!

Frosting Flags

Frosting Flags (5)

This craft-turned-snack is meant to let toddlers make “flags” in the run-up to the 4th of July. Will your toddler really be able to make a snack that looks like an American flag? Most likely not, but it’s never too early to introduce a little patriotism and show your child that our national colors are red, white, and blue!

Scoop vanilla frosting into three paper cups. Add a few drops of red food coloring to one cup, blue to the second, and leave the third as is. Stir and repeat with more food coloring until you have the desired hues of blue and red.

Frosting Flags (1)

I gave Veronika these cups along with craft sticks as “knives”. Ideally, have your child then paint the frosting onto graham cracker sheets. Because the store was all out of vegan graham crackers, we used saltine crackers instead!

Frosting Flags (2)

It turned out that Veronika was way more into snacking on the crackers than spreading the frosting!

Frosting Flags (3)

To capture her attention, I scooped the frosting out of the cups and let her spread the colors around this way. Now it became more like edible art!

Frosting Flags (6)

All in all, a delicious first lesson on our flag.

Frosting Flags (4)

Fireworks Printing

Fireworks Painting (6)

We’re busy decorating for the upcoming 4th of July, and this was a fantastic way to make prints that looked just like exploding fireworks!

I had a few plastic scrubber sponges which I knew would be perfect for the craft. (Note: look for these in the cleaning supplies aisle of the supermarket).

I set out black construction paper for the night sky, along with paper plates containing red, white, and blue paint. Using one scrubber sponge per color, dip in the paint and then press to the paper.

Fireworks Painting (2)

“Pop!” I said, as I demonstrated to Veronika. “We made a firework!” Saying “pop!” was half the fun of the game, and Veronika proceeded to pop pop pop her fireworks all over.

Fireworks Painting (3)

In this way, we  filled up the black paper rather quickly!

Fireworks Painting (7)

That meant this was a great art project, but definitely not a way to keep your toddler occupied solo.

Fireworks Painting (4)

Even though we can’t watch real fireworks this year, at least our home will be spangled with them!

Fireworks Painting (5)

Imagine

Imagine (1)

The bittersweet moment has come, at 20 months old, that Veronika is ready to wean. Part of me is glad and so proud to see her reach this milestone, but part of me will miss it!

We’re in need, therefore, of a new calm-down bedtime ritual to replace lullabies and breastfeeding. Instead, I’ve started to hug her close as I tell her a story.

Oral stories, rather than simply reading from a page, are a great way to get even young toddlers to imagine and visualize. In fact, we’re enjoying the new ritual so much that my plan is to keep adding to the story nightly. Who knows how long it will go!

Almost anything can be a prompt for an imaginative story like this, but tailor it to your child’s favorite things or activities. Or even use it to address fears that have become apparent in your toddler!

To wit, Veronika’s pajamas made me think of rainbows and unicorns, two of her favorite things.

Imagine (3)

I began to weave a tale about a girl and her best friend (“Sparkly Neigh”), who is so happy that everywhere she goes, rainbows appear. The tale involves swings, ride-on cars, butterflies, adventures, and more.

Imagine (2)

What will your story be about? Please share in the comments!

Glow-Bee

Glow-Bee (5)

Next time your kids want to toss a disc back and forth, don’t just play Frisbee; play Glow-bee. All you need are a few glow-in-the-dark sticks to take a regular game up a notch.

First, Travis used paint markers to decorate a clear plastic lid. We used one from an empty yogurt container, although a larger lid might have been better.

Glow-Bee (1)

Let the paint dry completely.

Glow-Bee (2)

Wait for it to get dark, then add glow sticks! Snap them just before playing, and use hot glue to adhere to the decorated lid.

Glow-Bee (4)

This was so fun to toss, even though it wasn’t pitch black.

Glow-Bee (6)

The streaks of light still made it look like a little comet shooting through the halls.

Glow-Bee (3)

A fun way tire ’em out with a little exercise, right before bed.

Bookmark

Bookmark (4)

I love crafts that capture the size of my children’s hands or feet at regular intervals, a beautiful way to freeze time, given how fast they grow! I was due for a new craft like this with Veronika, and today I decided to make it a bookmark version!

It was admittedly hard to get Veronika to hold still while I traced her hand and forearm on a sheet of poster board. She giggled when the pencil tickled her, or just seemed surprised at the feeling, but I managed to get a fair approximation.

Bookmark (1)

Cut out the shape you’ve traced and let your toddler decorate. I thought Veronika might want to use markers, but she was far more into the glitter bottle I pulled out. Knowing she was likely to dump the whole bottle, I put down wiggly lines of glue on her hand shape and then placed it over a second sheet of poster board to catch the mess. Phew, this mostly contained the glitter dump!

Bookmark (3)

Once decorated, cover your child’s artwork with contact paper, and trim the contact paper to the same shape as the bookmark.

Bookmark (5)

Don’t forget to write the name and date on the back! This is going to make a beautiful memento when I read. I think we’ll even make one or two more to give to grandparents as gifts!