Peanut Butter Sculptures

Peanut Butter Sculpture (4)

This fantastic sensory activity is perfect for entertaining a toddler… and it takes care of snack time, too!

I simply spooned a large glob of peanut butter onto a shallow tray, and set out a few craft sticks (or use plastic take-out knives) and circle crackers.

Peanut Butter Sculpture (1)

Your child can use the craft sticks to make lines and movement through the peanut butter, or to build their budding knife skills by spreading it on the crackers. Once the crackers are sticky with peanut butter, you can stack them into towers and make “art”.

Peanut Butter Sculpture (3)

Veronika loved experimenting with the peanut butter, as well as nibbling the crackers and licking peanut butter right off the craft sticks.

Peanut Butter Sculpture (2)

She also was intrigued by the peanut butter jar, occasionally dipping in a craft stick.

Peanut Butter Sculpture (5)

I wouldn’t recommend this activity for a toddler solo, since it’s bound to get a little messy and you’ll want to supervise.

Peanut Butter Sculpture (6)

But a great way to keep little ones busy! Note: Use another nut butter if your child has peanut allergies, or even jam for all nut allergies!

Peanut Butter Sculpture (7)

Kindergarten Home School Day 7

Home School 7 b

Travis and I only had a half day of home school today, in keeping with our town’s early release Tuesdays. It made it much easier on him, I think – and on me, too!

7-9: Breakfast, get dressed, free play.

9: ELA. Travis came over after our quick check-in for “writer’s workshop”. The assignment was to write a story with the structure of: first, next, and last. I loved watching him write about yesterday’s snowball fight. We also did one letter in his workbook (C).

Home School 7 a

9-9.30: Math: He played three different games on his class computer program involving counting the pips on dice and cards. (Baby sister was busy with tape).

9.30-10.30: Snack/recess. The kids were hungry early, so we hopped right to snack time and then headed out into the spring snow. Travis had so much fun that I let him get out his energy an extra long time. I wish I’d taken pictures!

10.30-11: We discovered the website Fluency and Fitness, a great site to get kids learning and moving. After solving a few problems on the topic of your choice (math, reading etc.), kids do a move like lunges or push-ups. He was a little antsy though…

11-11.30: …so we went off-book and finished the day with a recipe, still one of my favorite ways to spend time together. Check out our whole unit on Japan here!

Clothespin Poke

Clothespin Poke (6)

Much as with tape or tissues, it doesn’t take much to keep a toddler busy. For this game, I used an upcycled egg carton and spring-type clothespins for a simple fine motor activity.

Poke a hole into the bottom of each egg carton portion, just large enough for the clothespins to slot in (I poked the initial hole with scissors).

Clothespin Poke (1)

For the first round, I pushed all the clothespins in and presented the egg carton to Veronika, so it was her job to pull them out!

Clothespin Poke (2)

A few of them got a little snagged on the springs but she was very patient puzzling this out, and so proud when they came free.

Clothespin Poke (3)

Once she had a pile of clothespins next to her, of course she had to poke them right back in again.

Clothespin Poke (5)

And again.

Clothespin Poke (7)

And again.

Clothespin Poke (8)

I loved seeing her return to this throughout the day, pausing to insert a few or pull out a few and then heading off to other games. It was a great way to keep little hands busy!

Fun with Tape and Peeling Tape

Peel Tape (2)

Tape is a fantastic way to occupy a toddler – yes, just tape! Make the game especially fun by using lots of different varieties and vibrant colors.

To start out, I simply set up a tape station for Veronika.

Fun with Tape (2)

Most of the rolls were masking tape (I had a full rainbow of colors), and I also had clear double-sided tape.

Fun with Tape (1)

First I gave her two pieces of tape for her to try sticking them together.

Fun with Tape (3)

This was intriguing, as was sticking tape to her belly!

Fun with Tape (4)

She was in front of a wooden puzzle frame, which was a handy surface for layering down pieces of tape.

Fun with Tape (6)

She kept quite busy sticking the tape pieces off and on for a while.

Fun with Tape (7)

Then we moved on to a slightly more focused activity: Peeling tape. Peeling up layers of crisscrossed tape is not only a great cognitive challenge, but also excellent for strengthening finger muscles.

I laid down long strips of the colored masking tape on a wooden floor (a wooden table would work, too, if you have one large enough). Make sure there is lots of overlap and intriguing angles.

Peel Tape (1)

Sure enough, Veronika couldn’t wait to rip it up off the floor. When she encountered a spot where one piece of tape pinned down another, I could see her brain at work for how to get it all to lift.

Peel Tape (3)

She soon became adept at finding the ends that were curled up slightly in the air, and provided a handhold to start pulling.

Peel Tape (5)

Another success!

Peel Tape (4)

As she worked, I gathered up the strips until we had a big tape ball, which turned out to be fun to play with as the final variant on tape play.

Peel Tape (8)

All of this kept her busy almost all morning!

Peel Tape (7)

Kindergarten Home School Day 6

Home School Day 6 g

I may start to do these home school posts as weekly roundups, especially as it seems likely we’ll extend further into the school year. But for today at least, here was our second attempt at a Monday! There were some real challenges today, less about the schooling and more about a five-year-old’s emotions at missing friends, missing “real” gym and recess, and more. How are you faring? Please share in the comments!

7-9: Breakfast, get dressed, free play.

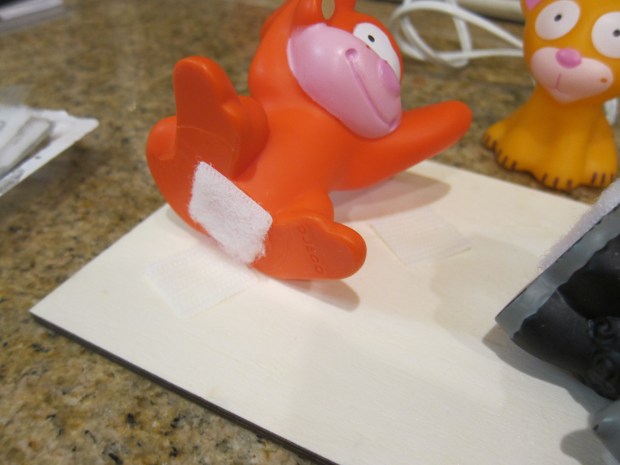
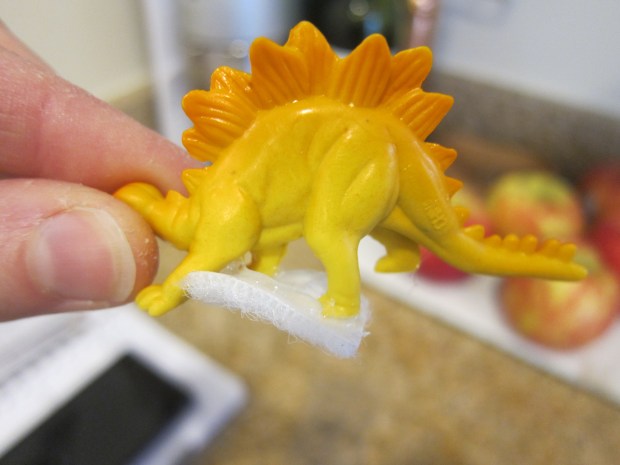
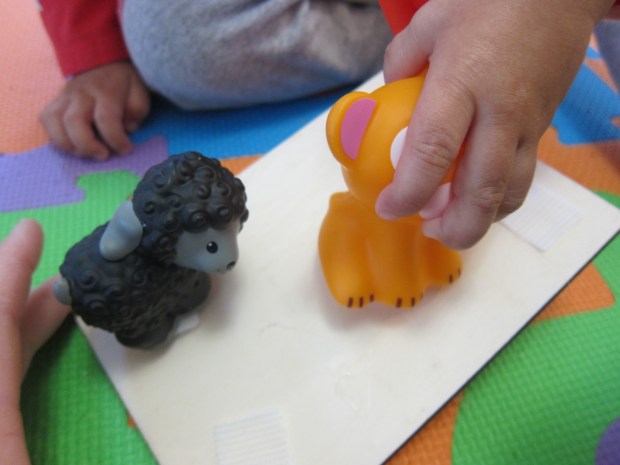
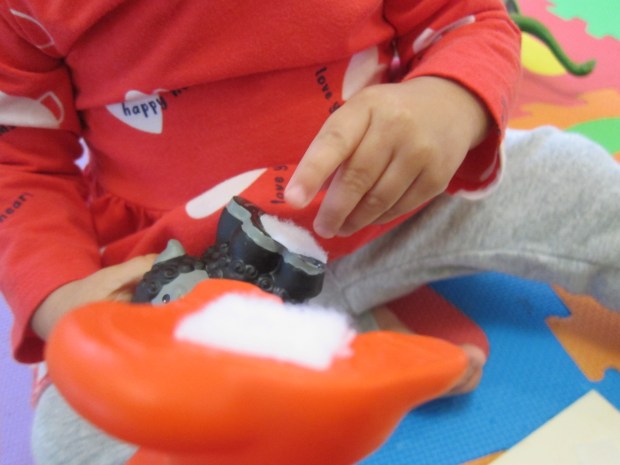
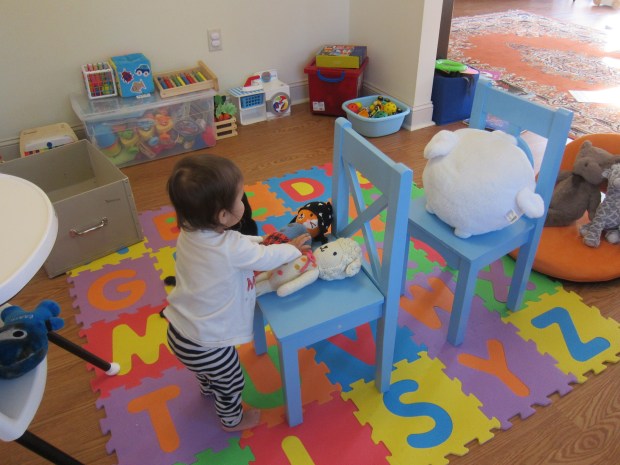
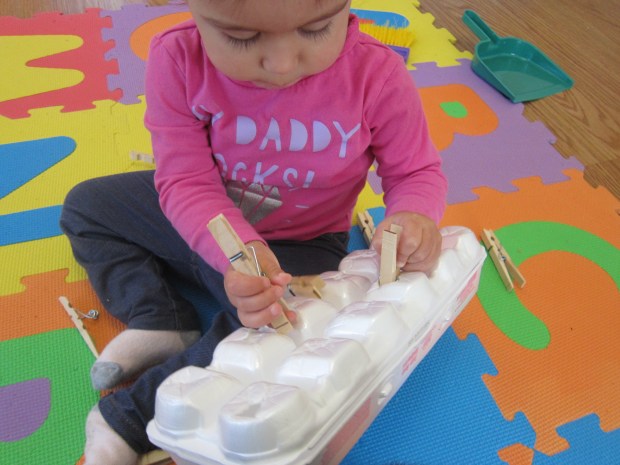
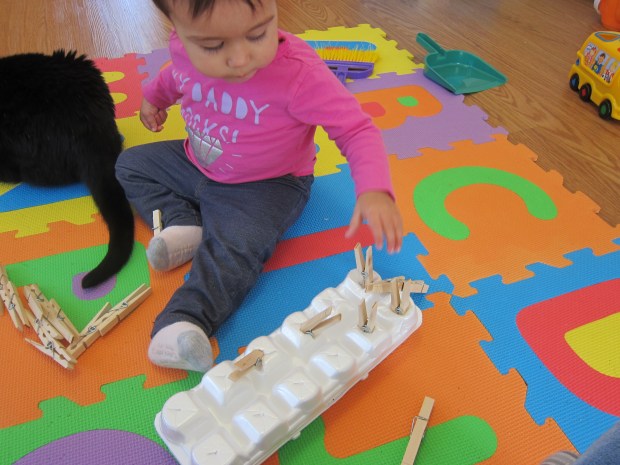
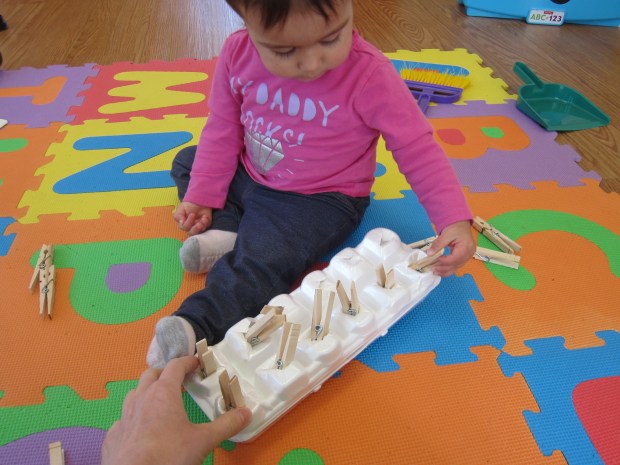
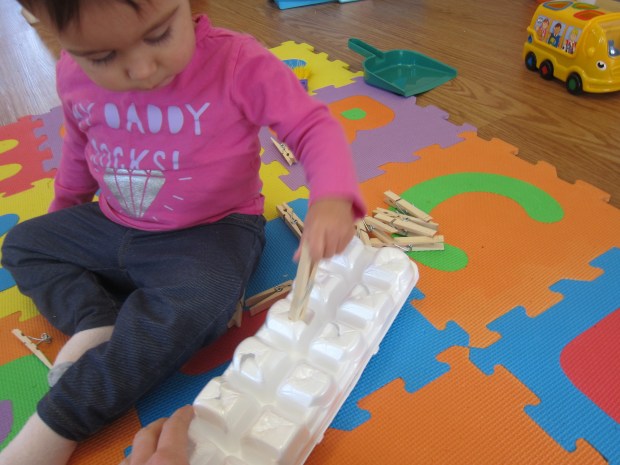
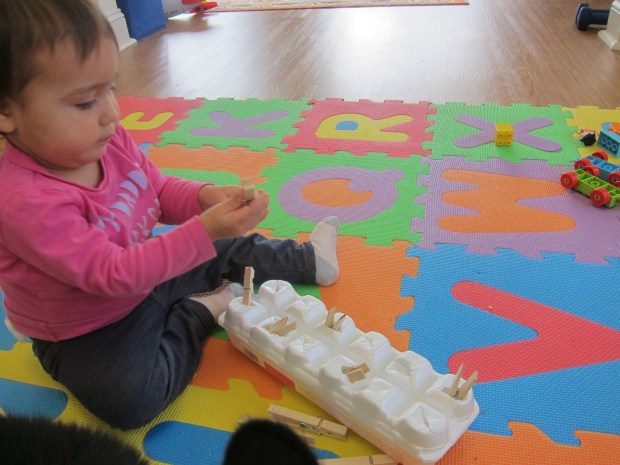
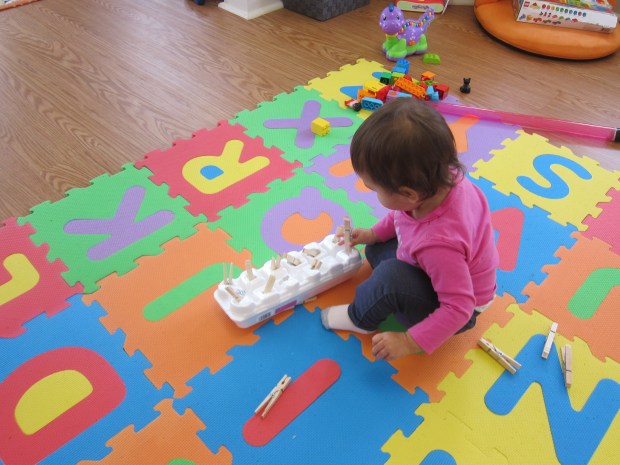
9: Check-in/ELA. I’m making sure to ask Travis how he’s feeling each morning, in addition to going over the weather and day of the week. When we started today’s literacy lessons, I could tell he was bored with sounding out words. What he really needed was to see his teacher, so we were glad to find another recorded read-aloud online. I could only get him to sit for a little Lexia. (Baby sister was busy, meanwhile, with Velcro).

Home School Day 6 b

10-10.30: Snack and recess. The kids got silly eating snack, which was a lighthearted moment. It’s cold and snowy so we weren’t outside long, but did fetch a few sticks because we needed them later for arts and crafts…

Home School Day 6 c

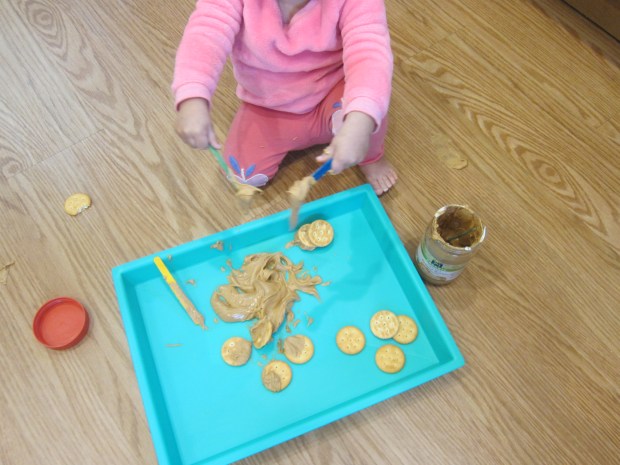
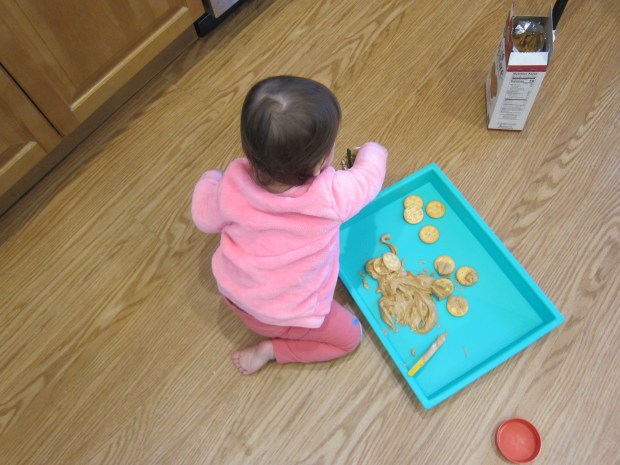
10.30-11: Math. I had him count out peanut butter puff cereal in 3 ways. First just counting the total, then arranging them in a circle, then in 4 groups of 10.

Home School Day 6 e

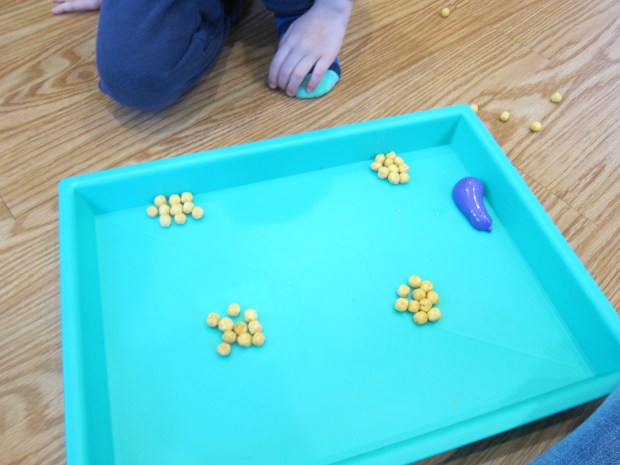
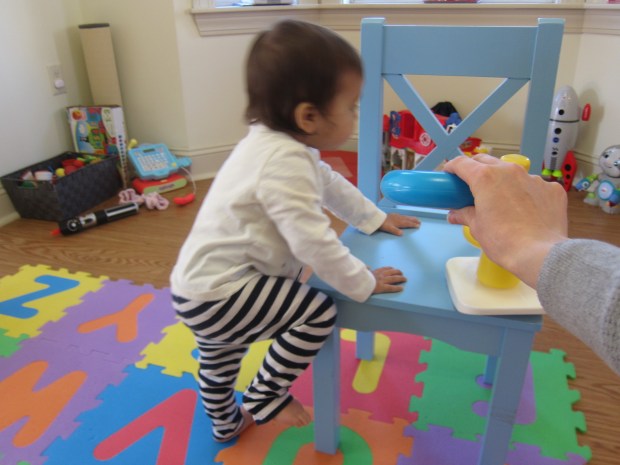
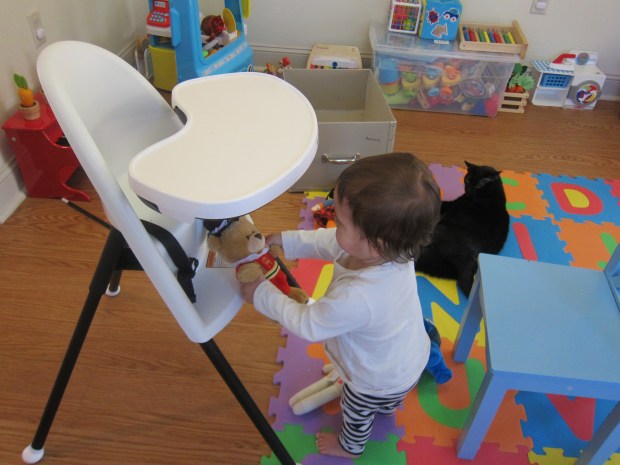
Little sister helped herself to a snack on occasion, so I kept extras at the ready. High fives all around!

Home School Day 6 d

We also did 1 fun page from How High Can a Dinosaur Count.

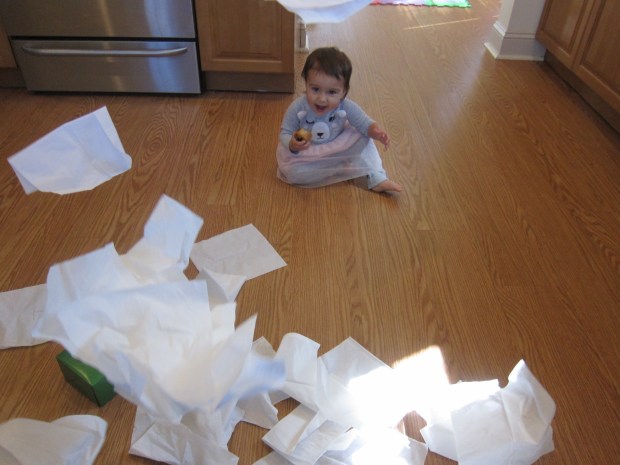
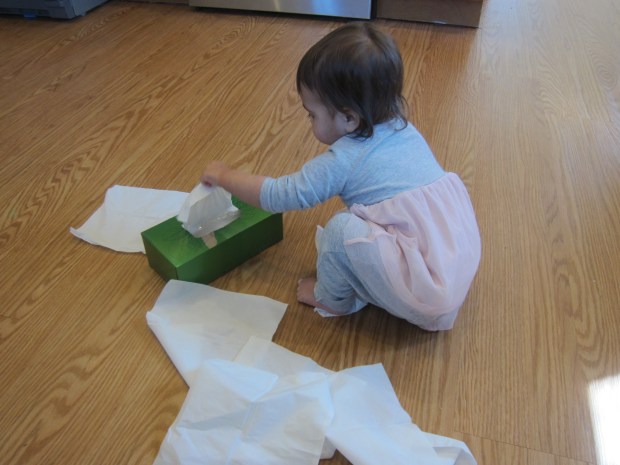
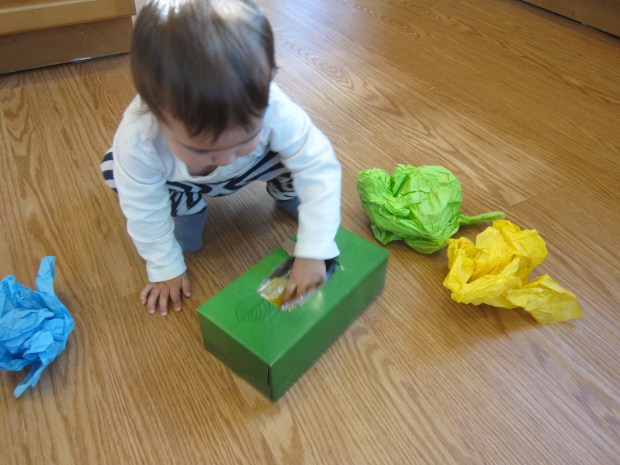
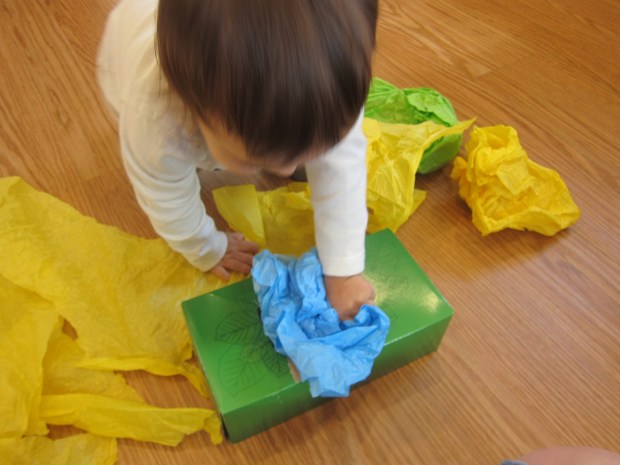
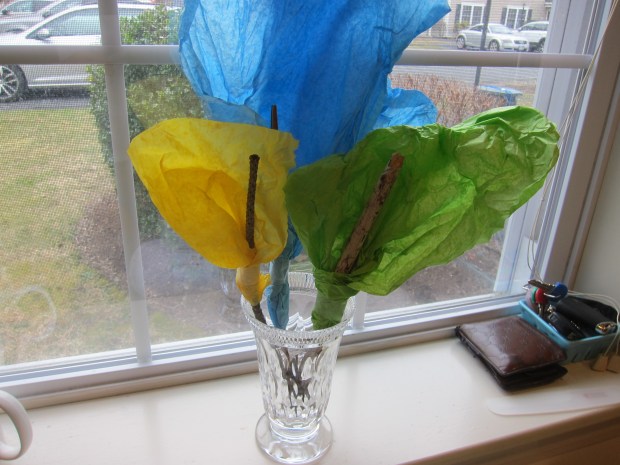
11-11.30: Arts and crafts: Using our sticks from recess, Travis made tissue paper flowers. He twisted big pieces of colorful tissue into “flowers”; they ended up looking like calla lilies!

Home School Day 6 f

11.30-12.30: Gym: He would have had P.E. as the special today. One suggestion was to throw snowballs, but despite the wintry weather, there wasn’t that much snow on the ground. So we made some! This indoor mommy-son snowball fight was the highlight of the day. Next I encouraged him to try an exercise tabata, but this, on the other hand, led to tears and complaints about how home wasn’t the real gym. So we called it quits for…

12.30-1.30: Lunch/free play.

1.30-2: Social Studies. It was hard to get him to focus after lunch. We tried a suggested social studies unit on being a good citizen from pebblego.com, but missing classmates made him angry.

Home School Day 6 a

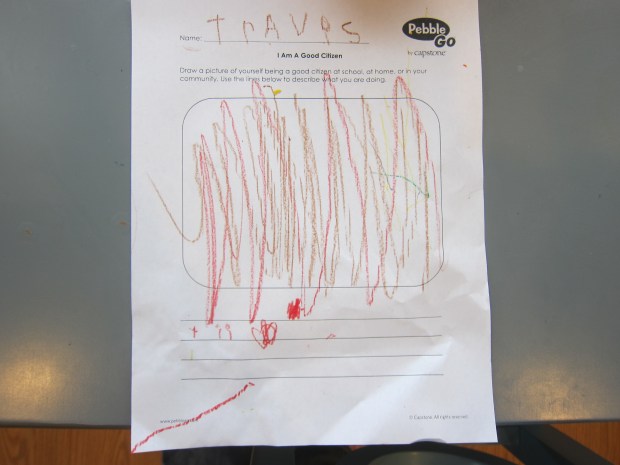
I felt like I was failing. Yes, I can provide my son with literacy and math skills here at home, but I’m also very aware of how far short I fall from replicating a classroom environment for social learning. We tried out a Spanish song and a Kidzbop dance to change his headspace, but those didn’t help much…

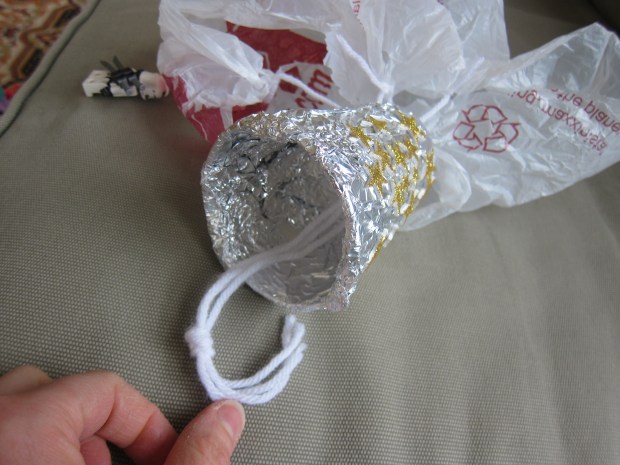
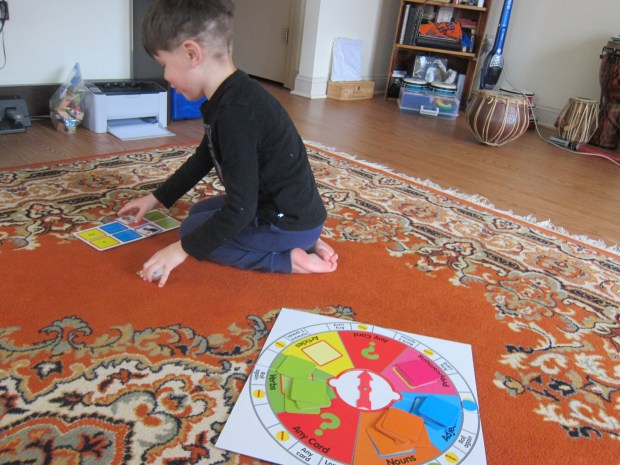
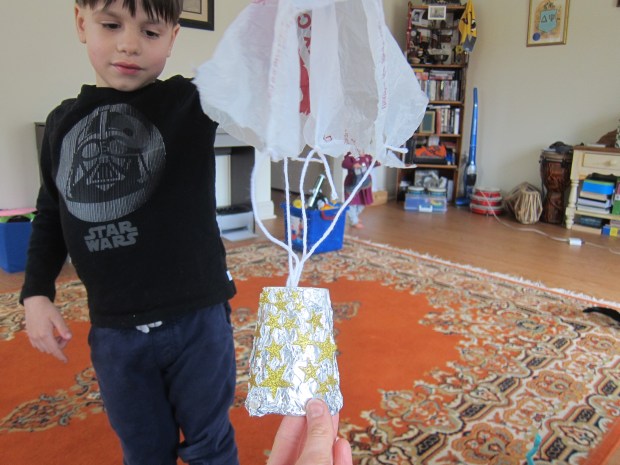
2.30:3: Science. Luckily, a little science did! I decided we needed something more hands on so we made an outer space parachute. We finished the afternoon with a board game. By this point he was really tired, but I pushed him to play a round of Silly Sentences, which is wonderful for teaching parts of speech. Soon he was roaring with laughter for “shiny squirrels singing” and “scary sandwiches breaking”. So much so he wanted to play a second round!

Home School Day 6 h

Just before bed, we watched an online read of I Am Peace, a suggestion from his school counselor to help kids with mindfulness in this trying time. We needed this one tonight, gulp. We’ll jump in again tomorrow.

Outer Space Parachute

Space Parachute (5)

Last summer and fall, Travis and I experimented with a few different ways to make a parachute. For home school “science” today we tried once more, but this time made it outer space-y with a coating of aluminum foil. Travis thought it looked just like the gear used to ease the landing of Mars rovers!

To start, wrap a paper cup in aluminum foil. Travis enjoyed decorating all over with star stickers (in keeping with the theme of course).

Space Parachute (2)
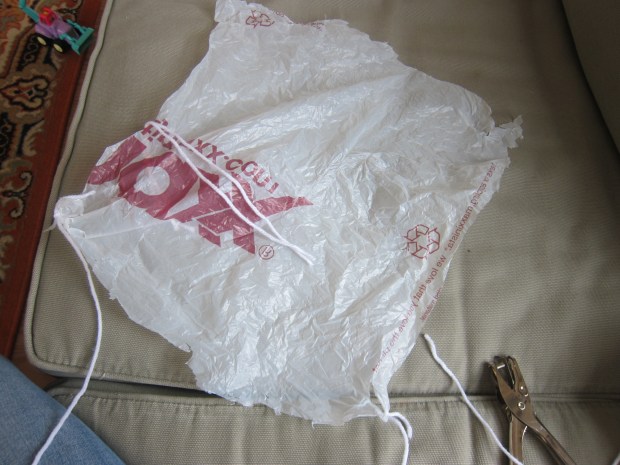
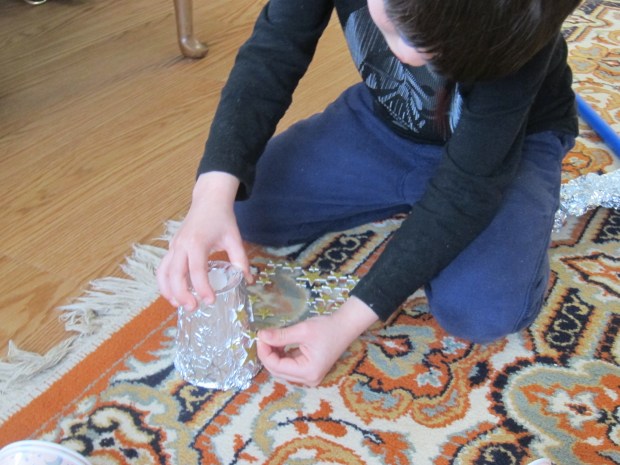
Cut a square from a plastic shopping bag, and then use a hole punch to make a hole in each of the four corners (you may need to rip the bag a little bit, too, to help the hole punch through).

Space Parachute (3)

Cut four equal lengths of yarn and tie one to each corner with a knot. Gather these four strands together and push down through a hole in the top of the cup. Make a fat knot so they won’t slip back out.

Space Parachute (4)

Time to launch! My intrepid explorer bravely climbed the stairs.

Space Parachute (6)

Then it was 3, 2, 1: Blast off!

Sticky Figures

Sticky Figures (6)

Here’s a great way to keep little toddler hands busy… and build muscle strength!

I set up this game the night before for Veronika, using hot glue to attach the scratchy side of Velcro strips onto a piece of flat wood (about 5×7 inches). The Velcro strips were already sticky on one side, but the hot glue was extra insurance that they would stay put.

Sticky Figures (1)

I then glued the opposite side of the Velcro (the fuzzy side) to the bottom of little animal toys and figures.

Sticky Figures (2)

This game will work best with toys that have a nice flat bottom, although I did try little dinosaur figures, too.

Sticky Figures (5)

Now it was simply a matter of presenting the game to Veronika! She loved the way the animals became stuck once attached.

Sticky Figures (3)

I had worried that she would be frustrated at the challenge of pulling them off, but instead she seemed intrigued. She soon learned to pull down on the wood and up on the figure at the same time to help the two Velcro halves apart.

Sticky Figures (4)

In sum, this is a nice game for keeping little hands busy, although I can’t say it occupied her for as long as other recent projects.

Sticky Figures (7)

Balloon Hovercraft

Balloon Hovercraft (3)

This balloon activity is a simple but neat way to demonstrate friction. Similar to an old balloon propeller experiment Travis tried, it illustrates Newton’s third law (that for every reaction, there is an equal and opposite reaction). So when the air from the balloon is allowed to escape, the it propels the CD forward. Consider it for a quick science class if you’re homeschooling this week!

I raided my old CD binder for the project, which had the kids immediately intrigued. This is not technology they see often anymore.

Balloon Hovercraft (1)

Hot glue a pop-top water bottle cap to the middle of the CD, making sure the seal is air-tight.

Balloon Hovercraft (2)

Fit a balloon over the bottle cap, then blow through the hole in the bottom of the CD to inflate the balloon. This definitely takes some lung power!

Balloon Hovercraft (4)

Immediately seal the pop-top. Place the balloon on a flat surface, and lift the pop-top. As the air rushes out, your balloon will go forward, which had big wow factor every time.

Balloon Hovercraft (5)

We never managed to create enough energy to have the CD actually lift and hover, but please share in the comments if you do! We did get it to zoom, though, which you can see in this quick clip:

Chair Maze

Chair Maze (7)

This game is perfect when you want your toddler to fit in some gross motor play, but can’t get to the playground. I simply set up chairs all around her playroom, and encouraged Veronika to come on over.

Chair Maze (1)

You can see her glee!

Chair Maze (2)

I thought she might need to be enticed with a “hunt” for rings from a stacking toy, but she needed no encouragement. Instead, she just scrambled on up.

Chair Maze (3)

Once on top of the chairs, she proudly swung her legs. She knew this was big brother’s chair!

Chair Maze (5)

She still needs help with climbing down safely, so this was great practice.

Chair Maze (4)

The highchair was perfect for crawling under, of course.

Chair Maze (6)

She spent a little while scrambling up and down and all around, but then I needed to give her a way to play that required less supervision. This time, we lined the chairs up in a train with stuffed animal passengers.

Chair Maze (8)

She loved making sure everyone was in their proper seat.

Chair Maze (9)

This kept her so busy that I didn’t worry about her climbing into a chair and falling off while my back was turned. A low, soft orange chair was the perfect place to cuddle up with her train companions.

Chair Maze (10)

“Hello!” she said to the big white dog in the next seat.

Chair Maze (11)

How does your toddler get exercise indoors? Please share in the comments!

Fun with Kleenex

Kleenex Box (4)

Going stir crazy and need to occupy a toddler? Look no further than a box of tissues. Seriously, that’s it. This is what I call a “sacrificial tissue box” and sometimes it’s exactly what the doctor ordered.

Kleenex Box (1)

Put the box on the ground with the first tissue sticking out, and your toddler will immediately think they’ve gone to heaven. Veronika pulled out only a couple at first, and tried to clean the floor.

Kleenex Box (2)

Then she discovered the great joy of pulling out one after another, making a big pile.

Kleenex Box (6)

Then we got silly. I put some on my head and pretended to sneeze them off, which she quickly imitated.

Kleenex Box (8)

You can also pick up big handfuls and have them drift down like “snow”.

Kleenex Box (5)

She also lifted a tissue to her face and pretended to blow her nose just like mommy. “Mommy nose!” she said.

Kleenex Box (7)

Aside from those interactive moments together, the real beauty of the tissue box is that it can occupy a toddler solo for quite some time.

Kleenex Box (3)

The game needn’t end just because the tissues are gone. Re-purpose the box by stuffing in tissue paper. For this version, I started out with the tissue paper wadded up.

Kleenex Box (9)

These were hard for her to pull out though, so we ripped each portion into smaller pieces, which she could stuff in and pull out again.

Kleenex Box (10)

Scarves would work, too!

Kleenex Box (11)