Little Helper

Little Helper (2).JPG

Veronika’s at that delightful age, just shy of one year, when babies want to be your little helper. Ever notice how toddlers toddle over to clean up much more readily than your big kid? Yup! Take advantage of this moment to model “please” and “thank you”, and hopefully to set the stage for good habits.

I noticed it today while folding laundry; Veronika was so eager to help me put the socks in the laundry bin.

Little Helper (3)

Don’t harp over the fact that socks are unpaired or washcloths unfolded, just accept the help! With each item in, I gave her a big thank you. “Can you please put the socks in the bin?” I asked her. Yes indeed!

Little Helper (1)

Another great opportunity was at meal time.

Little Helper (4)

“Can I please have your cup?” I asked her, instead of simply taking it from her when she looked finished.

Little Helper (5)

She handed it over with a big smile.

Little Helper (6)

How do you teach your baby manners? Please share in the comments!

Homemade Playdough

Playdough (8)

If you’re excited for your baby to play with playdough but don’t like the ingredients in the store-bought stuff, look no further. This easy no-cook dough comes together so quickly I could whip it up before the morning school bus!

In a big bowl, stir together 3 cups flour, 2 tablespoons cornstarch, 1 cup salt, 1 cup cold water, 2 teaspoons food coloring, and 2 teaspoons vegetable oil.

Playdough (1)

Stir to form a dough, then turn out onto a surface and knead until it comes together and feels like playdough. I found it helpful to divide the dough into four smaller portions during this step.

It was time for Veronika to play! We sat down on the floor and I showed her the dough. She seemed hesitant to touch it at first!

Playdough (5)

I made a few shapes for her, showing her how to roll it into balls or snakes, or how to pay it into flat discs.

Playdough (3)

She got into the action a little tentatively, but with smiles.

Playdough (7)

Then of course she wanted to lick it. Uh oh, yucky!

Playdough (6)

Luckily the high salt content means even the most curious kids won’t take more than a sample.

Playdough (4)

Have fun making animals and name them for your baby. We had snakes and perhaps a green frog or two. The playdough will keep in an airtight container or bag for about 1 week. Next time we’ll try a different color.

Playdough (2)

Want a more fall-themed version for your baby? My all-time favorite homemade playdough is pumpkin pie scented.

Geometric Refrigerator Magnets

Refrigerator Magnets (7)

We now officially have tangrams all over the house, whether felt versions to make in the playroom or this handy set for the fridge!

Travis loved making the magnets. You can purchase sheets of magnetic paper at the craft store with a sticky backing on the other side. We printed out and colored tangram shapes, and simply stuck these onto the sticky side.

Refrigerator Magnets (1)

Travis was fascinated with how it worked: where was the magnet? he wanted to know. How did the shapes stick?

Cut out your shapes (this was a lot of cutting for mama!) and transfer to the fridge.

Refrigerator Magnets (2)

At first Travis just played with them and made up his own designs.

Refrigerator Magnets (4)

For a challenge, print out a few tangram shapes and set your child loose. Bigger kids can work with just the outline; younger kids can rely on the answer code at the end of the pdf.

Refrigerator Magnets (3)

Now when I hear those whines of, “Is dinner ready yet?” I set him loose to solve a tangram at the fridge. Built-in kitchen entertainment!

Refrigerator Magnets (6)

Think Outside the Gender Toy Box

Gender Toy Box (6)

I’ve always tried to give my children toys that are gender neutral, especially as babies and toddlers. Partly this is by accident; there is nothing inherently gendered about many fantastic baby toys, including stacking rings, farm animal sets, building blocks, and textured books. Partly it’s by design; as a gender studies major, I had strong beliefs about not gendering my children’s play, especially with my eldest.

But the gendered toys do happen, and thus we’ve accumulated “boy toys” over the years for Travis: cars and trucks, big construction vehicles, and action figures (oh boy the action figures).

Today, I let Veronika have at this “boy” play bin! Not only was this a fantastic way to swap up her toys (something I recommend regularly in any playroom), but Veronika had no idea the toys were gendered and was quite simply thrilled to have her brother’s things. As an eleven-month-old just starting to enjoy imaginative play, it’s a great time for a swap like this.

First up, lots of vrooming! Veronika likes to scoot boxes or toy telephones around on the floor with a “vvvv” sound, so I knew these would be a hit.

Gender Toy Box (1)

No sooner did I place down a police car and firetruck then she was off. “Vroom!”

Gender Toy Box (2)

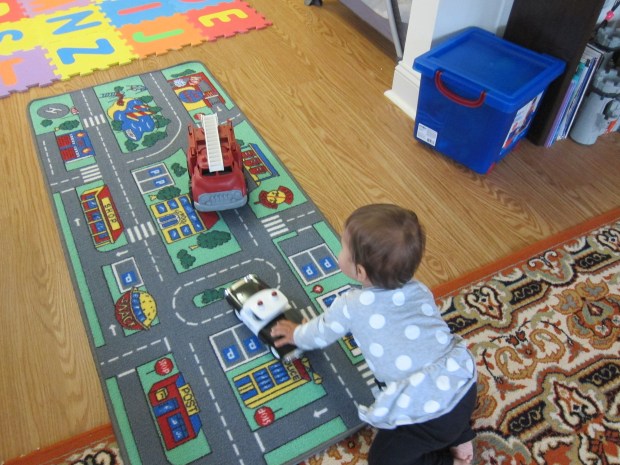
We added in a few smaller cars and trucks on the town playmat, and there was lots of happy scooting for quite some time.

Gender Toy Box (3)

Then I gave her two superheroes (if your baby is under three, choose wisely, as many have small parts; a big Spiderman and Superman were perfect). She was thrilled!

Gender Toy Box (5)

Spiderman and Superman had no idea what hit them. This little lady wanted to play for ages. She twirled them around, carried them around, put them in trucks, you name it.

Gender Toy Box (7)

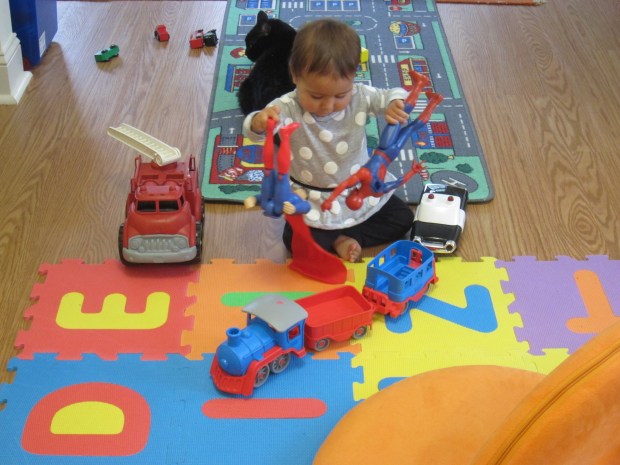
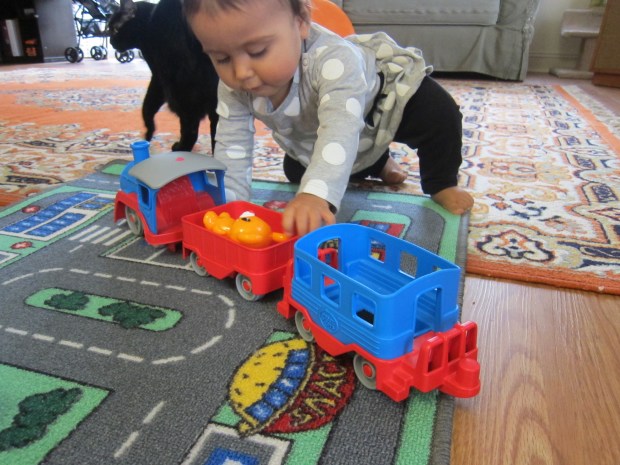
Other fun options for “boy” toys included a train…

Gender Toy Box (4)

…and a rocketship.

Gender Toy Box (9)

So whether you’re giving your little girl “boy toys” or your little boy “girl toys” (dolls, tea sets), mix it up today! Chances are your baby will have a blast.

Foam Sheet Bath

Foam Bath (5)
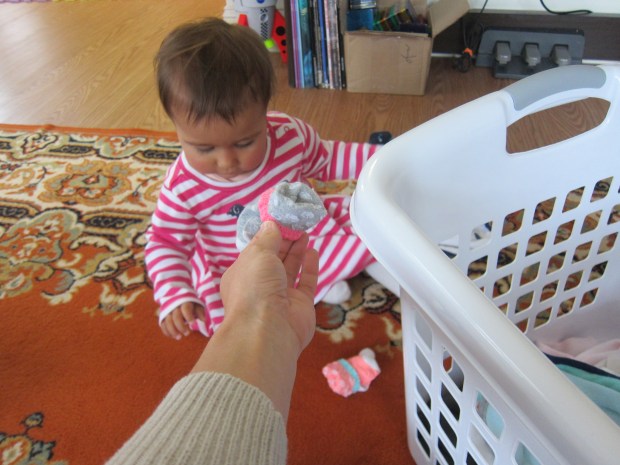
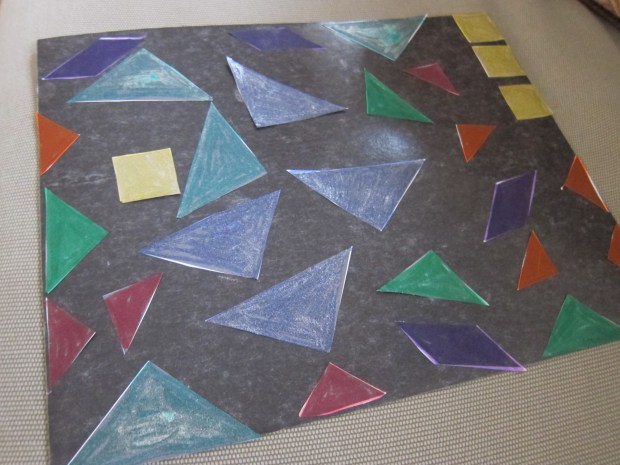
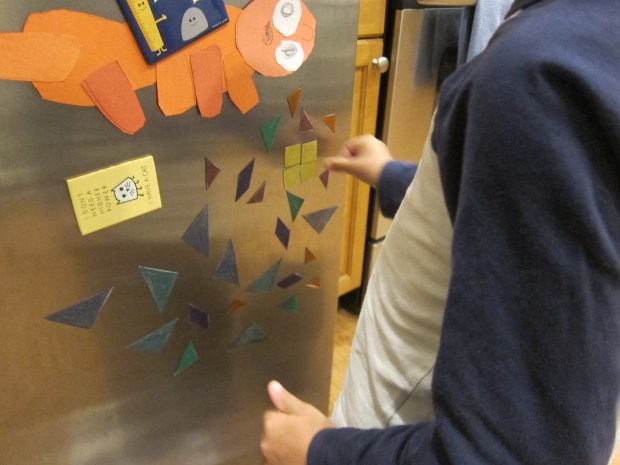
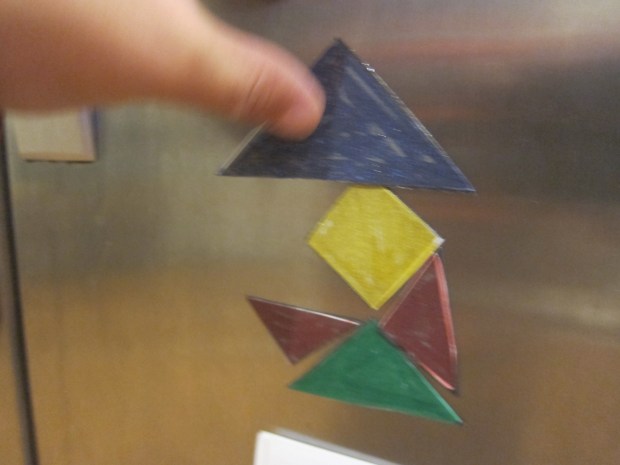
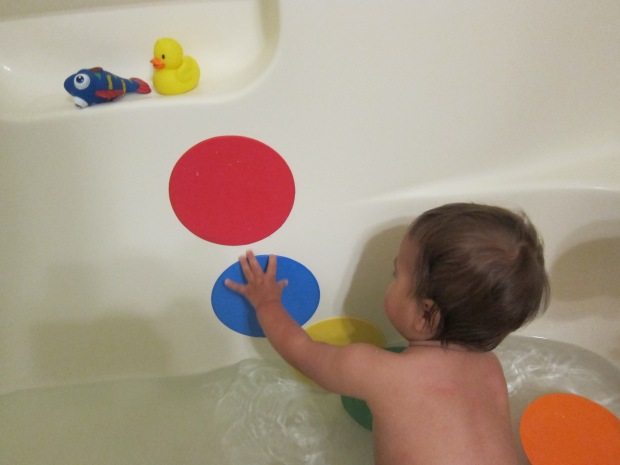
There’s a new favorite bath toy around here, and it’s as simple as this: leftover foam sheets from the craft store!

Foam Bath (1)

I happened to have circular ones, which were the perfect material for the tub. They are slightly smaller and thus easier to manipulate than standard rectangular sheets you can purchase. If you have big rectangular ones, consider cutting into smaller shapes in a variety of squares, circles, and triangles.

Veronika was soon squishing them in her hands in the water with glee.

Foam Bath (2)

I showed her how to stick them up to the wall as soon as they were wet, and she proceeded to pull them down and stick them back on all bath.

Foam Bath (4)

Rather obviously, the game was great for talking about colors, too! Could she put her hand on the blue one? Could she hand me a green one?

Foam Bath (6)

As a bonus, leave them in the tub for older siblings; big brother Travis turned these into “lily pads” for toy animals!

Foam Bath (3)

Craft Stick Puzzles

Craft Stick Puzzle (5).JPG

This is a fast, easy way to make a puzzle at home, much more reliable than the cereal box version Travis and I tried earlier in the week!

Craft Stick Puzzle (1)

Cut a pretty greeting card into strips the width of a jumbo craft stick. I drew guiding lines for Travis, who so proudly cut straight along the lines. “This is fun!” he said, before we even got to the puzzling.

Craft Stick Puzzle (2)

Apply a layer of mod podge to each craft stick and glue on a piece of your puzzle. Let dry completely, then apply a second layer of mod podge over the strips.

Craft Stick Puzzle (3)

Once dry, I numbered the craft sticks 1 through 7.

Craft Stick Puzzle (4)

This numbering allowed him to puzzle in two ways; the harder way was simply to put it together relying on the picture. For a little assistance, Travis only had to refer to the numbers at the bottom!

Craft Stick Puzzle (6)

Happy puzzling!

Craft Stick Puzzle (7)

Calming Sensory Play

Calming Sensory (4)

Veronika was uncharacteristically fussy this afternoon, so I knew exactly which sensory game to pull out. All you need is a large bin, a bulk bag of rice, and lavender essential oil.

Calming Sensory (1)

Pour the rice into the bin. Add just two to three drops of lavender oil; you really don’t want more than that, as essential oils are quite potent. Be aware, too, that lavender oil can cause skin reactions and stop immediately if you notice your baby having one.

First, I simply let Veronika smell the oil. She seemed calmer already!

Calming Sensory (2)

I put a few cups into the bin and poured the rice back and forth.

Calming Sensory (3)

The scent drifted up to us instantly, and Veronika was hooked. I showed her how to let the rice run through her fingers and she followed suit.

Calming Sensory (8)

She was soon quite busy, digging in her fingers and trying out the cups.

Calming Sensory (7)

Then she discovered that when she picked up a handful of rice and tossed it on the floor, it made a satisfying scattering sound.

Calming Sensory (10)

She continued this with such pleasure that I didn’t mind the mess, and clean-up was an easy matter of using a dust pan once she was through.

Calming Sensory (9)

And at the end, she truly did seem calmer than when we had started.

Calming Sensory (6)


Clapping Games

Clapping Game (5)

We took a little pause today for musical and rhythmic fun with the most basic instrument of all – our clapping hands! I sat down and did a simple clapping pattern for Veronika: lap once, clap twice.

Clapping Game (1)

She froze, enthralled, and then almost instantly began trying to copy me. Her “lap” tended to tap on her chest, but I could tell she was trying intently to copy my rhythm.

Clapping Game (2)

I recruited big brother Travis who made up the next pattern. He was proud of his rhythm, involving numerous taps on legs and then clapping.

Clapping Game (4)

Veronika started bouncing with excitement. You could practically see the rhythm in her whole body as we “danced” to our clapping instrument hands.

Clapping Game (3)

We added music to really make it a dance party and continued clapping and bopping in simple patterns. This was such a beautiful pause in an otherwise hectic day. So don’t forget how rhythmic babies are naturally, almost from birth, and get clapping!

Chalk Drawings

Chalk Drawings (4)

I took advantage of some late warm weather to get out on the patio today! Since Veronika has shown she can make art with a crayon instead of putting it straight to her mouth, I dared to give her chalk.

She loved it! As soon as she saw me making colors on the pavement, she scribbled along in imitation.

Chalk Drawings (1)

Orange was a clear favorite.

Chalk Drawings (2)

Meanwhile, I made big strokes with the chalk pieces and talked about their colors. It’s also fun to draw shapes or letters for your baby. Veronika was happy just scribbling away next to me!

Chalk Drawings (3)

So pull out the chalk and enjoy a little art pause with your baby! I’d love to hear how it goes in the comments.

Bear Hugs

Bear Hugs (6)

Some days just call for extra hugs, and here’s an extra fun way to give them. I first demonstrated on a teddy bear to get Veronika giggling. Give a stuffed bear (or any stuffed animal) a big hug, then…

Bear Hugs (2)

… tickle tickle tickle! I gave Veronika the bear so she could hug and tickle, which earned a big smile. Now it was her turn. I scooped her into my arms for a big hug, then started tickling gently over her back and tummy.

Bear Hugs (4)

She ended with big giggles before we needed a repeat!

Bear Hugs (3)

As with any tickling game, make sure your little one is enjoying the activity and stop as soon as he or she shows discomfort.

Bear Hugs (5)

But I’d say we had a bear-y good time.

Bear Hugs (1)