Flashlight Show

flashlight show (2)

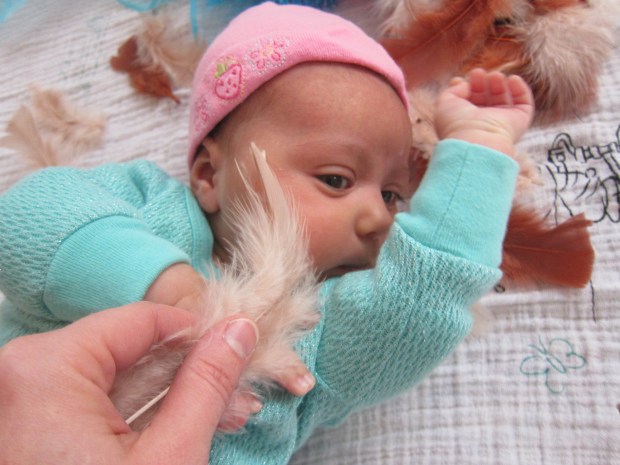
Your two-month-old is still developing his or her eyesight, and still loves sharp contrast. A great way to play up this factor is to shine a flashlight after dark! This is a cozy game to play at bedtime, or as you wind down for the evening.

I sat with Veronika in her room, turned out the light, and started by shining a flashlight on different parts of her body. Those adorable feet…
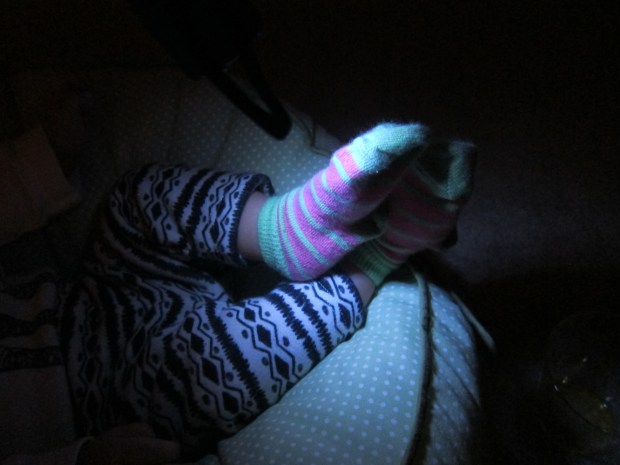
flashlight show (1)

…and hands.

flashlight show (4)

Next I shined the light on various toys or objects around the room, naming them as I did so. This makes the game great not just for strengthening eyesight, but also for language development.

flashlight show (3)

Because big brother Travis loves to take the occasional bath-by-flashlight, we extended the game to bathtime. Lots of great vocab in here, including the shower curtain…

flashlight show (5)

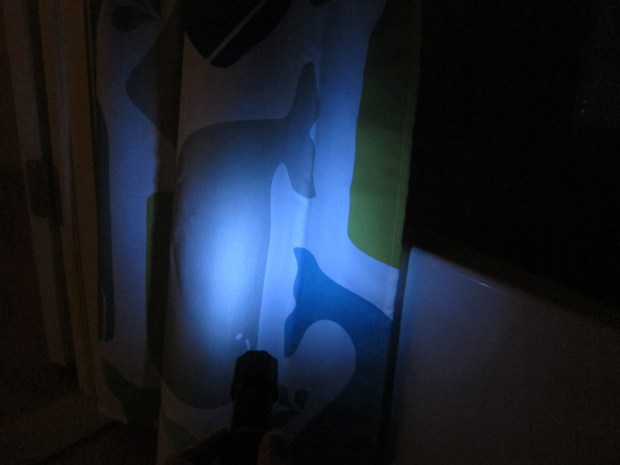
…and the little whale who protects our spout.

flashlight show (6)

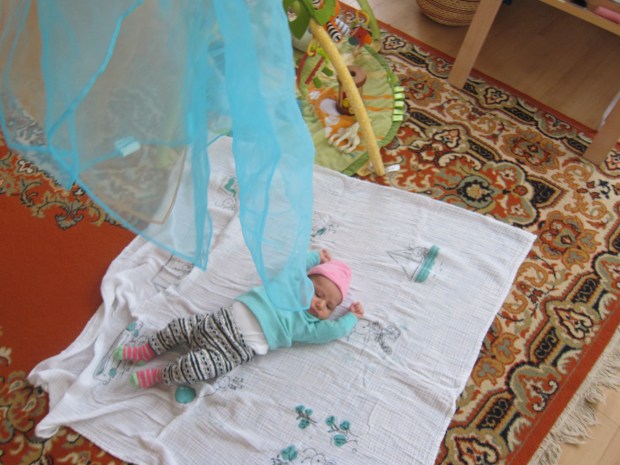
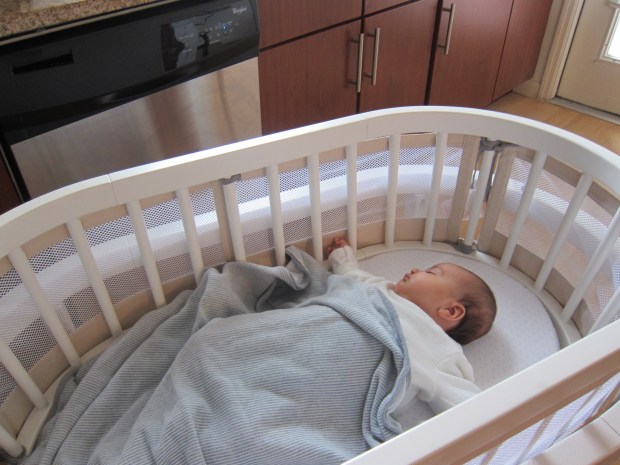
You can also play this game while your baby lies in the crib, and shine the flashlight through a toy or other object held up against the wall. You’ll get great shadows – what a show!

Fluffy-Paint Collage

Fluffy Paint (13).JPG

We tend to think of sensory art projects as toddler games, but sometimes, even four-year-olds just need to get messy! Queue this shaving cream paint project, a great suggestion from High Five magazine, that absolutely delighted Travis.

To make our fluffy paint mixture, we first mixed 1/2 cup white glue with 1/2 cup shaving cream (thanks Daddy!) in a bowl.

fluffy paint (2)

Stir until combined. Divide the glue into cups (as many different ones as you have colors). Add drops of food coloring, and stir until mixed.

fluffy paint (3)

Travis loves to play mixologist like this!

fluffy paint (4)

We smeared our puffy paint over two thick pieces of watercolor paper (card stock would work, too). Let dry completely.

fluffy paint (5)

Travis loved this step so much he requested extra cups of shaving cream to stir and tint with color. I was happy to oblige!

fluffy paint (6)

Later in the afternoon, it was time for some fine motor skills. First, we had to check out how the dried paint felt. Very puffy!

fluffy paint (9)

We cut the puffy pictures into pieces.

fluffy paint (10)
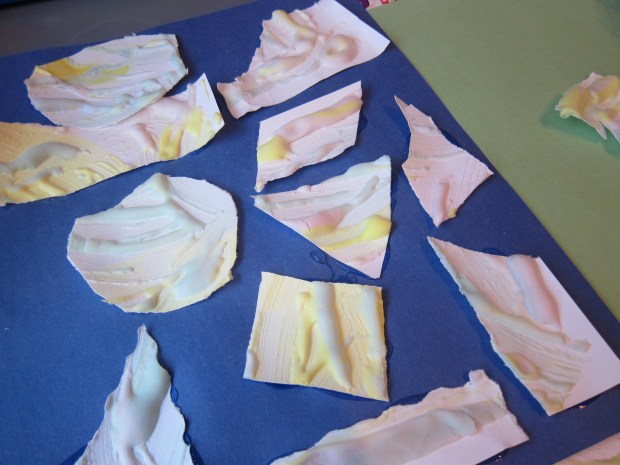
Travis was proud to cut his paper any which way, and I made a few more exact shapes – circles, squares, triangles etc.

fluffy paint (11)

Choose a piece of colored construction paper for a background, and glue down the pieces with clear glue for a creative collage. Older children may want to be very deliberate, and design flowers or other motifs. Travis just loved making piles of clear glue!

fluffy paint (12)

Once again, he loved this step so much that when we were done, he asked for extra paper to cut up and glue down. I loved seeing him so busy!


Up and Away

Up and Away (2).JPG

Today was Veronika’s first airplane ride!

Okay, maybe not really, but with stronger neck and head muscles, it was time to take her for a classic baby airplane ride.

Start sitting up, with your baby’s tummy on your shins. Gently lean back, holding baby securely, then lift your knees up in the air.

up and away (1)

Whee, we’re flying! As baby gets older, there are fun ways to vary this. I used to joke to Travis that his take-off had been delayed (we live near LaGuardia after all!), earning huge giggles. You can also do fun landings, sound effects, silly turbulence, and more.

Thanks to big brother Travis for the pics!

Butterfly Kisses

butterfly kisses (1)

Veronika had a sleepy day today…. A growth spurt perhaps! But we did fit in this sweet little activity. Instead of regular kisses to those chubby cheeks, give your baby butterfly kisses.

If you’re not familiar with the term, simply lean your face in close to your infant, and flutter your eyelashes against their skin.

This is an adorable activity to engage big siblings as well. Travis leaned in close to give Veronika a kiss this way. Don’t forget to give your big kid a butterfly kiss, too!

butterfly kisses (2)

If you really want to up the sappy factor, make tonight’s lullaby Butterfly Kisses:

Floating Scarves

Floating Scarf (2).JPG

This cute game is a new way to engage your baby with different fabrics and textures; it’s a step up from the dangling scarf game Veronika and I played at one month old. Now she’s a big two months old, and enjoyed this new version!

Talking to your baby, hold thin scarves a little above him or her, and let float gently to the ground. After the first few times, Veronika was looking up in anticipation.

floating scarf (1)

When the scarves landed, I quickly took them away from her face, but let her feel the fabric on hands and cheeks.

We varied the game by using feather boas…

floating scarf (3)

…and then feathers from the craft store.

floating scarf (4)

These last were super fun and tickly.

floating scarf (5)


Customize the Baby Gym

custom gym (3)

At two months old, chances are your baby spends a lot of time on his or her back staring up at the toys on a playgym, and will continue to do so until he or she can sit in another few months – that’s a lot of time staring up at the same toys!

Today I did a little switch-e-roo for Veronika, mixing up the toys. Snap-on ones from her Cricket Crate were perfect, as well as a few other Velcro toys that hang down and can attach safely.

custom gym (1)

She seemed to love the change of scenery, doing lots of reaching…

custom gym (2)

…and kicking.

custom gym (5)

Whoops, she seems not so sure about Mr. Octopus here!

custom gym (6)

This a great thing to get in the habit of doing weekly for your little one. I even hung a set of plastic teaspoons for Travis, when he was a few months old! Anything that can safely dangle and entertain will keep that little one happy while you get things done around the house.

custom gym (4)

Indoor Sledding

Indoor Sledding (1)

Why should big kids have all the sledding fun? Here’s a wild idea I never would have come up with until spotting in a baby game book. The cardboard “sled” is great for developing your little one’s muscles.

Lay your baby on a large, flat piece of cardboard; make sure the cardboard is completely smooth, with no staples, tape, or other items protruding out.

Indoor Sledding (4)

Very gently start to move the cardboard back and forth – this isn’t a downhill ride folks, just a gentle motion!

Veronika seemed to really enjoy it!

Indoor Sledding (2)

She instantly picked her head up to see what was going on, great for muscle development. Tummy time on steroids!

Indoor Sledding (5)

Because she was relaxed and happy, I also experimented with moving the cardboard forward and backward. Whee!

Indoor Sledding (3)

Here’s a quick clip of her ride:


White Noise

White Noise (2)

First-time parents tend to be nervous about noise and napping babies… But as a veteran, I can promise you that nothing is further from the truth. First of all, I recommend making noise as your child naps, simply so they don’t become precious sleepers. Travis can sleep through just about anything!

But perhaps even more counter-intuitive, common “loud” appliances actually provide white noise that helps babies sleep, provided they are not too close to the source and the decibel level isn’t too loud. Rather, it’s sharp, sudden noises that might startle a baby awake. (That adorable Moro reflex isn’t so cute when it interrupts a much-needed nap).

Perfect examples? The dryer, as Veronika models at the top of this post, and also the dishwasher.

White Noise (4)

Other things to try include humming air vents, or baby swings that come with built-in noise, such as the Mamaroo seat.

And yes, the vacuum… tho here’s Veronika checking it out very curious and awake!

White Noise (1)

Cardboard Tube Star Garland

Star Garland (8).JPG

January always feels so sad after the holiday decorations come down – so why not leave some sparkle up in your home to brighten the dark winter days? To wit, this glittery star garland added shimmer and shine to the wall that held our holiday cards, up until a few days ago. Enlist your kids and you’ll have a fun afternoon project before school starts back up again!

Star Garland (4)

You’ll need paper tubes to make the garland, either toilet paper rolls or paper towel rolls; for the latter, cut the tube into thirds.

Travis helped use grown-up scissors to make five slits in each tube, nearly to the edge. Fan out the slits and you have a star shape.

Star Garland (2)

We smeared a glue stick on each of the five arms, and pressed into a plate of glitter, one at a time.

Star Garland (3)

Set aside to dry. Because we used a glue stick instead of white glue, it dried fairly quickly.

Star Garland (5)

Travis got to use his new one-hole punch on one arm of each star.

Star Garland (6)

Thread a string or twine through the holes, and mount on a doorway, window, or wall for sparkly decoration.

Star Garland (9)

Happy January!

Star Garland (7)

Unwind Outside

Unwind Outside (4).JPG

Happy New Year! We took advantage of an unseasonably warm January day to get outside… This simply activity felt magical with a baby who was born just before the weather turned cold, and hasn’t had many opportunities yet simply to be outside.

As long as it’s relatively warm and dry, head outside and let your baby nap in the fresh air. The air and sunshine will feel so wonderful, even as they doze!

Unwind Outside (1)

After a little while, Veronika woke up. I laid down a thick picnic blanket, and put her on her back under a tree.

Unwind Outside (2)

Even with no leaves, the pattern of the branches against the bright blue sky was just gorgeous. We took a great pause together, and I pointed out colors (blue sky, brown branches) and let her feel blades of grass.

Unwind Outside (3)

A beautiful pause in our afternoon.

Unwind Outside (5)