Earth Hour

Earth Hour (4)

We learned last minute that Earth Hour is tonight, an hour to turn off the lights in honor of our planet. We started the hour on a serious note, watching this important video about the impact humans have on Earth, ways we can save resources, and how it all links to the pandemic that has had the entire globe reeling for a year now.

I didn’t want the activity to feel too heavy for my six-year-old, though, so knew we’d have to have some fun in that dark hour, too. Luckily, Travis’s Highlights magazine had us covered with 5 ideas once the lights went out!

One: Paint glow-in-the-dark self portraits. I pulled out a few tubes of glow-in-the dark paint and we each made silly cartoon depictions of ourselves. Travis loved activating the paint with a flashlight, then turning it off to see the glow!

Earth Hour (1)

Two: Write in the dark. Along the same lines, next we tried writing then turned on a flashlight to see how we’d done. Older kids can write lines of poetry or stories. Travis was so proud just to spell out his little sister’s name!

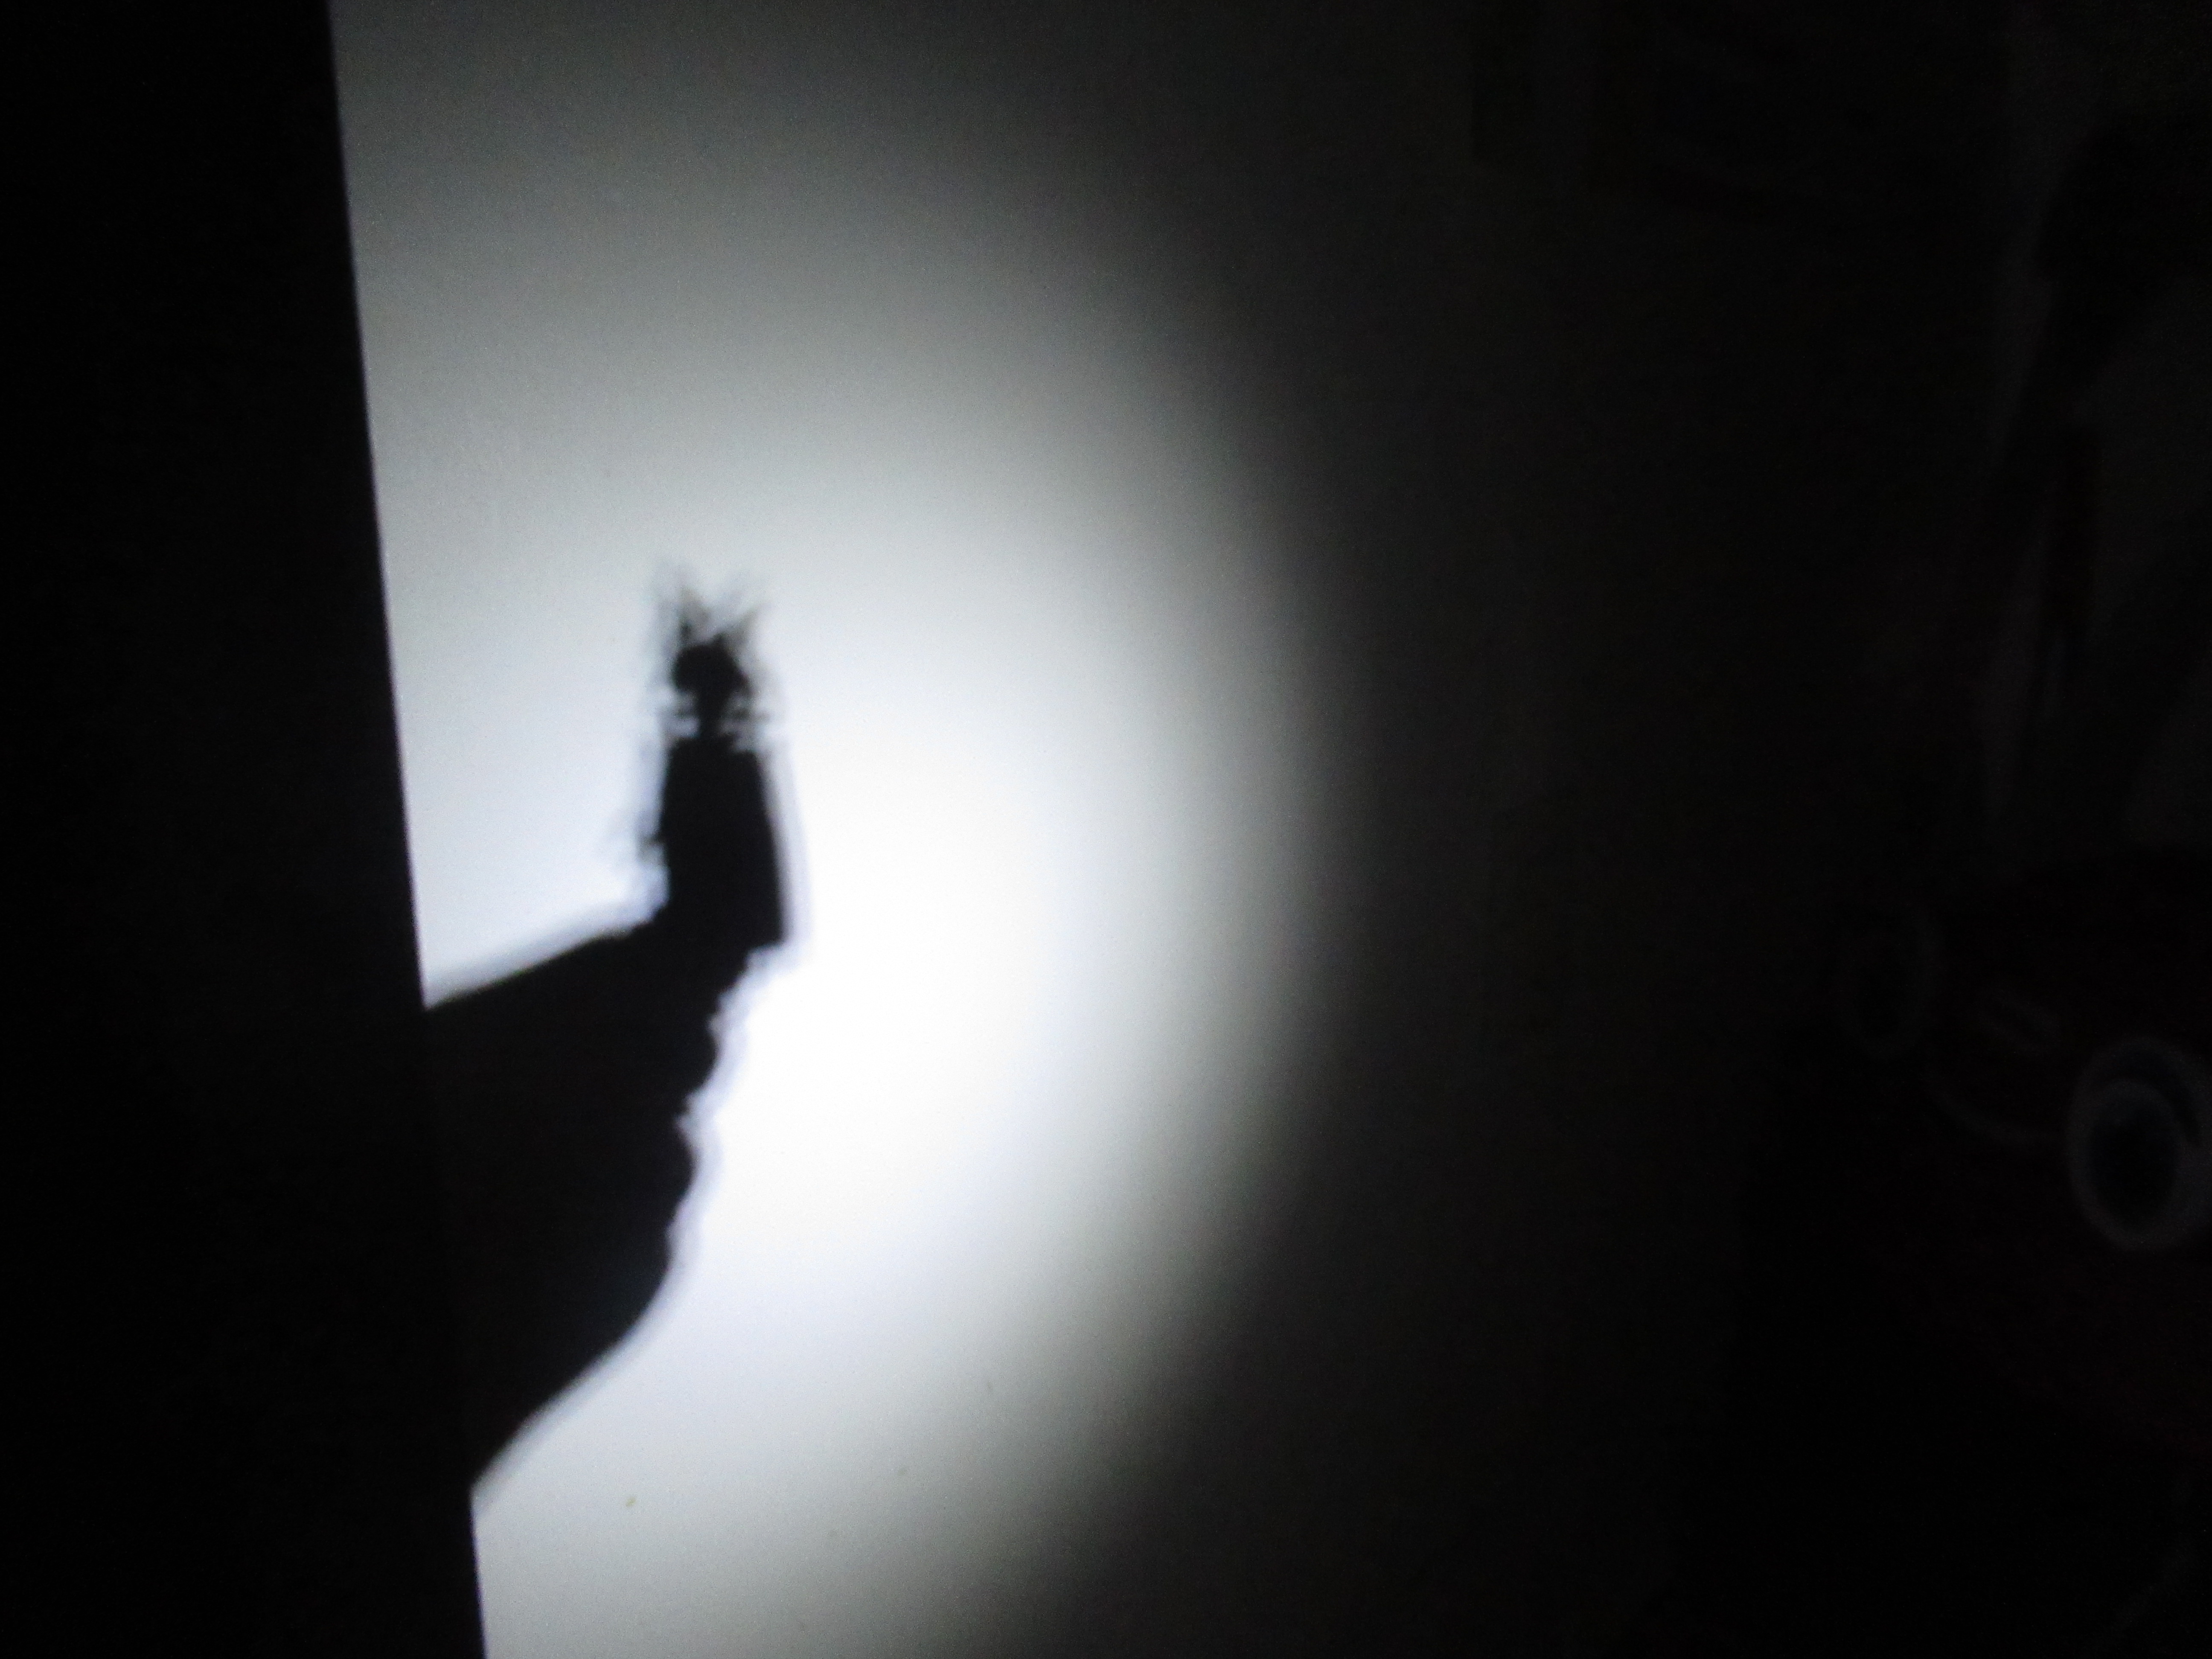
Three: Put on a shadow play. You could do this with your hands or bodies, but Travis thought it was best with Lego figures. One person shines a light and the other holds the toys to reenact favorite scenes. It was fun to see how small or big he could make the shadow, depending on the distance he stood from the Lego.

Earth Hour (6)

Four: Have a flashlight battle. Easily the favorite, everyone switches on a flashlight and lightsaber action ensues. Bonus points for the best “zzzzz-oooom” sound effect.

Earth Hour (5)

Five: Dance party time! We couldn’t end things without same flashlight-lit dance moves. Whatever your family’s favorite tune, crank it up and dance for the Earth.


National Pizza Day

National Pizza Day (1)

Today is National Pizza Day and Travis’s latest issues of Highlights magazine had lots of fun topping ideas to help us celebrate the day. It seemed such a shame to choose just one that we made it more of a pizza week, testing out the following over a few days.

Of course we also celebrated by learning a little pizza history (Google the story behind the margherita pizza, for example, for some fun trivia facts).

For all of the following pizzas, we used the premade crust from Banza; the crust is vegan and gets a nice protein boost from chickpea flour! I didn’t bother to measure the quantities of ingredients for any of Highlights’ suggested toppings; just add as much of each as feels right for your family!

Bright and Early: For this breakfast spin, we spooned pesto onto the crust in place of tomato sauce, then sprinkled with a little of our favorite scrambled tofu (1 block of crumbled firm tofu sauteed in oil with 2 tablespoons nutritional yeast, 1 teaspoon garlic salt, and 1 teaspoon turmeric). Sprinkle on a little chopped red bell pepper. After baking according to pizza crust directions, top with avocado slices.

National Pizza Day (6)

Tasty Taco: This time we spooned salsa on top of the crust in place of tomato sauce. Layer that with cooked meatless crumbles, a sprinkle of shredded vegan colby jack, and sliced black olives. Bake according to pizza crust directions, then add a little shredded lettuce and a drizzle of non-dairy sour cream before serving.

National Pizza Day (2)

Bold Barbecue: Spoon on a little barbecue sauce in place of tomato sauce. Arrange torn slices of vegan Gouda over the sauce, then sprinkle with chopped and cooked Gardein chick’n, thinly sliced red onion, and chopped cilantro. Cook according to pizza crust directions.

National Pizza Day (4)

Keen on Green: Leave the pizza crust white and sprinkle with lots of vegan cheddar. Add chopped steamed broccoli florets and drizzle with olive oil. Sprinkle with oregano… or add red pepper flakes if your kids like a little heat!

National Pizza Day alt

The final night was a return to the classic margherita in the colors of the Italian flag: red tomato sauce, white mozzarella, and green fresh basil leaves.

National Pizza Day var

Which does your family like best? Please share in the comments!

National Pizza Day (5)

Mac and Cheese Mania

Mac Mania (6)

Thanks to Travis’s Highlights magazine, it’s been mac ‘n’ cheese madness around here, trying versions of this kid favorite over the course of the week. If you want true mania, your family could even prepare all 4 of these version in one day; there’s an option below for breakfast, lunch, dinner, and even dessert! Here’s what we tried and what was declared the winner.

The Early Bird:

Mac Mania (5)

The night before, cook a batch of your favorite macaroni and cheese. In the morning, heat the past and add chopped and cooked vegan breakfast sausage (such as Field Roast), your favorite scrambled tofu recipe and a drizzle of ketchup.

Rainbow Pepper Mac:

Mac Mania (3)

Make a bright and colorful version that’s sure to get kids to eat their veggies! Simply prepare a batch of your favorite mac ‘n’ cheese, then dice 1/2 a red bell pepper, 1/2 a green bell pepper, and 1/2 a yellow bell pepper; add to the mac n cheese while the pasta is still hot.

Mac and Meatballs:

Mac Mania (1)

This was the perfect marriage of regular mac ‘n’ cheese and spaghetti-meatball night: simply prepare your favorite mac and cheese, then top each serving with a little marinara sauce, your favorite brand of plant-based meatballs, and a sprinkling of vegan Parmesan. Yum!

Mac and Cheesecake:

Mac Mania (4)

Finally, you can try this sweet version for dessert! In advance, prepare a batch of vanilla pudding and chill until ready to use. Top each portion of cooked elbow macaroni pasta with a dollop of the pudding, crushed graham crackers, and sliced strawberries.

The verdict? “Mac and meatballs” was the hands-down winner. Everyone also loved the Early Bird, too. While the dessert version was novel, the kids deemed it a little strange.

Which mac does your family like best? Please share in the comments!

National Sock Day

National Sock Day (2)

December 4 is National Sock Day, celebrating the glory that is a pair of matching socks. Today was not about lost socks from the dryer, or old socks turned into crafts, but all about a lasting matched pair.

We love celebrating silly holidays like this, so of course I treated everyone to a new pair today! I got Christmas bows, Veronika got little elephants, and Travis received Darth Vader.

National Sock Day (1)

The kids immediately wanted to race around the house in their slippery new socks.

National Sock Day (3)

Just in time, Travis’s Highlights magazine had a sock-matching puzzle to find 8 matching pairs. In a pinch, you can have fun with the real thing; do a load of laundry and have your happy helpers match up all the socks!

National Sock Day (4)

Then finish your celebration by dining on a famous pair: Peas and carrots? Peanut butter and jelly? Here’s to perfect pairs!

Knight Light

Knight Light (4).JPG

Travis still complains of bad dreams, though we’ve tried everything from worry dolls to dream catchers to fancy night lights to make his room feel safe and cozy at night. The fun play on words earned a laugh when we spotted this craft in Highlights magazine, so it was worth a try to see if Sir Lights-a-Lot can guard against bad dreams!

Cut gray cardstock to size so that it fits around an empty oatmeal container. Glue on and let dry. Cut a hole through the paper and container once the glue is set.

Knight Light (2)

Cut a visor shape and a feather plume shape from additional cardstock. We used a fun bright orange for the feather! Glue these onto the container. (Alternatively, poke two brads through the visor to attach over the hole).

Knight Light (1)

Attach wiggle eyes to the ends of curled black pipe cleaners and glue on so they dangle down and show through the visor. This step was a bit tricky, and I found it was easiest to use hot glue.

Knight Light (3)

We added a few lines of blue washi tape for a decorative finish. What a brave knight!

Come nighttime, we inserted a tea light and set him to keep watch.

Animal Puppet Craft Challenge

Animal Puppet (6).JPG

More and more I’m watching Travis take the lead when it comes to the monthly craft challenge in his Highlights magazine. This morning, I presented him with an empty paper towel tube, a few craft sticks, and construction paper, with the challenge to make an animal puppet. It didn’t take him long to get creative!

Animal Puppet (1)

He could immediately see how the tube would work as the body. Whereas I had envisioned the sticks only as a handle for a puppet, Travis figured his animal would need arms. As soon as he held the sticks out to the side of the tube, he declared, “A bird!”

Animal Puppet (2)

Now we knew we needed construction paper “feathers” for the wings.

Animal Puppet (4)

I helped him cut these out, along with a head and beak.

Animal Puppet (5)

A second little winged creature looked a bit different without the circle face. Travis declared this one was a bat! He couldn’t wait for them to dry so he could flap his puppets around.


Animal Puppet (3)

What animal will your kid come up with using only these materials? Please share in the comments!

Ooey-Gluey Colors

Ooey Gooey Colors (5).JPG

It’s not often that I find an art project for my 5-year-old that feels refreshingly new. This artsy idea from Highlights magazine had definite goo factor that appealed to him!

First, drip school glue all over the clear acrylic cover from an empty photo frame. We used an 8×10 frame for maximum work space.

Ooey Gooey Colors (1)

Drip food coloring over the glue, ideally with some restraint, although Travis loved making big puddles of color.

Ooey Gooey Colors (2)

Finally, use a paintbrush to smear it all together.

Ooey Gooey Colors (3)

The colors will swirl and mix in neat ways and make little bubbles on the acrylic. This is a fun chance to experiment with different brushstrokes.

Ooey Gooey Colors (4)

Let dry completely, then insert back into the photo frame (gooey side in) for instant art. These look particular pretty when the sun hits them through a window, acting almost like a suncatcher.

Snowman Craft Challenge

Snowman Craft Challenge (6)

Travis had lots of laughter tackling this month’s craft challenge from Highlights magazine: to make a snowman using anything except cotton balls. This very open-ended project had Travis raiding the craft bin for anything that seemed snowman-like: think white and fluffy. We also thought about accessories: orange for carrot noses, pom poms for buttons, etc.

On his suggestion, I cut out two circles from white felt to be the snowman’s body. From there, Travis veered in a decidedly nontraditional direction!

Snowman Craft Challenge (1)

First we used old thread and wiggle eyes for the face. Travis glued on a piece of string upside down to make it a sad snowman – oh no!

Snowman Craft Challenge (2)

Then he decided it was sad Santa (because no one believed in him!), and added red pom poms buttons and a “belt,”

Snowman Craft Challenge (3).JPG

The snowman got sillier and sillier from there, briefly adorned with holiday-patterned cupcake liners, and then soon denuded of its items.

Snowman Craft Challenge (5)

Travis thought ripping things off the felt was almost as fun as crafting them on. I guess snowmen do melt!

Snowman Craft Challenge (4)

What is Philanthropy

Philanthropy (3)

Several of Travis’s subscriptions focused on philanthropy this December, and I was glad of it. I’m hoping to instill in him the idea of giving back: all year, but during the holidays in particular.

First up was this month’s Gallant Challenge in Highlights magazine. Two boys built a “Box of Blessings”, a wooden box outside their home that acted as a food pantry. Those who needed items could take them, and neighbors helped replenish it. We loved the idea, but don’t currently have the ability to build and mount a box.

Luckily, it tied in perfectly with a lesson from Raddish Kids to accompany the Corn Muffins we baked around Thanksgiving.

Start off with a read-through of The Very Hungry Caterpillar by Eric Carle. As we read, I had snacks ready to go: apples and oranges to mimic the foods the caterpillar was nibbling. If you like, have even more of the caterpillar’s food items ready for snacking!

Philanthropy (1)

Once the story ended, I asked Travis how the caterpillar felt at the beginning. Travis pinpointed his hunger, and we discussed times that he has felt hungry (like after school when he’s hangry for snack!). It helped him imagine what it might be like to feel hungry but not have access to food once home.

Philanthropy (2)

With older kids, you can delve deeper into the idea of food security here, and reasons some families might not have it: illness, unemployment, old age. I tread lightly over all that with a kindergartner, but talked instead about how we can help: donating food to those who might need it.

Open Table in particular offers the option for Kids’ Bags. Travis and I went over the list of suggested groceries together and purchased the materials to stuff a few bags for our local drop-off center.

Philanthropy (4)

Have fun decorating these! Travis then proudly filled them, assembly-line style, with items like juice boxes and packaged snacks.

Philanthropy (6)

We finished by reading a few additional books including Beatrice’s Goat by Paige McBrier and One Potato, Two Potato by Cynthia DeFelice.

Philanthropy (5)

Another great philanthropy project for even young kids is toy donation, especially just before the holidays. How do your children participate in charity? Please share in the comments!

Shining-Bright Advent Wreath

Shining Advent (10).JPG

One of my favorite holiday traditions as a girl was lighting the advent wreath, a new candle each week of December leading up until Christmas,. But I had forgotten all about it until I spotted this craft in Travis’s Highlights magazine. So we were eager to continue the tradition and light up our home!

Cut two empty paper towel tubes in half, so that now you have four “candles”. Wrap three of them in purple cardstock, and one in pink cardstock. Secure with tape.

Shining Advent (2)

Wrap a length of similar colored ribbon around the top and secure with tape. (Note: The tape was Highlight’s suggestion, but for more elegance I would secure the ribbon and cardstock with glue next time).

Shining Advent (3)

Cut a wreath shape from green cardstock, and glue down onto cardboard for extra stability. Glue on the pillars, and add decorations.

Shining Advent (5)

We included green leaves cut from more cardstock as well as a few tiny red bells. Originally I planned to use small red pom poms as the “berries”, but the bells turned out to be lovely!

Shining Advent (6)

For the candle flames, wrap tea lights in several layers of white felt (otherwise they will be too small and will slip inside the tubes).

Shining Advent (4)

Place on top of the pillars. Each Sunday, a new candle is lit, and the pink one will join in on Christmas Eve!

Shining Advent (9)

How are you counting down to Christmas? Please share in the comments!

Advent Candles var