Fruity Cereal Activities

Rainbow Cereal Sensory (5)

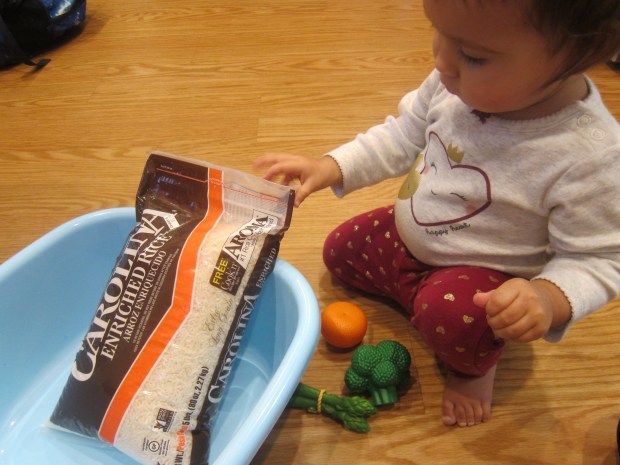
A favorite snack around here is the Rainbow O’s cereal from Cascadian Farm. So today Veronika played with the cereal in three different activities! You could also do any of these activities with Fruit Loops or Fruity Cheerios, but I like the all natural ingredients in the Rainbow O’s.

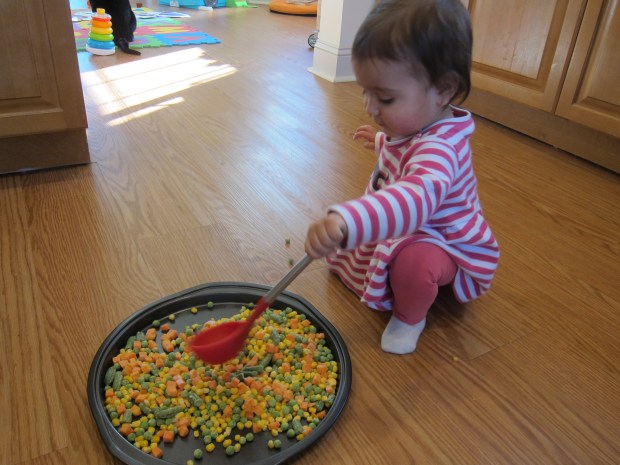
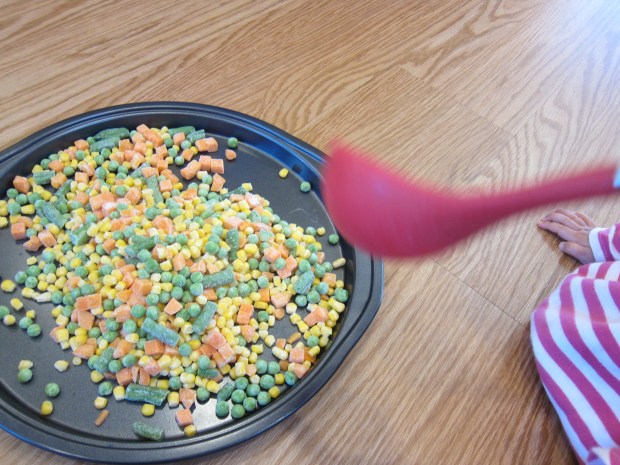
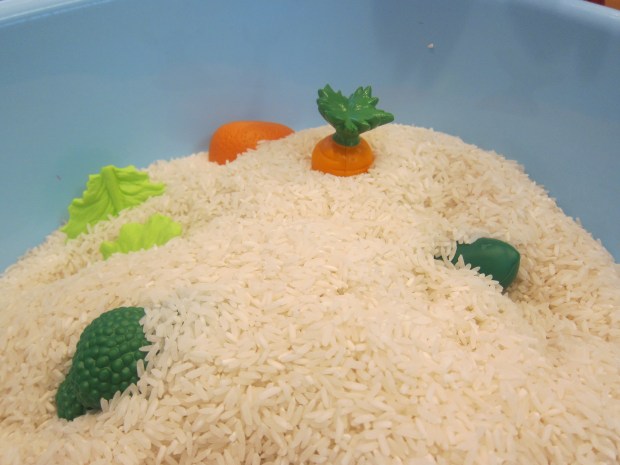
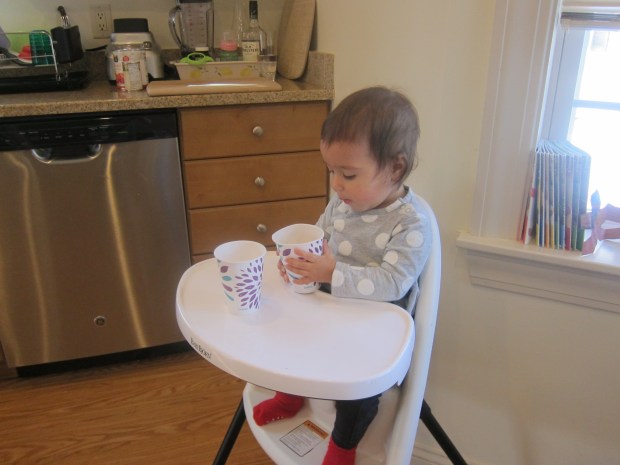
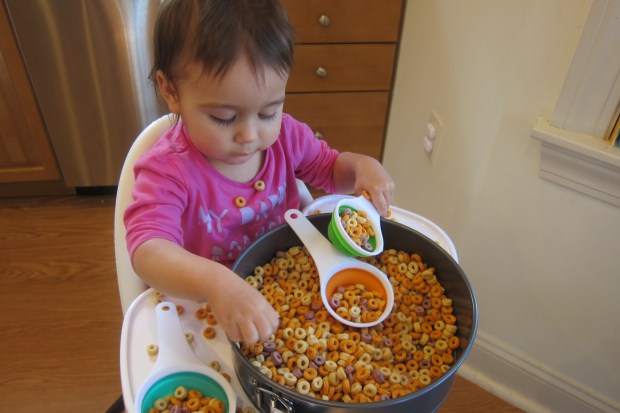
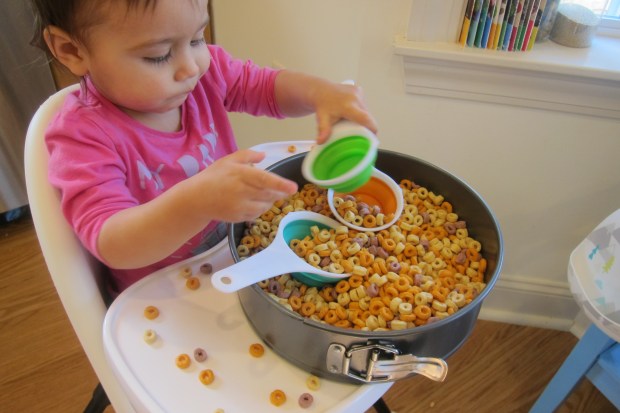
First up was a simple sensory tub. I filled a round cake pan with some of the cereal and added brightly colored measuring cups for scooping.

Rainbow Cereal Sensory (1)

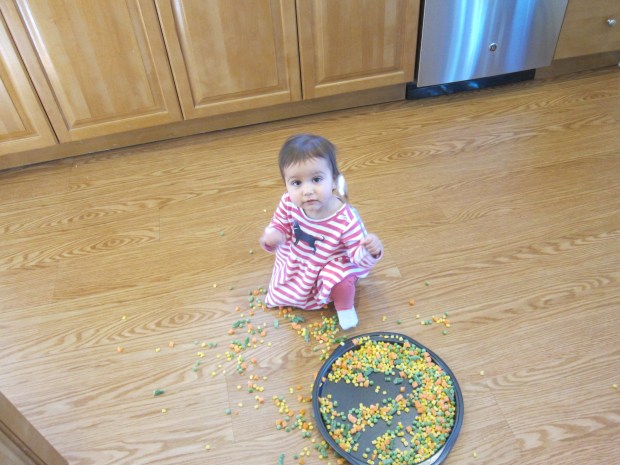
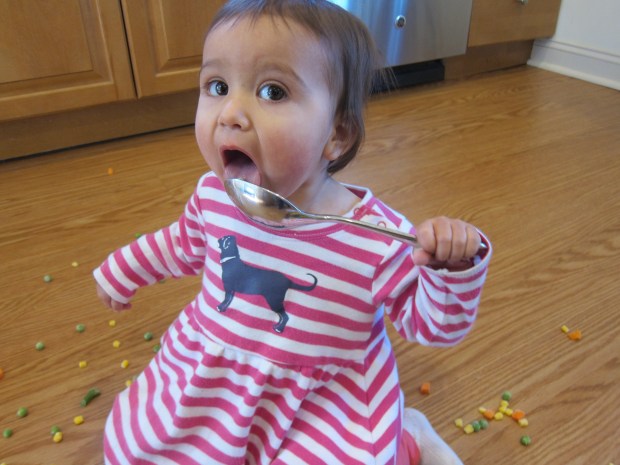
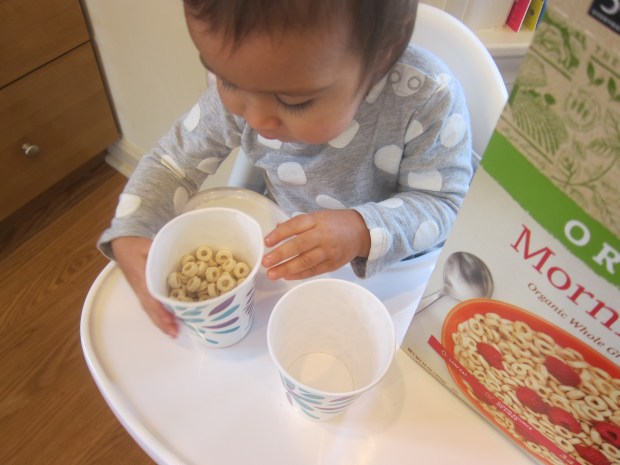
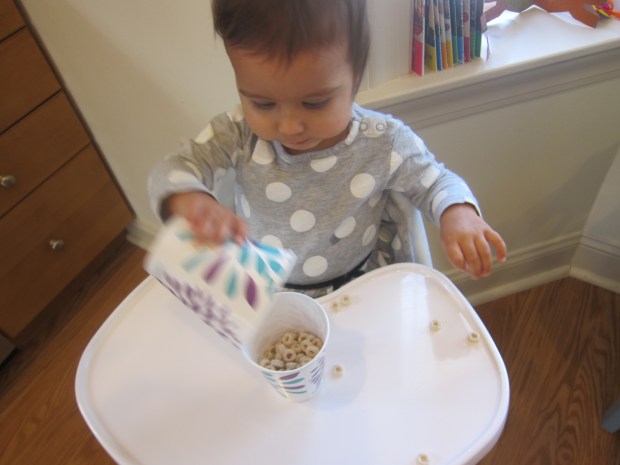
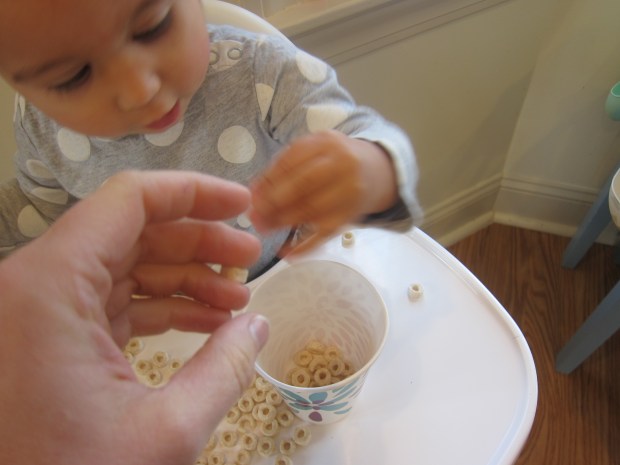
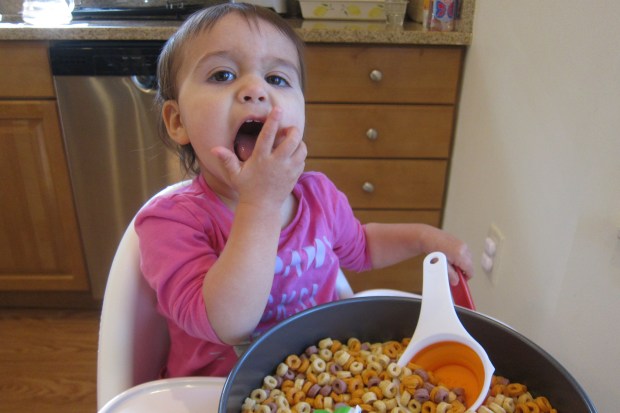
Veronika was a lot more interested in tasting and snacking at first…

Rainbow Cereal Sensory (2)

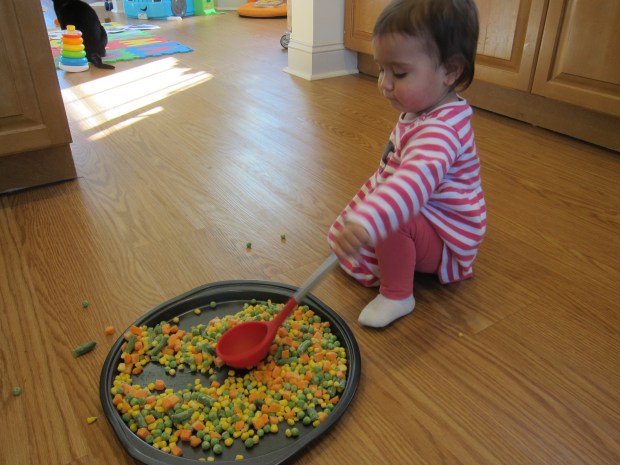
…but eventually scooping was fun, too.

Rainbow Cereal Sensory (4)

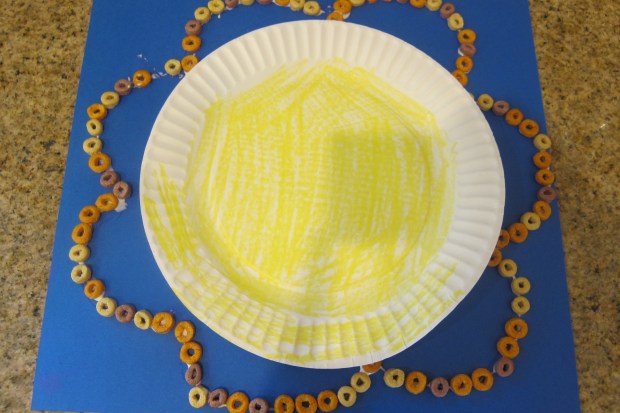
Next up, we made some art! I had her scribble on a yellow plate with crayon to make the center of a flower.

Rainbow Cereal Sensory (6)

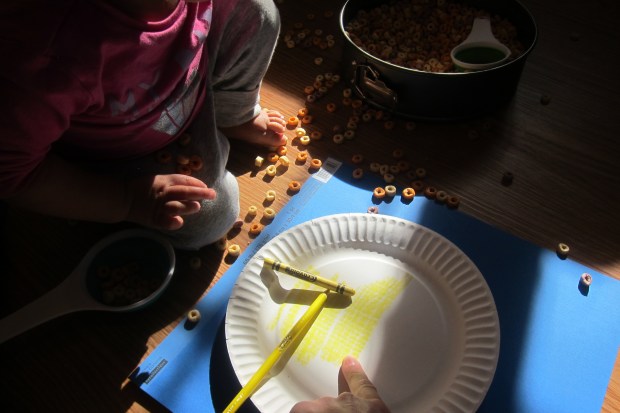
I glued the plate onto blue cardstock and outlined petal shapes around it. Drip glue over the petal lines, and then cover the glue with the cereal. If your child is in preschool, he or she can definitely help with this step, which will be great for exercising little fingers. Veronika, on the other hand, was quite alarmed to learn she was not allowed to eat the cereal that had glue on it, so much so she burst into tears! So this might have been a little ambitious with a toddler.

Rainbow Cereal Sensory (7)

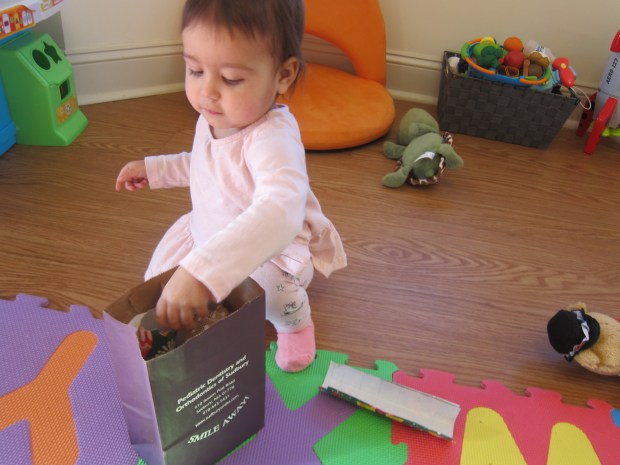
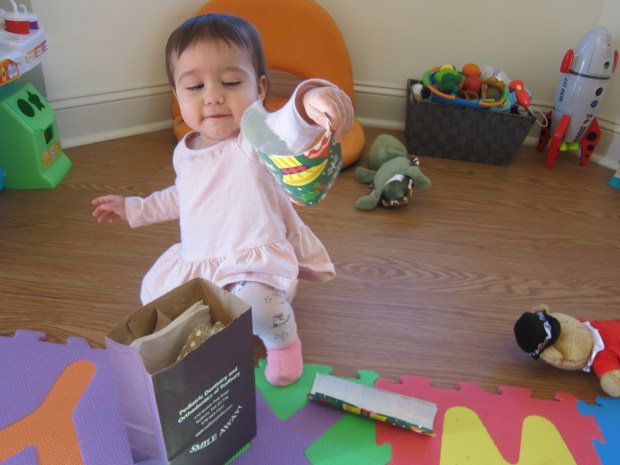
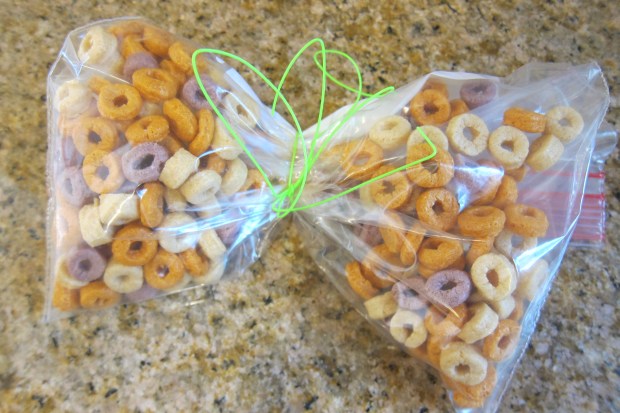
Finally, it was time to take some cereal on the go! With visions of spring dancing in our heads, I turned her snack bag into a butterfly: Fill a zip-top bag with some of the cereal, then seal and divide in two with a finger.

Rainbow Cereal Sensory (8)

Secure with a craft lace.

Rainbow Cereal Sensory (9)

When you reach your destination, make a necklace! Undo the craft lace and thread some of the cereal onto it, then secure about your child’s neck loosely.

Fruity Necklace (1)

Now a bite is literally at hand the moment the urge to snack hits.

Fruity Necklace (2)

Sun Catcher Sensory Bags

Sun Catcher Sensory (5)

This easy sensory bag doubles as a sun catcher for toddlers… so be sure to play on a sunny day!

My original intent had been to make several of these bags, using different combinations of primary colors in each. But I quickly realized that my one container of hair gel was only going to fill a single large zip-top bag, so one version it was! If you have hair gel in bulk, by all means make several.

Sun Catcher Sensory (1)

I decided to work with blue and yellow. Squirt the hair gel into the bag and then drip in food coloring so that two separate colors are in opposite corners of the bag. I then taped it to our patio door, which catches the morning sunlight beautifully.

Sun Catcher Sensory (8)

Veronika was entranced!

Sun Catcher Sensory (4)

She loved how squishy it was when she poked at it.

Sun Catcher Sensory (3)

She loved how the colors splashed around when she tapped it with her full palm.

Sun Catcher Sensory (6)

She loved the way we could chase bubbles through it with our fingers.

Sun Catcher Sensory (7)

Meanwhile, I loved pointing out the reflections it made on our wall, and how the blue and yellow were combining toward green in the center. Plus I loved watching her sunlit smile as she played.

We left this one up for a few days!


Sun Catcher Sensory (9)

Shaving Cream Color Mixing Bag

Shaving Cream Color Mix (4)

Here’s a spin on a recent color mixing activity Veronika enjoyed for Valentine’s Day. This time the bags were bigger and the whole thing was a lot squishier!

For set up, squirt paint into the corners of three gallon-sized zip-top bags. Each bag should contain a pair of primary colors: red + yellow, yellow + blue, and blue + red.

Shaving Cream Color Mix (1)

I next squirted a healthy dose of shaving cream into each bag between the two colors.

Shaving Cream Color Mix (2)

Seal the tops with duct tape for added security, or this could get messy!

Shaving Cream Color Mix (3)

Now it was just up to Veronika. She immediately loved squishing the bags between her palms.

Shaving Cream Color Mix (6)

It turns out they were also a blast to throw up in the air…

Shaving Cream Color Mix (7)

…or behind her back. Ta da!

Shaving Cream Color Mix (8)

Once she had thoroughly kneaded the bags, the colors started to mix together. It wasn’t as clear a “lesson” on primary and secondary colors as other sensory bags we’ve tried, but the visual effect was still lots of fun and quite pretty!

Shaving Cream Color Mix (9)

Here is the final, squished and much enjoyed result.

Shaving Cream Color Mix (!0)

Textured Touch

Textured Touch (9)

This advanced texture game will delight toddlers because it also contains an element of surprise!

Cut two holes in the top of a flat box (such as a tie or scarf box).

Textured Touch (1)

Next, gather together a variety of fabrics and materials. We had burlap, felt, cotton, silk, wrapping paper, and sandpaper, for lots of nice contrast.

Textured Touch (2)

One at a time, I placed a piece of material under the lid and showed her how to poke a finger through to explore.

Textured Touch (3)

She looked so intrigued by the mystery of it!

Textured Touch (5)

I put my finger in the second hole so I could describe the texture to her. Burlap, for example, was bumpy and rough. Then we lifted the lid to see what we’d been feeling!

Textured Touch (4)

Wrapping paper was next, smooth and slippery. Soon, Veronika loved being the one to remove the lid and discover what was inside.

Textured Touch (6)

The lid definitely adds a fun element to the game, since toddlers will adore putting it on and off between each new material.

Textured Touch (8)

We played a second version of the game in a paper bag. Again, she loved the surprise of reaching in…

Textured Touch (10)

…and lifting out a new fabric with delight each time.

Textured Touch (11)

Talk about all the different textures as you play this version of the game, too. The more descriptive your words, the better!

Textured Touch (12)

Chances are, your little one will be busy putting the fabric in and out of the bag for a while. Boxes plus bags plus fabric, oh my! This game was a winner.

Textured Touch (13)

Food Exploration Station

Food Explore Station (3)

The compartments of an ice cube tray are just the right size for setting up a station that allows your toddler to touch, taste, poke at, and other wise explore food! This game is great for soon after a meal so that the emphasis is on all the senses, not just on eating.

I wanted to fill the tray with a variety, but not an overwhelming amount of different objects for Veronika. I included warm cooked carrots, chilled slices of watermelon just out of the fridge, soft chunks of room temperature banana, and a crumbly cookie.

Food Explore Station (2)

Veronika wasted no time getting her hands in there! “Hot!” she said to me, feeling the carrot, quickly follow by a surprised, “Cold!” to the watermelon. She smooshed one of the banana pieces in her hand, but mostly passed that over in favor of the watermelon.

Food Explore Station (4)

The cookie certainly got a few nibbles, too. You can use any fruits or veggies (or cookies!) for this activity, or play multiple times with seasonal fruits at different times of the year. Because all of the foods were about the same size, they are fun for stacking, too.

For some slipperier tactile play, I cooked up green linguine noodles. These were great both for the texture (somewhat slimy, which can take toddlers a while to get used to) and for the color.

Food Explore Station (5)

I thought she might hesitate, but she loved mushing through the noodles with her fingers. Once she took a nibble, she looked at me with recognition. “Pasta!” she said.

Food Explore Station (6)

Don’t forget, toddlers learn about food when exploring like this. So the next time this happens…

Food Explore Station (1)

…don’t scold. It’s all about the process! And kind of like an art project, too.

Sensory Play with Frozen Veggies

Edible Frozen Veggies (3)

Not only is this game great for toddler sensory fun, it doubles as a comforting way to soothe all those teeth coming in. Veronika is currently getting 8 new chompers, in addition to the 8 front ones she’s already got, which made the timing just right.

To play, I simply opened up a bag of frozen mixed vegetables and emptied them onto an pizza tray.

Edible Frozen Veggies (2)

I added a big ladle for her to scoop with, but the lip of it was too tough to get under the veggies, so soon we switched to a regular dinner spoon.

Edible Frozen Veggies (4)

She took it from there! She loved the sound that the spoon made in the pan, shoveling through the veggie pile, and of course pushing them to the floor.

Edible Frozen Veggies (5)

The small carrots, peas, and corn will thaw pretty quickly, but remain cold enough to soothe, which means she was thrilled when she lifted the spoon to her mouth and got a taste.

Edible Frozen Veggies (7)

This became an impish game, testing if mommy was going to chide her for eating her “toys”. Not this time!

If you want to throw in some quick learning, talk about the colors of the different veggies!

Edible Frozen Veggies (6)

Mostly, though, I let her play solo; the veggies kept her happy on the kitchen floor for almost a half hour, a big win in my book!


Fruit-Filled Jigglers

Fruit Jigglers (3)

Jell-o desserts might just be the perfect sensory material for toddlers, equal parts play and edible snack! Here’s a fun twist on how Veronika has played with jell-o in the past. As always, I use the vegan jel dessert from Simply Delish.

Prepare the dessert according to package directions (we used strawberry), and pour into very shallow plates or containers as a mold.

Fruit Jigglers (1)

I added a few raspberries as “treasures” for Veronika to dig up. Any other berry or small pieces of fruit would work, too. Consider a fruit your little one hasn’t tried yet, as this game encourages taste exploration!

As I prepared dinner, I sat Veronika down in her high chair and scooped out the thin layers of jell-o. I gave her an assortment of cookie cutters, and let her go to town!

Fruit Jigglers (4)

It was fun to talk about the shapes she could make with the cookie cutters, and she did lots of poking and prodding.

Fruit Jigglers (2)

When she discovered the raspberries, she was delighted! She seemed a bit overwhelmed by the amount of jell-o on her tray, so I pared it down to one portion per cookie cutter shape.

Fruit Jigglers (5)

She grinned when she discovered the taste! This is the perfect activity to fill time while you cook.

Fruit Jigglers (6)

Rice Garden

Toys in Rice (4).JPG

Here’s a fun variation on playing with rice as a sensory activity. Rice + bucket + toys never seems to grow old for tots in that 12 month to 18 month window.

Toys in Rice (1)

But today, instead of random toys, we made it a “garden” for Veronika to plant – and uproot!

Toys in Rice (3)

She loved the variation right away, pulling out the veggies, replanting the asparagus, and more.

Toys in Rice (2)

Of course then the fun became emptying giant handfuls of rice on the floor, which was just fine with me since I love how easy rice is to sweep up at the end.

Toys in Rice (4)

She kept busy with this the entire time I prepped dinner, crawling through big piles of it by the end.

Toys in Rice (5)

Mistress Veronika, not contrary, how does your garden grow? With lots of smiles of course!

Toys in Rice (6)

Beach Party

Beach Party (3)

If you can’t get some place warm and beachy this winter, here’s my favorite suggestion for entertaining kids indoors: Bring the beach to you!

This morning, we woke to gray skies and cold weather, so on a whim I set out a few beach towels, as well as all our summer beach toys. There were sand buckets and shovels….

Beach Party (1)

…a travel tic-tac-toe game…

Beach Party (4)

…inflatable pool toys, and more! Of course for added authenticity, we cranked up the heat a few degrees so the kids could put on their bathing suits.

Beach Party (2)

I had intended the game mainly for Veronika, but big brother Travis had to join in, and soon was “sunbathing”.

Beach Party (5)

If you want to go all out, there’s so much you can do here. Add tropical music, tropical snacks, or even real sand and real water for your little ones to scoop and play with in a sensory way.

Apologies for the dark quality of these photos; yes we played this game before the winter sun was even up!

Cheery O’s!

Cheerios (4).JPG

O cereal is the deservedly one of the best first cereals for babies, and for so many reasons. The circles are easy for a little one to pick up with little fingers; they dissolve easily in the mouth, and those cute circles are just begging to be played with, too!

To wit, today at snack time I didn’t just set o cereal on Veronika’s tray; instead, I gave her two cups, one empty and one full, to turn it into a pouring and scooping game.

Cheerios (1)

She took right to it, and loved learning to pour directly from one cup to another, her best success with pouring yet.

Cheerios (3)

She also loved the small plinking sound that the cereal made if she dropped it into a cup by hand.

Cheerios (5)

And of course there is happy nibbling that takes place throughout the game! This is fast, fun, easy entertainment for any young toddler.

Cheerios (2)