Wind-Themed Day!

Wind theme (6)

We had one of our “theme” days today, basing several games and other activities on the concept of the wind.

As a fun craft to start, we made a homemade windsock. The craft couldn’t be simpler: Have your toddler apply a thick layer of glue around the inside rim of an empty paper towel tube.

Wind theme (1)

Attach long streamers to the glue, and let dry. Once the streamers are set, take the wind sock outside to see how it flutters and catches the wind.

Wind theme (3)

While Travis held the windsock, I also showed him how today’s strong gusts made our pinwheel whip around, without us having to blow like we do indoors. A magical moment of the day.

Wind theme (5)

For some silly gross motor play, you can take turns pretending to be the wind. One person huffs and puffs as the other turns in a big circle!

We continued the fun at bedtime with two storybooks about wind (Like a Windy Day; The Wind Blew), and then enjoyed our latest evening ritual – “blowing” off all the lights on a count of 1-2-3 before bed, and giving his nightlight a gentle blow to illuminate it.

The perfect lullaby to cap things off? Rock-a-Bye-Baby of course!

Wind Sock maybe.JPG

Super Smoothie Bowl

Super Smoothie Bowl (2)

Kick off the morning with this tropical bowlful – it’s cute and customizable in a way that will satisfy even picky toddlers.

Ingredients:

  • 3 kiwis, peeled and chopped
  • 1 cup pineapple chunks
  • 1 banana, peeled and chopped
  1. Combine the kiwi, pineapple, and banana in a blender and process until smooth
  2. Adorn each smoothie as desired! Stir in chia seeds about 5 minutes before serving for a great Omega-3 punch. Other topping options include berries, shredded coconut, or granola.

Super Smoothie Bowl (1)

Nature Treasure Hunt Bracelet

Nature Bracelet (5)

While in the park recently collecting treasures to paint, Travis and I also made a nature collection bracelet. I was surprised that he didn’t want to wear it himself, since he usually loves things around his arm – my watch, his father’s elastic wrist bands – but apparently he draws the line at duct tape! So I was the bracelet model, and Travis helped build our collection.

To make the bracelet, wrap duct tape around itself in a loose circle, big enough to slip on and off your wrist easily.  You want the sticky side facing out.

As you walk, loosely press your nature finds onto the bracelet.

Nature Bracelet (2)

Travis adored this part, hunting for flowers and leaves, and helping me stick our treasures on. It was a great way to talk about some new items, too, like pine needles and a bird feather.

Nature Bracelet (1)

Once you decide your bracelet is complete, cut a strip of clear contact paper just a little wider than the duct tape. Remove the backing and place the contact paper, sticky side down, over the bracelet. Fold the overhanging edge over the duct tape to seal.

Nature Bracelet (4)

Another magical creation here in late summer!

Nature Bracelet (6)

Greek Salad

Greek Salad

Fresh croutons and fresh veggies make for a great summer bowlful. I served this salad alongside a dinner of sauteed tofu.

Ingredients:

  • 1 and 1/2 cups cherry or grape tomatoes, quartered
  • 1/4 cup finely chopped green bell pepper
  • 1 cup finely chopped English cucumber
  • 5 pitted and chopped kalamata olives
  • 1 tablespoon rice vinegar
  • 1 tablespoon olive oil
  • 1/4 teaspoon dried oregano
  • 2 cups (1/2-inch) cubed country-style bread
  1. Combine the tomatoes bell pepper, cucumber, and olives in a bowl. Add the vinegar, olive oil, and oregano, tossing to coat. Let stand at room temperature for at least 20 minutes.
  2. Toast the bread cubes in a skillet over medium heat for about 5 minutes. Add to the salad just before serving if you want them crunchy – although toddlers may prefer them a little soft!

Nature Painting

Nature Painting (6)

Travis and I had a magically different afternoon. We don’t exactly live anywhere near a forest trail, but that didn’t stop us from going to our town’s Village Green and searching for “treasures.” Once back home, we turned our treasures trove into an unconventional canvas for painting!

Nature Painting (1)

I didn’t even have to explain to Travis what we were doing. He saw the paints and brushes and began eagerly painting a leaf.

Nature Painting (2)

His favorite by far was a large stick we found. First, he painted it blue, making sure he got all the way to the edges:

Nature Painting (4)

He was quite serious as he worked, and once finished with the blue, he dipped his brush in all the different paint colors and turned his stick into a “rainbow.”

Nature Painting (5)

This project was a delight, especially because painting on the various textures felt so different from flat paper – especially the bumpy pinecone! I confess I joined in just for the fun of it.

Nature Painting (3)

Camping Crate

Koala Camping (2)

We’ve received our second Koala Crate, this time with a camping theme! I was a little disappointed that I had to put together all three crafts by myself this month, but as stated in my Rainbow Crate post, this is mainly because the crates are marketed to ages 3 and up, and Travis sometimes doesn’t have the fine motor skills needed at age 2. That said, the camping theme was a delight, and a great way to introduce new materials, learn new concepts and vocab, and engage in imaginative play with our creations!

If not a Koala subscriber, try these projects using felt shapes, colored tissue paper squares, brown construction paper (for the tripod), glue, and a dowel from a craft store.

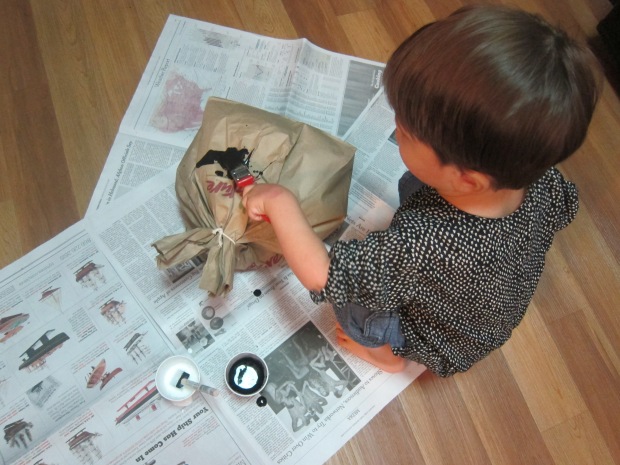
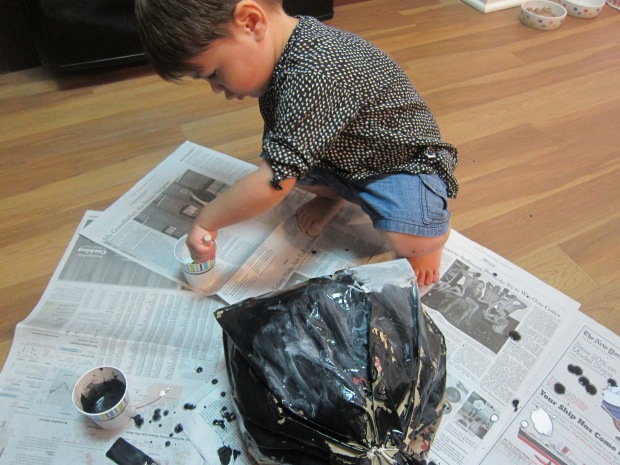
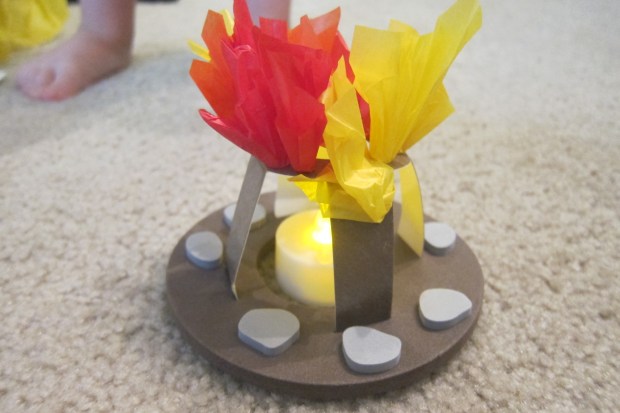
The first step was to put together our “campfire” on the sticky tripod provided. Travis did help a little with the neat dowel-method of sticking on tissue paper squares:

Koala Camping (1)

Mostly, though, he watched as I assembled the creation, telling me which color “fire” to add next. Once done, he was thrilled with the tea light provided, giving our campfire a real glow!

Koala Camping (3)

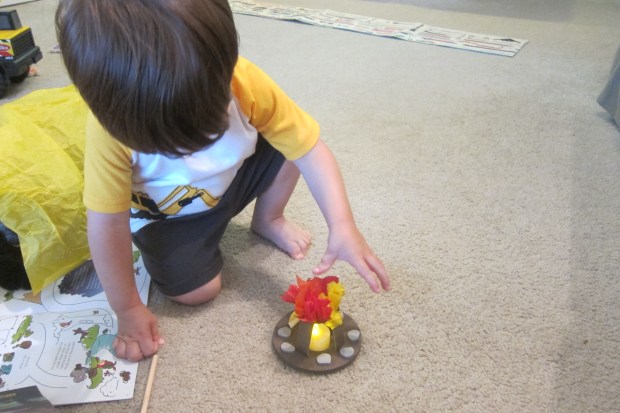
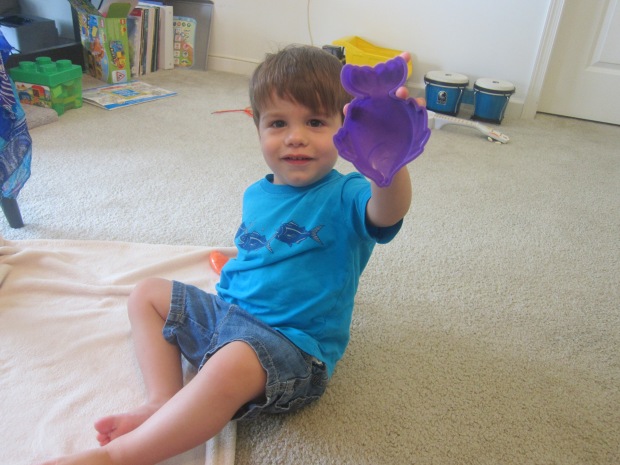
Next I showed him the very cool pretend food, various felt shapes meant to be s’mores and (veggie) dogs roasted over our flames.

Koala Camping (5)

He loved the idea of holding the felt shapes over the campfire, and asked to repeat the game throughout the day.

Koala Camping (8)

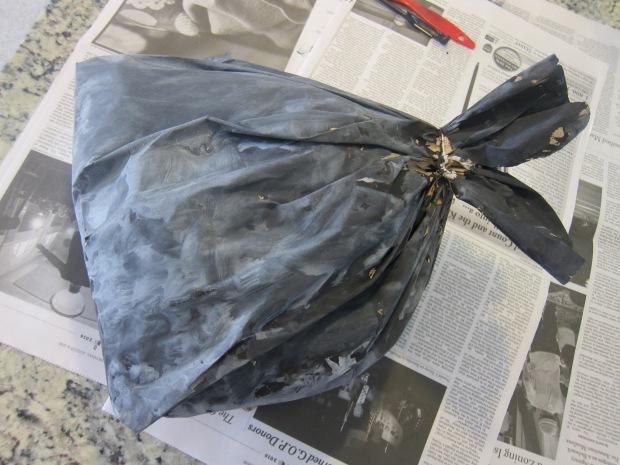
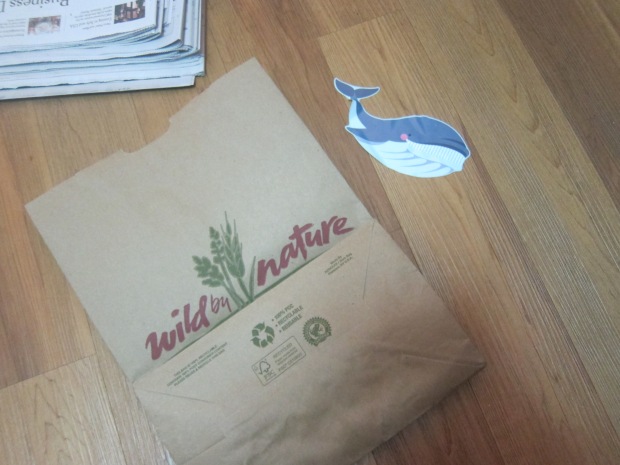
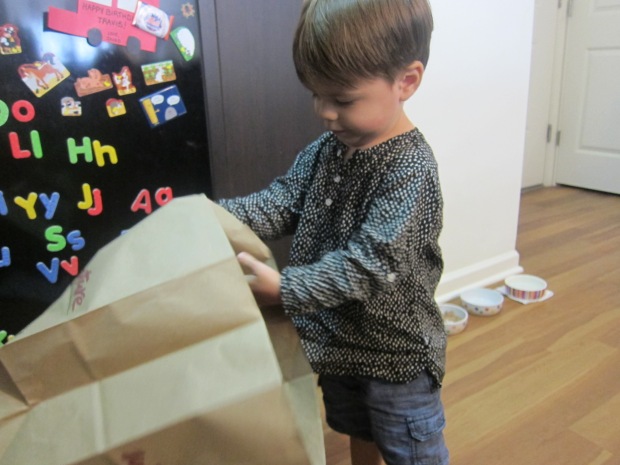
For the backpack craft, Travis quickly identified that we were making a bear. I put on all the stickers – too precise a task for his little hands – but he loved watching the bear take shape as I worked. Once complete, I put the backpack on him and he exclaimed, “Bye Mama, I’m going to school!” so proudly.

Koala Camping (6)

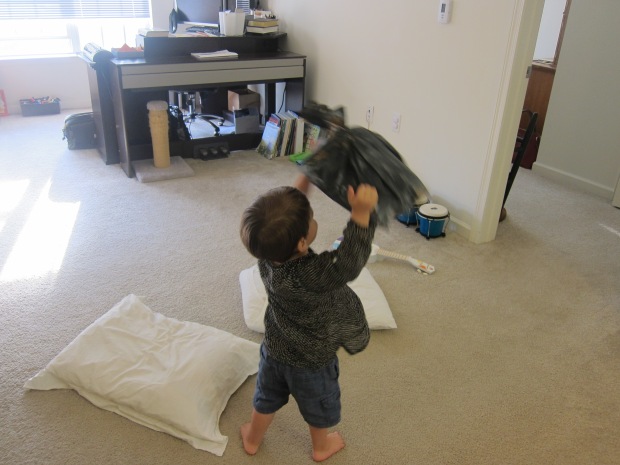
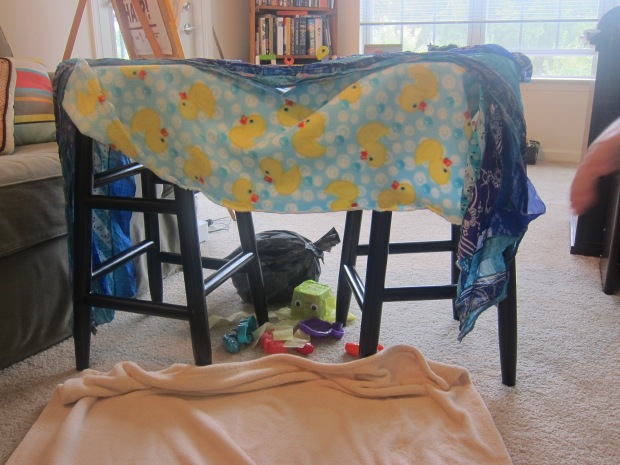
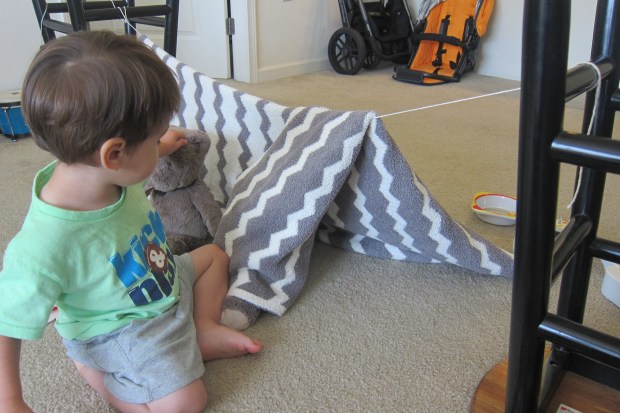
And then of course we needed to erect a camping tent! Since I only have stools, not chairs, our tent was quite low…. but Teddy and Bunny fit inside:

Koala Camping (9)

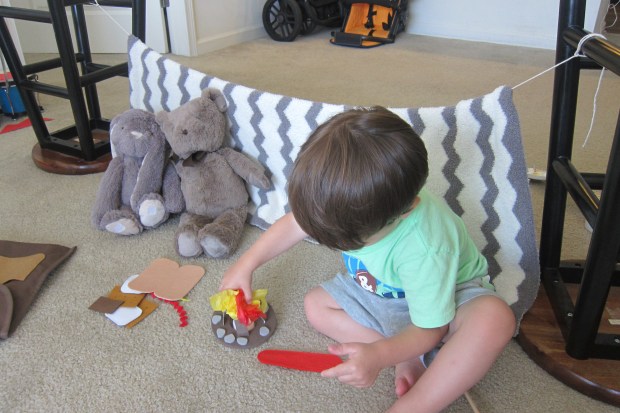
Travis latched right on to the idea of showing the stuffed animals how to cook his new food over the campfire.

Koala Camping (11)

Then he grabbed his guitar, so I told him we should sing campfire songs. “What other campfire songs do we know?” he asked. I rooted around for some old favorites from my childhood and taught him a few new tunes. What fun!

Koala Camping (10)

Overall, this crate was great for introducing new concepts and sparking creativity, but not an art project for a 2 year old. I look forward to more crafting with next month’s kit!

Brush the Tooth

Brush the Tooth (3)

Travis has been very intrigued with the ‘Good Morning, Daniel’ episode of Daniel Tiger (season 2, episode 7), especially when Daniel brushes his own teeth! To get him even more excited about starting to use his toothbrush himself, I introduced this cute project.

Draw (or cut out) a tooth shape on yellow construction paper. Don’t worry about your artistic skills here, just aim for a rough approximation!

Now for the fun part: Instead of a paintbrush, let your child paint the tooth white with an old toothbrush – brusha brusha brusha! Travis was first startled and then delighted that I let him dip a toothbrush in paint.

Brush the Tooth (1)

As he worked, we talked about how the yellow tooth was dirty, and the white paint (toothpaste) was making it sparkly clean. Never too early for a little lesson in hygiene!

Brush the Tooth (2)

Travis didn’t always keep the white paint in the lines of course, so I neatened things up at the end, and traced over the outline of the tooth. It now hangs happily on our fridge, and he gets very excited when he sees, “the tooth!”

Rainy-Day Pictures

Rainy-Day Picture (3)

When summer thunderstorms are rolling through, this cute project can keep toddlers cheerful inside!

First, help your child draw a rainy day scene, in whatever way they like. I made a few gray clouds as a prompt, and Travis added blue swirls of rain – and later some pink and green, because why not!

Rainy-Day Picture (1)

Now it’s time to get gluey! Use a paintbrush to apply glue liberally to the paper. Fold cupcake liners in half and glue on – these will be your umbrella tops. Add glue underneath each umbrella, and press on yarn for the handles.

Rainy-Day Picture (2)

To be honest, Travis wasn’t much into this project, other than the glue (which he loved!) so I made the umbrellas. I like having the picture hang on our fridge, though, so we can talk about it when rainy days roll around again.

Paper Bag Whale

Whale (5)

On the heels of our jellyfish, Travis and I wondered what other sea creatures we could make at home. Would it be possible to turn this plain brown bag into a … great big gray-blue humpback whale?

Whale (1)

The first order of business was to stuff the bag with crumpled newspaper – a sure hit for any toddler. Leave a little room at the end of the bag so you can cinch it closed, tying it shut with string. Give the “tail” a slight rip so it looks even more like a whale’s tail.

Whale (2)

Travis didn’t quite understand what we were aiming at while stuffing the newspaper, thinking he was helping with the trash, but once I presented him with the closed bag and paint, he was so excited to discover we were making a whale. I set out one cup of white paint and one of black, and together we produced a wonderfully gray “humpback.”

Whale (3)

This was by far the largest surface Travis has ever had to cover with paint, and he loved every moment, especially seeing how the white and black interacted.

Whale (4)

I took us off to the park, knowing he’d be impatient for the whale to dry. Once we were home, Mr. Whale had quite a lot of swimming to around the apartment!

Whale (6)

Between the whale and the jellyfish, we’ve certainly had a lot of sea creatures in the house! To continue the fun, I staged a “deep sea dive,” placing blue blankets across two stools as the ocean.

Deep Sea (1)

Underneath, I set up his various bath and beach toys in the shape of sea animals – and then Travis was the scuba diver, diving in to see what treasures he came up with! He was very proud to surface with a fish:

Deep Sea (2)

And, of course, whale. This makes for a great game on summer days when you can’t make it to the actual beach!

Deep Sea (3)

Rainbow Couscous Salad

Rainbow Couscous Salad

This vibrant summer salad features nearly ever color of the rainbow. Have fun finding the colors while your child eats!

Ingredients:

  • 1 medium zucchini, chopped
  • 1 cup corn kernels
  • 1 tablespoon canola oil
  • 3 tablespoons olive oil
  • 1 tablespoon fresh-squeezed lemon juice
  • 1 tablespoon agave nectar
  • 1 cup uncooked Israeli couscous
  • 1 cup chopped baby spinach
  • 1 (15-ounce) drained and rinsed can chickpeas
  • 1 cup quartered grape tomatoes
  1. Combine the zucchini, corn, and canola oil in a baking dish; bake at 400 degrees F for 10 minutes. Let cool slightly.
  2. Meanwhile, whisk together the dressing: combine the olive oil, lemon juice, and agave in a small bowl. Set aside.
  3. To cook the couscous, bring 1 and 1/4 cups water to a boil. Add the couscous, cover, reduce heat, and simmer for 10 minutes. In the last minute or two, add the spinach to wilt it slightly.
  4. In a large bowl, combine the zucchini mixture, dressing, couscous mixture, chickpeas, and grape tomatoes, tossing to combine Serve at room temperature.