Reindeer Bell Necklace

Reindeer Necklace (5)

This adorable necklace is just right for rockin’ out to your famiiy’s favorite holiday tunes. May I suggest ‘Jingle Bell Rock’ and ‘Run, Run Rudolph’, in particular?

Ideally, I would have used larger jingle bells as the body of the reindeer, but the craft store was clean out of just about every Christmas supply! We found sparkly, medium-sized silver bells instead, which were intriguing to Travis, if not perfect for the craft.

Reindeer Necklace (1)

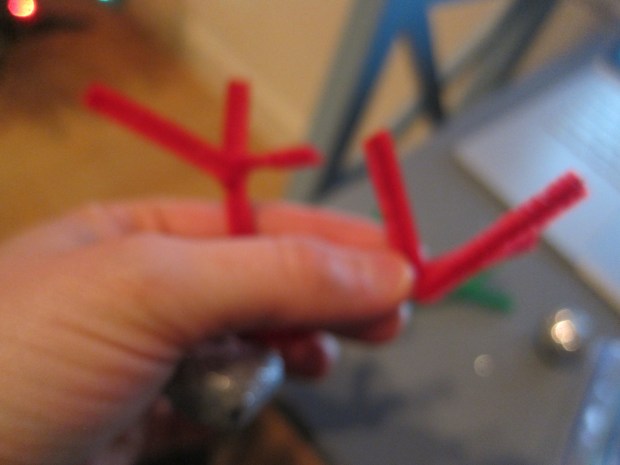
To make the antlers, cut a pipe cleaner in half and thread one half through the bell. Twist to secure.

Reindeer Necklace (2)

Cut the other half in two again (so now you have quarters) and wrap a quarter around each branch of the other pipe cleaner, to form antlers. Travis needed a bit of help with this step.

Reindeer Necklace (3)

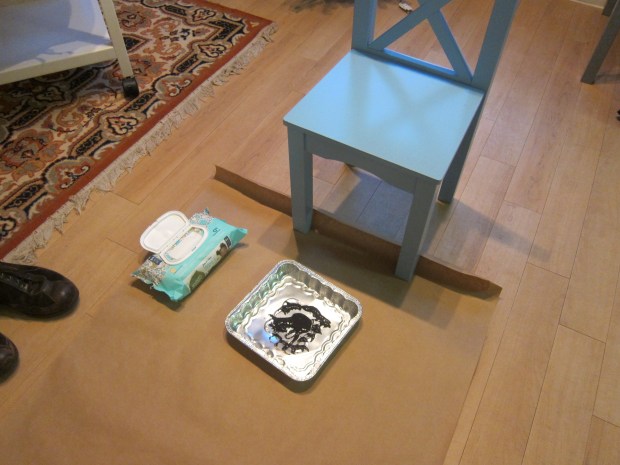
We glued two eyes and a red pom pom nose onto each bell, and set them aside to dry.

Reindeer Necklace (4)

Once the glue dried, it was time to shake our jingle bells! I tied a string to each reindeer to form a necklace, and we could rock out.

Reindeer Necklace (6)

Jingle bells, Jingle bells!

Reindeer Necklace alt

First Smiles

First Smiles (3).JPG

The time has come, parents! Veronika is nearing two months old, and I can finally be certain that those beautiful smiles are not just gas (although those smiles are cute, too!), but actual social smiles. If your child is between 1 and 2 months of age, then you should start to see the same thing.

Note: It was very hard to get pictures for this post, since the light on the camera makes Veronika squint her eyes, eliminating the full impact of her smile. But you get the idea!

Today, I made smiles the focus of my interactions with Veronika, taking the time to give her a big grin at various points throughout the day. Sure enough, if I smiled at her, I was rewarded by a big gummy grin back. If the smile reaches the eyes, then you can tell it’s a social smile, and not just a reflex. Baby smiles are cute in the bassinet…

First Smiles (1)

…or in your lap…

First Smiles (4)

…or at the diaper table.

First Smiles (5)

Invite big siblings to try this game, too. Travis has been eager for Veronika to do “more,” and he felt so rewarded when she returned his big grin.

First Smiles (2)


Tracking Toys

Tracking Toys (1)

Veronika and I haven’t played an eye-strengthening activity lately, so today I took some special time with her just to work on her eyesight.

Use any baby toys – particularly ones that rattle or shake or squeak – and move them slowly across the field of vision. See if your baby can follow with their eyes from one side to the other.

Tracking Toys (9)

Veronika seemed to love the game, eagerly following all the items.

Tracking Toys (10)

Once she had that under her belt, I tested out how her other toy skills are these days. Grabbing?

Tracking Toys (7)

Yup! She got the bird! Kicking? I was interested to see if she would kick at bright soft yarn I produced for her to see, but she didn’t do so.

Tracking Toys (8)

We also took advantage of holiday season and used decorations as props for the game. She loved dangling green ribbons. From here…

Tracking Toys (3)

…to there.

Tracking Toys (4)

And little present bows. From one side…

Tracking Toys (6)

…to the other.

Tracking Toys (5)

But no need for anything special. Any toy works, including classics like dangling baby “key rings”, rattles, and so much more. Happy tracking!

Yarn Christmas Trees

Yarn Tree (10).JPG

Be forewarned: This holiday decoration project is a messy one! In other words, perfect if your kids love getting their hands dirty and helping deck the halls around the house.

For materials, you’ll need Styrofoam cones (available at craft stores) with the plastic wrap still on. You’ll also need red and green yarn. I had pastel shades of each in my craft bin, which would look lovely if you’re taking a pastel approach to decorating this year! Ideally, I would have had darker red and green, but we were eager to do the project so made do.

Yarn Tree (1)

Cut the yarn into pieces about 20 feet long. Yes you read that right, 20 feet! Travis loved helping measure out the long lengths by standing at the opposite end of the apartment from me.

Yarn Tree (2)

Next we needed glue. You can use watered down store-bought glue, but we made a neat homemade version simply by mixing 1/2 cup flour with water until the consistency of a thick paste.

Yarn Tree (3)

I worried Travis might not get his hands in there, but to my surprise, he was eager to see how it felt. Goopy!

Yarn Tree (4)

Soak your stands of yarn in the “glue,” one strand at a time. Once it’s coated, wrap around one of the Styrofoam cones, wrapping and wrapping until completely covered – the more the better!

Yarn Tree (5)

The key is not to let the yarn get tangled, or you’ll wind up with a clump you can’t continue to wrap. After a few successful trees, we encountered a tangle. Whoops!

Yarn Tree (6)

Luckily the cone was just covered enough.

Let dry overnight. Travis had to come over and touch our flour glue occasionally, to see how the drying process was coming along.

Yarn Tree (7)

In the morning, snip the plastic wrap from the cone, and slide the yarn tree off – you’ll have to tug the cone out a bit forcefully. Remove the inner plastic, and the yarn tree now stands alone.

Yarn Tree (8)

We thought it might be fun to decorate one with little gems and beads, although it was hard to get them to stick on, as the beads were heavy.

Yarn Tree (9)

Pinecones made lovely tree toppers though!

Yarn Tree (11)

Visit a Fire Station

Fire Station (4)
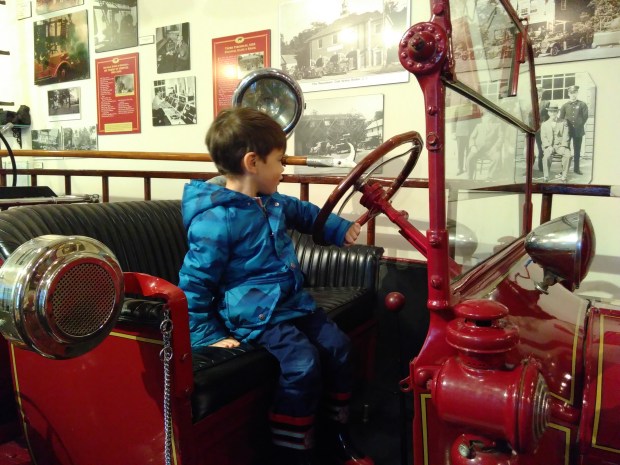
Fire stations are the latest on my list of places to visit with a baby. You may have already done so with kids aged everywhere from toddlers on up to big kids – but infants will love the sights and sounds, too!

As with other field trips Veronika and I have taken, firehouses are full of vivid colors (babies can see red quite well), and of course sounds. Note: you may want to take care that sirens are not too loud or flashing lights too vivid.

If you’re worried about the sirens in the fire station proper, see if your local firehouse has an adjunct museum. This space will have all the excitement of fire vehicles without the noise.

FIre station (1)

And of course, that means big siblings get to play!

Fire Station (2)


Handprint Wrapping Paper

Handprint Wrapping (10).JPG

Parents and grandparents will love any gift that your child gives them – but make it extra special with this fun hand- and footprint paper. The paper itself may very well charm them more than the gift inside!

First, I set up everything for footprints, the messiest part of the project. I recommend using tempera paint, and having a pack of baby wipes right next to you to wash off messy feet.

Handprint Wrapping (1)

Note: you can use acrylic paint, but it will simply require a more thorough scrubbing with soap and water.

Travis sat in a chair in front of a large sheet of butcher paper (alternatively, you can cut open brown bags from the supermarket so they lie flat), and giggled as I brushed paint onto his feet.

Handprint Wrapping (2)

I held his hand as he walked across the paper, leaving tracks behind. He loved peeking back over his shoulder at his trail!

A quick wipe, and then we were on to the hand prints. Travis was giggling again for a nice coat of Christmas red.

Handprint Wrapping (3)

He loved pressing his hands down, making sure each print had all 5 fingers.

Handprint Wrapping (5)

We left the paper to dry, then used it to wrap a package for daddy.

Handprint Wrapping (4)

If multiple children are decorating the same sheet of wrapping paper, you can add names and the date next to their prints.

Handprint Wrapping (7)

A Christmas surprise for under the tree!

Handprint Wrapping (9)

Classic Thumbprints

Classic Thumbprint (2).JPG

This classic Christmas cookie is the perfect recipe to make with little kids: an easy dough that comes together with few ingredients, plus the magic of shaping the cookies with the best instrument of all – your child’s thumb!

Classic Thumbprint (1)

Note: to make Ener-G egg yolks, use 1 tablespoon powder in 2 tablespoons water. For other vegan egg substitutes, aim for a similar volume.

Ingredients:

  • 2/3 cup Earth Balance butter, softened
  • 1/2 cup sugar
  • 2 Ener-G egg yolks
  • 1 teaspoon vanilla extract
  • 1 and 1/2 cups flour
  1. Beat the butter in a stand mixer until creamed. Add the sugar and beat until combined.
  2. Add the Ener-G and vanilla; beat until combined.
  3. Gradually beat in the flour. Shape the dough into a ball and wrap in plastic wrap. Chill for 1 hour.
  4. To bake the cookies, roll into 1-inch balls and place on cookie sheets. Press your thumb into the middle of each cookie.
  5. Bake at 375 degrees F for 11 minutes. If the thumbprint starts to puff up during baking, press back down with the back of a teaspoon.
  6. Let cool on wire racks before filling as desired. For

For a uber-classic version, use strawberry jam. We updated ours with a carrot cake jam filling!


Movie Pillow Fort

Movie Fort (4)

You’ll score points as the coolest parent on the block if you trot out this idea on a cold winter afternoon. Arm yourself with this idea for the winter school break ahead, and you won’t get cabin fever!

I told Travis that we were going to make a fort – not necessarily an unusual occurrence – but this time for a special purpose. He was so intrigued, and trotted about gathering pillows, blankets, and stools for his special fort.

Movie Fort (1)

We made it bigger than we ever had before, with an entire bed sheet for the ceiling. Soft pillows made the perfect floor.

Movie Fort (2)

He loved testing a flashlight inside. Neat shadows!

Now for the big reveal – I brought in a computer so we could watch a holiday movie right inside the fort.

Movie Fort (7)

Of course you could do this with a regular movie any time of year, but something about it felt so cozy and right for the holiday season. Don’t forget to arm yourself with yummy snacks!

Movie Fort (3)

The fort was just the right size for a boy and his movie – peek-a-boo!

Movie Fort (6)

Even better, make it big enough for the whole family, and you can all snuggle in there together, matching holiday pajamas optional of course.

Movie Fort (8)

Was this the coziest winter afternoon ever, or what? A big hit!

Join Your Local Library

Join Library (1)

When Travis was a baby, my in-laws kept pointing me in the direction of the library, a suggestion I originally ignored. Having grown up in a town where the library was an underutilized resource, I couldn’t quite understand the fuss. As soon as I stepped in, boy did I get it!

Not only do children’s sections often feature a wide selection of educational toys – a free playspace! – but they also offer rotating free programs, entertainment, mommy & me groups, yoga, and more.

If you’re not already a member of your local library, today’s the day to head over and check out the offerings. Veronika and I grabbed a flyer for the upcoming months, and already have our sights set on a playgroup for the youngest babies.

Join Library (4)

In addition, your little one will benefit simply by sitting in on crafts or storytimes that big siblings attend, or hanging out in the stroller while they play.

Join Library (2)

And then of course there’s the obvious draw at a library – books! It’s never too early to read to your infant, even before they understand the words.

Veronika and I nabbed a pamphlet with recommended reading for even the litt/est babies, featuring black & white books, or ones with vivid illustrations and simple text.

Join Library (3)

Wake up Veronika, your brother used to love this one!

Join Library (5)

Oh good, she opened her eyes for a cute story about a snowball. I loved taking a quiet reading moment with her while Travis was in school.

Join Library (6)

What programs have you discovered at your library? Please share in the comments!

Take a Bath with Your Baby

Take Bath (2)

New parents, you’ve been giving your baby a bath in an infant tub for a month now, so chances are you’ve become a pro – hurray! But if you find that bathtime is a struggle for an unhappy baby – or simply want to mix things up – try out this alternative.

Get right in there in the tub with your baby.

I slipped on a bathing suit (for blog purposes, ha!) and climbed into a tub that was felt lukewarm to an adult, and just right for baby. Not only was this super relaxing, but Veronika seemed to love sitting on my lap in the water, looking up at me with big, curious eyes.

I supported her as I washed her gently, and she seemed to delight in this new way of being washed, as opposed to alone in her own tub.

Take Bath (3)

To add to the fun, big brother Travis donned a bathing suit and climbed in with us – a family affair!

Take Bath (1)

Another solution to calm a nervous infant in the tub – since you probably won’t be able to bathe with them at every bath time – is to play soothing music. My taste leans toward Mozart, but play any soothing music that your child likes.

Take Bath (4)

Here’s to happy splashing!