Bubbling Bath Fizzies

Bath Fizzies (6).JPG

If you’re still wondering what to make for grandmas, moms, aunts, or any other special mother-figure this mother’s day, Travis and I have got you covered with this treat for the toes from Highlights magazine. The gift is equal parts craft and science, which makes it a fantastic way to engage kids in the spirit of gift-giving.

Bath Fizzies (2)

In a large craft bin, Travis mixed up the following ingredients:

1 cup baking soda

1/2 cup citric acid

1/2 cup Epsom salts

3/4 cup corn starch

Make sure to tell your child that the mixture isn’t edible, even though most of the ingredients are, especially if you’re used to cooking together!

Bath Fizzies (1)

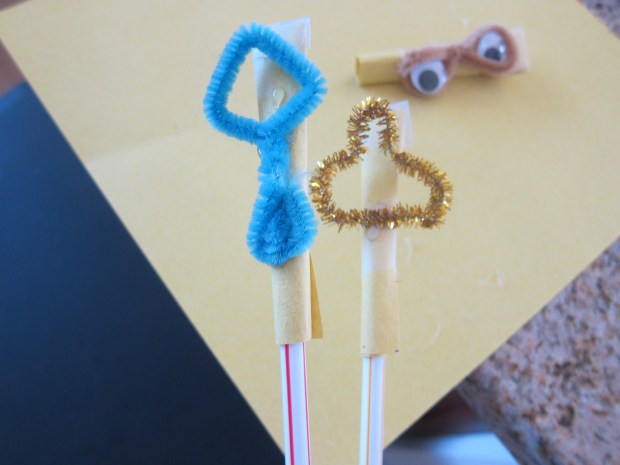
In a small bowl, we whisked together 2 tablespoons olive oil and 1 tablespoon water. Add the liquids to the mixture slowly, stirring until combined. Kids will want to wear goggles (or sunglasses, in a pinch!) to protect their eyes, since it will bubble as you stir.

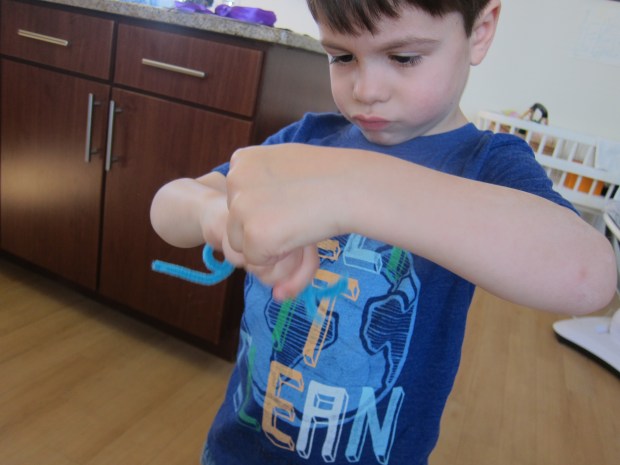
We also added blue food coloring for a pretty tint and a few drops of vanilla extract for a nice smell. The downside was that this made our mixture a little too liquidy (you want it to be slightly dry and crumbly). It seemed all right at first, but as our bath bombs dried, they puffed out. Note Travis in his too-cool-for-school sunglasses, ha!

Bath Fizzies (3)

Use an ice cream scoop to scoop out each portion, and pack down tightly. Gently release onto a paper towel and let dry for a full 24 hours.

Bath Fizzies (4)

Package the bath bombs in any pretty tissue paper or parchment paper.

Bath Fizzies (7)

We also added a little gift tag with instructions for treating those tootsies!

Bath Fizzies (8)

And of course we saved one to test out at home! Travis loved watching it fizz, before putting his feet in to soak. Don’t forget to give a quick explanation of why it all fizzes up – the baking soda and citric acid reacting together once in water, of course, which releases CO2 gas (ergo, bubbles).

Bath Fizzies (9)


Baker’s Baby

Baker's Baby (2).JPG

Today, I played a little game with Veronika involving the classic rhyme Pat-a-Cake, but in subtly new ways.

First, I sat her on my lap. Instead of clapping my hands, this time I clapped hers along  to the first verse. As a reminder, say:

Pat-a-cake, pat-a-cake baker’s man

Bake me a cake as fast as you can

Roll ’em and roll ’em and mark ‘e with a B…

(Here, I rolled her arms, and then traced a little B in her palm. Alternatively, trace the first letter of your child’s name).

And toss ’em in the oven for baby and me.

Point to your child on the word ‘baby’, of course, and to yourself on ‘me’.

Baker's Baby (1)

Then I lay her on her back and repeated these motions with her feet, clapping them together, cycling her legs, and tracing the B onto a little foot.

Baker's Baby (3)

She loved it!

Baker's Baby (4)

For a little extra baker’s fun, I gave her a toy bowl and rubber spatula to play with.

Baker's Baby (5)

Mixing up a familiar nursery rhyme in subtle ways like this is great for baby’s brain. Or as an alternative, don’t forget to seek out new rhymes!

Gallant Challenge: Bugged

Bugged (7).jpg

Last month, Travis took on his first Gallant Challenge from Highlights magazine: to spread kindness to neighbors!

This month’s column was about a girl who loved bugs but was bullied by friends at school about her interest. After her mom wrote of her plight, entomologists from all over reached out and encouraged her not to give up her dream of working with bugs.

This article was a great jumping-off point to talk about bullying. I asked Travis if he ever saw similar behavior at his school, to which he (thankfully!) replied now. But we talked about what to do if anyone ever bullies him or he witnesses bullying. Highlights encouraged kids to write in their own stories of being bugged about an interest, but we left that bit to older readers!

And then to make the lesson fun, we headed off to see just how cool bugs were, in support of the girl in the article.

A museum near us has a fantastic bug exhibit, and we spent the whole afternoon marveling.

Bugged (8)

This was the biggest cricket we’d ever seen!

Bugged (3)

We got to marvel at butterflies just emerging from the chrysalis.

Bugged (2)

This rhinoceros beetle was almost as big as Travis’s arm!

Bugged (5)

Travis introduced the little toy centipede he bought in the gift shop to a real centipede.

Bugged (4)

Exposing your child to something new or different can be a great way to combat bullying, or following along a crowd that bullies another child; after all, so much of bullying stems from ignorance or not understanding another person’s viewpoint. Needless to say, Travis was captivated by bugs the entire outing. Hey, these ants seem to have the right message!

Bugged (1)

Mother’s Day Hat Card

Mother's Day Card (8).JPG

This adorable card in the shape of a hat, which evokes Kentucky Derby season and all things springtime, makes a wonderfully whimsical card for a special someone on Mother’s Day! When Travis and I spotted the craft in Highlights, we knew we needed to put one together for his grandmother.

Cut a large circle from colored cardstock; we chose a royal purple. I was impressed with the way Travis followed the lines along the circle I drew – I hadn’t realized his cutting skills had grown so precise!

Mother's Day Card (1)

Then we cut the rim from a paper bowl for a smaller circle.

Mother's Day Card (5)

Cut a tab into your cardstock near the middle, and glue onto the bowl. It should be able to lift open and closed.

Mother's Day Card (3)

Next we glued purple ribbon around the bowl, and also affixed a purple bow.

Mother's Day Card (4)

Once the glue dried, we added our Mother’s Day message to grandma under the hat!

Mother's Day Card (6)

Hats off to this cute idea!

Mother's Day Card (7)

Straw Rockets

Straw Rocket (8)
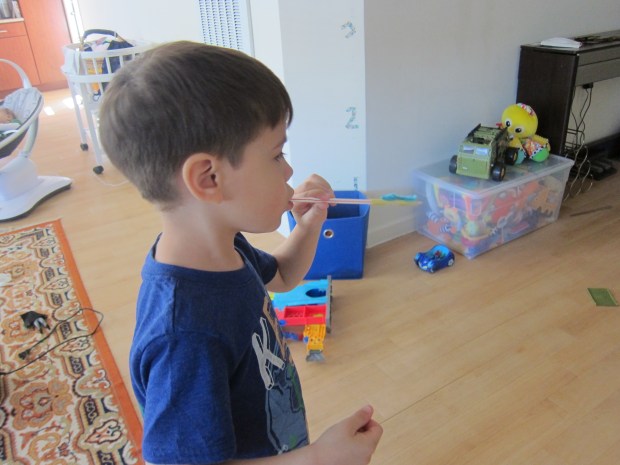
Travis and I have been launching all kinds of things lately, from marshmallows to disks. Today, we made little rockets that could have races!

Cut squares of construction paper that are 3 inches x 3 inches. Make as many of these as you’ll want rockets.

Straw Rocket (1)

Wrap each piece of paper around a straw, making sure it is loose enough to fly off the straw when needed. We secured these with tape.

Straw Rocket (2)

Although there’s no need to, it was fun to add decorations. Travis soon was swirling pipe cleaners into all kinds of creations!

Straw Rocket (3)

I helped with one that was recognizably a “rocket,” as well as a few silly ones. Definitely have fun with these; we even had a little alien with googly eyes.

Straw Rocket (5)

We used hot glue to affix our pipe cleaner creations to our paper pieces. Now our rockets were ready to launch!

Lift the straw to your lips and blow, and see how far it flies.

Straw Rocket (7)

You can even turn it into a race, and see whose rocket flies furthest.

Straw Rocket (6)

Felt Board Story Time

Felt Board (5).JPG

Felt boards are a fantastic visual… and slightly magical to kids, too, since the pieces stick together but then peel right off. Today, I wanted to tell Veronika some familiar stories and rhymes using a felt board as a visual.

If you want, this could be a DIY craft: cover a board with felt and staple the edges in place. Then you’ll need to cut additional shapes from other colors of felt to act out the stories. I confess, though, that I used a pre-made felt story board. This made it a lot easier to focus on the storytelling for Veronika, and not on my negligible crafting skills!

She was intrigued the moment I pulled out the board, no doubt from the bright colors of the felt.

Felt Board (2)

And the texture!

Felt Board (1)

After letting her have some time for exploration, I set up a story. Goldilocks and the Three Bears was fun, with a little house shape, and a semi-circle for a bowl of porridge.

Felt Board (6)

Then I set up a little “boat” and sang “Row Row Row Your Boat.”

Felt Board (7)

This one was Jack and Jill going up the hill!

Felt Board (9)

And tumbling down.

Felt Board (10)

Obviously there is a bit of stretching the imagination that needs to happen here, but it was great fun to mix and match the shapes and watch her reaction.

Felt Board (11)

This is definitely a game I hope to continue as she gets older, especially since we can use smaller pieces and more intricate shapes once she doesn’t put everything in her mouth.

Felt Board (8)


Sprout Sculpture

Chia Sponge y.JPG

This little project is sort of a DIY chia pet, but you get to control what it looks like! It’s a neat way to introduce kids to the concept of a greenhouse, too.

To set up our “greenhouse,” Travis and I first spooned about 2 teaspoons chia seeds into a measuring cup, and filled with 1/2 cup water. Let sit while you put together the sponge structure.

Sprout Sponge (2)

We glued two sponges to a paper plate as a base, then built upwards using other colored sponges.

Sprout Sponge (3)

Have fun cutting some of the sponges into smaller pieces or shapes, or perhaps getting architectural with your design!

Sprout Sponge (4)

Note: We found that hot glue worked best for holding the sponges in place; a few of them had a slight tower-of-Pisa lean when we tried to use white glue.

Spoon your chia mixture over the sponges. Travis thought it was so goopy!

Sprout Sponge (5)

We spritzed with a water bottle until the sponges and chia seeds were nicely saturated.

Sprout Sponge (6)

Place inside a clear plastic container (this is your “greenhouse”) and set the container some place with plenty of sunshine.

Chia Sponge x

We made sure to spritz at least twice daily and within about four days, we had some sprouts!

Chia Sprout var

By one week, it was looking quite sculptural! Definitely a neat experiment.

Chia Sponge z

A+ for Teachers

A+ Teachers (5)

May 7 is National Teacher Day, so in appreciation, Travis put together “report cards” for his two preschool teachers!

A+ Teachers (1)

Ahead of time, I bought a few packs of school-themed stickers. These served as helpful prompts as I asked him to think about how his teachers help him. For example, cookies and juice reminded him, “They help me at snack time.” Glue, scissors, and paint jar stickers reminded him, “They help me with crafts.”

A+ Teachers (2)

We also added a few more abstract ideas, like “they are patient with me” or “they encourage me.”

Of course for each sentence, we graded his teachers an A+! Once he’d written in his name, the cards were complete.

A+ Teachers (4)

What will you do for your kids’ teachers in appreciation? Please share in the comments!


Cardboard Tube Marble Run

Marble Run (9).JPG

This DIY marble run is a fantastic way to get your kids engineering and learning about laws of motion – all while they just think they’re playing!

I saved up cardboard tubes (from toilet paper and paper towel rolls) for a few weeks, until we had a good-sized collection.

First we needed to decorate our tubes. Travis loved covering them with washi tape, and insisted on being in charge of snipping off the pieces of tape we would use.

Marble Run (2)

Next, we cut the tubes open, which he also loved doing!

Marble Run (1)

If your child wants to, decorate the inside of the tubes with marker or crayon. But at this point, Travis was so excited to design our marble run that he said let’s skip the markers!

Marble Run (3)

We headed over to a blank portion of wall, and I taped up the first tube with masking tape. Slowly, we decided where each tube needed to go.

Marble Run (4)

This part will involve a bit of trial-and-error, and a few test runs! Check to see where marbles bounce out or fall off tubes, and adjust accordingly.

Marble Run (7)

I recommend placing a small container with sides at the bottom to catch the marbles.

Marble Run (5)

We were so proud once we had a run that perfectly deposited the marbles inside our container.

Marble Run (8)

When Baby Grabs the Spoon

Baby Grabs Spoon (2)

Full disclosure: my 4 and 1/2 year old sometimes still wants me to spoon feed him, especially with anything liquid like soup or cereal. So the concept of Baby Led Weaning was always far from my mind… Until Veronika got her hands on a spoon!

From the moment I spooned up her first puree, this girl wanted control. She had no interest in being spoon-fed, but she was delighted when she was in charge. As a result, I quickly looked into Baby Led Weaning. In the ensuing few weeks, I learned some tricks of the trade. Here are just a few to impart:

  • Always use unbreakable utensils, sized just right for a baby. I love the curve of Munchkin spoons, which also turn white if food is too hot. Veronika’s spoon inevitably is on the ground by the end of every meal, and same goes for bowls, and plates.Baby Grabs Spoon (6)
  • Cut food into pieces that are big enough for your little one to grab, but slender enough that they don’t pose a choking hazard. First foods should be soft and gummable. Baby Grabs Spoon (9)
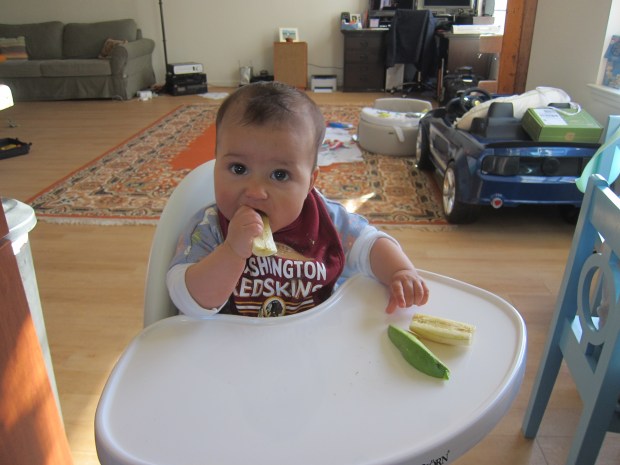
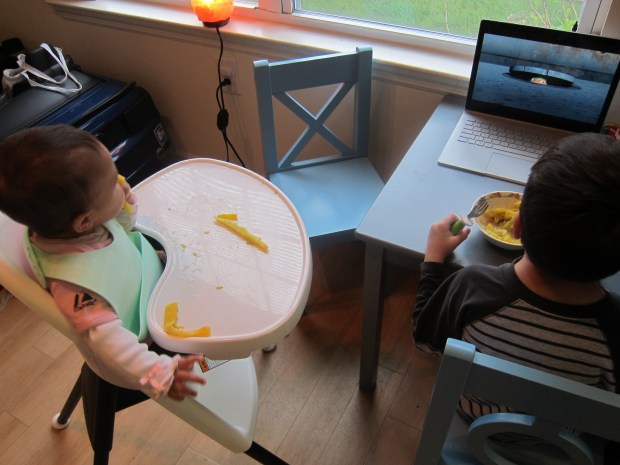
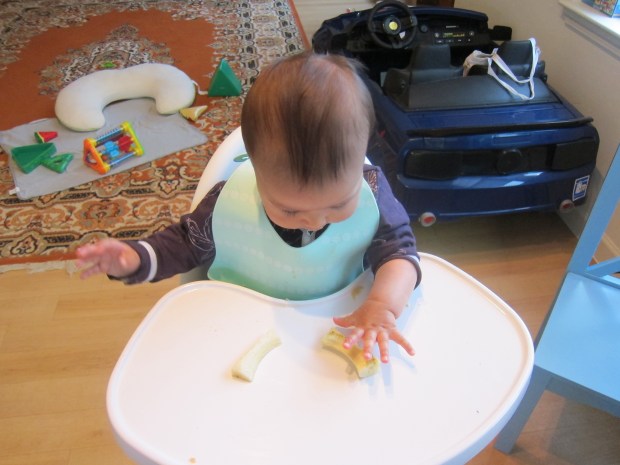
Veronika loves avocado slices, banana slices, roasted sweet potato wedges, rice cakes, teething biscuits, steamed yellow squash strips, and long strips of honeydew or watermelon.BLW (6).jpg
  • Only put a few pieces of food on the tray at a time, or your little one might get overwhelmed. Again, the idea in these early months is practice, not a full meal’s worth of calories.BLW (1).JPG
  • Don’t worry about the mess! Veronika’s chair looks like a war zone when she’s done, but she’s happy, and thus so am I. You can always wipe everything clean and do an outfit change at the end, but resist the urge to wipe fingers and chins after every drippy bite.Baby Grabs Spoon (1)
  • Make your baby part of the family meal! Veronika eats when her big brother does, and she seems so delighted to join in the fun of utensils and self-feeding right alongside a big boy. The first time they ate the same veggie at the same time, I swear my heart exploded.Baby Grabs Spoon (4)

So when your baby makes a move to grab the spoon, pay attention! It may very well be the sign that he or she is ready to self-feed, too.

Baby Grabs Spoon (5)