Of the various parachutes Travis has made, this one flew the best. So read on!
To make it, first we traced an 18-inch circle on a plastic garbage bag, great for both measuring and cutting skills.
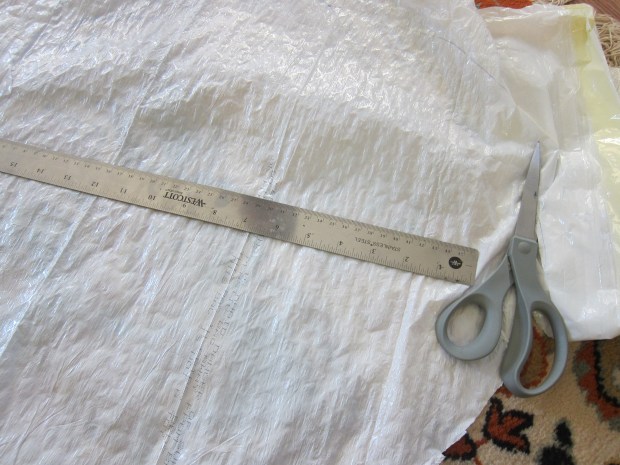
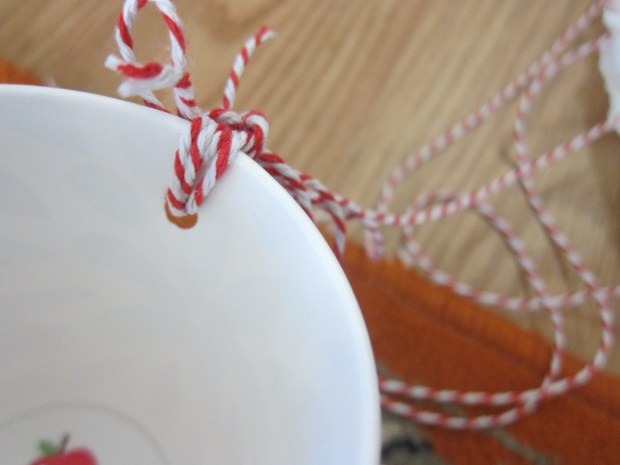
Use a hole punch to make 8 holes at even intervals around the parachute. The hole punch was tough to get through the plastic, so once I had made an indent, I sometimes had to poke the rest of the way with a finger.

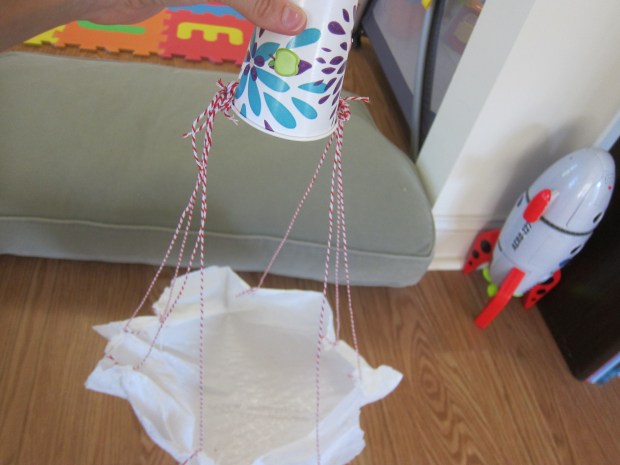
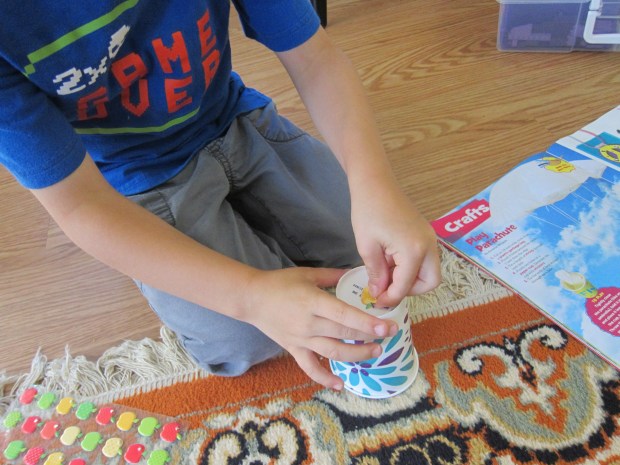
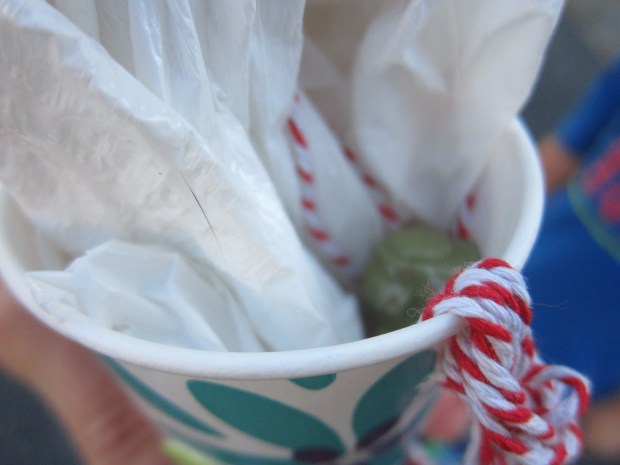
Tie a length of string into each hole, making sure they are all the same length. Punch two holes in a paper cup and tie four strings into each hole.
If you want, you can decorate the cup with stickers or markers. Travis added a few stickers, but truth be told wasn’t that interested in the decorating portion.
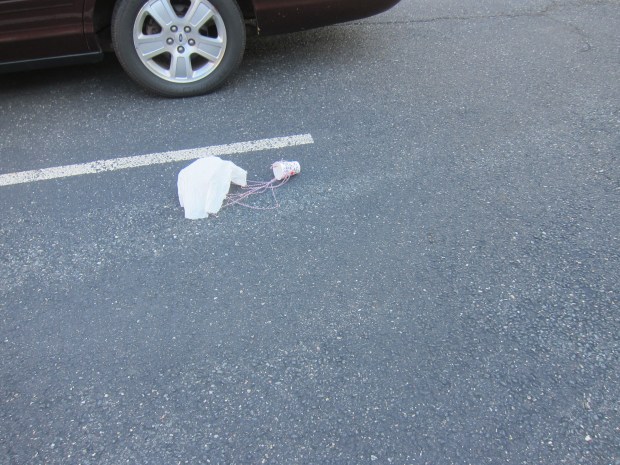
Gather the “parachute” up like an umbrella, then fold it in half and tuck into the cup so the folded part is pointing upwards.

Now it was time to head outside and throw as high as we could (a mommy arm was helpful here).
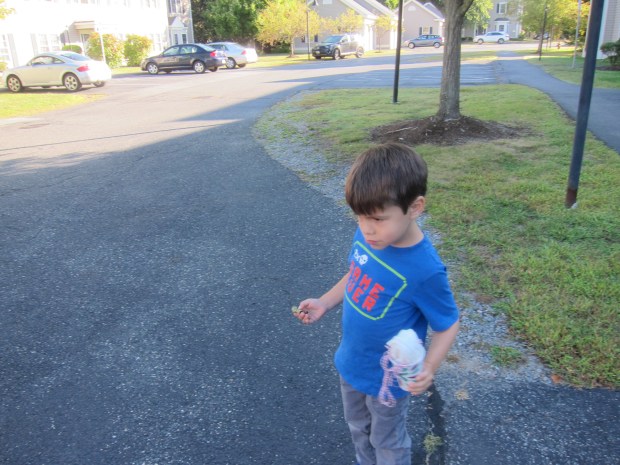
Then watch the parachute open up and float to the ground.
Travis wanted to add a passenger to our parachute, so we put in a brave solder (i.e. a Lego).
However, the parachute wasn’t able to unfurl with this little guy in the way, so I recommend letting your parachute having unmanned flights!

