Deep-Sea Discovery Kiwi Crate

Kiwi Deep Sea (4)

Travis’s subscription to Kiwi Crate is more welcome then ever these days, providing doses of science and art to our home school lessons. Travis couldn’t wait to dive into his deep-sea discovery crate.

First up was to make the Chomping Anglerfish. Travis has learned about these deep-sea fish before, with their fascinating attached lantern, and this project was big on engineering. He helped work through the steps of assembling a wooden wheel then attaching this to the frame of a wooden fish with bolts and screws.

Kiwi Deep Sea (1)

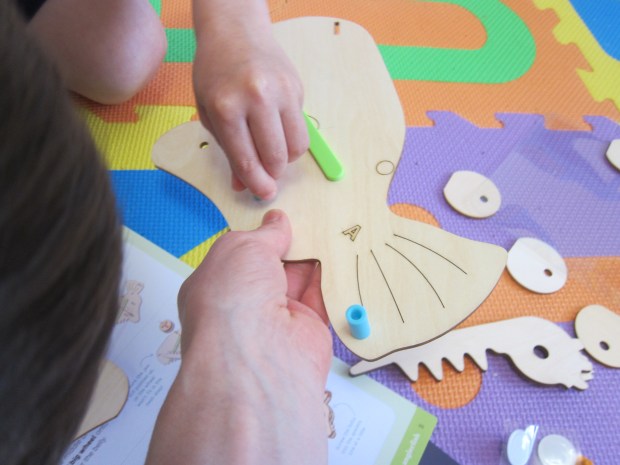
He felt absolute glee when he realized the jaw could move (thanks to the cogs lining up with those in the wooden wheel), and even more so when he realized this meant the jaw could now eat…

Kiwi Deep Sea (2)

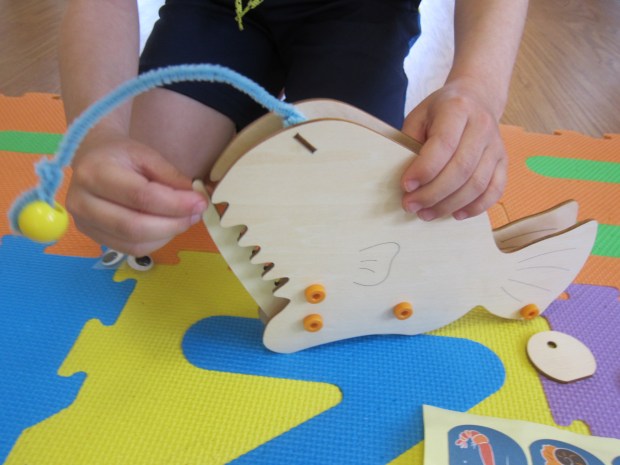
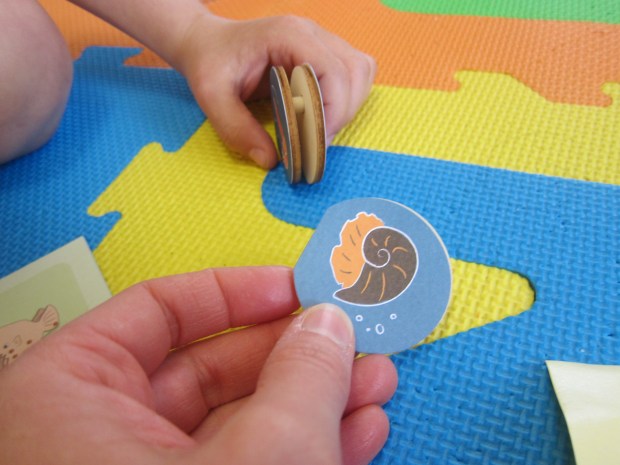
…the prey. Activity number two, to Make the Prey was very simple, just adhering stickers to wooden disks with a peg in between. The wooden jaw hooks onto these pegs so that as the fish scoots along the floor, the jaw lifts up and “swallows” the prey. Just as a cautionary note, the whole apparatus is a bit temperamental and won’t work if the wheel isn’t properly rolling along the floor or if the jaw gets slightly stuck.

Kiwi Deep Sea (3)

But needless to say, it soon turned into a game of chomping up other toys around the house, like Legos!

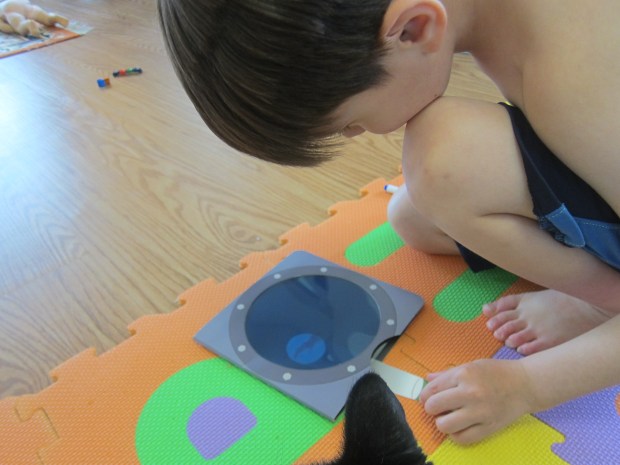
The third project was a Submarine Seek-and-Find. Using the provided stencil, Travis colored in fish shapes onto the provided plastic sheet. A paper “flashlight” then uncovers these creatures lurking behind the dark submarine window.

Kiwi Deep Sea (5)

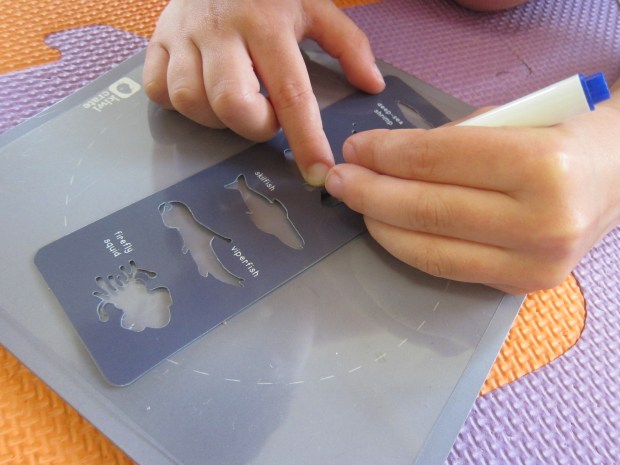
We had fun “hiding” fish for each other among drawings of bubbles, or making up our own creatures. Travis was so proud surprising me with a giant sea monster. The booklet explains the science of how the finder works, when the white light of the “flashlight” makes your drawings appear even under the dark window.

Kiwi Deep Sea (7)

For some final fun, Travis dressed up as an anglerfish for a game of “hide-and-glow seek”! To make the costume, twist a black pipe cleaner onto a glow stick, and attach to any dark-colored baseball cape with masking tape. Have your child dress in dark clothing and don the cap, and they are ready to be a lurking deep-sea fish!

Hide and Glow Seek (3)

We cracked additional small glow sticks to be the “prey” and took turns hiding these around the house. Travis got quite creative with his hiding places! The goal is to find all the sticks in the dark before the “anglerfish” tags the other player.

Hide and Glow Seek alt

Obviously this game will work best after full dark, as you can see from Travis in the picture above, although we did also play a round before the sun went down.

Hide and Glow Seek (5)

If you want to extend the learning, check out two fun books: How Deep is the Sea from Usborne Books or Super Submarines, by Tony Mitton.

Advertisement

Shadow Chalk Experiment

Shadow Chalk Experiment (5)

Travis has made sundials before, but never before has he used his whole body for the activity! This might be the coolest version we’ve tried yet.

Okay, so it wasn’t as precise as past versions, since the measurement (your body!) is big and you have to remember to pop outside. But at 9 a.m., 1 p.m., and 4 p.m. intervals, Travis stood with his feet in the same spot on our patio. He held a big stick for extra effect and struck a dramatic pose.

Shadow Chalk Experiment (1)

Each time, I traced his outline and marked the time.

Shadow Chalk Experiment (2)

Sure enough, it was long and aimed to the south in the morning, short and stubby at 1 p.m, and long and to the north by late afternoon.

Shadow Chalk Experiment (4)

If your kids want to, have them color in their shape each time with fun patterns or colors! Travis preferred to leave his blank, but we still had a neat record of the sun’s passing by the end of the day.

Shadow Chalk Experiment (6)

Artwork Display

Artwork Display (10)

There are many things about my kids that make me sentimental, but I confess their artwork is not one of them. First of all, there is so much of it! And second, it takes up so much space. And let’s be honest: at first you’re amazed by every crayon line, but after a while those crayon scribbles start to look the same.

So here’s a fun way to display your toddler’s art and make them proud, but keep things rotating out the door! Display one piece, but toss it to make room as soon as there is a new one to display.

Artwork Display (1)

The simplest idea is simply to have a plastic frame on the wall where you can insert one drawing, then swap out for the next. Even easier, I like to hang Veronika’s latest artwork on the fridge. To make it feel special, today I helped her design her own artwork holder!

Hot-glue a magnet or magnetic strip to the back of a 12-inch ruler.

Artwork Display (3)

Next, use hot glue to attach spring-type clothespins to either side.

Artwork Display (2)

Now have fun decorating the ruler before you mount it on the fridge. Veronika glued on dried pasta and added marker scribbles.

Artwork Display (4)

I added her name using glue and glitter.

Artwork Display (6)

I didn’t have to wait long before she had her very next masterpiece of marker scribbles. Now I had the perfect place to display it, and will swap it out immediately for the next one that comes along.

Artwork Display (8)

A final idea to manage all that toddler art is simply to keep a digital record. I always take a snap of the kids’ art – no matter how grand or small – before tossing it. Consider staging a picture of your toddler surrounded by a few “masterpieces”, and then you won’t feel so bad tossing the real thing.

Artwork Display (9)

As an alternative, turn scribbles on paper into cylinders and make them works of art on a mantel! How do you deal with all the toddler artwork? Please share in the comments.

Artwork Display (5)

Easy Bird Feeders

Easy Bird Feeder (14)

Here are a few easy ways that even a toddler can help make bird feeders! It’s never too early to teach compassion for feathered friends.

I set out a tray with all of our materials: o cereal, sunflower seeds (make sure to buy them unroasted and unsalted), pine cones, a toilet paper tube, pipe cleaners, and yarn.

Easy Bird Feeder (8)

For the first version, show your toddler how to thread the o cereal onto either yarn or a pipe cleaner. The pipe cleaner turned out to be much sturdier for Veronika’s little fingers.

Easy Bird Feeder (2)

Not to mention the o cereal turned out to be more fun as a snack than for threading, which was just fine!

Easy Bird Feeder (1)

To complete this bird feeder, simply loop the pipe cleaner or yarn at the ends, and it’s ready to hang.

Easy Bird Feeder (5)

For the next version, I gave Veronika a plastic spoon to spread peanut butter over the toilet paper tube. Punch two holes near the top to thread a pipe cleaner handle, then roll in the sunflower seeds. (Note: You can also use commercial bird seed, but I liked that sunflower seeds kept the project completely edible for Veronika… just in case!).

Easy Bird Feeder (6)

We used a similar method for the third version, except using pine cones. Smear with peanut butter, and then roll in sunflower seeds.

Easy Bird Feeder (7)

Make sure to use a pine cone with a stem long enough to knot a length of yarn on. Knot the other end of the yarn to a tree branch.

Easy Bird Feeder (13)

We had so much fun popping outside to hang these in the branches, in early morning sunshine!

Easy Bird Feeder (11)

Sure enough, we had visitors very soon, although one of the pine cones was soon stolen by an adorable and hungry brown squirrel!