Kindergarten Home School Week 8: Thursday

Home School 38 c

Beach-themed fun made for a different feel to our home school day, and I could tell Travis loved the shake-up! It felt like playing with learning thrown in, rather than learning with play thrown in. Hopefully we can keep this up!

9-9.30: Math. His workbook page involved finding and coloring shapes on a beach picture (hence the day’s theme). I turned this into reality by dressing both kids in bathing suits, putting down beach towels and a few toys, and having Travis tackle the page right in our living room “beach”! The change in setting alone made him so happy.

9.30-10: Art. A flapjack octopus was a nice craft extension to the beach theme. (Little sister kept busy, meanwhile, at the nearby scribble table)!

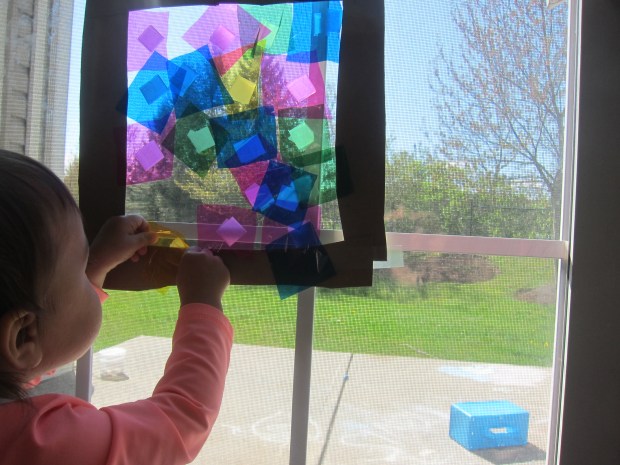
10-10.30: ELA. We’re starting a Star Wars-themed 1st grade writing book, so I had Travis work on handwriting for about 10 minutes. Star Wars pictures kept things lighthearted! Then it was 15 minutes on Lexia. Again, he got to do this right on our “beach”. (Little sister was busy with stained glass).

Home School 38 e

10.30-11: Snack/free play.

11-11.30: Science. His encyclopedia page was about friction. The topic seemed dry to Travis at first, including the QR video, but then I showed him how we could make a cold penny turn hot! Place a penny on a pad of paper, and pin it down with one index finger. Rub back and forth 50 times (again, counting practice!). By the end, the penny is quite warm to the touch.

Home School 38 d

11.30-1.30: Lunch/free play. During Veronika’s nap, I also taught Travis how to play the card game War. Beyond the thrill of this game (it brought back so many memories!), War teaches kids to quickly recognize less than and greater than.

1.30-2: Spanish. His teacher had recorded a game involving colored cups, which we then acted out. The kids also danced to the Mexican Hat Song!

Home School 38 g

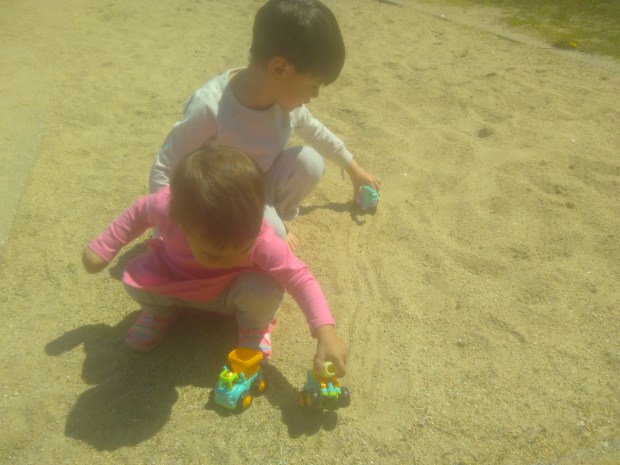
2-3: Letter D/Dump trucks. I had Travis do one final workbook page, devoted to the letter D, and we took the play outside toy dump trucks in a local sand lot. The kids played for an hour in beautiful sunshine! We returned home full of laughter.

Home School 38 b

His bedtime book tonight was the nonfiction Me on the Map, which made for a good discussion as he gave it a “review” after.

home school 38 i

Advertisement

Stained Glass Window

Stained Glass Window (8)

Any project that involves kid + sunlight + reflective colors somehow makes me so happy. Hence why I returned to the idea of toddler “stained glass” today, even though I’ve done similar projects in the past.

For this particular version, I cut strips of thin cardboard from an old cereal bo and taped them into a square on the patio door as a “window” frame. I then cut squares of cellophane in various colors and simply showed Veronika how we could tape them one at a time into the frame.

Stained Glass Window (2)

The idea was to let her dictate where each piece should go, although I then had to be the one to tape it.

Stained Glass Window (9)

After starting in this way, I decided to just cover the space inside our frame with tape pieces so she could start to stick the cellophane on herself.

Stained Glass Window (7)

(Note: For this reason, I think it’s better to use contact paper as the background, instead of tape).

Stained Glass Window (10)

Of course, being a toddler, Veronika was also interested in the materials themselves.

Stained Glass Window (5)

She loved crumpling up the cellophane and handing it to me (“Trash!” she said), as well as the way it stuck to her feet.

Stained Glass Window (3)

Once the sun hit our “window” at just the right angle, we had beautiful colors projected onto our floor.

Stained Glass Window (11)

Like I said, I’m a sucker for any combination of beautiful reflected colors and an adorable toddler face.

Stained Glass Window (4)

Scribble Table

Scribble Table (2)

Veronika wants to scribble anywhere and everywhere these day, so today I made it easy for her – not to mention extra fun! – by setting up a low “scribble table”.

All you need for this activity is a table that’s about waist-high on your child, such as a coffee table or craft table. Cover it with long sheets of craft paper, taping securely and making sure that no tabletop shows through.

Add jumbo crayons and you’re ready to go!

Scribble Table (1)

Veronika was thrilled to learn she could scribble on a normally-taboo surface. She made lots of, well, scribbles of course!

Scribble Table (3)

She even experimented with holding multiple crayons at once.

Scribble Table (5)

I added a few simple drawings and depictions for her, but mostly I just left the craft paper blank as her canvas to fill in throughout the day.

Scribble Table (4)

Big brother did later realize he could use this as a backdrop for Lego games, making scenes of pirate ships and sea monsters. So we got multiple uses out of it!

Scribble Table (7)

One note of caution: You may want to avoid this game with a toddler who is too young to follow directions, otherwise they might start to think any table or piece of furniture is fair game for scribbling.

Flapjack Octopus

Flapjack Octopus (6)

This suggestion from Kiwi Crate was both a way to upcycle Travis’s latest package from the company and an extension on the theme of the deep sea. Winding yarn around a piece of cardboard is also a method you can use for making pom poms, but we found this project to be even easier.

Cut the top off of a Kiwi crate box (or any shoe box), and cut off any flaps, leaving a rectangle. Begin winding yarn around the middle of the rectangle, wrapping about 100 times. This was great practice for counting to 100, something Travis has been working on for home school!

Flapjack Octopus (1)

When we reached 100, we slipped a piece of yarn through the loops at the bottom of the rectangle, and double-knotted securely. Now slip the whole bunch of yarn off the cardboard. Find the middle of the yarn bundle, and tie another piece of yarn there in a double-knot to form the octopus’s waist.

Flapjack Octopus (3)

Snip the loops at the bottom of the octopus. Divide into eight portions (these will be the eight legs) and secure each bundle with a piece of yarn.

Flapjack Octopus (4)

For ears, slip a pipe cleaner through the yarn at the top of the head, and twist down into cute little ear shapes, trimming any extra pipe cleaner.

Flapjack Octopus (5)

As a final touch, glue on wiggle eyes. Once the glue dries, your flapjack octopus is ready to be discovered in the deep sea!