Winter in a Bag

Winter in a Bag (5)

Veronika loves glitter but I confess I’m not always in the mood to deal with the sparkly mess it leaves behind. This sensory bag is a great way to enjoy all the sparkle and ice of winter, without a single bit of that mess!

To start, I squirted about half a bottle of clear hair gel into a large zip-top bag. Add any items that are fun to squish and resemble little snowballs or snowflakes. To wit, we used white pom poms and large Dandies marshmallows!

Winter in a Bag (1)

For snowy sparkle, I then poured in blue glitter and a few silver star-shaped sequins that looked roughly like little snowflakes. Veronika wanted to get hands-on with the bag right away!

Winter in a Bag (3)

The marshmallows in particular are fun to squish, even through the bag. As a bonus, there’s no sticky mess left on fingers. She also loved spotting the silver snowflakes in the mix.

Winter in a Bag (4)

She then decided to stand on the bag instead, delighting in how squishy it felt beneath her toes.

Winter in a Bag (6)

The bag didn’t hold her interest for very long, truth be told, but it was sparkly, wintry fun while it lasted.

Sensory Snow Safe to Taste

Safe to Taste Snow Sensory (5)

We’ve had lots of fun making pretend snow this winter, and this easy sensory bin was the simplest way yet! When Veronika requested snow this morning, I thought quickly and simply poured in an unused box of instant mashed potato flakes. “Snow!” I told Veronika.

Safe to Taste Snow Sensory (1)

To mix things up, my original plan was to add toy trains to the bin. But she started using big brother’s army trucks instead.

Safe to Taste Snow Sensory (2)

“It’s so snowy blowy!” she said as she drove the trucks around, and loved watching the tracks that the vehicles left behind.

Safe to Taste Snow Sensory (4)

Travis added aliens, so perhaps this was a snowy planet from another galaxy!

Safe to Taste Snow Sensory (6)

Then she wanted to add her ponies, and thought it was quite fun that the horses were “snowy blowy” too.

Safe to Taste Snow Sensory (8)

As long as you don’t get the mixture wet, the potato flakes will brush off quite easily at the end, making this an easy bin for clean-up, too.

Safe to Taste Snow Sensory (7)

This “snow” is perfect for a toddler how might want to take a taste. But if you have older kids who prefer colder snow that can really clump together like snowballs, there are lots of other options to try!

Surface Tension Kiwi Crate

Kiwi Surface Tension (4)

Travis was delighted with his latest from Kiwi Crate, a kit all about surface tension with truly delightful projects. It turns out that surface tension, the property of water molecules to want to stick to themselves, makes for both science and laughs. Here’s why!

The first experiment was to Build a Blob. Simply squirt three drops of each provided liquid watercolor onto a sheet of wax paper.

Kiwi Surface Tension (1)

Now use the mixing stick to pull them towards each other. The little beads are adorable skittering across the wax paper and then – slurp! They merge. This was entertaining for grown-up and kid alike to watch each time our blob grew bigger, and it had Travis in fits of laughter. When all 9 drops have merged, suck it up with the tip of a paper towel.

Kiwi Surface Tension (2)

Needless to say, Travis needed to repeat until the liquid watercolors were gone, including inventive games of evil empire blobs that were sucking up enemy planets.

Kiwi Surface Tension (5)

The second experiment was equally a delight, this time a Water Maze. Attach the felt maze outline between a cardboard base and a plastic cover with a brad. Then we filled the provided bottle with water and used the eye dropper to squeeze one little drop through the hole in the cover.

Kiwi Surface Tension (12)

Tilt – carefully! – and the little blob slides along (resisting the material of the base) until it reaches the center. But if we ran into a felt wall…Oh no! The felt slurps it up. This was also an absolute delight, and Travis got so silly with it. We tested big blobs and small blobs, pretended they were running away from the enemy, and more. Could they reach the center before disaster struck?

Kiwi Surface Tension (11)

The third project was Sticky Yarn, and had definite ‘wow’ factor. Using two sticky foam donuts, Travis attached the ends of a provided strand of yarn between a bowl and a plastic cup.

Kiwi Surface Tension (14)

Thoroughly saturate the yarn, then fill the cup with a little water and begin pouring toward the bowl, making sure the yarn is taut. The water “walks” along the yarn, preferring to stick to itself.

Kiwi Surface Tension (15)

Travis quickly learned that if the yarn wasn’t taut or if he poured too quickly, the water would spill down. Slow and steady won the race, and it was so fun to watch!

Kiwi Surface Tension (16)

Finally, it was time to make a Water Strider, a lesson about real-life creatures like this insect that manage to not break surface tension. First we experimented with the provided wires using the provided molds to bend them into waves…

Kiwi Surface Tension (17)

…or even stars!

Kiwi Surface Tension (19)

He practiced lowering these into the bowl of water with the provided wooden dipper so they rest on the water and don’t sink.

Kiwi Surface Tension (20)

Making the little “water strider” required very deft finger work, pinching three wires between two tiny bits of sticky foam. Travis crimped the legs with the wooden presses and then we lowered it down into the water bowl with the dipper.

Kiwi Surface Tension (22)

The bug walked on water all right! Travis tested out pressing on it with a finger to make sure we were really seeing surface tension at play, and at that point the bug sinks.

Kiwi Surface Tension (25)

There were a couple quick experiments in his Explore magazine for further fun. First we tried The Unspillable Bottle, an old activity that failed for us in the past, but today we got it right! Place mesh netting from an onion bag over the top of an empty water bottle and secure with a rubber band.

Kiwi Surface Tension (28)

Now fill the bottle with water. Place an index card over the top and flip the bottle over. Slowly remove the index card… and the bottle won’t leak!

Kiwi Surface Tension (29)

Travis loved the Runaway Pepper experiment the followed. Simply crank your pepper mill a few times over a bowl of water, then add one drop of dish soap in the middle.

Kiwi Surface Tension (27)

The pepper runs away! We leave you with this clip of it in action:

Create a Dramatic Play Library

Library Dramatic Play (6)

One of the things we’ve missed most during the COVID-19 pandemic is going to the library. So on a gray and rainy morning, we brought the library to us!

To set up, I first arranged some of the kids’ books along the couch like it was a display shelf.

Library Dramatic Play (4)

We then printed out a template for Book Return and Book Check-Out signs. The Return sign went on a blue bin, and the Check-Out went on the table along with a remote to “beep” books out (of course!).

Library Dramatic Play (2)

I had intended for the kids to make pretend library cards, but Veronika preferred scribbling all over the template instead of cutting out individual cards. Oh well!

Library Dramatic Play (1)

Only a few final touches were needed now; we love the puzzle corner at the library, so recreated that with some favorite puzzles on the floor, and then set out a few chairs as reading nooks. Time to open the library doors!

Library Dramatic Play (15)

The kids loved browsing.

Library Dramatic Play (8)

Beeping out books was a big highlight! Veronika was still busy coloring but would pause now and then just to “beep!” a book.

Library Dramatic Play (12)

Both kids soon had a cozy nook where they could read or take a book for a picture walk.

Library Dramatic Play (14)

And then of course it was time to put books in the return bin and re-stock the shelves.

Library Dramatic Play (11)

Don’t forget to set up dolls for a storytime! First I read to the dolls…

Library Dramatic Play (9)

…and then Veronika took a turn.

Library Dramatic Play (10)

I loved that this game even inspired Travis to pause and do puzzles, an activity he usually shies away from. For a moment there, I almost could believe we were back in the real library.

Library Dramatic Play (13)

Discover with Me Panda Crate

Panda Discover (13)

Veronika sure did love discovering the goodies in Panda Crate’s Discover with Me kit that arrived. This month’s theme was all about the ways in which kids learn (hint: repetition is key), and would be great for kids aged 20 months and up.

One: Animal Puzzles

This first toy was Veronika’s least favorite of the bunch. Four tiles match up on one side to make a park-scene puzzle. The reverse side shows 4 animal faces and the numerals 1 through 4. Even for a grown up, the puzzle was frustrating because there is no way to link the pieces together!

Panda Discover (3)

That said, she loved playing “I spy” with the image in the puzzle oncce complete. “Can you find the tire swing?” I asked her. “Can you find the cloud?”

Panda Discover (5)

She also thought the animal images were quite cute, and you can arrange them in numerical order to teach early counting.

Panda Discover (6)

Two : Peek-A-Boo Base

There’s another use for those animal puzzle tiles. Put them in the provided base, and when you press on the top of one, the one adjacent to it pops up to say hello. If you do this fast and hard enough, it actually pops all the way out of the base!

Panda Discover (11)

Veronika couldn’t muster up that much strength, but did enjoy pressing on them. Slotting them in and out of the base is great repetitive play, and older kids can work on adding them in numerical order.

Panda Discover (10)

Three: Hide-and-Seek Mat

This one was definitely the favorite from the crate, combining imaginative play with symbolic thinking skills. Three wooden animals can hop around the playground scene or be used for hide-and-seek behind the flaps (a gate, a bush, etc.).

Panda Discover (14)

Veronika loved narrating to herself as she played, repeatedly “finding” her puppy, cat, and bunny.

Panda Discover (15)

These three animals also match up to…

Four: Animal Match-Up

… a set of cards featuring 4 different pairs of parent and baby animals: a bird, cat, bunny, and dog. Veronika loved the cute babies and the tiles are great for vocabulary (kitten and puppy vs. cat and dog for example) and for making animal noises to match each set.

Panda Discover (17)

You can encourage your child to pair the parents with the babies, arrange them in big and little order, or even play a game of Memory!
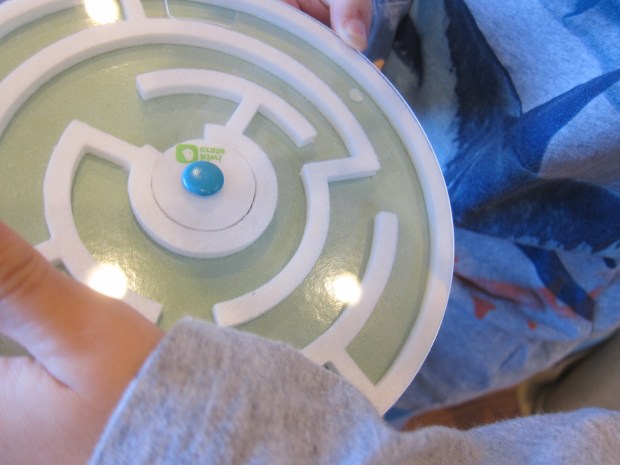
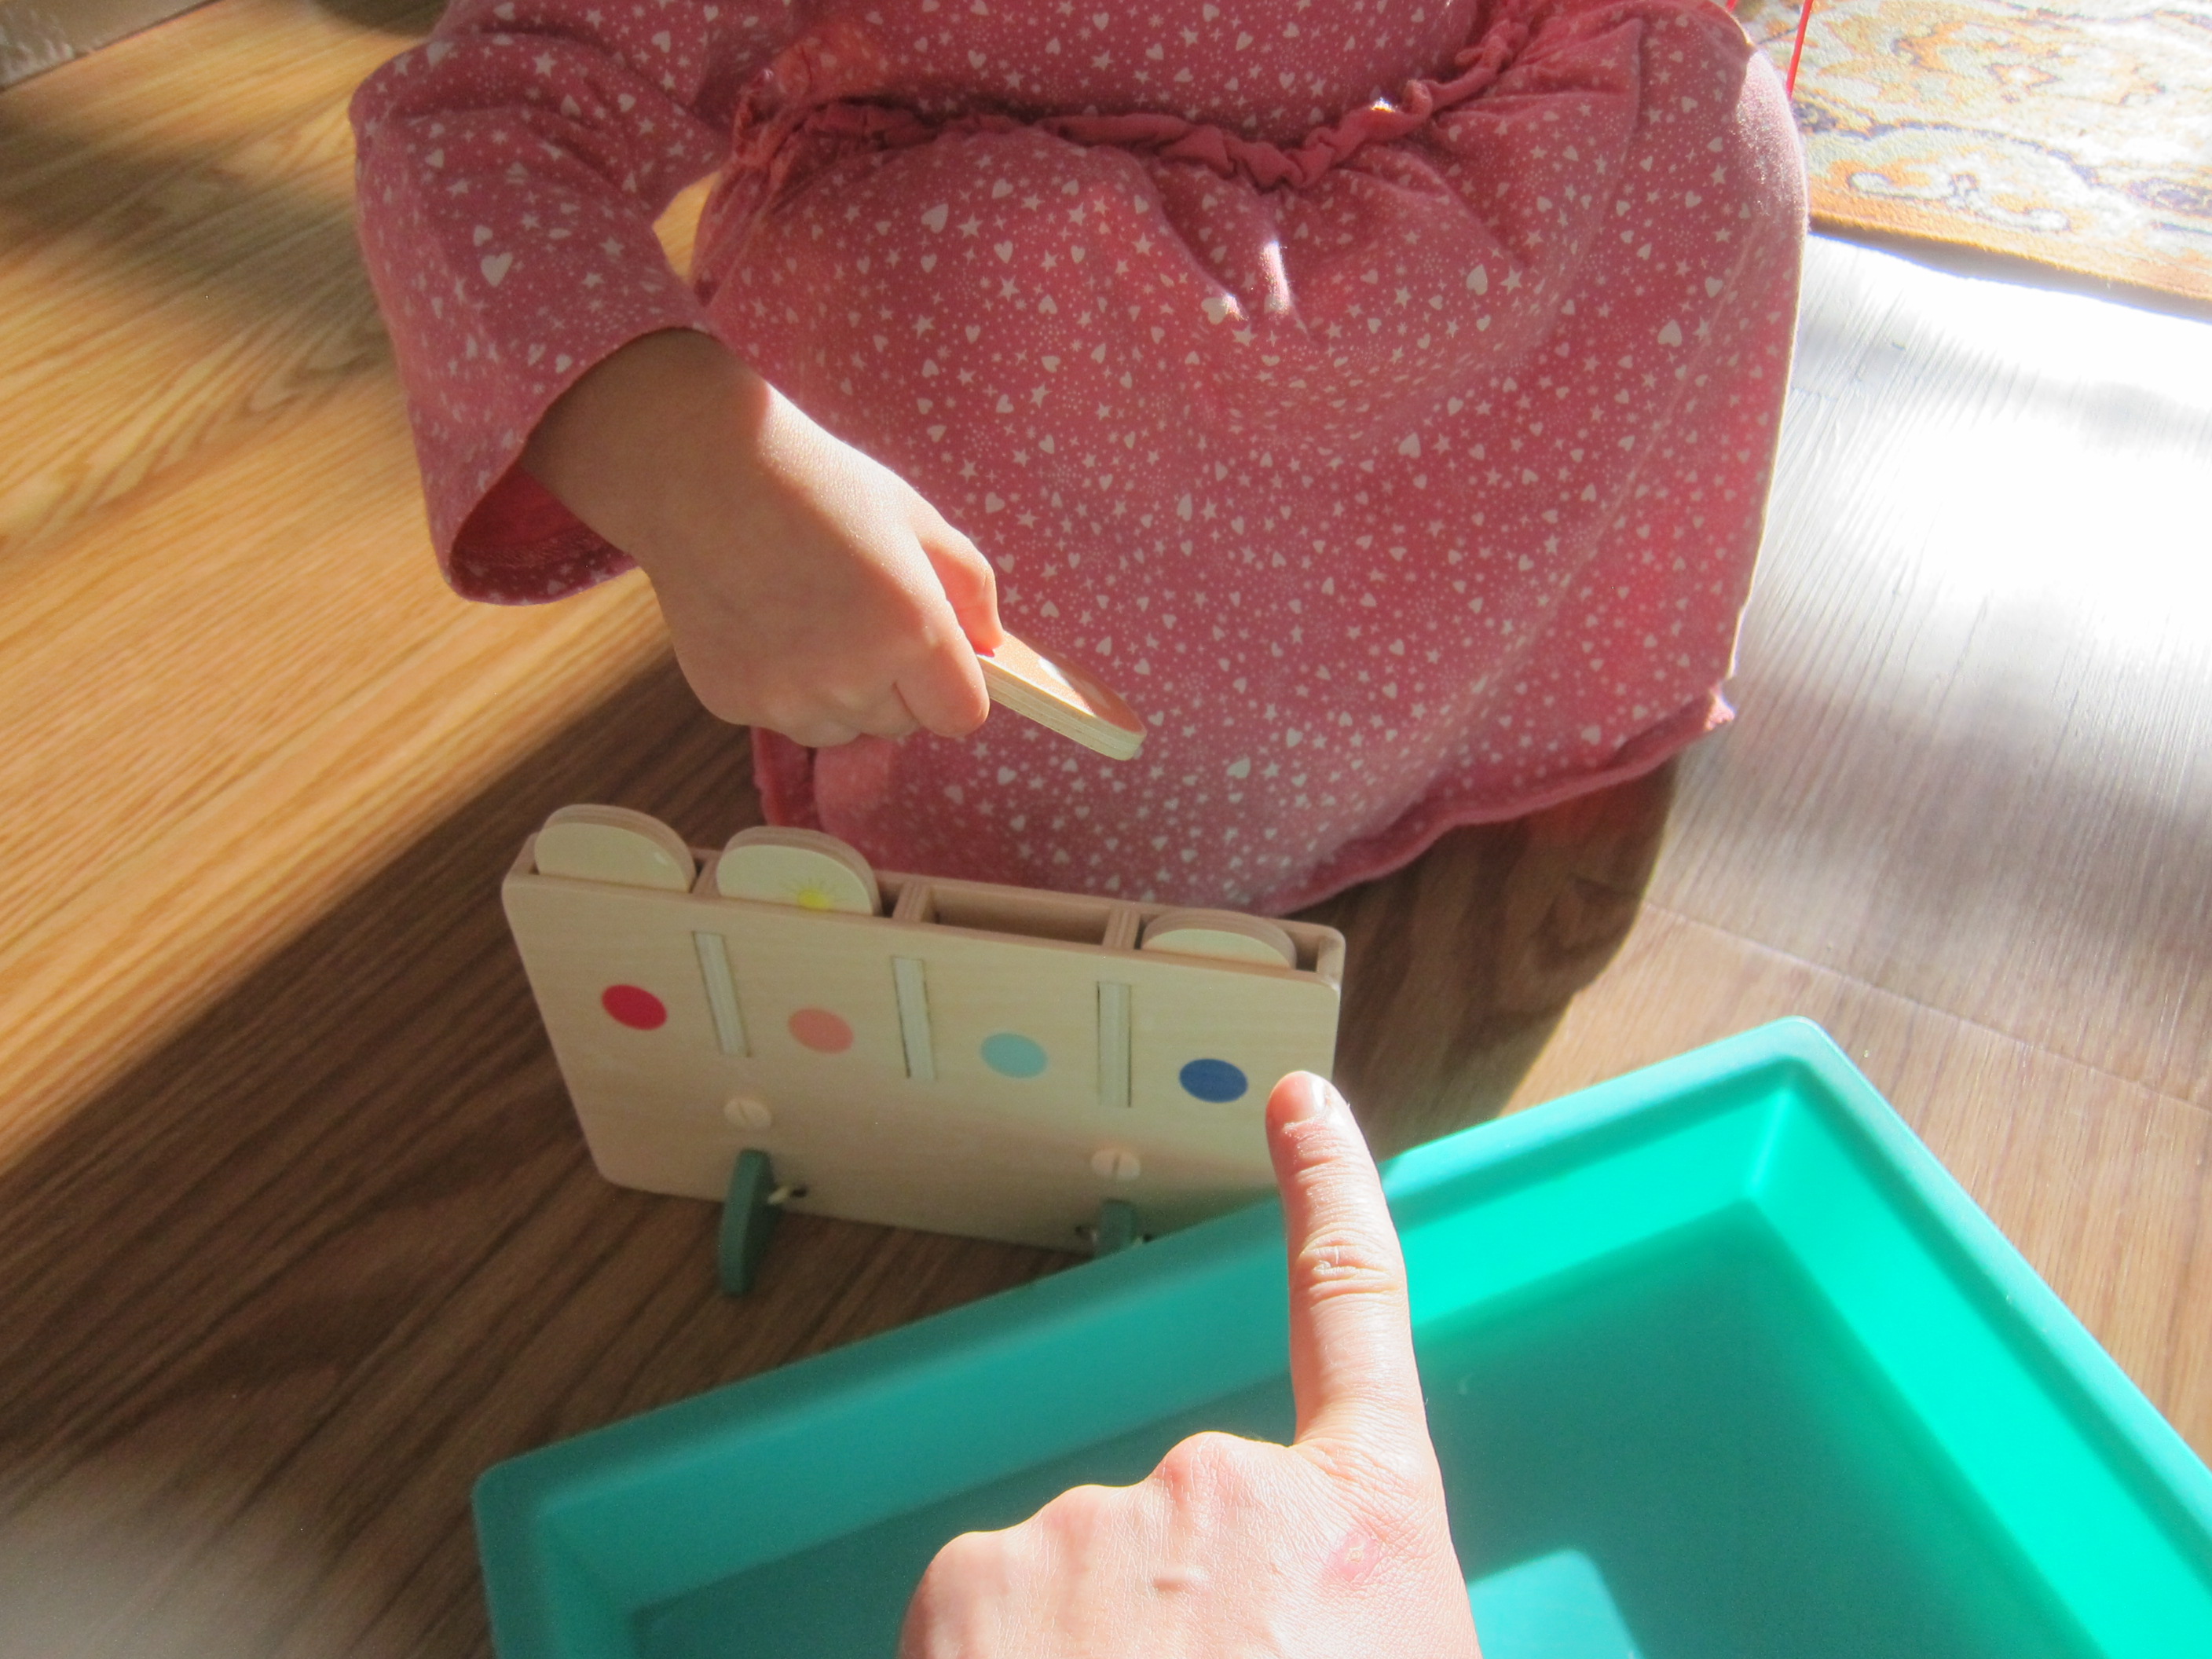
Panda Discover (18)

Five: Pop-Up Roller

This item seemed out of place with the rest of the crate, but is meant to teach cause-and-effect. The roller has tabs on each side; when one tab pops out, the tab opposite it goes in.

Panda Discover (1)

It was good for talking about colors, and will make noises when rolled along a hard floor that likewise teach cause-and-effect. But Veronika didn’t like it as much all those cute animal toys!

Panda Discover (2)

Six: Board Book

I remain disappointed in the book included with the crate, this time called “Where’s Poppy?” What’s more, the company already sent a book with a hide-and-seek theme in the Play with Me crate! We really would have preferred a book with a new topic or with flaps to lift and encourage interaction.

Wonder magazine this month featured tips about repetitive play, ways to encourage your child to try new things, and a cute sing-along to Three Little Pandas (jumping on the bed) as opposed to those familiar monkeys. We get why they chose this song: cause-and-effect again!

We also played a toddler favorite, Lights On, Lights Off with our light switches. Simply head to any switch in the house and let your toddler press and marvel at the result (either a dark room or an illuminated one).

Lights On Lights Off (1)

Veronika loves doing this in the kitchen, in particular!

We checked out three books from the library to finish the fun:

The Rain Came Down by David Shannon

Peek-a-Moo by Nina Laden

Before, After by Anne-Margaret Ramstein

Panda Discover alt


Exploring Marshmallows with the Five Senses

Marshmallow Senses (8)

I wanted to do an early five senses activity with Veronika, and thought about the most toddler-friendly material in the house we could use. What could be better than yummy, squishy marshmallows?

We used the large marshmallows from Dandies for this activity, which were better for exploration than the small ones in this case.

To start, I drew a cartoon face showing eyes, ears, nose, and mouth, and then labeled each one, along with the word ‘Skin’ on the cheek for the sense of touch. This wasn’t necessary, but provided a nice visual as we moved through each sense.

Marshmallow Senses (1)

It was time to go through the senses one by one as we explored our marshmallows! First, I invited Veronika to use her eyes. She loved peering through a magnifying glass, and named the color (white). I had to laugh when my question “What does it look like?” received a very toddler-appropriate answer: “A marshmallow!”

Marshmallow Senses (6)

Next we used our nose to smell it. Sweet and sugary!

Marshmallow Senses (4)

Now, could we use our ears to discover what it sounded like? The marshmallow itself made no noise, but she liked the soft rubbing noise it produced if I ran my fingers over it.

Marshmallow Senses (12)

Time to use our hands! How did it feel? She discovered that it was squishy and plump to the touch on the outside.

Marshmallow Senses (2)

But once we broke one open, it was super sticky! “I got sticky on me!” Veronika declared.

Marshmallow Senses (5)

Now for the best part: it was time to use the sense of taste. (Ok, she might have been nibbling on another marshmallow during this whole exploration…).

Marshmallow Senses (7)

And it sure tasted sweet and yummy!

Marshmallow Senses (9)

Cheesy Soup Skimmers

Cheesy Soup Skimmers (3)

This quick kid-friendly cooking project makes a tasty lunch and has a little science lesson thrown in, too!

We wanted to test what could float in a bowl of soup, and decided to make cheesy “crackers”. (Note: I used Daiya’s shredded non-dairy cheddar for the experiment, which worked great. Other non-dairy cheese will most likely work, too, but I can’t say for sure).

Travis picked a few fun cookie cutter shapes, including hearts, stars…and Darth Vader’s helmet! Sprinkle a thin layer of the non-dairy cheddar into each cookie cutter over a baking sheet lined with parchment paper. We also made a few free-form shapes for comparison on the side.

Cheesy Soup Skimmers (1)

Be sure to lift off the cookie cutters before baking! Bake at 350 degrees F for 8 minutes, just until the cheese sets.

Cheesy Soup Skimmers (2)

Let cool completely, then carefully peel the cheese shapes off the parchment paper and slip on top of a bowl of soup. We particularly liked these with tomato soup.

Cheesy Soup Skimmers (4)

The kids loved seeing the cheese float. And then they tested out a few oyster crackers, too! That’s where the science comes in: if you press on the cheese skimmers, they will break the surface tension of the soup and sink to the bottom of the bowl. The crackers will always float for a different reason, though, namely density!

Cheesy Soup Skimmers (5)

Glue Dots and Buttons

Glue Dots and Buttons (6)

Veronika seems to enjoy art projects best when I squeeze out the dots of glue ahead of time and then she gets to press down materials on each little white blob. So today, with no other agenda or other final product in mind, that’s exactly what she got to do!

To set up, I used a piece of black construction paper as the background so that the white dots would show up clearly, and simply dotted all over it with glue. I set out a plate of buttons, pom poms, and dried beans for her. Anything else easy to glue down would be great in the mix, too.

Glue Dots and Buttons (1)

Veronika immediately began adding buttons, and wanted to name the color of each as she pressed down.

Glue Dots and Buttons (3)

For fun, I made some of the glue dots in a representation of other things, like a smiley face. She was delighted as soon as she saw what we’d made.

Glue Dots and Buttons (4)

She didn’t want to add any of the pom poms, but enjoyed pressing down the dried beans, too.

Glue Dots and Buttons (5)

This was a simple activity for fine motor skills, and would work well as a busy activity for preschoolers who can even make the glue dots by themselves.

Glue Dots and Buttons (2)