Eat Your Letters

Letter Sandwiches (2)

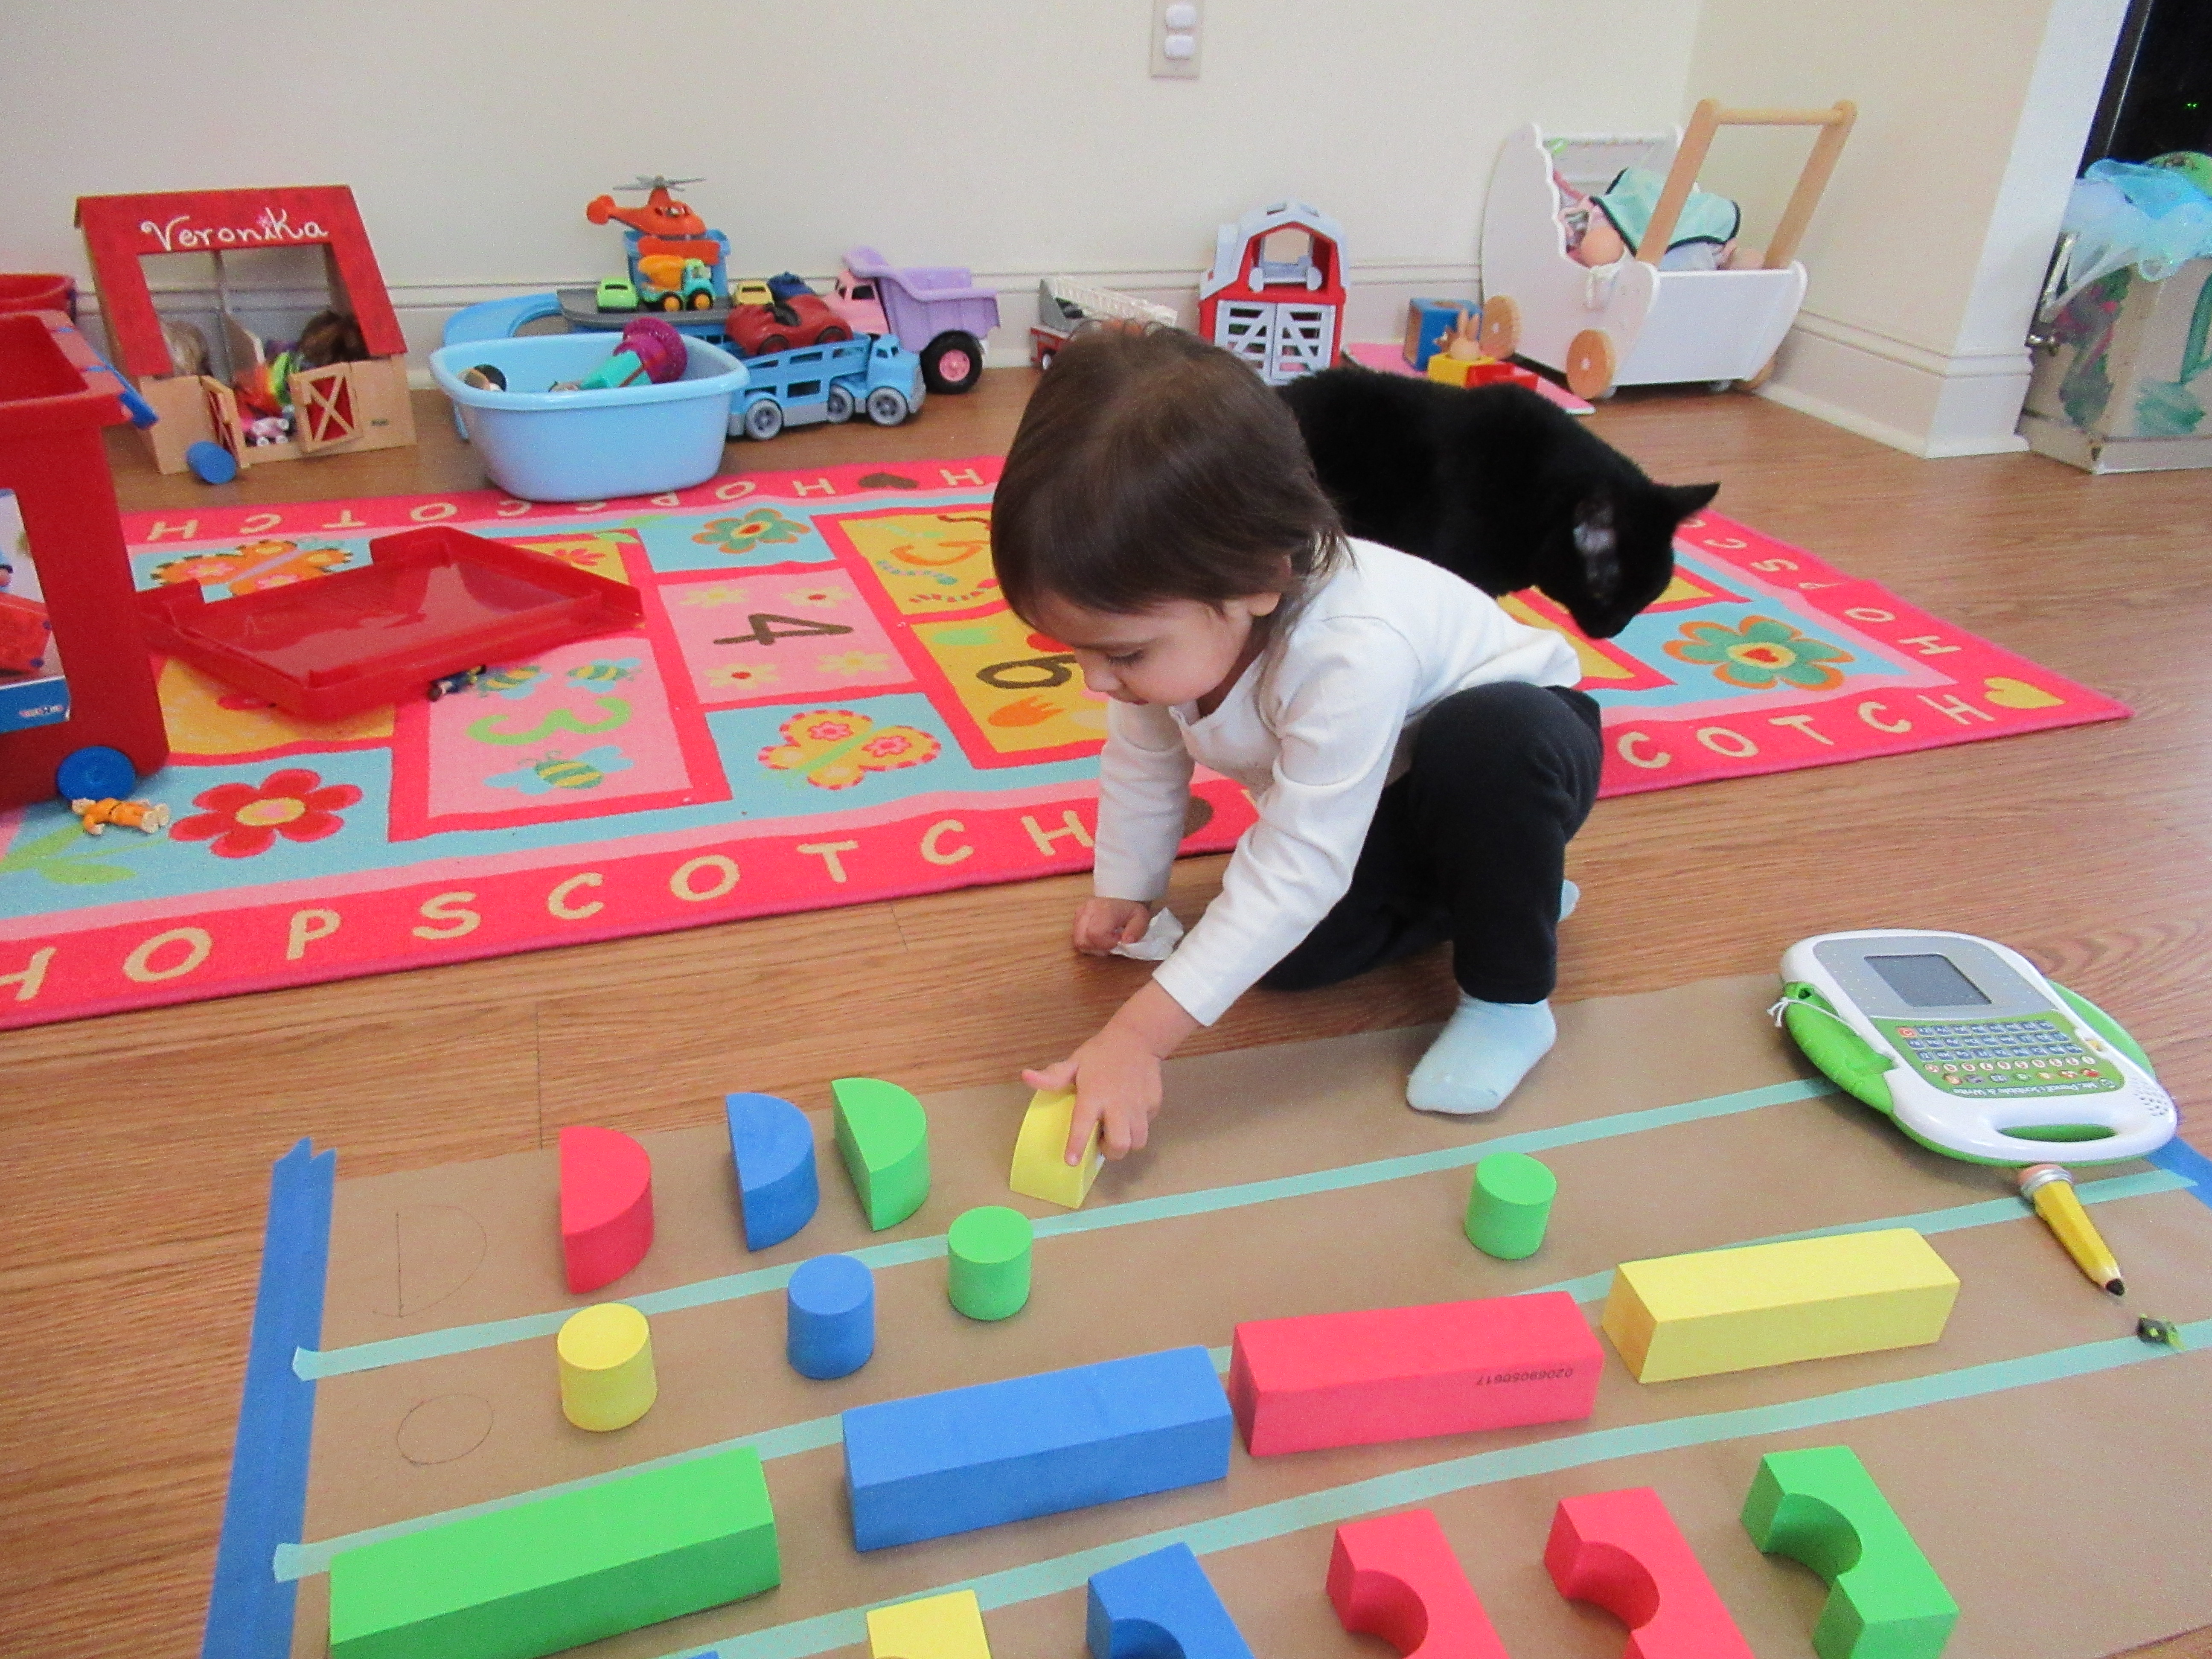
Veronika is fascinated with letters now, adding daily to the list of those she recognizes, and she loves pointing them out to me. “Letter C!” she said in the grocery store yesterday, spotting one on a sign. To reinforce her interest, I picked up a few grocery items with letters right on them!

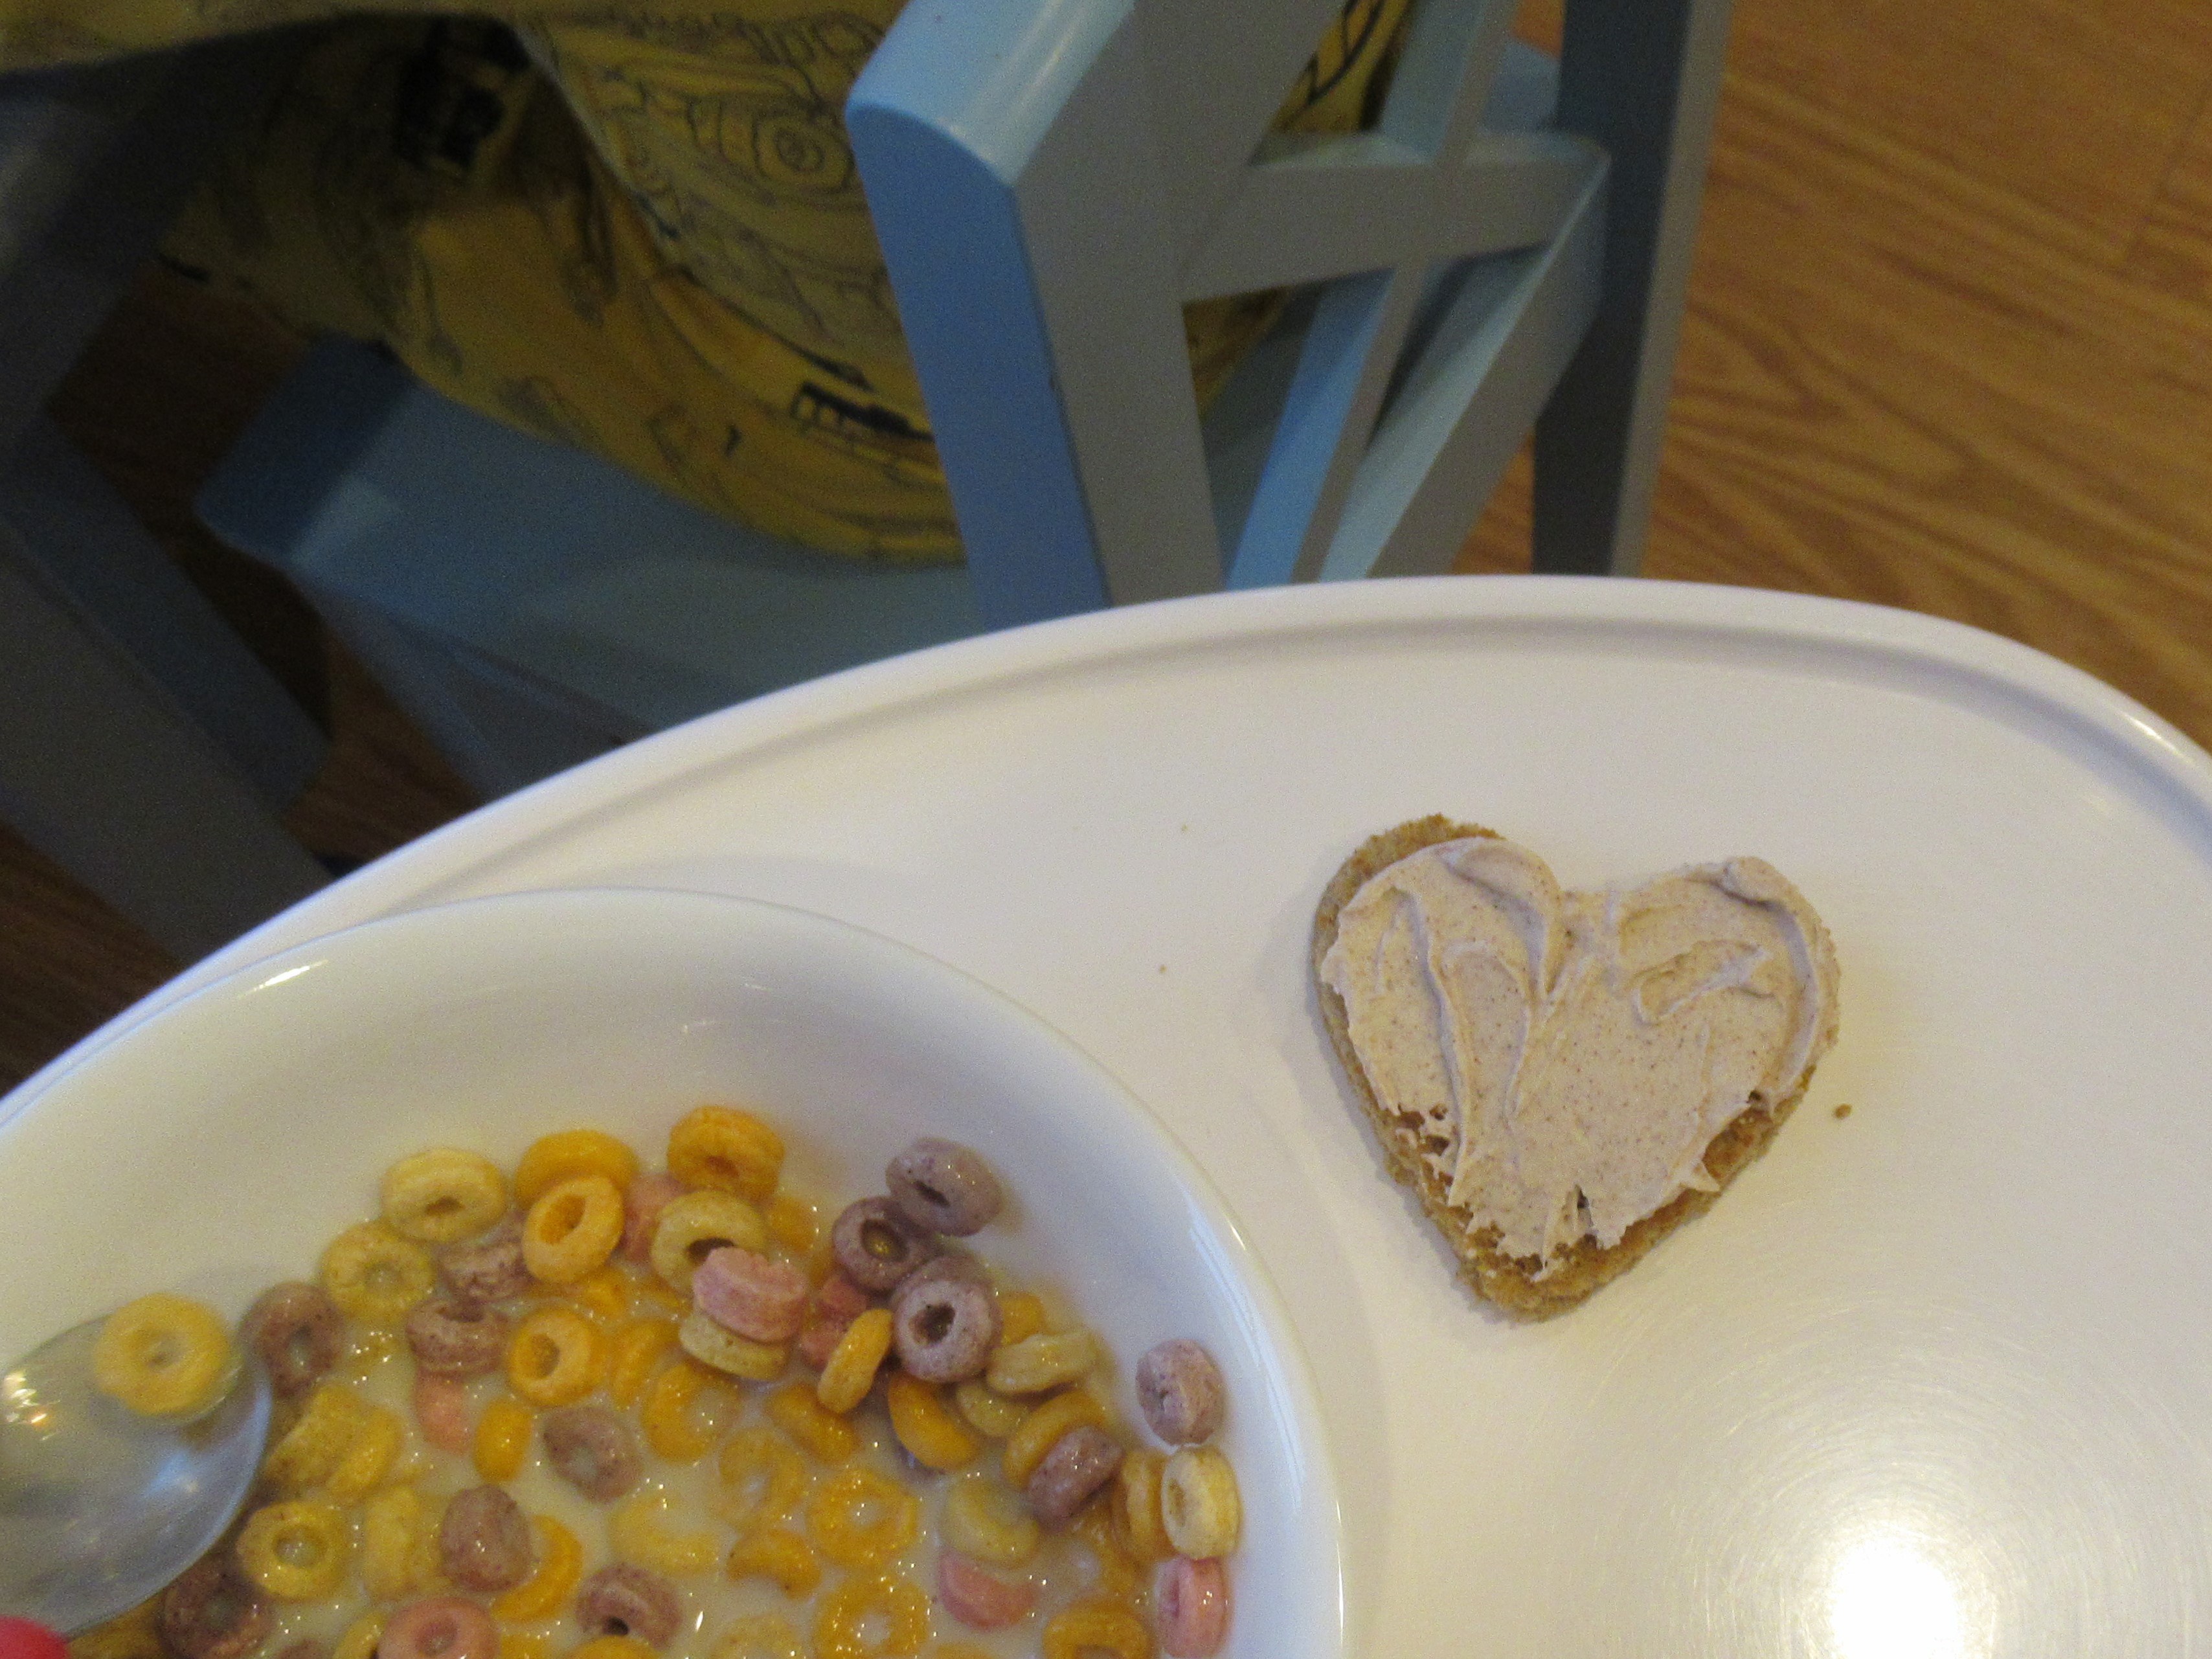
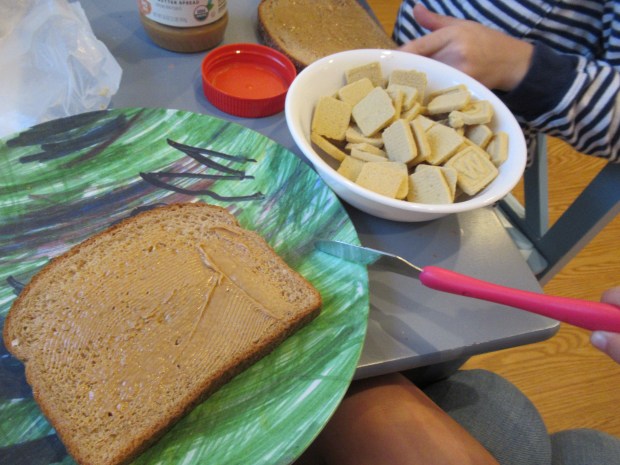
My original plan was to buy Alpha-Bits cereal but couldn’t find it at the store. Instead, I purchased letter cookies from Earth’s Best, and letter-shaped pasta from Banza. For the cookies, I first spread peanut butter on toast slices to make them sticky, which turned them into little “easels”. I showed Veronika how to sort through the letters and spelled out simple words for her (love, cat), along with her name.

Letter Sandwiches (1)

I also held up one cookie at a time and asked what letter she saw. She knew some new ones from the last time I quizzed her, including H and D now!

Letter Sandwiches (5)

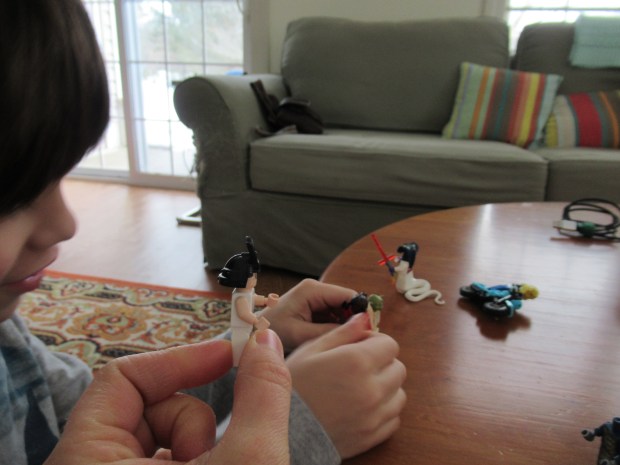
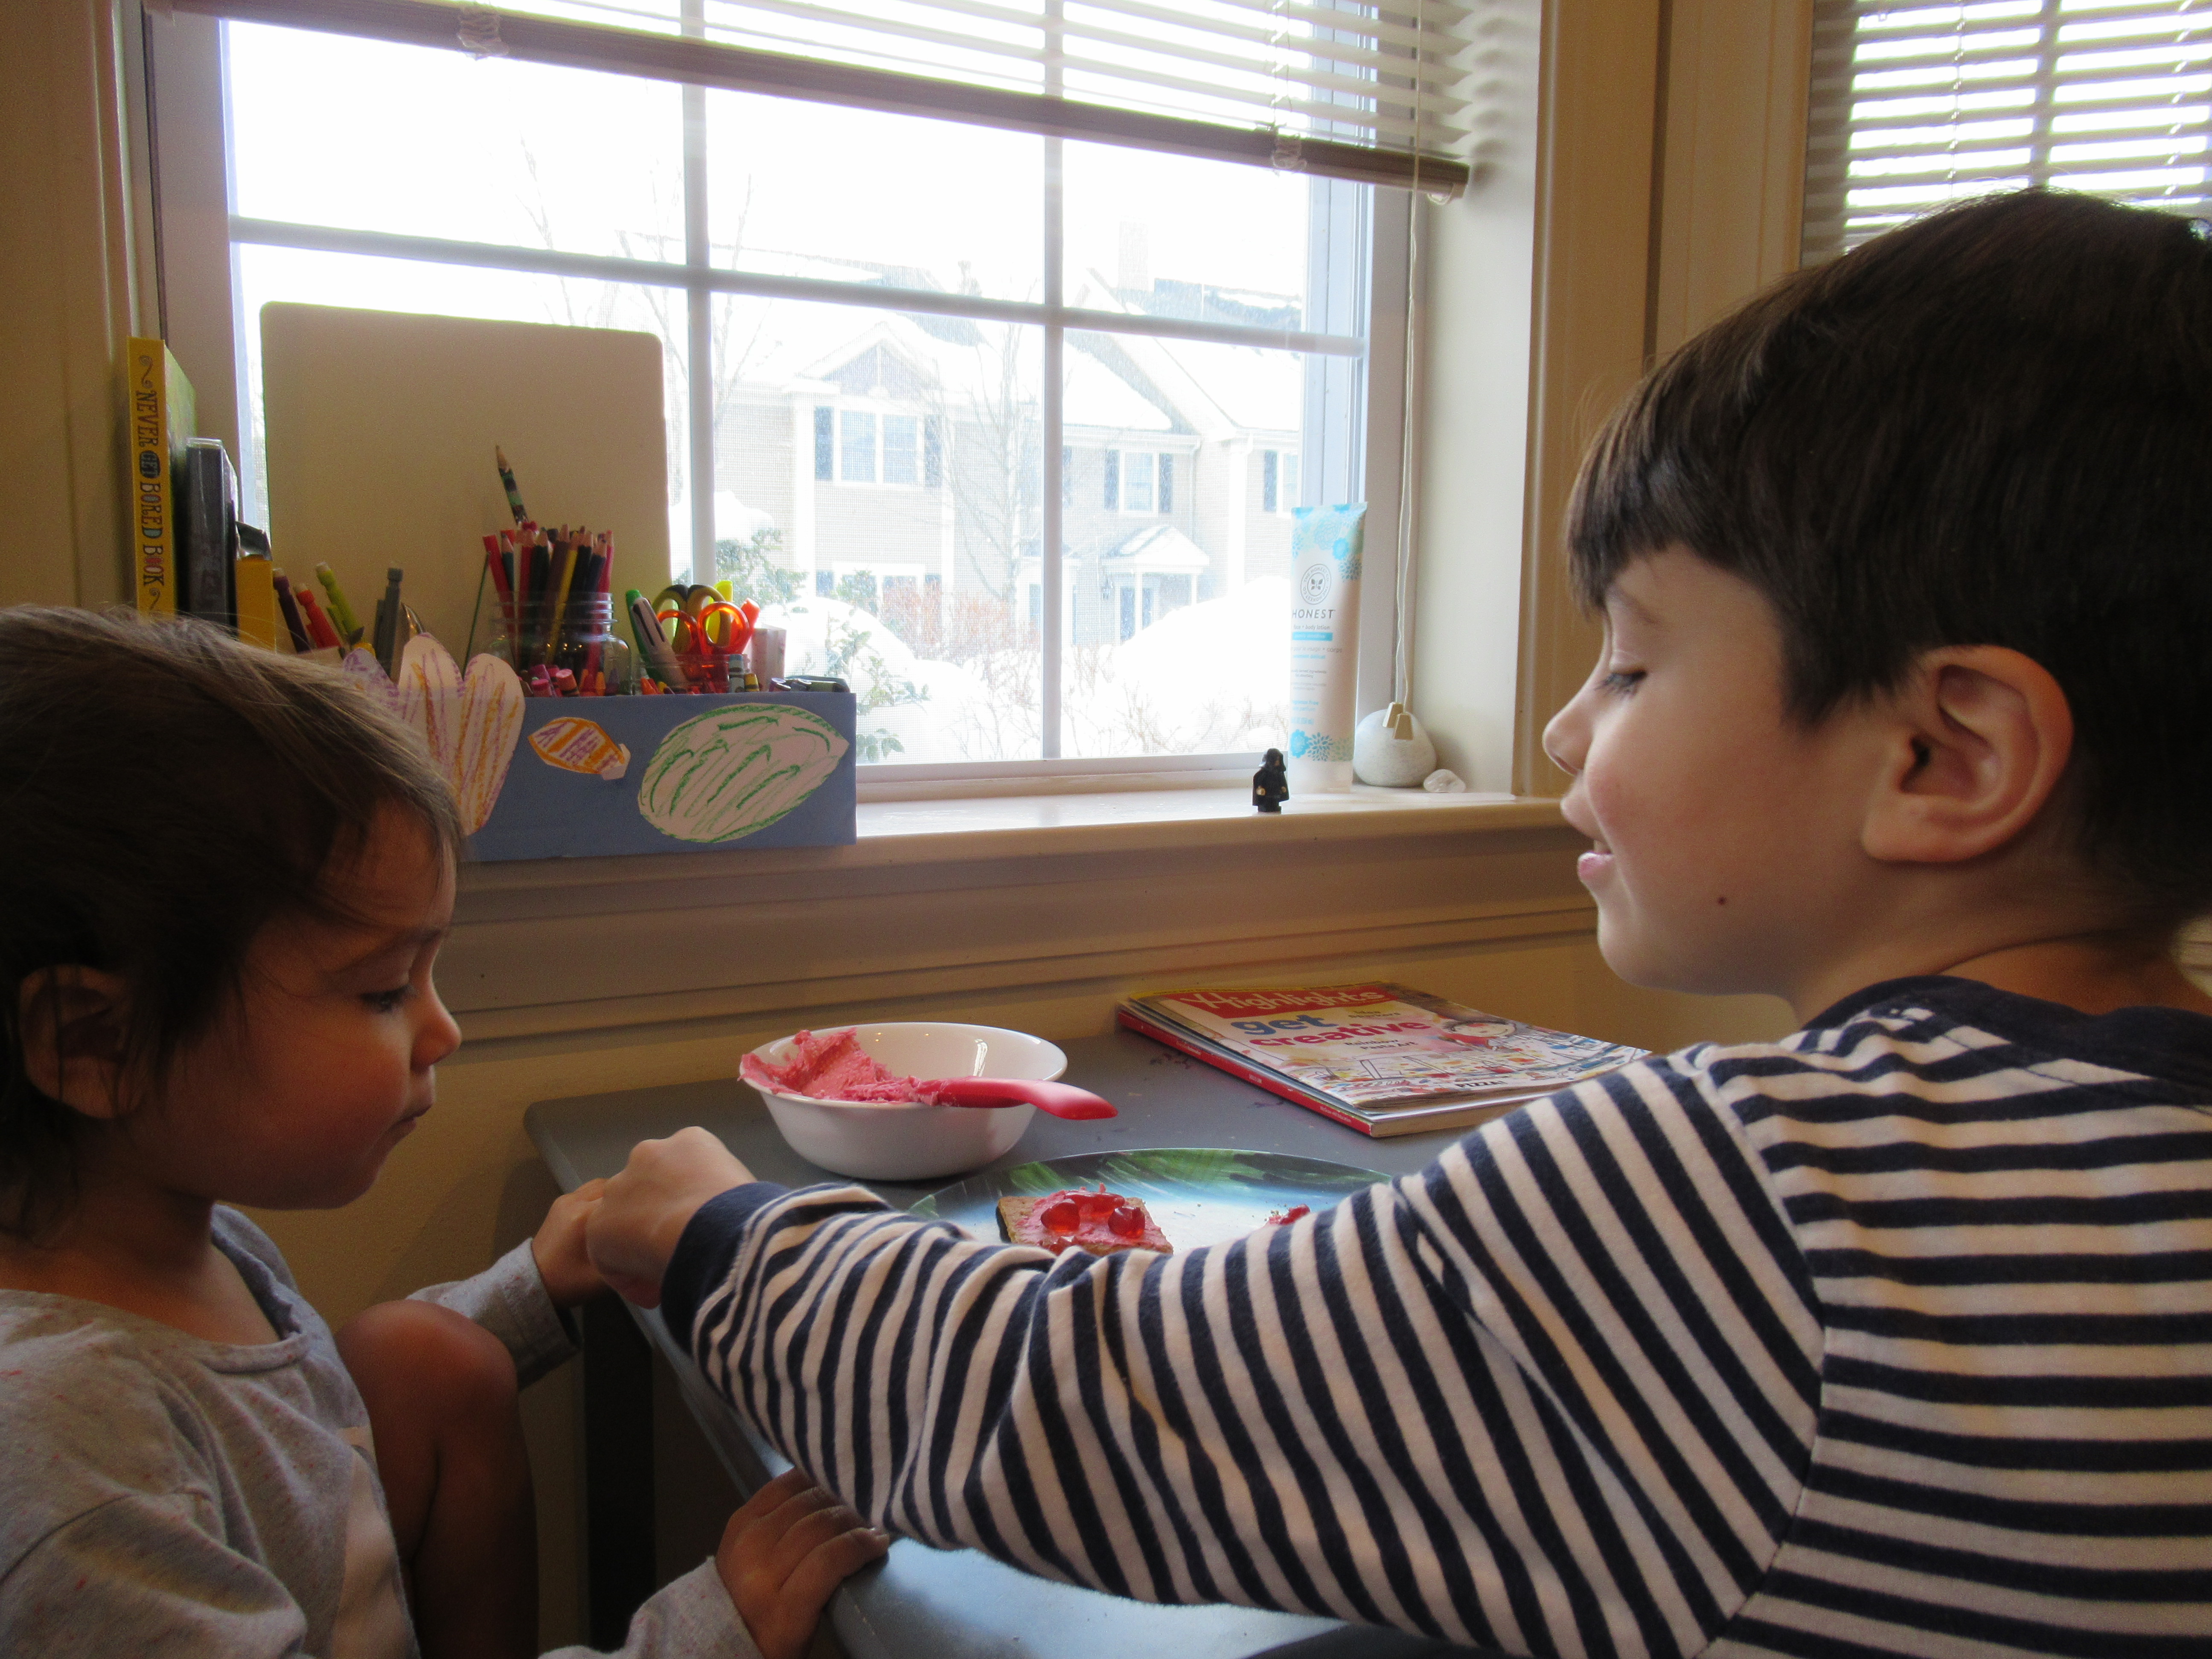
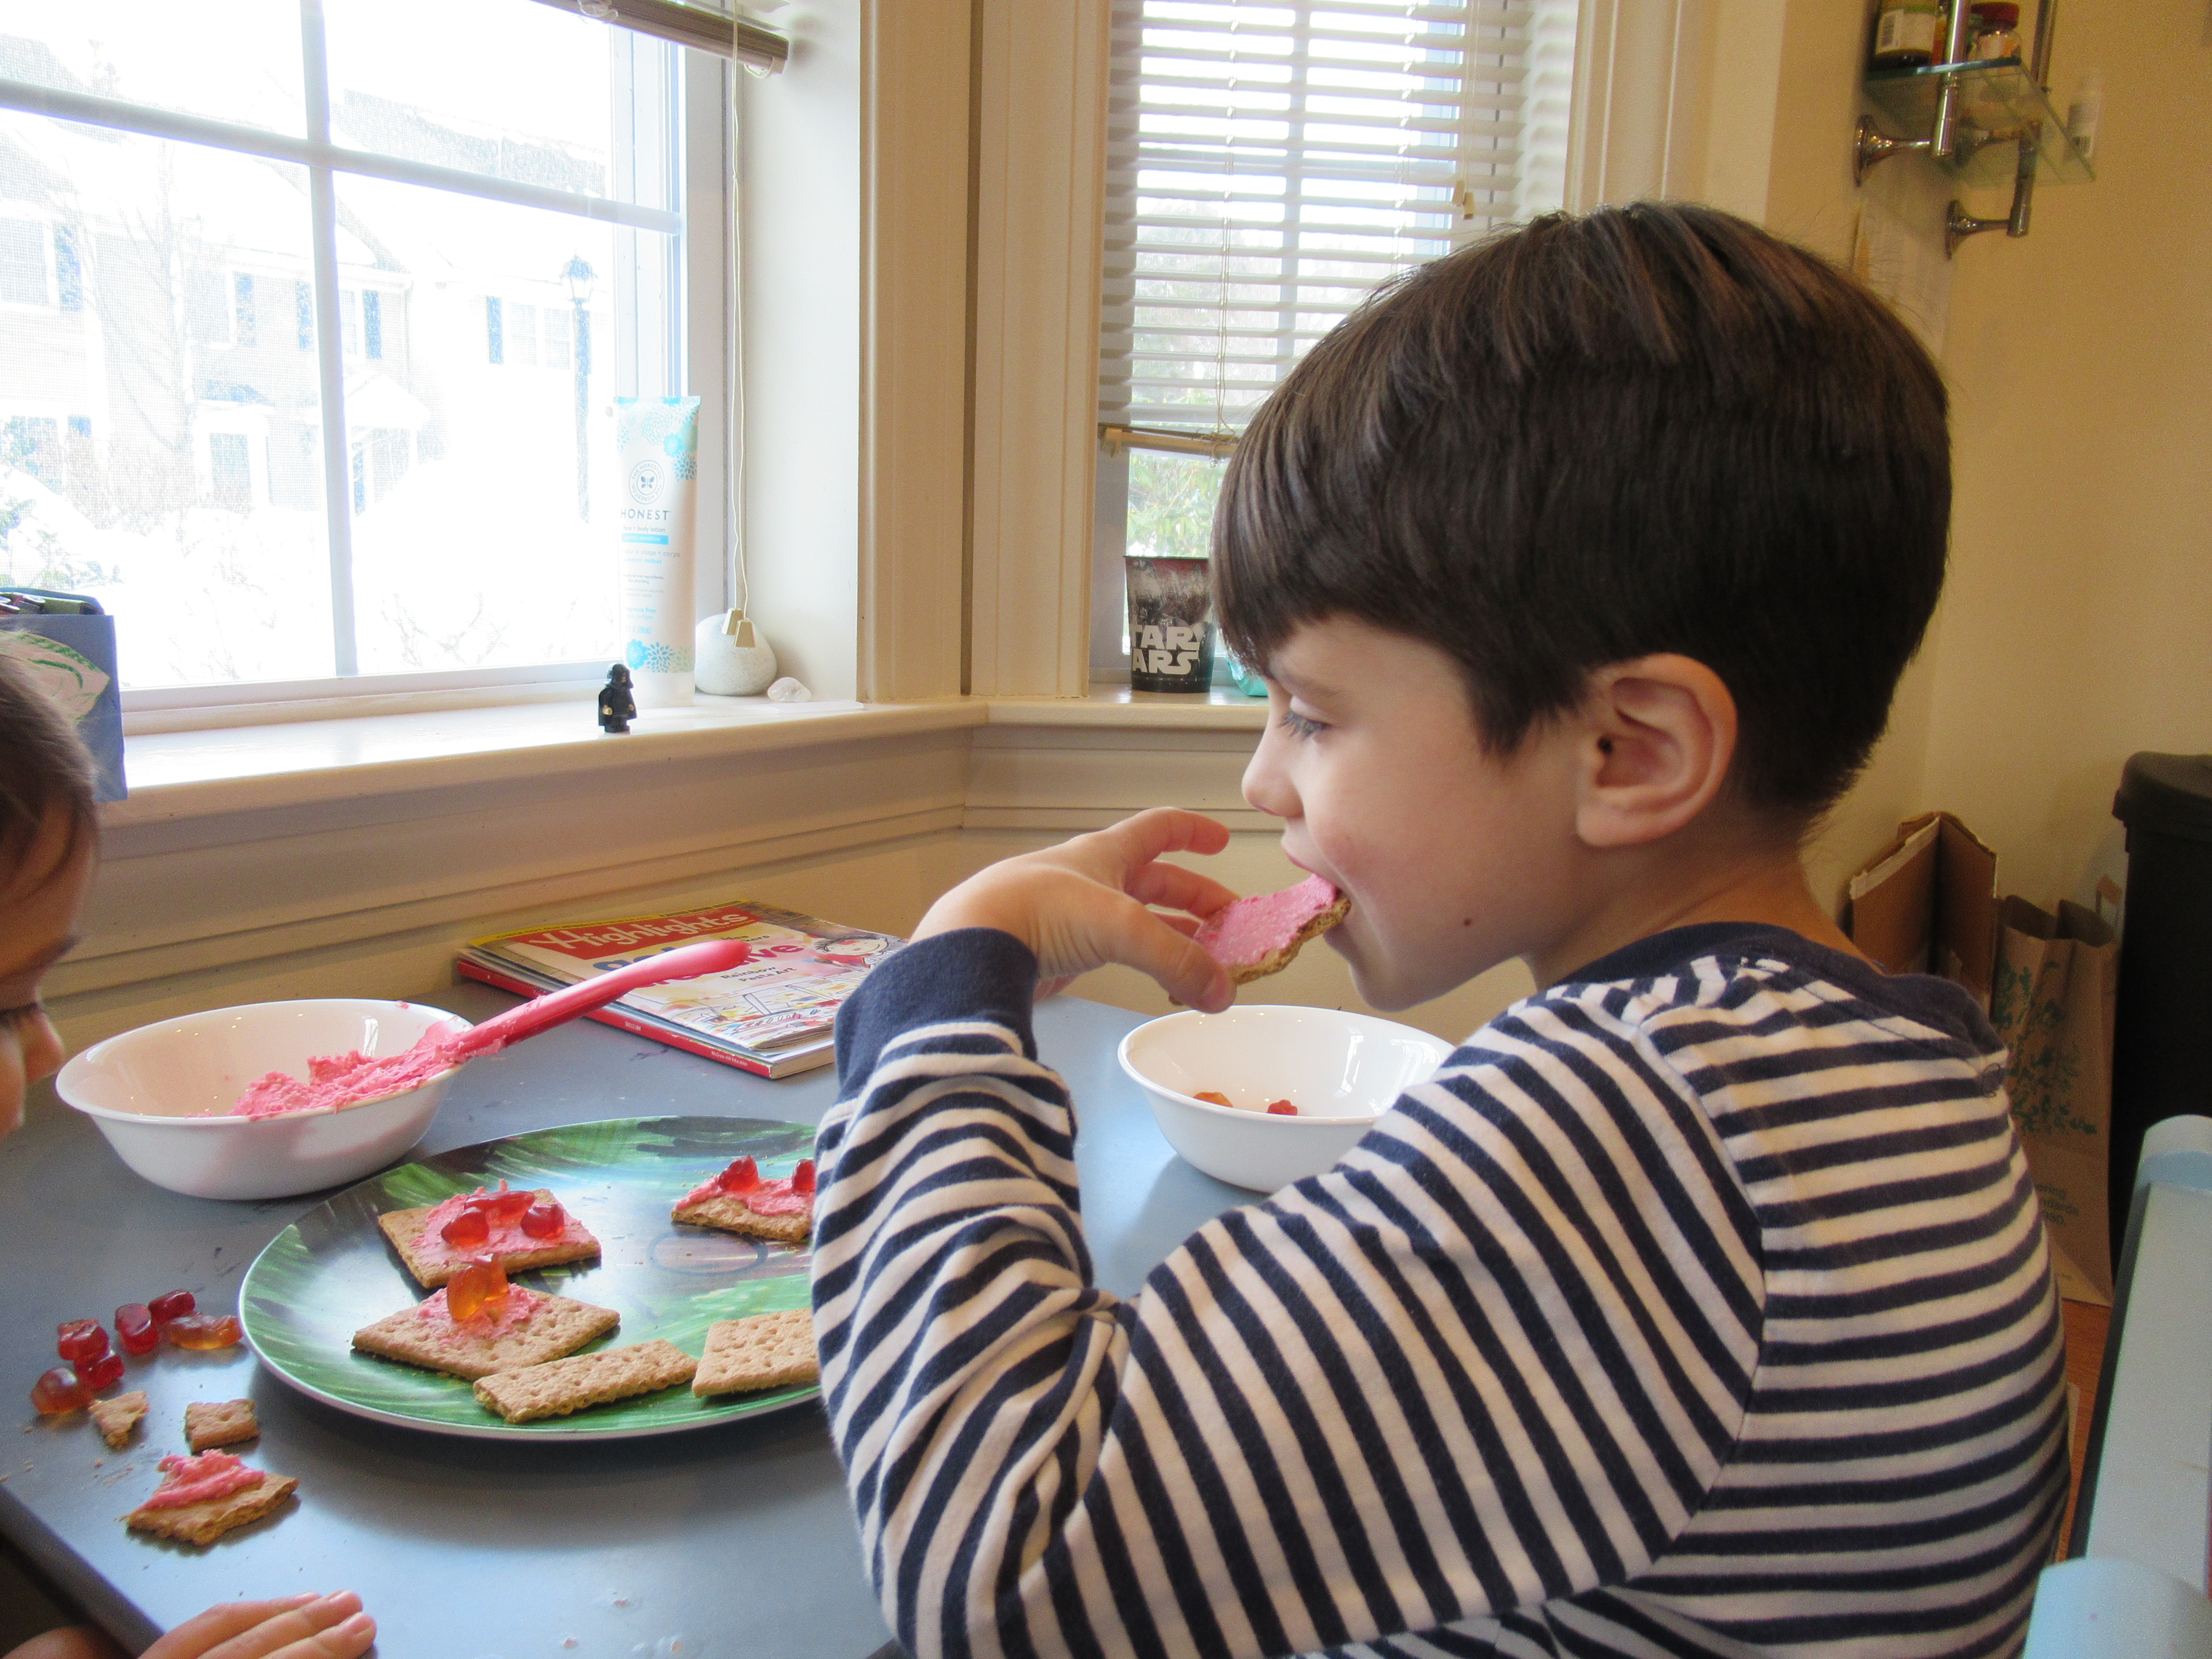
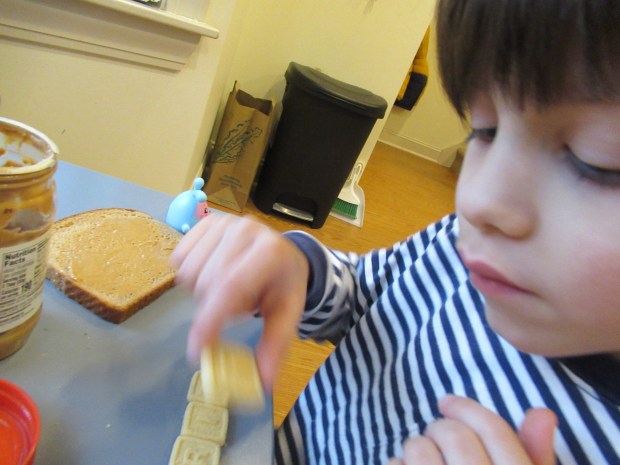
Big brother Travis quickly wanted to join in, eager to spell his name. We ran into a snag only because the kids were snacking, too, which meant we were soon missing letters we needed!

Letter Sandwiches (3)

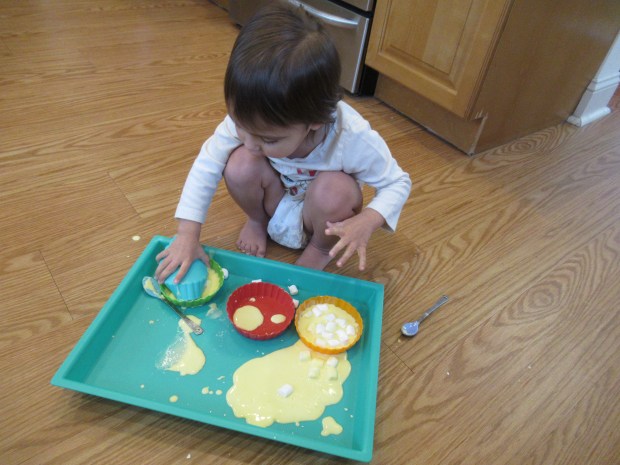
After that, I dumped out the letter pasta onto a tray for Veronika to further explore. This was more like sensory play, but also great for learning. I again held up one letter at a time and asked her which it was.

Letter Sandwiches (6)

It turned out the pasta only came in five letter shapes, so we briefly sorted them, too. “Another S!” she said proudly, adding it to the pile.

Letter Sandwiches (7)

If you do find Alpha-Bits cereal, go ahead and arrange them on those peanut-butter bread slices, then finish up the activity by eating your open-faced sandwich!

Fizzing Colors!

Fizzing Colors (7)

This variation on classic baking soda-and-vinegar eruptions had a beautiful artistic side to it, worked fine motor skills for my toddler (thanks to eye droppers), and came with a heaping dose of imagination (for my 6-year-old). Needless to say, big kid and little kid alike were enraptured until we’d gone through – yes – an entire box of baking soda and bottle of white vinegar.

Technically you don’t need to use that much. Fill a tray or pie pan with about 1 cup baking soda, or more if desired, then add drops of food coloring at intervals. The more you space out and vary the colors, the prettier the result!

Fizzing Colors (1)

I then handed each kid a cup of white vinegar and a pipette and showed them how to squirt directly onto the dots of color.

Fizzing Colors (3)

Of course fizzy reactions occur immediately, and the more your kids fill in the tray, the more it starts to look like a work of art.

Fizzing Colors (9)

Then Travis wanted to trap a few Lego toys in the bubbles. Here’s where the imagination came into play, with a big game going on in his head!

Fizzing Colors (6)

At this point, we dropped caution to the wind and started adding lots more of everything. First we squirted in additional drops of food coloring. Then, the kids started pouring in the vinegar straight from the cups.

Fizzing Colors (10)

Their glee was so evident, and I loved watching them tackle the project together, seeing how many fizzy explosions they could make at once.

Fizzing Colors (8)

Needless to say, it was a bubbly fizzy wonderland.

Fizzing Colors (13)

This activity was so simple, but a delight for all ages.

Fizzing Colors (5)

English Muffins with Cinnamon Butter

English Muffin Cinnamon Butter (1)

This cinnamon-laced vegan spread works great on just about any breakfast bread (toast, waffles, pancakes), but we especially love it on toasted English muffins!

Ingredients:

  • 1/2 cup Earth Balance butter, softened
  • 1/3 cup agave nectar
  • 1/4 teaspoon cinnamon
  • English muffins
  1. In the bowl of a stand mixer, beat together the Earth Balance butter and agave nectar until well combined. Add the cinnamon and beat to incorporate.
  2. Meanwhile, toast the English muffins (or other bread of choice), and spread with the desired amount of cinnamon butter. The butter keeps well in a glass container in the fridge, ready to be used for breakfast all week long!

English Muffin Cinnamon Butter (2)

Indoor Dinner Picnic

Picnic Dinner (2)

If the winter weather or the lack of safe indoor restaurant options has your family feeling a little down, here’s the perfect hack: conjure up sunny summer weather and have an indoor dinner picnic!

You can go all out with this or keep it simple or anywhere in between. The key elements are a good meal, a picnic blanket on the floor, and a little bit of novelty.

To wit, I set out our favorite summer picnic blanket in the living room and told the kids we’d be eating a picnic dinner on the floor. The excitement was immediate! For props, we pulled out the picnic blanket (even though we didn’t technically pack dinner up in it), and also pulled out a few toys that would normally be played outside in a meadow (think soccer bolls, wiffle bats, or jump ropes). Your kids can even play a few of these sports before dinner, if there’s room!

Picnic Dinner (1)

We set out a build-your-own-baked potato dinner spread that the kids could mix and match, and set a movie on in the background, and everyone forgot for a moment that the weather outside was frightful!

Picnic Dinner (3)

Looking for other ways to mix up dinner during the long winter? Consider breakfast for dinner, eating while the family plays a new game, dining on finger foods only, or preparing a top-your-own-pizza night! What would you serve at your picnic dinner? Please share in the comments!

Story-Starter Maze

Story Maze (3)

Travis loves to play with his Lego minifigures, but let’s face it; after a long cold quarantined winter, he’s in a bit of a story rut. If your child is similarly lamenting a lack of new ideas for the same old toys, try this story-starter maze idea!

We spotted the idea in Highlights magazine, where threads led from starting characters (a chicken! a bagel!) to ideas (“becomes a super hero,” etc.) The idea is that if kids mix and match the threads (the magazine version had 5 characters and 5 plot lines), then over 25 stories appear.

Story Maze (1)

Travis immediately wanted to make his own version. We came up with 4 starting characters and printed out pictures of each to glue at the top of a large piece of poster board.

Story Maze (2)

Next, he came up with 4 plot twists, and we drew lines connecting his starting characters to each idea. I was proud of his inventiveness, for example making a “pyramid” one of the starting characters. Encourage your kids to get equally silly; the main character can definitely be a thing, and not a person! Now he had 16 directions in which his Lego game could go. Little sister Veronika wanted to help connect all the dots, too!

Story Maze (4)

The poster board perfect for adding ideas as they came to him throughout the afternoon, marking off additional branching plot points and connecting it all in a big spidery maze.

Story Maze (7)

So the next time Travis tells me he’s not sure what story to act out, I need only point him in the direction of the story maze poster hanging on the wall!

Story Maze (8)

Banana Marshmallow Slime

Banana Marshmallow Slime (6)

I’ve long known that Jell-O is not vegan, so we don’t bring it into our kitchen for projects. But believe it or not, the company’s pudding contains no gelatin! I was so glad to learn the fact since it meant we could put together this amazing edible slime from Crafts4Toddlers. The banana smell is fantastic, the texture is so fun, and it will no doubt lead to lots of slime play in the kitchen.

To start, combine 1/2 cup cornstarch and 1/4 cup banana pudding mix in a bowl. Add 1/3 cup warm water, stirring to combine, then add an additional 1/2 cup cornstarch, mixing with your hands. Note: I found I needed to add just a touch more water, too, or the mixture was too crumbly. Once you can squeeze it enough to come together, you have banana slime!

Banana Marshmallow Slime (1)

For a final touch, stir in a few mini Dandies marshmallows. I then set the slime down in a tray, along with little cups and spoons, and a few extra mini marshmallows. These double not only as an extra sweet treat to nibble on, but also a fun element to add into the slime as your toddler plays.

Interestingly, our mixture was almost like ooblek, going back and forth between solid and liquid states depending whether we squeezed it…

Banana Marshmallow Slime (2)

…or let it ooze down into containers. Crafts4Toddlers appears to have a mixture that was closer to playdough, so fool around with water-to-cornstarch ratio and see where yours ends up! Meanwhile, Veronika adored the stuff and loved spooning it up…

Banana Marshmallow Slime (4)

…and then watching it dribble back down.

Banana Marshmallow Slime (3)

She kept quite busy pouring it from container to container.

Banana Marshmallow Slime (7)

The marshmallows were great because she could press them into the slime, leaving an indent, then lift up and watch the indent quickly close back up again.

Banana Marshmallow Slime (5)

Inevitably, she wanted a nibble. She looked so confused after trying the slime, which no doubt tasted strongly of cornstarch, but a marshmallow quickly solved the yucky problem!

Banana Marshmallow Slime (8)

Sorting Blocks as a Graph

Block Graph (3)

Veronika made her first graph today! Okay, so there was lots of mommy help involved, but large building blocks and a large sheet of butcher paper make this particular graph quite toddler-friendly.

First, I taped down a long piece of paper to the floor with painter’s tape, then marked off 4 columns using washi tape. At the bottom of the graph, I traced 4 of her block shapes. I chose ones that are newer to her (archways, semi-circles) now that she’s mastered early ones like triangles and squares. And of course you can include more than 4 categories if you’re doing this activity with a preschooler.

Block Graph (1)

Now it was up to Veronika to place each block in the right column. “Where does the semicircle go?” I could prompt her. “With the semicircles!” she chimed in. It wasn’t an activity that she was motivated to complete on her own, but if I asked a leading question for a block, she knew where to put it.

Block Graph (2)

Then we flipped over the paper and repeated the activity, but this time making a graph by color!

Block Graph (5)

This version was even easier for her to complete. “It goes with the yellow,” she might say, picking up a yellow block and adding it to the yellow column.

Block Graph (6)

Did she entirely understand that we were making a mathematical graph to compare the amount of blocks by shape or color? Not yet, of course, but it was a great early intro to sorting and graphing. The large visual at the end was neat to see.

Block Graph (4)

After that I challenged her to stack her blocks by shape, too. Preschoolers can get really creative with this part, perhaps attempting a tower all out of triangles, or all out of semicircles.

Block Graph (8)

One thing is for sure: this was yet another great way to get novel play out of our blocks!

Block Graph (9)

Toddler Valentine’s Day Treats

Valentines Cupcakes (5)

Valentine’s Day is full of sweet treats, and here are a few food ideas that even a toddler can help out with… or just enjoy!

Edible Valentines (4)

Edible Valentines: This first idea comes from the classic Toddler’s Busy Book. I tinted a little store-bought frosting pink with food coloring and showed Veronika how to smear this onto graham crackers (Nabisco’s original are vegan).

Edible Valentines (3)

Since candy hearts are not vegan, we topped the graham crackers with the seasonal gummy hearts from Annie’s bunny packs! This made for an adorable craft project and snack rolled into one.

Edible Valentines (2)

Valentine Cupcakes: What would Valentine’s Day be without a little chocolate? For this toddler-friendly baking project, I simply whipped up cupcakes from a dairy-free chocolate mix. The Valentine twist, though, is to make them heart-shaped. After spooning the batter into cupcake liners, place a marble at one edge of each liner which will indent it like a heart!

Valentines Cupcakes (3)

And of course Veronika loved playing with leftover marbles and liners.

Valentines Cupcakes (1)

The effect wasn’t quite as pronounced after baking, since the cupcakes rose so high in the liners, but we could still sort of see them as hearts. Veronika loved helping spread on chocolate frosting. In general, frosting cupcakes like this is a perfect toddler skill in the kitchen.

Valentines Cupcakes (4)

We added a few final decorations (like more of those Annie’s hearts). Sprinkles would look pretty, too!

Valentines Cupcakes (8)

Sweetheart Sandwiches: Next up, I made little sandwiches which are perfect for a snack or lunch on Valentine’s Day. For the first version, I stirred a little cinnamon into plain non-dairy cream cheese.

Sweetheart Sandwiches

For an alternate version, turn it pink! Use strawberry flavored non-dairy cream cheese (such as Kite Hill), or just tint plain cream cheese pink with food coloring, then stir in a little agave nectar. Finally, use a heart shaped cookie cutter to make a heart.

Sweetheart Sandwiches (2)

And for a final edible treat, I spelled out L-O-V-E for the kids’ Valentine breakfast, thanks to this sweet idea from Parents magazine.

Edible Valentines (7)

On a large plate, form an L from tater tots, an O from a kiwi slice, a V from a toasted waffle cut with a heart-shaped cookie cutter, and an E from raspberries. The kids’ reaction to all these goodies? They loved ’em!

Edible Valentines (5)


Learning with Blocks, Three Ways

Letter Blocks (2)

I love when I can draw Veronika’s attention to her blocks in novel ways, and here were three ways to grab her attention today. As a bonus, all of them involved different types of learning!

For the first, I typed up the alphabet in big letters and printed out the page, then cut it apart so each letter was an individual square. Tape one letter per one of your child’s building blocks, and each block becomes its own specific letter!

Letter Blocks (1)

As I taped them on, we said the name of each letter and its phonetic sound, and sang through the Alphabet Song several times. Then it was time for her simply to play! But as she built towers, I named the block she was holding. “Oh, you have the G block!” I could say, or, “B block is on top of A block!”

Letter Blocks (6)

I plan to leave these little labels on so that her familiarity with each letter symbol increases every time we dump out the bin of blocks.

Letter Blocks (5)

For the second novel way to play, we focused on two different skills: counting and listening to instructions. Thanks to a great tip from Hands on as We Grow, I used the cards from our Candyland board game to give her specific directions.

Listening with Blocks (1)

Draw a card and ask your toddler to hand across whatever appears on it. “Can you find me one blue block?” I asked her, holding up the Candyland card with one red square. She was an ace at handing me one block of the appropriate color, whether the green, yellow, or red that followed.

Listening with Blocks (2)

Things got a little trickier for her when I pulled a double color (a kid favorite when playing Candyland, of course).

Listening with Blocks (4)

“Can you hand me two red blocks?” I asked. She seemed confused, so I pointed to the squares on the card. “One, two!” and then lined it up with two blocks. “One, two!” I repeated. It was hard for her to focus on this challenge, so we turned to game number three…

…which was actually a repeat of a block puzzle game we played a few months back, but last time I made the puzzle much too big. Tape out a small square or rectangle on the floor with painter’s tape and show your child how to arrange blocks in, puzzle-piece style!

Block Puzzle (1)

Veronika especially liked when there were small spaces to fill, like the semi-circle that completed an archway or a small circle inside a square block.

Block Puzzle (2)

Not, bad, with a little mommy help! Older kids can make their taped areas progressively larger as they grow more skilled at this.

Block Puzzle (3)

How does your toddler learn with blocks these days? Please share in the comments!

Baking Soda-Powered Boat

Baking Soda Boat (3)

Here’s a fun way to propel a boat forward, thanks to the fizzy reaction between an acid and a base. It’s an easy and quick STEM lesson with an automatic payoff.

The set-up requires a little grown-up work. First, cut a small hole in the bottom of an empty water bottle. Cut a straw in half and insert into the hole, then close up any open gaps with hot glue.

Baking Soda Boat (1)

To make the “fuel” for the boat, pour a little vinegar into the bottle. Make sure the straw is on the top of the bottle as your pour, so none spills out. Now spoon in a little baking soda, but don’t let the two substances mix yet! Screw on the bottle cap, then set your “boat” down in a basin or bathtub filled with water. The acid and base mix, and the boat zooms forward.

Baking Soda Boat (4)

Note: Make sure the straw is in the water for this part, or the experiment won’t work as intended. We learned this after round one!

Baking Soda Boat (5)

Next time, we would do this experiment with a larger water bottle (making it easier to keep the baking soda and vinegar separate until the right moment), and we’d also do it in the tub so the boats have more room to zoom. But Travis still loved watching the little motion we achieved!