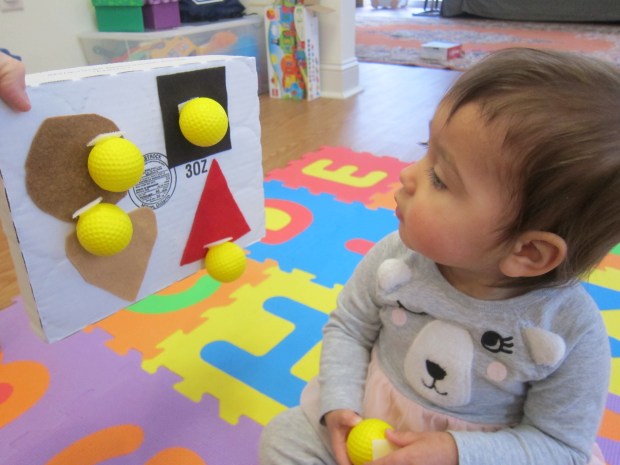
Take your toddler’s balloon play to the next level with one single addition: rubber golf balls! These small bouncy balls will make the balloons move in unexepected ways, delighting your little one with a new surprise at each moment.
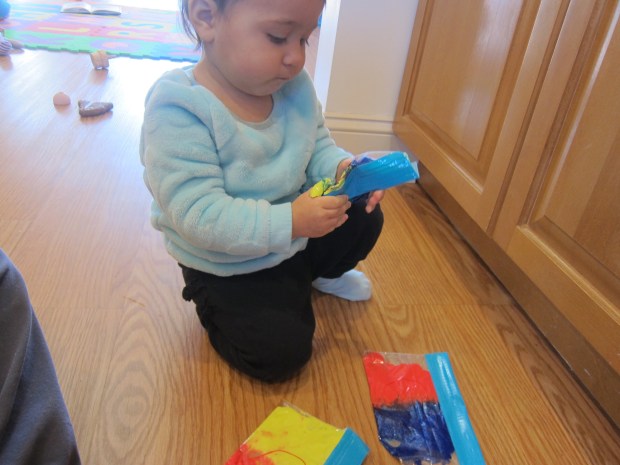
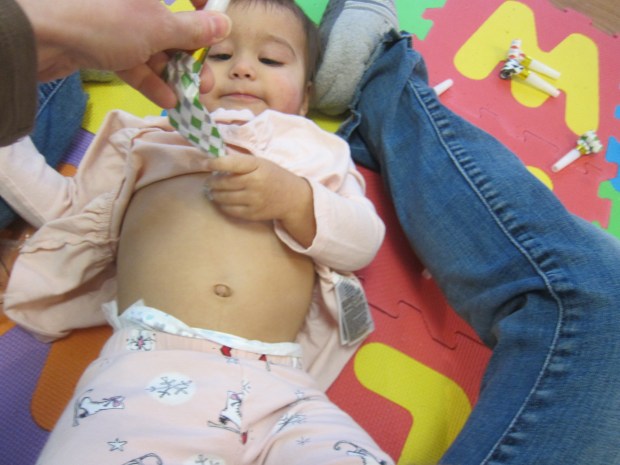
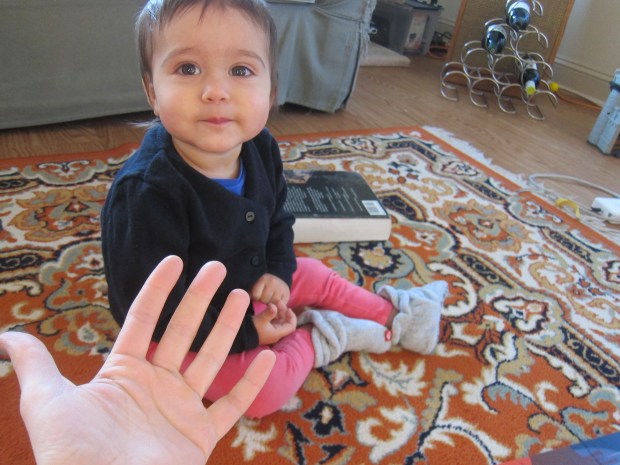
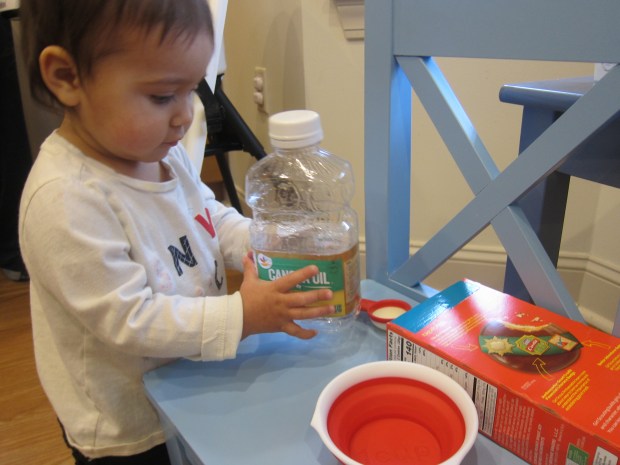
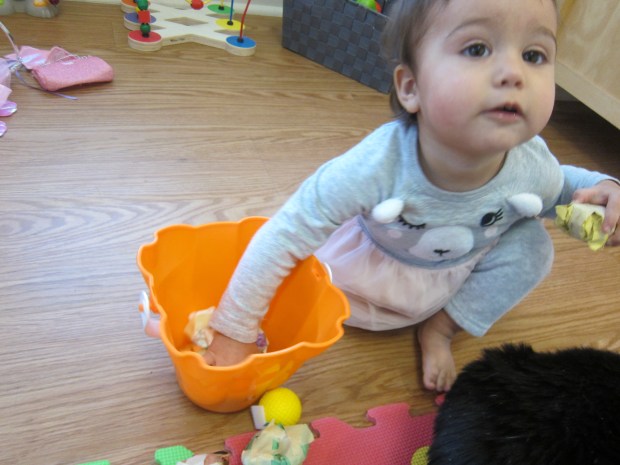
First, I showed Veronika the two materials we needed. I stretched out the balloon necks dramatically (which will help the balls fit inside) and bounced the balls a few times, in order to set up the playful moment.
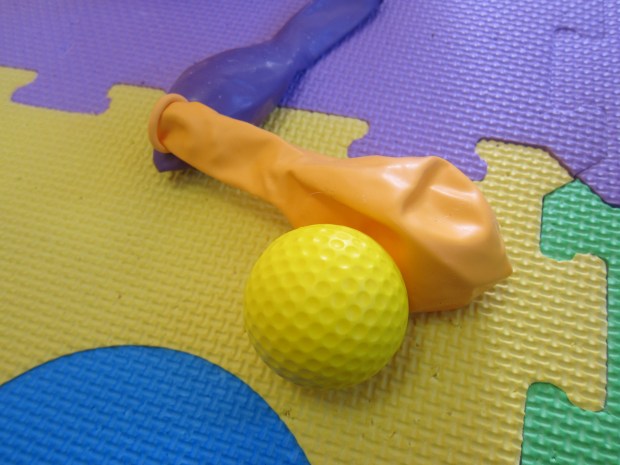
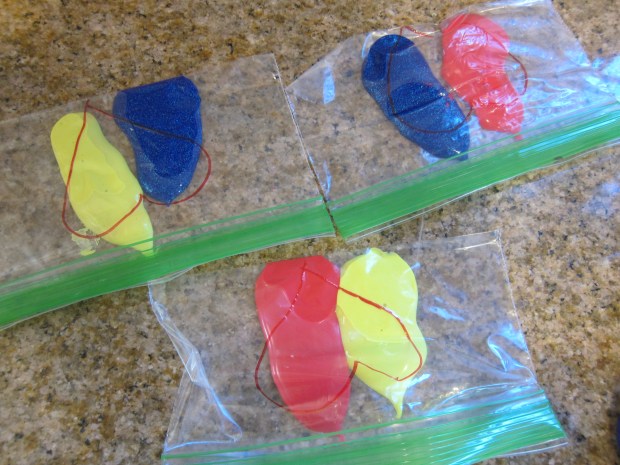
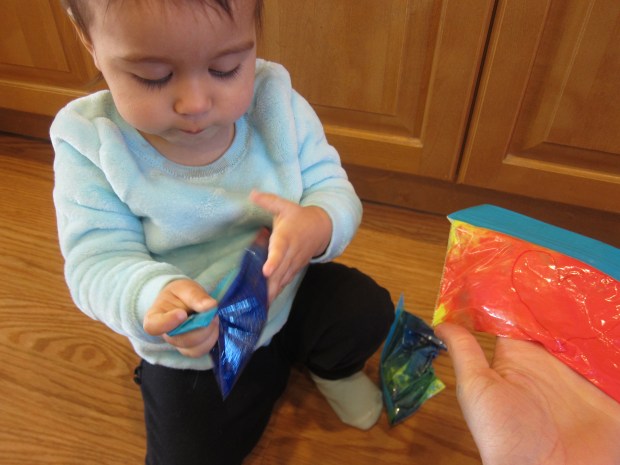
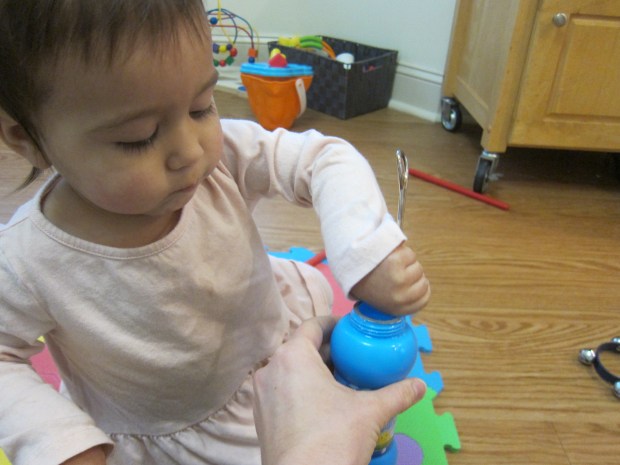
Next, I inserted one ball into each balloon.
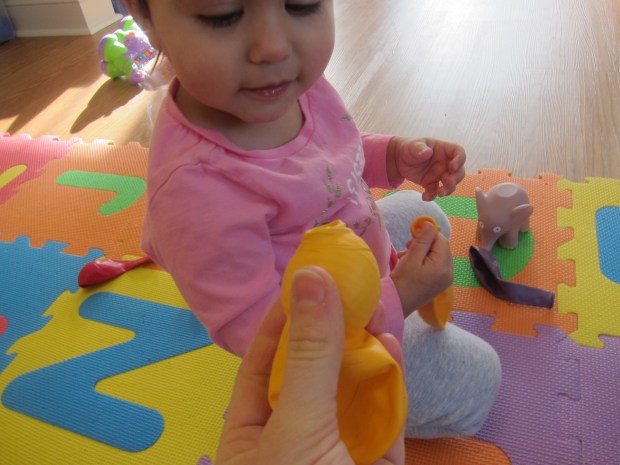
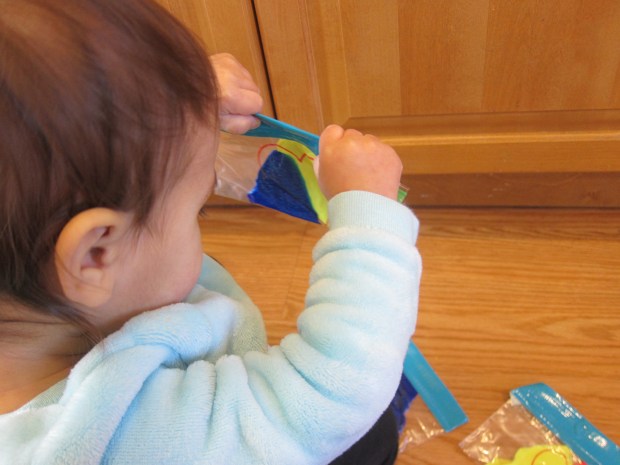
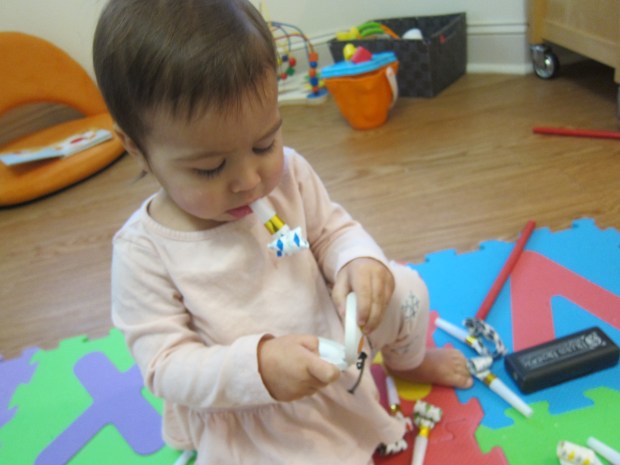
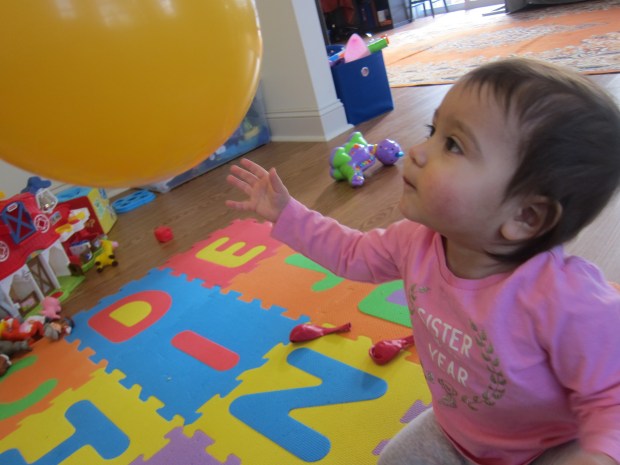
See-through balloons might have had a better effect so she could actually see them rolling around inside, but opaque balloons were still enjoyable! First I shook it, so Veronika could hear the ball inside.
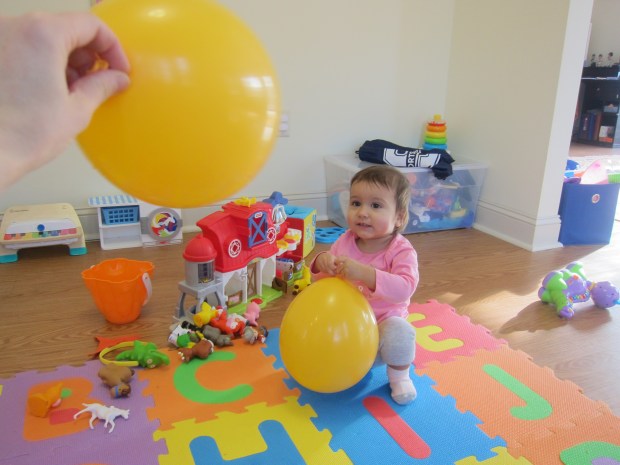
Then I tossed it forward. Instead of floating gently as she might have expected, it wibble-wobbled back and forth and came to the ground quickly.
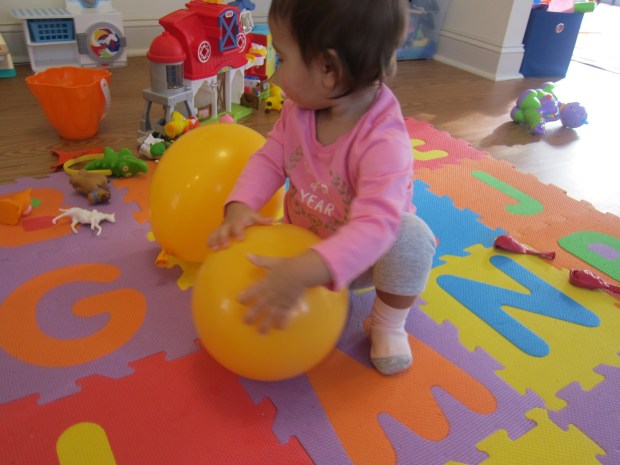
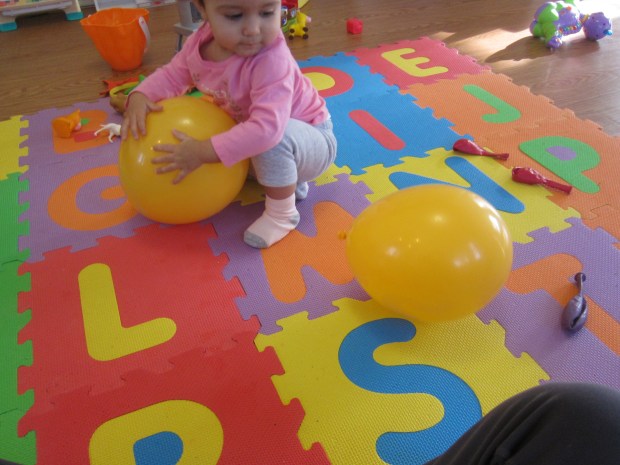
She needed to hug them…
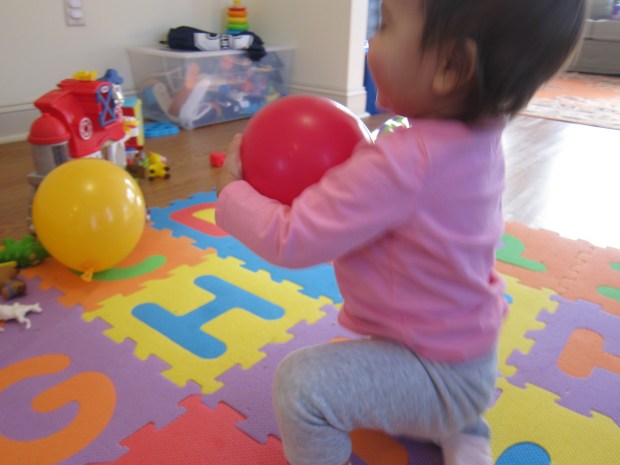
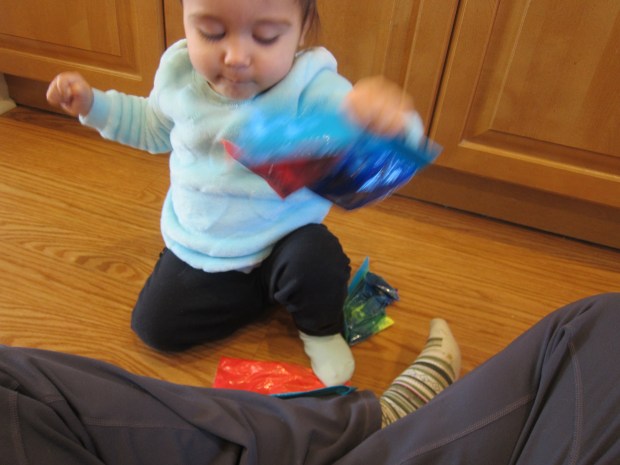
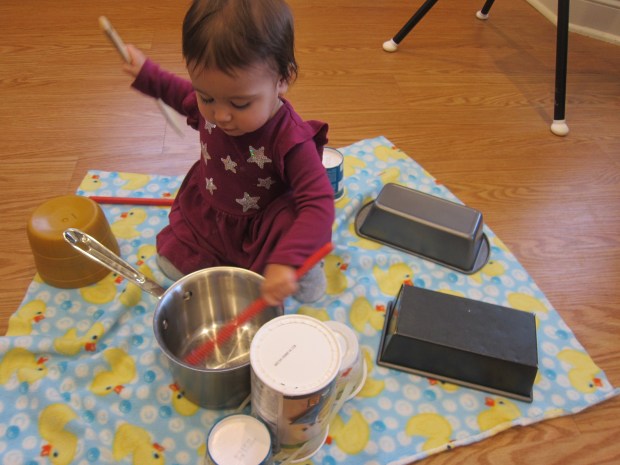
…bounce them…
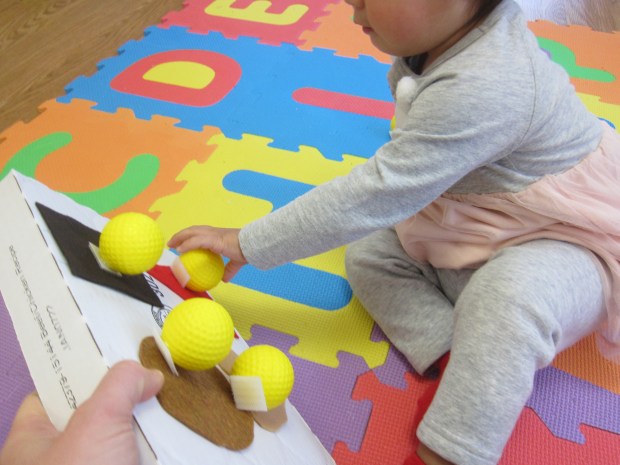
…chase them…
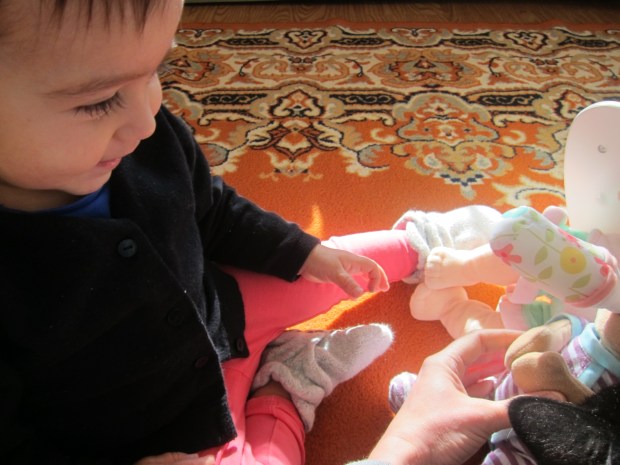
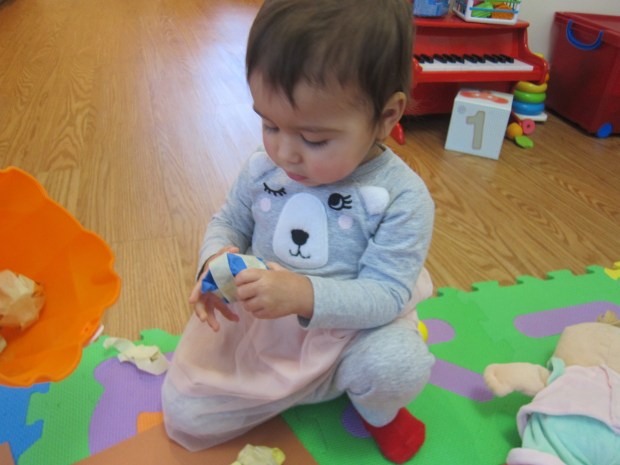
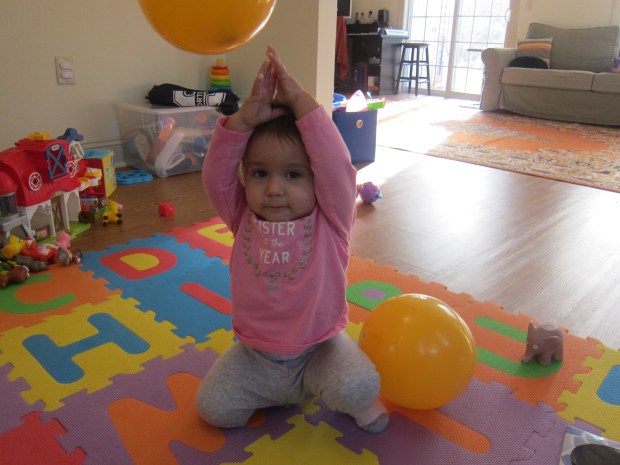
… and hold them by the tied-off knot to shake them. What a great morning of balloon fun!