‘A Snowy Day’ Extension

Understanding Snow (3)

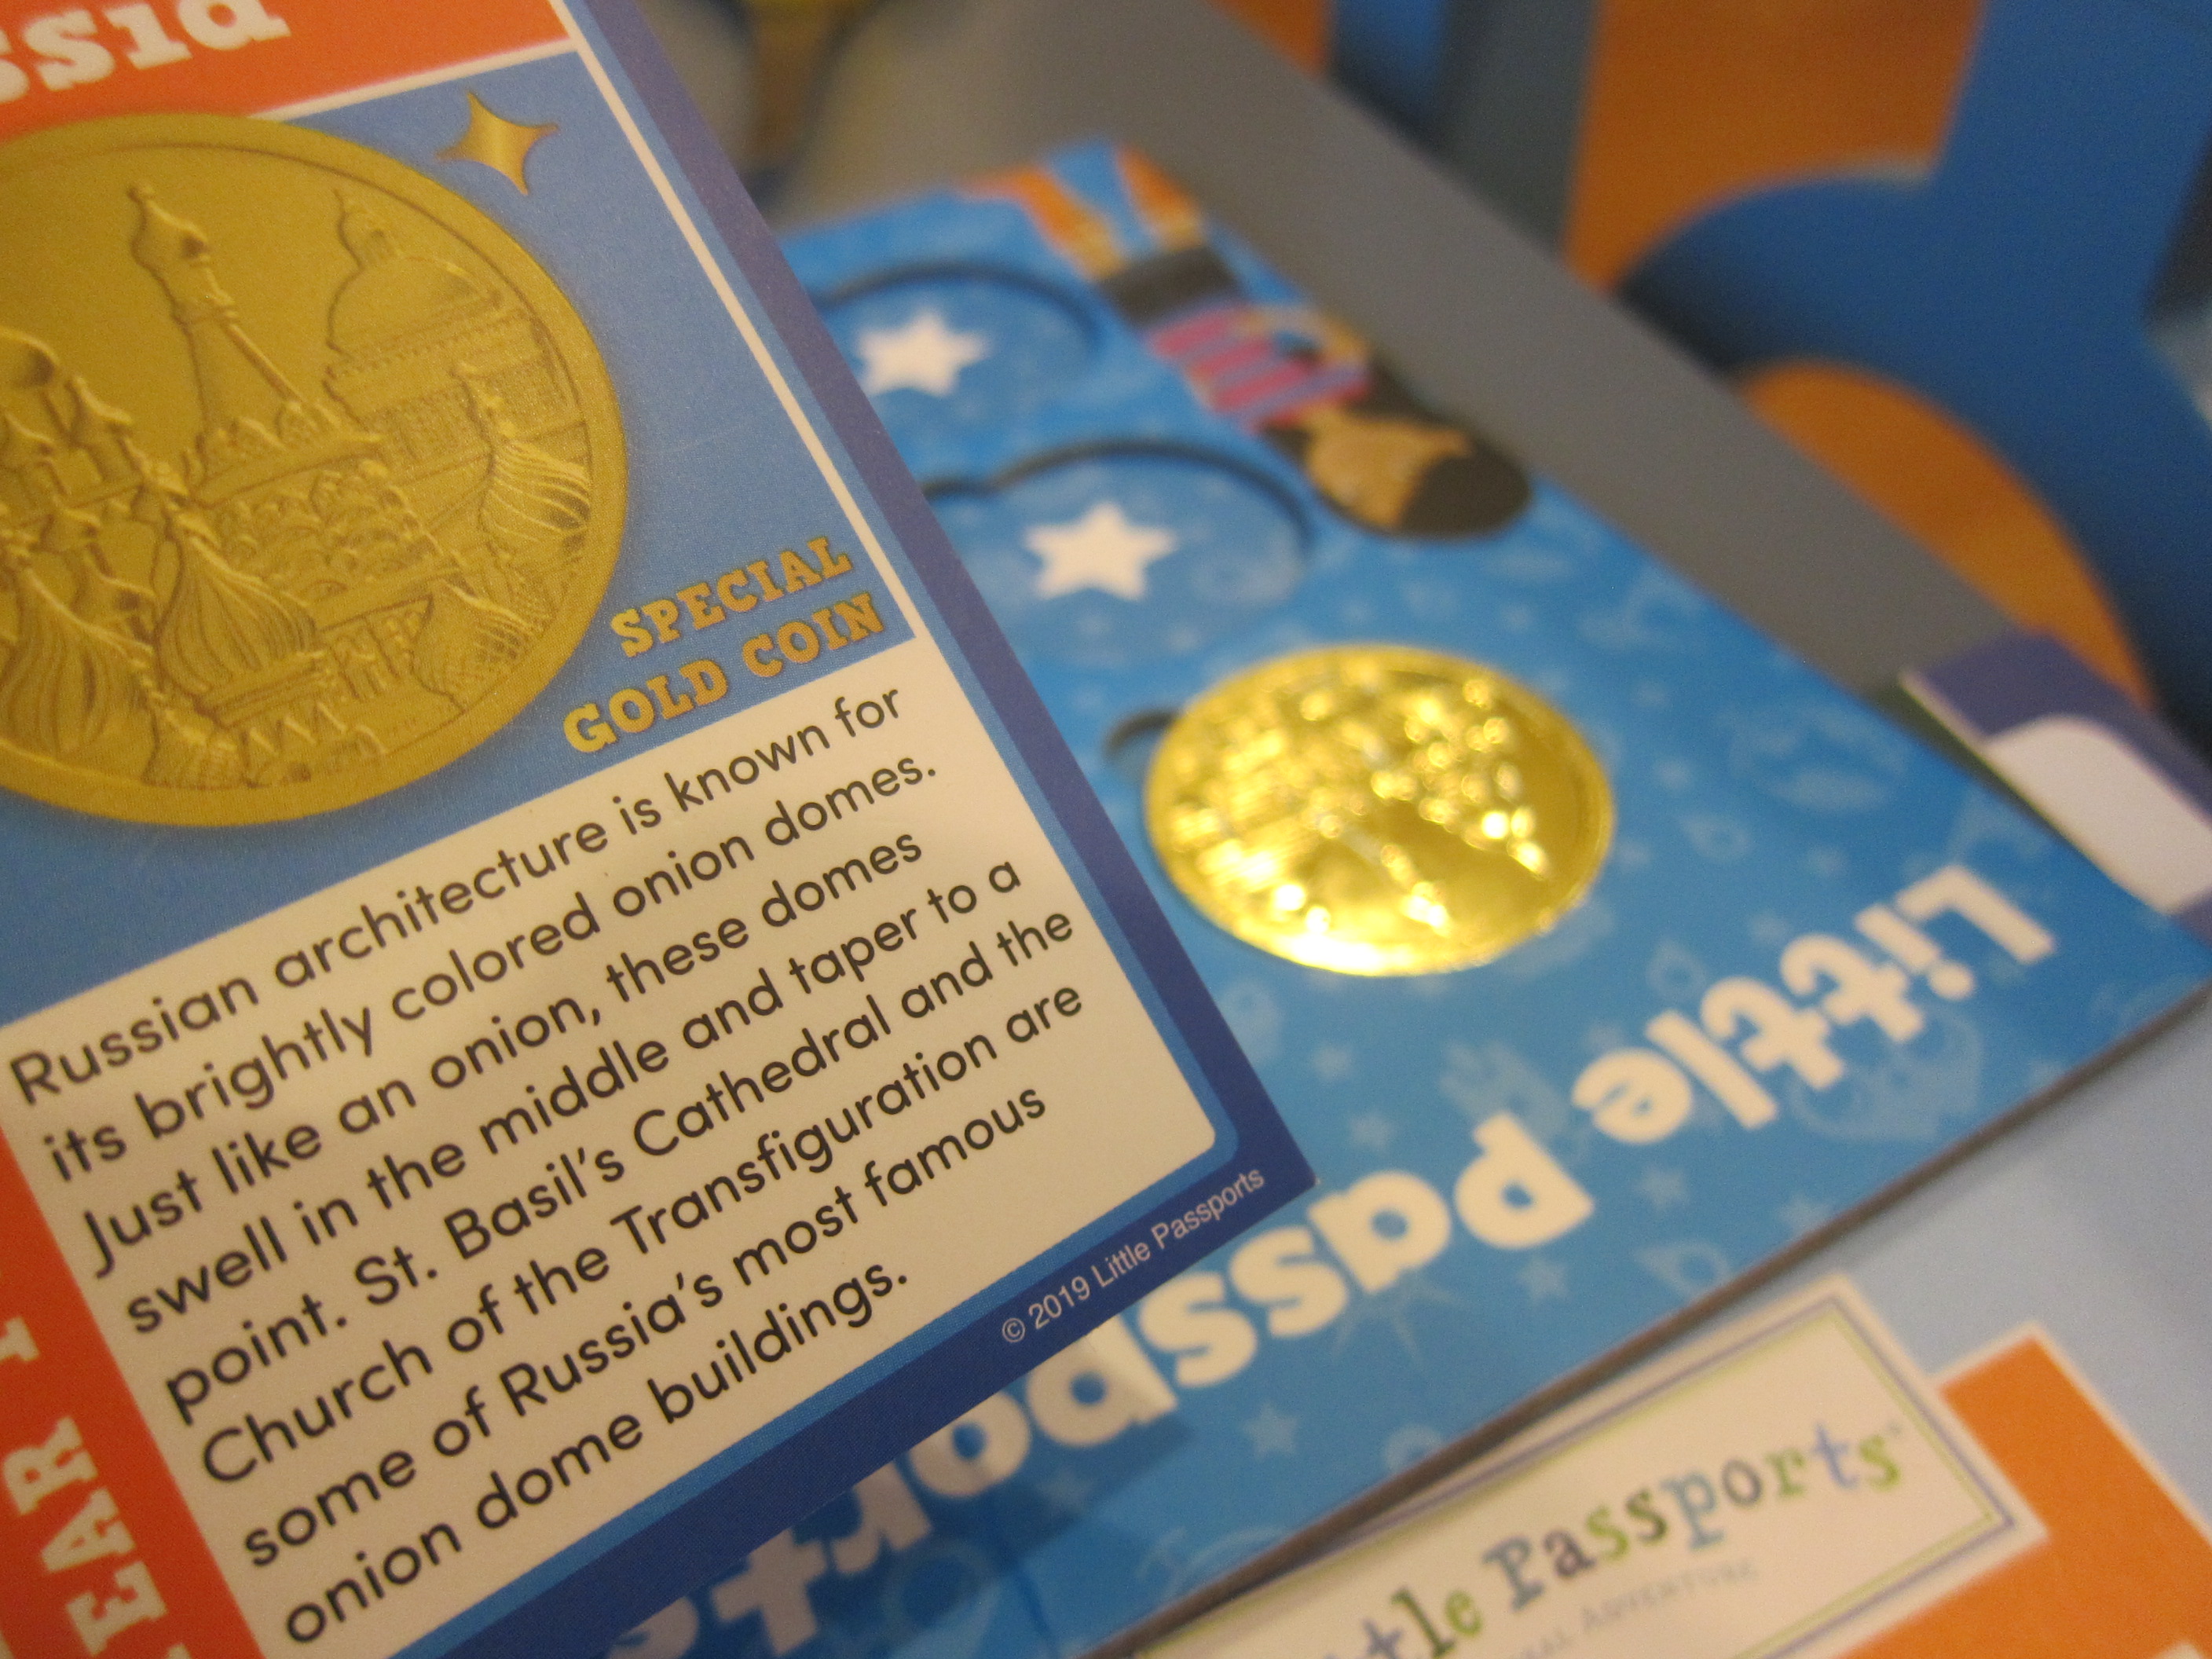
We’ve had fun playing with the snow lately, whether in it or just with our hands, or whether with the real stuff or the fake stuff. But thanks to a unit from Travis’s Snowed Inn Raddish Kids kit, we got a little more scientific about snow today. What is snow and what are its properties, and how is snow changing because of global warming?

A useful story for exploring all this is the winter classic The Snowy Day, and I asked Travis to pause and think at the end about the snow ball in the boy’s pocket. Travis could readily answer that it would melt, but why?

Understanding Snow (1)

So next he watched a video on “Snowflake Bentley”, the first person to capture snowflakes on camera. The video explores more both about how snowflakes form and how they melt.

Understanding Snow (2)

Take a moment here to pause and ask your child which of the two stories is fiction and which is non-fiction, a nice refresher on the two definitions.

After that, I challenged Travis to imagine what might happen next in The Snowy Day. What if the next few pages were from the boy’s friend’s point of view? The idea was challenging for a first grader (Travis’s extension involved magical keys and portals to another universe), but older kids can delve into explaining how snowflakes form and how they melt on their storybook pages.

Understanding Snow (4)

Travis then watched a news clip on the Inuits and how their way of life is changing due to climate change. There were many suggested extensions here that make sense for older kids, such as writing a poem or song about snowflake formation; reading about the 50 different Inuit words for snow; or writing a first-person narrative imagining life from the point of view of an Inuit child.

Understanding Snow (7)

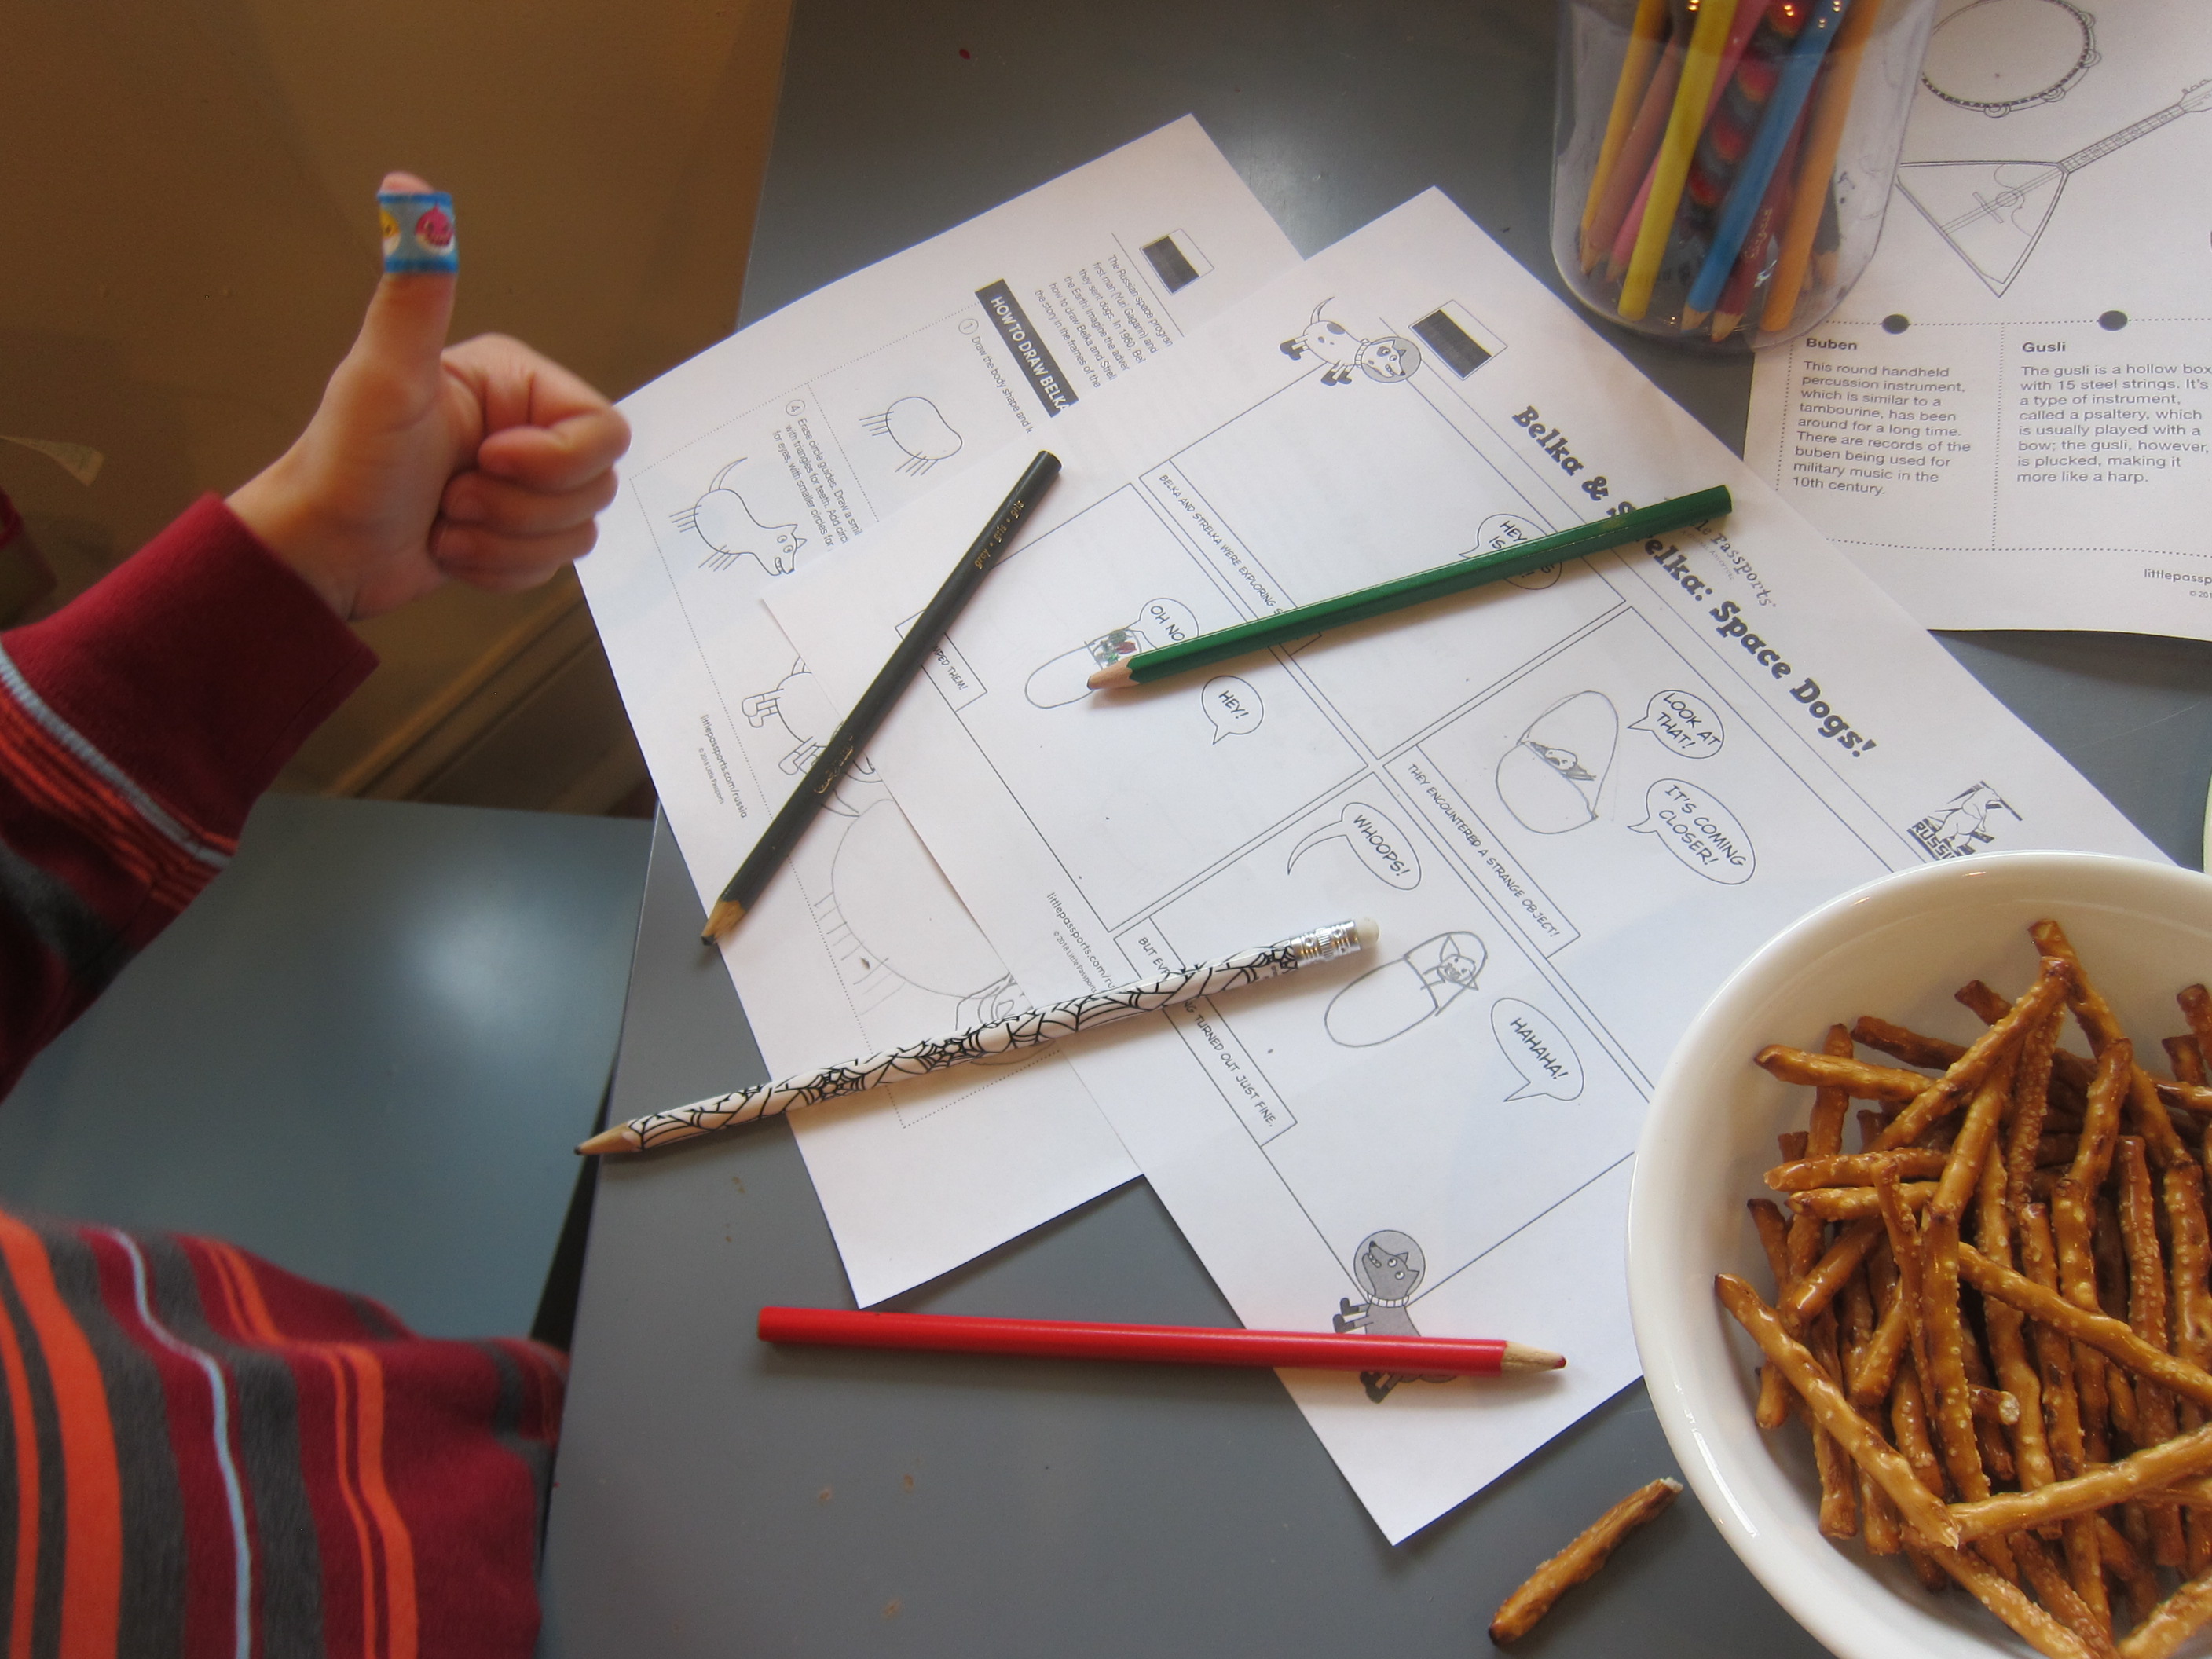
For my first grader, we finished up simply by making a brief comic book about a sled dog and the icy landscape. We may delve more into all these topics again once Travis is older!

Understanding Snow (6)

Brown Paper Bag Owl Puppets

Paper Bag Owl Puppets (7)

My kids love to play a game together involving a stuffed animal owl, so I knew they would go nuts for these easy owl puppets. We made two so that each sibling would have an owl to fly around.

To start, you’ll need two lunch-sized brown paper bags (ideally without any company writing on the front, but oh well…). I then cut out various features from colored construction paper, including triangle beaks, three sizes of circles for eyes, and a brown cut-out for each belly.

Paper Bag Owl Puppets (1)

Travis loved helping glue down all the pieces with a glue stick, especially the three-layered eyes.

Paper Bag Owl Puppets (4)

We added feather markings to the bellies with orange marker.

Paper Bag Owl Puppets (6)

And that quickly, the owls were ready to play.

Paper Bag Owl Puppets (2)

It was safe to say that the kids thought these puppets were a hoot!

Making Snow

Making Snow (7)

With a snowstorm outside, Travis and I tested how many ways we could make snow inside today. The answer was four, if you count cartoon snowflakes in a movie as the final way!

First, we got a little scientific and tested two homemade mixtures to see which made better snow.

In the first bin, we combined 1 cup baking soda with 1 cup shaving cream. This mixture looked a lot like snow, and had a nice chill to the touch, but didn’t clump together well.

Making Snow (2)

In the second bin, we combined 2 and 1/2 cups baking soda with 1/2 cup conditioner. This mixture turned out to be fantastic! We could shape it into snow balls and build little snowmen.

Making Snow (3)

And as you can see, it led to lots of joyful messy play.

Making Snow (4)

Once the mess was cleaned up, we turned to paper snowflakes. Fold a white square of paper into a triangle, then fold over itself again into a smaller triangle. Now fold this triangle up into thirds. A helpful visual on these instructions can be found here.

Making Snow (5)

Begin using scissors to snip any which way, just not cutting all the way through this folded triangle. The thick paper was tough for Travis to cut, so I helped him out and we ended up with beautiful snowflakes.

Making Snow (6)

They looked fantastic against our snowy window!

Making Snow (10)

Finally, we watched snowflakes on the TV screen. The The Snowy Day movie is a well-done extension of the classic book by the same name. It inspired us to think of all the ways we’ll play in real snow tomorrow.  In the meantime, we’ll be here eating snowball cookies!

Indoor Ice Caves and Snowball Fights

Indoor Fort (2)

Sometimes it’s too windy and cold to play in a snowstorm, but you can bring the snow in instead of sending the kids out. Imaginary snow, that is.

To wit, first I made Veronika an ice palace. Whether your kids pretend this is an ice cave, a snow fort, or a polar bear’s arctic den, imaginations will go wild as they crawl through any tunnel made with pillows and blankets. We went all out, adding blankets from the beds upstairs, not just the ones from the living room.

Indoor Fort (1)

Veronika loved loading it up with “snowballs” (a.k.a. rolled up socks).

Indoor Fort (3)

And she was thrilled when she discovered a secret back entrance.

Indoor Fort (6)

There was even a secret window to peek through halfway down the tunnel.

Indoor Fort (5)

Then we split up the ice tunnel into two barricades and it became the perfect snow fort for a snowball fight!

Indoor Snowball Fight (6)

For snowballs, we simply balled up pairs of socks and added a few from crumpled white tissue paper. Now it was mommy versus Travis for all out war!

Indoor Snowball Fight (3)

Travis cackled with glee hiding behind his wall or popping up to pelt me.

Indoor Snowball Fight (7)

And he loved staging sneak attacks. Veronika may not have entirely understood, but she certainly picked up on the glee and soon tried her hand at tossing a few “snowballs”.

Indoor Snowball Fight (5)

Attack!

Indoor Snowball Fight (4)

By now I had two gleeful kids who would happily have played in their “snow fort” all day. I think at this point they were pretending it was a ski slope with avalanches rolling downhill!

Indoor Snowball Fight (8)

Don’t forget clean-up: Make it a race to see who can toss all those sock balls back into a bin the fastest.

Indoor Snowball Fight (1)

What will your kids do with an indoor snow fort? Please share in the comments!

Little Passports: Russia

LP Russia alt

Just in time for wintry weather here at home, Travis’s package from Little Passports was about cold and snowy Russia this month. Travis has been receiving Little Passports for a full year now, so the kit came with a country coin chart with 12 new empty spaces to fill.

LP Russia (2)

He added the sticker to his suitcase and proudly located Russia on the map (“Just look the for the biggest country!” I prompted him). The booklet featured fun activities with Russian history thrown into each, including a Faberge egg riddle to solve. The only one too advanced for my first grader was a word search based on the names of Russian towns.

LP Russia (4)

Souvenir:

Travis absolutely adored the small matryoshka doll that came with the package, his first time seeing one of these classic nesting dolls. Needless to say he needed to take it apart and put it back together many times.

LP Russia (1)

Further Activities:

This kit featured disappointingly few additional activities compared to previous packages. Travis did enjoy the template to make his own Space Comic, though, based on the history of space dogs Belka and Strelka.

LP Russia (5)

This was a great STEAM activity for kids! He was less interested in a Russian folk instrument coloring page, but did enjoy the additional photos and facts posted online.

LP Russia (6)

Finally, we read about Russian holiday traditions, particularly that New Year’s Day is a bigger celebration and time for presents in the country than Christmas morning. Perhaps we’ll have to save one present for under the tree on January 1 from “Father Frost”.

Recipe:

As always, we finished by bringing the country into our kitchen. The recipe for oladushki (thin pancakes) was complicated and messy, but I had happy little diners pretending they were in Russia at the end!

Oladushki (3)

Ingredients:

  • 1 tablespoon apple cider vinegar
  • Scant 1 and 3/4 cups plain non-dairy milk
  • 1 tablespoon flaxseed
  • 3 tablespoons cold water
  • 1/4 teaspoon salt
  • 1 teaspoon baking soda
  • 2 and 3/4 cups flour
  • 1 and 3/4 cups boiling water
  • 1/2 cup canola oil + more for frying
  1. To prepare the pancake batter, pour the cider vinegar into a liquid measuring cup. Add non-dairy milk to equal 1 and 3/4 cups, then let stand for 5 minutes.
  2. Meanwhile, whisk together the flaxseed and cold water to make a flax egg; let stand for 5 minutes.
  3. Combine the milk mixture and flaxseed mixture in a small saucepan, along with the salt and baking soda. Heat over medium heat for about 2 minutes. Transfer to a large bowl.
  4. Add the flour, 1 cup at a time, stirring after each addition. The batter should be quite thick at this point.
  5. Pour in the boiling water and 1/2 cup oil; whisk until combined.
  6. Heat an additional tablespoon or so of oil in a skillet over medium-high heat. Add 1/4 cup batter and tilt the pan to spread toward the edges. Cook for 45 seconds, then flip and cook for about 30 seconds on the other side.
  7. Repeat with the remaining batter to make 16 pancakes.

We served these pancakes in two ways. The first night, they were savory for dinner, topped with either chopped and cooked chick’n…

Oladushki (2)

…or with a mixture of sauteed meatless crumbles and onion.

Oladushki (1)

In the morning, the leftovers became sweet for breakfast! The kids tried them with jam and agave nectar…

Oladushki (6)

…or with a little sweetened non-dairy sour cream (stir about 1/2 teaspoon sugar into each tablespoon sour cream).

Oladushki (5)

Palm Puppets

Palm Puppets (6)

These quick puppets are easy to put together and can be decorated to look like just about any character your child desires!

They’re called ‘palm’ puppets not in reference to the palm of your hand, but because puppets like these were originally made from palm fronds in countries like India. You can replicate the idea with thick paper.

Both kids had high enthusiasm when I suggested the craft to fill a winter afternoon, and they were soon busily drawing their characters. To make sure your puppet has a front and back, fold a piece of construction paper in half and draw the head where the paper is creased.

Palm Puppets (1)

Travis proudly drew a favorite Star Wars character, while Veronika was happy just to scribble at his side!

Palm Puppets (2)

Cut out the bodies and then tape onto straws. (Note: You could also staple the bodies to the straws or use glue, but tape was quickest). I then cut 4 rectangles for each puppet to be the arms and legs. Poke a small hole in each rectangle, as well as in the body of the puppet where the limbs will attach, then insert a brad at each joint.

Palm Puppets (3)

The puppets arms and legs will flap about if your child rubs the straw briskly between their palms. If the limbs aren’t moving, check that your brads aren’t too tight.

Palm Puppets (5)

Obi-Wan Kenobi soon had a blue light saber!

Palm Puppets (4)

Meanwhile Veronika loved the Baby Yoda we made.

Palm Puppets (7)

Whether spinning them or just waving these puppets around for make-believe play, this was a great craft for a cold afternoon.

Holiday Cookie Magic

Holiday Sugar Cookies (8)

There’s a lot to be said for beautiful and complicated holiday cookies (and we’ve baked some of those this holiday season!), but there’s also a lot to be said for slice-and-bake cookies. To wit, Travis and I had fun baking some today (thanks to the vegan sugar cookie dough from Sweet Loren’s). We then talked about the symbolism behind some of December’s holiday cookies before adding the following decorations.

Holiday Sugar Cookies (1)

Christmas:

Chewy Chunks: Who knew? Dried fruits and nuts (traditionally numbering up to 13 ingredients) originally represented Jesus and the Apostles, hence the ubiquitous holiday fruit cake. We didn’t use quite that many different dried fruits, but we did chop up raisins, prunes, dried apricots, and dried cranberries, then pressed into the top of the dough before baking.

Holiday Sugar Cookies (3)

Festive Fruit Strips: Fruit leather cut into strips makes candy cane stripes on a round cookie. Here was another “who knew” moment: the shape of a traditional candy cane is meant to represent a shepherd’s crook!

Holiday Sugar Cookies (4)

Hanukkah:

Jelly Doughnuts: Fried treats like jelly doughnuts represent the oil that lasted for 8 days during the miracle of Hanukkah. To turn them into cookie form, we pressed our thumbs into the center, filled each with about 1/4 teaspoon jelly, and sprinkled with powdered sugar.

Holiday Sugar Cookies (7)

Latke Cookies: Likewise representing the oil, here was a way to turn potato latkes into cookie form! Travis helped smash potato chips with mallet, then we dipped the top of the sugar cookie dough into the crushed cookies before baking.

Holiday Sugar Cookies (6)

These were all so easy and yet so delicious!

Paper Circuit Menorah

Paper Circuit Menorrah (7)

Travis has been wanting to do this activity since we made other circuit crafts earlier this year, but it felt only right to wait on this one until Hanukkah.

First, you’ll need to map out a menorah shape with copper tape. I simply copied from an online example freehand, so you’ll notice my spacing wasn’t always right.

Paper Circuit Menorrah (2)

If you’re going to be more exact, you’ll definitely want a ruler. You’ll also need to make sure that the gap between any two vertical tape lines isn’t wider than the width of a 9V battery. Meanwhile, Travis was fascinated with the thin copper tape, and couldn’t believe it was a metal!

Paper Circuit Menorrah (1)

Once the tape was all laid out, I taped an LED light in the top center as the shamash candle. Hold a 9V battery over the two halves of the copper tape below this, and it will turn on!

Paper Circuit Menorrah (6)

Tape 8 additional LED lights over the other points of the menorah. We alternated white and blue, for an appropriately holiday-themed effect.

Paper CIrcuit Menorrah (8)

If you want to rig this up so that you can actually light a new LED each night, you’ll need five 9V batteries.

Paper Circuit Menorrah (3)

You’ll also need extra strips of copper tape to interrupt the circuit in 4 places, and then attach them on the second night of each interval. We didn’t make things that complicated, nor did we use the suggested ohm resisters, but Travis just loved marveling at how he could light each “candle”.

Paper CIrcuit Menorrah (10)

We moved the 9V battery around to light each LED in turn. He especially loved the blue ones!

Dancing Puppets

Dancing Puppet (8)

After engineering puppets for his latest Kiwi Crate, Travis had fun making this super-simple version from supplies we had around the house.

Dancing Puppet (1)

To start, all he needed was an empty toilet paper tube. Punch two holes near the top; they’ll look almost like eyes at this point, but aren’t for that purpose.

Dancing Puppet (2)

For the arms, cut two strips of construction paper that are the same length as the tube. Punch two holes near one end of each strip, and attach a paper clip to the other end.

Line up the bottom hole of each arm with the holes in the tube; insert a brad, and fasten. Loop string through the top hole of each arm, and secure at the top with a knot.

Dancing Puppet (4)

Now all Travis had to do was pull down on the string to make the arms rise!

Dancing Puppet (5)

This made a funny, wobbly puppet, and Travis knew exactly how he wanted to decorate the face: as a “Shadowtrooper” from Star Wars.

Dancing Puppet (7)

No wonder he chose black paper for the arms! Your kids can have fun making a whole bunch of these simple puppets and decorating any way they choose.

Dancing Puppet (6)

Felt Ornaments, 3 Ways

Felt Lollipop (2)

Fancy store-bought ornaments are beautiful, but my favorite ones from over the years have been the homemade ones. All you need for these three options are sheets of felt from the craft store and a little glue!

Felt Lollipops:

For the first version, stack 4 colors of felt together and cut into 3/4-inch wide strips. Glue the layers together at one end with tacky glue, then begin rolling up, adding dots of glue periodically. The mechanics of this were a bit tricky for Travis, but he started to get the hang of it!

Felt Lollipop (4)

Glue the loose ends of each felt color down, then wrap with a rubber band to hold everything in place as the glue dries.

Felt Lollipop (6)

Once dry, glue a loop of string onto the back, along with a lollipop stick. I found that hot glue was better for this step than tacky glue. These looked delicious hanging from the tree!

Felt Lollipop (1)

Felt Garland:

For the garland, cut many two-inch pieces of felt and begin using hot glue to attach them in two long strands. We made one that was all purple, and one that alternated light and dark green. The purple felt was cut thinner, and in retrospect I would have done the green strip just as thin.

Felt Garland (2)

Place a heavy book on one end of the two stands, then begin winding them together, securing with a clothespin at intervals.

Felt Garland (3)

Once it looks the way you want, use hot glue at the ends and everywhere else you had a clothespin. String around the tree as a garland!

Felt Garland (5)

Felt Ribbon Candy:

For the final version, we cut three colors of felt into 1-inch wide strips. Glue them together with tacky glue, then start folding the strand over itself, accordion-style, adding a drop of glue after each fold. Add a rubber band to hold it together until the glue dries.

Felt Ribbon (2)

Now just add a string with one more drop of glue, and it’s ready to hang on the tree!

Felt Ribbon (3)

Which one do your kids enjoy making the most? Please share in the comments!

Felt Garland (6)