Marker Painting or Drawing

Marker Painting (6)

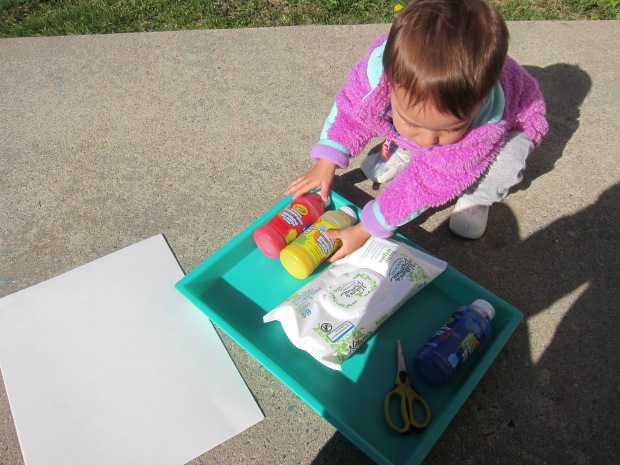
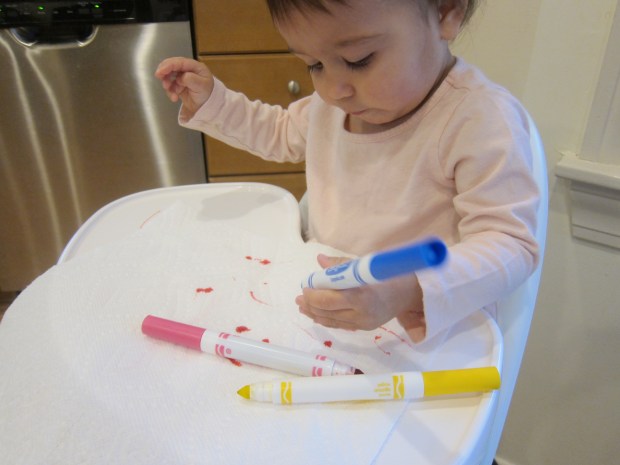
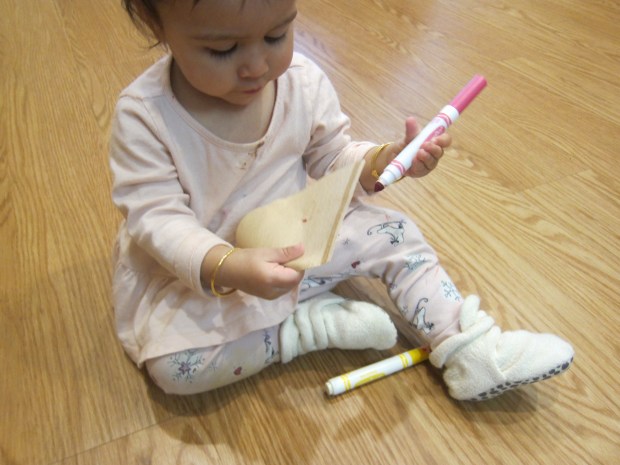
We run through markers pretty quickly around here, and normally Travis’s school has a great recycling program for dried-up ones. But with school closed, I found a new use for those dried-up markers today: toddler paint brushes!

Marker Painting (3)

I simply set out paints for Veronika (using old play dough jars as paint pots), and showed her how to dip the tip of the marker in the paint. It then becomes a brush!

Marker Painting (1)

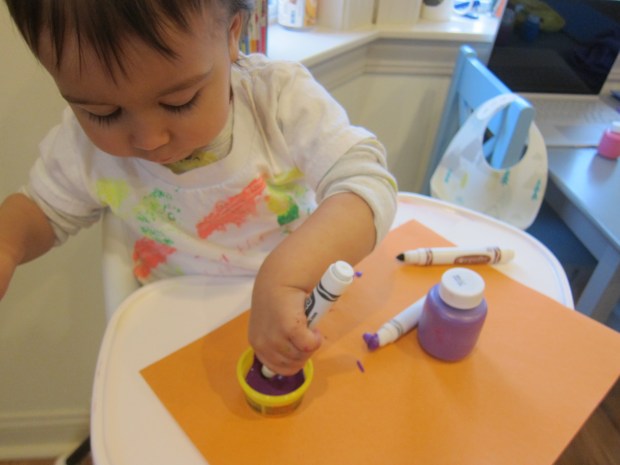
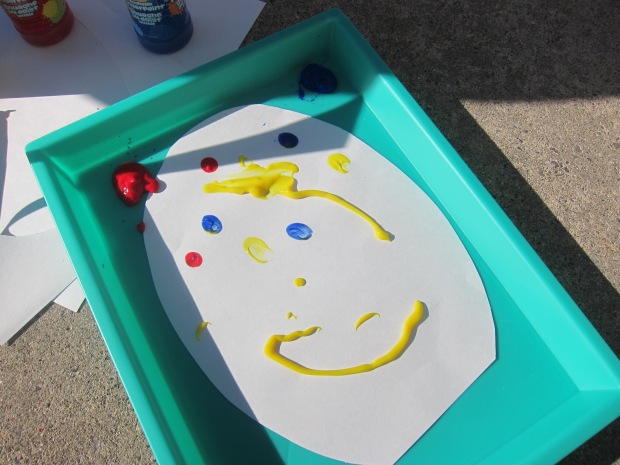
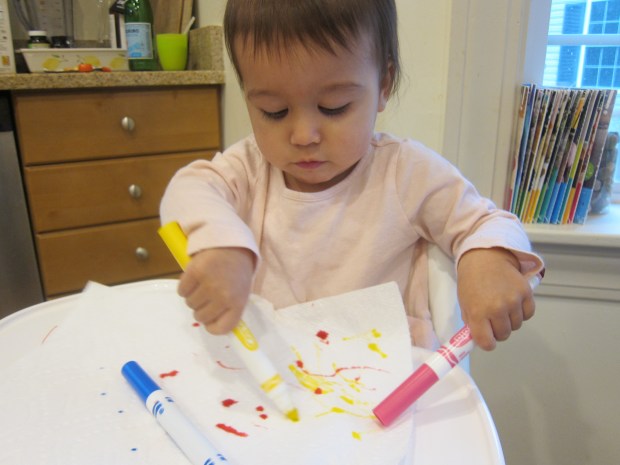
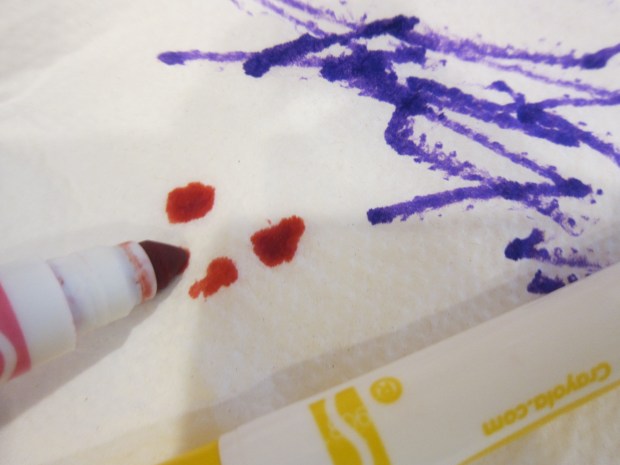
These work best as “dot marker” paints. If you have enough paint on the tip, you can get more of a smeary line, but Veronika was quite content to dot dot dot.

Marker Painting (7)

She worked so carefully, dabbing first in the paint and then on her “canvas”.

Marker Painting (6)

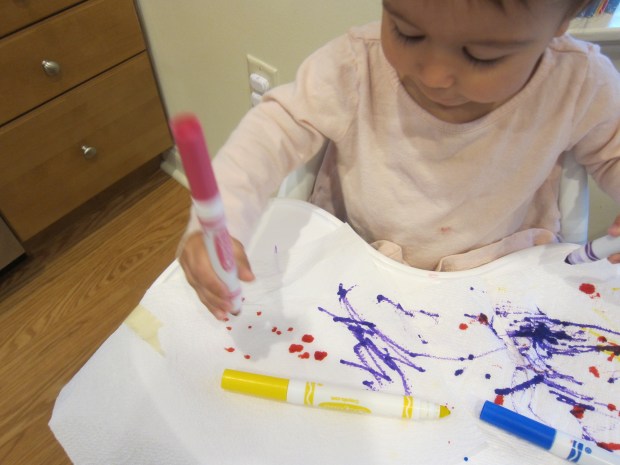
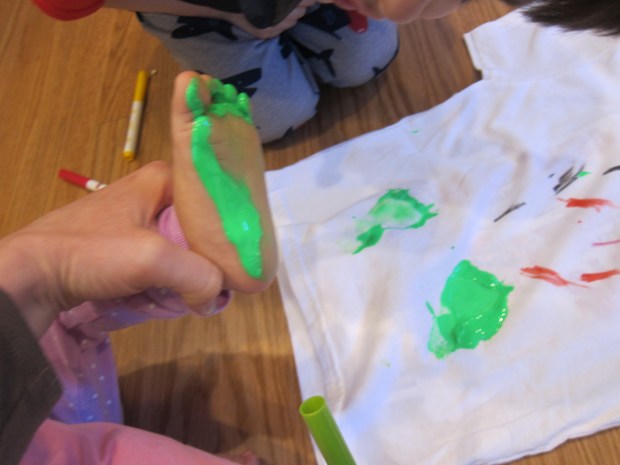
I also squirted some paint onto her paper so she could run a marker through it for thicker lines.

Marker Painting (5)

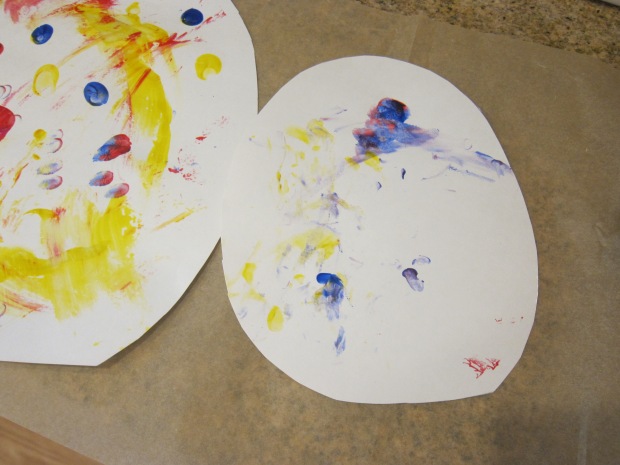
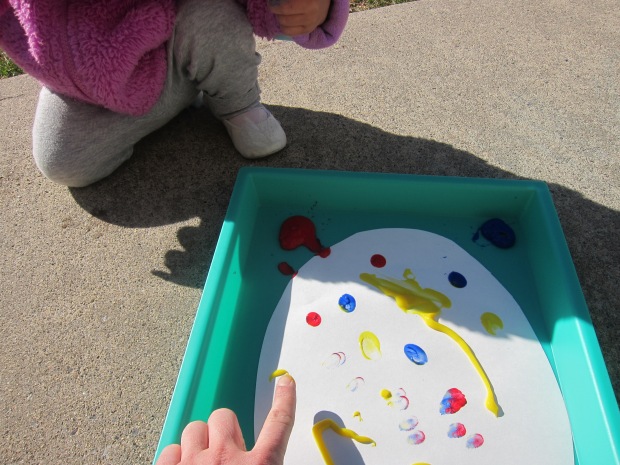
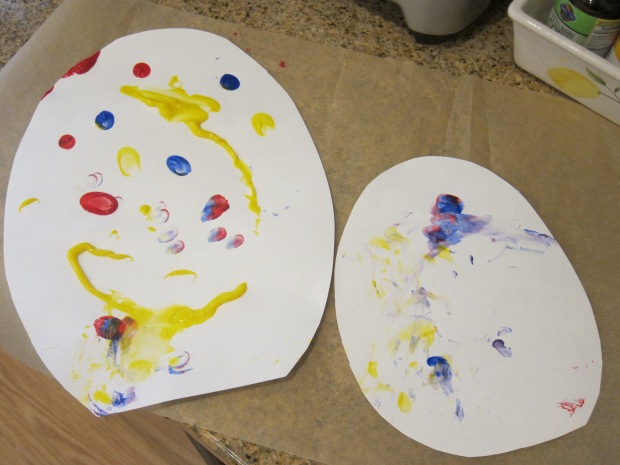
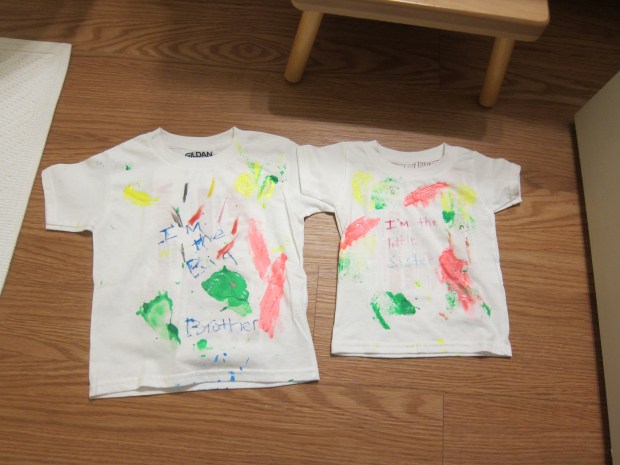
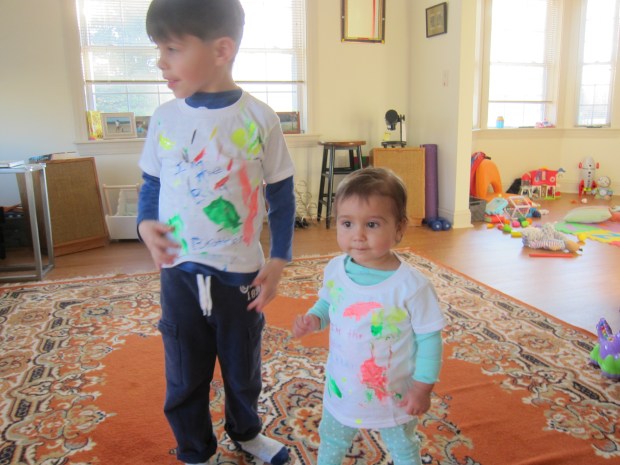
She eventually decided it was fun to smear all the lines together with her hands. Here’s her final masterpiece:

Marker Painting (8)

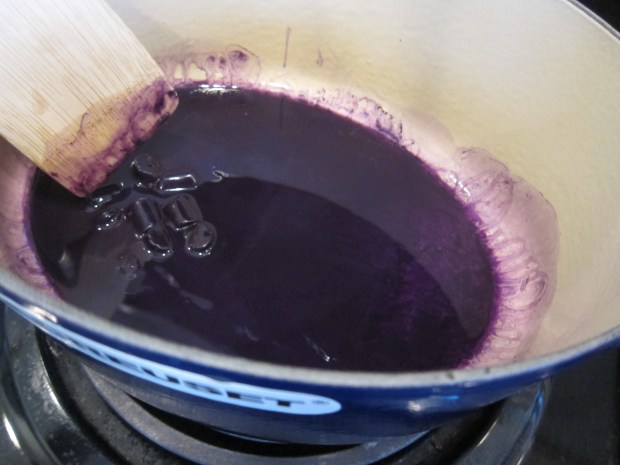
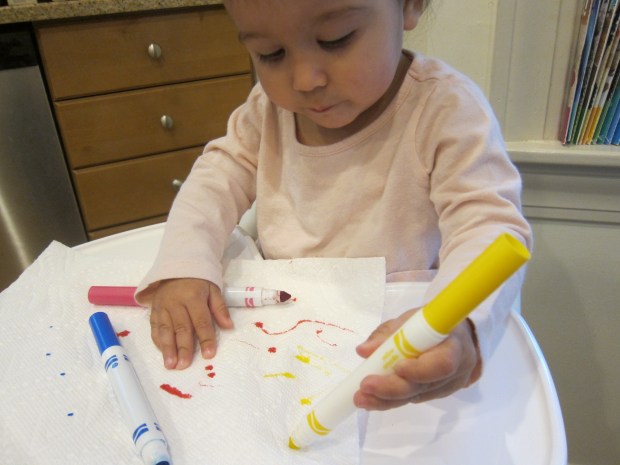
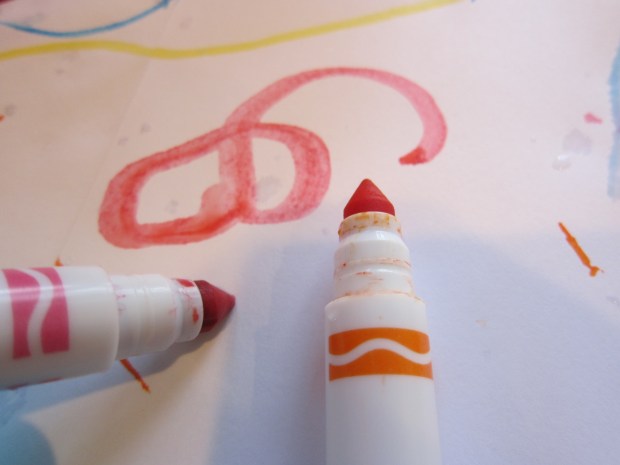
As an alternative method, turn the dried-up markers into “watercolors”. For this version, I placed a shallow dish of water on Veronika’s high chair tray, along with white paper and a few markers with very little ink left.

Marker Drawing (1)

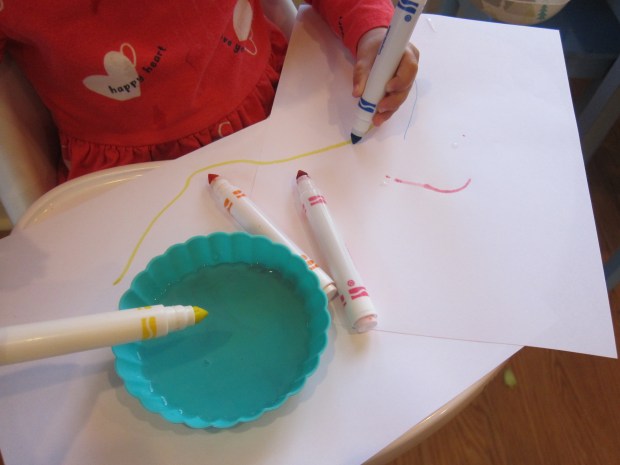
As you dip in the water, the colors become vibrant once more, with a pretty, swirly effect very similar to watercolor paints.

Marker Drawing (4)

Veronika again loved the process of dipping…

Marker Drawing (5)

…and painting.

Marker Drawing (6)

She also discovered the little dish was wonderful for splashing her hands in, and tried to make some watery handprints on the paper.

Marker Drawing (3)

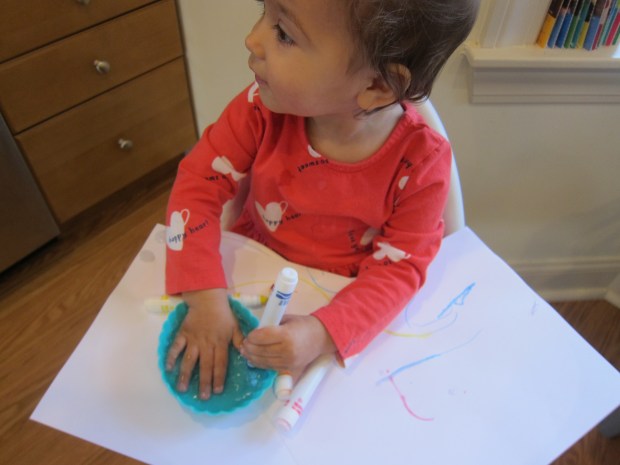
Next time I would use thicker watercolor paper for this activity, but in a pinch, regular printer paper was fine. She dumped a little of the water right out onto the paper, which really made the colors blend and swirl!

Marker Drawing (8)

You’ll know the game is done once the tip of the marker turns white, and then it’s time to recycle.

Marker Drawing (7)

Finger Paint Easter Egg

Finger Paint Easter Egg (6)

On the heels of her first Easter craft, Veronika made an equally easy toddler-friendly Easter egg today. This one requires only poster board and finger paint.

I initially thought to set up the activity outside, given a nice day of sunshine. You’ll notice the pack of wipes on hand for easy clean-up, a must whenever you use finger paint!

Finger Paint Easter Egg (1)

After cutting an egg shape from white poster board, I squirted a few colors of finger paint out onto at ray and briefly demonstrated how she could dip a finger in the paint, and then press on the egg.

Finger Paint Easter Egg (2)

I also squirted some of the paint directly onto the egg shape, thinking she might want to swirl it around with her whole palm. But after a moment to check it out, the outdoors proved far too distracting!

Finger Paint Easter Egg (3)

So we moved the activity inside, where she was able to pay more attention. This time she dipped her fingertips into the paint. I can’t say she loved the craft, but she did make enough markings on a full sheet of poster board that I could cut out a smaller egg shape around it.

Finger Paint Easter Egg (5)

So we ended up with mommy-and-me Easter eggs, which I think are pretty cute! For preschoolers, have fun making deliberate lines or patterns with the finger paint, to add a little education into the mix.

National Crayon Day

National Crayon Day (14)

Happy National Crayon Day! Travis, Veronika, and I celebrated this fun “holiday” with two projects, plus the perfect crayon book: Harold and the Purple Crayon.

While the kids were busy, I made a batch of purple crayon play dough. For this you’ll need:

3 cups flour

1 and 1/2 cups salt

2 tablespoons cream of tartar

2 tablespoons olive oil

1 jumbo purple crayon

2 cups water

Combine the flour, salt, and cream of tartar in a bowl. Heat the olive oil in a large pot over medium heat. Remove the paper lining from the crayon and chop into pieces. Add to the oil and stir until melted. Slowly stir in the water, then add the dry ingredients. Continue to cook for a minute or two, until the play dough pulls away from the sides of the pot.

National Crayon Day (1)

Turn the dough out onto a cutting board. Let cool slightly, then knead a few times. It makes a fantastic dough, and it’s now ready for play!

National Crayon Day (3)

We read Harold and the Purple Crayon to set the stage, then got our hands messy with the purple play dough!

National Crayon Day (5)

I suggested recreating a few of the drawings from the book like the apple tree or a house with a window.

National Crayon Day (6)

Travis just loved making purple worms, which soon led to a very elaborate game in his head!

National Crayon Day (9)

Veronika loved pulling up bits of the dough.

National Crayon Day (8)

Oh no, she grabbed the “ocean” from under Harold’s boat!

National Crayon Day (10)

In other words, the kids had a blast. I thought they might play with it all afternoon.

National Crayon Day (7)

But we had one more crayon project to go. There was a collection of rocks on our patio thanks to a family walk on the beach last weekend, and I set a few of them in the oven at 300 degrees for 15 minutes. (Note: I’m told you don’t want to heat them much longer than that, or they may explode, although that could just be urban legend).

National Crayon Day (12)

Remove one rock at a time with tongs and place on foil or parchment paper on a table. Using jumbo crayons with the liners removed, I showed Travis how to press one against the hot rock. It instantly melts!

National Crayon Day (11)

This had big wow factor, and made for fun art.

National Crayon Day (13)

Travis loved watching big runnels of color drip over the rocks, although I showed him how to get a little more artistic and deliberate with his colors, too.

National Crayon Day (14)

These would look so pretty in a garden! Happy National Crayon Day.

National Crayon Day (15)

Paper Towel Drawing

Paper Towel Drawing (2)

Here’s an easy art hack for toddlers, especially if you have a child who wants to get into an older sibling’s art supplies. Give them a paper towel to mark up instead! Because the paper towel has absorbency, the colors blur and bleed in fascinating ways.

I gave Veronika four different color markers and showed her how to make thick lines across the paper towel.

Paper Towel Drawing (1)

She didn’t need to be shown twice! Soon she was coloring avidly, clearly interested with how the markers felt on the slightly bumpy surface.

Paper Towel Drawing (3)

Next I showed her how to press in one spot and make a dot (almost like dot markers). “Dot dot dot!” she started saying happily as she imitated.

Paper Towel Drawing (7)

She also said the names of the colors as she drew, parroting back “pink!” or “yellow!”

Paper Towel Drawing (5)

Eventually, I taped the paper towel pieces down so she could keep going without direct supervision.

Paper Towel Drawing (6)

Even when the paper towels slipped, I didn’t have to worry since the washable markers wipe clean from her high chair tray in a pinch.

Paper Towel Drawing (8)

Note: You can also try this activity on coffee filters, which we did later in the day. They have a similar absorbency for a similar effect.

Paper Towel Drawing (9)

Big Brother and Little Sister Shirts


Brother Sister Shirts (10)

It’s such an exciting development for my kids that now they can do projects together, as was the case with these brother-and-sister shirts. Obviously you can tailor the shirts to fit your family, whether that means two brothers, three sisters, or even mommy & me shirts!

Brother Sister Shirts (1)

I purchased blank white tees at the craft store in the kids’ sizes, and first wrote on the front “I am the little sister” and “I am the big brother” with fabric pens. Note: This is harder than it looks, because the fabric kept pulling!

We then wanted to put Veronika’s footprint on Travis’s shirt. I squirted a little fabric paint onto a sponge and pressed it to her foot, then pressed her foot to the fabric. It didn’t come out completely clear, but Travis loved knowing it’s there! If your big kids want to, have them put handprints on the little sibling’s shirt in the same manner.

Brother Sister Shirts (3)

Then the kids loved dabbing the sponge all over the shirts, squirting it first with different colors.

Brother Sister Shirts (5)

The fabric markers were running low on ink, but they discovered that they could squirt a little fabric paint onto a shirt and use the tip of the markers as the “paintbrush”.

Brother Sister Shirts (4)

They had so much fun making these!

Brother Sister Shirts (6)

And they looked adorable wearing them.

Brother Sister Shirts (8)

Paper Finger Boomerang

Paper Boomerang (3)

Having recently tried out a real boomerang, Travis and I brought this little paper version to our home school “recess” today!

To make the boomerang, you’ll need a perfect square. Either measure with a ruler, or cut a piece of paper, fold it in half to form two triangles and then open back up again. Trace onto thin cardboard and cut out.

Paper Boomerang (1)

Cut out a boomerang shape, making sure to measure the same distance in from each side of the square. Travis decorated with crayons, rounded the corners, and then we were ready to flick!

Paper Boomerang (2)

We were surprised since we struggled with our store-bought toy, but this little one really does circle back to you! Because it’s so lightweight, you could even use it indoors on a rainy day. Note: We made the holder simply by cutting an additional strip of thin cardboard and folding in half.

Paper Boomerang (4)

Pompom Puppets

Pompom Puppets (6)

Travis needed an art project for the first day of “home school”, so I turned to Highlights magazine for inspiration. It turned out the pompom puppets we tackled were a bit advanced for a kindergartner, but we sure got silly and had fun making them.

The method looked simple enough: Wind colorful yarn around the tines of a fork to make the body of a pompom.

Pompom Puppets (1)

Tie with a small piece of yarn in the center, making sure to tightly double-knot, then slide off the fork and snip the loops on either end so you have the frills of a pompom.

Pompom Puppets (2)

This sounded good in theory! But we quickly found out that the fork resulted in very small pom poms and they unraveled into pieces when we tried to cut the loops. Thinking quickly, we wound around mommy’s fingers instead! This resulted in workable pompoms.

Pompom Puppets (3)

To turn them into puppets, wrap colored felt around your child’s finger until it is the right size, then use glue to secure.

Travis helped pick out decorations for his silly creatures, but once again the project was a bit hard for small hands. I jumped in with a little hot glue to secure pipe cleaner antennae, wiggle eyes, and button decor according to his wishes.

Pompom Puppets (4)

What silly creatures!

Pompom Puppets (7)

Travis loved waving them on his fingers. Soon they even had little space pods to travel around in.

Pompom Puppets (9)

Plus he even had fun playing with the extra yarn from our failed attempts, in what turned into a very creative game. So these turned out to be great for imaginative play, even if the crafting was too advanced for him.

Pompom Puppets (8)


Puffy Shamrock

Puffy Shamrock (6)

This easy shamrock makes the perfect good luck charm for your front door this St. Patrick’s Day!

Older kids can trace a shamrock shape themselves on green cardstock, but I took care of that part for Travis and helped him cut out along any tricky curves.

Puffy Shamrock (1)

Originally the plan was just to cover it with green pom poms and we had quite an assortment: small ones, medium ones, and sparkly ones!

Puffy Shamrock (2)

As soon as Travis saw some wiggle eyes in our craft bin, though, he knew our shamroock needed them, so those got glued on first.

Puffy Shamrock (3)

He began adding drops of glue and filled in all the remaining space of the shamrock with pom poms, sometimes having fun with a pattern (“3 sparkly, 1 plain!”), and sometimes just in random order.

Puffy Shamrock (4)

He was very precise about filling in any tiny gaps with the small pom poms near the end.

Puffy Shamrock (5)

Once the glue dried, I added a loop of green ribbon on the back so we could hang it from the doorway. Here’s hoping for the luck of the Irish!

Puffy Shamrock (7)

Pipe Cleaner Sculpture

Pipe Cleaner Sculpture (6)

Pipe cleaners are a fantastic way to introduce your toddler to the idea of 3-D and sculptural art. Because the ends of pipe cleaners can be pointy, this is definitely an activity that you want to supervise the entire time, not something for a toddler busy box. I loved taking time today with Veronika to show her how to manipulate them.

To start, I dumped out a package of multi-colored pipe cleaners in front of her. So needless to say, the game was already a hit!

Pipe Cleaner Sculpture (1)

I started by making a few fun shapes. Using our imaginations, this one looked like a dog.

Pipe Cleaner Sculpture (4)

She got quite a kick out of mommy’s art skills as we made the pipe cleaner say “woof”!

Pipe Cleaner Sculpture (var)

Her next request was for a sheep, so I wound together white pipe cleaners into a semblance of a woolly lamb..

Pipe Cleaner Sculpture (3)

She then loved pulling off the curly “wool” pieces.

Pipe Cleaner Sculpture (5)

I tried to think of the safest way to make her a “sculpture” without resulting in any poking and pricking, and circles seemed ideal. Loop these together in a pattern or in rainbow order, or any other way that strikes your fancy!

Pipe Cleaner Sculpture (alt)

Veronika loved holding long chains of the loops, and also decided that individual circles made great bangles and anklets!

Pipe Cleaner Sculpture (8)

In sum, you’ll have a great time together discovering all the ways you can manipulate the pipe cleaners, whether tight curly-cues, or interesting shapes, or more.

Pipe Cleaner Sculpture (7)

Rainbow Craft Challenge

Rainbow Challenge (5)

Just in time for St. Patrick’s Day, Travis’s art challenge from Highlights magazine was to make a rainbow using tissue paper, glue, and… anything from the recycling bin!

So of course first we had to dump everything from the bin onto the floor. Travis loved going through the pile, including boxes and tubes and cans that we didn’t ultimately use for the project (some of which became props for his games all afternoon).

Rainbow Challenge (1)

A pizza box was the largest piece of cardboard available so that became our base. We glued down blue tissue paper for a quick background.

Rainbow Challenge (2)

I had bought tissue paper in every color of the rainbow, and assumed we would tear these into tiny pieces. But Travis had other ideas, and I loved watching him twist a sheet of each color into a rope, then glue these in rainbow order.

Rainbow Challenge (3)

A black bottle cap made a pot of gold and white tissue paper glued on to a container lid became a puffy cloud. Clever!

Rainbow Challenge (4)

Here’s hoping we have some extra luck whenSt. Patrick’s Day rolls around next week.