Living Room Maze

Living Room Maze (5)

This activity is a great way to entertain a toddler on a rainy morning, not to mention it makes use of leftover boxes! You’ll need large enough boxes that your child can crawl upright through them.

In the past, we’ve decorated boxes to be more like a house or even a castle. The purpose this time wasn’t so artistic, but more about letting Veronika explore spatially. I attached two boxes together to make a big tunnel, and cut two windows so she could poke her head out.

Living Room Maze (2)

There was also a third box branching off to the side to make it a “maze”.

Living Room Maze (7)

Well of course she was eager to explore! The windows were great fun for peekaboo.

Living Room Maze (8)

She crawled back and forth, and in and out, and through and around. I used all of these spatial words as she played.

Living Room Maze (9)

She also delighted in bringing toys inside with her.

Living Room Maze (6)

Eventually big brother wanted in on the action, and he was just the right height for popping through the sun roof!

Living Room Maze (10)

I loved watching the kids turn it into a cozy nook for reading. In sum, this kept us busy all morning!

Living Room Maze (11)


A Box to Extend Train Play

Box Extend Train Play (10)

Chances are you have lots of extra boxes these days; certainly we’re having more items delivered in this time of social distancing, and are so thankful to the fearless delivery folks out there! We put one such box to good use this morning by making it a tunnel for Veronika’s trains.

The set up was simple (although you could get really detailed and crafty with this if you have the time). First, I cut a few holes to be tunnel entrances and and exits.

Box Extend Train Play (3)

Next, I placed a strip of masking tape on the top as a road. Little bits of orange tape down the center served as the lane divider.

Box Extend Train Play (2)

I put the box on the ground and showed Veronika how she could make a train enter through one hole…

Box Extend Train Play (4)

…and pop out through another!

Box Extend Train Play (6)

She loved it, although she seemed mildly disappointed that she didn’t fit in the tunnels herself. Soon she was happily chugging trains to and fro.

Box Extend Train Play (5)

The road on top was a big hit, too!

Box Extend Train Play (7)

The box happened to be the perfect height for her to stand and zoom her cars around, which interested her almost more than the trains.

Box Extend Train Play (8)

This is a great way to keep your toddler busy, even if trains aren’t necessarily his or her “thing”!

Box Extend Train Play (9)

Kitchen Boxes

Play Kitchen (1)

Toddlers love to be your helpers, which can be adorable, but which also sometimes places them squarely under foot and in the way… like when you’re cooking in the kitchen! Encourage their eager need to be involved by setting up a play kitchen right alongside yours.

There’s no need to buy a fancy store-bought kitchen; chances are you have everything you need right at home for this game.

I saved up empty snack boxes over the course of a week and taped them shut to be Veronika’s pantry staples and “groceries”. (Note: The youngest toddlers might be happy just with these boxes and nothing else! They make great towers).

Play Kitchen (2)

Then I set up two toddler chairs side by side as her kitchen counter. Use empty large boxes if you don’t have chairs that are the right height. Her kitchen was soon outfitted with brightly colored measuring cups, a set of measuring spoons we use just for play, and other accessories like whisks and rolling pins.

Play Kitchen (3)

Soon she was very busy “cooking”!

Play Kitchen (4)

Veronika was in luck today because I finished up a bottle of vegetable oil making my recipe. This was quickly added to her kitchen. Build up a similar stock for your little one over time, adding old aprons, dish cloths, empty bottles, spare utensils, and more.

Play Kitchen (7)

As I filled muffin tins with real batter, I gave her an old cake pan to “bake” her recipe in.

Play Kitchen (10)

She was so busy and happy by my side playing this game, and never in the way!

Play Kitchen (11)

Toppling Tower

Toppling Towers (8)

Chances are you have lots of empty snack boxes if you have kids. Instead of recycling, set them aside and build up a collection. Now you have all you need for building towers with your baby!

For about a week, I saved every empty snack box and cereal boxes. Tape the tops closed, if needed, so no edges stick out. First, I dumped out the bag in front of Veronika. Instant fun!

Toppling Towers (1)

Then we got building. You can encourage your baby to place one box on top of another, but don’t be surprised if the preferred activity is knocking down! This post is called toppling tower, after all.

Toppling Towers (2)

We even got into some pretend play and made a garage for her vehicles.

Toppling Towers (4)

Add in real building blocks to make the structure more complicated (soft foam ones are my favorite for this age).

Toppling Towers (5)

This tower, too, needed to be toppled of course.

Toppling Towers (6)

This kind of early STEM activity will help build new connections in your baby’s brain, plus provide lots of enjoyment!

Toppling Towers (7)

Kaboom!

Toppling Towers (3)

Create a Sensory Tunnel

Sensory Tunnel (8).JPG

Today, with big brother off to kindergarten (!), I had time for a bigger project than usual with Veronika. Using two old moving boxes from the garage, I opened up all the flaps and then nested them slightly one inside the other to form one long tunnel.

Sensory Tunnel (1)

Hmm, the box was intriguing, but Veronika didn’t head inside just yet.

Sensory Tunnel (2)

Next I poked three holes along the top. I stuffed in three socks, all with different patterns. One sock I left empty, one I stuffed with newspaper for a crinkly effect, and one had a musical rattle inside.

Sensory Tunnel (3)

Interestingly, the empty sock was her favorite. She loved trying to catch it and tug on it.

Sensory Tunnel (4)

She seemed quite determined to pull it all the way from the box, and was amazed every time it sprang back into place (Note: you can knot the socks at the top if needed, to keep them secure).

Sensory Tunnel (5)

I placed a few tantalizing toys inside (balls, cars), and finally that did the trick. In she goes!

Sensory Tunnel (7)

She looked absolute thrilled with her surroundings once inside, her own little fort! If you want, you could even make windows, but my boxes were a bit floppy and I skipped that step so that the tunnel didn’t cave in.

Sensory Tunnel (9)

She did also try lying on her back to kick at the socks, but preferred sitting up to play.

Sensory Tunnel (6)

What a fantastic morning of fun!

All Fall Down

All Fall Down (2)

Try this adorable game to improve your baby’s hand-eye coordination, as well as skills like concentration or cause and effect. It also introduces a love of playing with boxes, something that’s sure to continue throughout the toddler years.

Small boxes are ideal for this game, to fit a baby’s small hands. We had a variety pack of cereal boxes that were just right for the job. I taped the empty boxes shut so no edges poked up.

First, I simply let Veronika hold and explore one. She was instantly drawn to it – probably because of that grinning cute tiger!

All Fall Down (1)

Stack a few of the boxes together, just out of baby’s reach. This was a bit tricky, since Veronika is just learning to hold herself upright in a seated position, and she wanted to lunge for the boxes. Concentration, being built!

All Fall Down (5)

Once I had a tower, I let her take a swing. Bam! We all fall down.

All Fall Down (7)

If your baby doesn’t seem interested in the boxes themselves, you can set a toy on top of the tower as enticement.

All Fall Down (6)

Once baby reaches for the toy… Boom!

All Fall Down (8)

The boxes fall.

All Fall Down (9)

But honestly Veronika was so eager to get her hands on the cereal boxes, the toy was a moot point.

Once we’d had enough of sitting and knocking down, I set the boxes up for tummy time.

All Fall Down (10)

She also had fun with them while she played on her back. As always, boxes make excellent toys.

All Fall Down (12)

Mini Box Houses

Box Houses (7)

Well, here’s yet another example of my 4-year-old having a mind of his own, taking a game I intended one way in another direction entirely – but loving every minute of it!

We’ve been having lots of fun with various materials, finding ways we can make cities lately, and have used everything from paper bags to old cereal boxes to tape.

This time, we pulled out some papier mache craft boxes, which I thought would make adorable houses, and I encouraged Travis to draw windows and doors. But he said he just wanted to color them – the entrance was through the roof!

Box Houses (2)

Pretty soon we populated our village – a rock with a smiley face, a stuffed turtle, and “Blocky the Block.” Pet rock friends would make great village residents, too.

Box Houses (5)

The game got really fun when we poked a hole in each door with a tiny key, and he twisted the key in every door to let in his residents. He was busy with this for ages while I prepped dinner!

Box Housees (6)

Eventually he did draw some doors, too, making great rectangles – great pen control practice!

Box Houses (3)

Overall, these little boxes provided ages of great fun.

Box Houses (4)

Have you tried making any of our craft houses? Which was your child’s favorite? Please share in the comments!

Box Houses (1)

Make Your Own Building Blocks

Own Building Blocks (4)

I have a preschooler who definitely needed attention this morning, and it’s a good thing I had a game waiting in the wings! For a couple of weeks now, I’ve been saving old food boxes (cereal cartons, cracker boxes, tea, etc.) in various shapes and sizes, and now it was time to put them to multiple uses!

First we had to cover the blocks in wrapping paper, which Travis loved, especially helping with the tape. We decided we liked using brown craft paper best, although solid colored wrapping paper would be fine.

Own Building Blocks (1)

Travis immediately took to stacking the boxes, so proud of his creations!

Own Building Blocks (3)

Pretty soon thereafter it was Batman’s fortress.

Own Building Blocks (5)

I took the time to draw house details – doors and windows – and we set up a cute Duplo main street…

Own Building Blocks (6)

…but this didn’t interest him for long.

Own Building Blocks (2)

A much bigger hit was… box bowling!

Own Building BLocks (7)

Set up the boxes and take aim.

Own Building Blocks (8)

Next, we took our stacking to the next level by adding cups.

Own Building Blocks (9)

It was a neat architectural challenge to encourage him to use paper cups in between each box layer.

Own Building Blocks (10)

You can also make the blocks more educational. Can you sort the boxes by size, for example?

Own Building Blocks (11)

Or, turn them over and write the letters of your child’s name, one per box. I was so proud of how quickly Travis had his letters in the right order!

Own BUilding Blocks (12)

Finally, have some good, silly fun. We made a fort and threw cup bombs at each other. Who knew you could do so much with a few boxes?

Own Building Blocks (14)

Spin Drum

Spin Drum (8).JPG

This great little craft will have little musicians marching and drumming all over your house. Perfect for a rainy day!

For the body of the drum, we used small papier-mache boxes that I purchased off Amazon, about 4 inches across. Remove the lid, and punch three holes in the box, at 3 o’clock, 6 o’clock, and 9 o’clock.

Spin Drum (1)

This step might be tough for little fingers, so add your own muscle power to the hole puncher. We even enlisted daddy’s help after my hand got tired!

Place a dowel in the bottom hole, then string twine through the side holes, looping it around the dowel in the center as you go.

Spin Drum (2)

Glue the dowel in place – I definitely recommend hot glue for this step.

While the glue briefly dried, Travis was in charge of decorating the lid with markers. He said his design was a mandolin! (Kids can decorate the side of the box, too).

Spin Drum (3)

We hot glued on the decorated lid, and then tied wooden beads to the dangling ends of string, securing them with a double knot.

Spin Drum (5)

Make sure your beads and strings are the right length to hit near the center of the box lid, before you tie off the knot. Our first try was too short, but a second drum was just right.

Spin Drum (4)

Now spin and play!

Spin Drum (6)

My impish boy soon decided his drum worked not only as an instrument but as a “spear”, too, which made for lots of imaginative play. Either way, I loved seeing him have fun!

King of the Castle

castle (11)

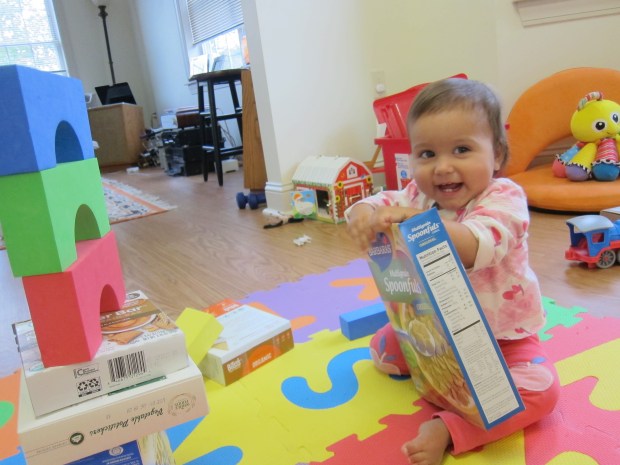
I first spotted this homemade castle in Family Fun magazine months ago, and knew it was something I just had to make for Travis eventually!

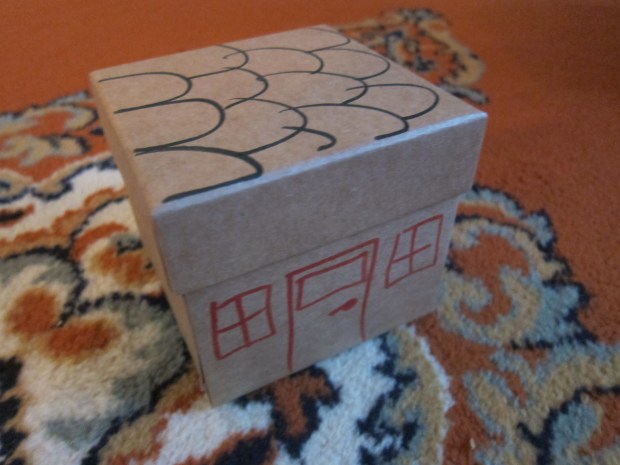
Parents, it may seem like a lot of work, but the castle comes together remarkably easily in very few steps. My advice is to tackle one portion per day, so that it never seems overwhelming.

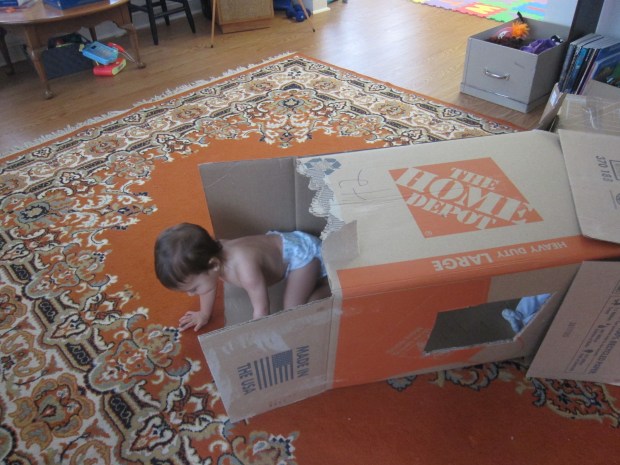
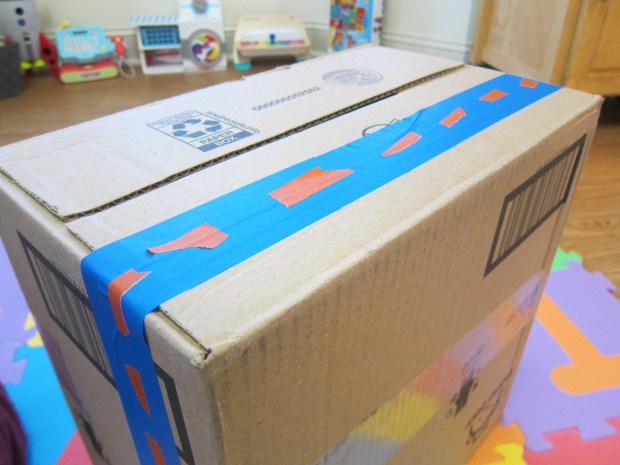
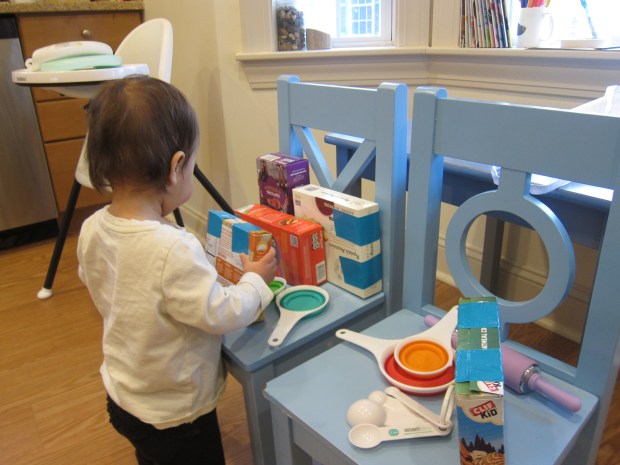
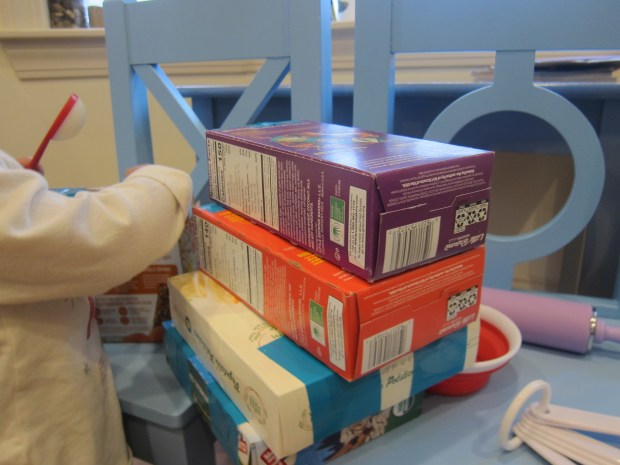
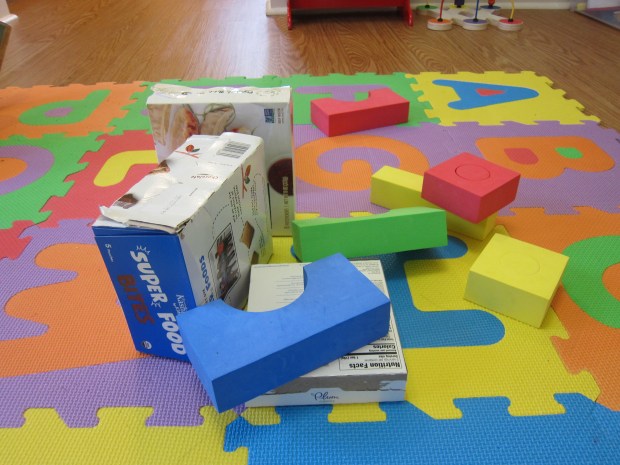
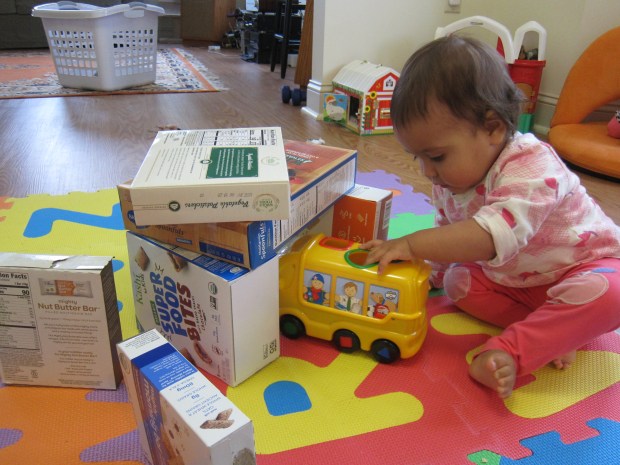
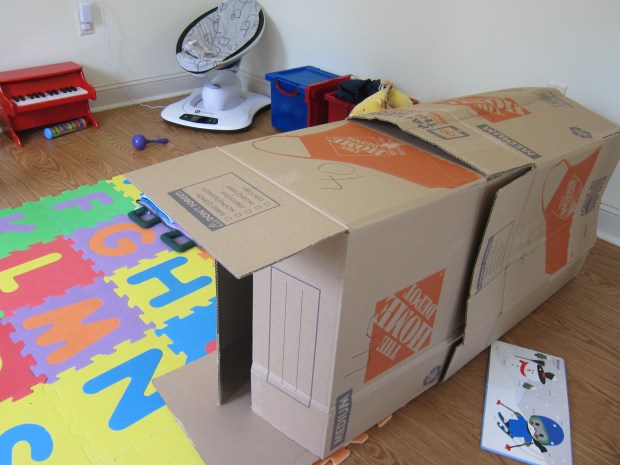
First, purchase (or reuse!) three large boxes. Use large (about 20×20 inches) for the two sides, and extra large (22×22 inches  – or more!) for the center portion.

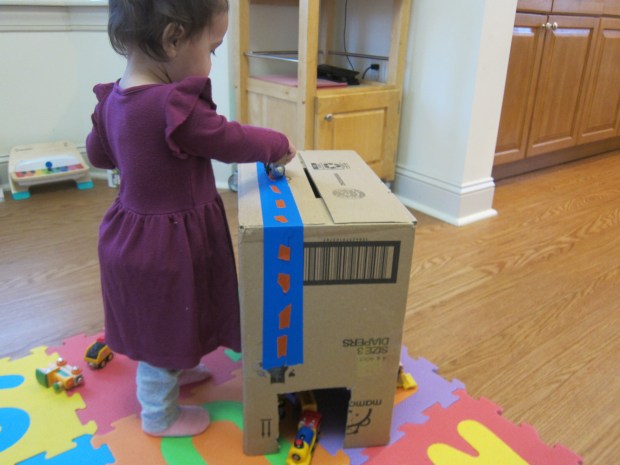
For the center section, trace a drawbridge shape onto craft paper, and tape down to the largest box. Cut out the shape.

Castle (1)

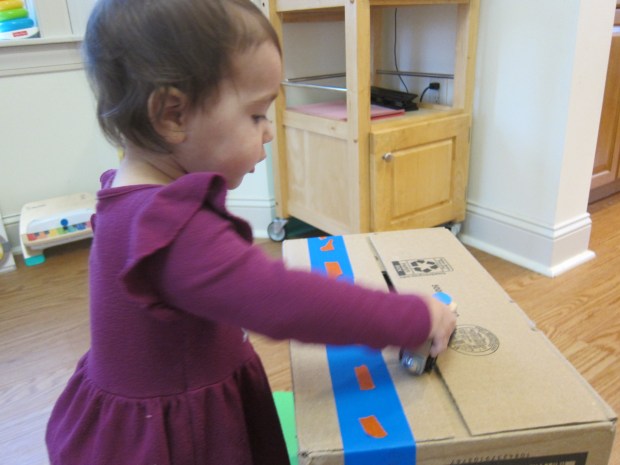
To attach the drawbridge cutout, you’ll need two lengths of plastic chain (ask them to cut these to size at Home Depot) about 2 and 1/2 feet in length. Poke a pipe cleaner through the end of the cardboard further from the castle, and thread the pipe cleaner through; attach to one end of a chain. Repeat on the other side. Make two small holes next to the drawbridge cut-out in the castle box, and thread each chain through, securing with hot glue or tape.

castle (12)

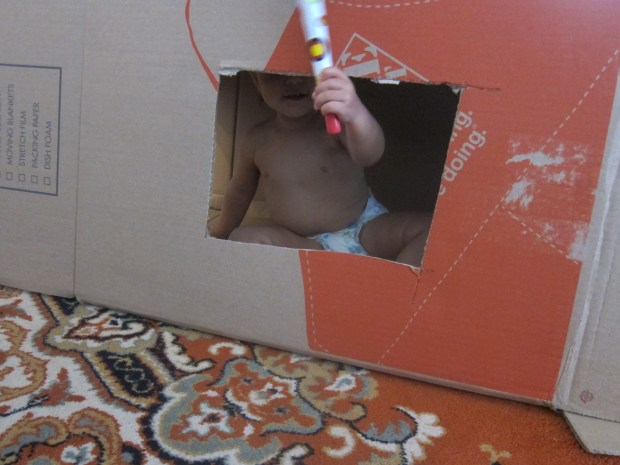
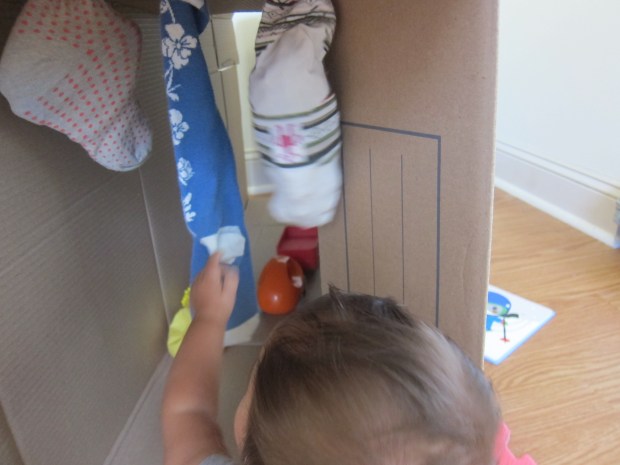
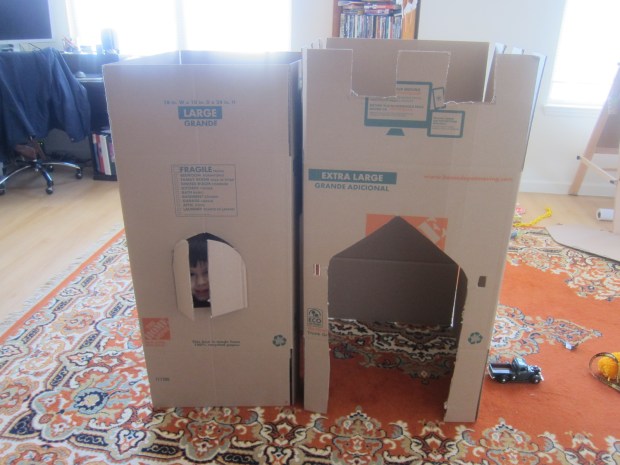
For the two side pieces of the castle, cut out window shapes, leaving the “shutters” attached. Peek-a-boo!

Castle (3)

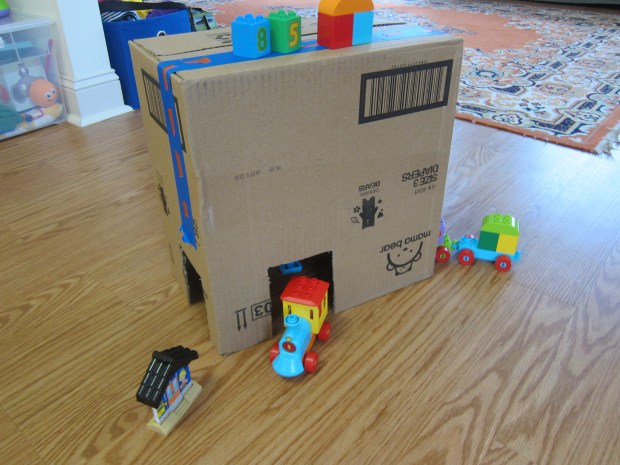
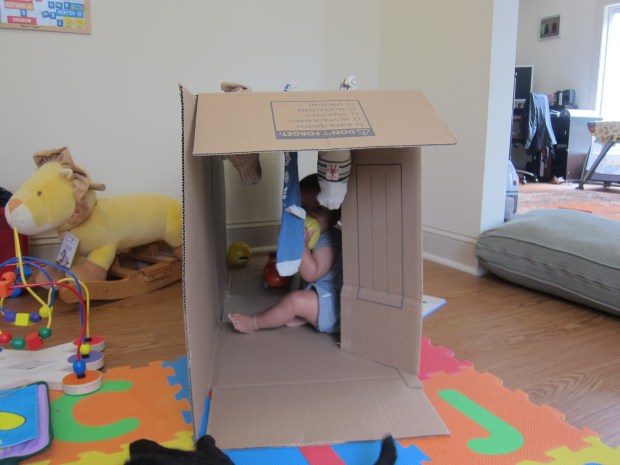
You can use scissors or an x-acto knife to crenellate the tops of all three boxes. We taped one roof flat with the anticipation of adding a “bell tower” down the line – if we do, I’ll update this post!

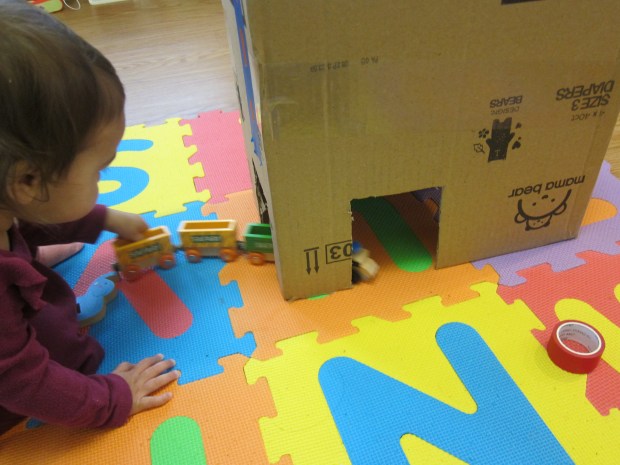
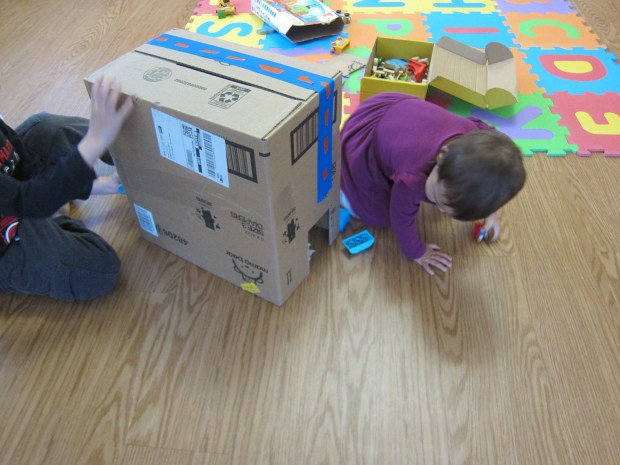
Cut a side door in each side section so your kids can crawl from “room” to “room” within the castle; now tape all three sections together with a few pieces of duct tape.

Next up, we needed to apply a coat of paint!

Castle (7)

For some fun extras, we didn’t stop there! To make banners, attach pieces of triangular cardstock or poster board to dowels, and tape at the top of the castle.

castle (10)

For ivy, hot glue leaves cut from green tissue paper or construction paper onto twine.

castle (9)

For a torch, hot glue the bottom of a paper towel tube shut. Stuff with tissue paper, and then add gold or white tissue paper up top to stick out as flames. Position a battery-operated tea light just behind the tissue paper and your torch will really light up!

castle (13)

That’s as far as we went, but there’s so much more you can do! Consider painting old shoeboxes and positioning below the windows as sills, stuffing with additional green tissue paper as greenery. You can also hot glue an old blanket or piece of cloth into the drawbridge opening, or hang strips of crepe paper as a “portcullis”.

castle (14)

Inevitably, games in the castle involved Travis’s sword and our homemade shield. What else will you add to the castle for your king or queen? Please share in the comments!