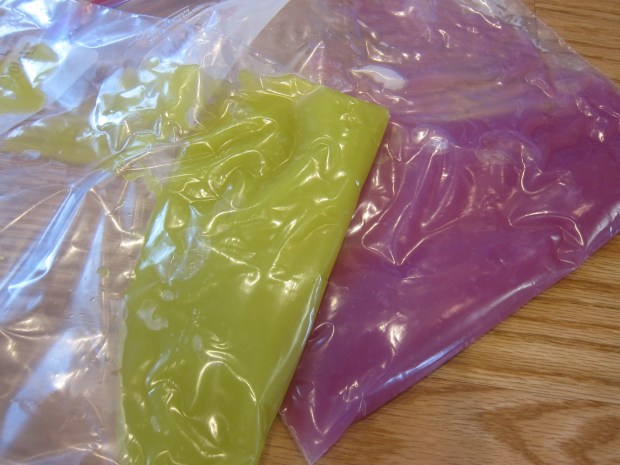
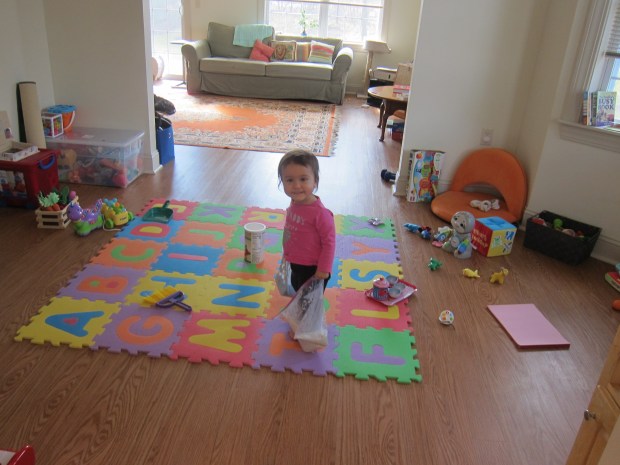
This project took us from morning to night since we tackled different portions of the game throughout the day! It all started when Veronika had a morning of play dough play while big brother Travis did home school lessons.

But she’s still more tempted to eat play dough than play with it, so I clumped it into a big ball and set it aside for another day. There we were with lots of empty little jars. They were the perfect vessel for… sensory play!
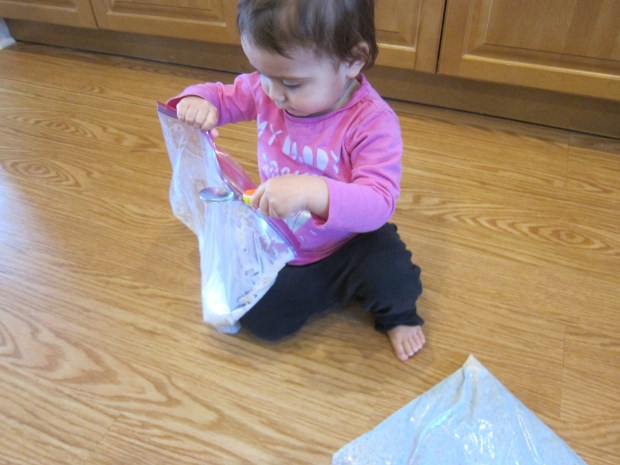
I rinsed out the jars while Veronika continued to play with the lids.

Once clean, I started filling each one with different items. In all, I had 12 little jars with:
- popcorn kernels
- marbles
- beads
- rice
- coins
- bells
- dried beans
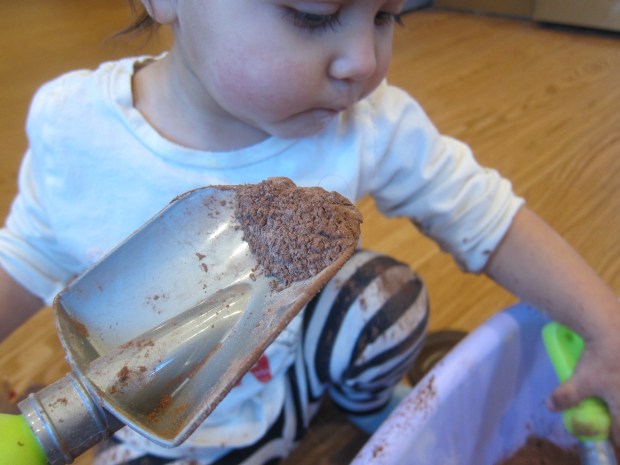
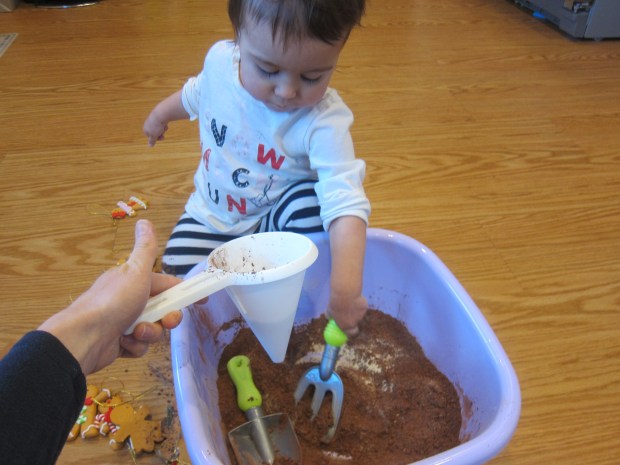
- ground coffee
- salt
- sprinkles
- rubber bands
- sesame seeds
Other ideas might include: buttons, water, spices, Lego pieces, or bits of foam. It was a little tricky to set these up with Veronika watching, since she wanted to touch the items and many are choking hazards.
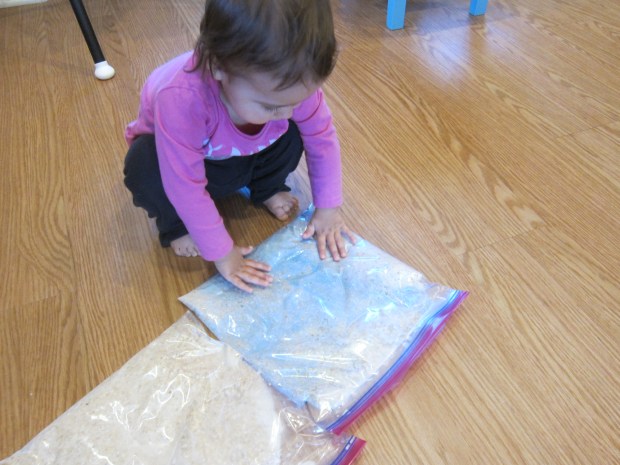
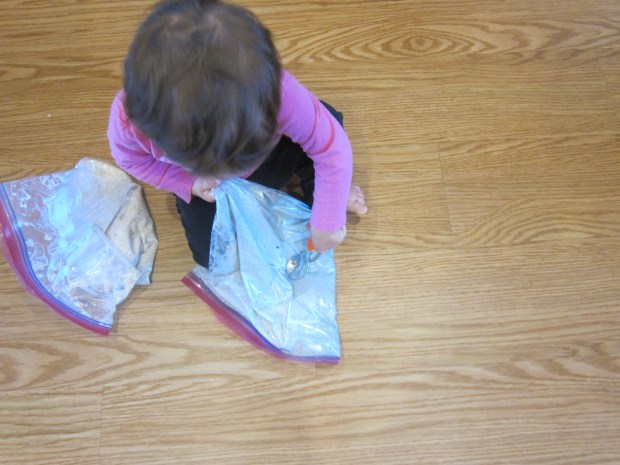
Once lids were sealed, she could safely play! First we just had fun shaking them, or tapping two together.

Then we shook each one in turn and divided them into two piles, one loud, one soft.

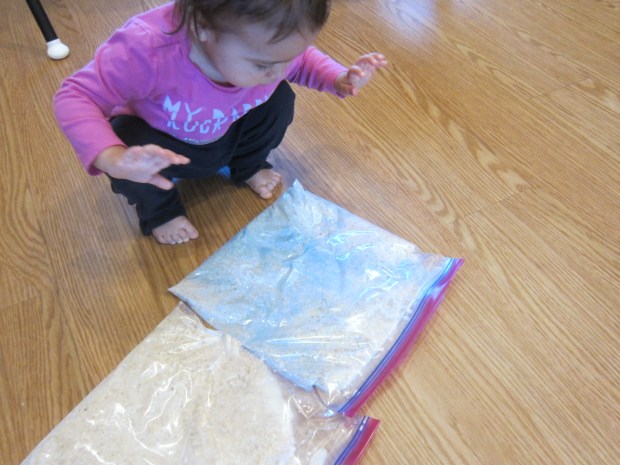
I could sense her growing frustration that she couldn’t get inside the jars…
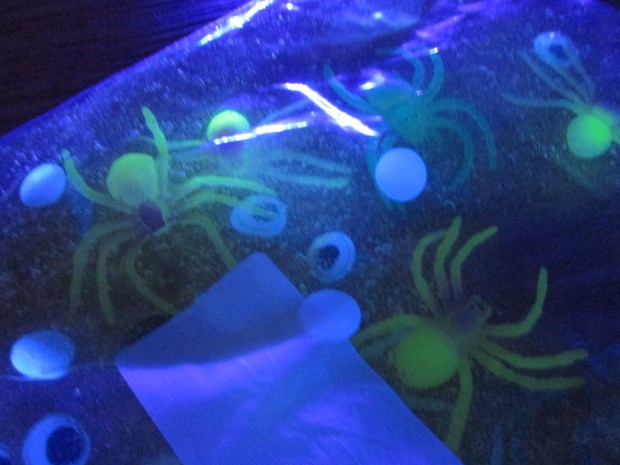
…so we went through them one at a time. I gave a jar a shake and opened it up so she could see the item inside. Be sure to name the item, too! Bells, beads, and marbles seemed to especially intrigue her.

For bigger kids, you could even turn this part into a game. Give it a shake, and have them guess what’s inside. Travis trotted over for a try!

Bigger kids might also like to try a sound match-up. Narrow it down to fewer items (3 or 4), and have two canisters for each item. Can your child match them up? I didn’t expect Veronika to be able to do this, but did the exercise as an illustration in all the ways she can hear.

We could use lots of great vocab words as we played, like “jingling” bells and the “cha cha cha” of rice.

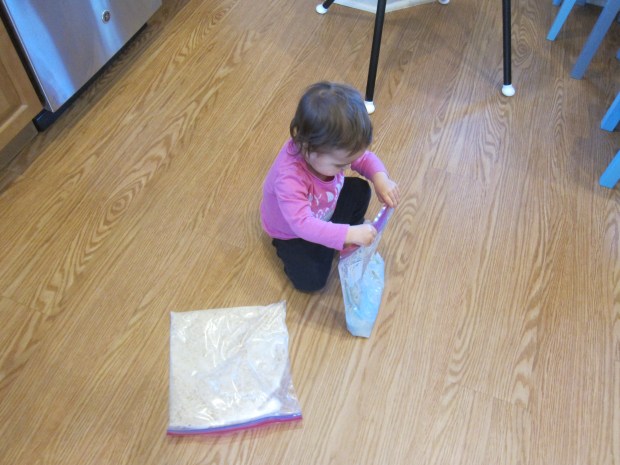
Of course then your child might just keep busy with the jars themselves for quite some time, which was certainly the case for Veronika. Like I said, this is a game that can last all day!


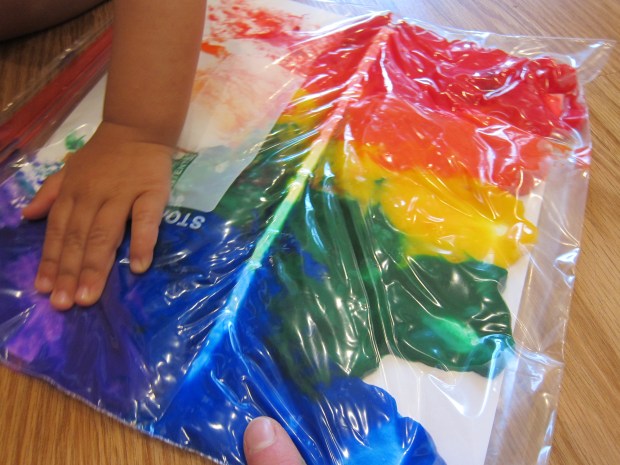

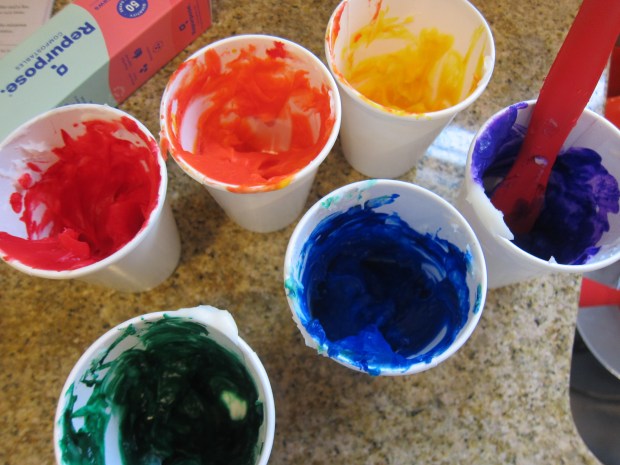
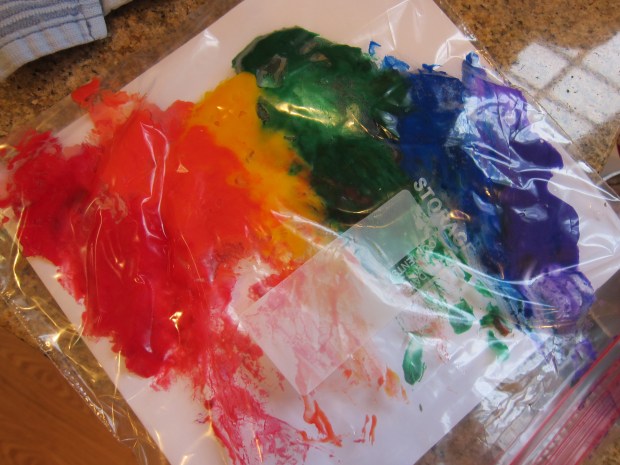
 It’s actually too bad that the paint was so goopy, or I would have pulled the white paper out to dry and hang on the fridge. Next time!